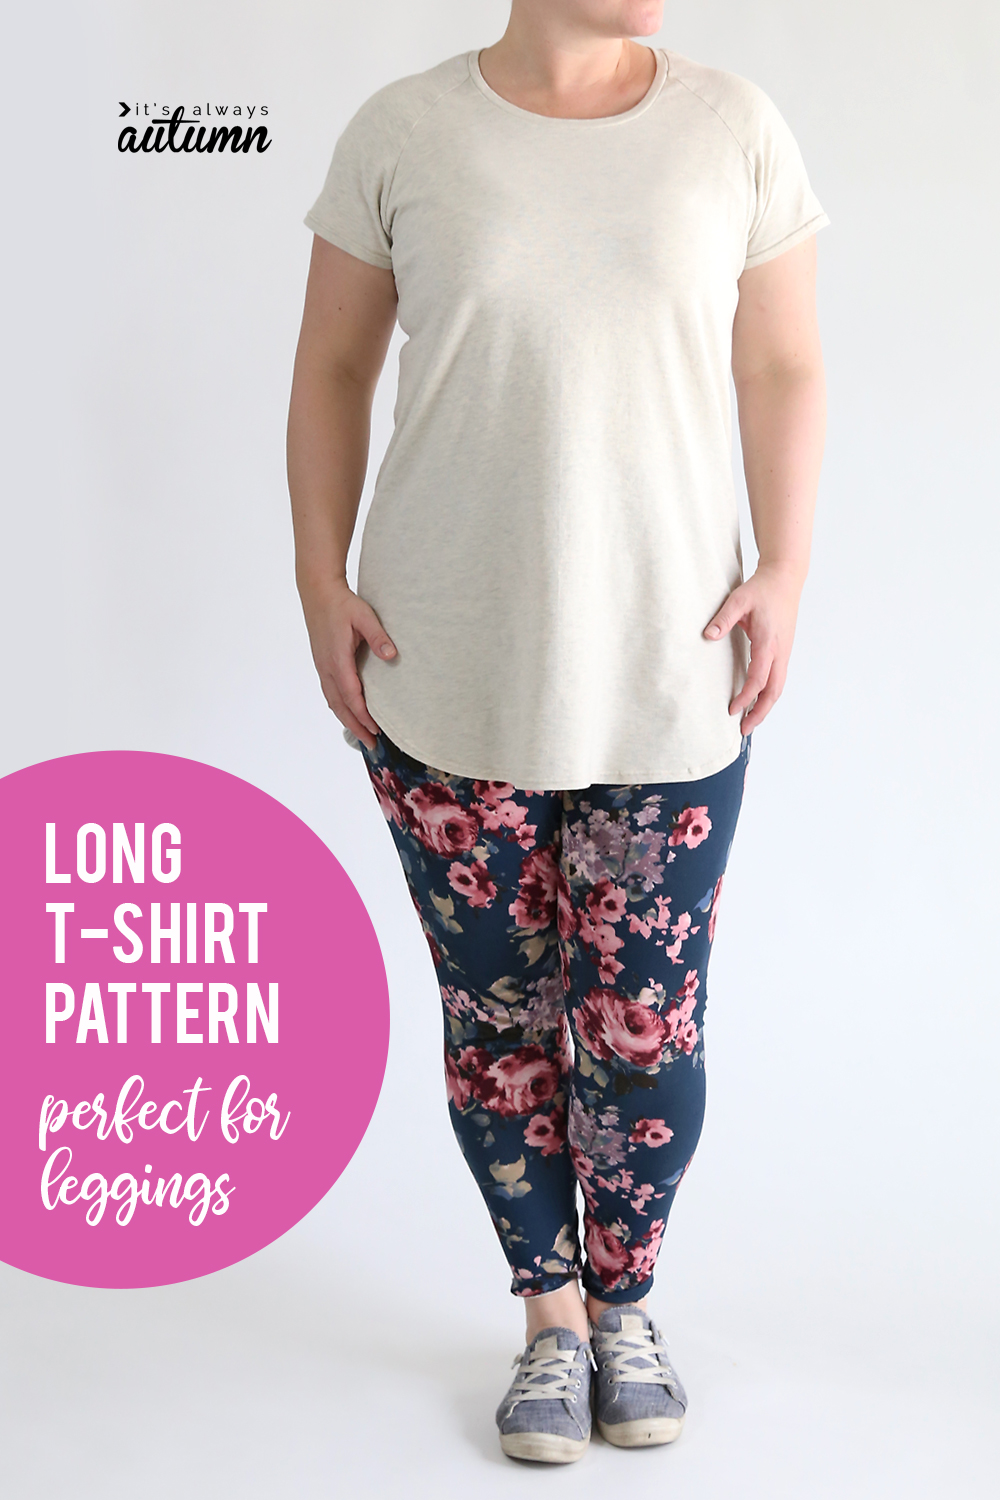
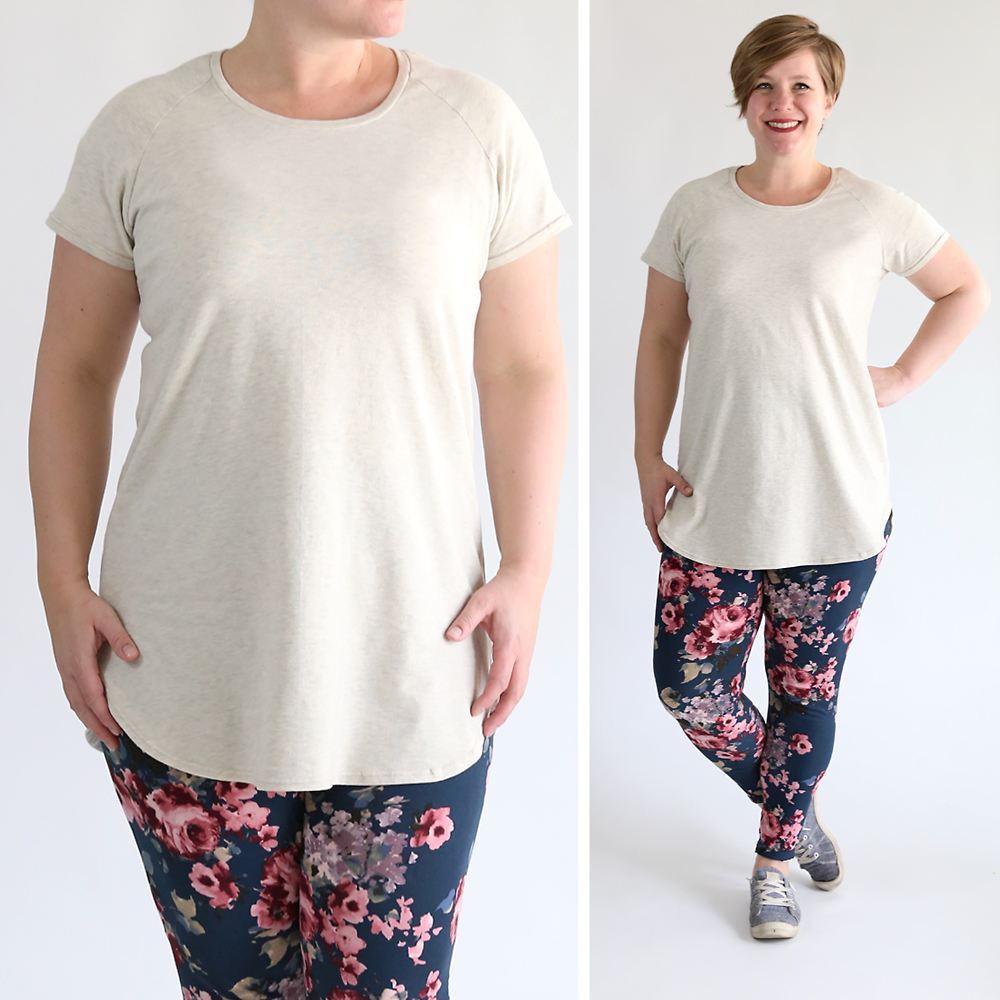
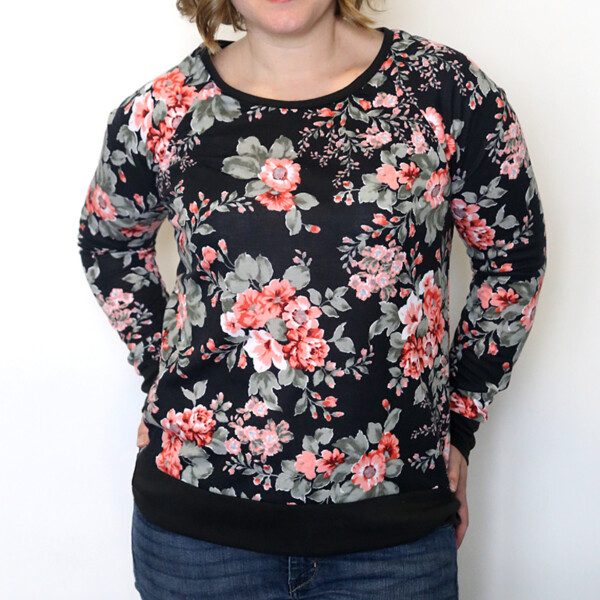
In today’s post: Download this free sewing pattern for a long, tunic-length raglan sleeve t-shirt, perfect for wearing with leggings!
A few weeks ago I shared tips for sewing your own super soft leggings and today I’m sharing an updated raglan t-shirt pattern with a longer, curved hemline. This pattern is based on my original raglan t-shirt pattern, and like that pattern is a size L (38 inch bust). The longer hemline makes it perfect for wearing with leggings!
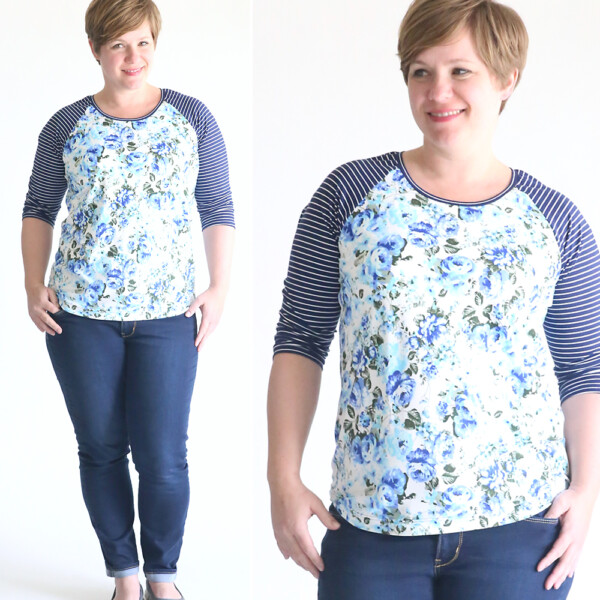
Raglan is the sleeve style you see on baseball sleeves, and raglan shirts are often made with sleeves that are a different color than the body of the shirt. I’m wishing now I’d used navy blue for the sleeves on this long tee; it would have been so cute!
You can download the longer length raglan t-shirt pattern by clicking here.
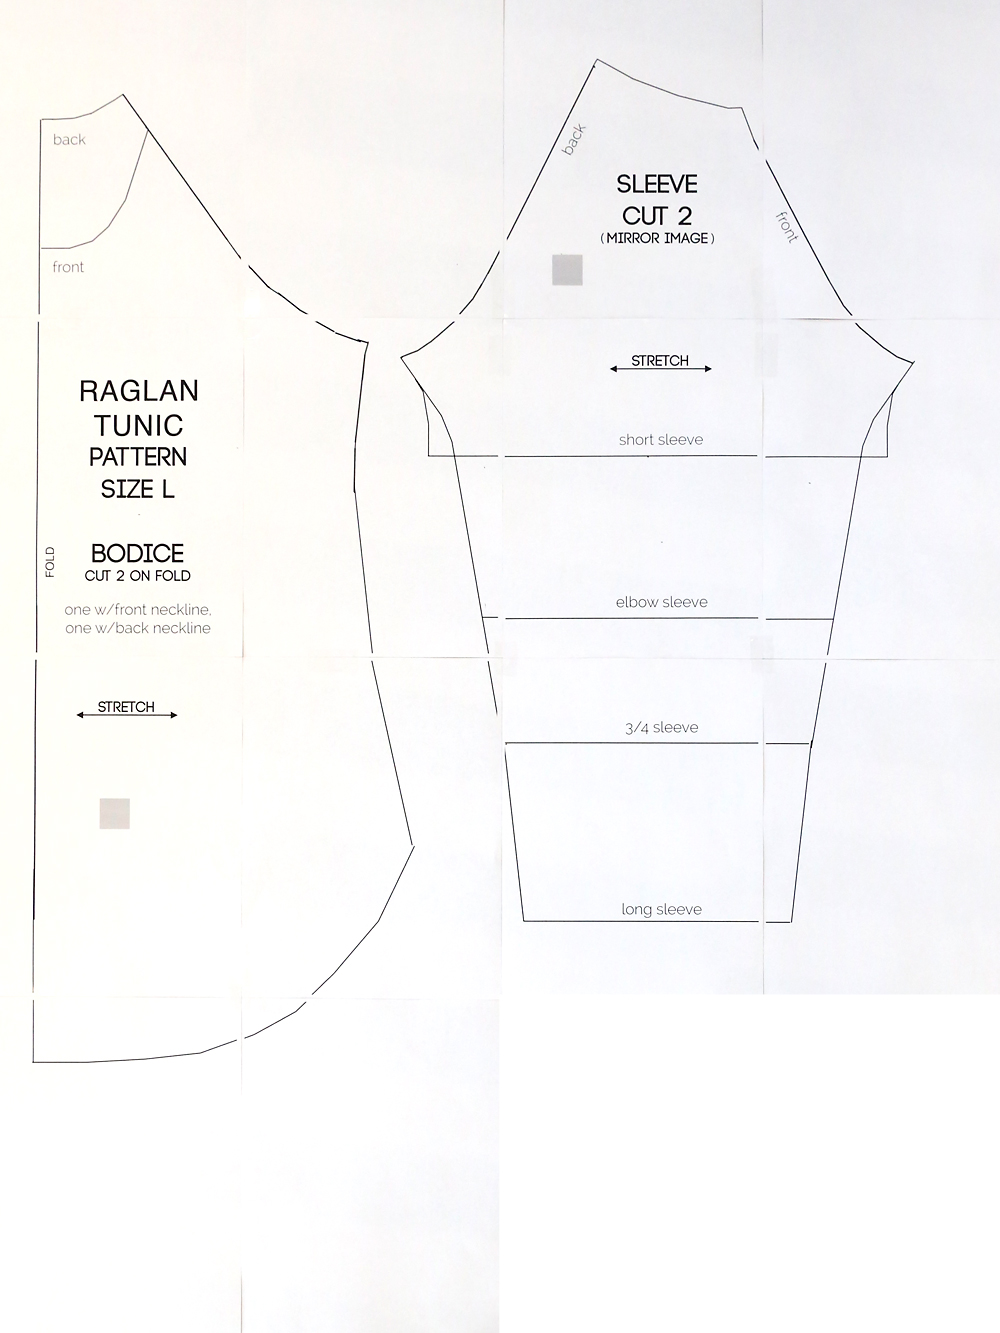
Be sure to print the pattern at 100% or full size. You can print page 3 first and measure the gray test square – it should be exactly 1 inch. Print the pattern on 8.5×11 paper. It will take 14 sheets of paper. Butt the pages up against each other without trimming and tape them together. The pattern will look like this:
This pattern is meant for knit (stretchy) fabrics only. You’ll need between 1.5 yards and 2 yards, depending on the sleeve length you choose. Wash and dry your fabric before beginning.
NOTE: I usually try to stick to heavier-weight knits because I don’t like super thin shirts, but I actually think these longer shirts look best when made from slightly lighter weight knit fabrics that have a lot of drape. The fabric I used here was a little too thick and stable, and as a result I don’t think it’s quite as flattering as it would be using a fabric with more drape.
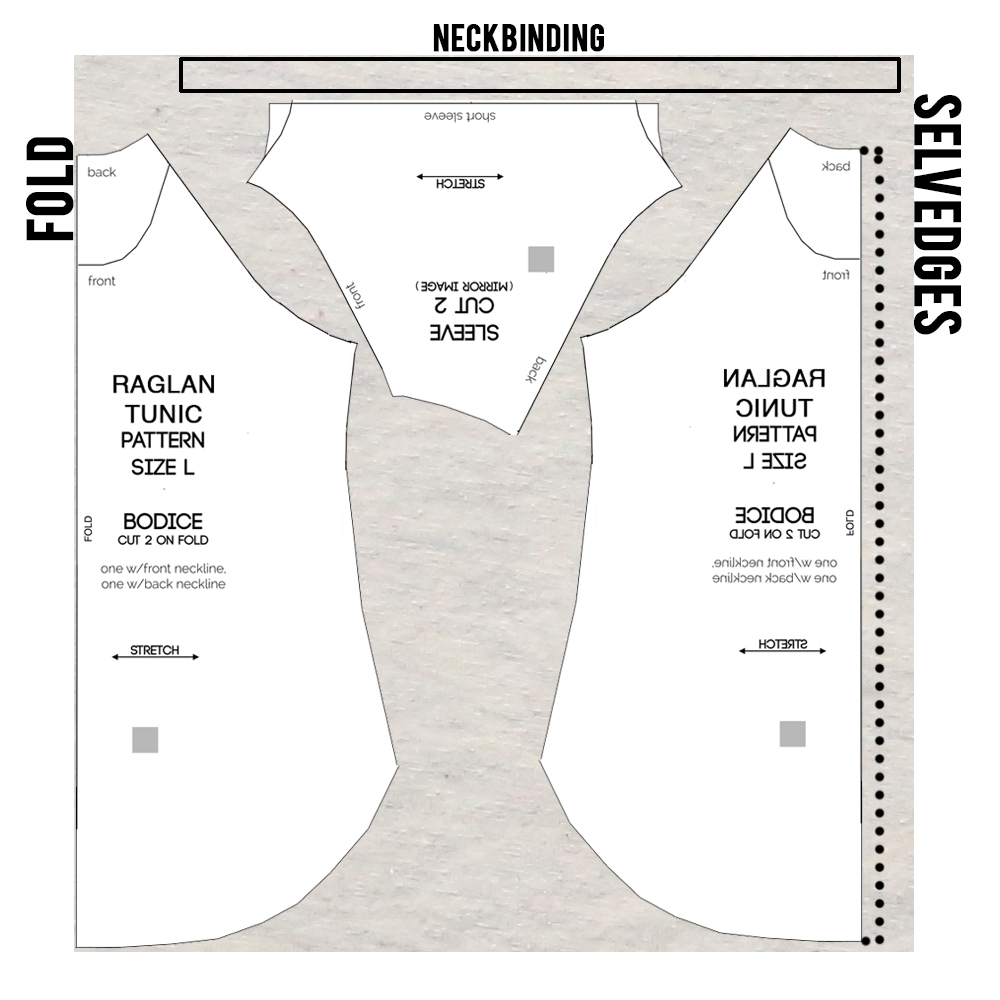
NOTE #2: Now, if you’re like me and try to make everything you can from a single yard of fabric, you may be able to squeeze the short sleeve version of this shirt out of one yard. To do that, you will need to cut the back piece NOT on the fold. Lay out the pattern as shown below. Add 1/2 inch seam allowance to the center of the back piece, as shown below, then immediately sew the two back pieces together down that center line (RST).
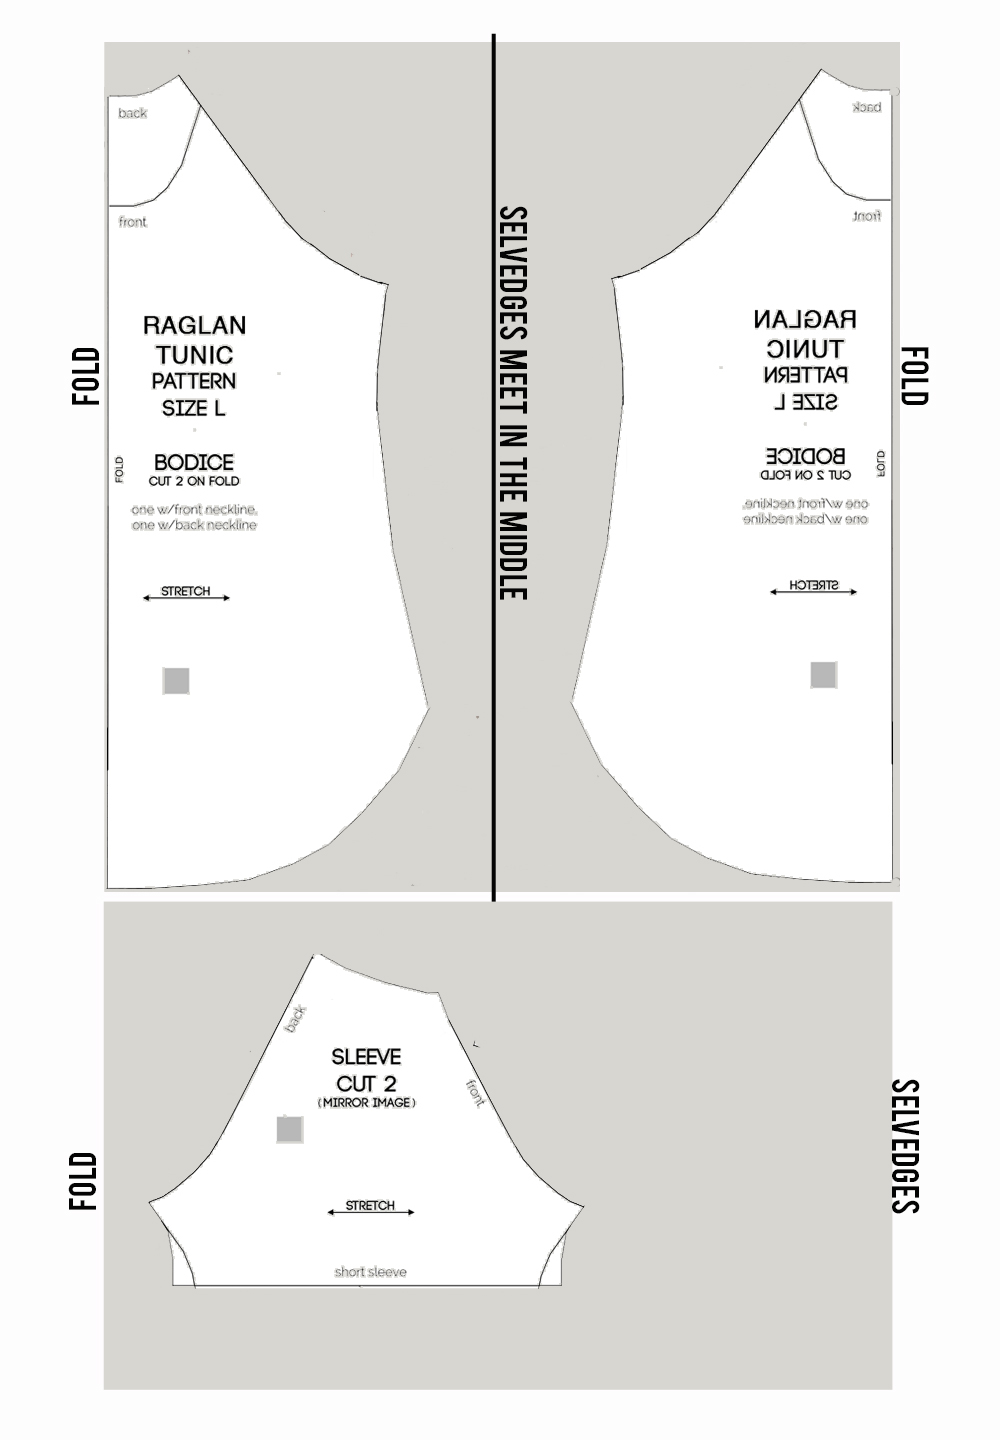
You will end up with a seam down the back of your shirt if you do this. If that bothers you, cut the pattern out like this instead (it will take more fabric):
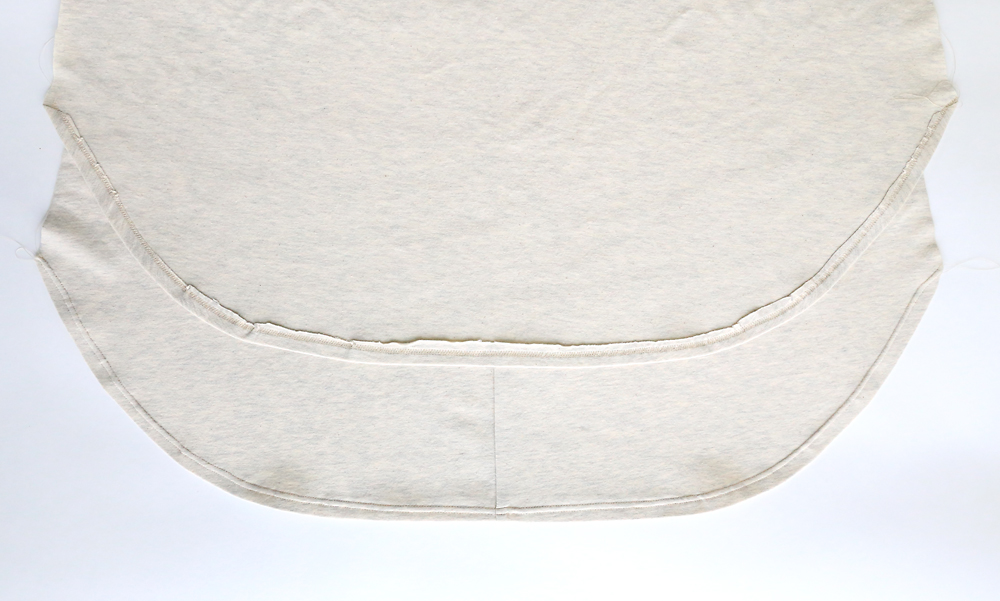
This shirt sews up just like the original raglan t-shirt pattern, so you’ll want to visit that post for instructions. There is just one difference: because of the curve of them hem, you need to sew the hem first, before you do anything else.
Turn the bottom of the front and back up about 1/2 an inch and press well. Sew the hem with either a zigzag or a double needle (what I used).
Now you can continue with the directions in the raglan t-shirt post for sewing up the rest of the shirt!
Looking for more longer shirt options? Visit these posts:
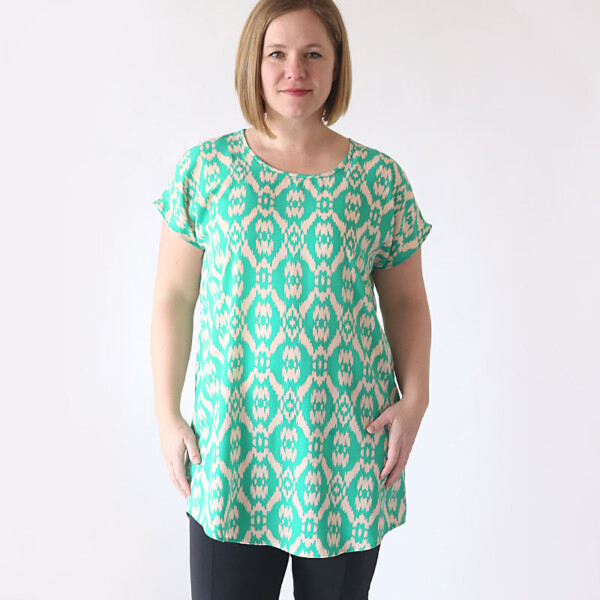
Breezy tee tunic made from a woven fabric
And more t-shirt patterns:

Cilla says
Hi there. I love what you’ve made. I also like creating things from sewing to anything crafty.
Lynda Miller says
I love your patterns and would like to try them but I’m unsure of the size. Would it be possible to put a bust size in the pattern
Kathleen says
38 inch bust
Kathleen says
One good thing, I’ve learned about a seam down the back of a T-shirt is -awesome custom fit!!!
Dara says
ALWAYS a WINNER. Thanks Autumn!