
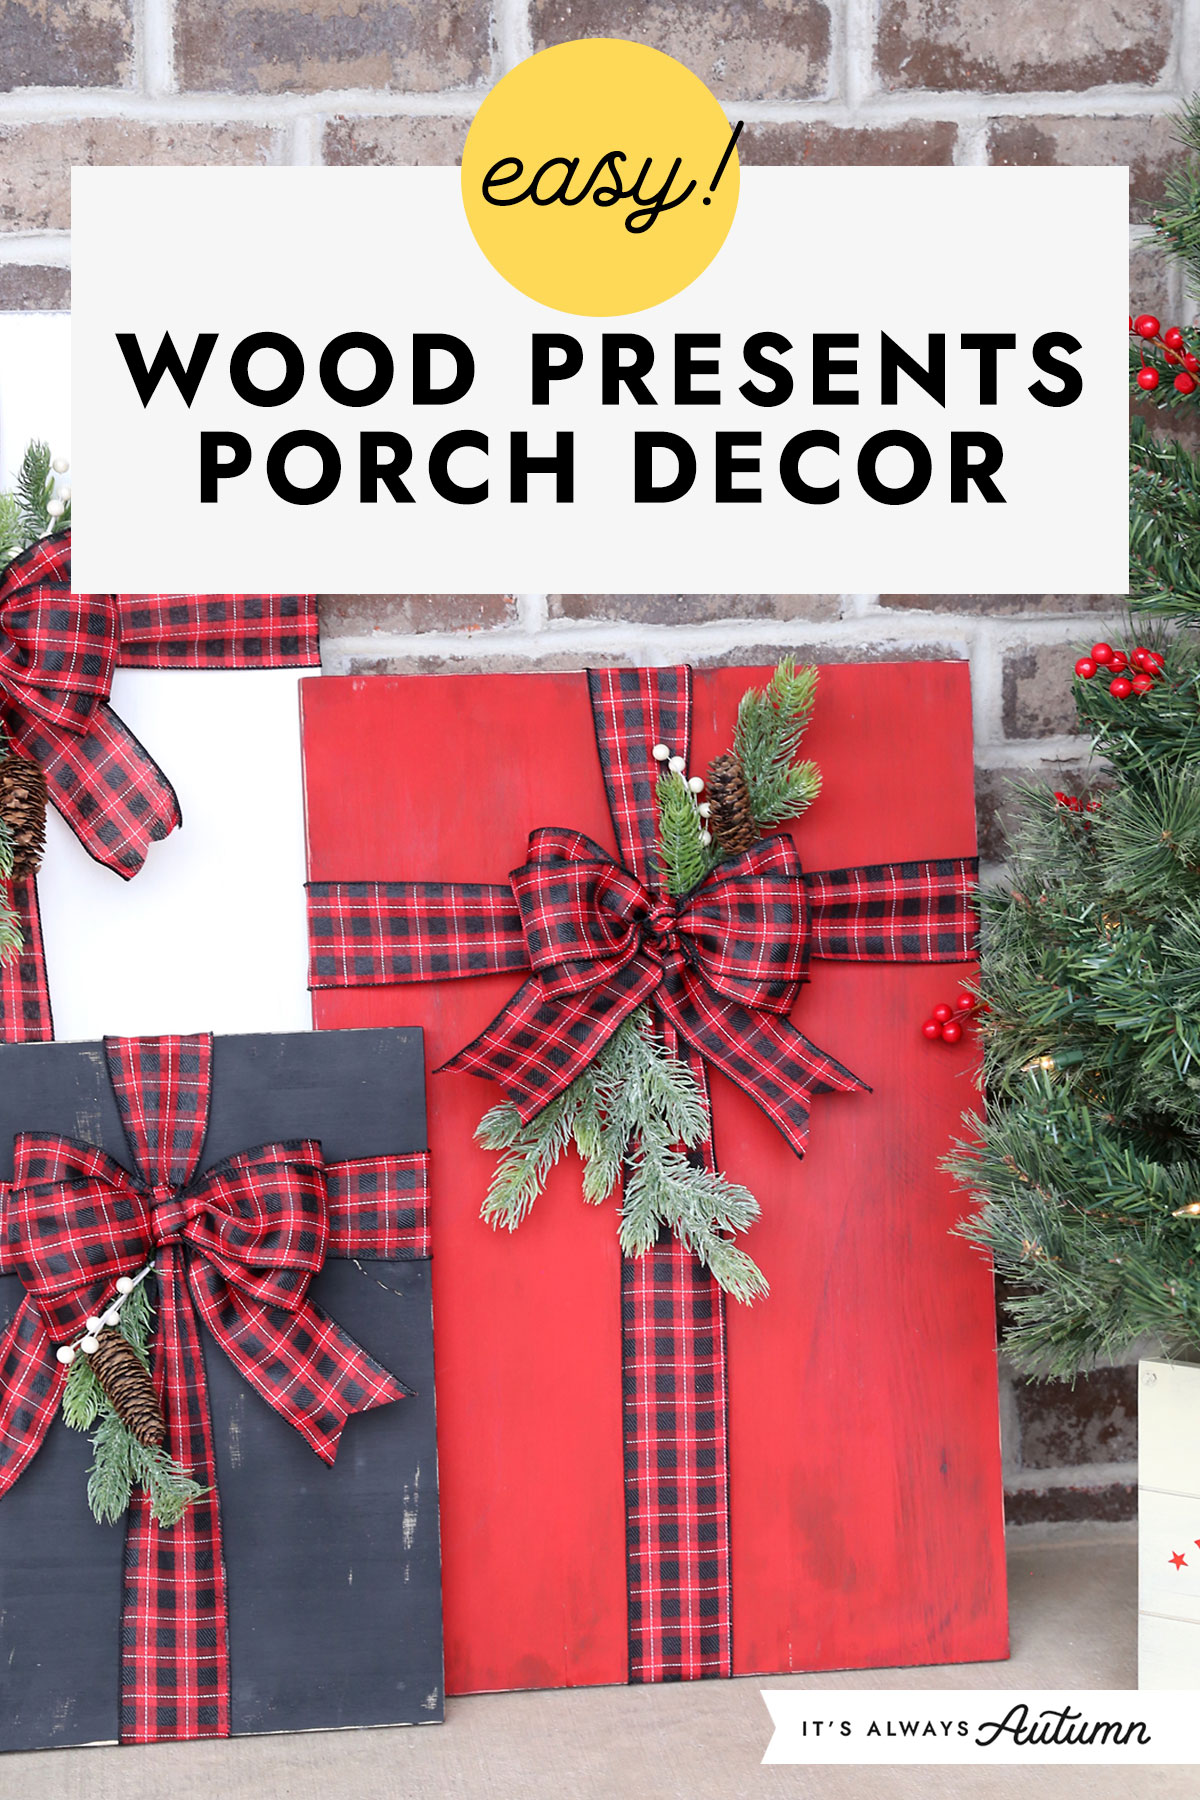
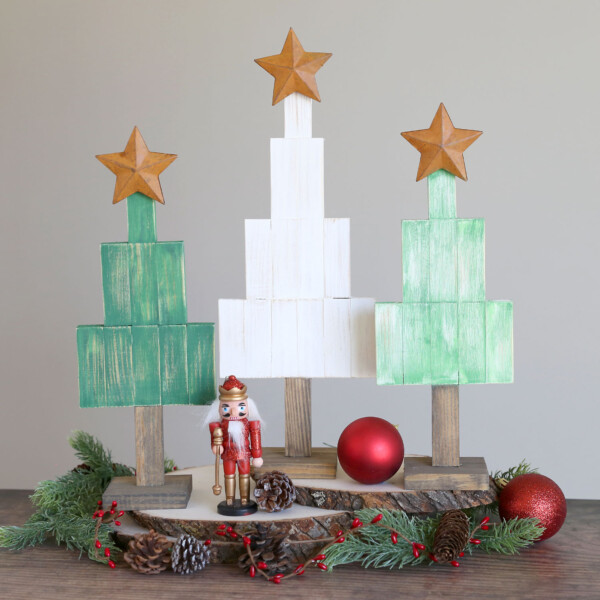
In today’s post: These DIY wood presents are the perfect Christmas decor for your front porch. Our detailed instructions (including what kind of wood to buy) make this an easy project you can complete in an afternoon.
Last year I saw a photo online of some cute wooden presents sitting out on a front porch for Christmas. I loved the idea, but couldn’t find the source for the photo or any instructions. I wanted to make my own, but wasn’t sure what kind of wood to use and how to cut it to size. So it never happened.
Fast forward to this year and the idea was still kicking around in my head, so I decided to finally make it happen! I spent half an hour wandering the aisles of Lowe’s trying to figure out what wood to use, wondering if I should even try this project after all. But I finally found the perfect extra wide pine board that would make nice large presents. I’m sharing a link to the exact board I used as well as step by step directions so you can make a set of wood porch presents too.
Supplies
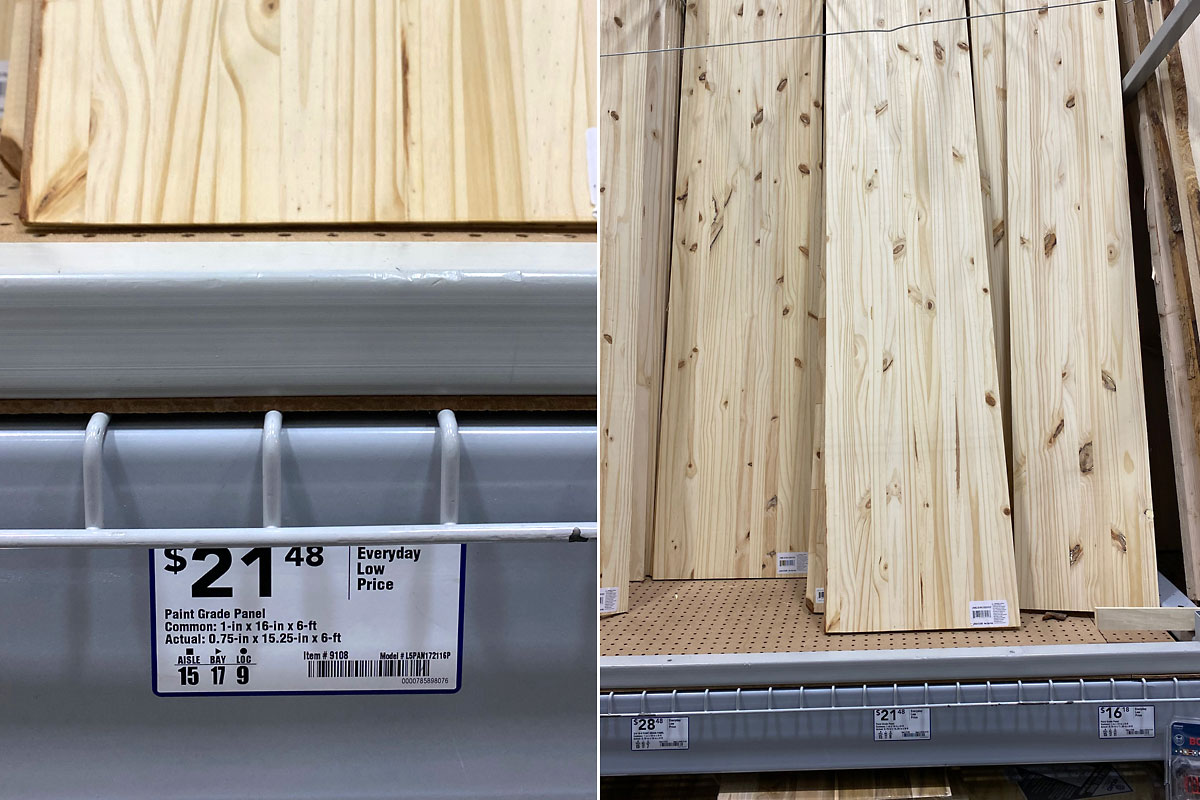
I used this unfinished pine board from Lowe’s (ReliaBilt 1 in x 16 in x 6 ft Unfinished Pine Board, paint grade). It’s sixteen inches wide so you can make nice large presents that look great on your porch. A six foot board is about twenty one dollars and is long enough to make all three presents. Once you’ve purchased your wood plank, you can ask the employees to cut it for you. Ask for:
- one piece 32 inches long
- one piece 24 inches long
- one piece 12 inches long
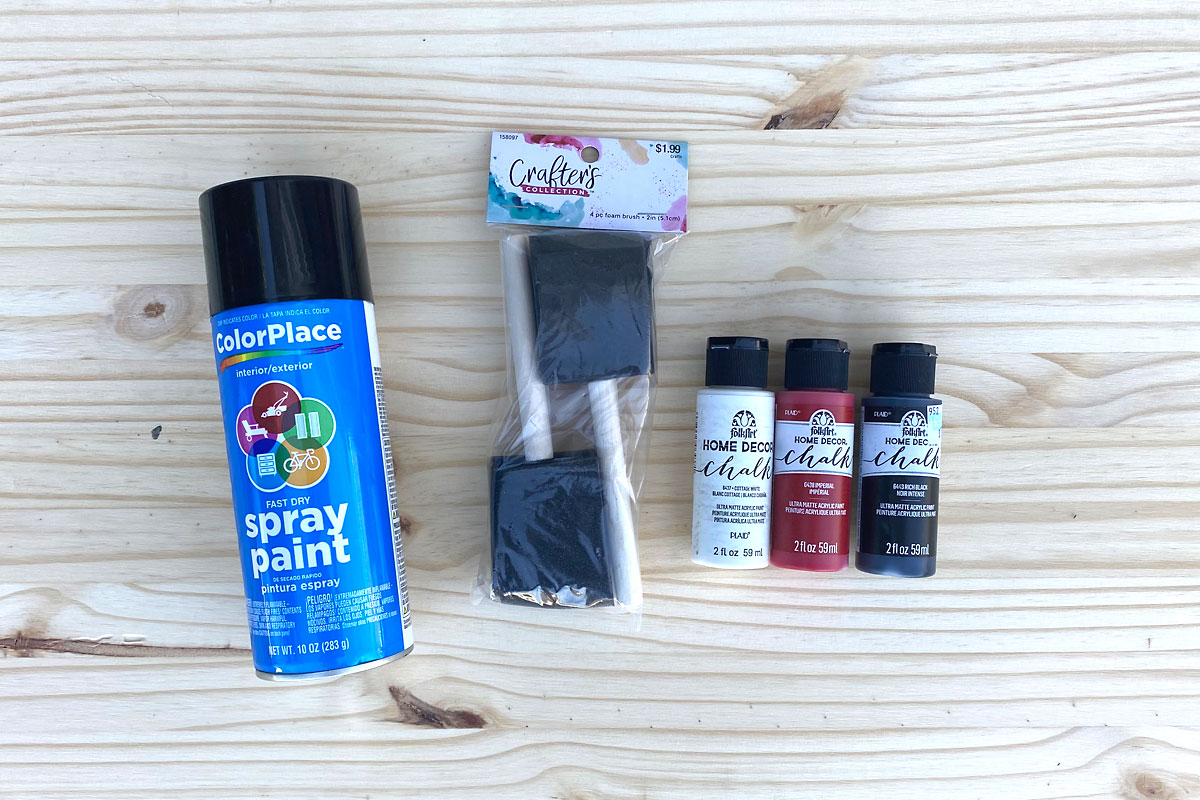
You will also need paint, paintbrushes, and sealant (if desired). I used:
- Black spray paint: this is optional, I used it to give the presents more of a worn, distressed look.
- Chalk paint in red, white, and black: I used small bottles from the craft store; the little bottles of acrylic paint would also work.
- Foam paintbrushes: it’s nice to have a different brush for each of the three colors.
- Sealant: this is optional. If your porch is covered and sheltered, you may not need a sealant. I added a coat of a Krylon Matte Sealant to help them hold up year after year.
- Sandpaper: optional, to distress the edges of the presents.
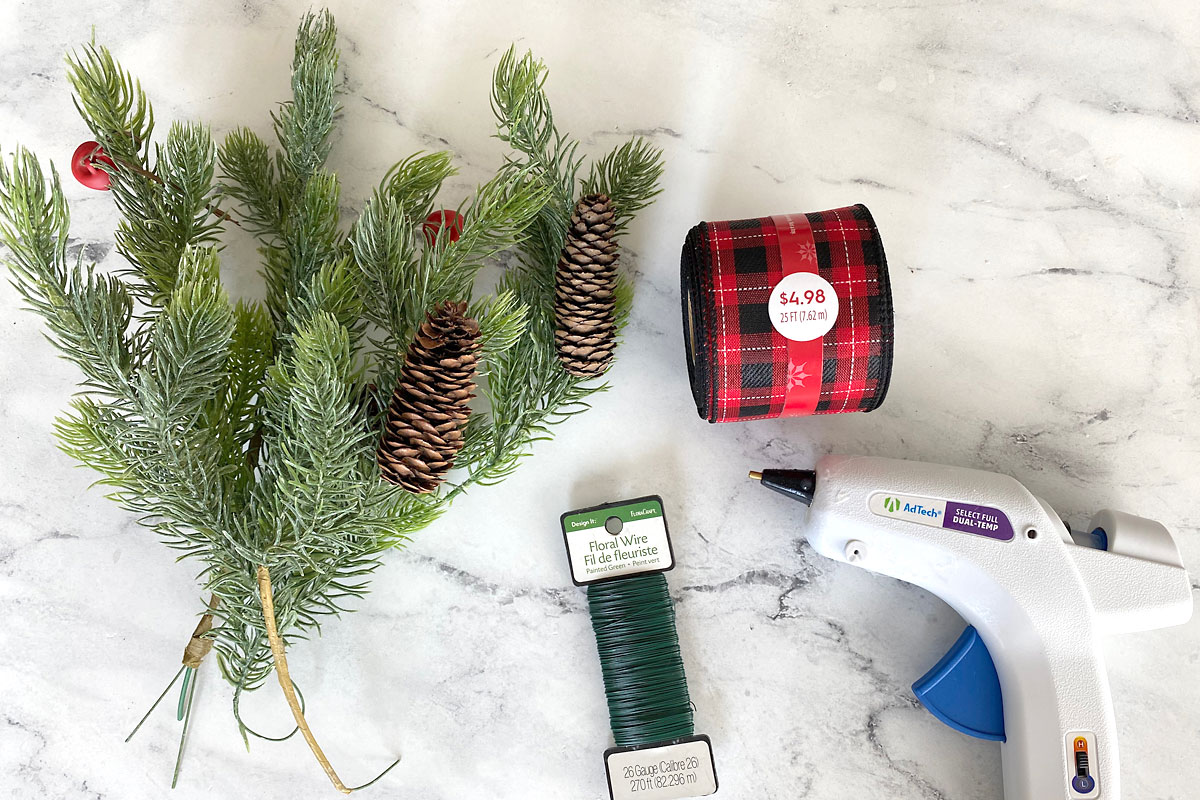
Finally, you’ll need ribbon and embellishments to turn the wood planks into presents.
- Wire Edged Ribbon: I used 2.5 inch wide ribbon that I found at Walmart. You’ll need approximately 12 yards.
- Floral Wire
- Faux Greenery: Look for “Christmas picks” at the craft store.
- Hot Glue Gun
How To Make Wood Plank Presents
You’ll need a couple of hours to turn a wood plank into faux presents for your porch. It’s probably best to split this project into two stages: prepping the boards and painting them, and then decorating them with ribbon after they’ve dried. Follow these step by step directions:
Prep the Wood
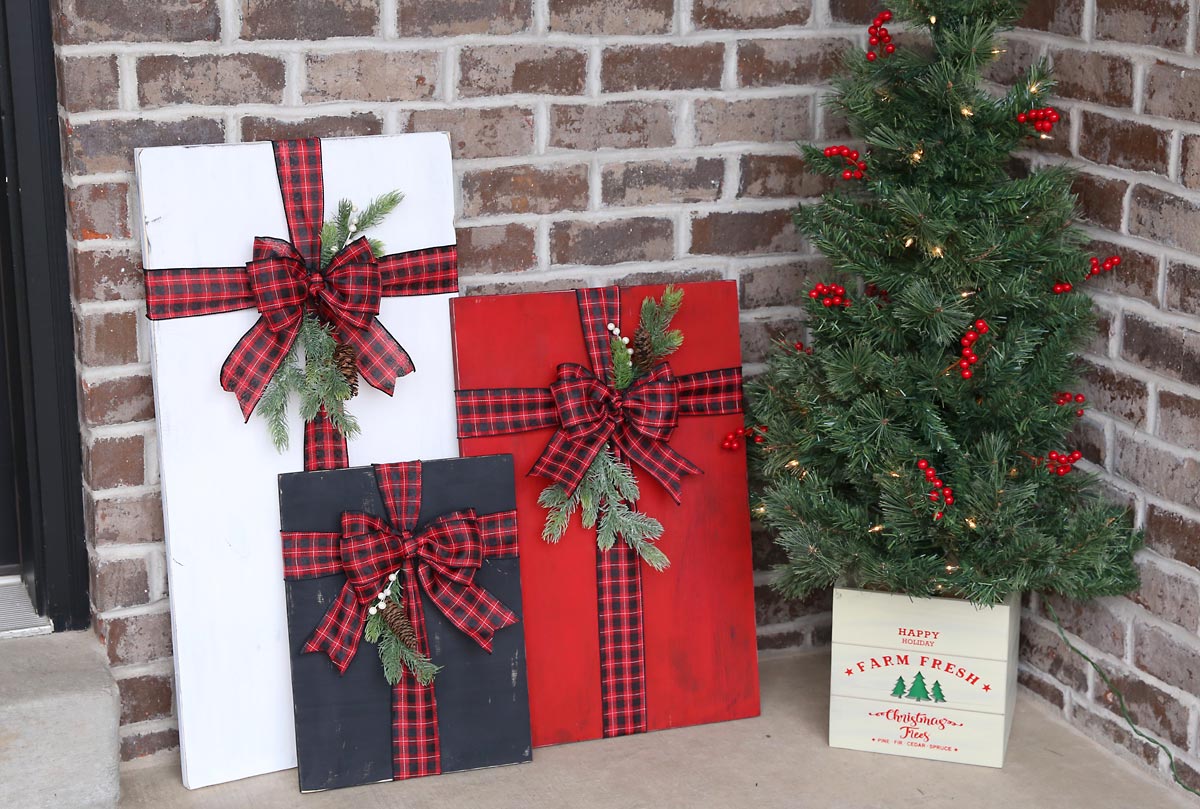
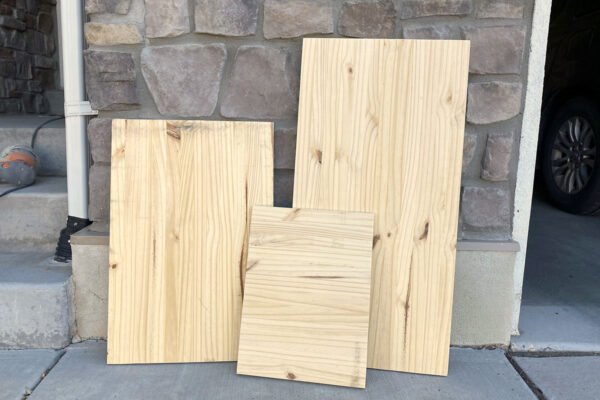
Begin by cutting the wood to size OR asking an employee at the store to cut it for you. My presents are 32 inches tall, 24 inches tall, and 12 inches tall (turned on it’s side so it stands 16 inches high by 12 inches wide). Then sand the boards to remove any splinters.

Paint
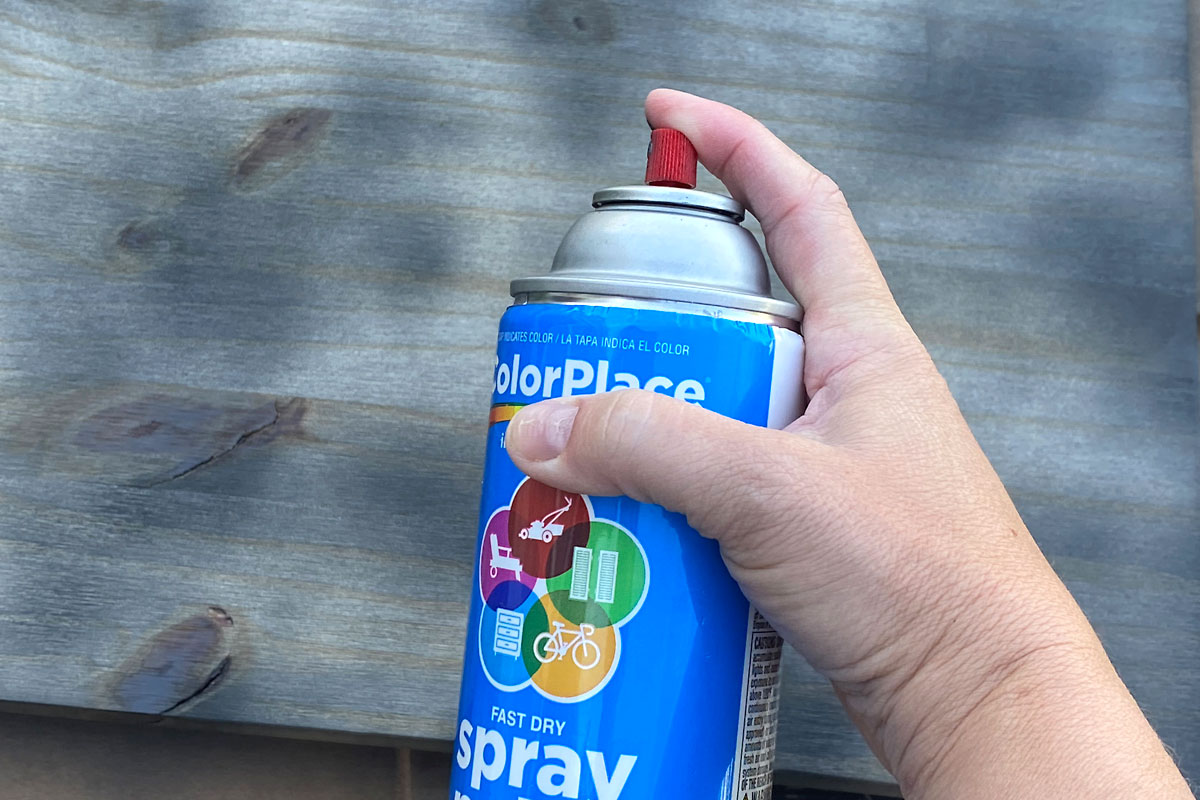
If you’d like the presents to look a little worn and rustic, start by giving them a very thin coat of black spray paint (you can skip this on the present that will be painted black). Don’t worry about getting the whole thing a uniform color, you just want a very light coat as shown below.
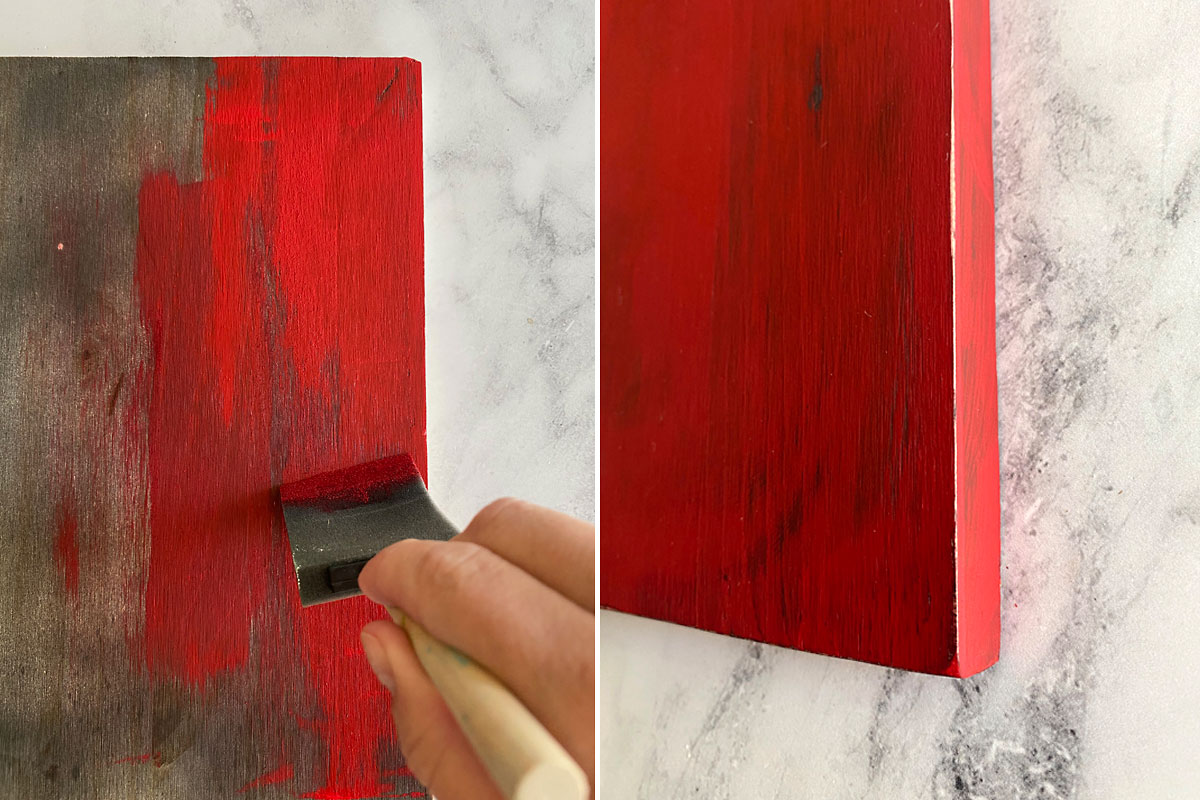
Then use chalk or acrylic paint to paint each present whatever color you’d like. I used a “dry brush” technique to allow some of the darker color on the wood to show through. That just means I loaded paint on the paintbrush and then quickly brushed it over a large area. That gives you a patchy coat of paint, making the wood look a little aged and rustic. You can sand the edges if desired to add a bit more distressing. Once it’s dry, finish with a spray sealant if desired.
Add Ribbon
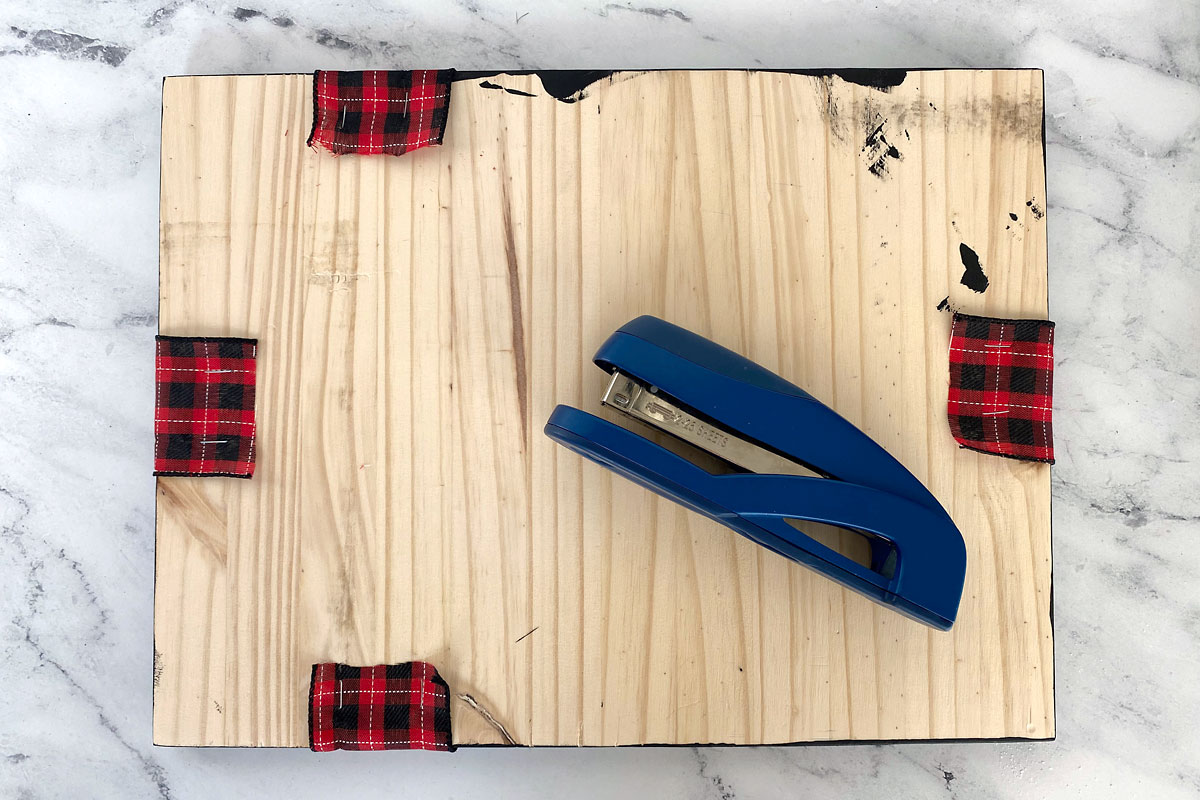
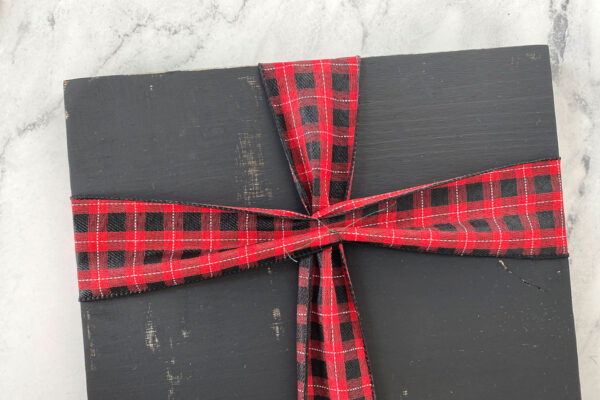
Cut a piece of ribbon a few inches longer than each present is tall, and another a few inches longer than it is wide. To make this look like a wrapped present, we want a ribbon going up and down on the gift, and then another going side to side. Decide where you want to position the ribbons, then wrap the edges around to the back and secure with a stapler.
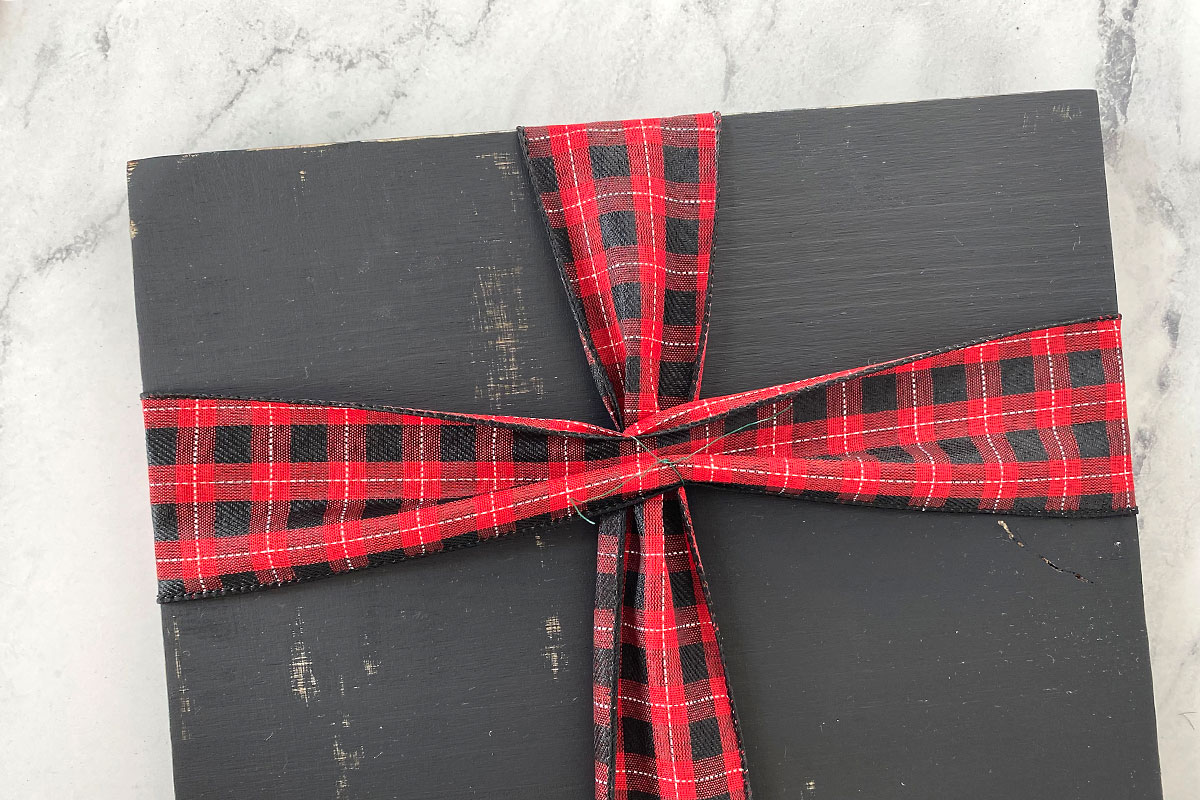
Cut a piece of floral wire and use it to cinch the ribbons where they cross in the front, as shown below.
Add a Bow
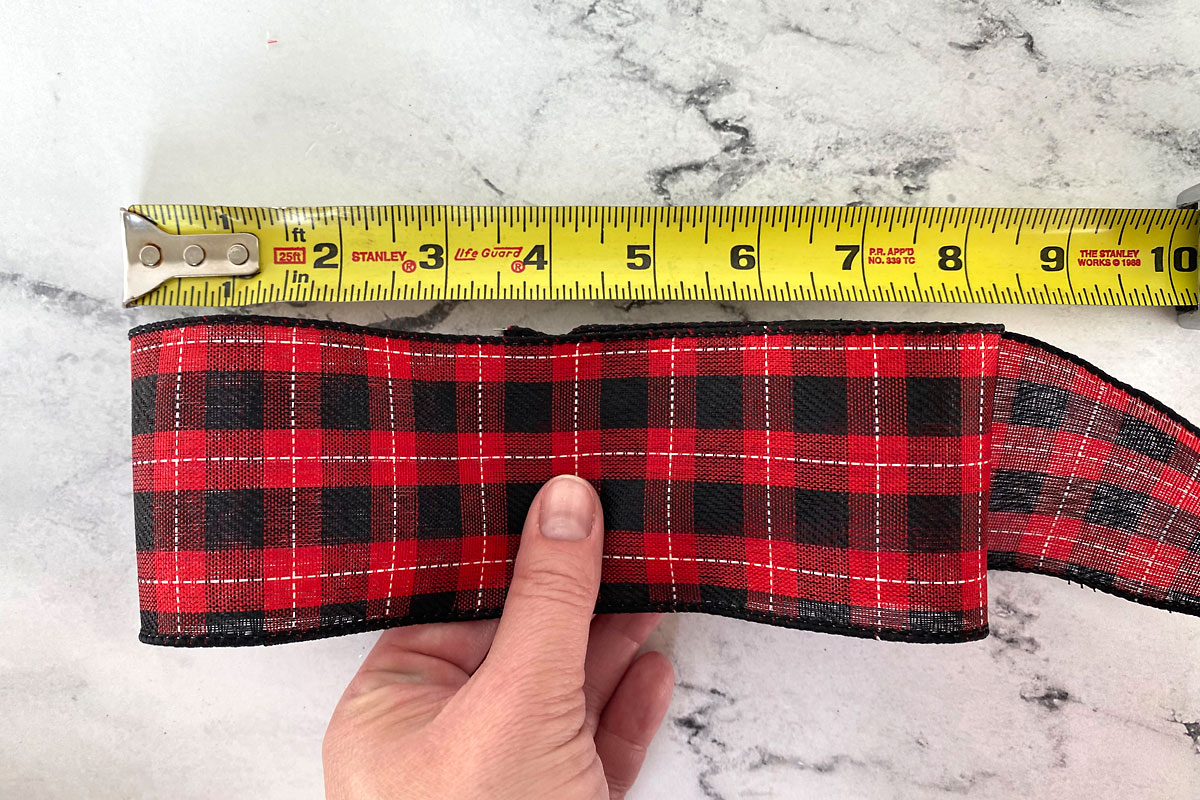
To make each bow, start by cutting a 2 yard length of ribbon. Cut a 6 inch piece off and set it aside. Begin by making a loop that’s about eight inches wide, with the end of the ribbon in the middle.
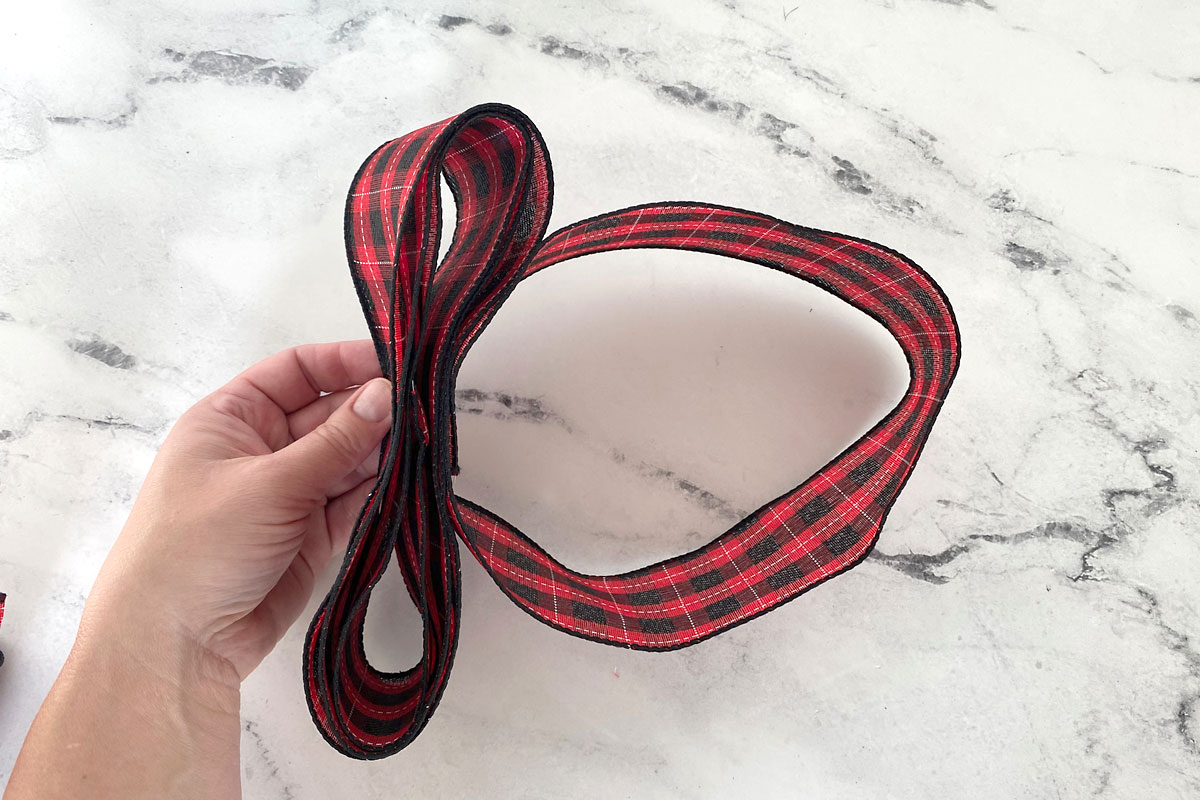
Wrap the ribbon around the loop two more times so you have three loops that will create your bow. Then take the remaining ribbon and loop it around below the bow and then back up to the center of the bow, as you can see in the photo below.
Cinch the middle of the bow and wrap a piece of floral wire around it. Then cut across the middle of the lower loop to create tails for the bow. Pull the inside loops of the bow up and down to fluff it and cut the tails at an angle.
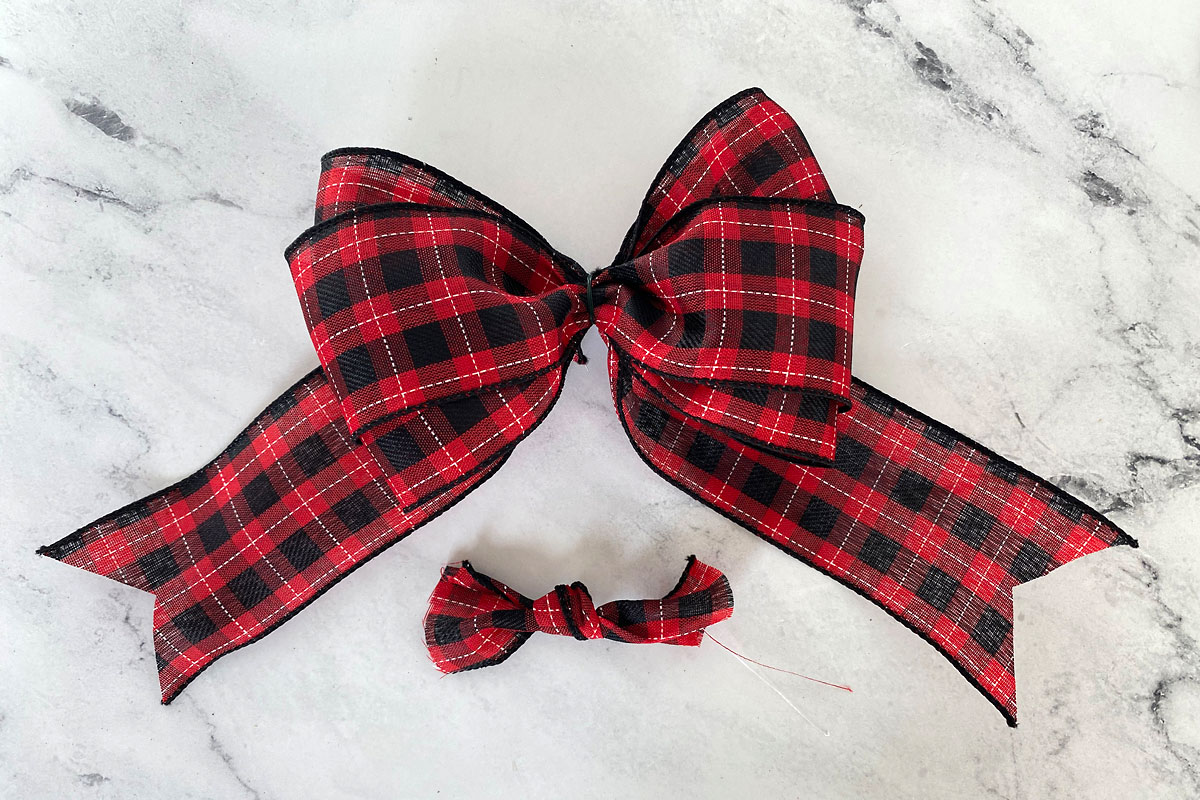
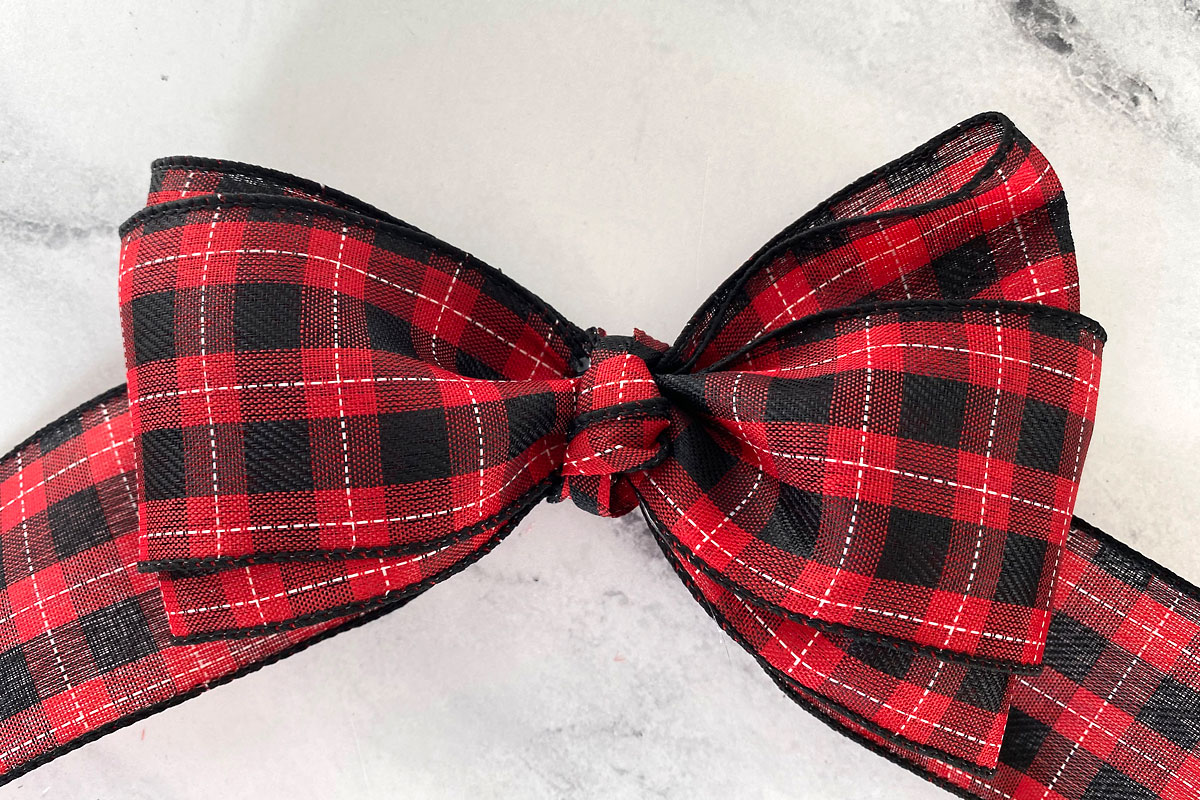
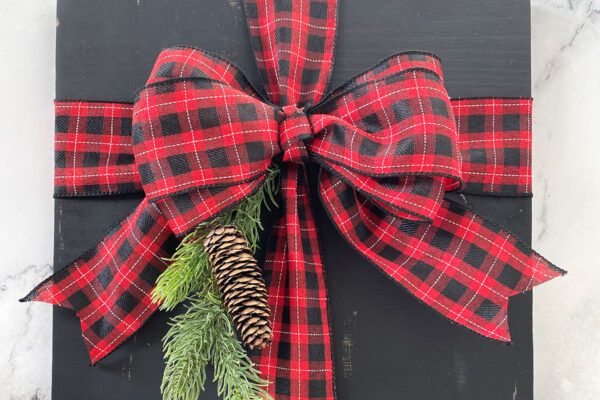
Grab the six inch piece that you set aside earlier and tie a knot in the middle. Glue the knot over the center of the bow, then wrap the ends of that piece to the back and glue them to secure. That finishes the bow.
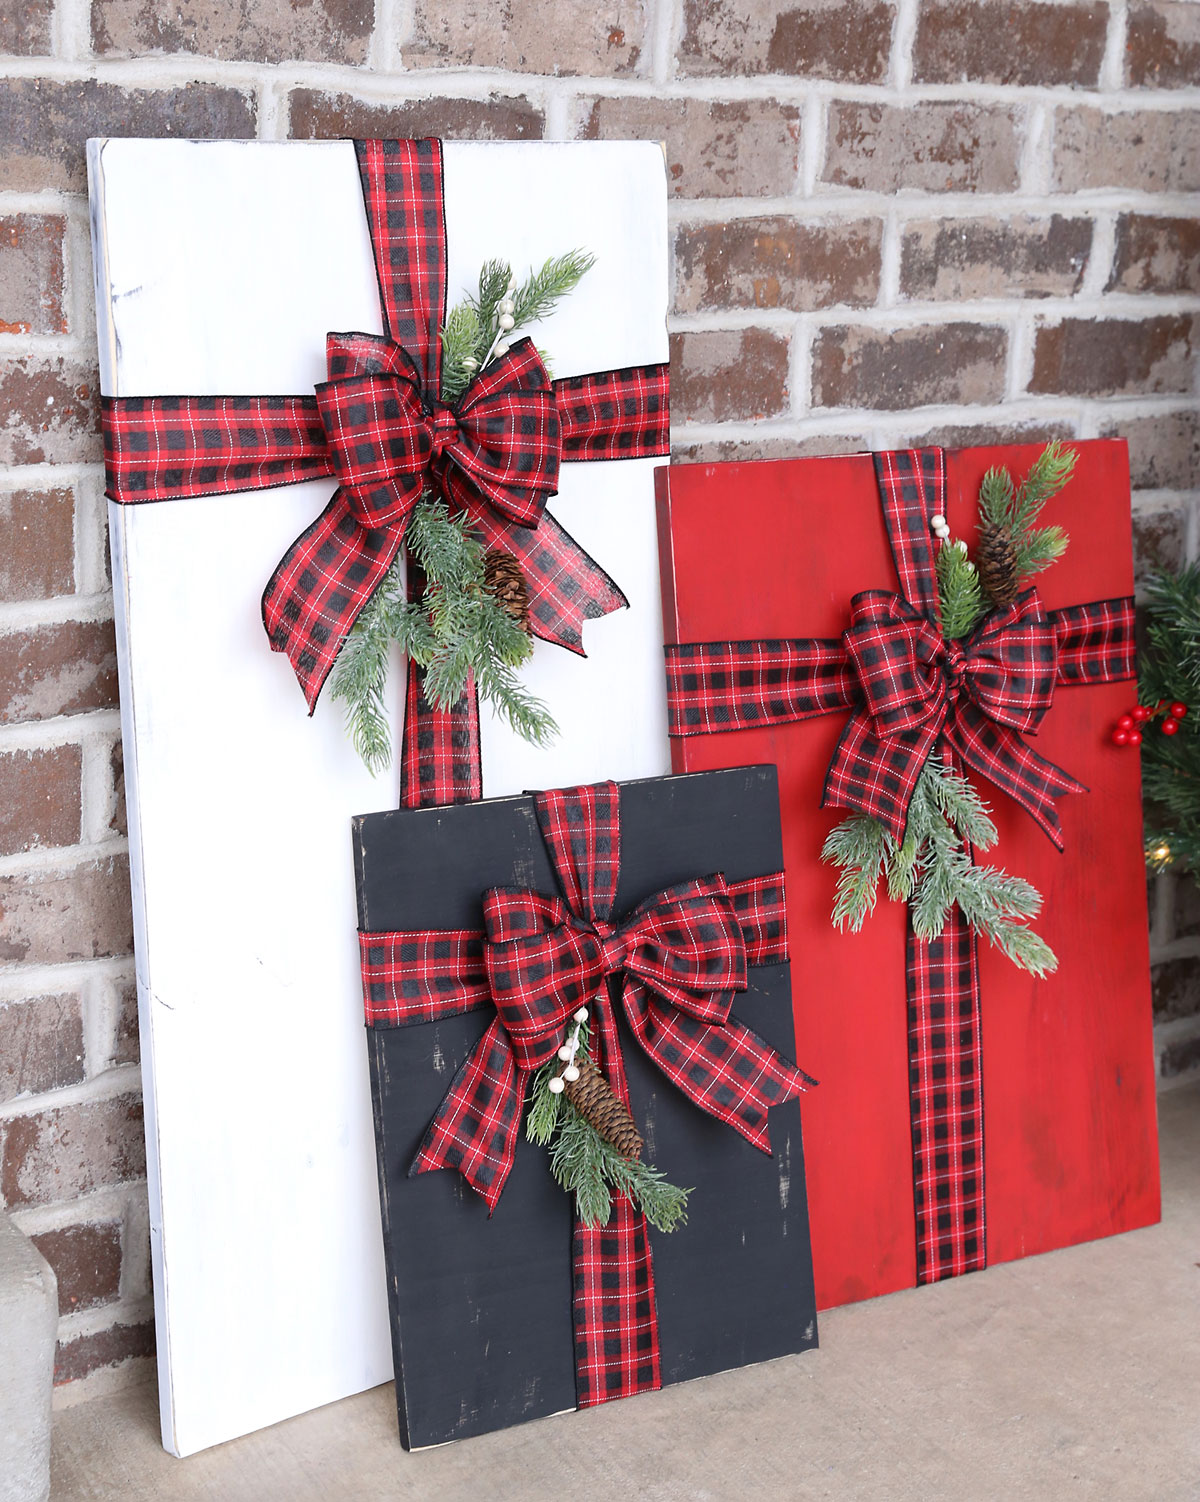
Use hot glue to attach the greenery and bow to the present.

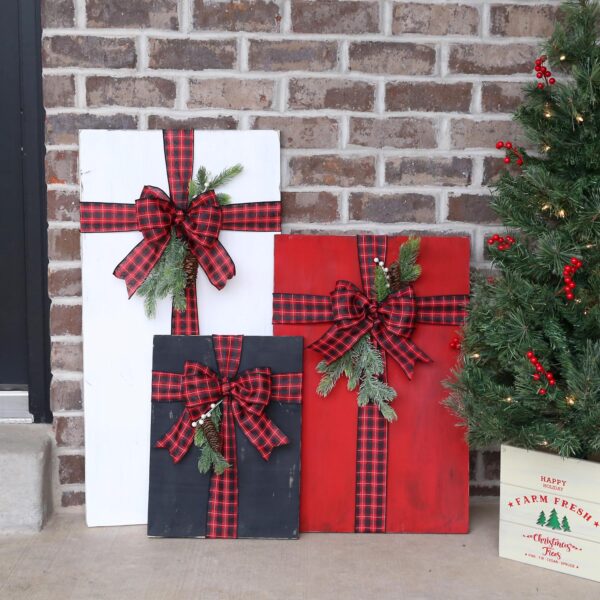
Wood Presents Porch Decor
Supplies
- 6 foot long 16 inch wide Pine Board
- Black Spray Paint optional, to give a distressed look
- Black, White, + Red Chalk or Acrylic Paint
- Foam Paintbrushes
- Spray sealant optional
- Sandpaper
- 12 yards Ribbon wired, 2.5 inches wide
- Floral Wire
- Faux Greenery
Want more project ideas? Sign up to get my favorite easy crafts and recipes straight to your inbox!
Instructions
- Cut 3 pieces from the pine board: a 32×16 inch piece, a 24×16 inch piece, and a 12×16 inch piece. Sand boards to remove splinters.

- If desired, give each present a very light coat of black spray paint. This helps the presents look worn and rustic.
- Dry brush the chalk paint over the present, allowing some of the darker wood to show through. When dry, use sandpaper to distress the edges if desired. Also use a spray sealant if desired.
- Cut a length of ribbon a few inches longer than the height of the present, and another a few inches longer than the width. Wrap the ends of the ribbon around to the back of the present and staple to secure.
- On the front of the present the ribbons will cross. Use a small piece of floral wire to cinch them to give the appearing they are tied.
- Make a bow. Use hot glue to adhere the greenery and bow to the front of the present.


Leave a Comment