
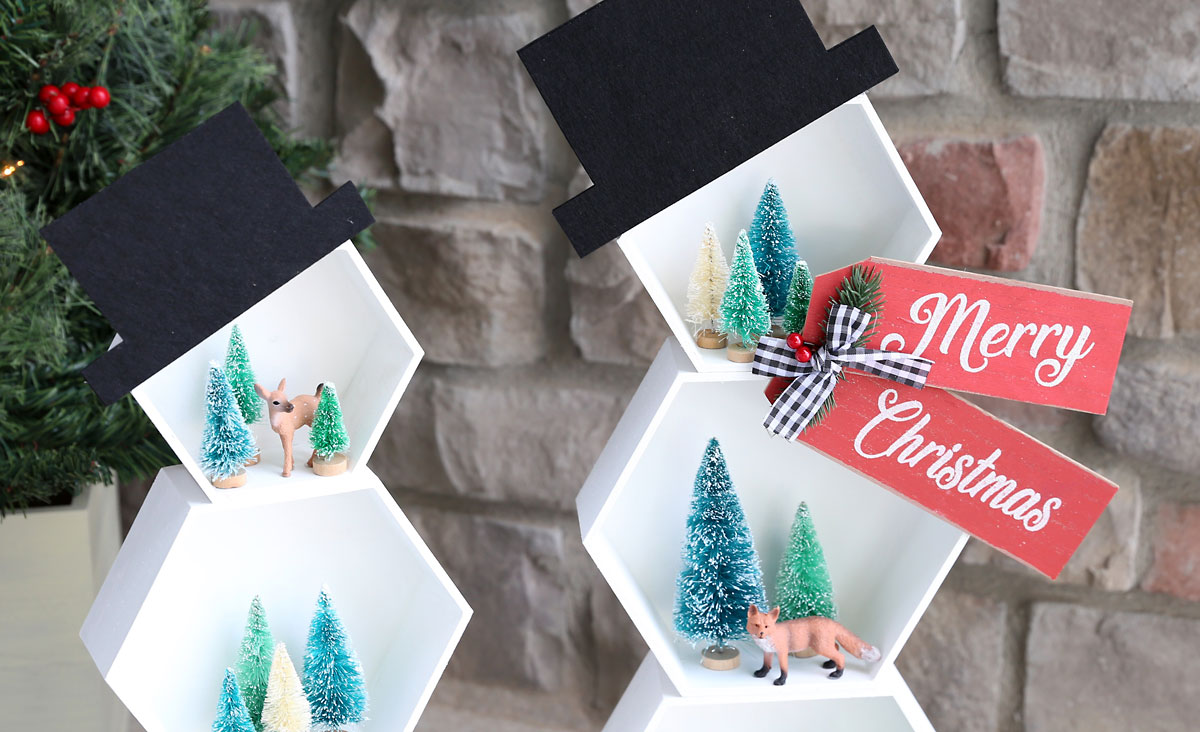
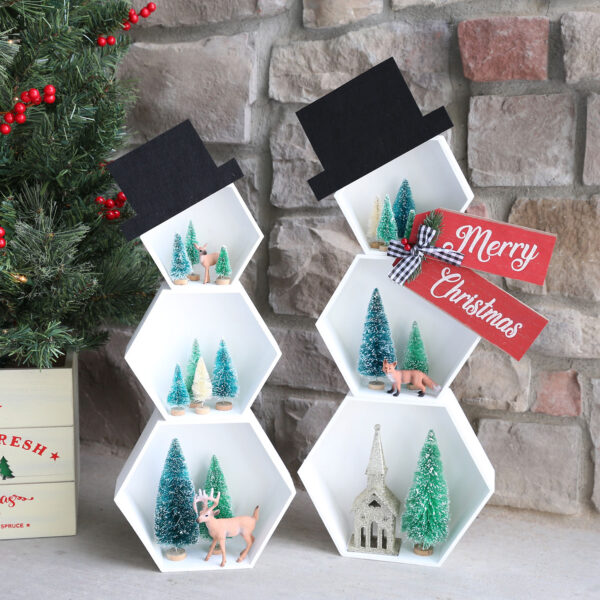
In today’s post: Turn wooden hexagon shelves into cute snowmen perfect for displaying your mini Christmas village or a woodland scene.

I’ve always loved the idea of displaying a Christmas village, but I’ve never known where to put it. With today’s project, you can display a mini Christmas village or woodland scene inside cute wooden snowmen. They’re a great size for sitting on a side table, in front of your fireplace, or on the front porch.

I chose a woodland theme for my snowmen shelves, but you can decorate them however you’d like. I bet they’d even be cute with ornaments stacked inside them.
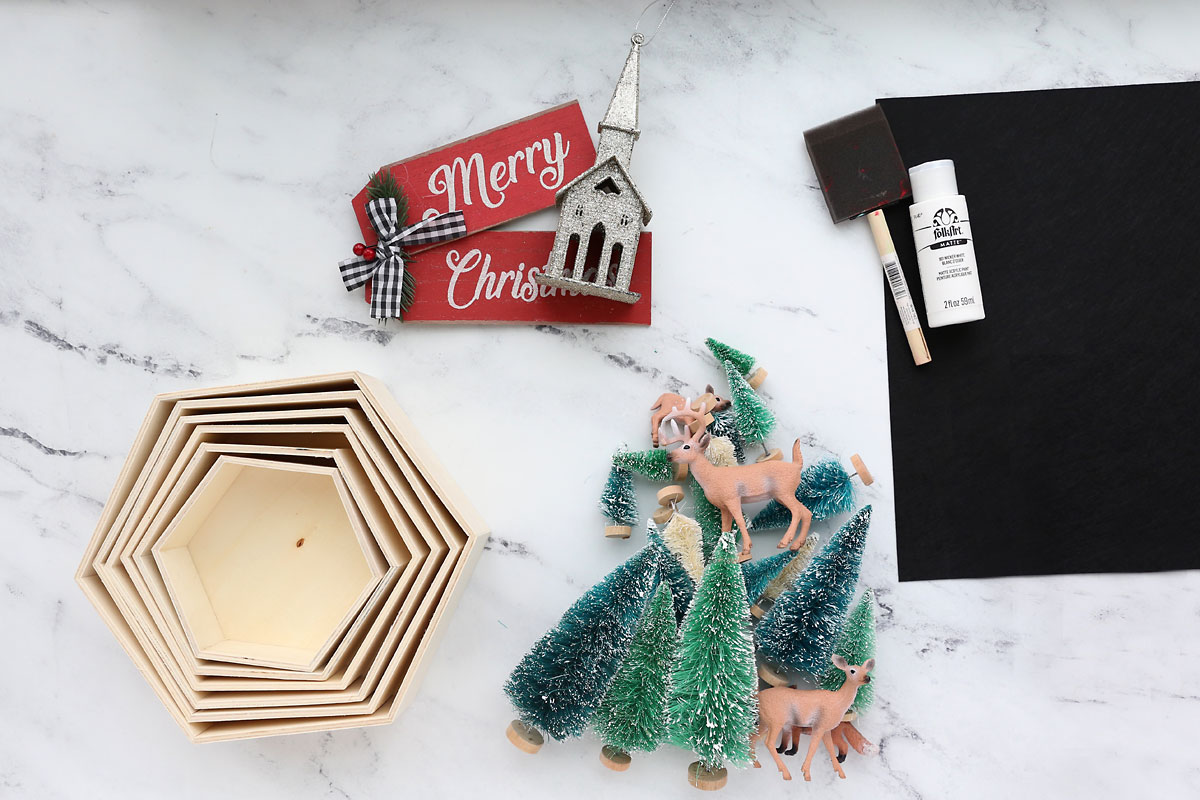
Supplies
Here’s what you need to make these snowmen (I’ve included a couple affiliate links if you want to get the exact supplies I used):
- Hexagon Wood Shelves: I used these nesting shelves from Amazon
- Small Christmas trees + woodland animals: I used this set from Amazon; you could use any small Christmas village items, just make sure they are mini versions so they will fit inside the shelves
- White paint and foam paintbrush: if you are using small bottles of craft paint you will need two of them
- Black felt for the hat: I used a large piece of stiffened black felt that I found at Hobby Lobby. If the felt you are using is not stiff, you’ll want cardboard as well.
- Additional embellishments as desired. I used a small church and a Merry Christmas sign, both of which were in the Christmas ornaments section at Dollar Tree.
Paint the Shelves
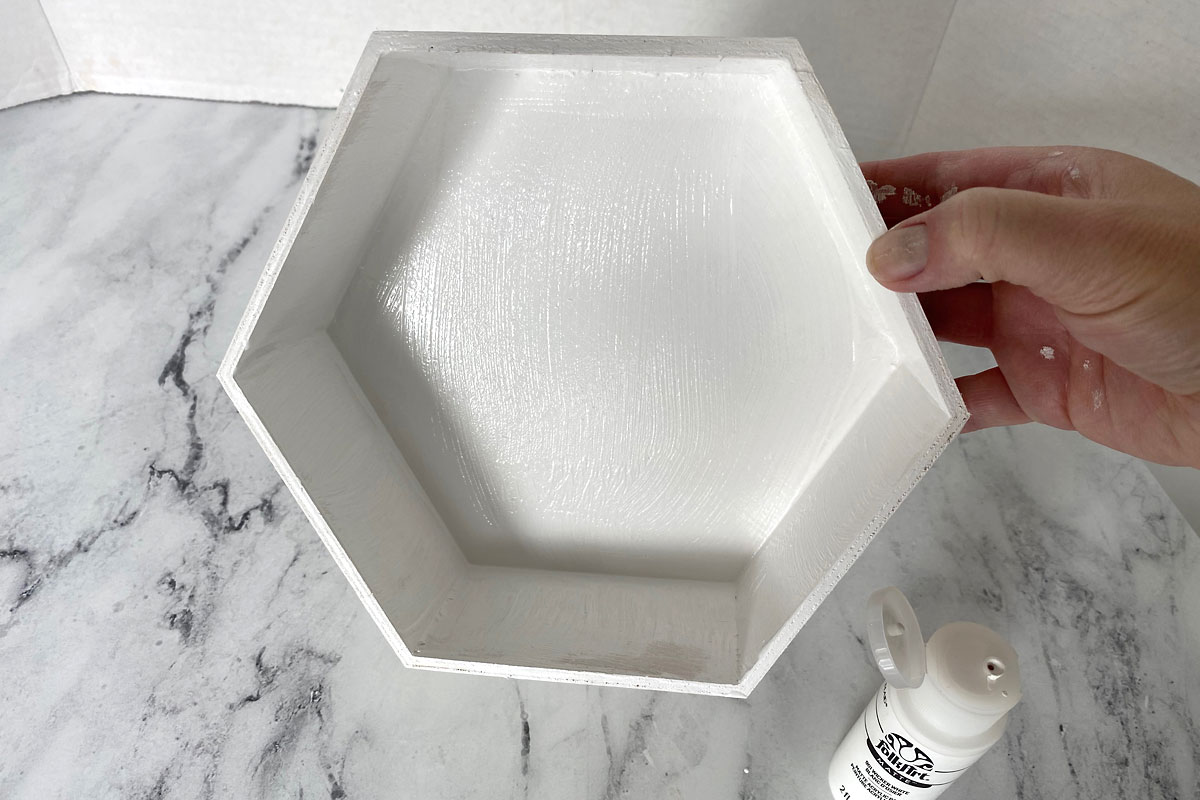
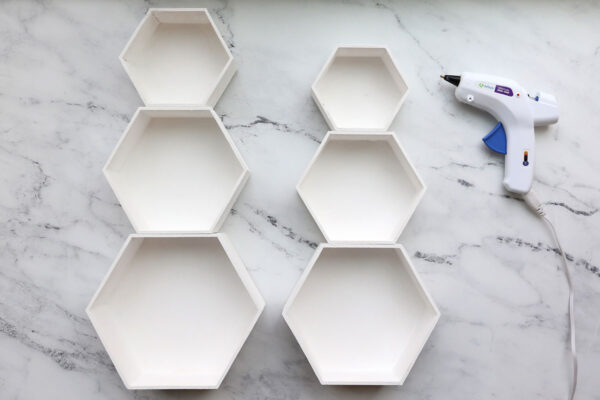
The shelf set I used came with seven shelves. Set aside the smallest one because you only need six to make two snowmen. Paint each of the shelves white, starting with the inside. Pour some paint inside the shelf and use a paintbrush to get paint into all the corners, then covering the entire inside of the shelf.
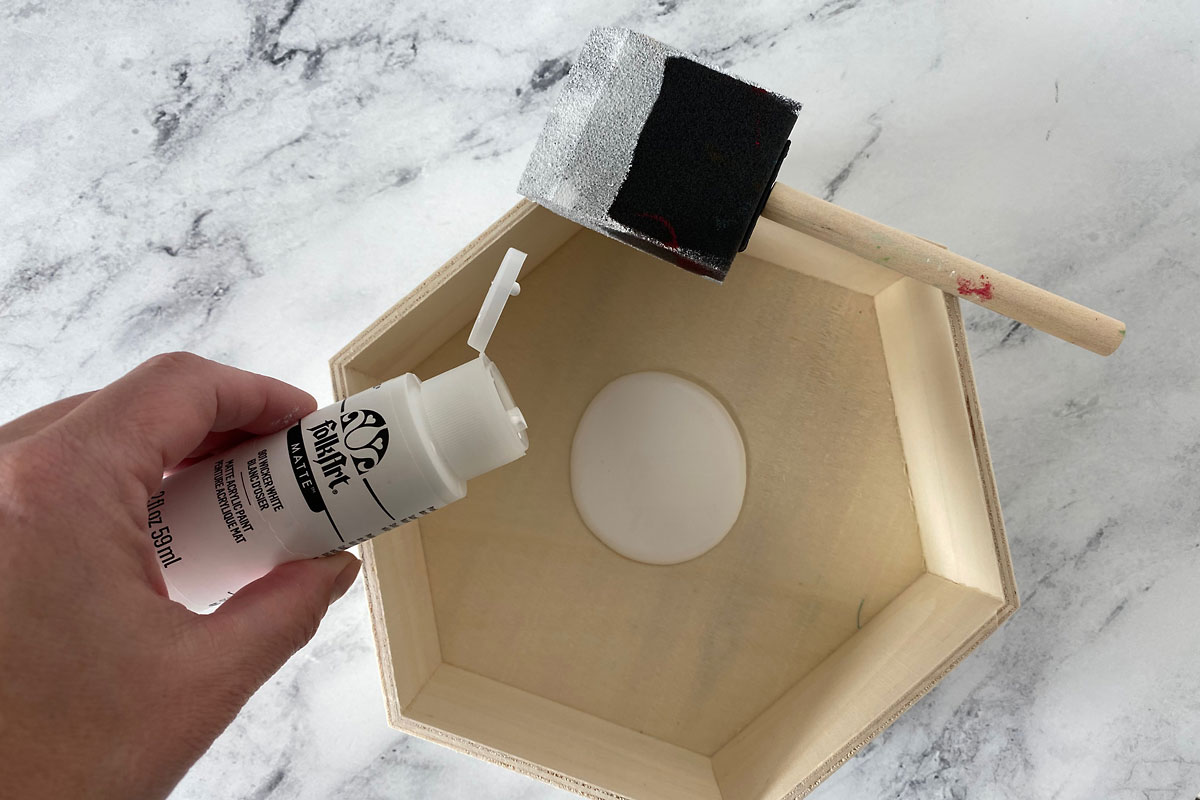
It’s easiest to paint the inside of all the shelves first, then the inside will be fairly dry by the time you come back to paint the outside of the shelves. I did not paint the back of my shelves. Allow the shelves to dry completely.
Glue shelves together
Next, you’ll glue the shelves together to create two snowmen, as shown below. The larger snowman will use shelves 1-3-5 and the smaller snowman will use shelves 2-4-6 (if you’ve numbered the shelves biggest to smallest). Use hot glue to glue them together, making sure the front edges are flush. Please note that a cool temp hot glue gun probably won’t work here; you will need a hi temp hot glue gun or super glue/wood glue.

Add the woodland village pieces
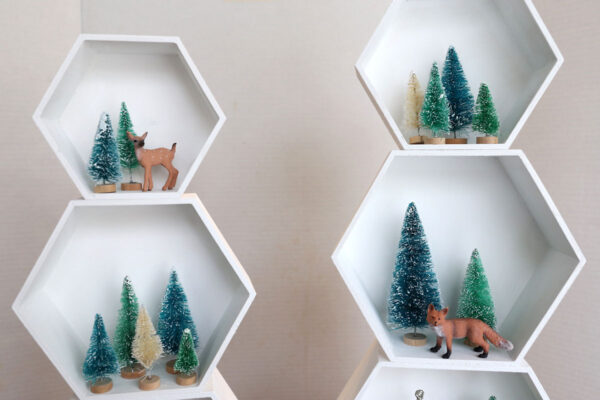
Once the shelves are glued together, stand both snowmen up and start deciding where you’d like each piece of your woodland village to go. Move things around until you are happy with the placement. I included a small church on the bottom of the larger snowman (it’s a Christmas ornament from Dollar Tree) and then used most of the pieces from the trees + woodland animals set.

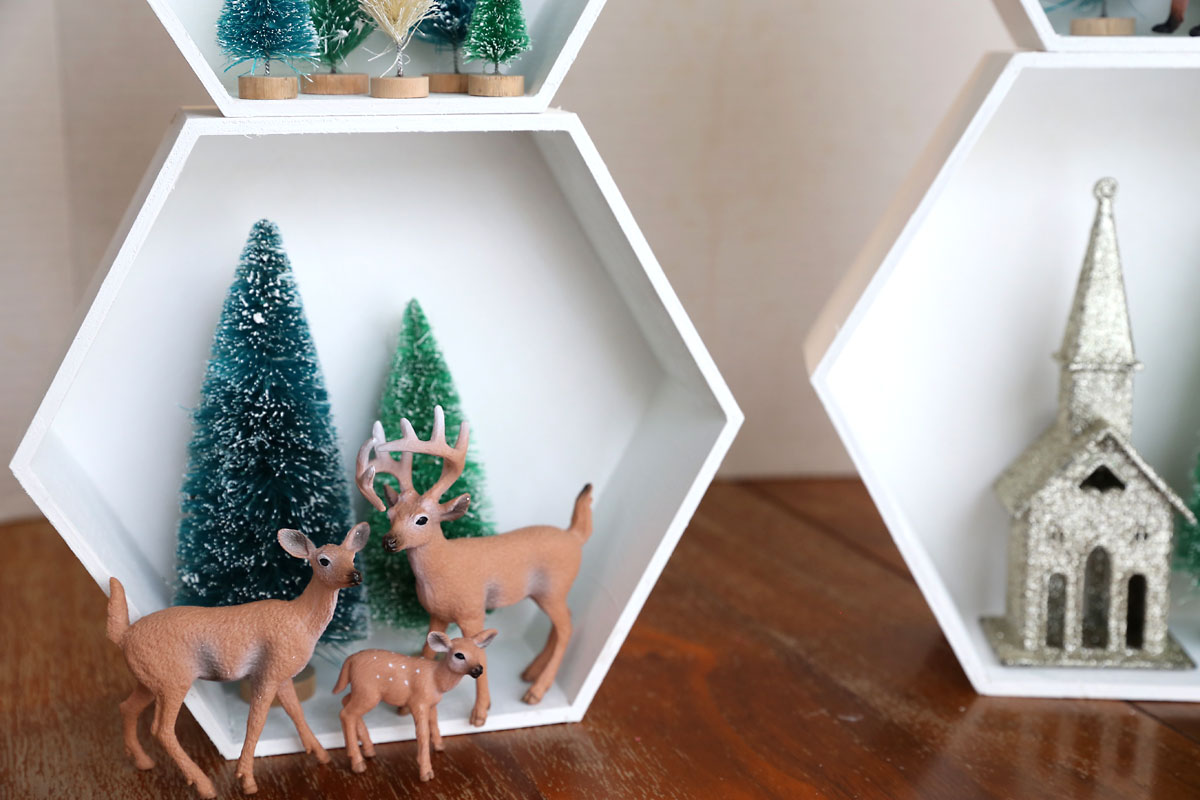
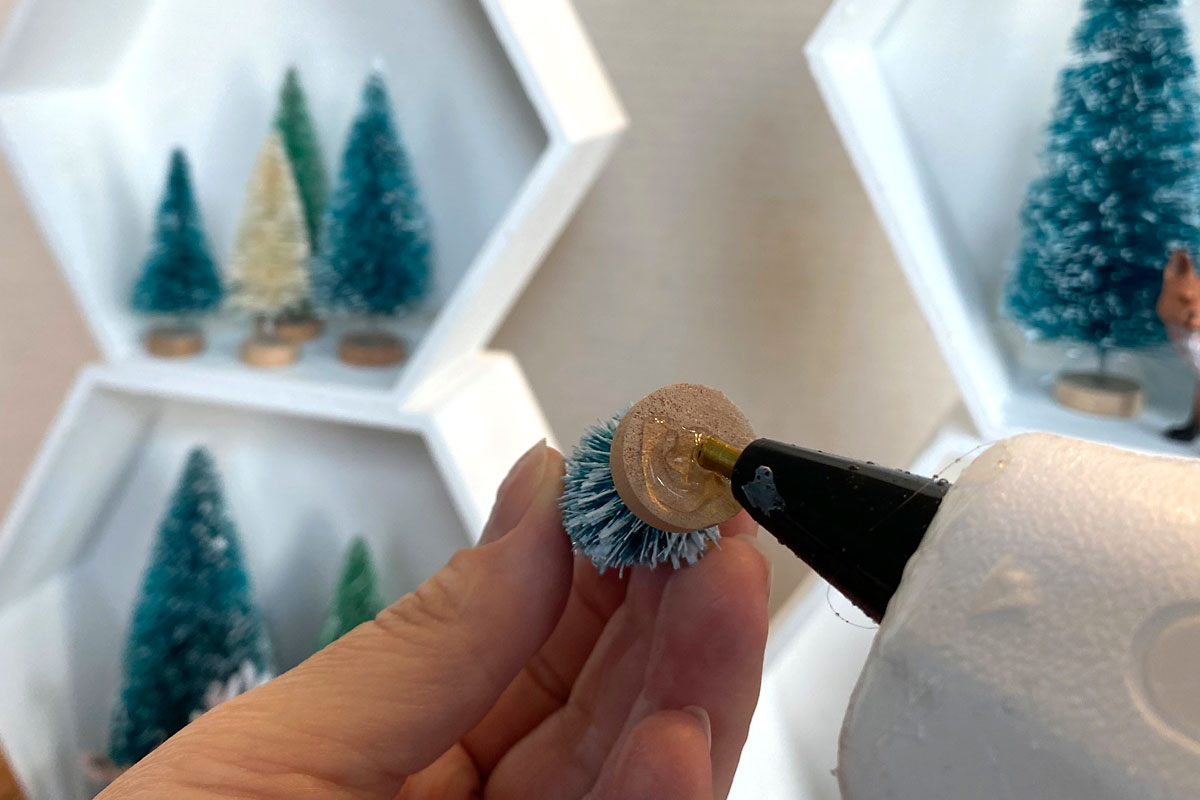
Once you are happy with the placement, glue everything down. Use hot glue on the bottom of each tree. Use a small dot of hot glue on the bottom of the animal’s feet.
add hat + embellishments
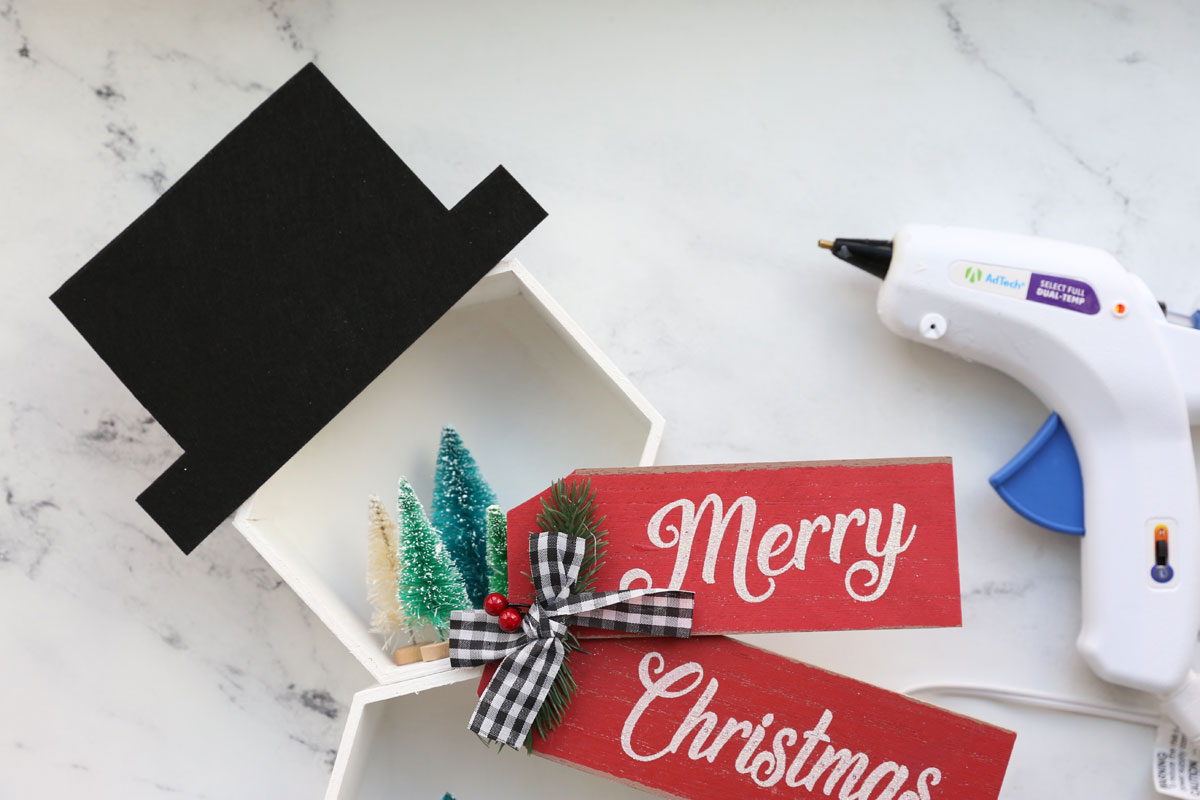
Cut hats for the snowmen out of stiffened felt. (Here’s a template you can use.) I used two layers of stiffened felt for each hat, glued together. If you don’t have stiffened felt, you can cover cardboard with regular craft felt. Or you can just paint cardboard pieces black.

Glue the hats onto the snowmen, at an angle if desired. I also added a “Merry Christmas” sign (from Dollar Tree) to look like a scarf on the larger snowman. You could use fabric to make an actual scarf, or add any other embellishments as desired.
Woodland Village Snowman Shelves
Supplies
- Hexagon Shelf Set
- Mini Christmas trees/animals/village pieces
- White Paint + Paintbrush
- Black Felt stiffened
- Additional embellishments if desired
Want more project ideas? Sign up to get my favorite easy crafts and recipes straight to your inbox!
Equipment
- Hot Glue Gun
Instructions
- You will need 3 hexagon shelves for each snowmen. Paint them all white.

- Glue the shelves together in a snowman shape.
- Place your village or woodland scene items inside the shelves and rearrange until you like the placement.
- Glue all the items down onto the shelves.
- Cut a hat from felt (using the template in the post if desired). Use two layers of stiffened felt glued together, or use cardboard painted back. Glue the hat onto the top of the snowman and add any other embellishments.


Leave a Comment