
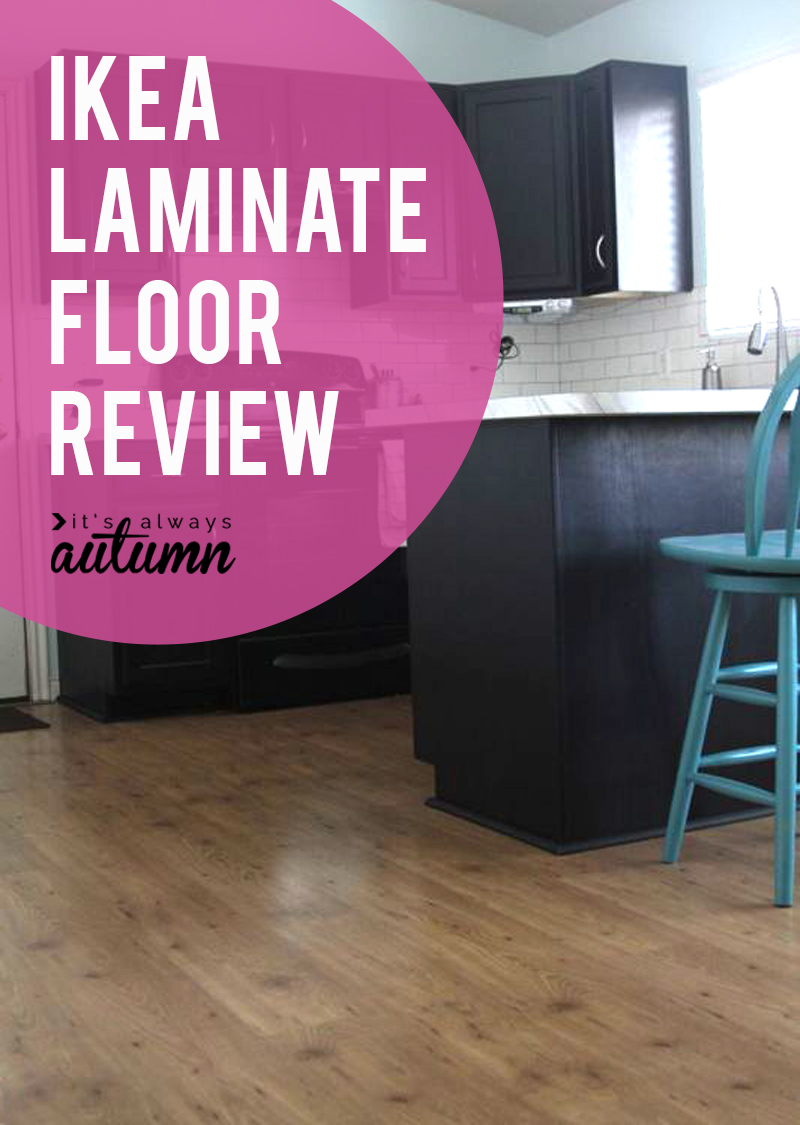
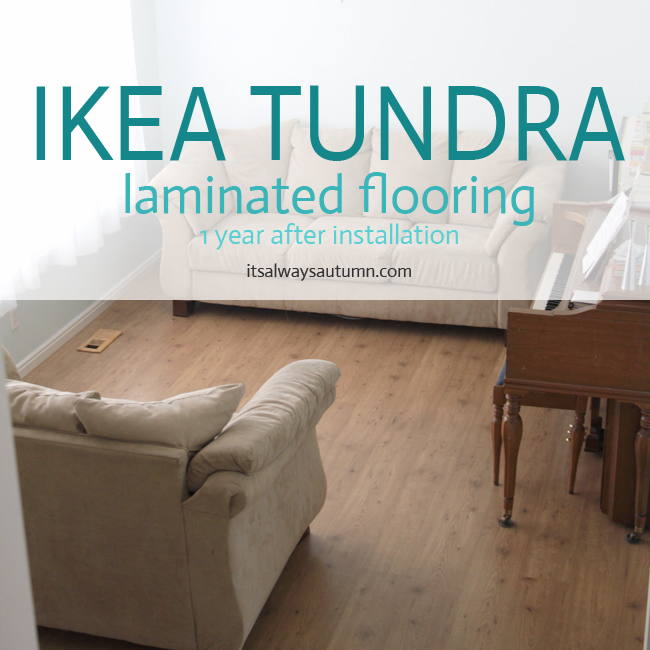
In today’s post: Interested in installing IKEA flooring? Read my honest review of the IKEA Tundra laminate flooring: how hard it is to install and how it’s held up a couple of years later!
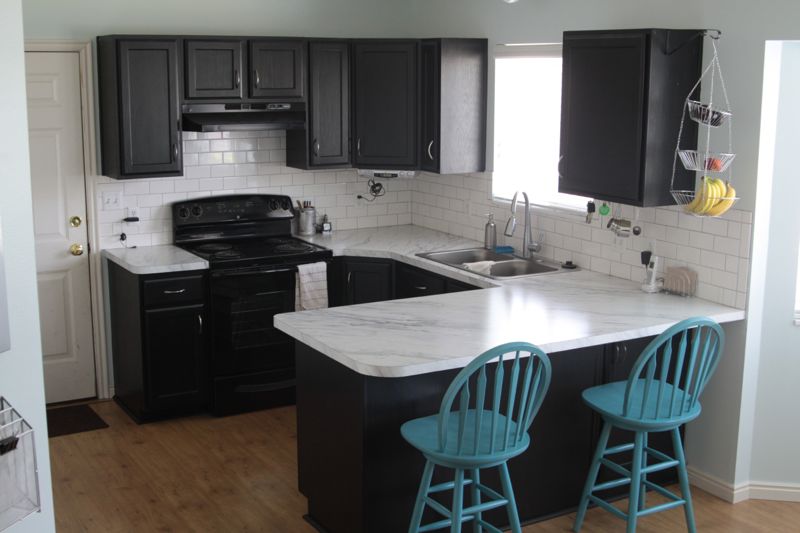
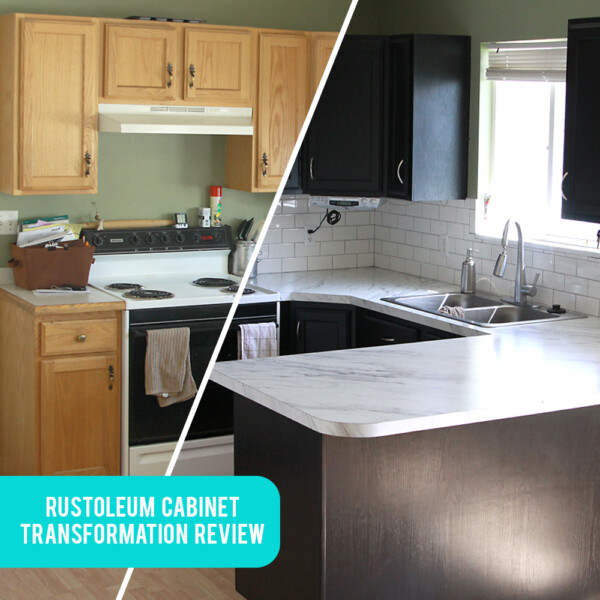
A few years ago we decided our kitchen/living room area needed an update. But we really didn’t have the budget for any type of kitchen reno so we just decided to refinish the kitchen cabinets and install new laminate flooring. It’s hard to know whether to go with a budget option for something as permanent as kitchen flooring. I decided to share my honest opinion of the floor, the installation, and how it’s held up a couple of years later in hopes that it will help some of you make that decision!
If you’d like to read more about the kitchen cabinets, visit this post: Rustoleum Cabinet Transformations review.
IKEA laminate flooring review
The bottom line is that we’ve been very happy with the floor. It’s from IKEA’s Tundra flooring line, and we chose the Antique color. It’s hard to know what a floor will look like when it’s down, so it’s always chancy, but we really like it.
Here’s what you need to know if you’re considering installing laminate floor from IKEA:
1. IKEA’s floor is really a great value. It’s a lot cheaper than what you can find almost anywhere else (it’s about $1.15 a square foot). Other stores occasionally carry one type of laminate floor for 99 cents a square foot, but it’s usually UGLY.
2. IKEA’s floor comes with really lame picture instructions. We’ve installed laminate flooring before so it was no big deal, but if this was the first time we’d ever done it we would have been completely confused. I don’t know whether they offer better instructions on their website or if you’d have to look elsewhere for good instructions. The installation was exactly the same as the other laminate we’ve installed (which was from Costco), so it probably wouldn’t be too hard to find good instructions elsewhere.
3. You need to puchase the floor planks, moisture barrier underlayment (which comes on a big white roll), and an install kit which includes little black spacers and a couple of tools needed to lay the floor. If your room has any thresholds/doorways/stairs you’ll also need to buy transition strips.
4. IKEA also sells a little tool/handsaw set that it says you can use to install your laminate floors. Don’t bother! I cannot imagine how difficult and time consuming it would be to try to install this floor using a handsaw. I think it’s ridiculous that IKEA even suggests that option. You’re going to want power tools for a project like this. Plan to buy or borrow a miter saw for straight and angled cuts and a jig saw for detail cuts (like around your floor registers). We also borrowed a table saw when we got to the very end of the room so we could rip the planks lengthwise (since the last row of planks all needed to be cut in half lengthwise so they’d fit). You could probably make it work w/out a table saw, but I’d consider a miter and jigsaw to be neccessities for this project.
5. You can install laminate floor right over linoleum, or if ripping up carpet, right over the subfloor. Be aware that you will need to remove all your baseboards before installing the floor. Either remove them very carefully and label the backs so you can put them back on in the right spot, or rip them off and plan to put on new baseboard after the floor is in.
6. Planks should sit in the room they’ll be installed in for 24-48 hours before you begin install. This ensures that they won’t expand or contract too much once they are put together. So plan to buy your planks and place them in the room a few days before you are ready to get to work.
7. Be very careful with the planks during installation. Once installed, the floor is very sturdy and doesn’t knick or scratch with normal wear. However, the planks are installed using a click-lock system, which means they have a “lip” on one long and one short side. These “lips” are kind of delicate and prone to chipping, so carry the planks carefully. You’ll use a rubber mallet and two different tools (provided in the install kit) to click the planks together:
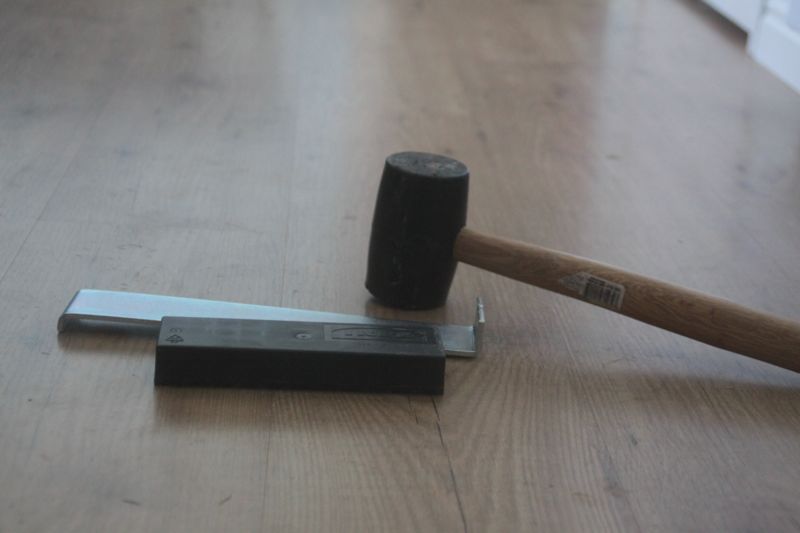
If you hit the tools too hard, you’ll chip the ends of your planks. We used a dishcloth in between the install tools and the plank to protect them, and then used medium-gentle taps to tap the planks into place. Check each plank as you install it – if it’s been chipped, pull it back out and put in a new one. Chips are very noticeable once the entire floor is put together, so it’s worth a little extra time to make sure all your planks go in without chipping.
8. It’s really not too tough of a project, even for novices. My husband and I had never done anything like this the first time we installed laminate floor, and we muddled through just fine. This second time went much quicker, and we got the bulk of the work on both rooms done in three 5-6 hour chunks.
IKEA Laminate flooring 1 year later
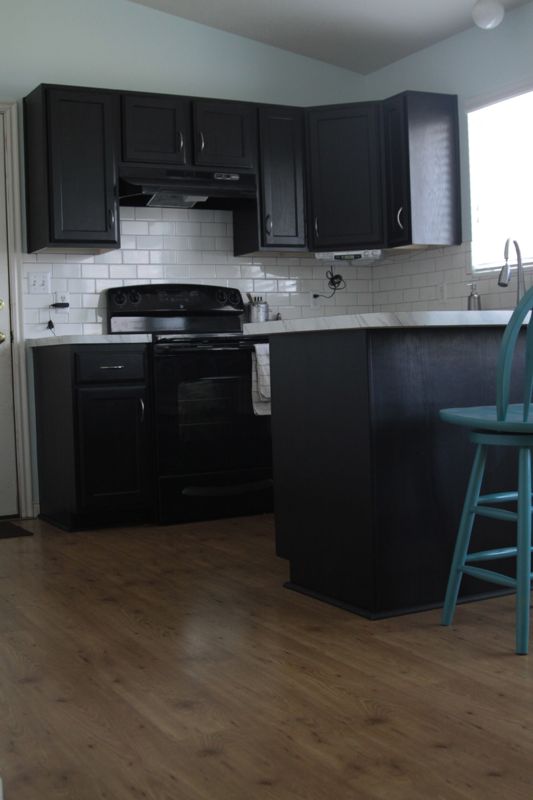
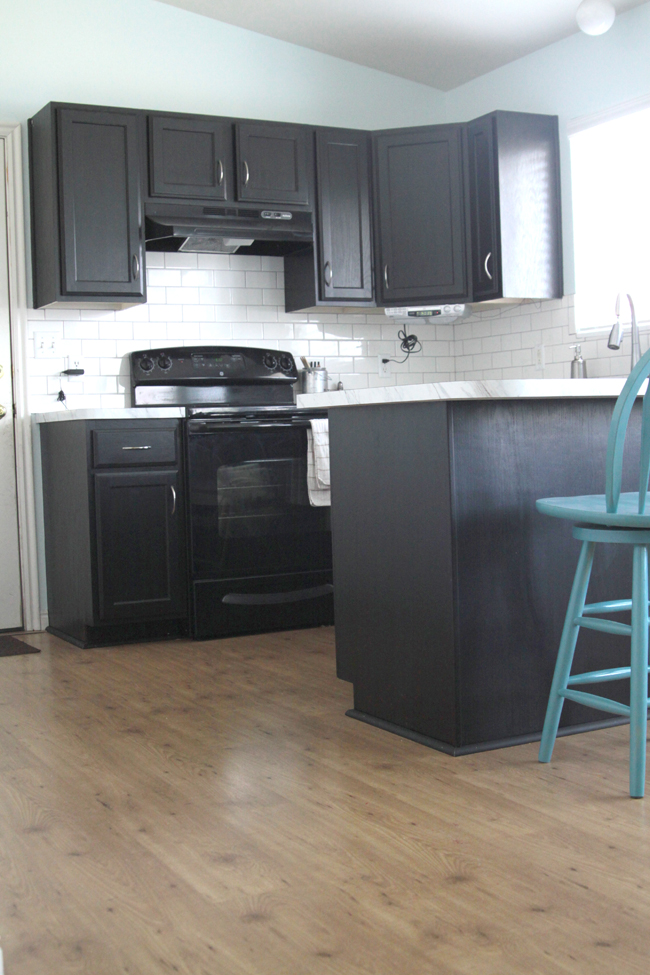
Appearance: It still looks great. In fact, it looks just about exactly like it did one year ago. We purchased the antique finish, which I think looks a lot higher end than other laminate floors I’ve seen in the same price range. I think it’s so pretty I sometimes use it as a backdrop when I photograph items for the blog:

Price: IKEA’s tundra floor is still $1.19 a square foot, which is a steal. You might be able to find special lots of laminated floor at Home Depot for .99 cents a square foot, but I don’t think it looks nearly as nice.
Durability: Like I said, it’s been a year and it looks exactly the same. No nicks, no scratches (and remember, we have lots of kids who drag things across the floor). We haven’t managed to ding or dent it in any way. We’ve spilled plenty of liquids on it and we aren’t having any problems due to that – we do try to wipe them up right away. It’s fairly comfortable to walk on because there’s a bit of give in the planks due to the cushy underlayment beneath them.
The verdict: Overall I’m extremely happy with the floor at this point and I wouldn’t hesitate to install more IKEA Tundra flooring in the future. In fact, the only drawback to this floor that I can see is the nearly worthless picture instructions that come with it – if you’ve never installed a laminate floor before you’ll definitely need to google for more info before you start.
Click here to learn more about refinishing our cabinets with Rustoleum Cabinet Transformations.


May says
Does Ikea sell this flooring in the US?