I wish I could say I spend every summer afternoon sitting next to my kids, doing crafts or reading books. The truth is that some days by the time 2 o’clock rolls around I’m worn out from the running around we’ve done all morning and the extra housework that comes with having all five of them home all day every day (we fill up the dishwasher twice a day now!). And the sad thing is, my older kids LIKE those days, because it means they’re likely to get a little extra screen time while I curl up with a book.
But I still try to plan some sort craft or creative activity we can do together at least once a week. My big kids are getting a little old for lots of “kid crafts” which makes it harder to come up with ideas I know they’ll enjoy. Last summer at a local museum we made cardboard monster jaws and even my oldest boys LOVED them. So last week we figured out how to make them at home.
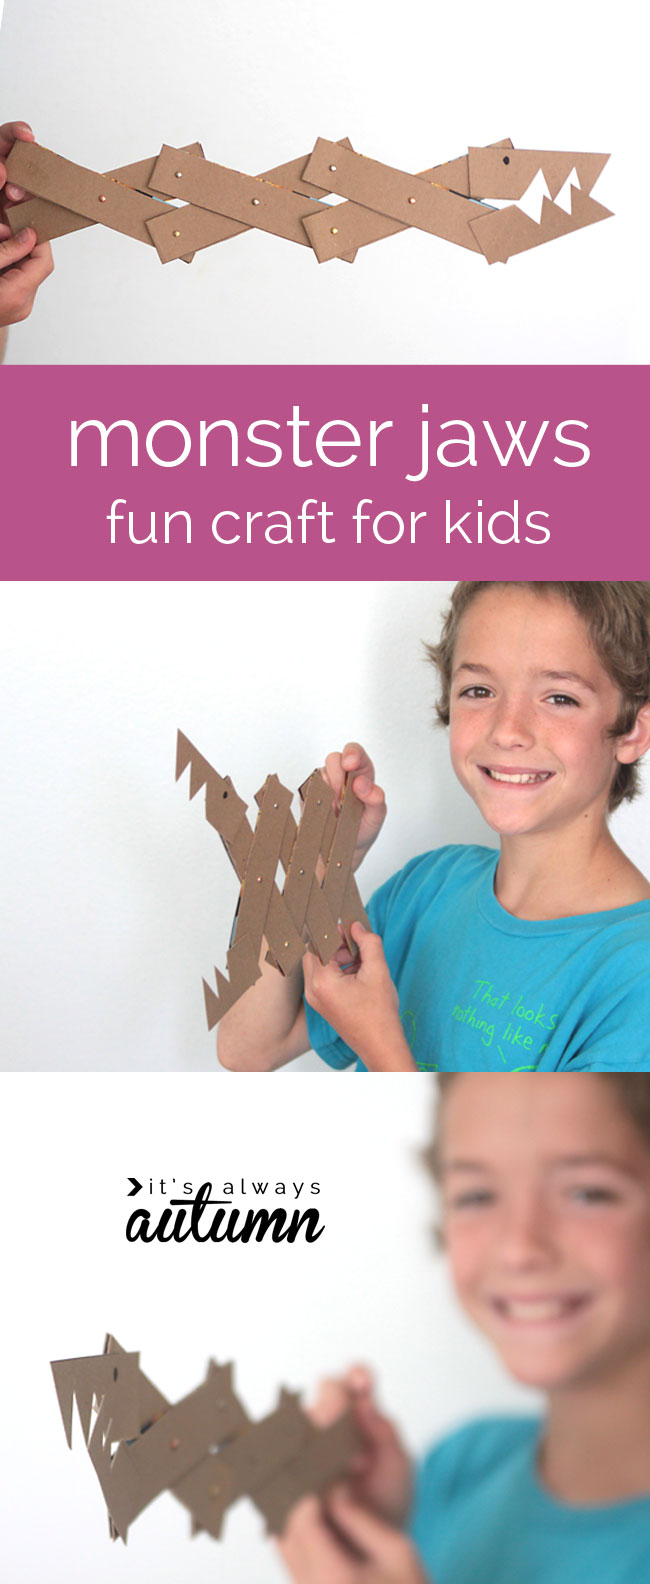
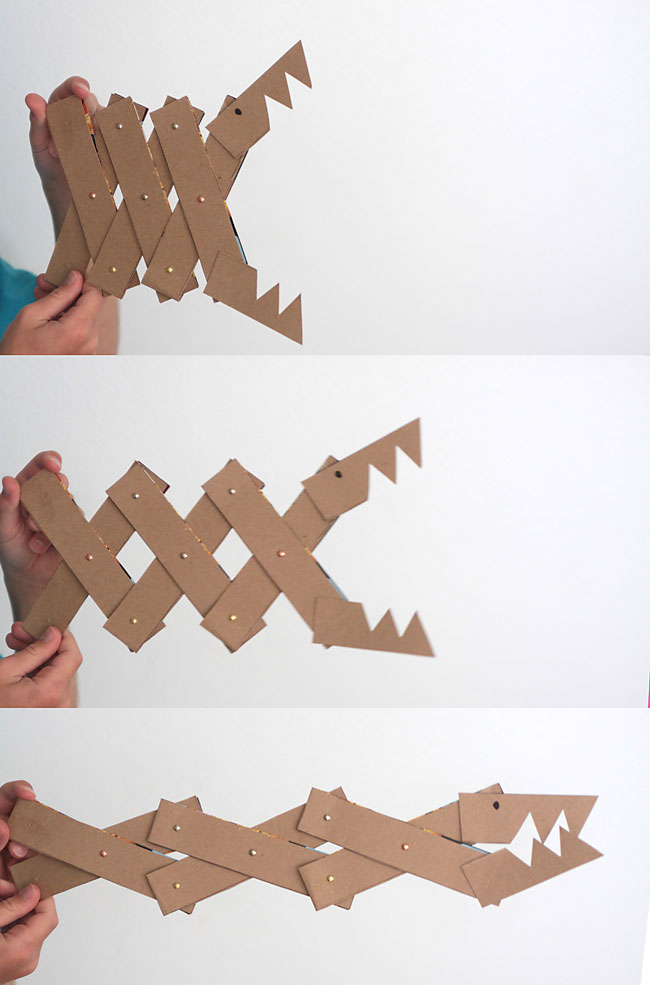
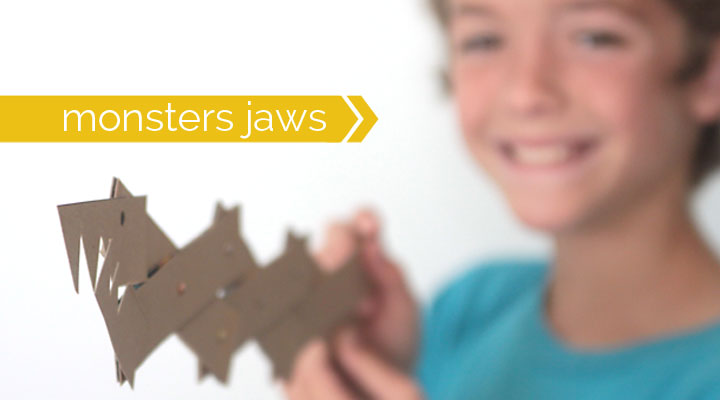
Making these DIY cardboard monster jaws was so much fun! I mean, they’re cardboard monsters. With big snapping jaws. That shoot out a foot or two when you snap them closed. What’s not fun about that?
And I didn’t even have to buy anything special to make them, which made me really happy. We had a few friends over when we made them, so there were 6 monsters being built at once, and it kept all of us busy for about an hour or so. If you have kids who’d also like to decorate their monsters, they’d stay busy even longer.
To make a monster you need cardboard, brads, some type of adhesive, and some way to poke holes through your cardboard.
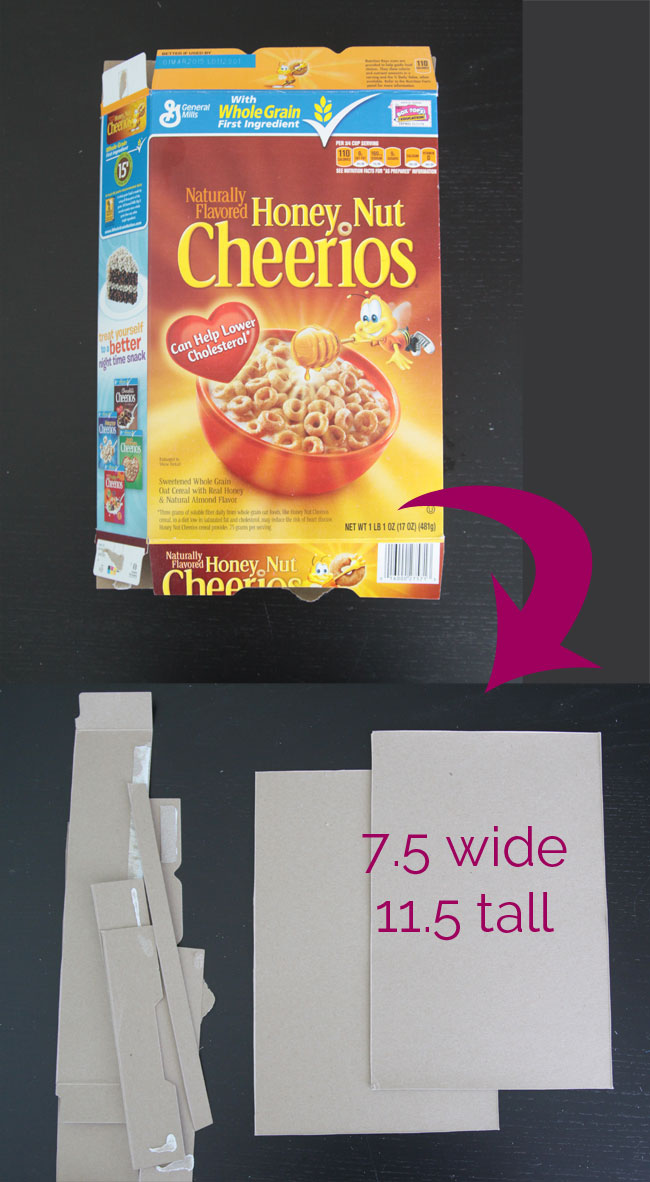
We used cereal boxes, specifically a couple of 17oz boxes of Honey Nut Cheerios. They measure just over 7.5 inches wide and 11.5 inches tall. If you have a box that same size (or bigger) you can use the printable template I’ve designed to make construction really simple.
Start by opening up your cereal box along the top and bottom, then find the seam along one side and open that up as well. Cut it apart as shown below until you have two pieces that each measure approximately 7.5 x 11.5 inches (a nice pair of scissors works just fine). Each piece is enough for one set of monster jaws, so you can make 2 sets from each cereal box. I did this step before I gathered the kids together.
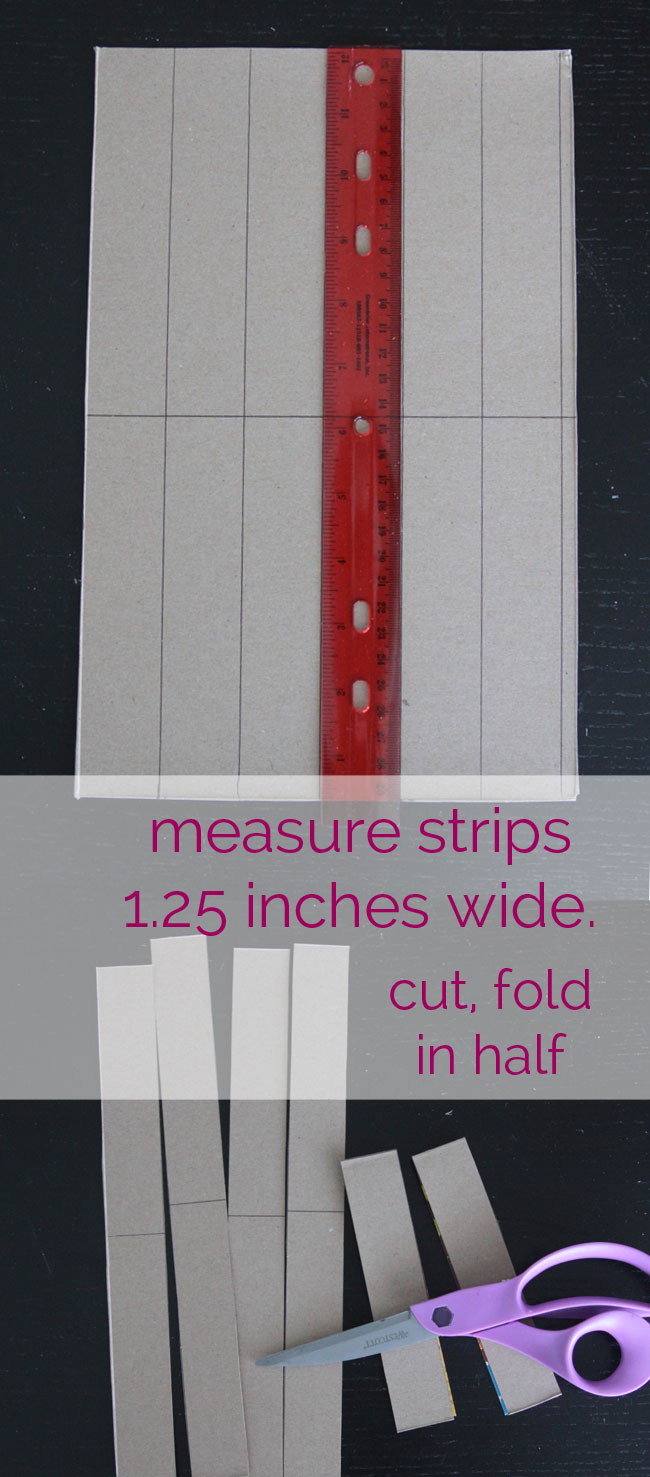
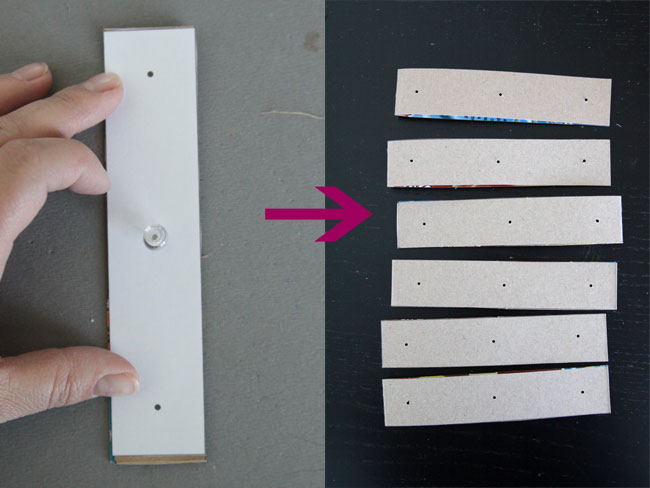
Next you’ll want to draw lines lengthwise along your cardboard 1.25 inches apart. Note: most rulers are exactly 1.25 inches wide, making this step super easy. Then just cut along those lines until you have 6 long strips. Fold each strip in half, with the colored side on the inside. Use a glue dot or dab of glue gun at the end to keep the strips from unfolding.
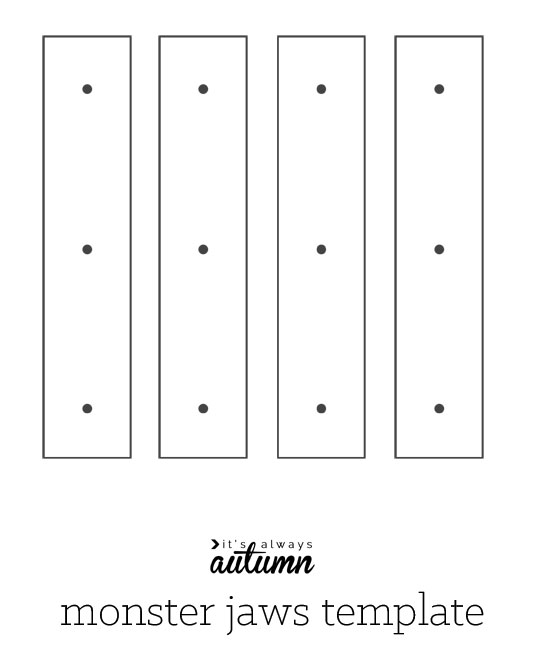
At this point, you’ll have 6 double-weight cardboard strips, and you need to poke 3 holes in each one. Click here to download and print out my template to make this really easy.
Cut out a template, put it on top of a cardboard strip, and poke holes as marked. We placed a mousepad under the cardboard, then used a thumbtack to poke the holes. Once the hole is poked through, wiggle the thumbtack around to enlarge the hole a little.
Now you’ll want to grab your brads and get ready to start putting the cardboard together. I used mini brads I had left over from my scrapbooking days and they worked just fine – they were small enough to fit through the holes really easily. If you use larger brads (from the office supply section), you may need to make larger holes.
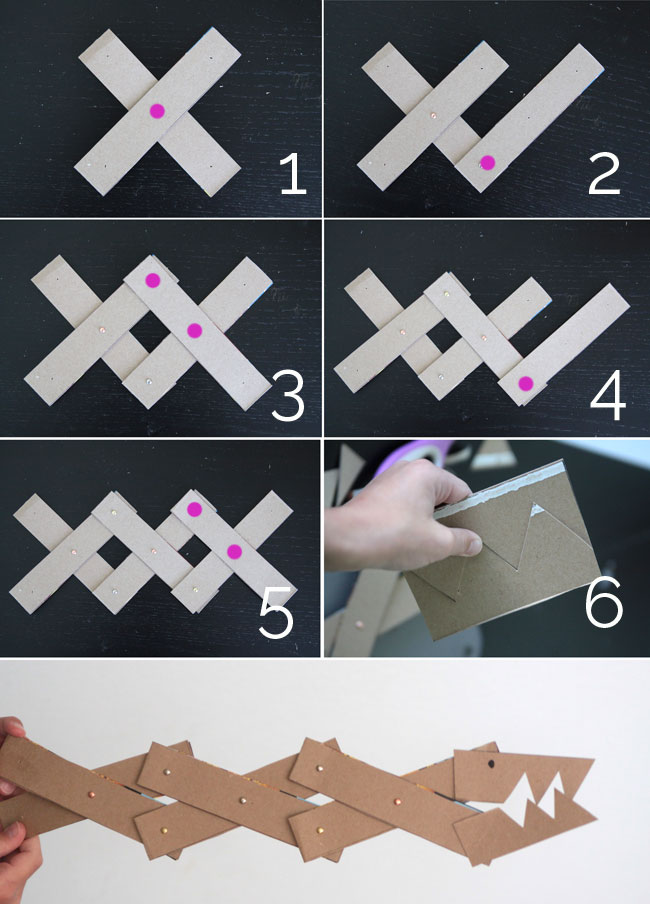
Start putting the jaws together following the photos below. The pink dot(s) in each photo show where a brad goes for that step.
Finally, cut teeth from the leftover cereal box scraps and attach them to the ends of your structure using glue dots, glue stick, etc. Then get snapping! You will want to caution your kids that if they’ve cut the teeth with sharp edges they can scratch people – so perhaps a rule against actually closing the jaws on siblings’ noses would be a good idea 🙂

CStar says
I’m going to use this 4 OOTM
Lindsey says
A true Pinterest-find win! This was fun to make and my son is having a blast chomping all around the house! Great idea! This would also be great to use during a reuse-recycle unit!
Kathy says
I do volunteer art class for a mentoring program with kids. This will be great for the boys especially! Love it. I think I’ll have them paint it be fore assembly. Thanks much!
autumn says
You’re welcome! They’ll have a blast!