Three years ago my husband decided to spend the summer training for a triathlon. He was a true beginner at the sport: when he started he couldn’t run more than a mile without stopping and he’d never swum distances before. By the end of the summer he completed his first triathlon: a sprint distance that included a 5k run, a 10 mile bike, and a 350 yard swim. He ramped up his training over the next year and by the end of the next summer, he completed a Half Ironman: a 13.1 mile run, a 56 mile bike, and a 1.2 mile swim. It was amazing.
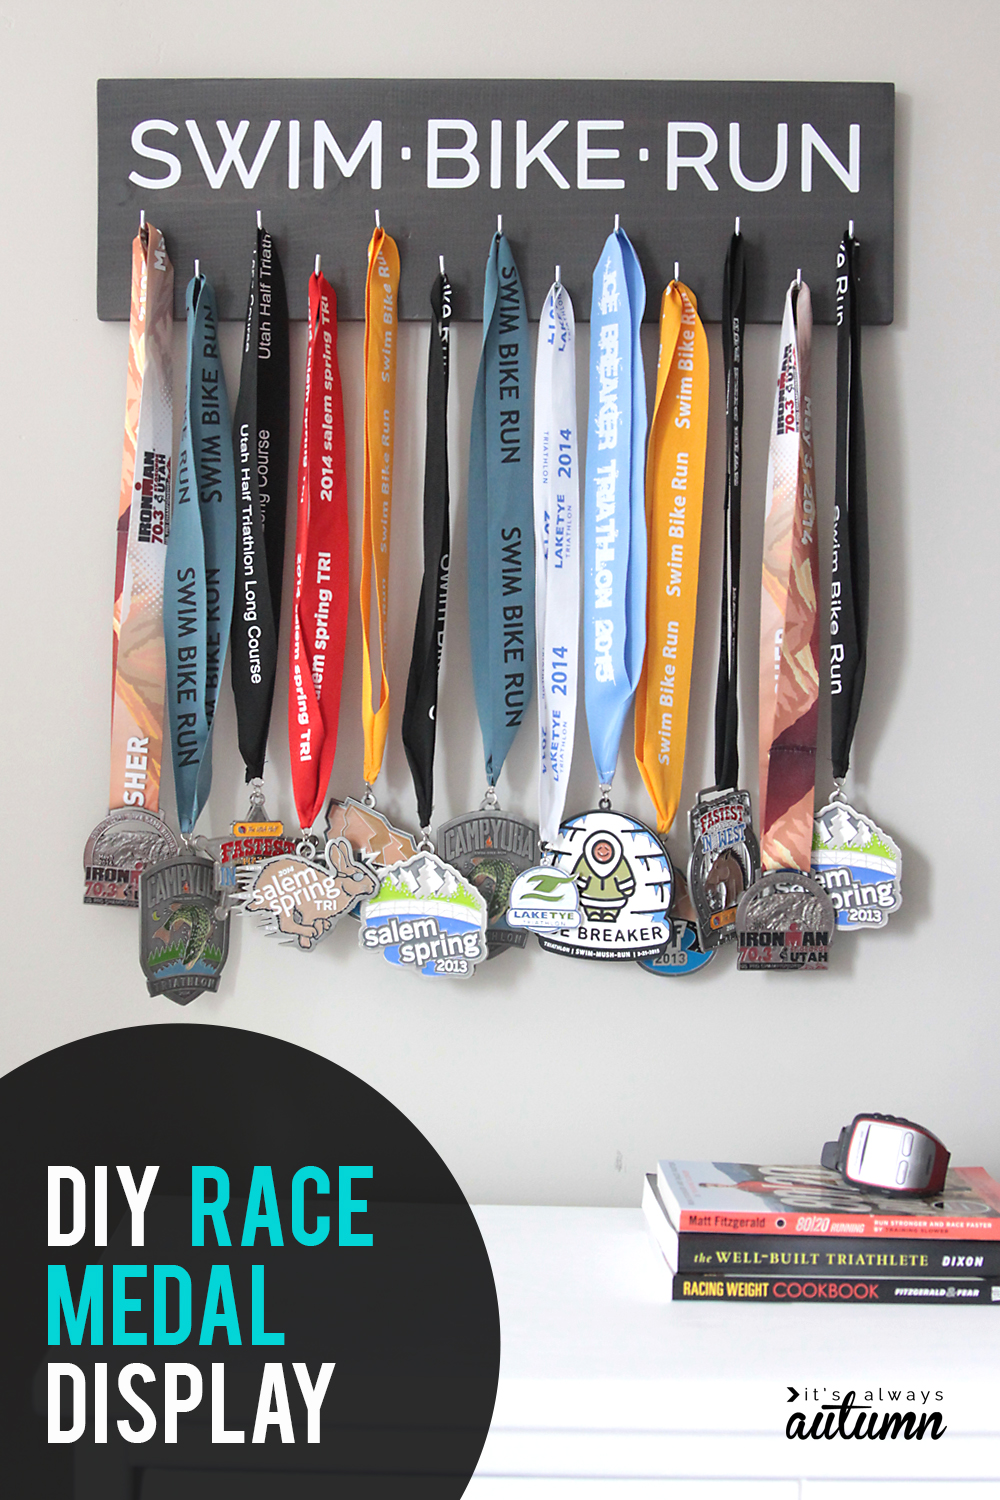
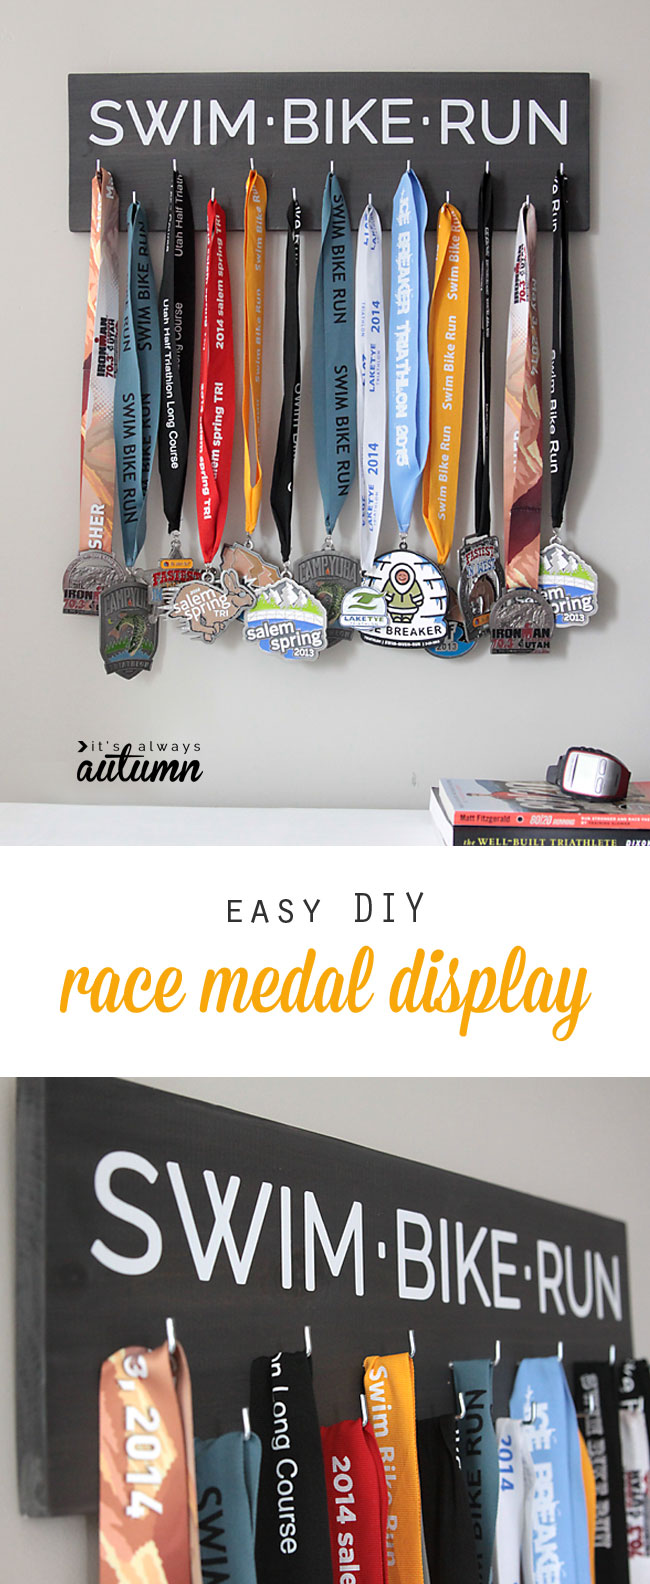
In the year and a half since then he’s continued to compete in triathlons, putting in hours of training each week, and collecting race medals that started piling up in a drawer. I’ve been so impressed with his continued work and improvement that I really wanted to get him some sort of race medal display for our 16th anniversary last month, but I couldn’t find any that I really liked. Most of the ones on Amazon were pretty pricey ($60) and didn’t seem like they’d even fit that many medals. So I decided to make one instead, and for an early father’s day present I gave him this race medal display holder:
This was really a simple, inexpensive DIY project: cut, sand, and paint a board, then apply vinyl letters and screw in hooks. If you don’t have a cutting machine you will want to find a friend with a Cricut or Silhouette to cut the vinyl letters for you.
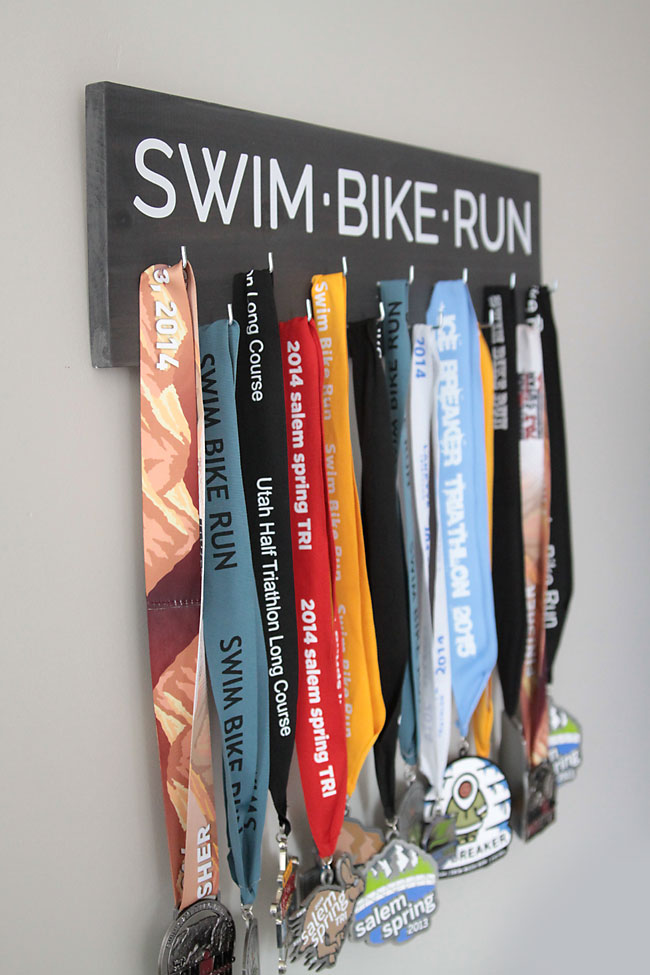
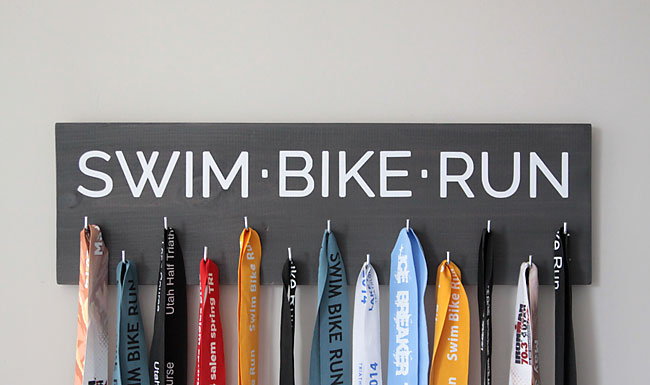
It was fairly inexpensive as well. The one I made has 13 hooks, but you could use a wider board and add a third row of hooks as well to hold even more medals.
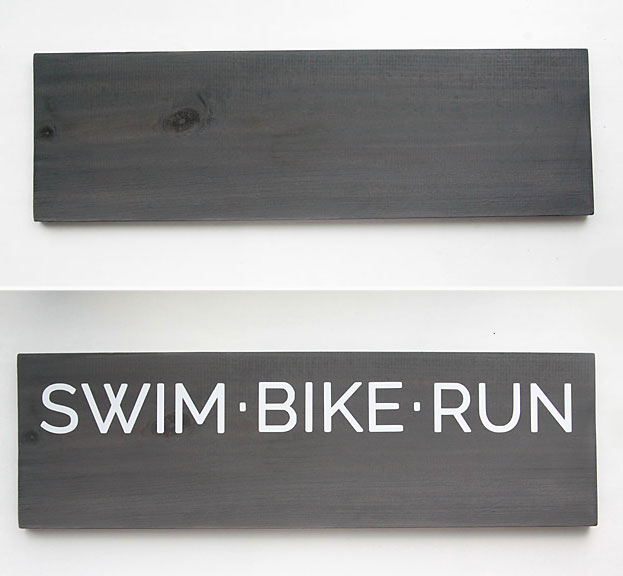
I used white vinyl for the letters and I love how they pop against the dark gray. The font I used is a free one called Raleway and it’s in bold.
This race medal display is obviously geared to triathlon, but you could personalize it however you like for other races or other events. Here’s how I made it:
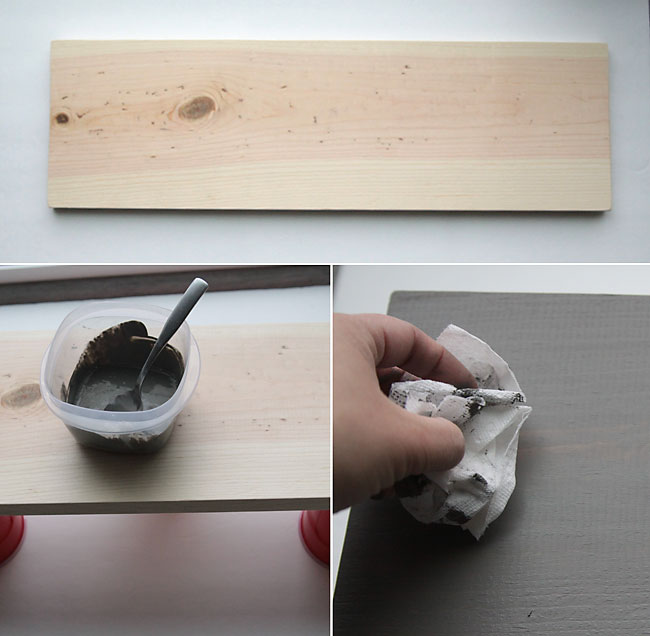
I started with an 8 inch pine board from Home Depot (actually 7.5 inches) and cut it to 24 inches long. I was using scrap wood I had on hand, but if you don’t have any check the cut area at the store – they often have scraps in all different sizes they’ll sell cheap. I spent a few minutes sanding it smooth, then I mixed some acrylic paint (from one of the cheap little craft paint bottles) with water to thin it out a bit and painted it on. I wiped a little paint back off with a paper towel because I wanted to make sure some of the wood grain showed through.
I ended up going back over it with a little darker paint wash as well. Once I liked how it looked, I sealed it with a spray sealant. You can use any type of brush on or spray on poly. This step is important because the vinyl letters stick better if the board has been sealed.
After that, apply your vinyl letters directly to the board.
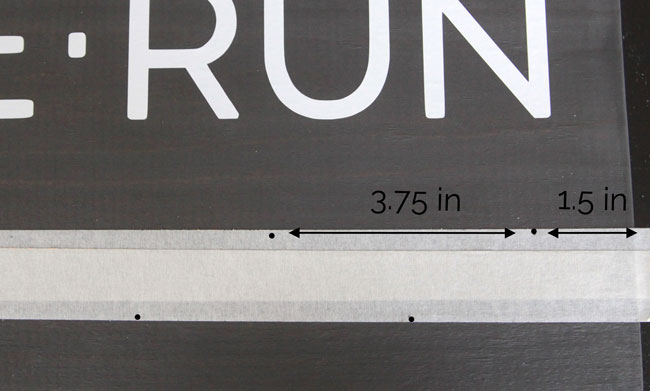
The next step was to drill holes where I wanted the hooks to go. I measured down the board 4.75 inches and placed a piece of masking tape across the board at that height. I put another piece on so the bottom of the tape would line up with 6 inches down from the top. Then I marked on the tape where the hooks would go. This way I didn’t run the risk of marking the wrong place on the board and then having my mark show. The holes for the top row are 3.75 inches apart, started 1.5 inches from each end of the board. The hole for the bottom row are just centered in between the top holes. These measurements on a 24 inch board give you 13 hooks.
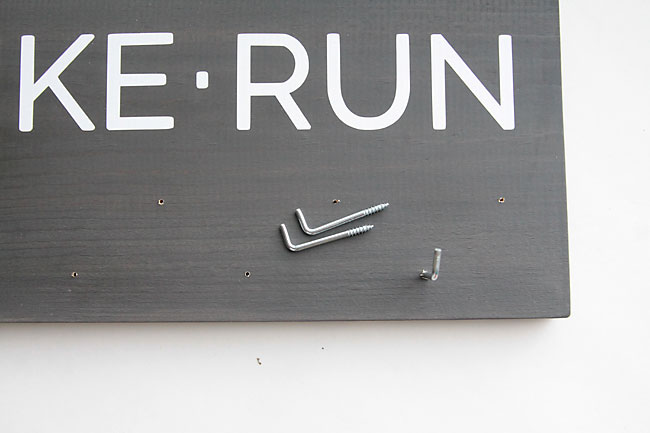
Then I just used a small drill bit to drill through the board, and then screwed in these square hooks I picked up at Home Depot.
To hang the board, you can hammer in sawtooth picture hangers or use a picture hanging kit. Once it’s loaded up with medals it is kind of heavy, so take that into consideration when you decide how and where to hang it.


John says
Great directions and execution. Thanks for taking the time to put this together.
Adem says
Love it! I’ve been. Running for a year and looking for some way to display my medals. Definitely going to do this!
Dani T. says
You can order custom-printed vinyl letters at most print shops or online. If there’s a plastic supplier in your town, they will almost definitely print vinyl lettering or decals. It usually comes with adhesive ready to go on one side; line up where you’d like it, peel off the backing and stick it on! A rubber roller or rolling pin will help seal it and work out any bubbles.
swetha says
This is such a cool idea.. and even if you have only 2 medals at hand, it is still worth the effort as it is encouraging! Wish i could wield tools like this!
iLah Hartung says
Will use this for the Special Olympics medals for granddaughters’ wins!