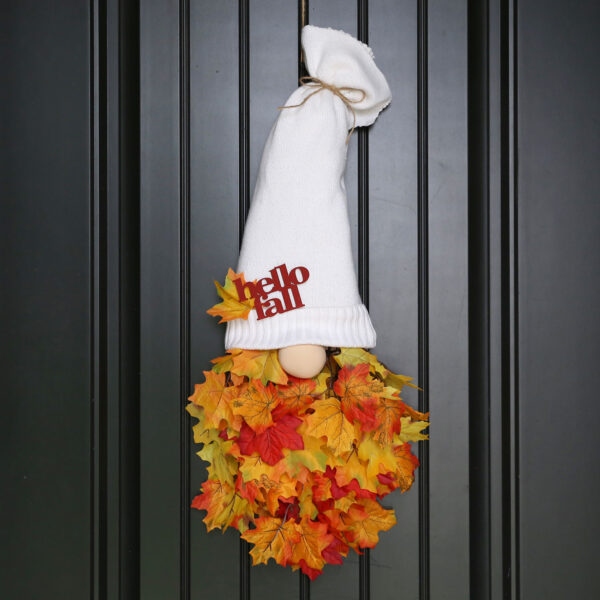
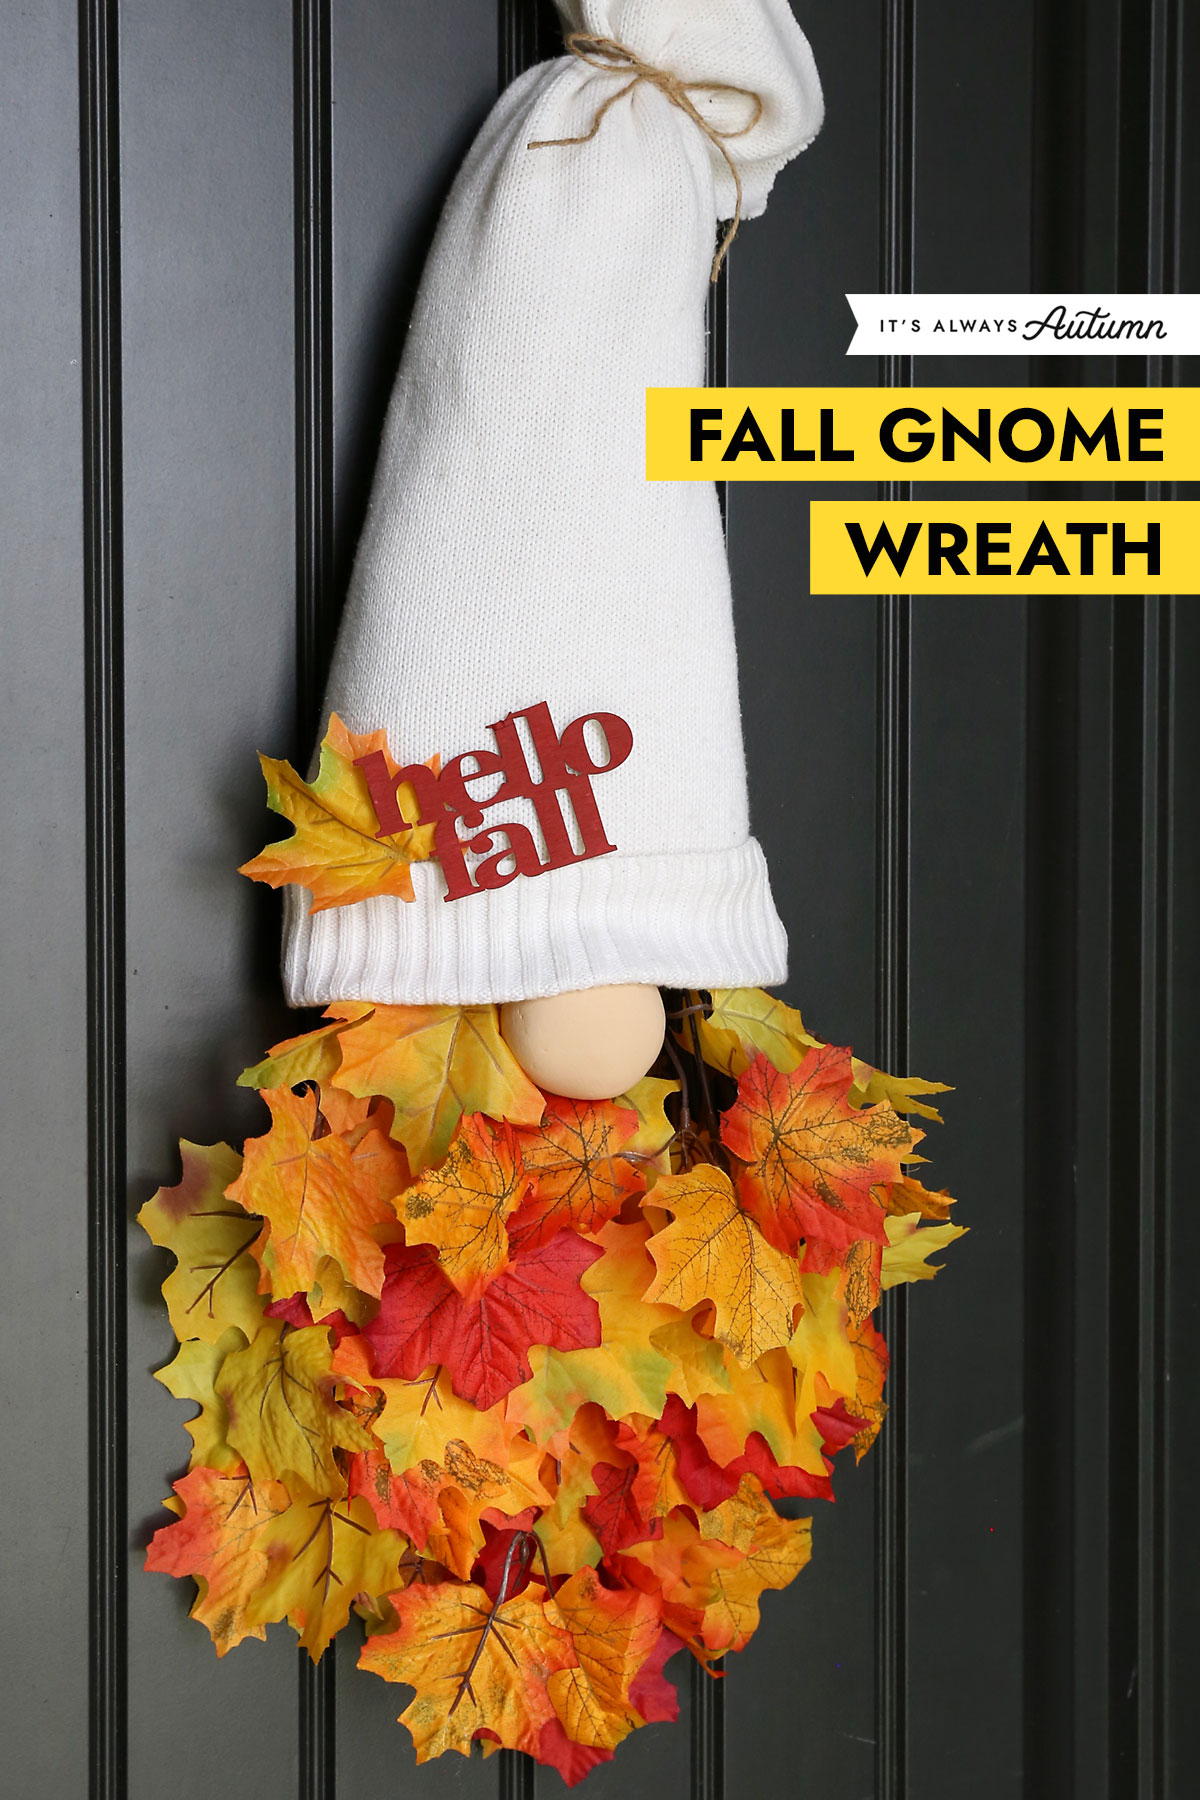
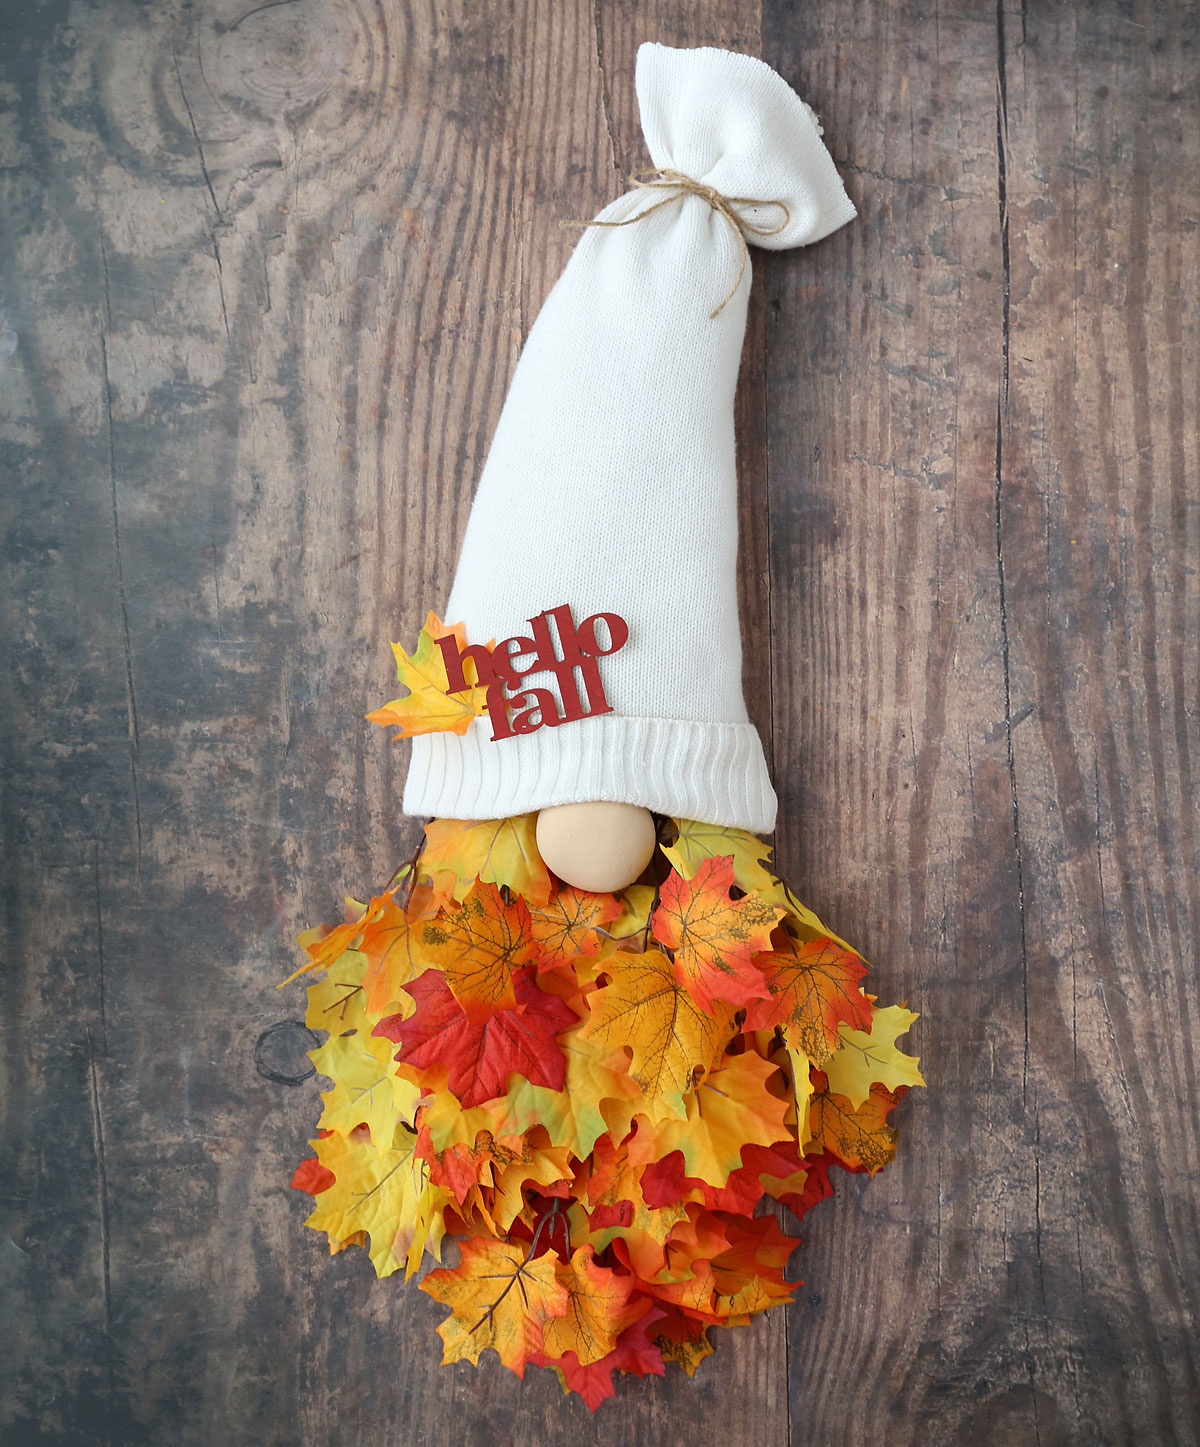
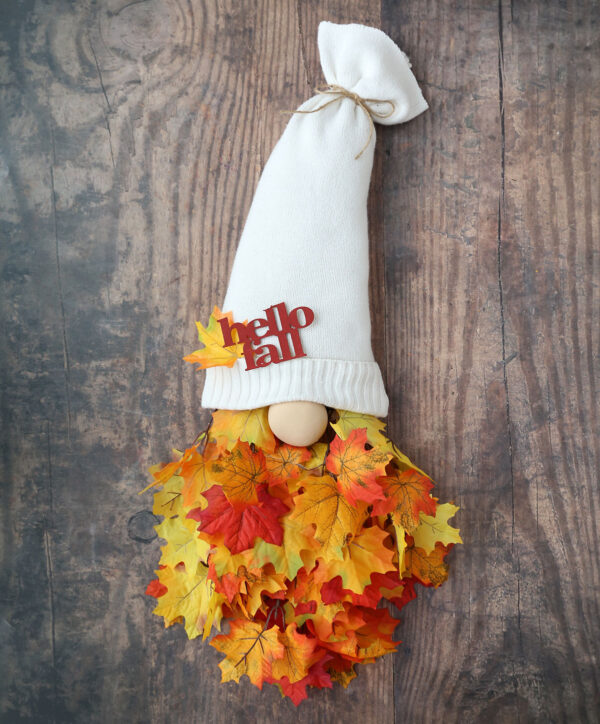
Ready to decorate your front door for fall? Make this cute fall gnome “wreath”. Today’s craft project is a fun makeover of a (kinda tacky) witch hat decoration from Dollar Tree — and it turns out super cute! The gnome’s hat is made from a thrifted sweater, the beard is made from faux fall leaves, and his cute nose is made from a faux mushroom. It’s a cute harvest wreath with a festive feel, and you could keep it up all Halloween season if you like!
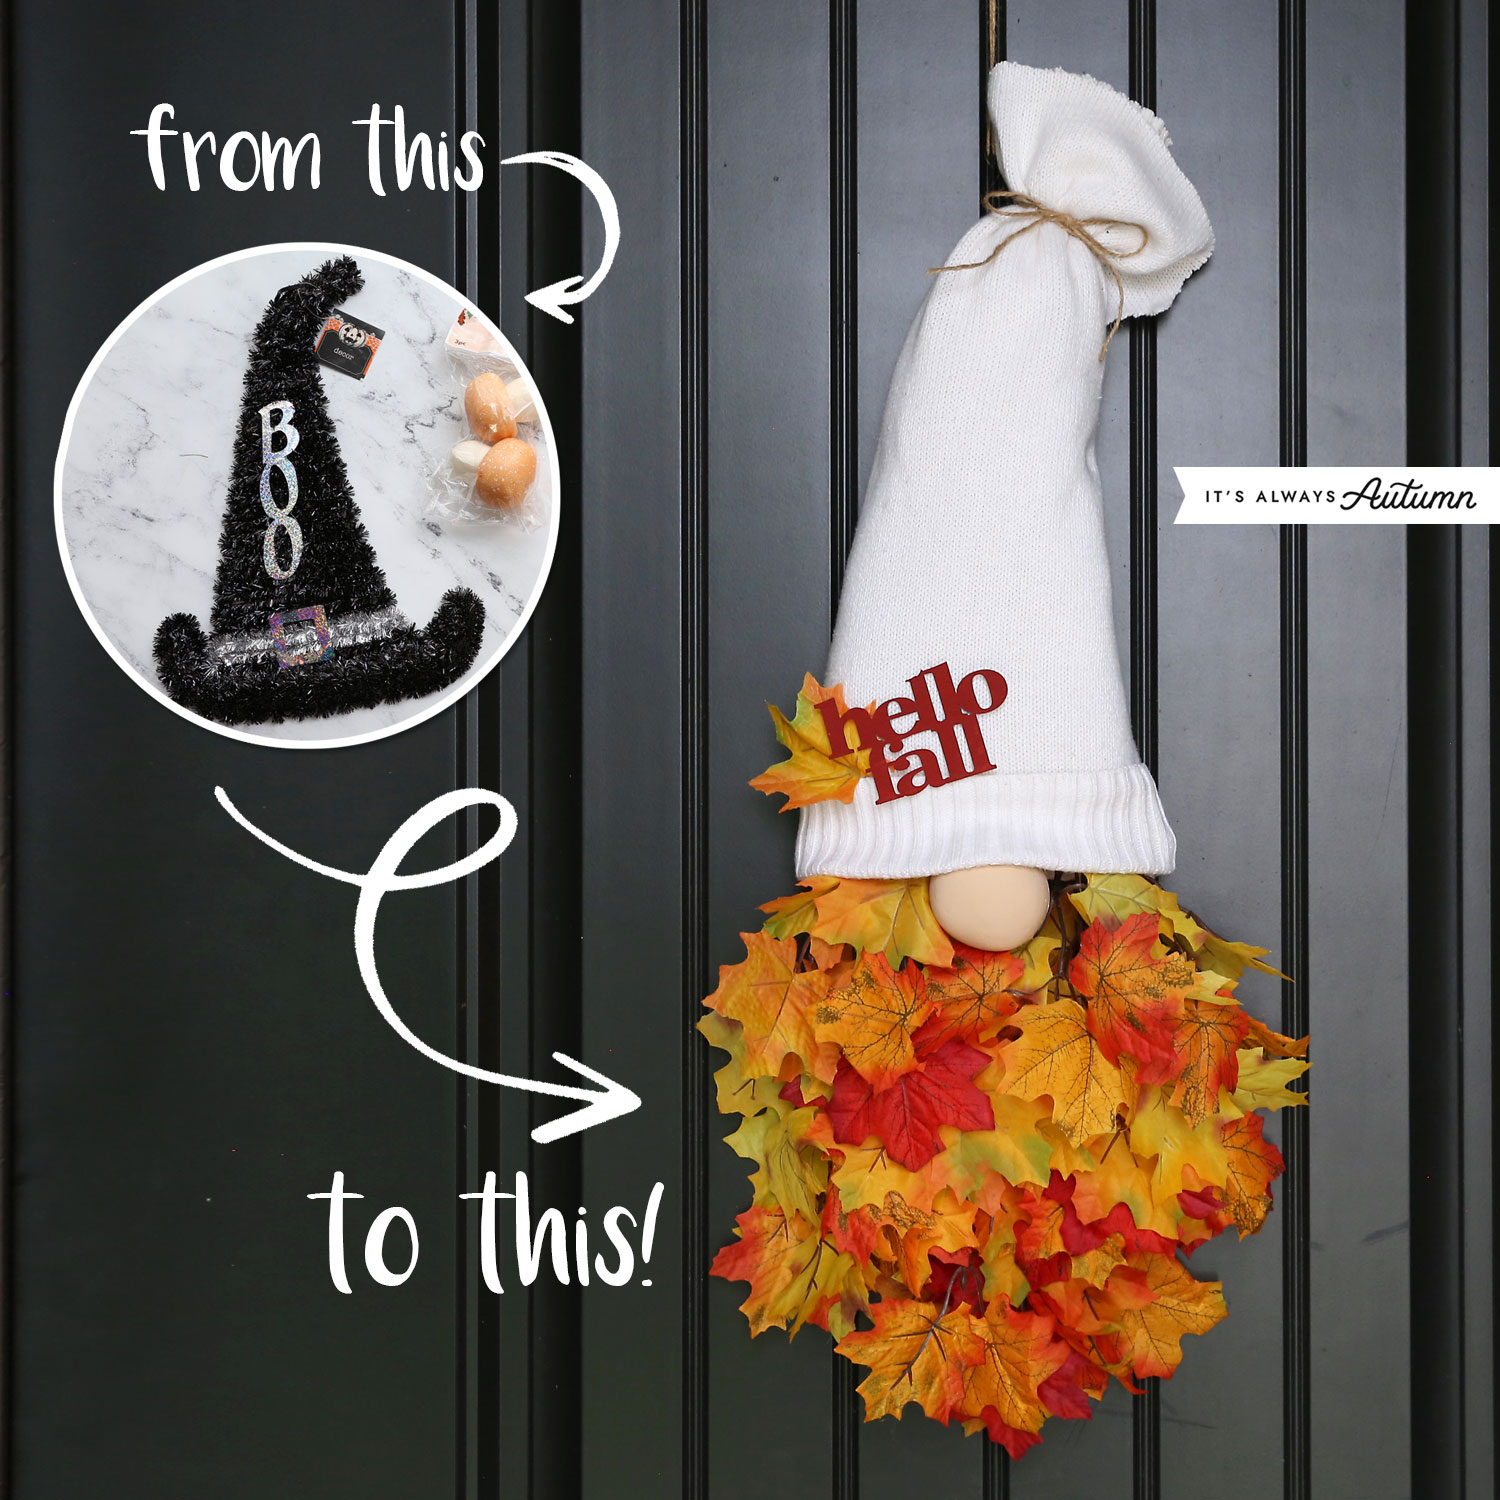
Note: If this wreath is going to be outside, it will do best in a covered, protected area like a porch. It’s perfect for indoor use as well.
Project Inspiration: Michelle Smith Creations
Supplies
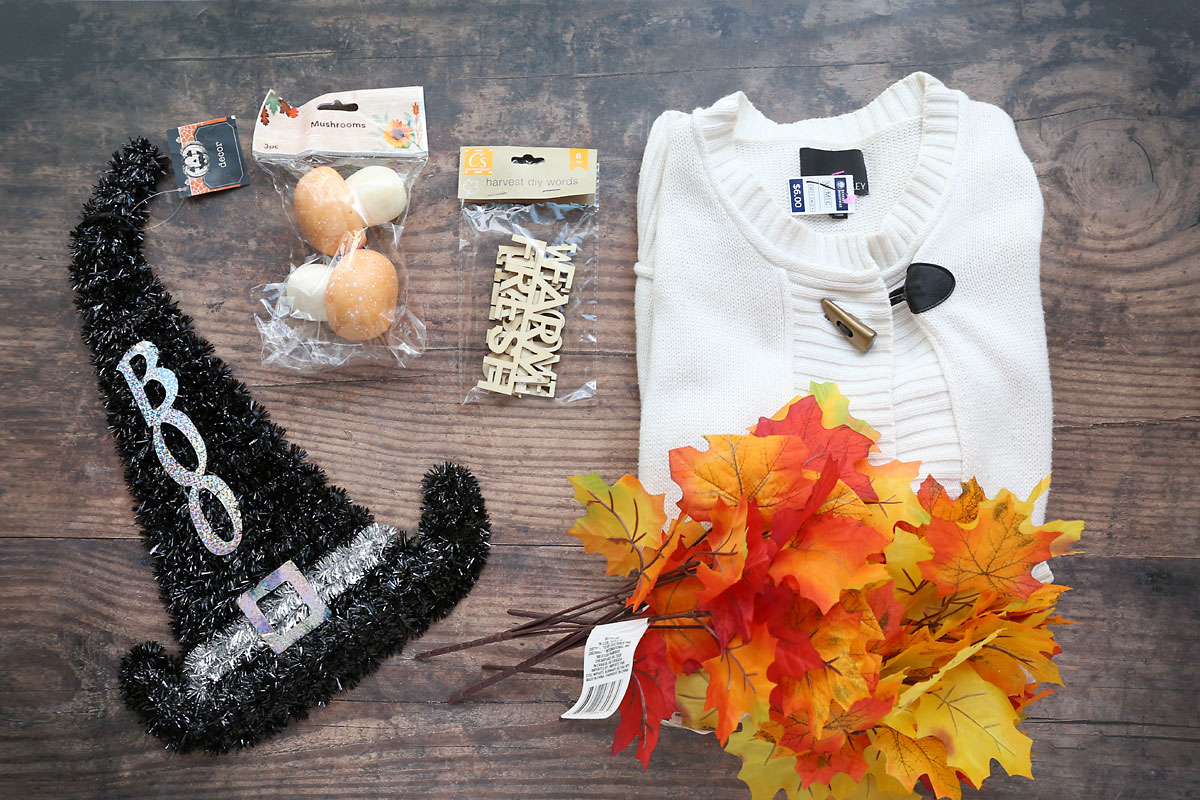
Here’s what you’ll need to make a cute fall gnome wreath for your front door. Other than the sweater, all the supplies can be found at Dollar Tree (anything that has DT after it was found at Dollar Tree):
- Witch hat decoration (DT)
- Faux Fall Leaves (DT): I used five stems of fall leaves. I think the ones labeled “maple leaves” are nicer looking than the ones labeled “fall foliage” or “oak leaves”.
- Faux Mushrooms (DT): You’ll use one mushroom to make the nose for your gnome. You can find these in the floral or seasonal section.
- Cream Colored Sweater (thrift store): You’ll use the sweater to make the gnome’s hat. Look for a thick sweater with some ribbing or trim along the bottom that you can turn up to make a brim for the hat, and make sure the sweater is bigger than the witch hat.
- Fall word cutouts (DT): Look in the seasonal section for cute fall words or other wood shapes or small fall decorations to embellish the gnome hat.
- Twine or Jute (DT)
- Small zip ties (DT)
- Hot Glue Gun
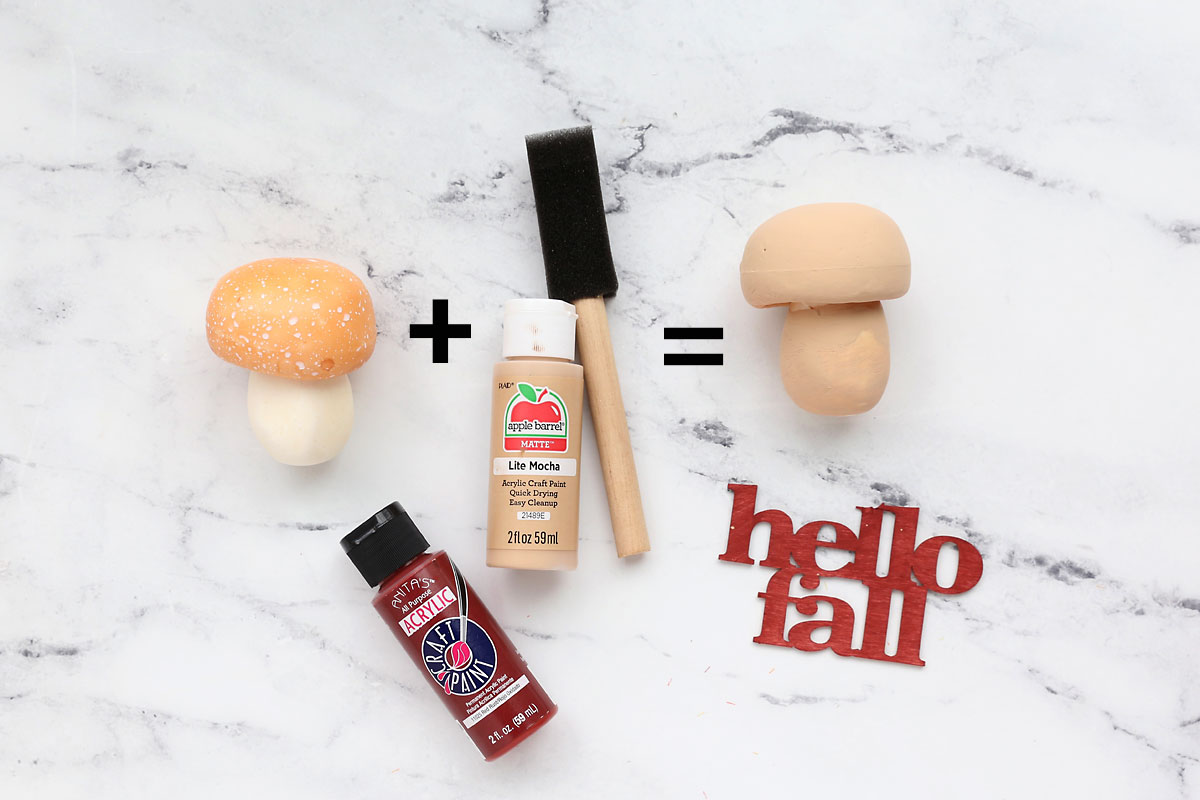
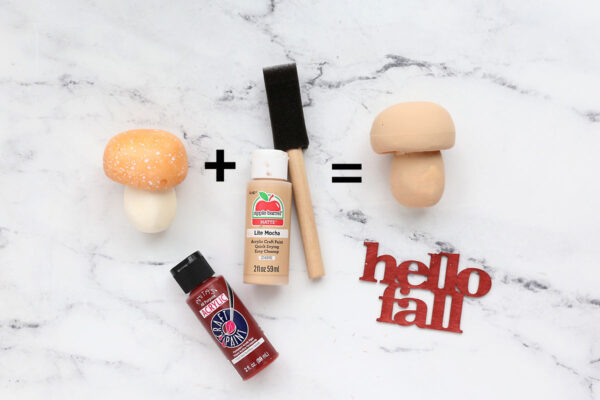
- Acrylic craft and foam paintbrush: to paint the mushroom (I used tan) and the wooden words (I used a rust red)
- A bit of stuffing/polyfil (optional, could use sweater scraps instead)
Gnome Noses
The faux mushrooms from DT are the perfect size and shape for the gnome’s nose. However, if you cannot find them at your Dollar Tree you use one of these ideas instead:
- Styrofoam ball covered with a nylon or other fabric
- Ping Pong ball painted the desired color (this will make a small nose)
- Small pumpkin decoration painted the desired color
- End of a sock stuffed with polyfil and rubber banded to create a ball shape
How to Make a Fall Gnome Wreath
This is a fun fall craft project that can be completed in under an hour.
Paint the Mushroom Nose
Begin by painting one mushroom whatever color you’d like the nose to be. I used inexpensive acrylic craft paint and a foam paintbrush. You can speed drying by using a hairdryer on low. You may want to do two coats of paint. If you plan to decorate the hat with a wooden word, paint that now too.
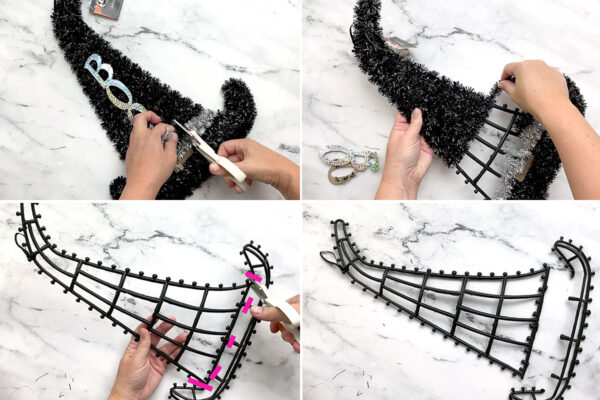
Take Apart the Witch Hat
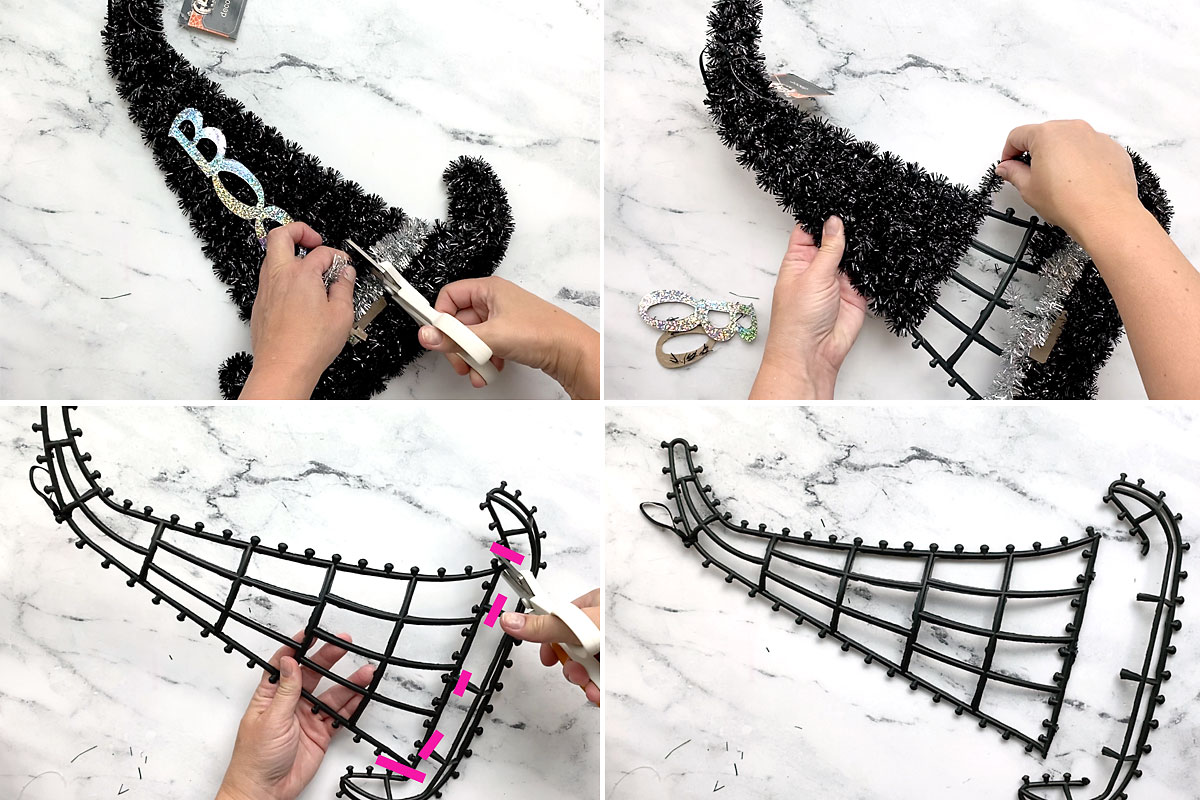
This witch hat decoration is a plastic frame covered with long strands of Halloween tinsel. Begin by pulling the word off the front, and then snip through the tinsel in a couple of places. Unwind the tinsel from the frame. Cut off the store tag, but leave the black ribbon loop for hanging the wreath. Finally, using snips or heavy duty scissors, cut the very bottom of the hat off as shown below.
Create the Leaf Beard
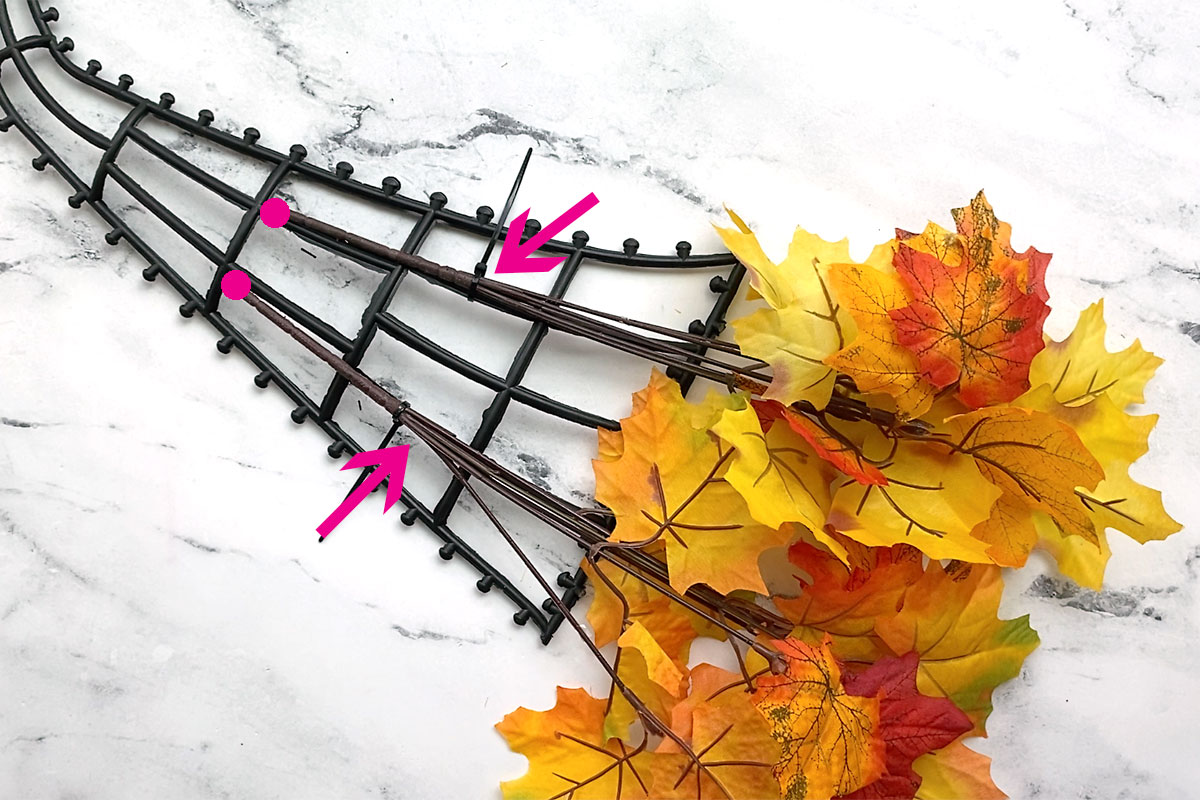
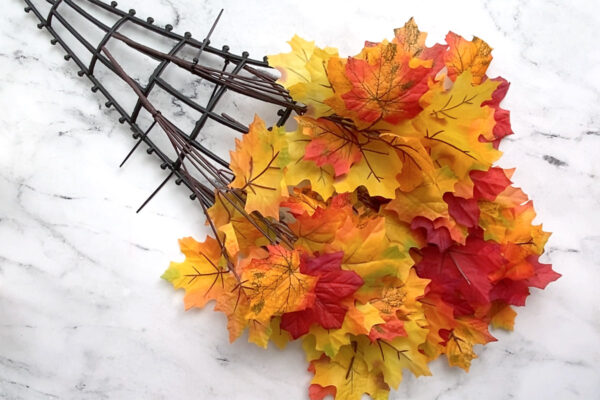
The wreath form has five “ribs” that run up and down the lower section of the hat. Place two of the faux branches over the wreath form, one on the rib to the right of center and one on the rib to the left of center. The leaves should cover the very bottom of the wreath form. Use zip ties to attach the branches to the ribs, but don’t pull them super tight yet. (In the image below, arrows point to where the branches are zip tied to the frame, and dots show the ends of the branches.)
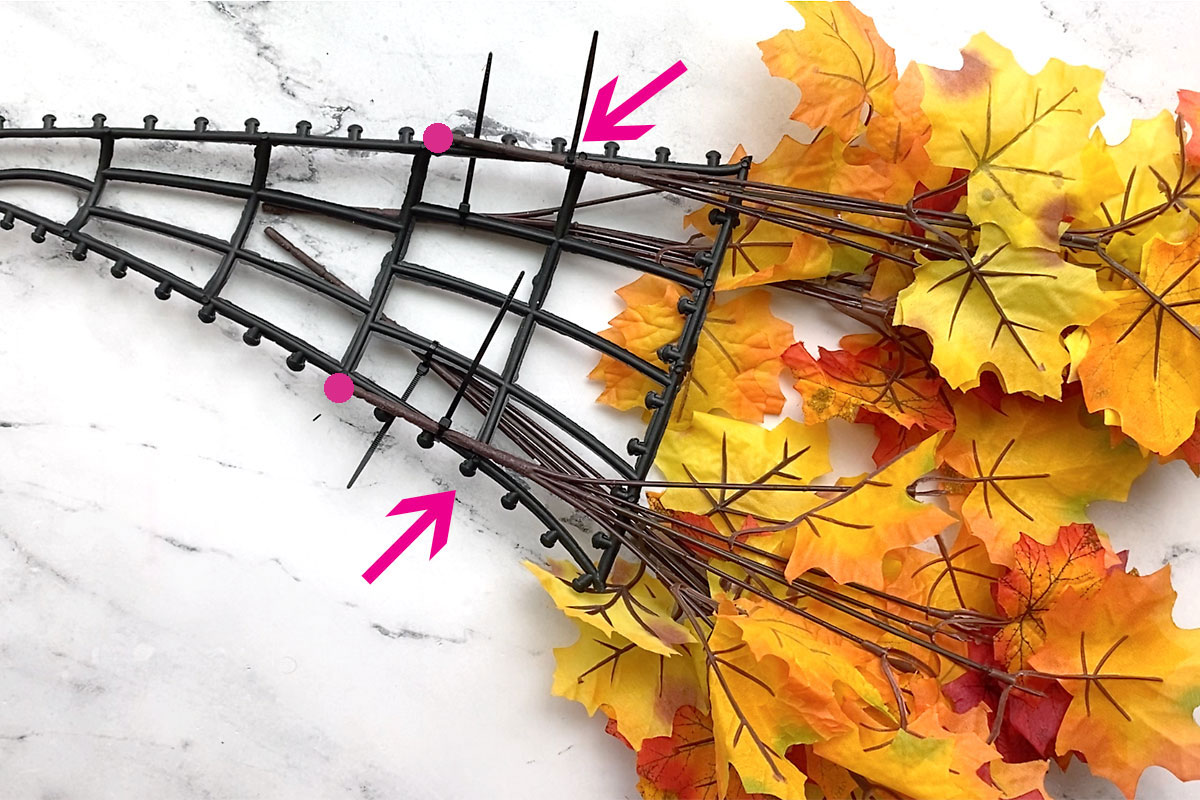
Flip the wreath form over so you are looking at the back. Place two more faux branches on the wreath form, this time on the furthest left and furthest right rib. These branches should be a little lower down on the form. Attach with zip ties.
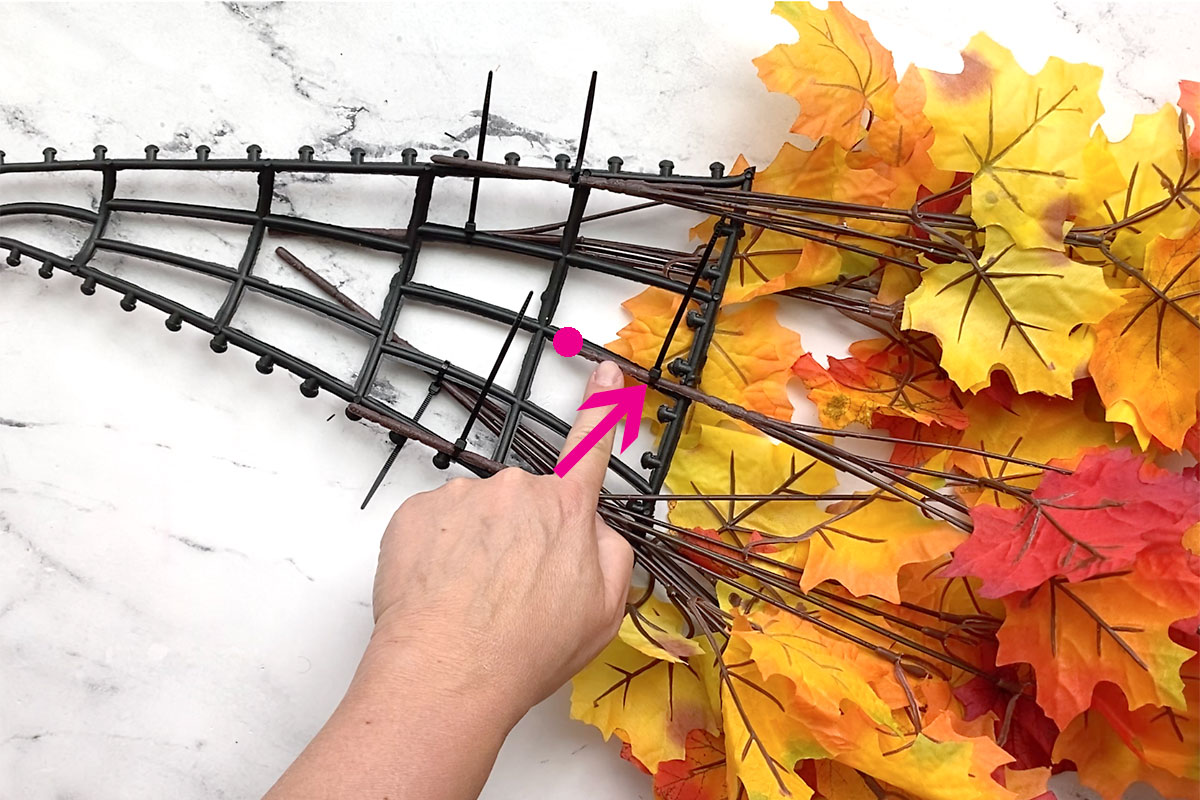
Finally, attach the last faux branch to the middle rib of the wreath form. This branch will be the lowest.
Flip the wreath form back over and adjust if needed until you like the shape of the beard. Remember that leaves should cover the bottom of the form. Then pull all the zip ties very tight and trim the excess. (Note: you could use floral wire instead of zip ties, but I think zip ties are easier to secure. You may also want to add some hot glue once you like the position of the leaf stems.)
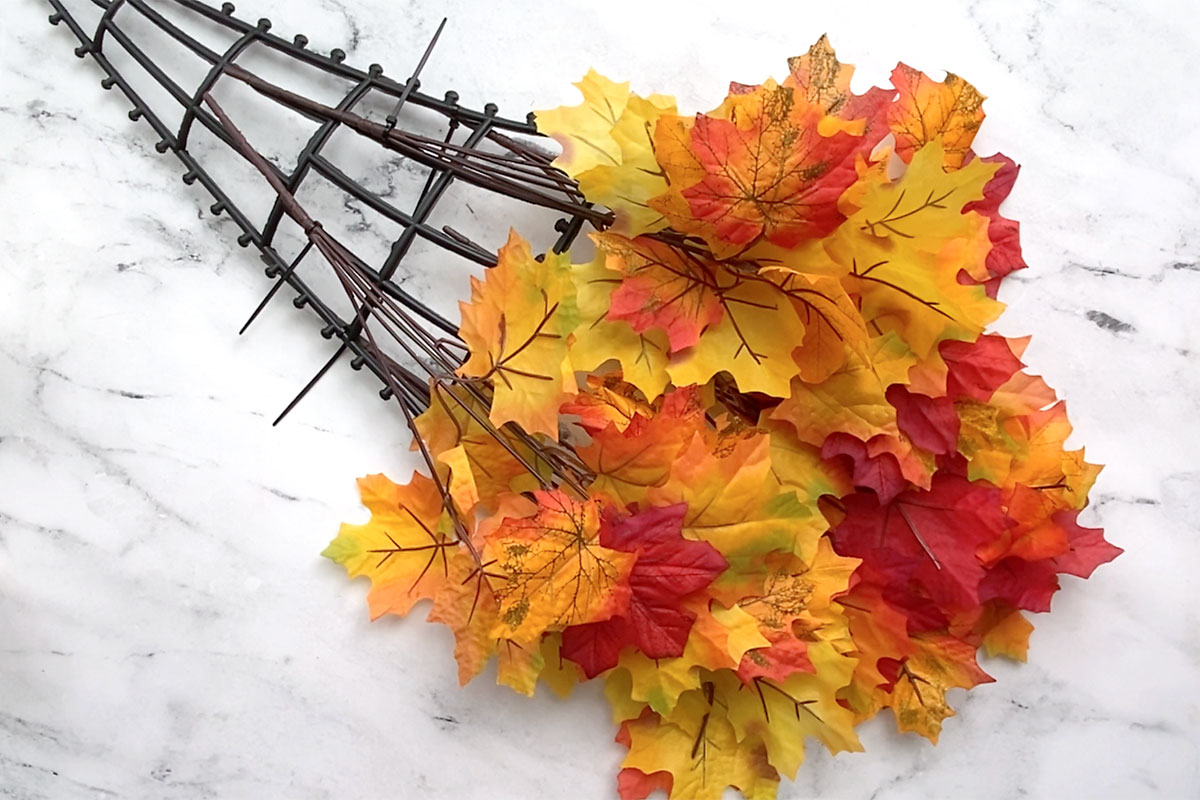
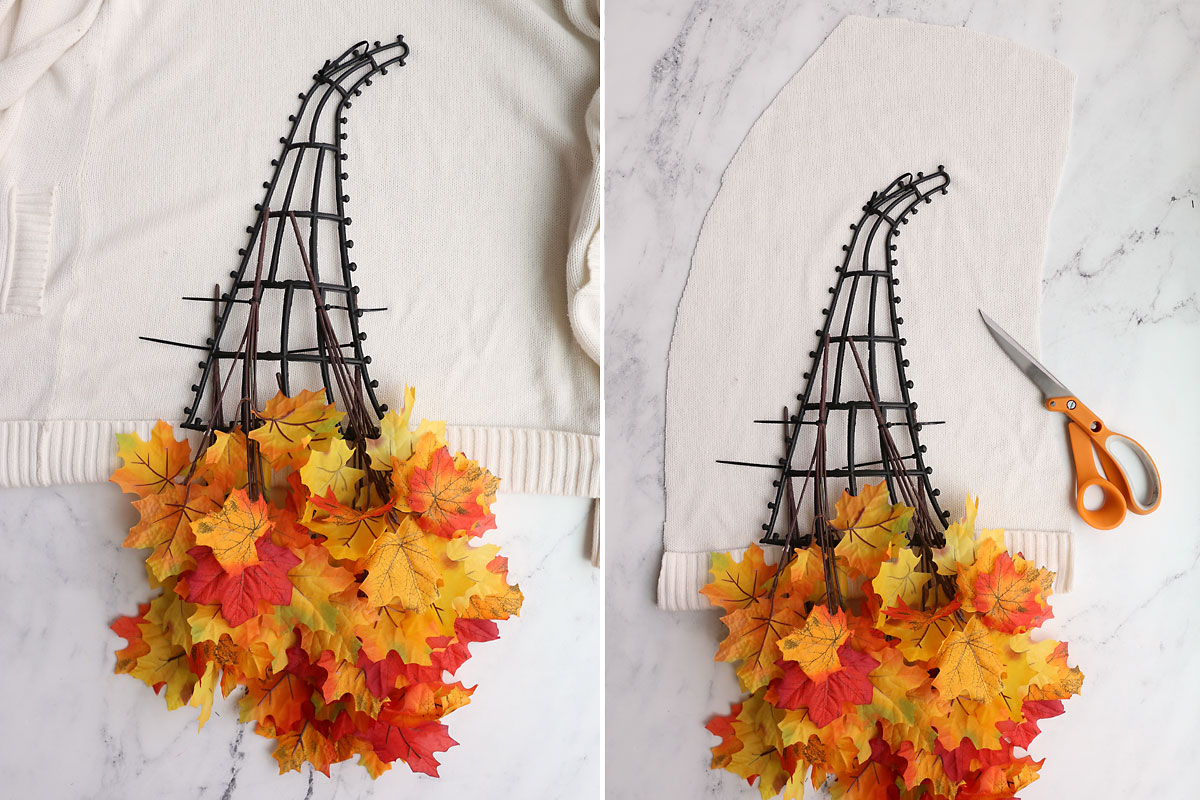
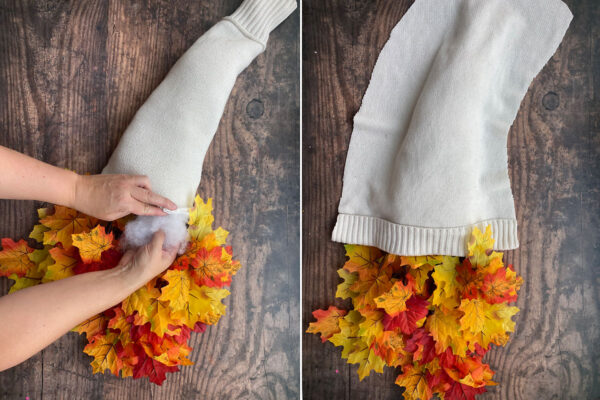
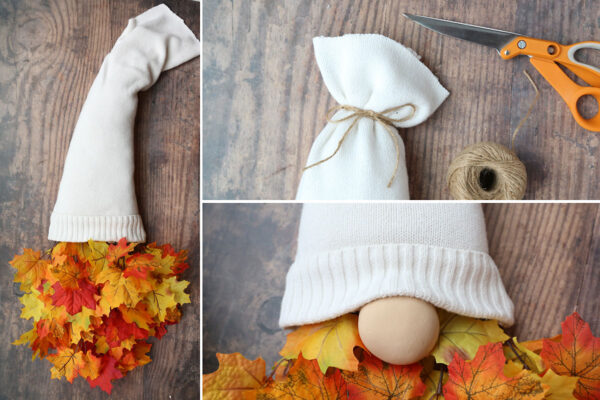
At this point you can use a little stuffing or polyfil to plump up the hat if you’d like. You may also be able to use extra pieces from the sweater instead of stuffing. Once it’s as stuffed as you’d like, place the large sweater piece over the wreath form, making sure the bottom of the brim completely covers the bottom edge of the wreath form.
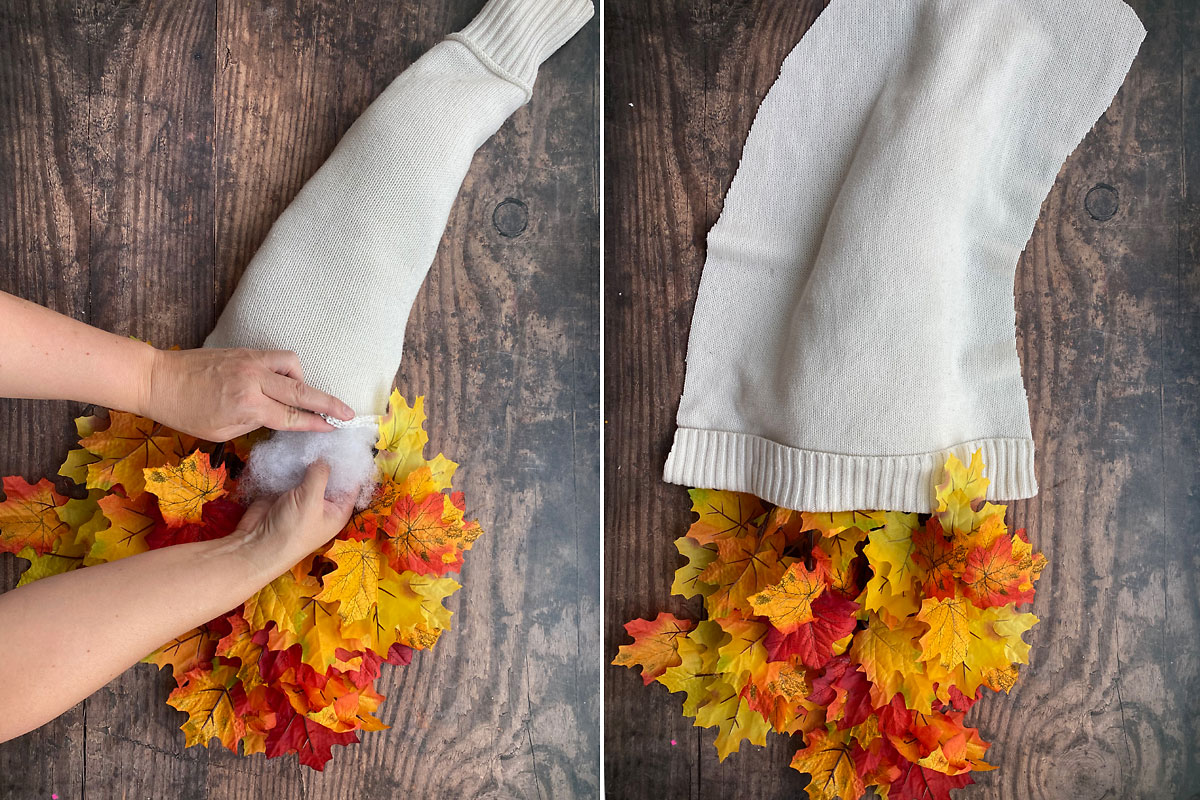
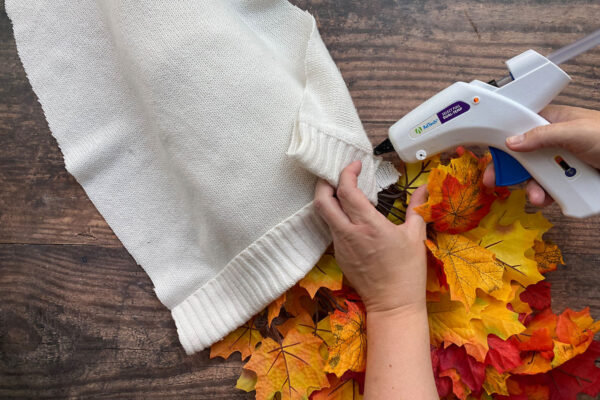
Use a hot glue gun to glue the bottom of the sweater piece to the wreath form at each side (do not glue it along the front).
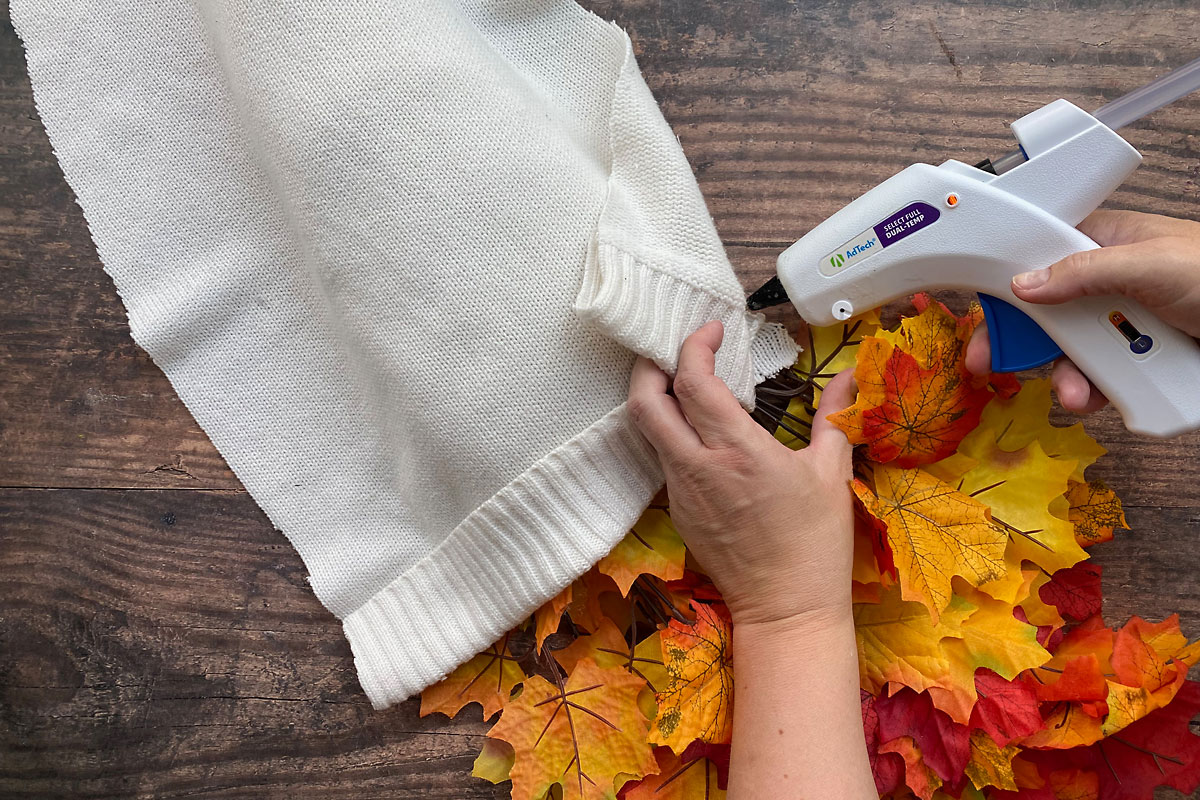
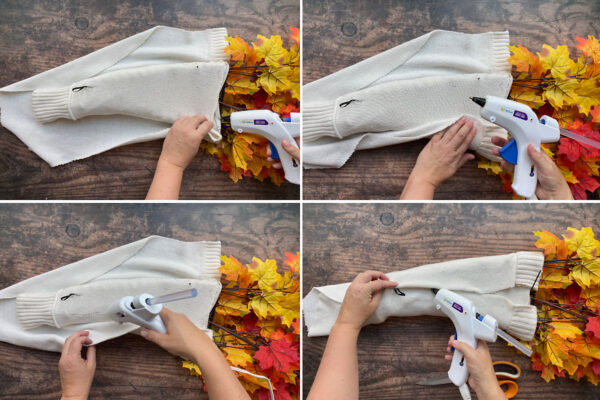
Flip the wreath form over and fold over one side, securing it with plenty of hot glue. Don’t pull the sweater tight. You should glue the sweater to the wreath form along the bottom on the back. Wrap the other side over and secure it with plenty of glue. Don’t worry about the top yet and don’t cover up the hanging loop. Again, don’t pull the sweater tight.
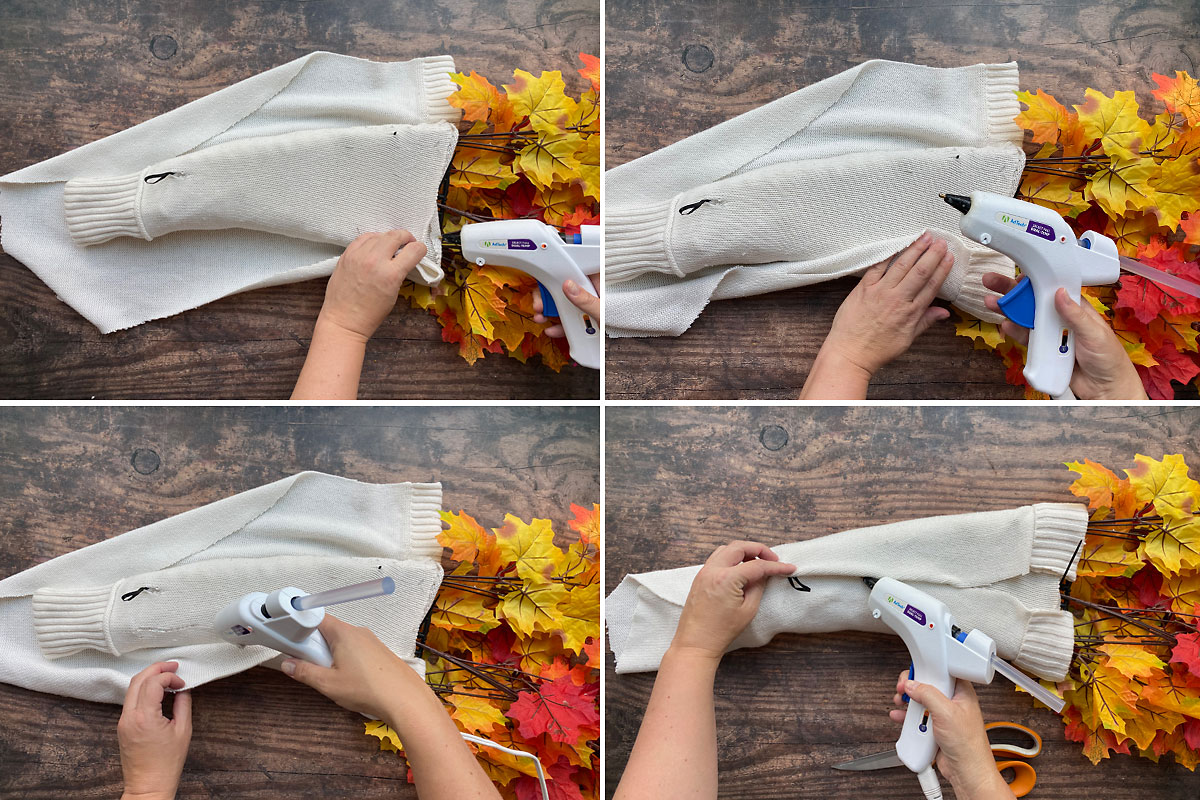
Finishing Touches
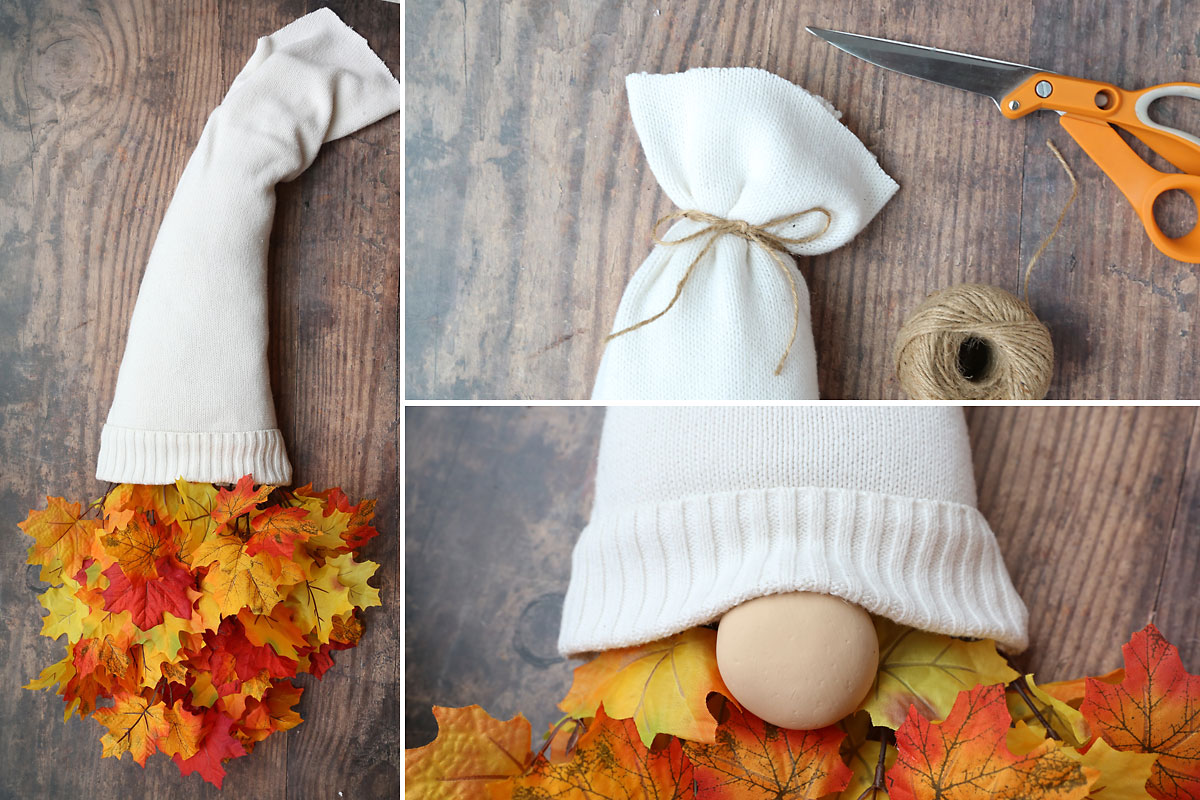
Now it’s time to finish up the gnome wreath! Nestle the painted mushroom in the leaves just below the hat and use plenty of hot glue to secure it to the center stem and the bottom of the wreath form. You may need to trim a little off the bottom of the mushroom if the nose is too tall. Glue the top of the nose just under the hat brim. Also gather up all the layers of sweater at the top of the hat and tie them with jute. Trim the excess.
Fall Gnome Wreath
Supplies
- 1 Witch Hat Decoration from Dollar Tree
- 5 Faux Leaf Stems
- 1 Faux Mushroom see note
- Thrifted Sweater adult size
- Fall Wood Words from Dollar Tree, or other embellishments
- Jute or Twine
- Acrylic Paint and Foam Paintbrush
- Small Zip Ties
- Hot Glue Gun
Want more project ideas? Sign up to get my favorite easy crafts and recipes straight to your inbox!
Instructions
- Paint the faux mushroom whatever color you'd like the nose to be. Also paint wooden words if you'll be using them to decorate the hat.
- Remove the black and silver tinsel from the witch hat decoration to reveal a plastic hat wreath frame. Snip off the bottom section as shown.
- Create a beard by zip tying the fall leaf stems to the wreath frame. When you like the shape of the beard, pull zip ties tight and cut off the excess.
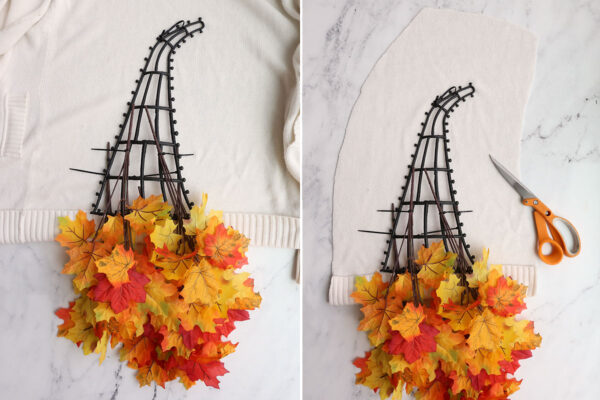
- Lay the hat frame over the sweater (with bottom edge turned up to make a brim if desired) and cut around it, leaving plenty of excess.
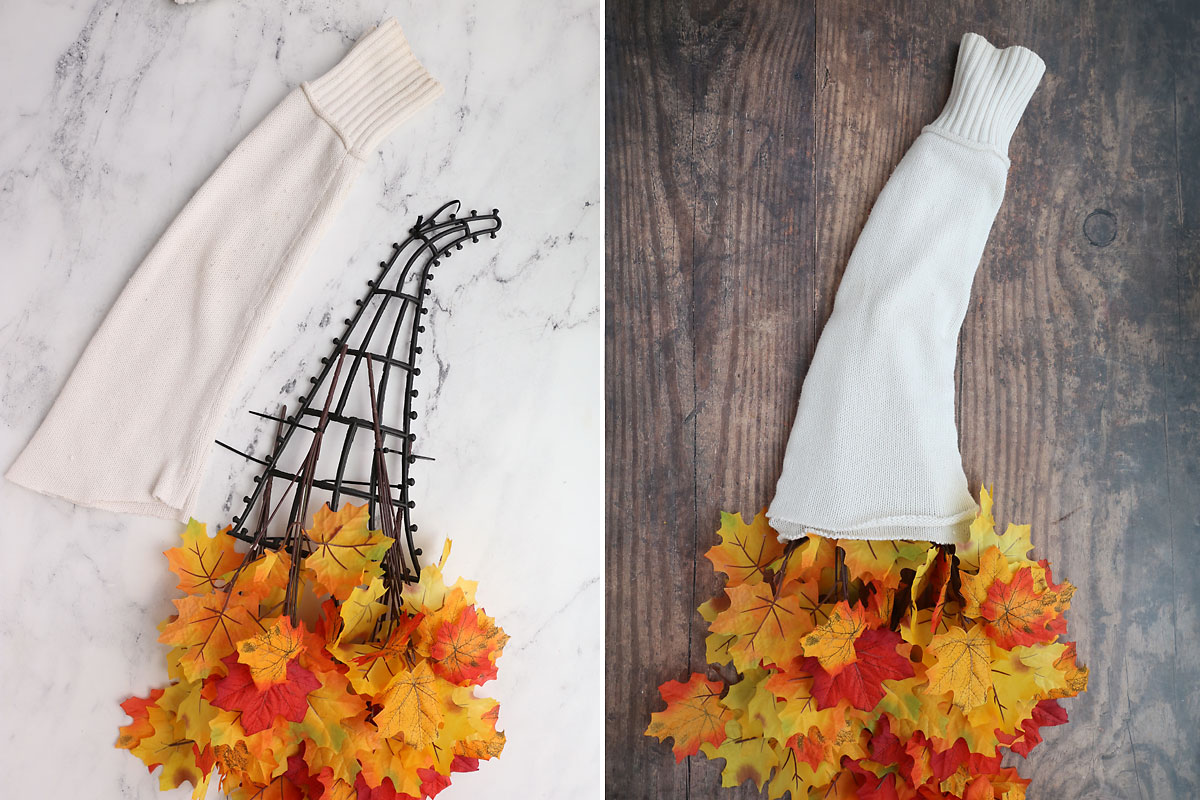
- Cut the sleeves off the sweater and place them over the hat frame. Add stuffing if desired to plump up the hat. Place the piece of sweater you cut in the last step over the wreath.
- Glue the sweater piece to the wreath frame along the sides (not across the front).
- Flip the wreath over and fold in each side of the sweater and glue to secure. Poke a small hole through the sweater to pull the hanging loop out.
- Tie the top of the hat with jute and trim off any excess sweater. Glue the nose to the bottom of the wreath frame and the center leaf stem. Also glue the nose to the sweater brim. (Trim a little off the bottom of the mushroom if needed for the nose to be the right height.)
- Glue on any other embellishments as desired, including the fall wood words.



Leave a Comment