
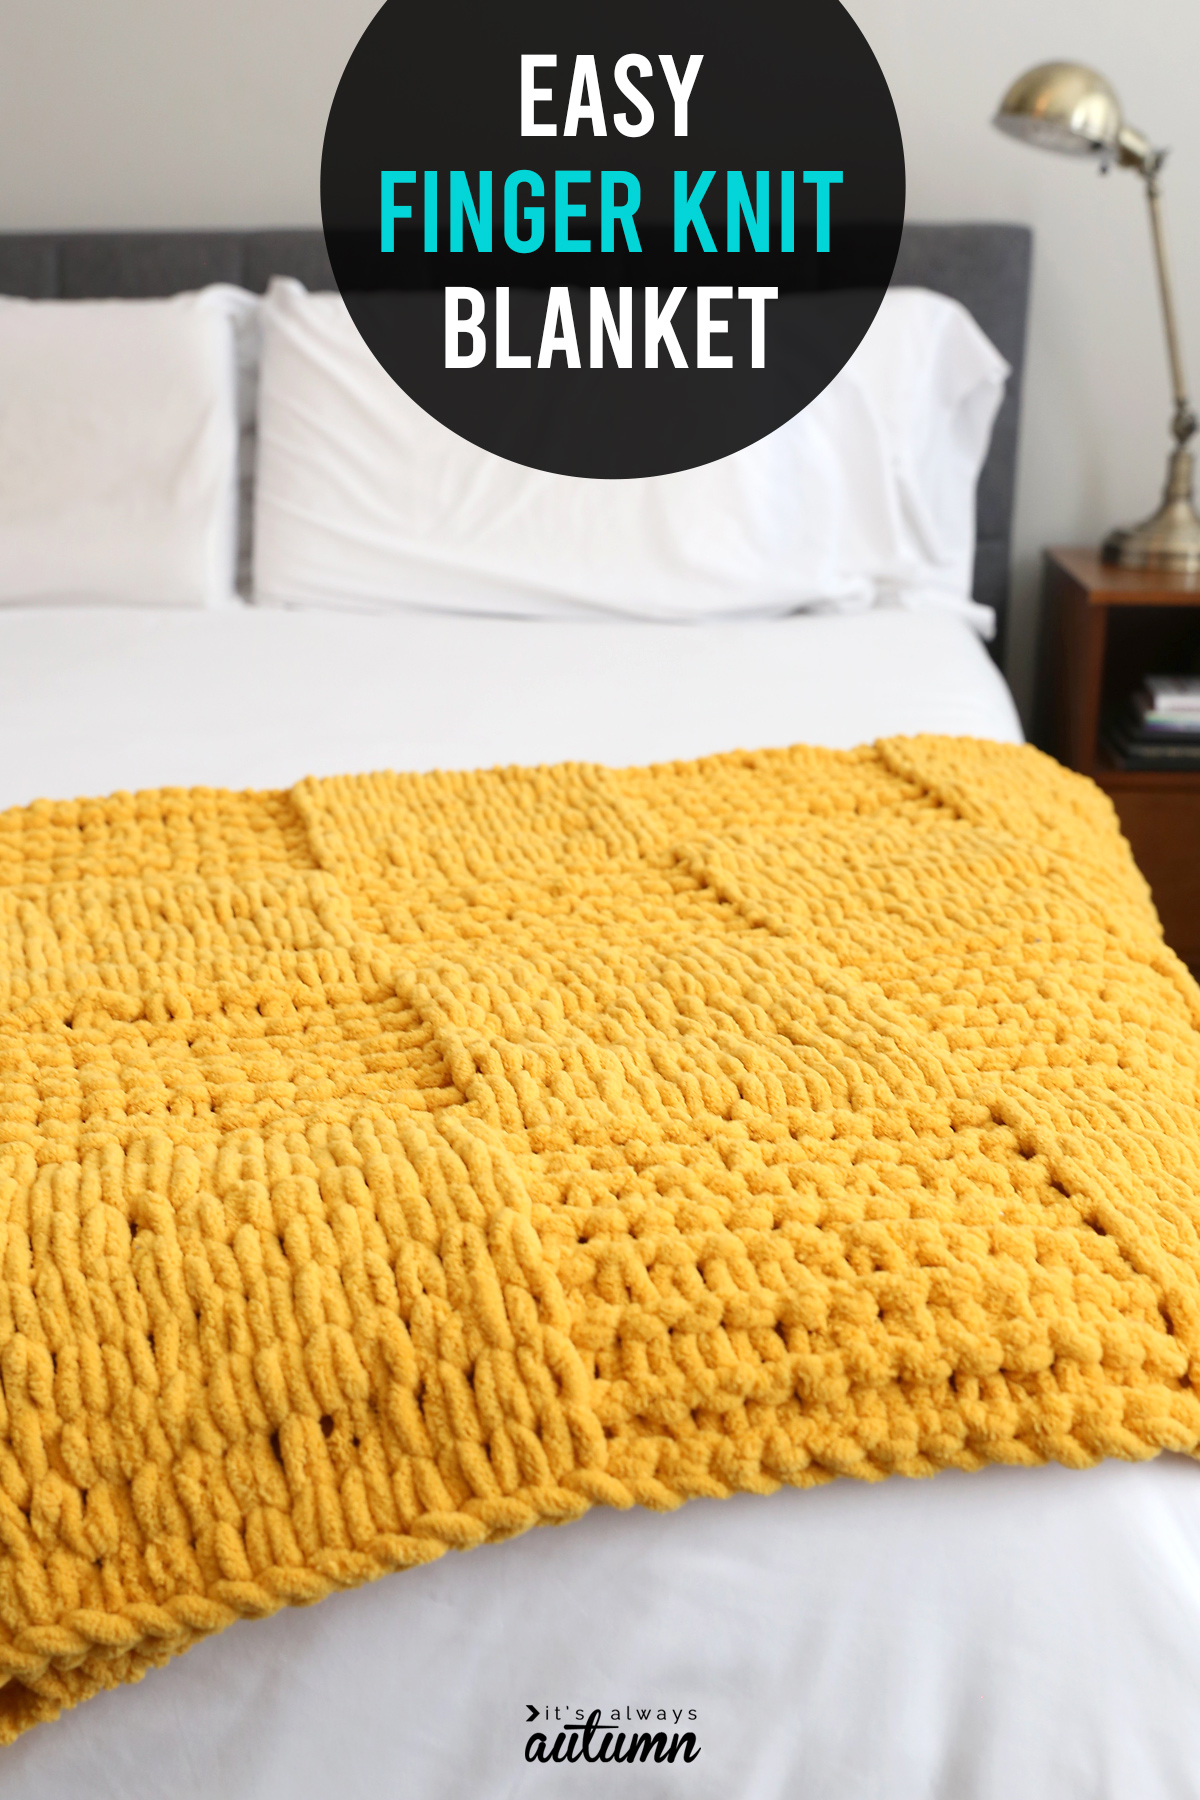
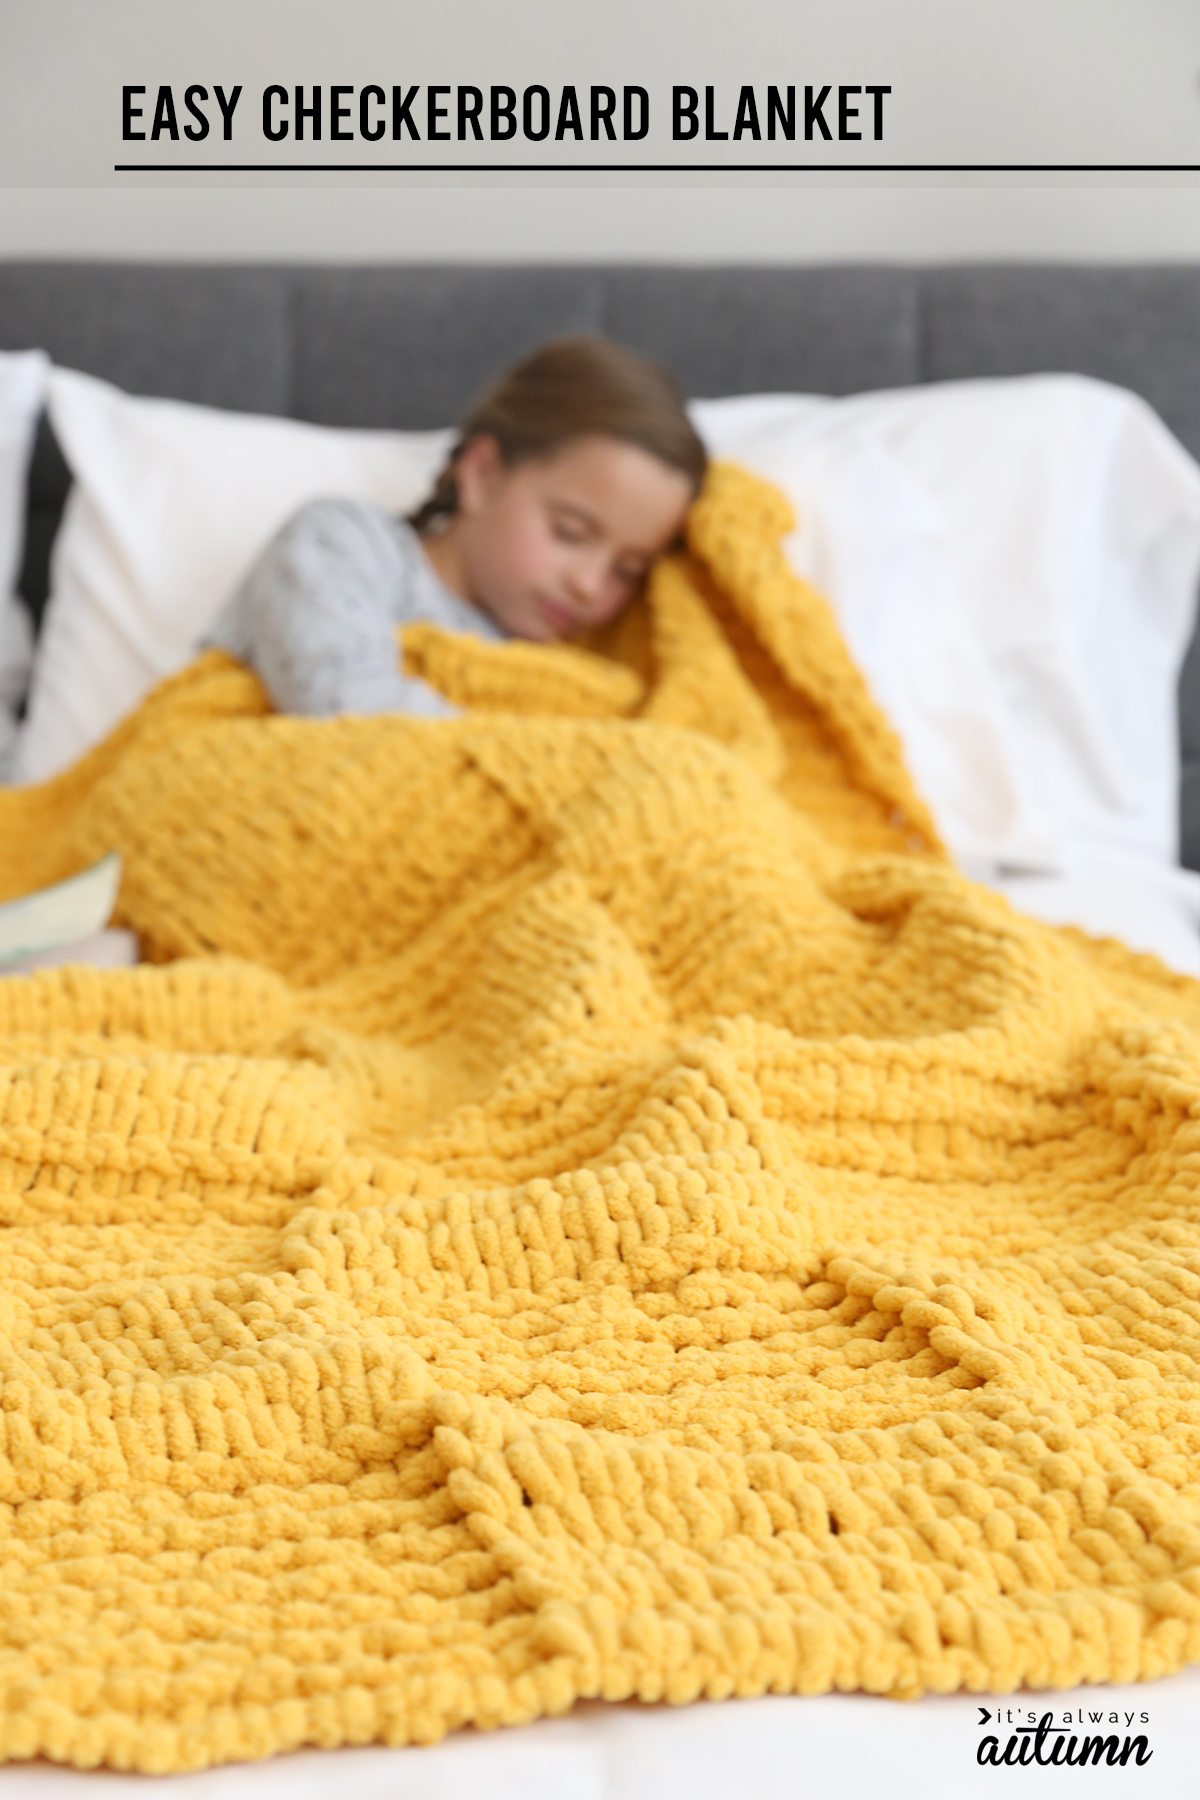
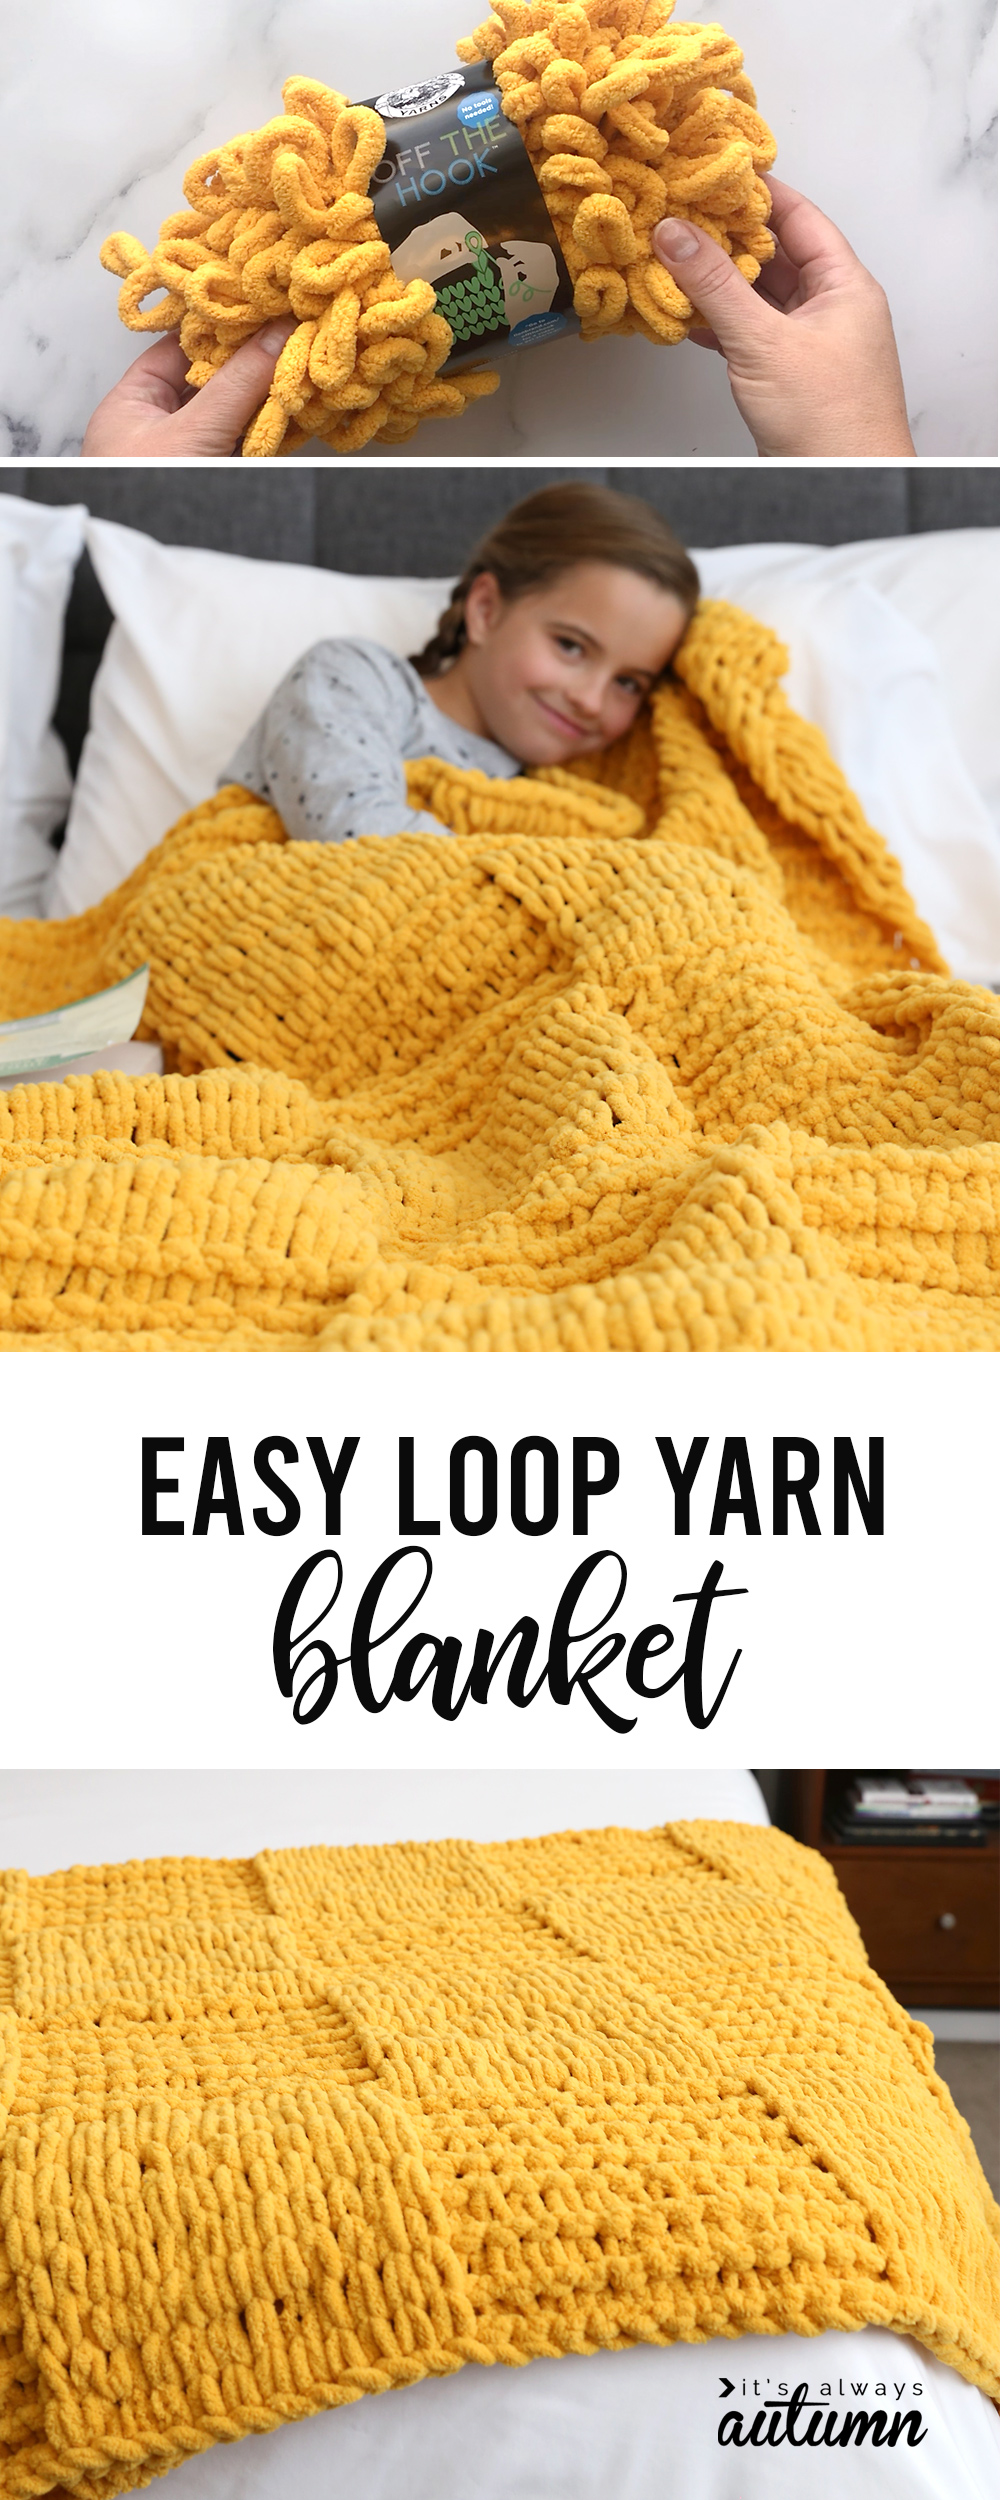
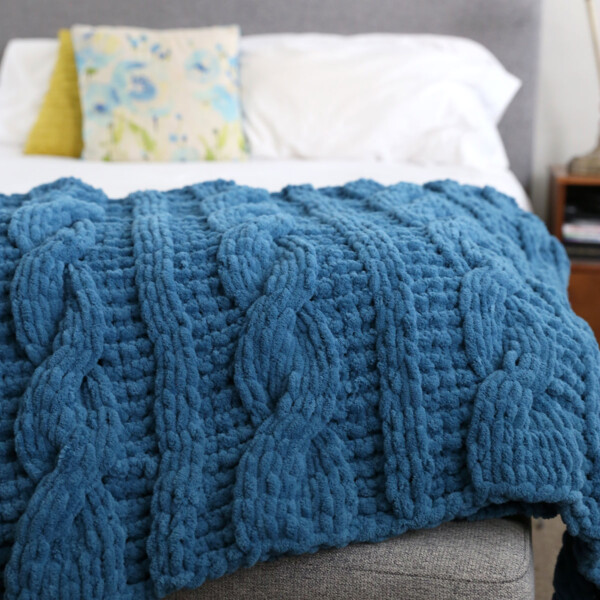
In today’s post: Learn the easy trick for making this pretty textured checkerboard blanket – no knitting experience necessary!
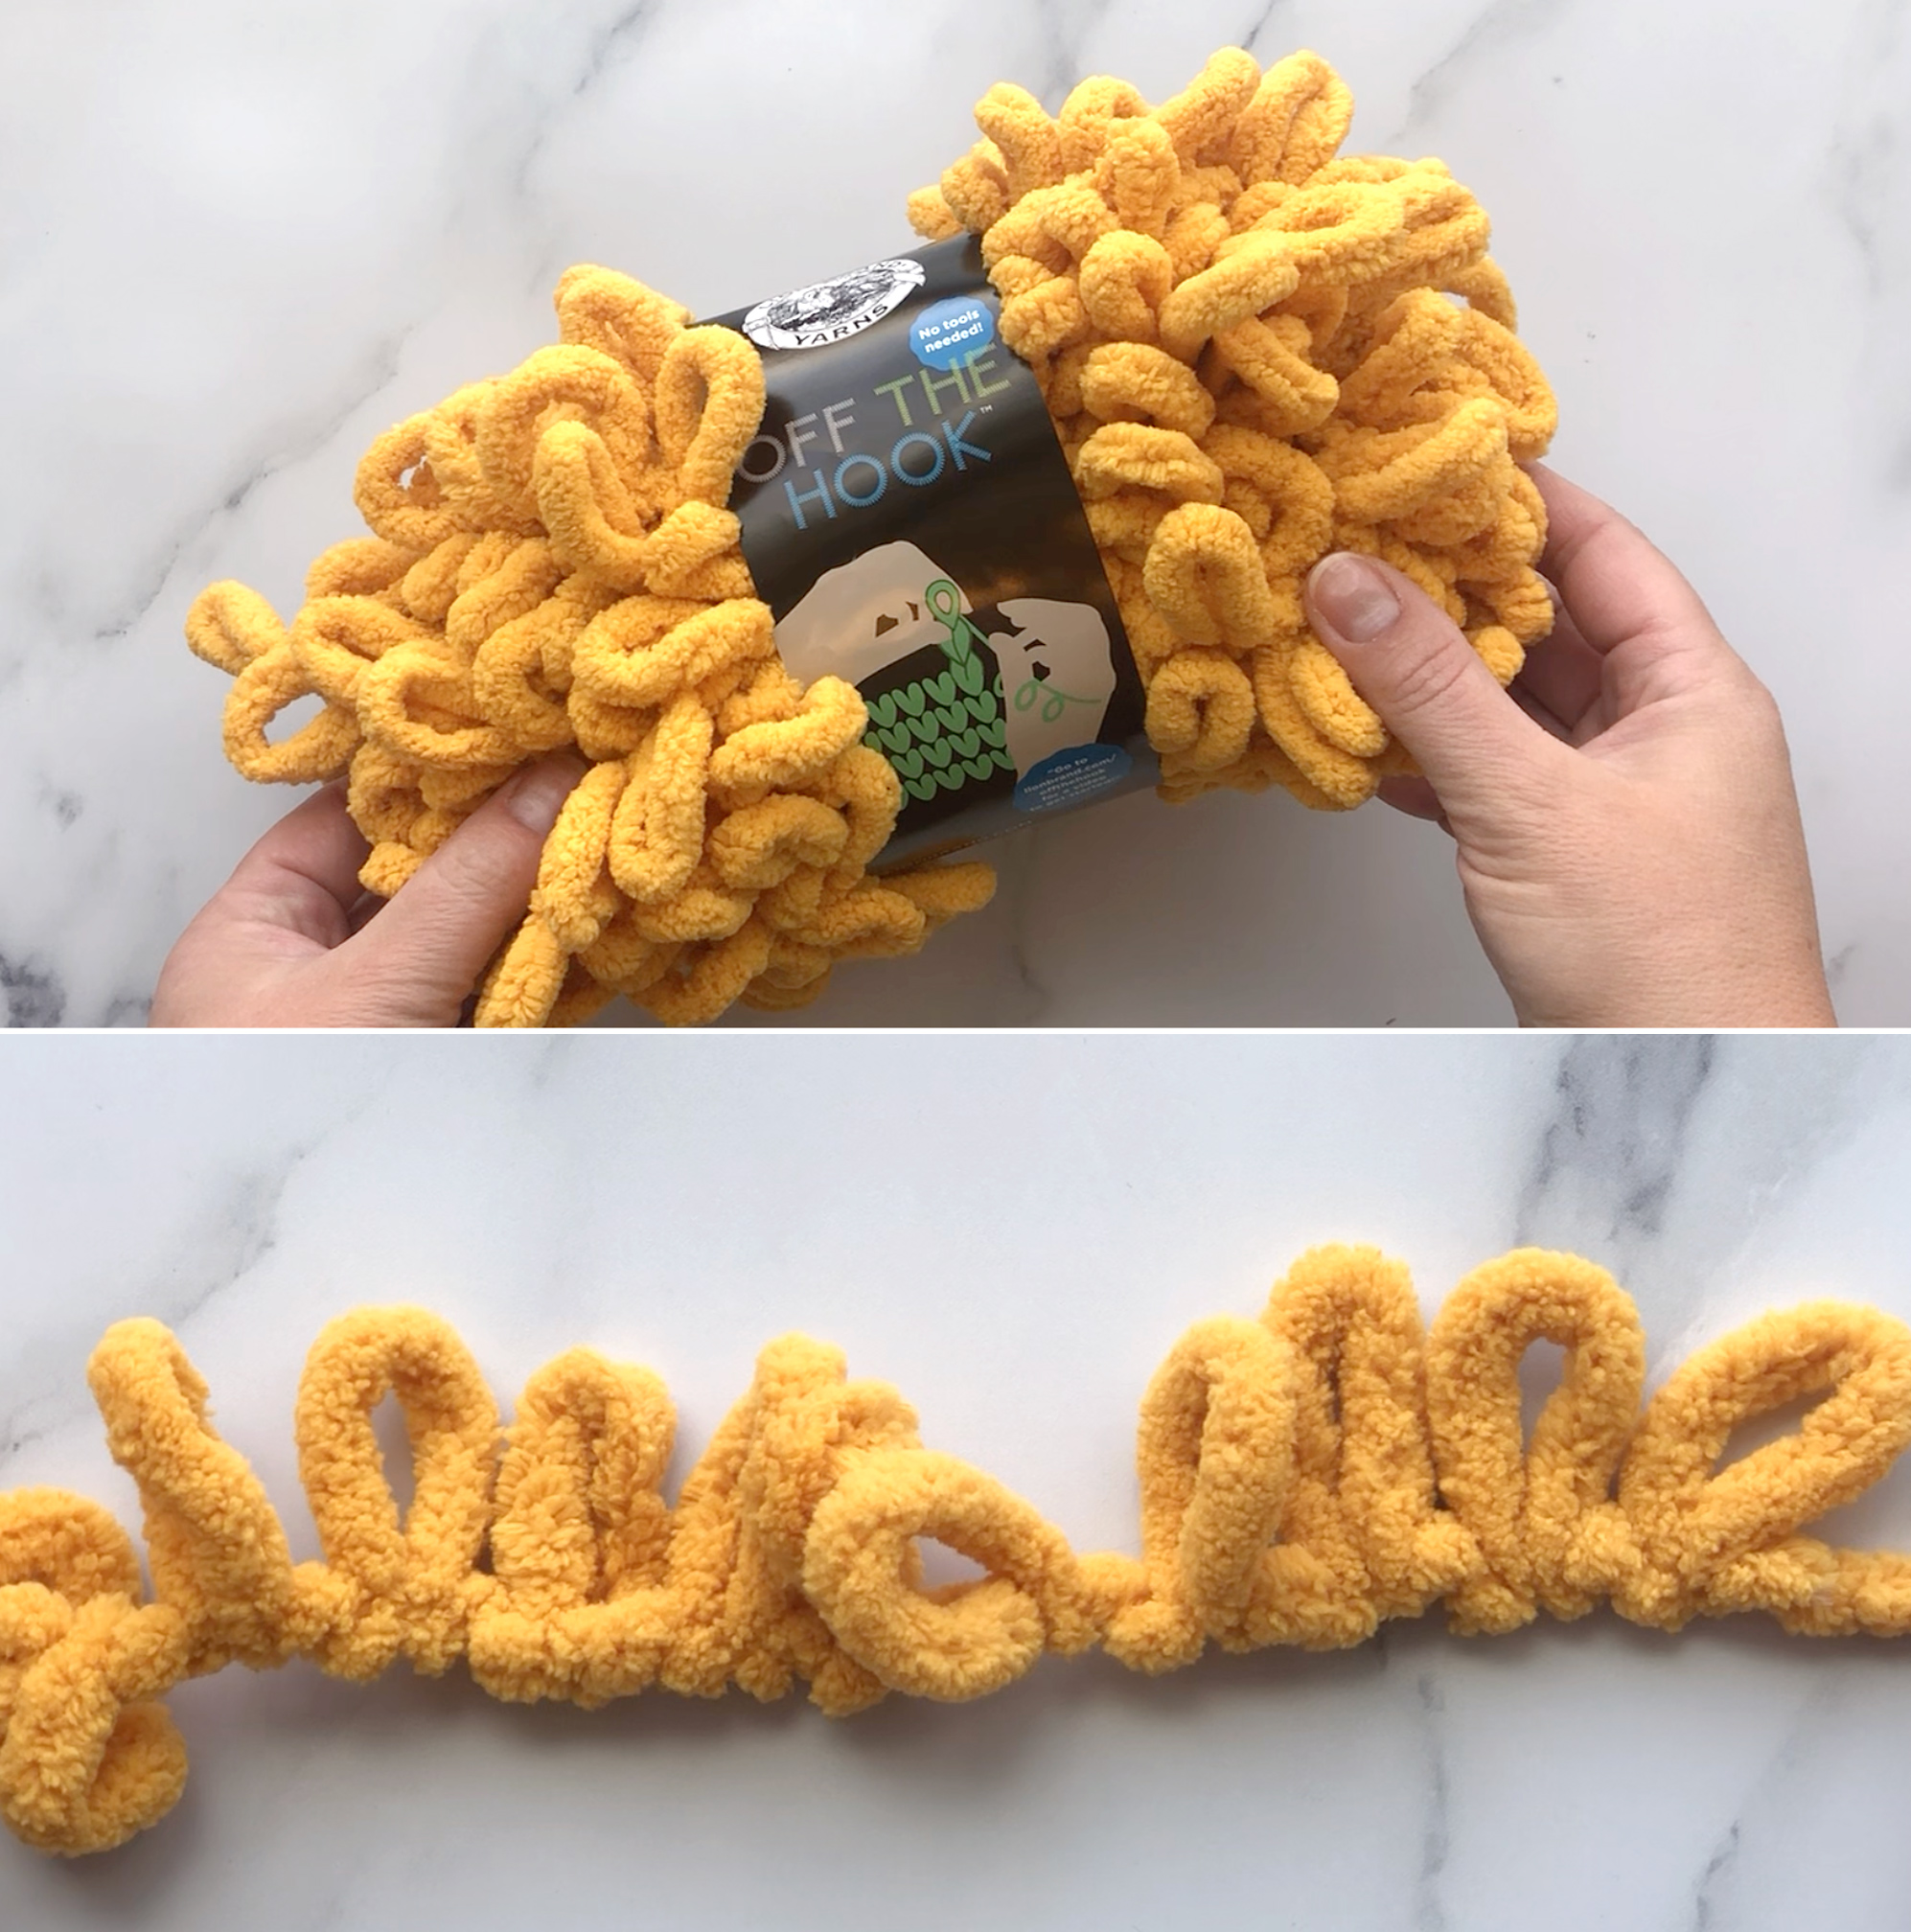
If you’ve been here before you’ve heard me talk about Loop Yarn. It’s basically magic.
What’s so cool about loop yarn? Well, it allows you to knit blankets when you don’t know how to knit. You don’t need knitting needles or crochet hooks or any sort of knitting experience whatsoever. In about ten minutes you can learn how to make a gorgeous blanket, like the one I’m going to show you today:
Finger Knitting with Loop Yarn
I’ve made a couple blankets with this yarn already, but I think today’s blanket is actually the easiest one yet! It’s fun because you make a pretty checkerboard pattern – but you only need to know one basic stitch.
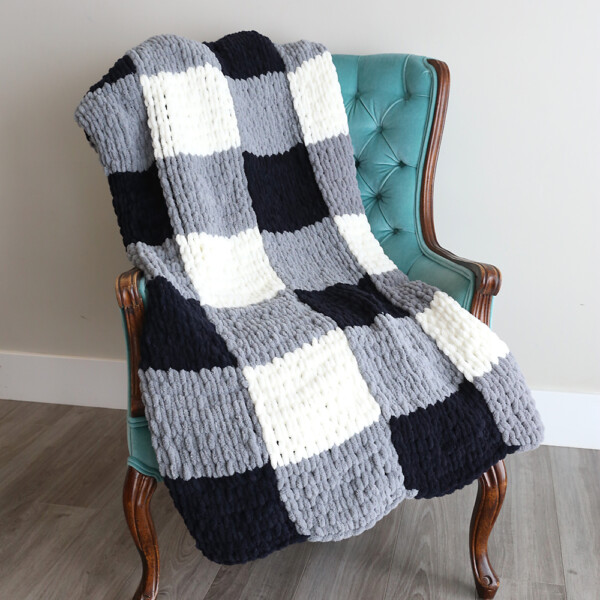
See my other loop yarn blankets: Cable Knit Blanket | Plaid Finger Knit Blanket
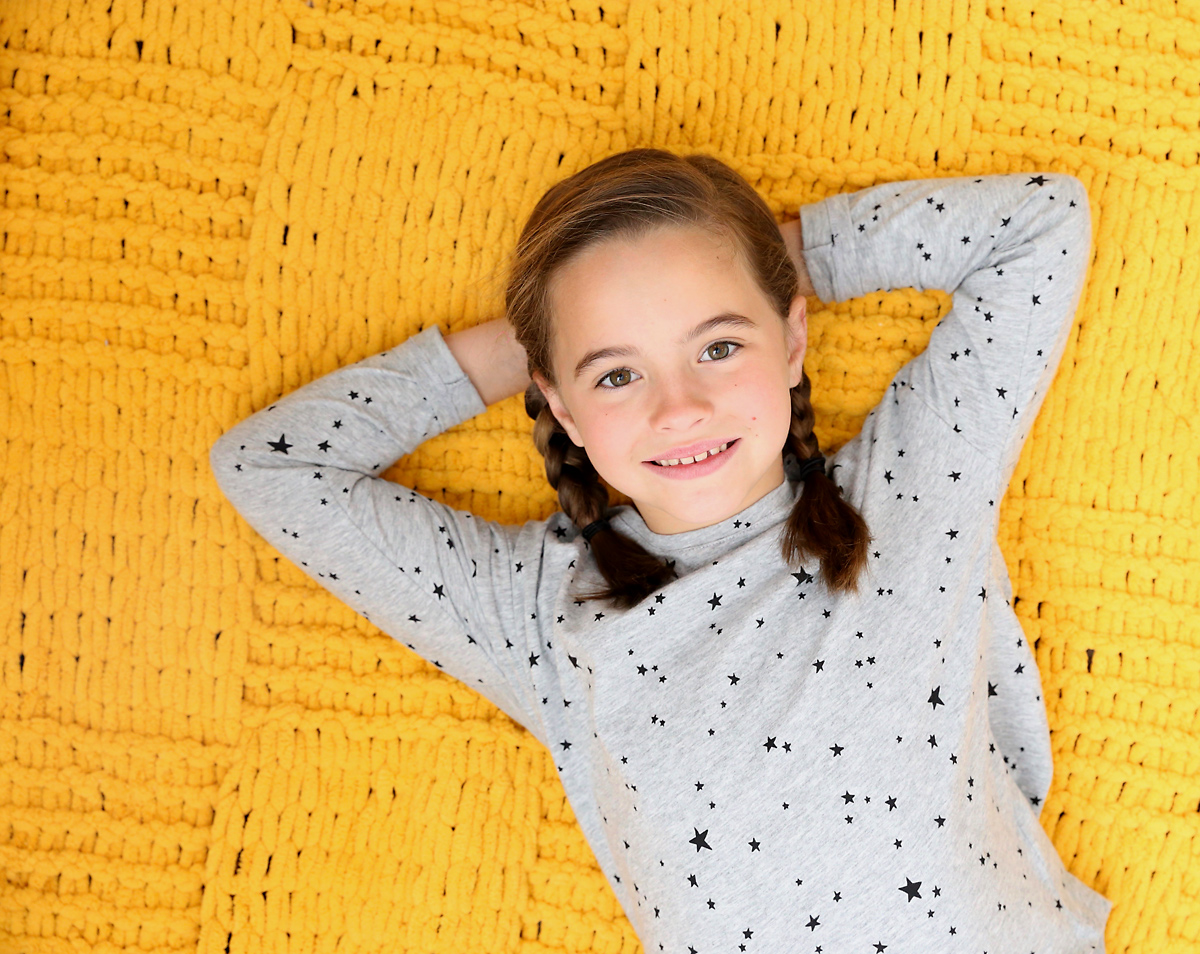
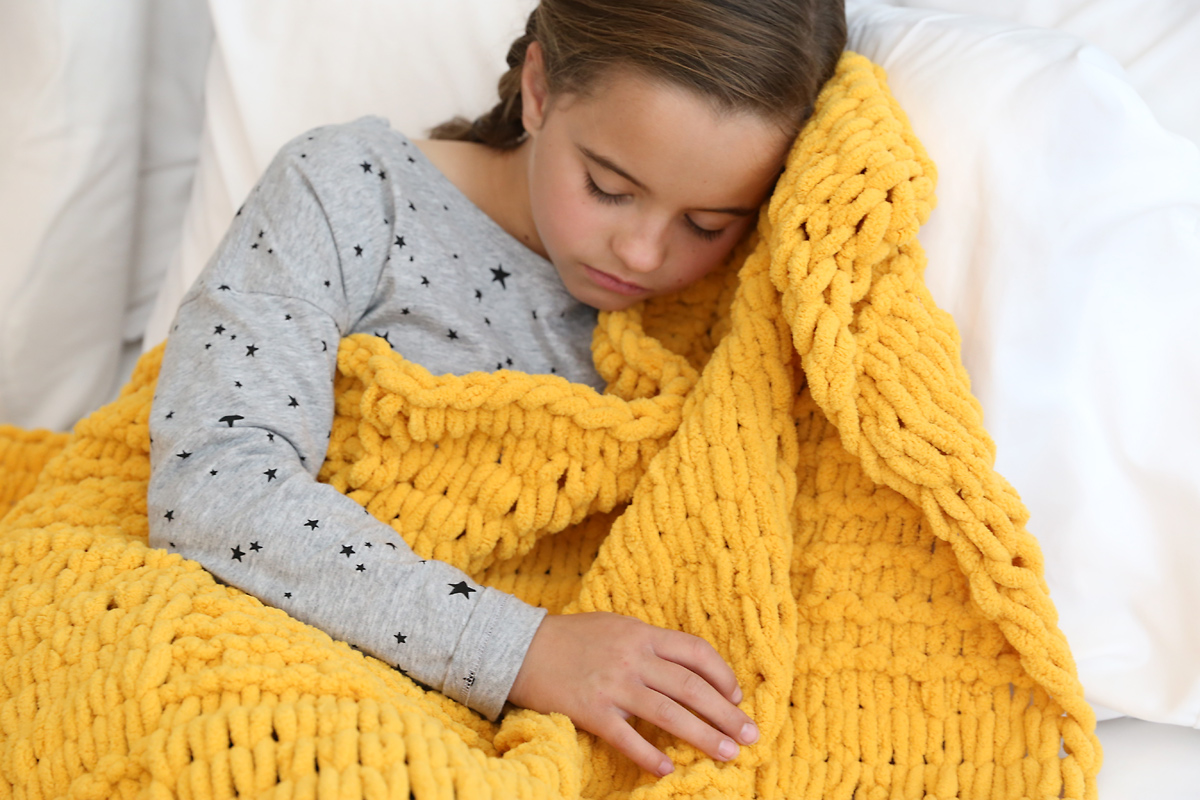
My kids LOVE the blankets I’ve been making with loop yarn. They’re crazy soft and fun to snuggle with.
What makes this yarn so easy to use is that it has the “loops” you’d normally create with knitting needles pre-sewn into the yarn. That means the loops are always the perfect size and you can knit the blanket together with just your fingers. It’s the perfect “pop in a movie and lounge in your comfiest chair to work on” kind of project.
You can find info on which brands of loop yarn I prefer in the Loop Yarn Pillow post.
How to Make a Checkerboard Blanket
I’ve created a video that will walk you step by step through the process of making this blanket, and then I’ve included some extra tips below.
(Note: if the video isn’t showing up below, that means you are using an ad-blocker. Whitelist this site in order to see the video. I know, ads are annoying, but they allow me to create tons of free content for you. Thanks!)
Checkerboard Blanket Diagram
It’s easier for me to understand what I’m making when I have a visual, so here’s a diagram of the blanket. Remember, as I mentioned in the video a knit stitch is when you pull the working yarn from back to front, and a garter stitch is exactly the same EXCEPT you pull the working yarn from front to back. So it’s really just one stitch that gets reversed half the time.
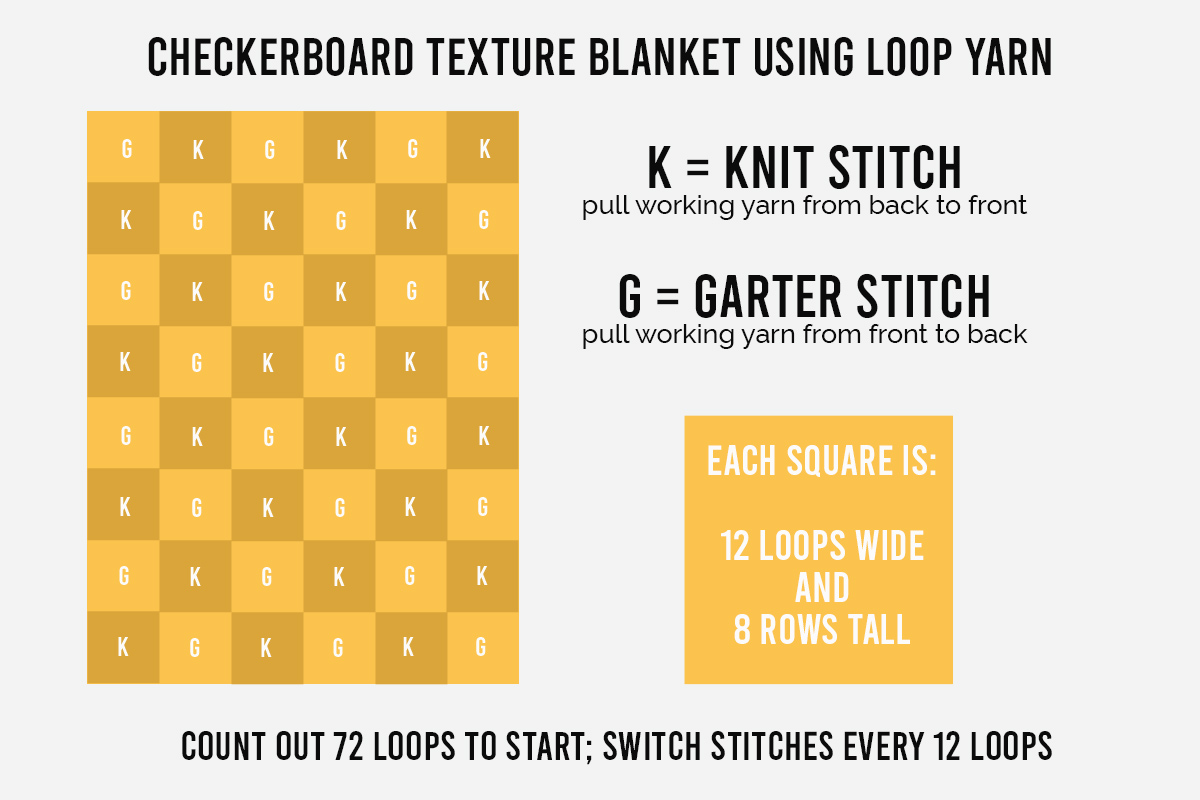
The blanket is 72 loops wide, which is 6 sets of 12 loops. As you work each row, you’ll switch between doing a standard knit stitch (where the working yarn is looped through from the back) and a garter stitch (where the working yarn is loop through from the front) – switching every 12 loops.
When you complete the first 8 rows, you’ll see that you have 6 squares completed, which alternate between knit stitch, which looks flat, and garter stitch, which looks striped horizontally. You’ll have 8 stripes once you complete 8 rows. This is when you’ll swap, and start with a garter stitch. The next 8 rows will start to create the checkerboard effect.
Remember each square is 12 loops wide and 8 rows high.
Checkerboard Blanket FAQ
How big is the checkboard blanket? The blanket I made is 50 inches wide by 60 inches tall, and the instruction I give will make a blanket that size. If you’d like to make a baby blanket, you can find a pattern on the Lion Brand site, but you do have to register to access it.
What kind of yarn did you use? I used Off the Hook yarn from Lion Brand. You can read more about the different types of loop yarn and which ones I prefer here.
How much yarn will it take? Loop yarn comes in different size skeins. If you are using Lion Brand, which is a smaller skein, you’ll need 12. If you are using the Bernat Blanket EZ yarn, you’ll need 6.
How long will this take to make? This will depend on how quickly how finger knit, but I’d plan on around 8-10 hours.
How do you start a new skein of yarn? When you get to the end of a skein, snip open the last loop to create a tail. Snip open the first loop of a new skein of yarn to create a tail, then tie those two tails together and continue knitting. When your blanket is finished, you will need to weave in the tails to hide them.
NOTE: A reader has told me that she sews a new skein of yarn to the end of the old skein using matching thread, then just trims the tails so you don’t have to weave them in. I think I will try this next time!
How do you finish the blanket? I cover this in the video above. Basically, you bind off by threading loop 2 through loop 1, then loop 3 through loop 2, etc., all the way across the top of your blanket.
Can I wash a blanket made with loop yarn? Yes, the yarn is machine washable and dryable.

Kim Carleton says
I’m so excited to start my blanket. I have young adults and wanted to make the blanket a little larger. How many loops to start would I need instead of 72?
autumn says
For this blanket, you want to use something that’s divisible by 12, so I’d go up to 84. Good luck!
Lizzette says
Hi I’m deaf wow😱🥰 beautiful blanket I want one … I ask you please loop-it how many ball and yarn 🧶 text send me please please God bless you always thank you 🙏🏻 😊