Supplies
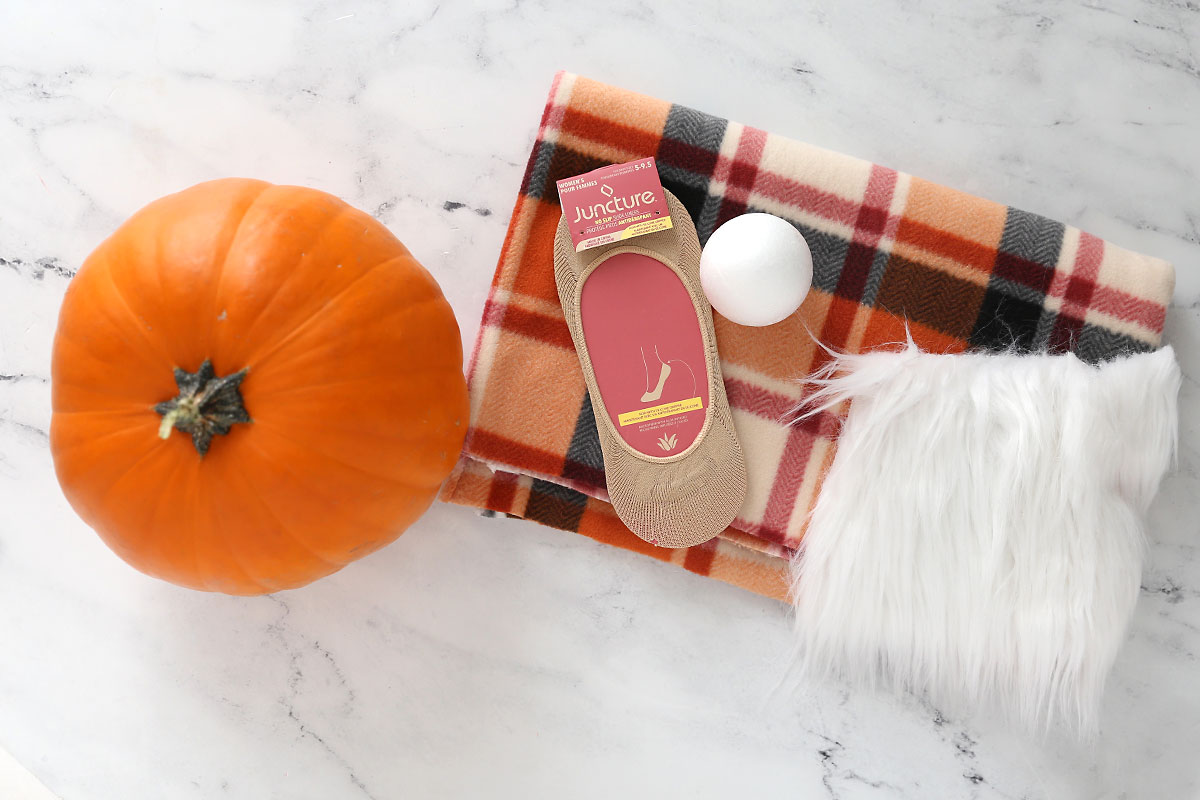
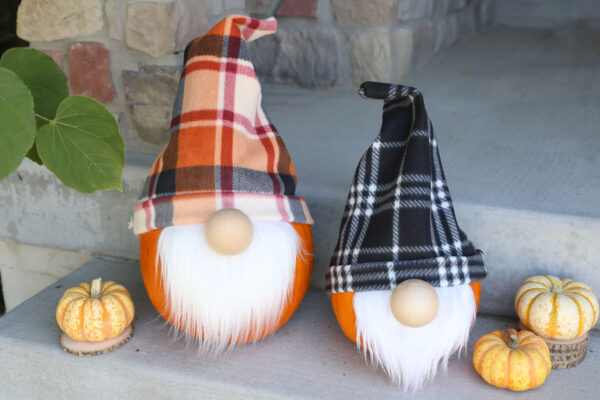
Here’s what you’ll need to decorate a pumpkin as a gnome:
- Pumpkin: I used a real pumpkin, but you can use a fake one if you’d like.
- Fleece fabric: You’ll want to get half a yard of fleece, which will be enough to make the hat and give you some extra to use as stuffing inside the hat to keep it standing up. If you are purchasing fleece at Jo-Ann, Blizzard fleece is the cheapest option and it works great here.
- Styrofoam ball: You’ll need one ball to make the gnome’s nose. The balls I used are 2.3 inches in diameter and were purchased at Jo-Ann.
- Tan socks or pantyhose: You’ll use these to cover the nose, so look for thin socks or pantyhose. The ones I used are from Dollar Tree.
- Faux fur: you’ll need approximately 8×8 inches of faux fur. Check the box below the photo for information on where you can get faux fur.
You will also need a hot glue gun and a small sharp knife.
Where to Buy Faux Fur
Here are two options for purchasing faux fur:
- Jo-Ann Fabrics (or other fabric stores) will carry faux fur on a bolt that’s 60 inches wide. The type I used is a long white fur, but you can use a different color if you prefer. A quarter yard of faux fur will be a piece that’s 9 inches by 60 inches. That’s going to be a LOT of faux fur, which you can save and use for other projects. This is a great idea if you like making gnomes. Faux fur at Jo-Ann is expensive; it runs about $50 a yard, or $13 for a quarter yard, so try to use a 50% off coupon to make it about $6.50.
- Another option is to order squares of faux fur from Amazon. I ordered this fur which gives you four 10×10 inch pieces of fur for around seven/eight dollars. It comes packed tight so right out of the package it looks wrinkled and terrible. All you have to do is blow it with a hair dryer on both sides for a minute or so and the wrinkles fall out. I think this is slightly nicer/longer fur than what I bought at Jo-Ann.
How to Make a Pumpkin Gnome
This easy halloween craft can be completed in about half an hour. If you’ll be displaying your pumpkin outside, make sure it’s in a covered area that won’t get rained on. And if it’s in a windy area, you may want to glue the hat to the pumpkin. Otherwise, you don’t have to glue on the hat and you can easily remove it if you decide you want to carve the pumpkin later on.
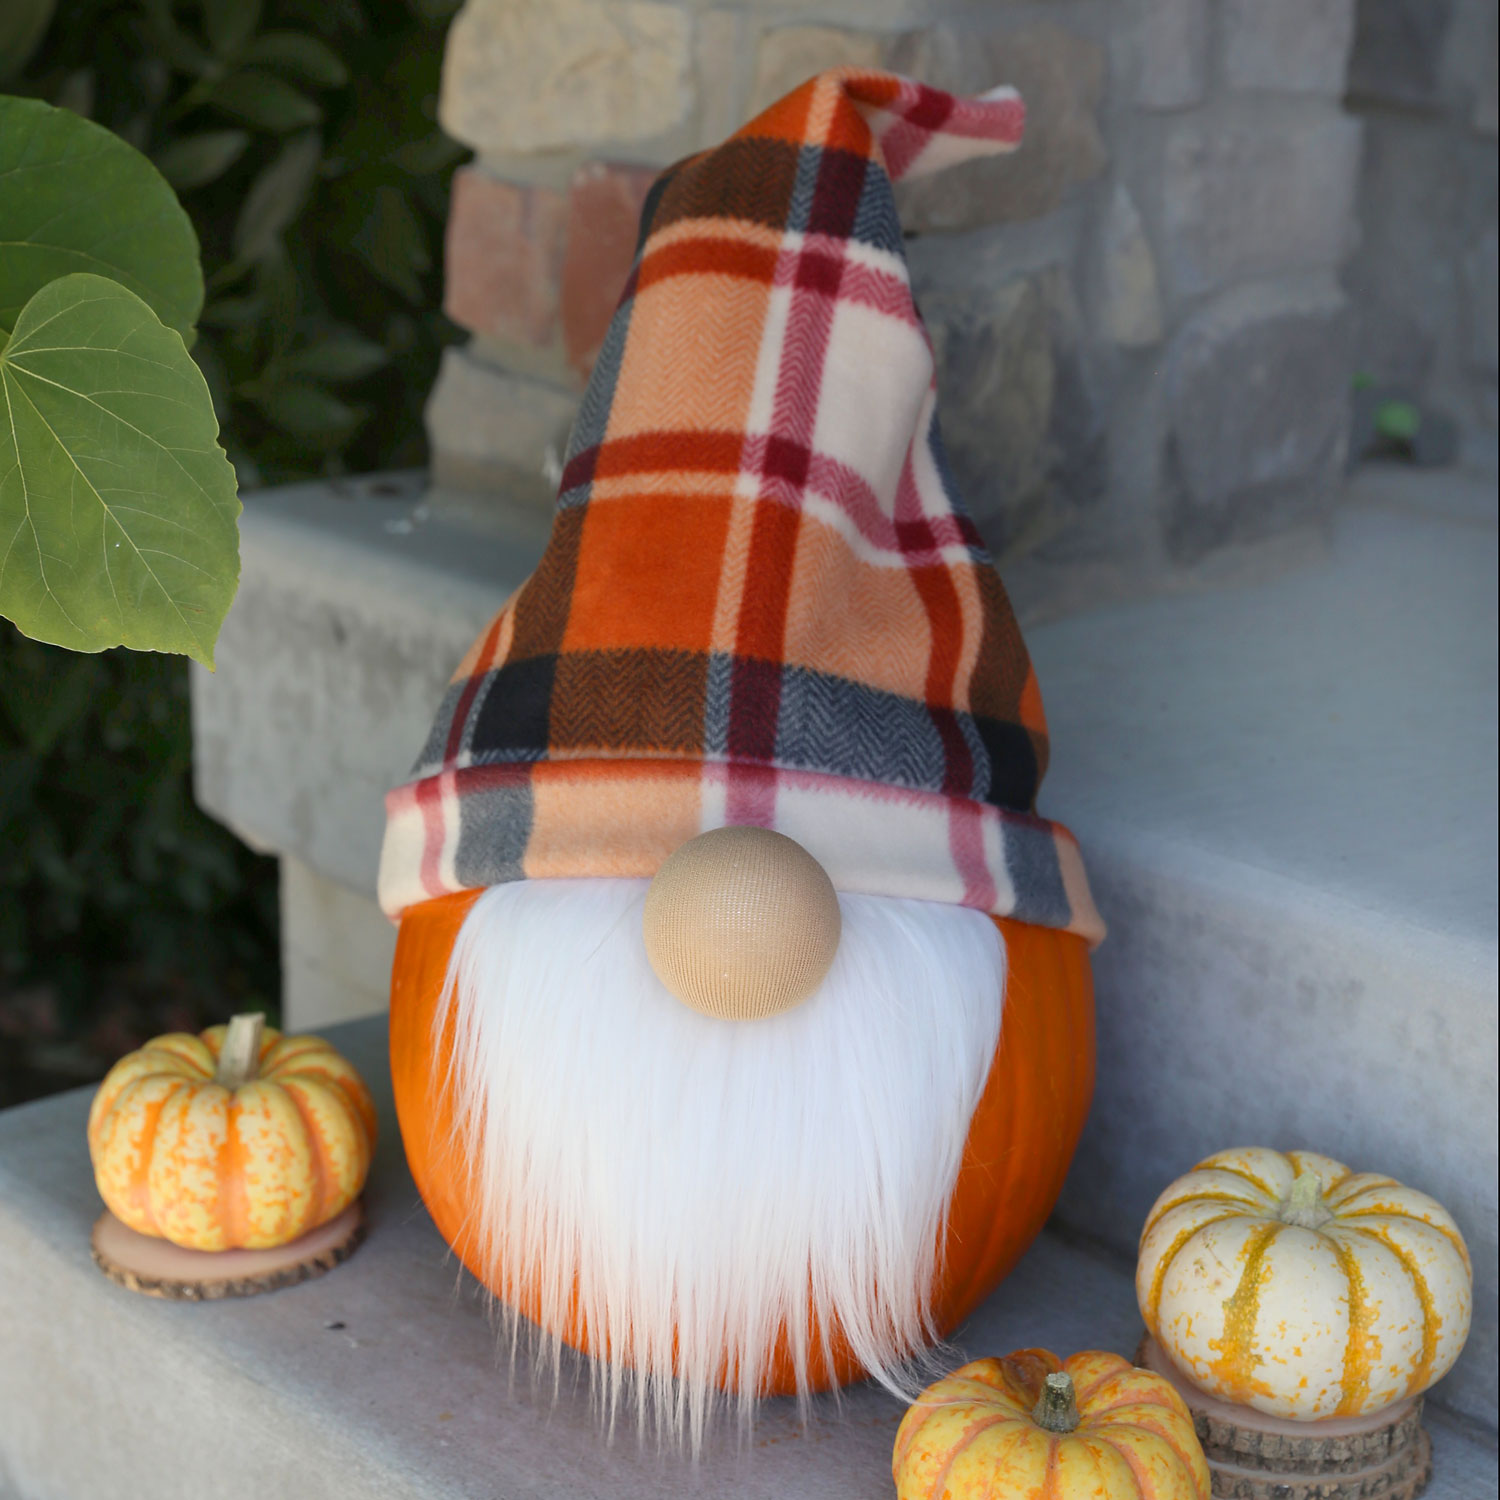
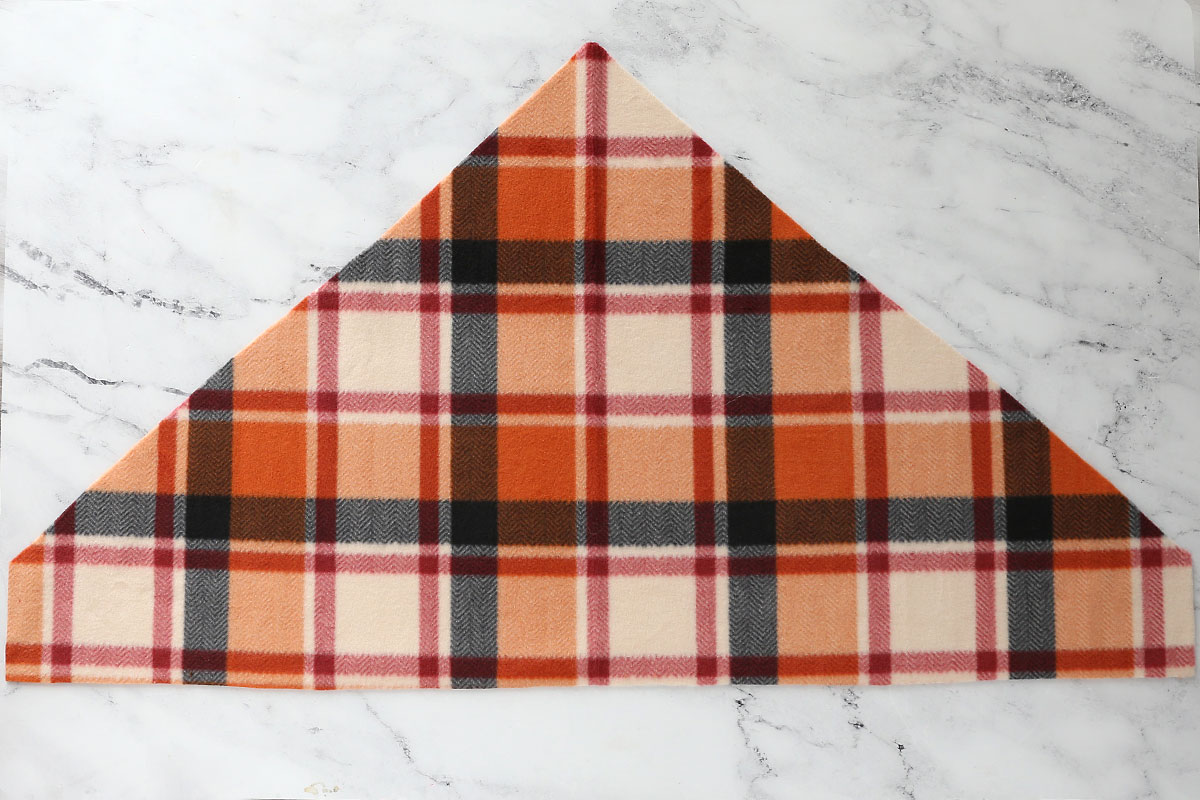
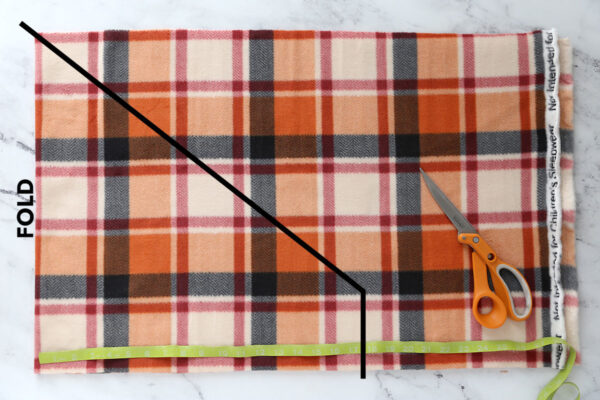
Fold the fleece in half. Divide the number you just calculated in half and round up to the full inch if needed, then measure that distance from the fold (my number was 35, so I measured 18 inches from the fold). Cut up four inches from the bottom of the fabric, then cut diagonally back to the top corner. Cuts are shown below in black. Reserve the extra fabric for stuffing the hat in the last step.
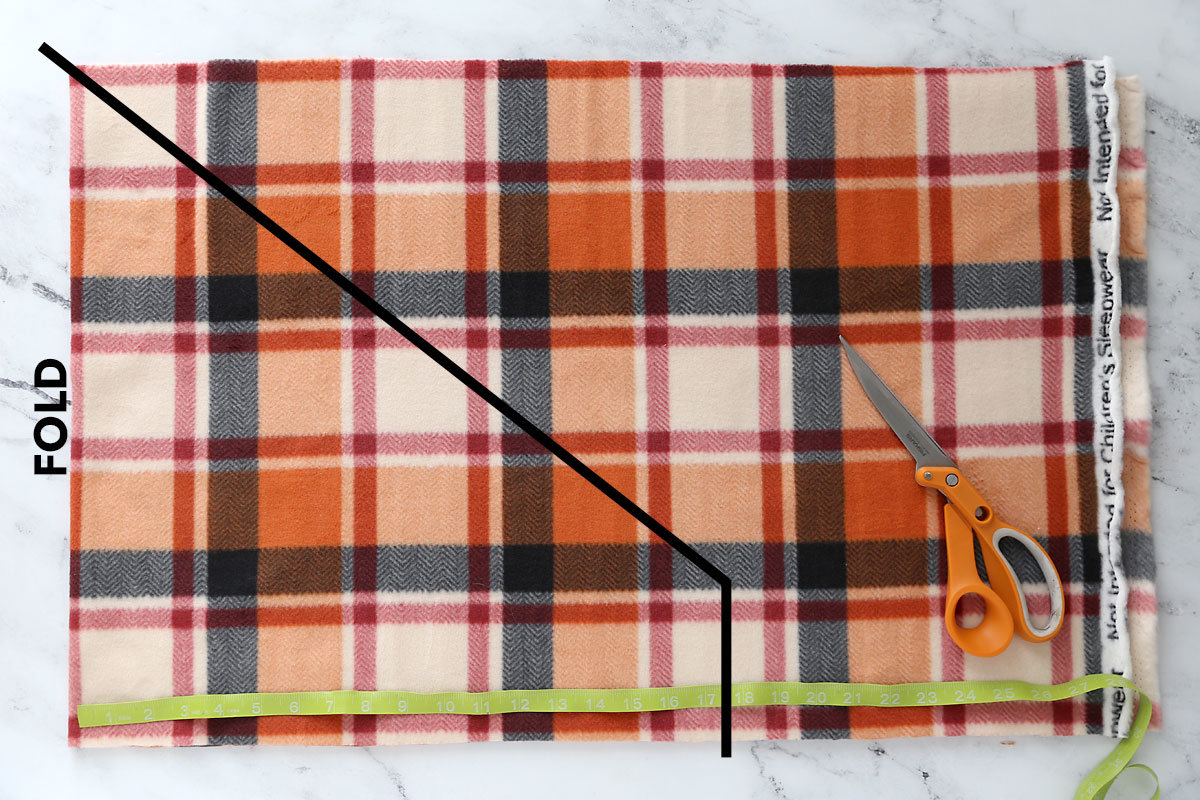
Here’s what it looks like cut while still folded:
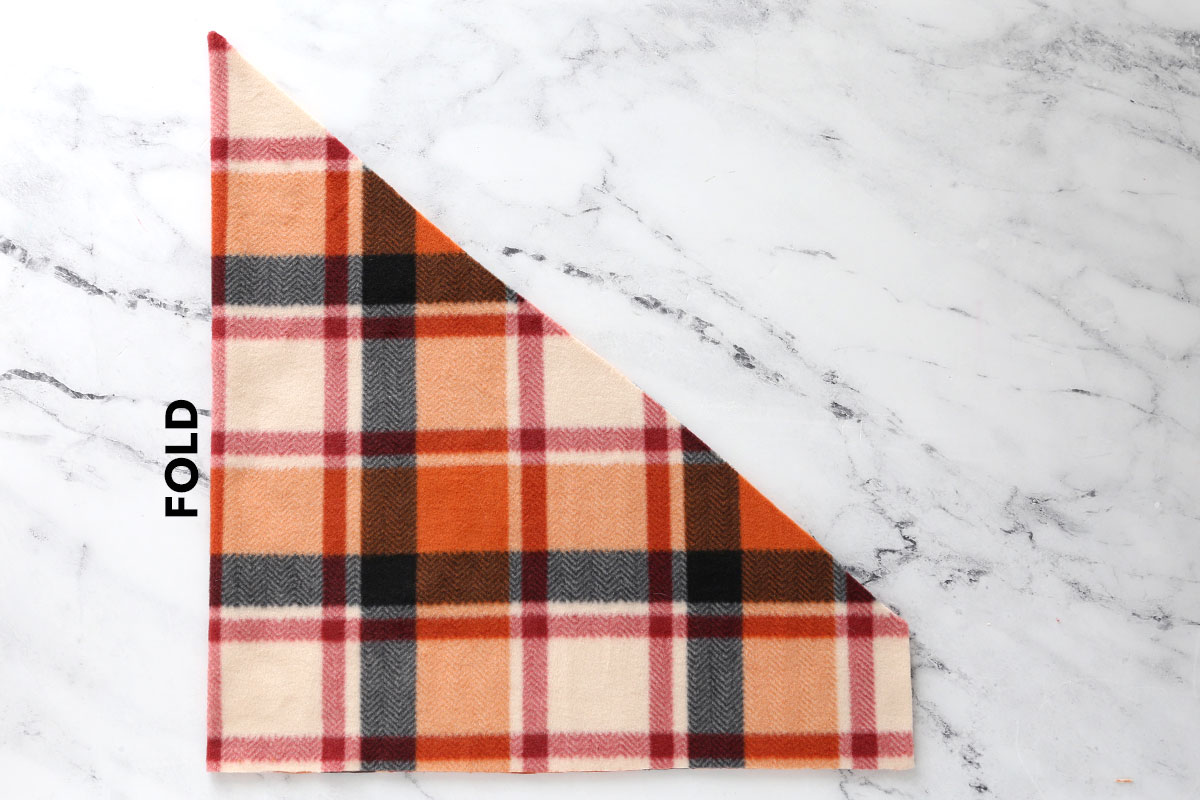
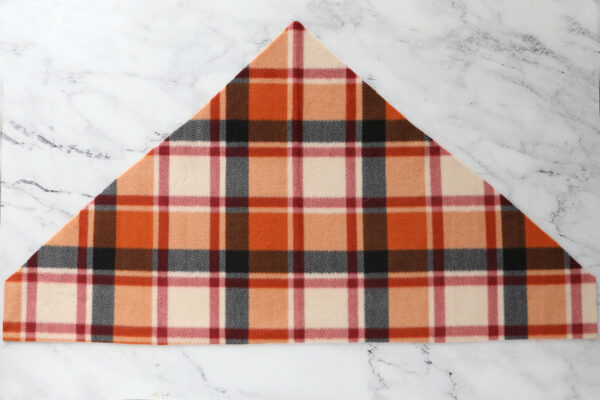
Here’s what it looks like when you open it up:
Create a Hat Cuff
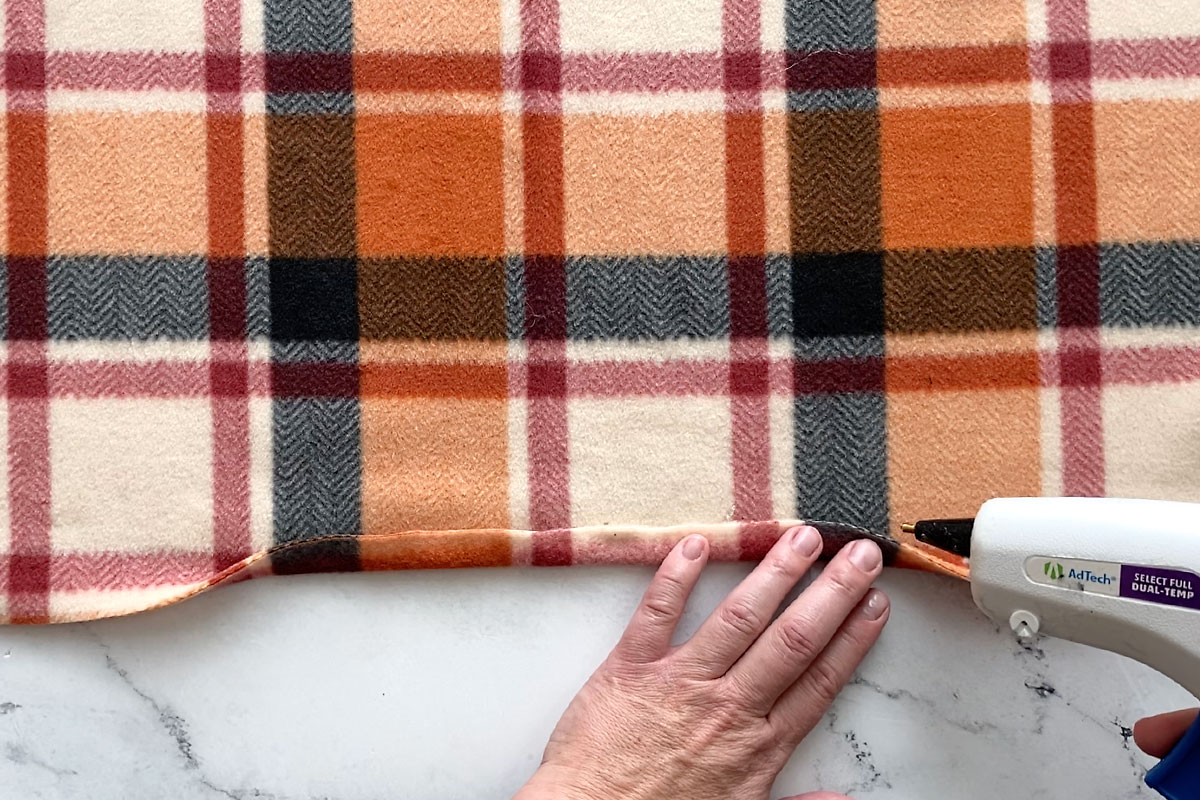
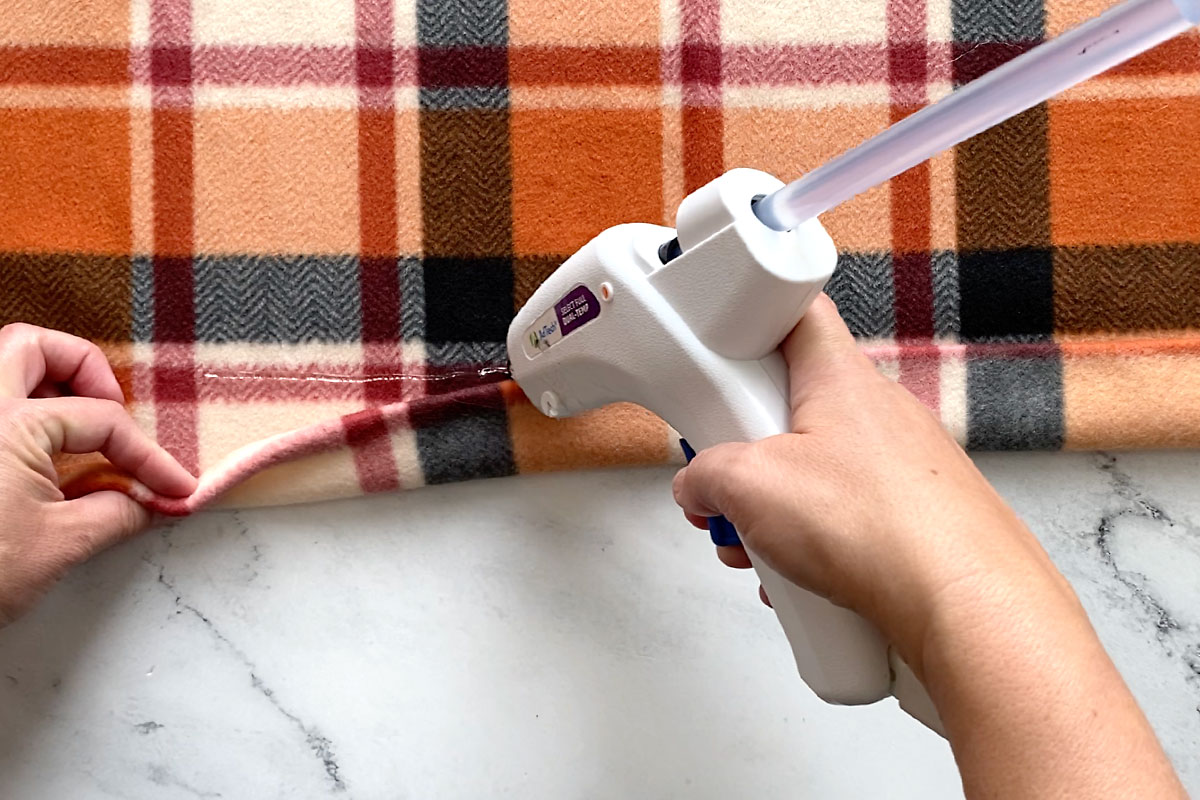
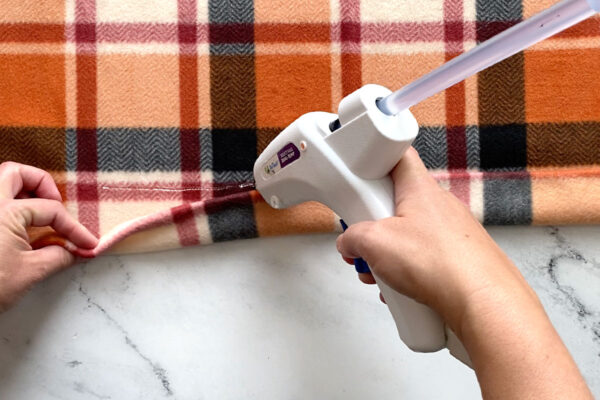
Make sure your fabric is laying with the right side facing you. Now you’re going to fold up the bottom edge and glue to create a cuff for the bottom of the hat. Begin by folding the bottom edge up about half an inch and gluing it with a hot glue gun. Glue all the way across the bottom edge.
Attach The Beard
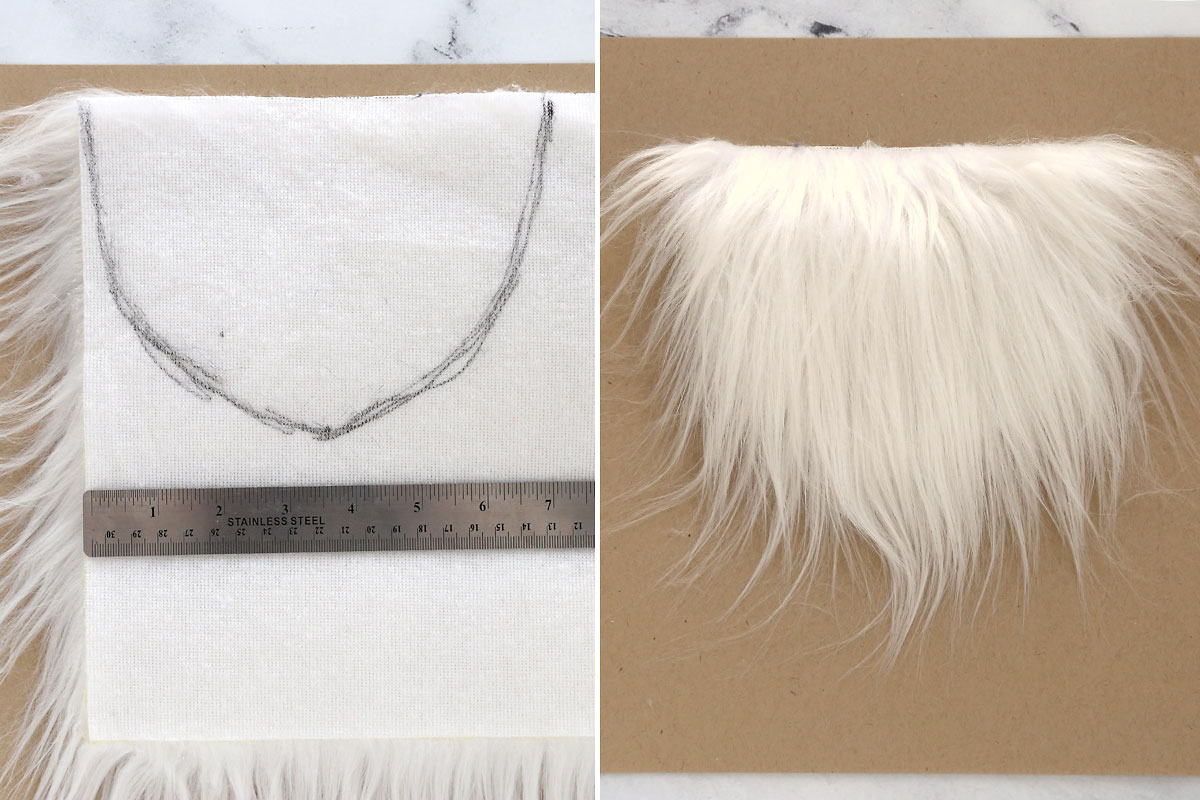
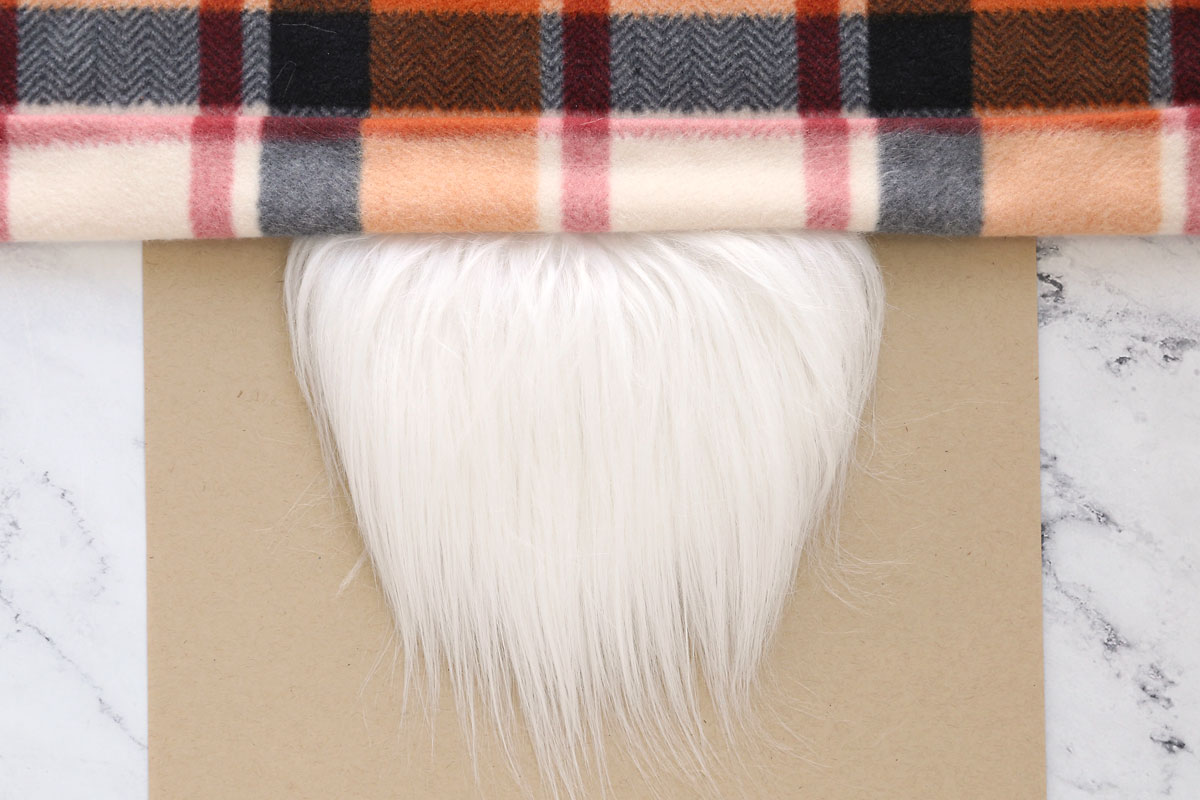
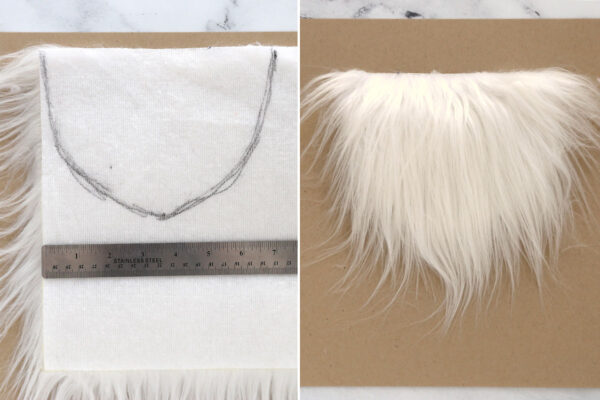
Now it’s time to cut out a beard from the fur. To get the width of the beard, take the number you used above to figure the width of the hat (mine was 35) and divide it by 5 (that gave me 7). For the beard height, measure how tall your pumpkin is and use half of that. My pumpkin was 10 inches tall so half was five. Flip the fur over, and on the back of it trace a beard shape, using your width and height measurements (mine was 7 inches wide and 5 inches tall).
NOTE: When cutting fur, you DO NOT want to just use scissors and cut it out like you would any other fabric because then the fur along the edges of the beard will be very short. To make sure you get the long “beard” effect on the fur, you have two options. First, you can use a razor blade or exacto knife and cut from the back of the fur, cutting through the backing only. Second, you can use sharp scissors, but you’ll want to cut with the back of the fur facing you, and slide the bottom of your scissor through the fur very close to the backing. Your goal is to just cut the backing, not any of the fur itself.
Finish the Gnome
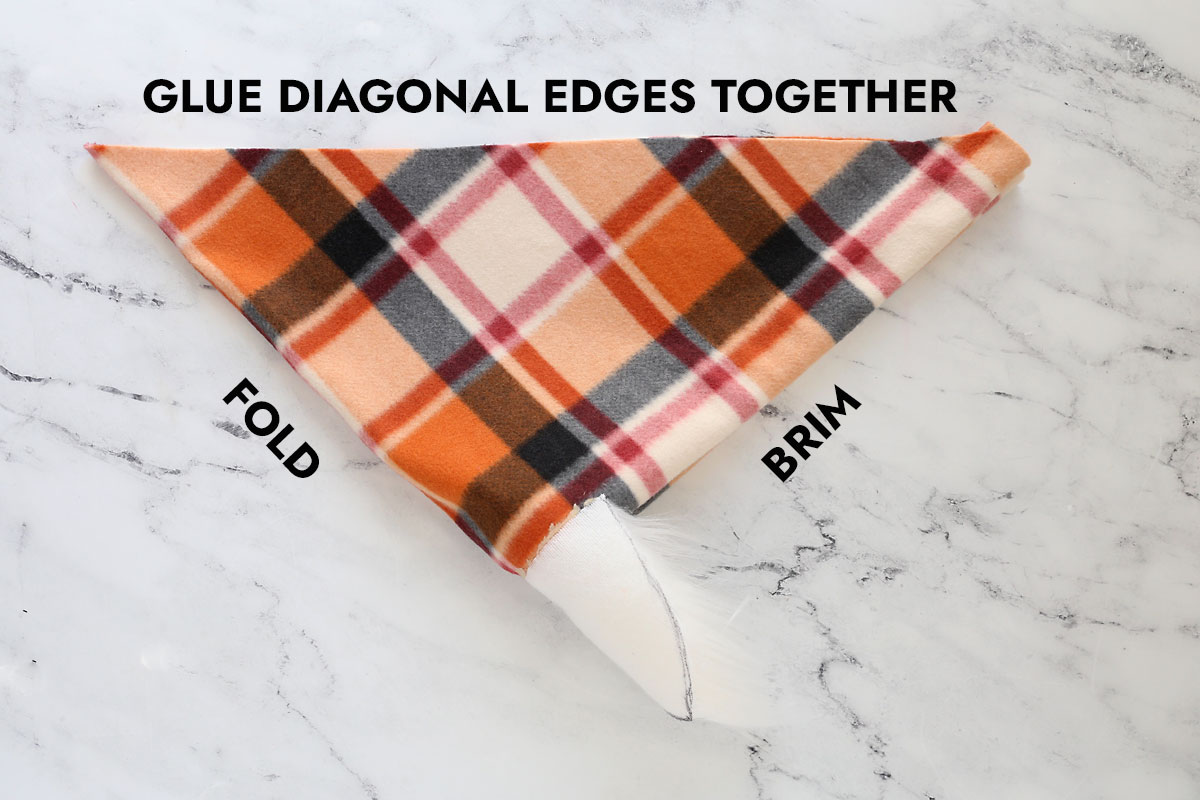
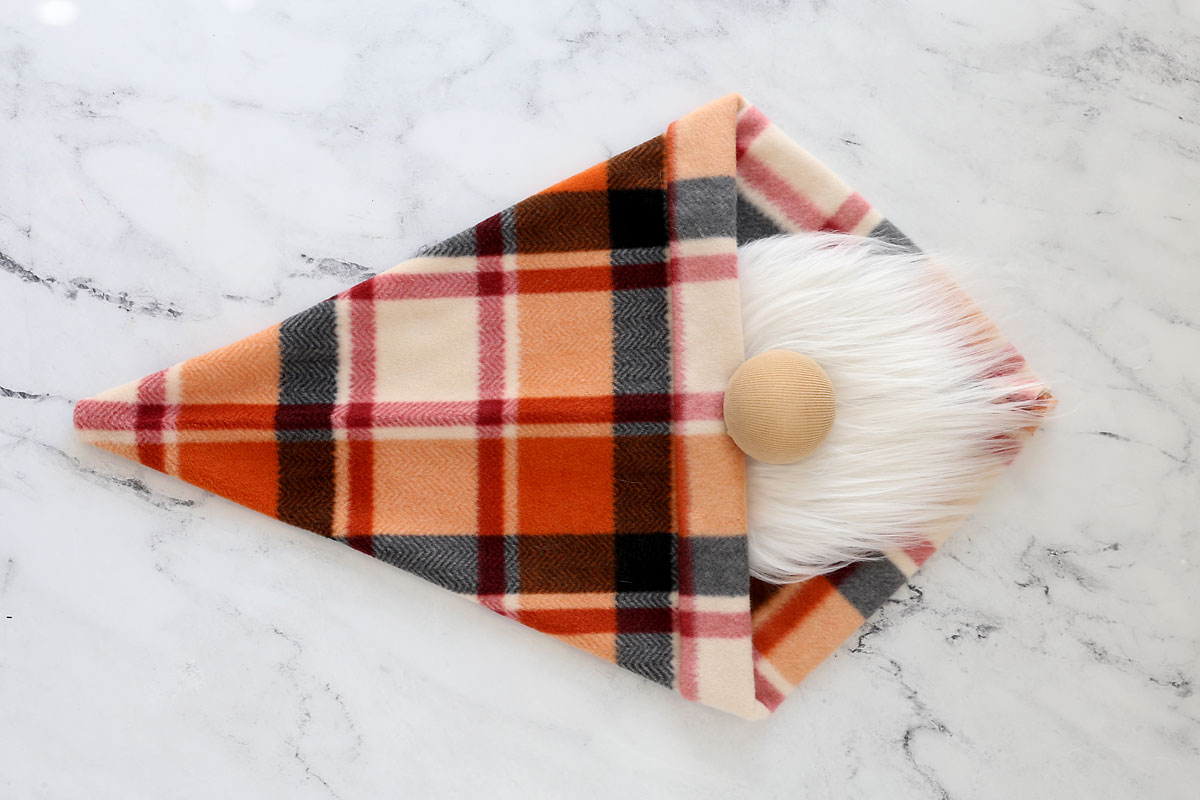
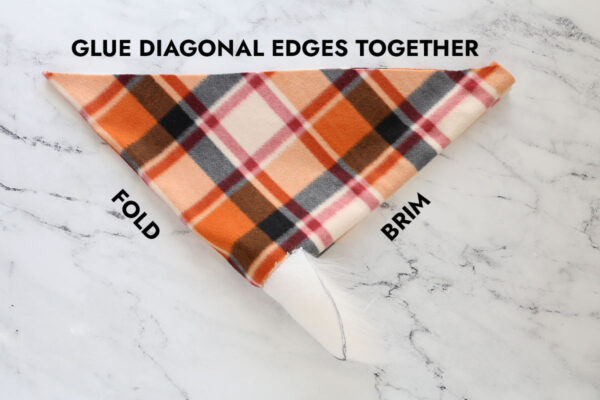
Now fold the hat in half, with right sides together (sandwiching the nose inside the hat). Match up the two diagonal edges of the hat, and glue them together with hot glue. You can sew this instead of using glue if you’d like. Press the edges together and give them a few minutes to cool.
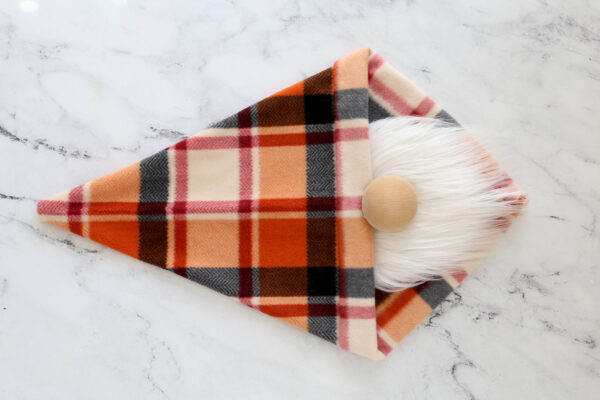
Then turn the hat right side out. To help the hat stand up once it’s on the pumpkin, grab the rest of the fleece fabric and fold it into a triangle shape that fits inside the hat. Alternately, you can stuff the hat with polyfil, crumpled newspaper, a kitchen towel, etc. You just want something inside it to help it stand up.
Gnome Pumpkin
Supplies
- Pumpkin
- 1/2 yard Fleece
- Styrofoam Ball
- Tan Sock or Pantyhose
- Faux Fur
Want more project ideas? Sign up to get my favorite easy crafts and recipes straight to your inbox!
Equipment
- Hot Glue Gun
- Small Knife
Instructions
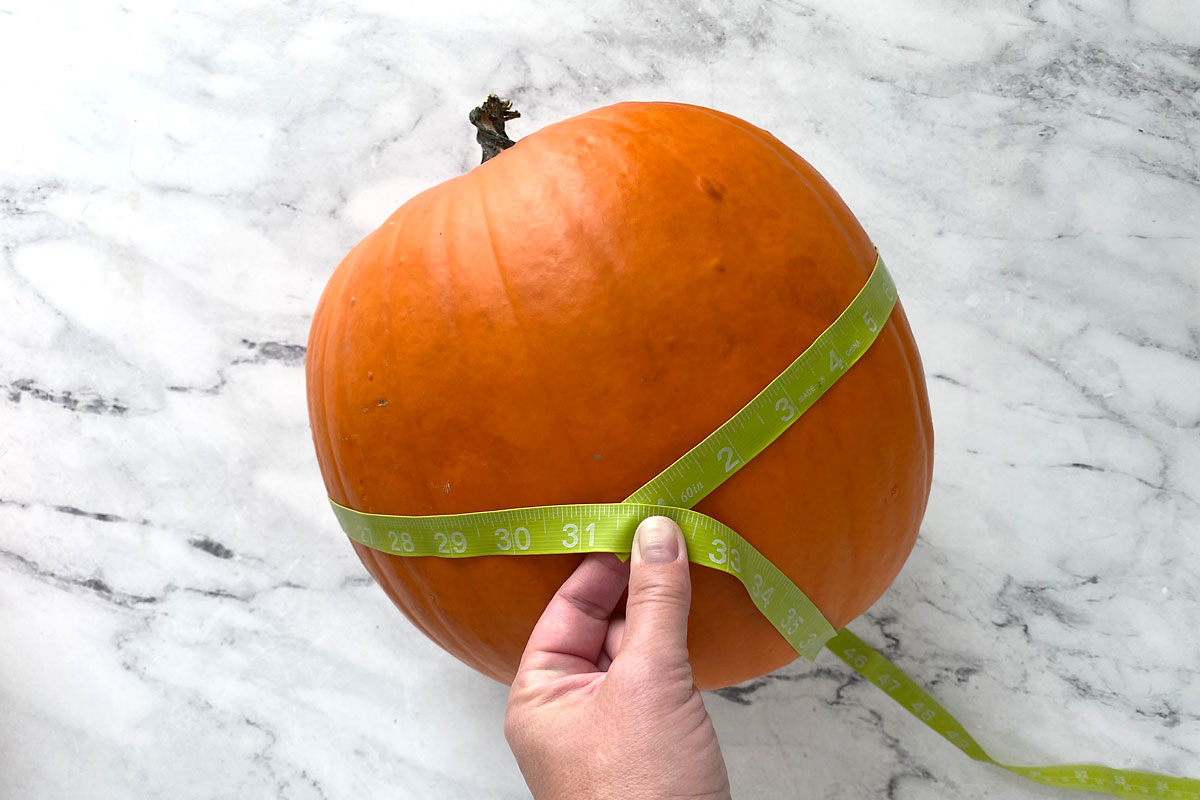
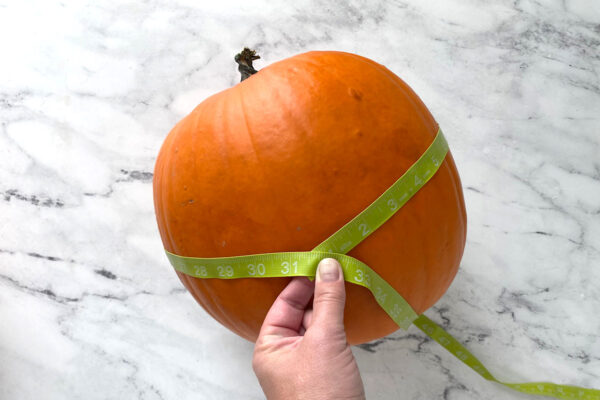
- Measure the circumference of your pumpkin, rounding up to the inch, and add 4. Then divide that number in half, rounding up to the inch.
- Fold the fleece fabric in half and measure away from the fold the number you just calculated. At that mark, cut up from the bottom for four inches, then cut back at an angle to the top corner.
- This is what the hat fabric looks like now. Lay it in front of you with the right side up.
- Fold up the bottom edge 1/2 an inch and hot glue. Then fold again, this time an inch and a half, and glue. This creates a cuff for the hat.
- Next you'll cut a beard. To get the beard width, go back to the original circumference number plus four, and divide that by 5. To get the beard height, measure how tall your pumpkin is and divide that by 2. On the back of the fur, trace a beard shape using the width and height you just calculated. Carefully cut out the beard, only cutting through the backing and not the fur.
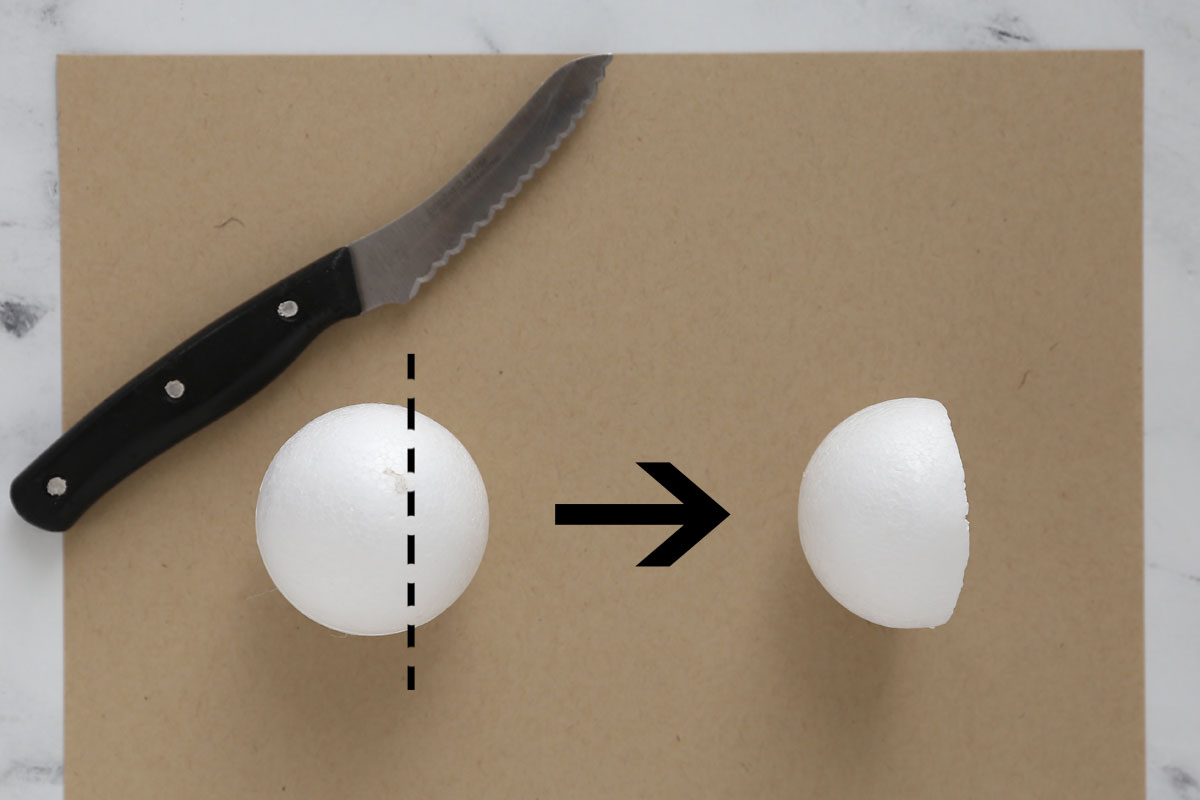
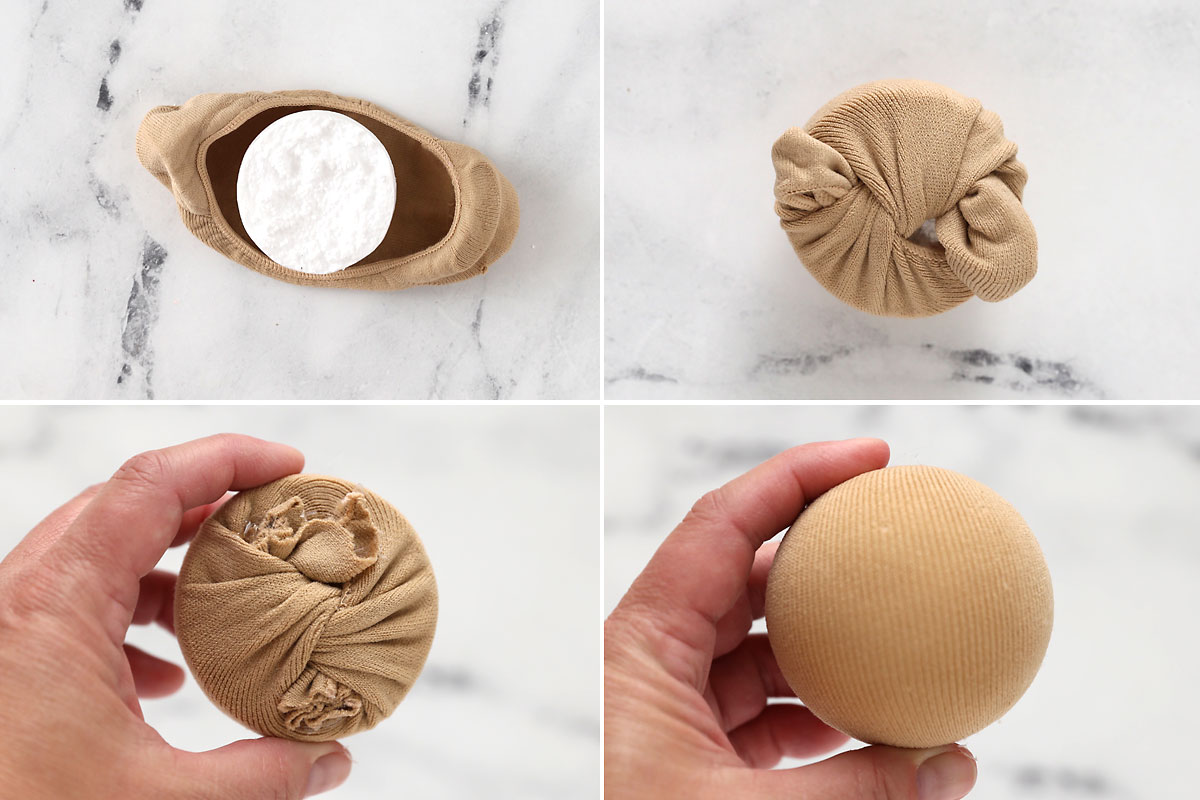
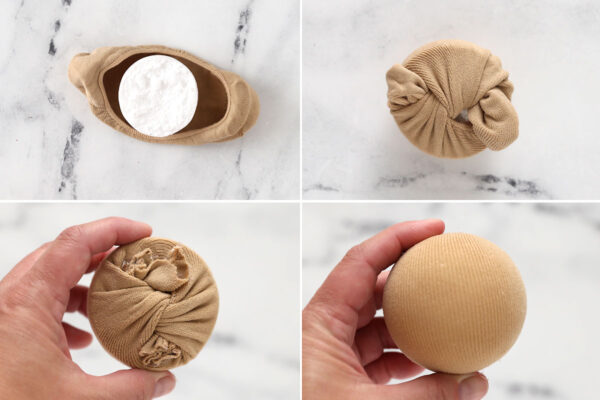
- Cut about a third of the styrofoam ball of to get a flat back, then cover the ball with the sock or pantyhose and secure with hot glue.
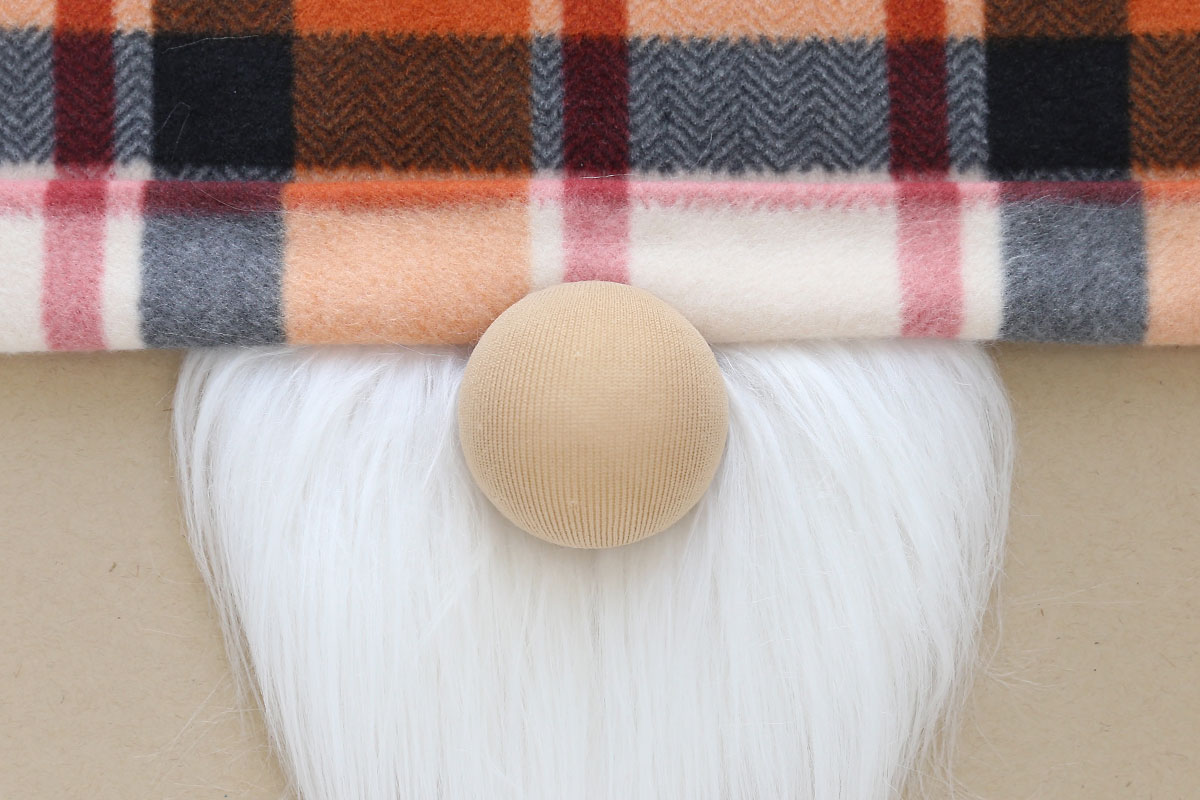
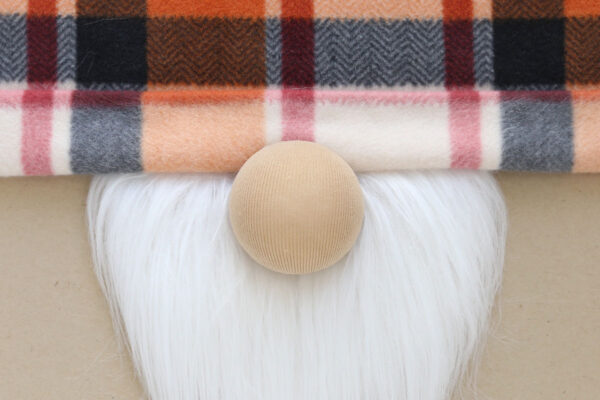
- Glue the beard to the center of the hat, with the hat over the top of the beard. Glue the nose onto the beard, slightly overlapping the hat.
- Fold the hat in half right sides together, and glue the two diagonal edges together.
- Turn the hat right side out. Fold the extra fleece fabric into a triangle shape that will fit inside the hat OR stuff the hat with stuffing to help it stand up.
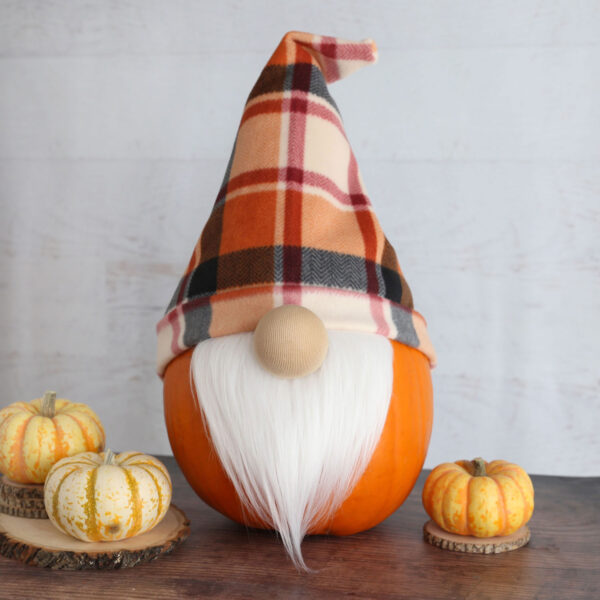
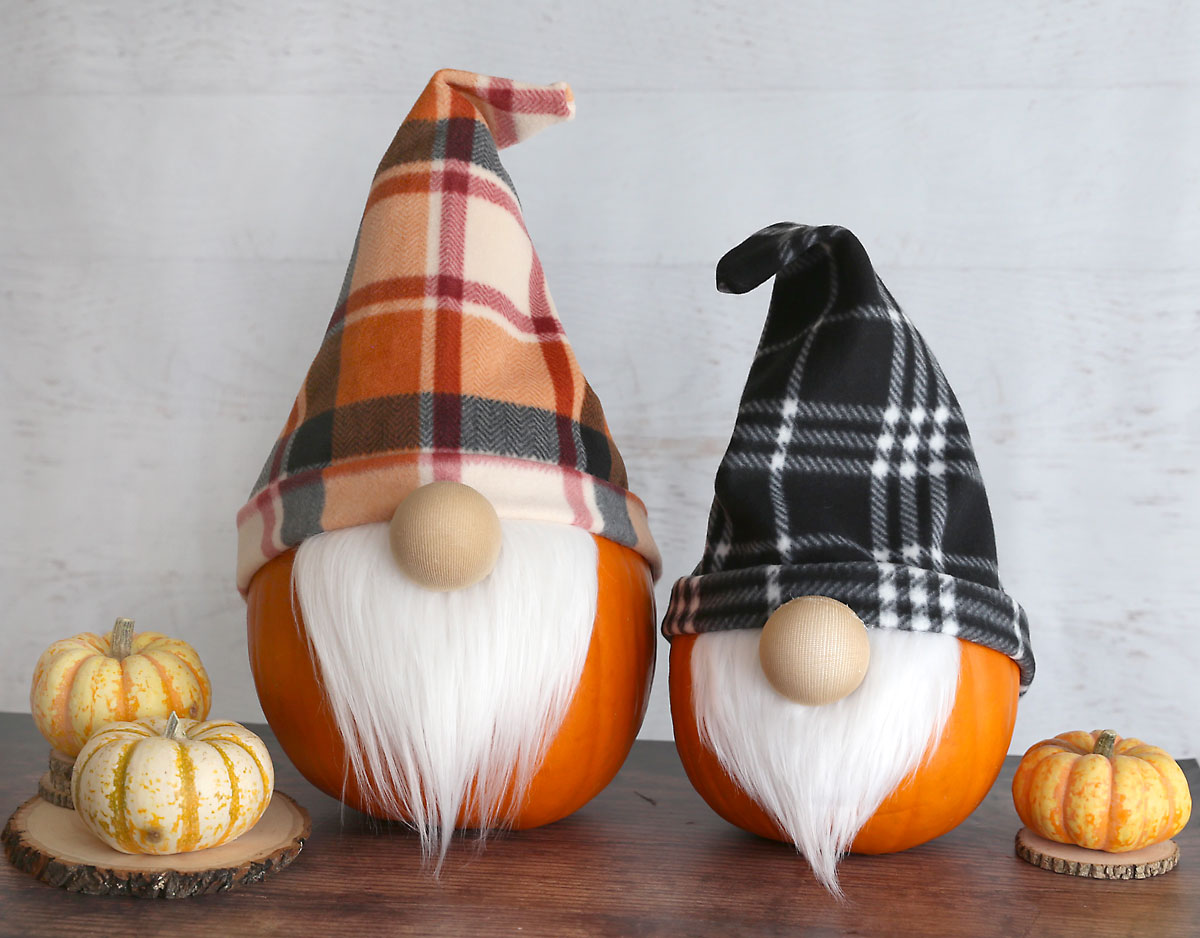
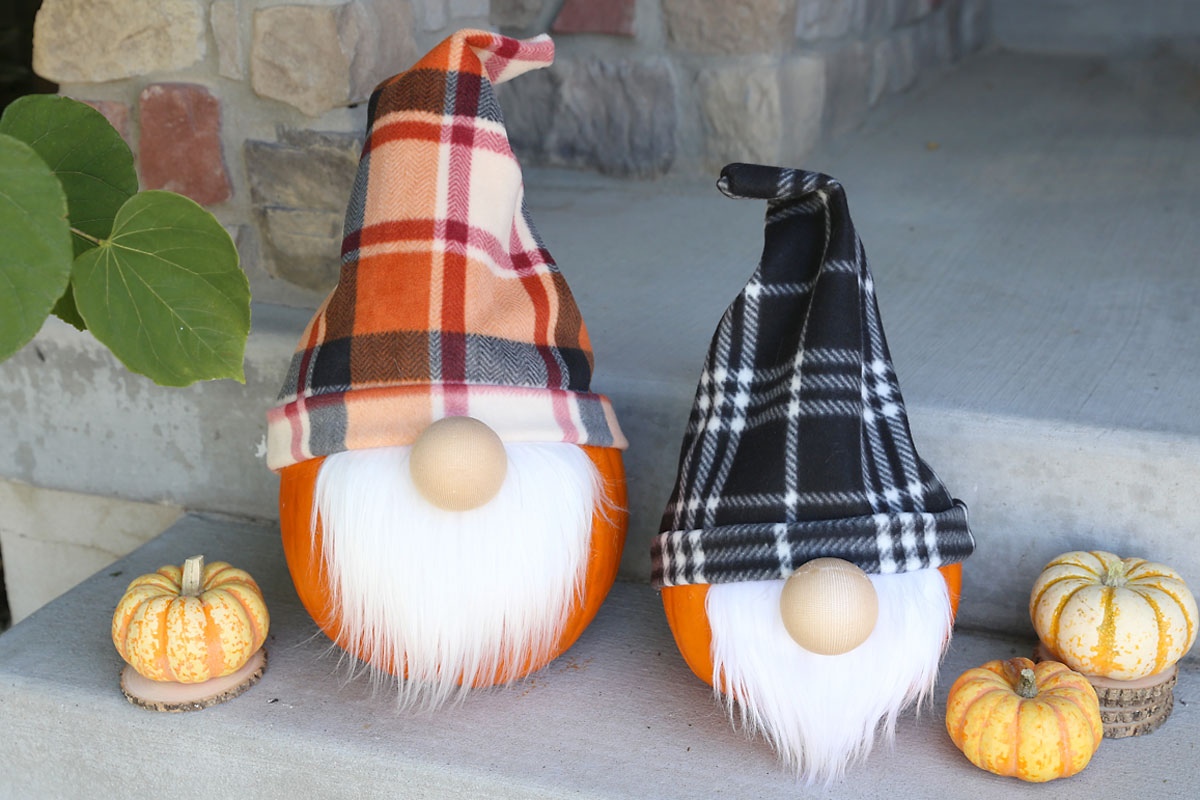
- Place the hat on top of a pumpkin to transform it into a gnome. If you plan to display this outside, you should glue the hat onto the pumpkin so it doesn't blow away.




Sharlyn says
Adorable idea! Thanks for the instructions