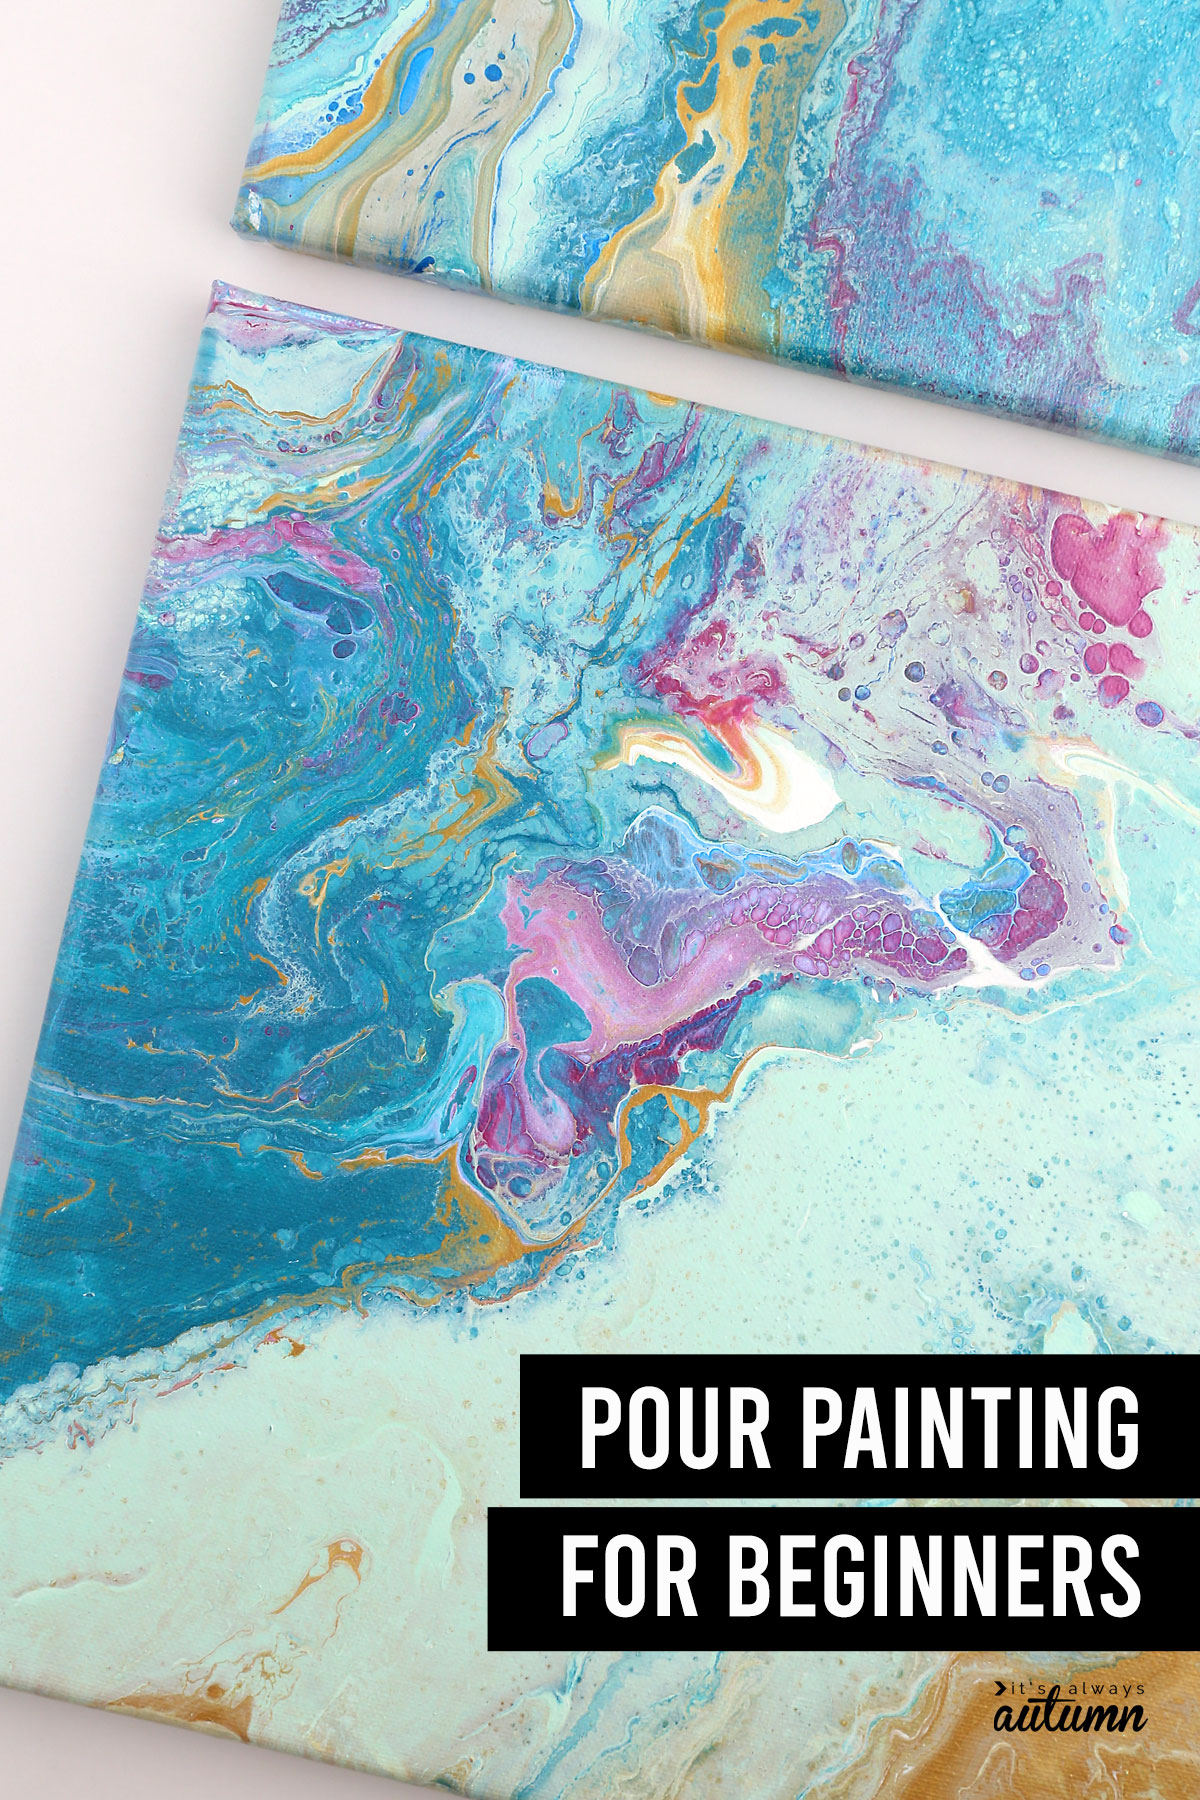
In today’s post: Learn everything you need to know to get started in this pour painting for beginners guide. Find step by step instructions for your first easy pouring technique as well as details about which supplies you actually need.
Pour Painting (or Acrylic Pouring) is a fun art technique that involves mixing acrylic paint with a thinning medium and pouring it on a canvas. The canvas is then tilted to allow the paint to flow, mix, and create fluid designs. Pour painting has been popular for the past five years, but my first attempt with it was a giant fail. I couldn’t find a great beginner’s guide so I couldn’t tell which of the many supplies were absolutely necessary and which I could skip. So I just tried figuring it out on my own and the result was not pretty.
But getting started with a new art or craft is so much easier when you have someone to show you how to do it! My mom came to visit last year after she’d spent months learning how to paint pour and she shared all her best tips with us. My kids and I quickly fell in love with pour painting and the gorgeous art you can create with it. So I’ve put together this Beginner’s Guide to Pour Painting. This way, you can give it a try without investing too much time and money before you know if you like it. Fair warning though, it’s so much fun that you’ll likely be hooked after your first project!
Pour Painting for Beginners
Every paint pour is different and you never know exactly how it will turn out – and that’s half the fun. As with any new art or craft, it might take you a couple tries to get a painting you really love. Luckily, you can purchase canvases very cheaply at most craft stores so you can play and practice.
If you’ve never seen a paint pour before, there’s a video lower in the post that shows the whole process. Keep reading for everything you need to know to get started!
Supplies
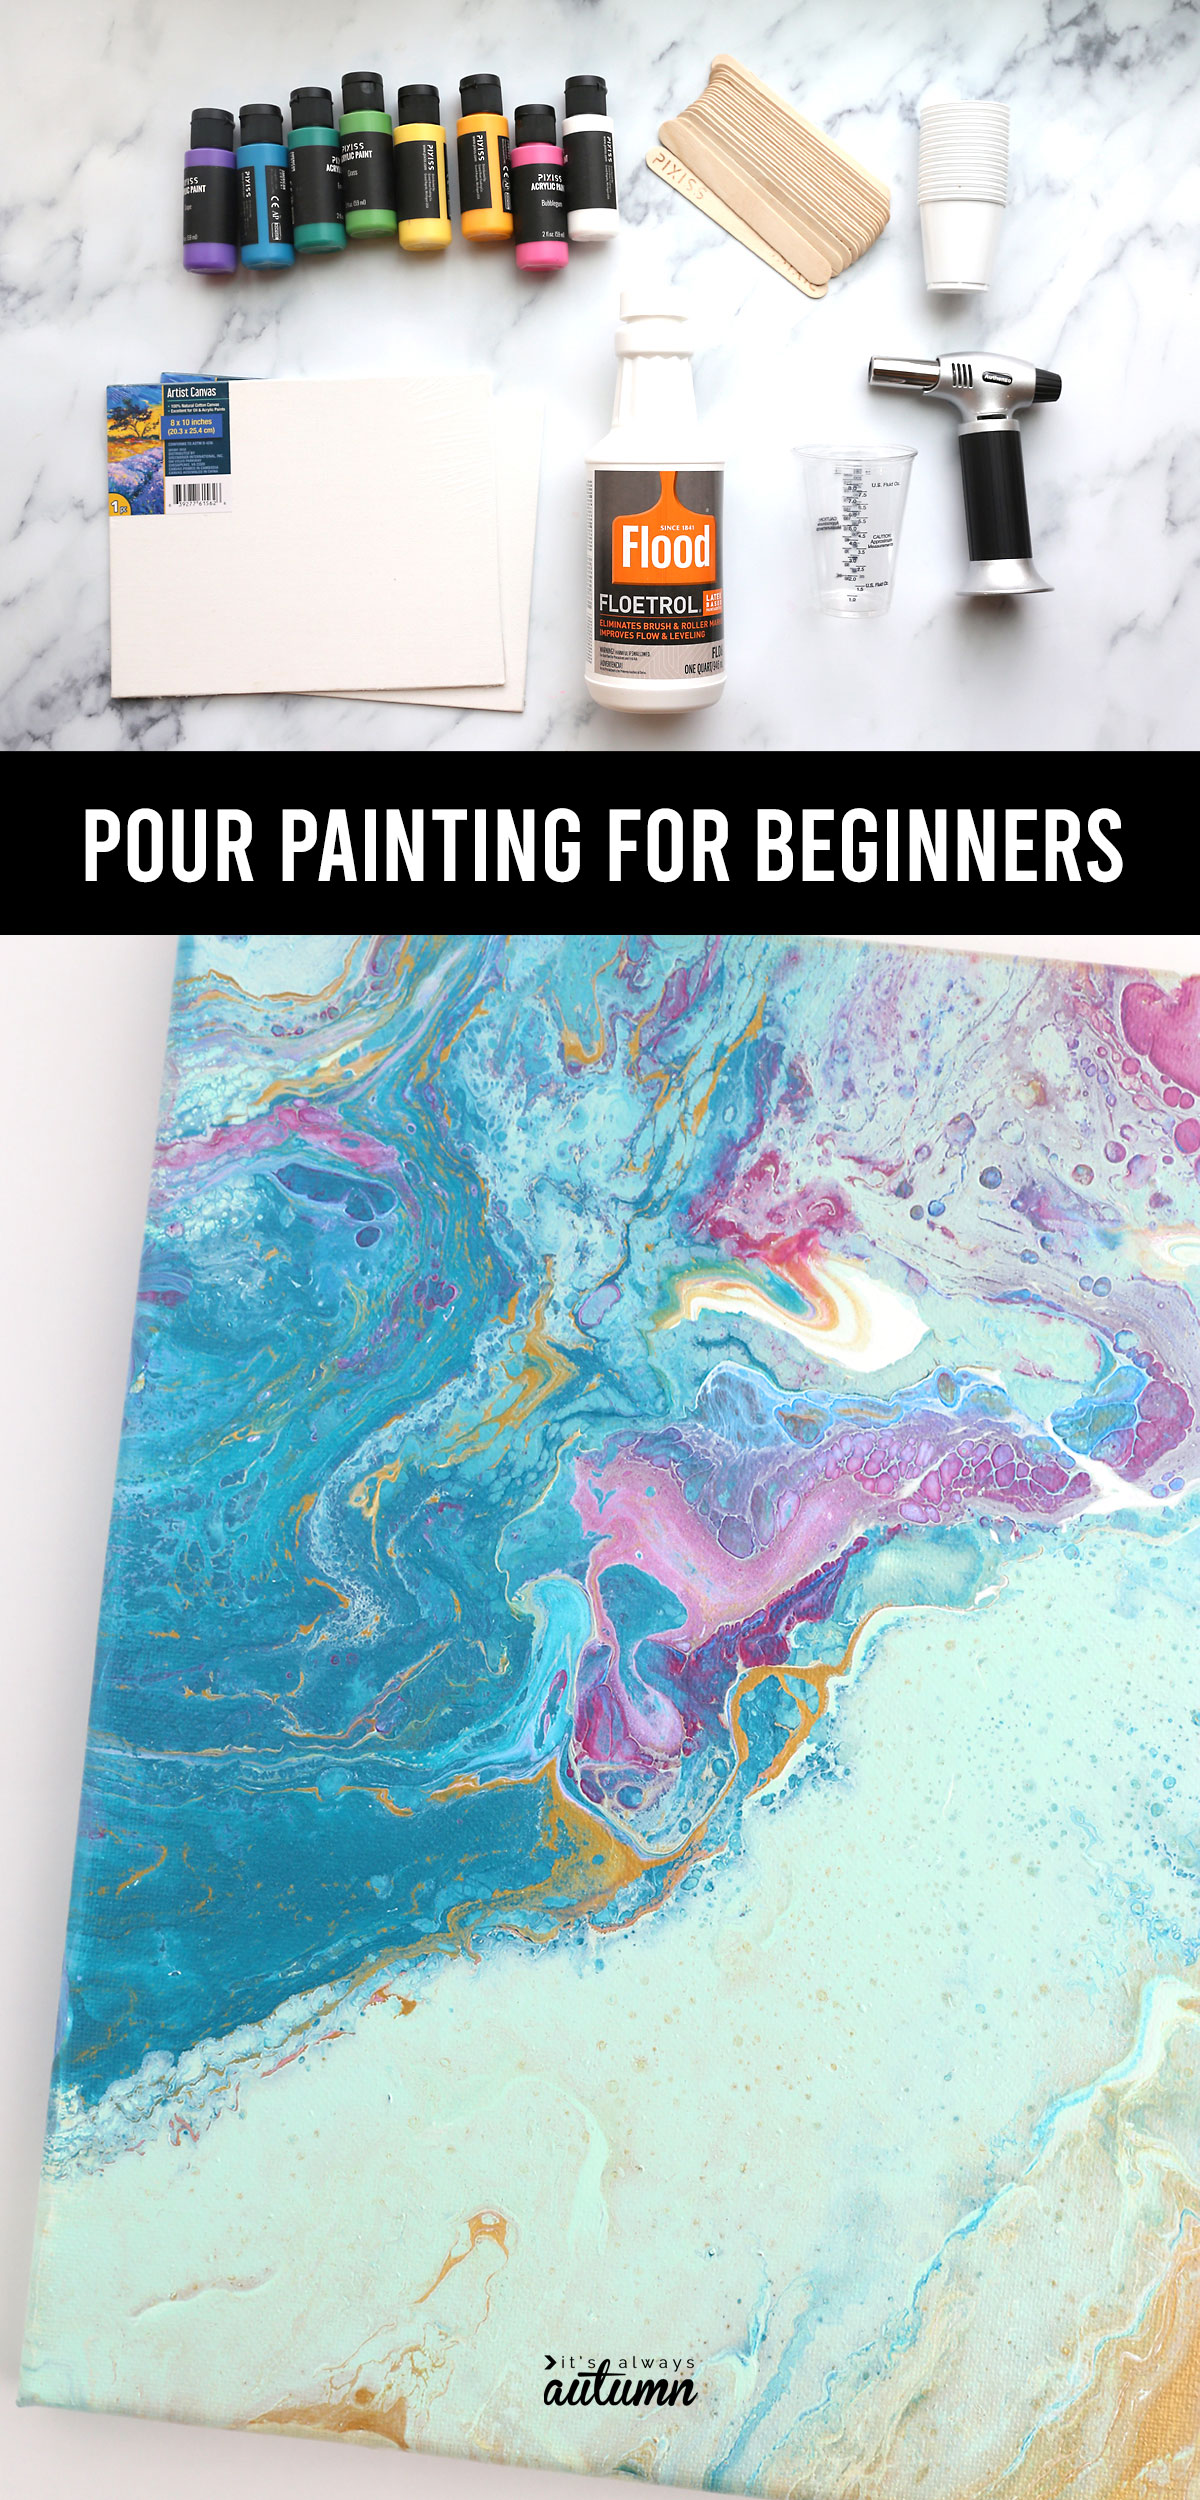
There are lots of supplies that can be used for pour painting, which can be intimidating. Here’s my list of the absolute essentials.
What You Absolutely Need
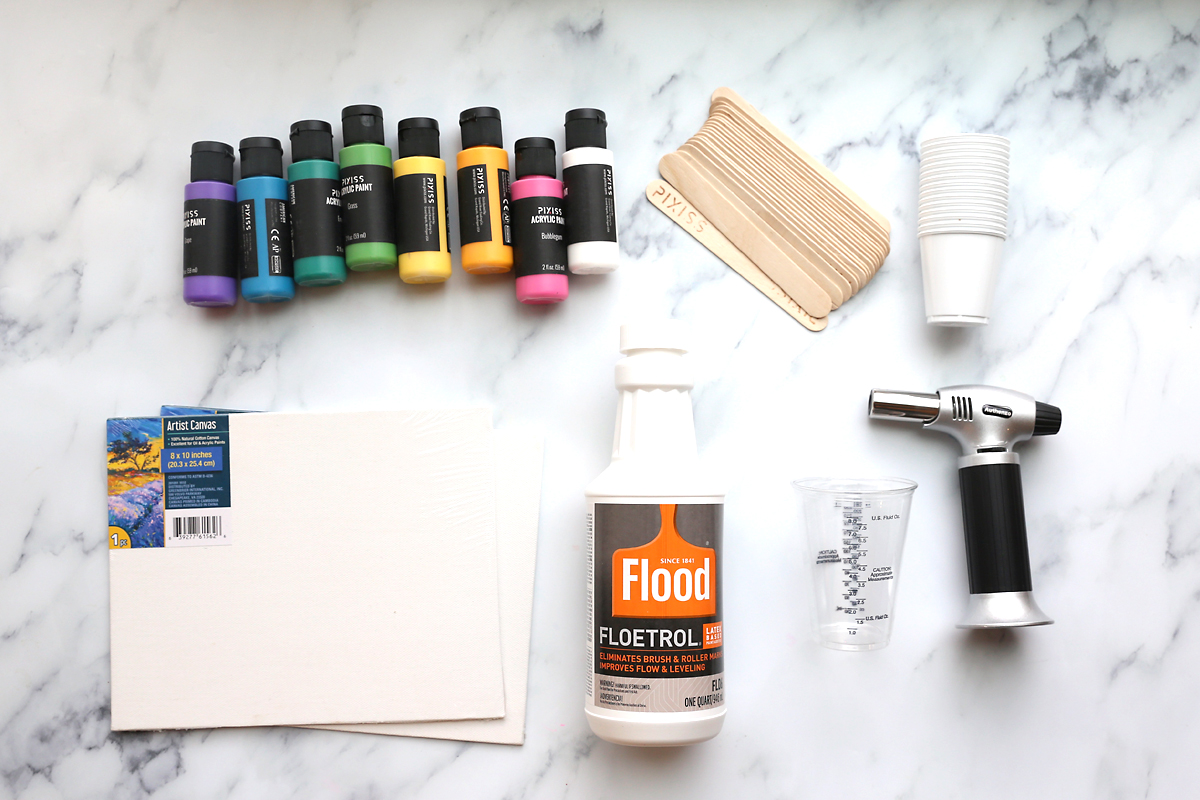
Acrylic Paint and Pouring Medium OR Premixed Pouring Paint: You can use inexpensive acrylic craft paints for paint pouring, but the paints MUST be thinned before pouring so they can move easily across the canvas. Paint can be thinned with Flood Floetrol, which you can find on Amazon, or you can purchase a Pouring Medium at a craft store to thin the paints with. For each paint pour, you’ll want 4-5 different colors that you think will look cool together. You have a couple options for purchasing paint and pouring medium:
- Most craft stores (like Jo-Ann and Hobby Lobby) carry kits of premixed pouring paint. This can be a good option if you want to try out a project or two without investing too much money.
- If you have plenty of acrylic paint on hand, you can purchase a pouring medium or order Floetrol from Amazon. I’ve tried pouring mediums from craft stores, and I think Floetrol works better.
- If you don’t have any acrylic paint, you can order a bundle from Amazon that includes 16 colors of paint, a quart of Floetrol, stir sticks and a pouring cup. That’s what I’m using in the video in this post.
- I recommend picking up some extra white acrylic paint because you’ll likely use a lot of it.
Canvas or other surface to pour on: You can paint pour on a number of surfaces, but an art canvas is the easiest one. Look for multipacks of canvases at your local craft store – you can often get 5 or 6 for ten bucks or so. You can also purchase a couple of flat 8×10 canvases at the dollar store or Walmart (for about a buck each) to practice with. The flat canvas panels do tend to curve a bit as they dry though, so they are best just for practice.
Small Disposable Cups: You’ll need plenty of small cups (2-3 oz) for mixing the paint and Floetrol *unless* you’ve purchased premixed paint
Popsicle Sticks: For mixing the paint and Floetrol
Pouring Cup: You’ll want a plastic cup that’s about 8 oz in size for pouring the paint. If you get the Amazon bundle linked above it comes with a clear pouring cup that has measurement marked on it, which is very convenient, but not necessary. You could use any type of disposable cup to pour from.
Something to protect your surface with: I use large pieces of freezer paper on top of my table under my paint pours. You can also use cheap plastic tablecloths or even large plastic bags. If you’re doing this with kids and are worried they’ll be very messy, you could grab some large foil pans to do the pouring in.
Paper Towels for clean up
You May Also Want:
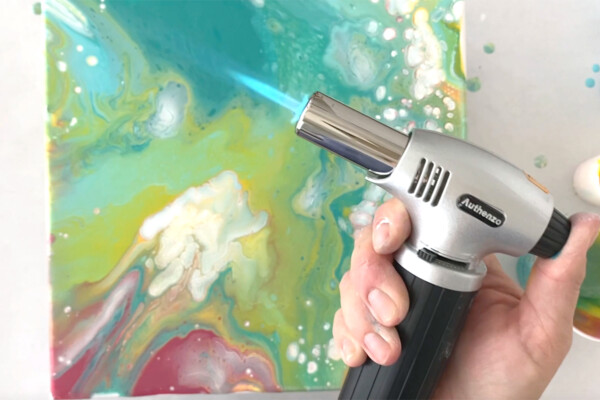
Kitchen Torch: While not necessary, a kitchen torch is used after the pour to pop bubbles of paint and reveal more detail. I ordered this one on Amazon. Be aware you will also need to purchase butane for the kitchen torch, which you can often find near lighters at the grocery store. If you don’t want to purchase a torch, you can try using a long nose lighter.
Cheap Cooling Rack or Large Push Pins: you’ll want the canvas lifted up off your table while it dries. I usually just set it on four small plastic cups, but you can also use a cheap cooling rack from the dollar store, or large push pins pushed into the back of the canvas at each corner.
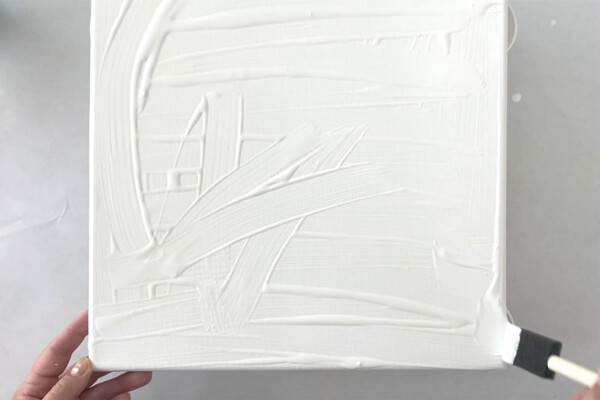
Foam Paint Brush: I like to give my canvas a base coat of white paint before doing the pour because I think it helps the paint move more easily, but this is optional.
Getting Ready to Paint Pour
Gather all your supplies and protect your work surface. Then choose 4-5 colors of paint that you think will look cool together.
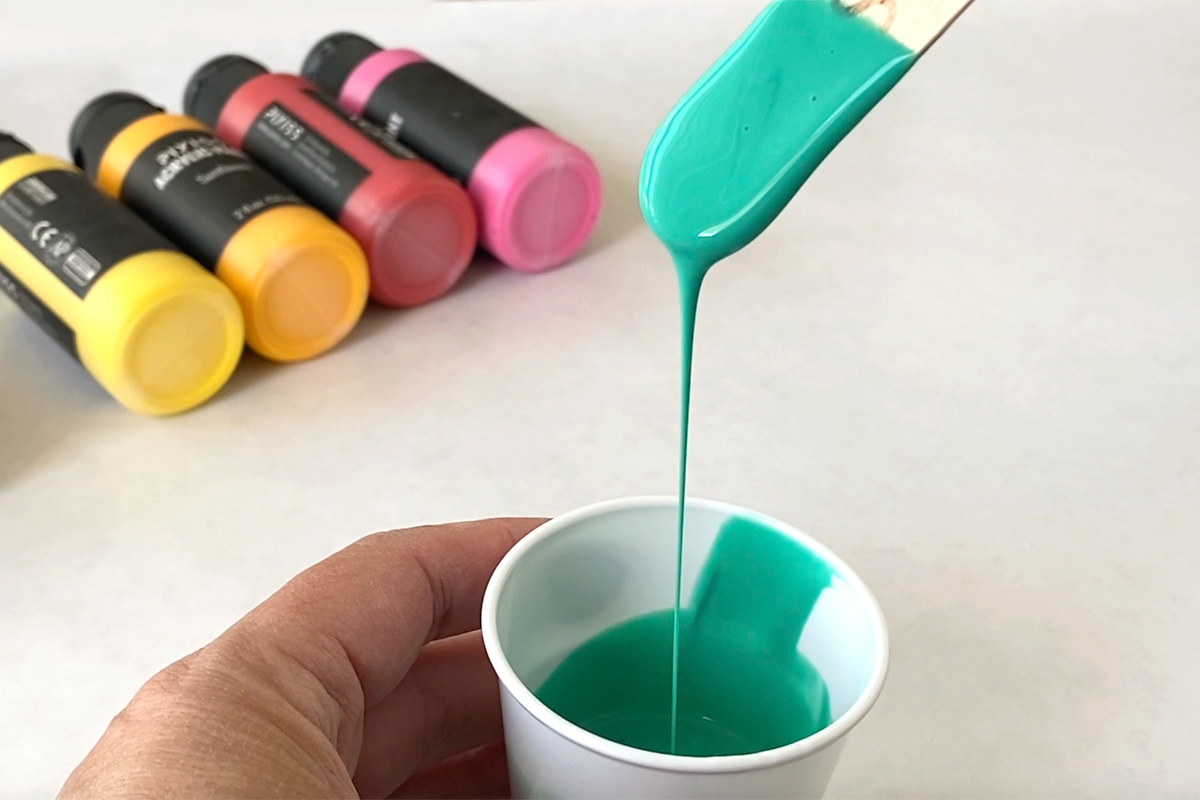
If your paint isn’t premixed, you’ll need to mix it now with Floetrol until it’s thin enough to pour. You want the paint to be about the consistency of warm honey or chocolate syrup, so that when you scoop some up on a stir stick it will run down in a continuous stream, but not be super thin like water.
The proportion of paint to Floetrol depends on the type of acrylic paint you are using. Inexpensive craft paints are generally pretty thin to begin with, so they won’t need much Floetrol. Nicer acrylic paints, like the ones that come in the Amazon kit, are much thicker to begin with, so you’ll use a lot less paint and a fair bit more Floetrol. Mix small amounts to begin with; you can always mix more, but you don’t want to waste paint and Floetrol by mixing too much. Additionally, if your paint is thick to begin with, you can use a little water along with the Floetrol to help it thin to the correct consistency.
How Much Paint will I need?
In general, you’ll want at least 4 oz of thinned paint (total) for an 8×10 canvas, and at least 6 oz of paint for a 12×12 canvas. You certainly don’t need to measure exact amounts; that just gives you an estimate so you know about how much paint to mix. When you are starting out, err on the side of making too much paint, not too little.
When I am pouring onto a 12×12 canvas, I like to use 4 colors + white. I mix 2 ounces of two different colors and approximately 1 ounce of two more colors. I always mix a couple ounces of white as well *more on that later*.
Here is a handy calculator to help you figure out how much paint you’ll need for different size projects: Pouring Calculator
How to do a Flip Cup Pour Paint
There are lots of different paint pouring techniques, but today I’m showing you my favorite one: the flip cup dirty pour.
Watch this video to see exactly how to do a Flip Cup paint pour. Remember that most sections of the video are sped up. In real time, the time from flipping the cup and finishing the tilting is about getting 7-8 minutes.
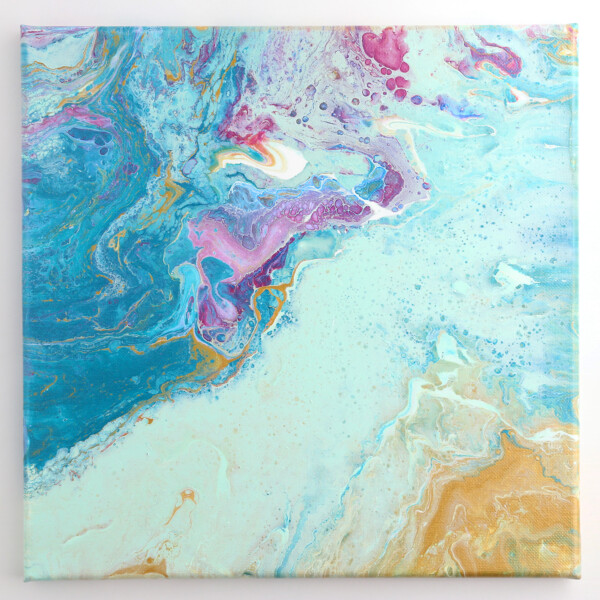
Paint Pouring
Supplies
- Acrylic Paint
- Floetrol
- Canvas
- Small Disposable Cups
- Popsicle Sticks
- Pouring Cup about 8 oz in size
- Kitchen Torch optional
Want more project ideas? Sign up to get my favorite easy crafts and recipes straight to your inbox!
Instructions
- Mix acrylic paint and Floetrol in a small disposable cup. Mixed paint should be the consistency of warm honey or chocolate syrup. When you scoop some up on a popsicle stick it should run down in a continuous stream, but not be super thin.Mix 4-5 colors of paint in separate small cups.
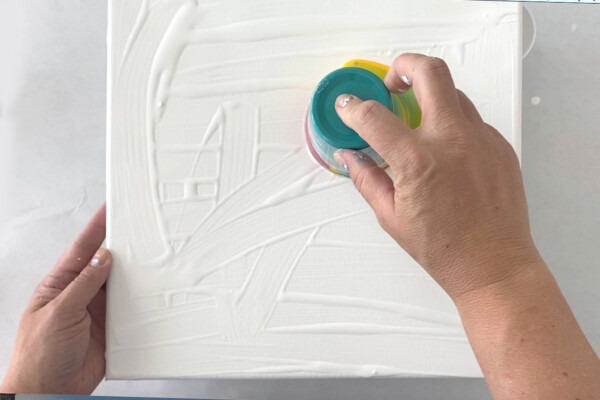
- Place a canvas on a covered work surface. Use a small cup under each corner of the canvas to prop it up away from the surace, or use push pins or a cooling rack to lift it. Optional: Paint a thin later of white thinned paint onto your canvas with a foam paintbrush. This isn't required, but I think it helps the paint to move more easily across the canvas.
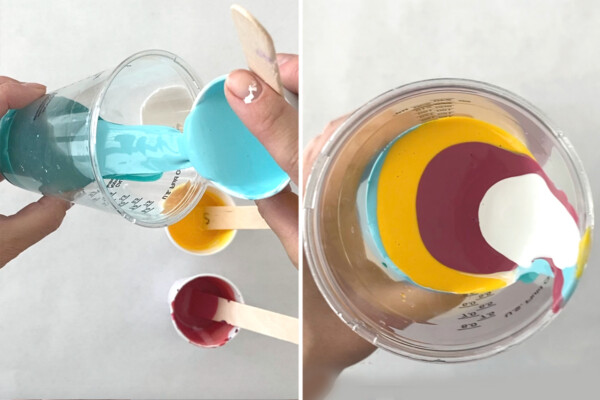
- Pour the first color into the bottom of your pour cup. Tilt the cup to the side, and pour in the next color of paint, letting the paint hit the side of the cup and and run down. This helps the different colors of paint to stay in separate layers instead of immediately start to mix in the cup. Continue until all your colors of paint are in your cup.
- Quickly flip your cup and hold it face down on the canvas. Wait for a moment, allowing the paint to flow down inside the cup.
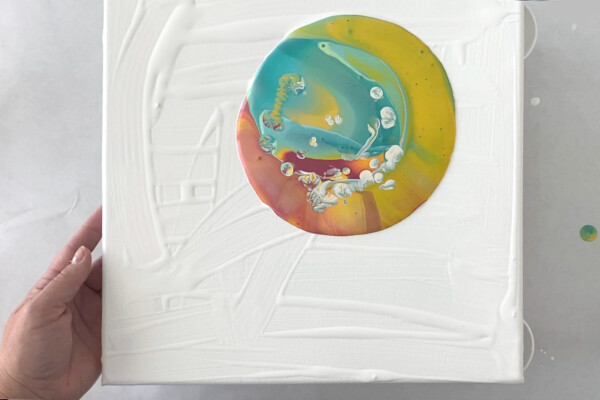
- Then lift the cup and allow all the paint to flow out of it.
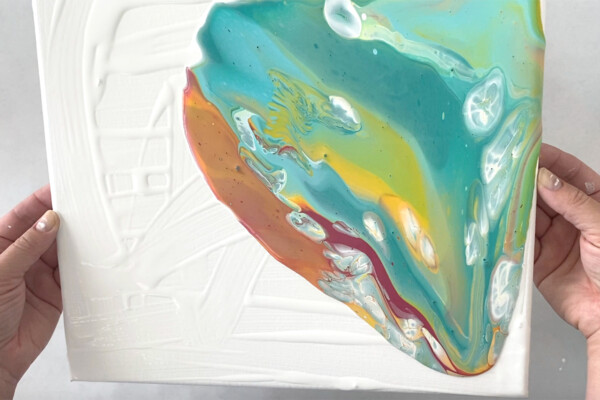
- This is the fun part! Pick up the canvas by the edges and begin tilting it to allow the paint to start for flow. Tilt the canvas back and forth, aiming to cover the entire canvas with paint. Don't allow too much paint to drip of the side right at first, but once the canvas is mostly covered you can allow the paint to drip off the sides and cover the edges as well. Once your canvas is covered you can stop, or you can continue tilting to see what happens.
- Optional: When you like how your paint pour looks, set your canvas down on the plastic cups. Move a blowtorch quickly across the surface of the canvas - the heat will pop any bubbles in the paint and reveal more detail.
- When the edges of your paint pour have dried, set it somewhere you can leave it for 24-48 hours to dry completely (and keep it lifted on cups, drying rack, etc). The painting will look a little different once it's completely dry. For best results, wait at least 10 days before sealing with a poly spray or other non-yellowing finish.
Frequently Asked Questions
What other paint pour techniques can I try?
There are loads of paint pouring techniques to try! Click here for 5 basic techniques, and search “paint pour technique” on google and youtube for lots of tutorials.
Can I thin my paint with water instead of buying Floetrol?
No! Don’t do it. If you thin paint with water only, your paint will crack as it dries and ruin your beautiful project. However, if you are using a thick acrylic paint, you can use a bit of water along with the Floetrol if needed to get it to the correct consistency. Just add water a tiny bit at a time.
What if I didn’t get the edges of the canvas completely covered?
No biggie. If there are bare spots on the edges of your canvas that didn’t get covered, you can paint them using a foam brush.
How do I get more cells in my paint pour?
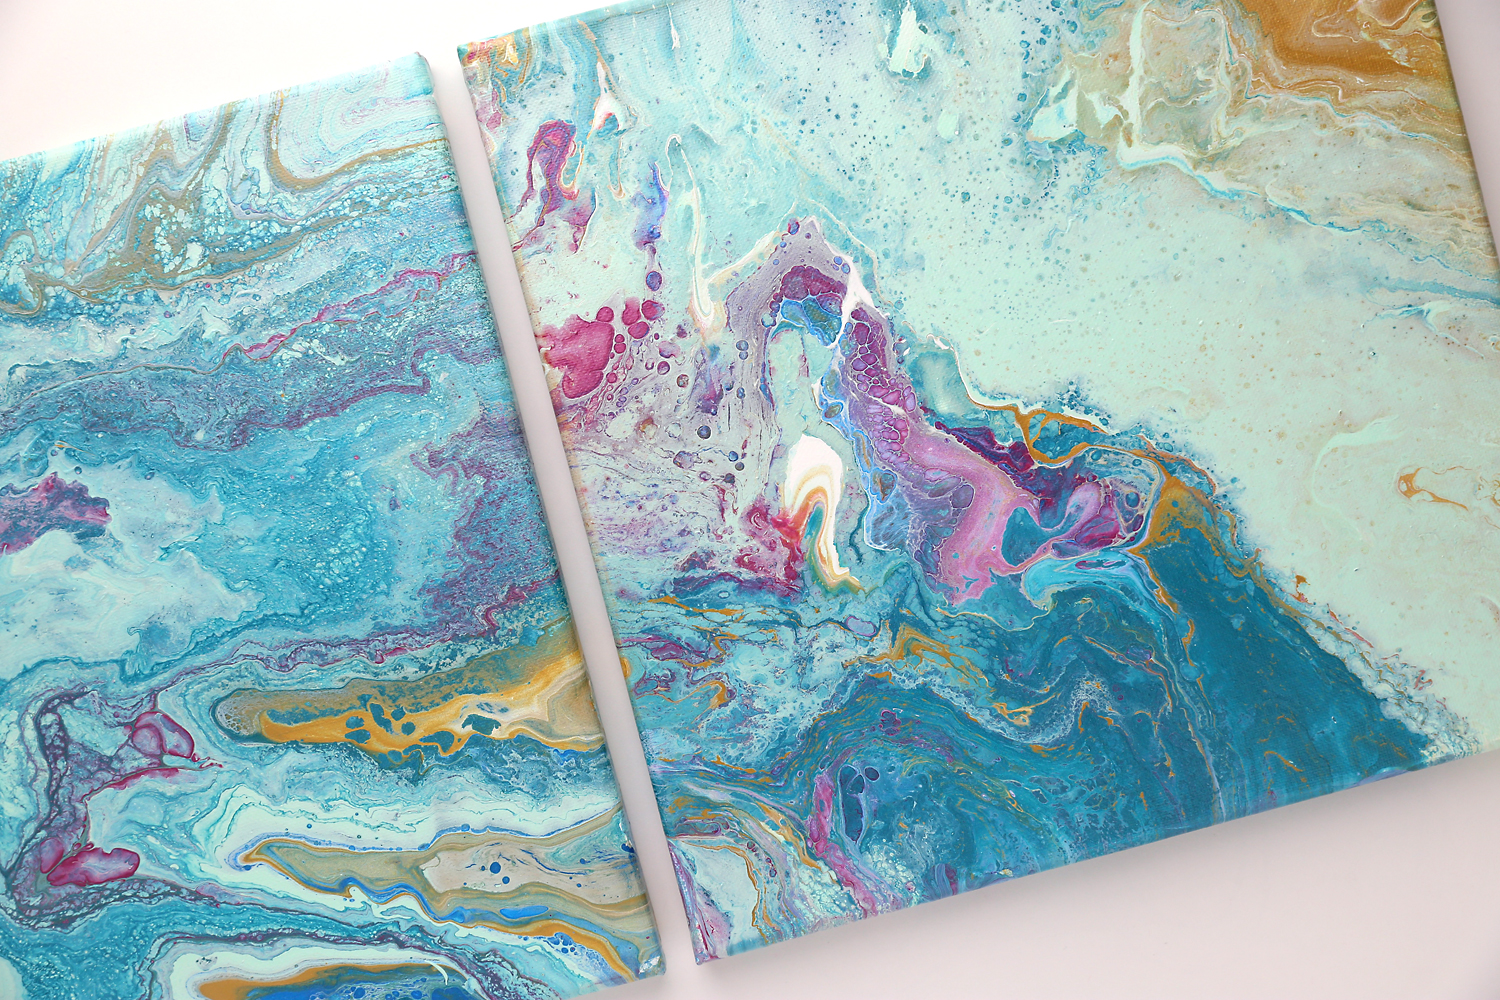
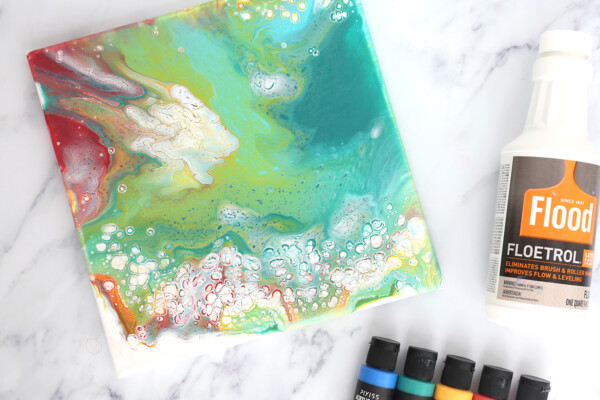
Cells are the small round areas where you can see the different colors distinctly. You should get some cells, as you can see in my example, but following the instructions in this post. But if you’d like more, you can add some silicone oil to your paint and experiment with different techniques. This post can teach you more.
How do I finish my canvas?
Your canvas may feel dry within a day, but it’s a good idea to wait at least 10 days before you seal it. I prefer using a poly spray, because it’s inexpensive and easy to use. This post walks you through a number of options for sealing your paint pour.




Heather Findley says
I can’t wait to do this with my son!! What did you use to thin your white paint to brush on canvas first?
Autumn says
The white is thinned with Floetrol just like the colors are!
Lydia Strickland says
How wonderful of you to share this information step by step. Thank you!
Melissa Schaff says
These easy instructions were my go-to when my family decided to try pour paint art. I appreciate the walk-through, images, and video.