If you’ve had a baby, you know how exciting it is to share the first photos of your little one with the world. However, many of the photos we snap in the hospital don’t end up being the best we’ve ever taken. Want better new baby photos without paying a professional to come take them? Use these 7 simple tips to drastically improve the look of your newborn photos taken in the hospital.
Related: DIY Newborn Photos, Baby Photoshoot Ideas
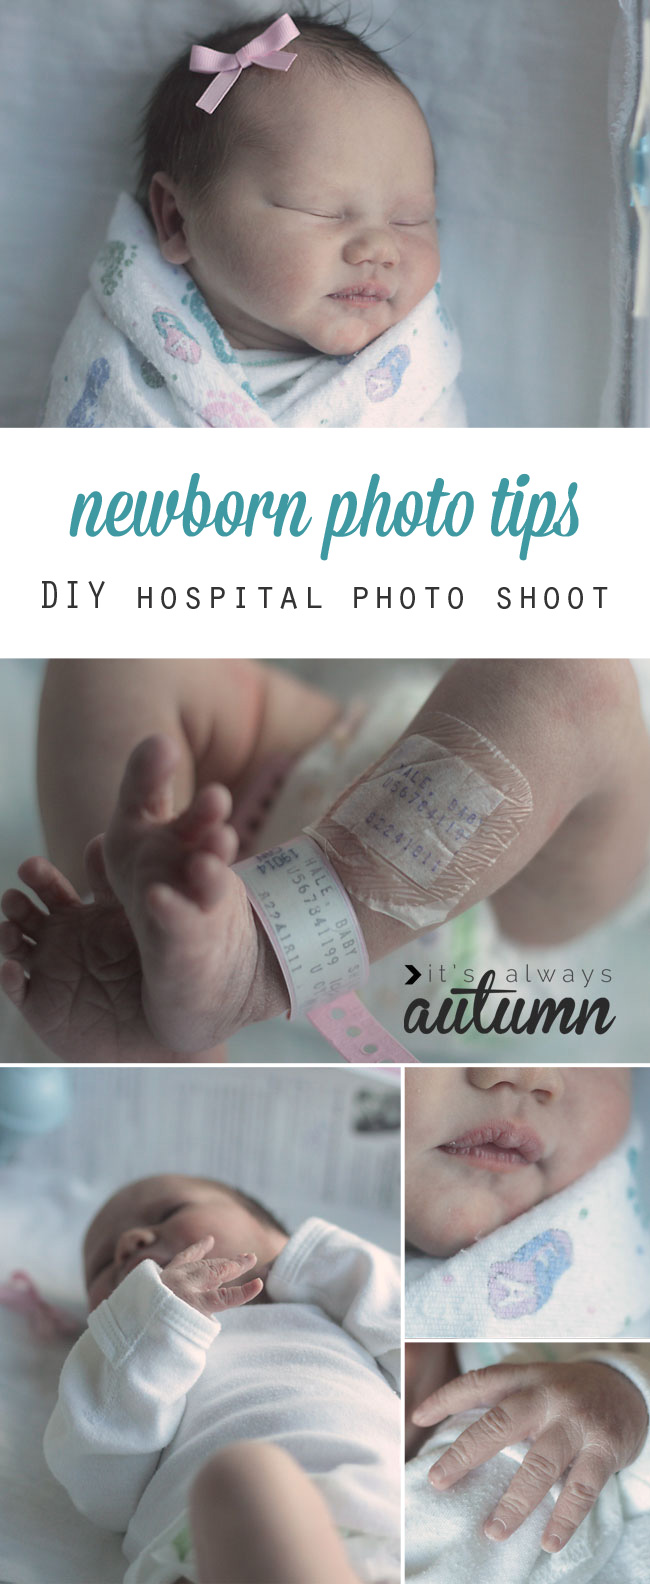
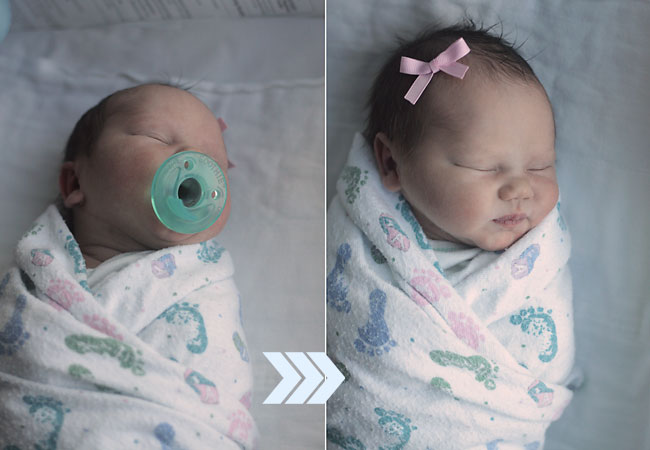
1. Use window light. The biggest photography problem in hospitals is that hospital rooms are dark. If you walk into a hospital room and start snapping photos of a new baby you’ll end up with one of two problems: if your flash pops up you’ll get harsh shadows, and if it doesn’t, you’ll get dark photos where baby’s skin looks red. Neither situation makes for good photos:
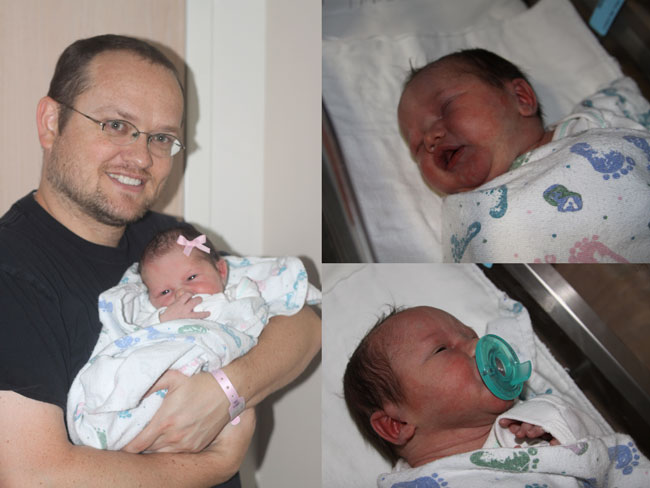
The single best thing you can do for better DIY newborn photos at the hospital is to take photos right next to the window. Go ahead and turn on the overhead lights, then raise the blinds to let as much light in as possible. Roll baby’s crib right over next to the window and turn off your flash. It’s AMAZING the difference that using natural light and no flash can make:
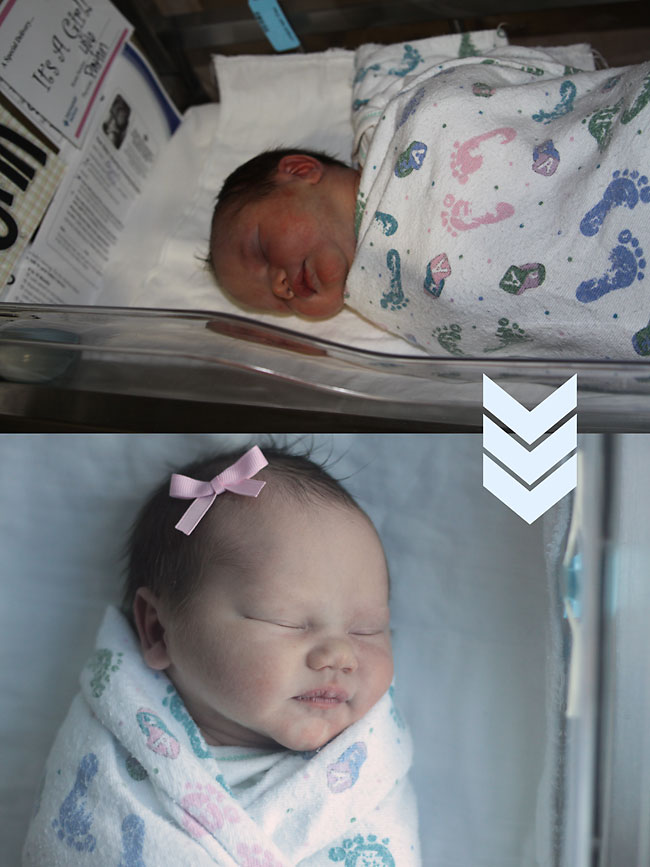
If you know how to change your settings, you’ll also want to set your f-stop (aperture) at as low of a number as it can go (depending on your lens probably between 1.8 and 3.5). This will help let in as much light as possible. If you don’t know how to change your settings, just be sure to turn off the flash. Your camera will automatically choose a low f-stop number.
(NOTE: if the sun happens to be shining directly in the window, so you can see a bright window-shaped patch on the floor, you don’t want the baby in the middle of the bright patch. You may need to get closer or further away from the window to avoid it. Read this post for more explanation.)
2. Shoot from above. When we start taking pictures of a baby, we usually just shoot from where we’re at – standing next to her crib. As a result, we end up with lots of shots at unflattering angles – like right up her nose – and lots of distractions in the background (as you can see in the photo above). If you can shoot from directly above the baby you’ll get a much nicer photo and the white crib sheet will act as a plain background. Now, to shoot from directly above you’ll likely need to stand on a chair or even mom’s hospital bed. I actually stood on the window sill in the hospital room to get these photos since there wasn’t room to put a chair AND the baby’s crib right next to the window. It was a little awkward, but it was worth it.
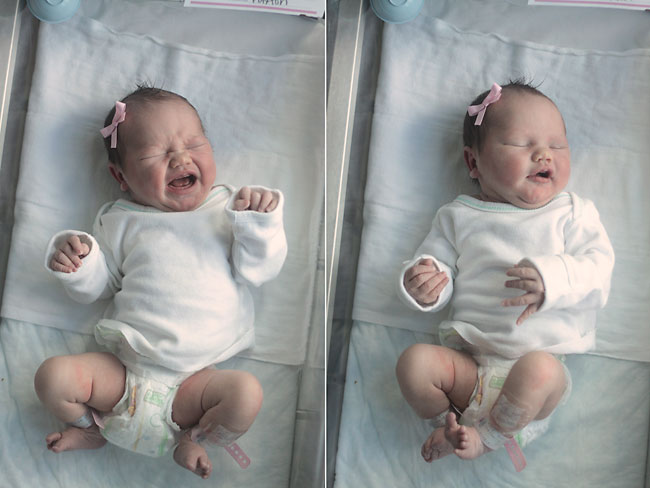
3. Don’t worry about posing the baby. Brand new babies are happiest when they are wrapped up tight, so do just that. Swaddle her in her blanket, then lay her down on her back in her crib/bassinet for natural looking photos. Just be sure that the blanket doesn’t cover up any of her face.
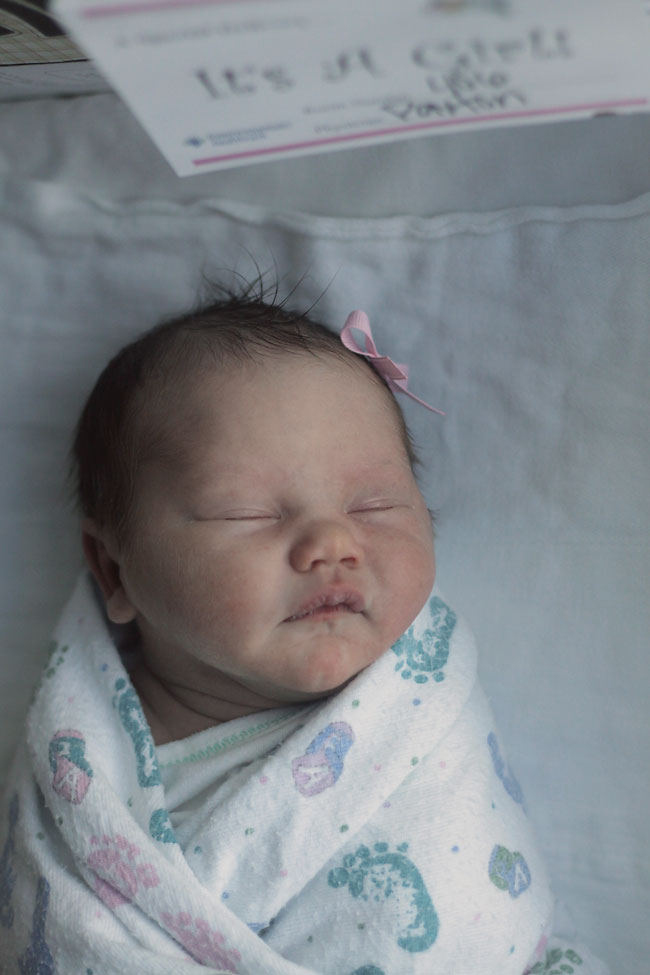
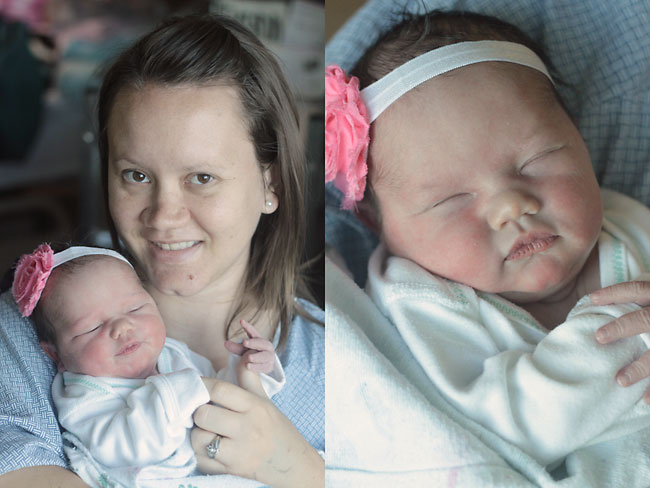
If baby’s not happy laying down in her crib, let her mom pick her up and snuggle her for a bit. Get some great shots of mom and baby together, then zoom in to get some photos where baby’s the star of the show.
(When you’re home and you have time for a longer photo shoot, you can try some different poses. Read this post for an explanation of how to pose newborns.)
4. Don’t move the baby around – move yourself. Once the baby is happy in a well lit area, leave her alone! Move yourself around, shooting from different angles and zooming in and out, to get a variety of photos without disturbing the baby. Like I already mentioned, my favorite shooting perspective for babies in the hospital is from directly above, but it’s worth walking around the crib and taking pictures from different angles so you have a collection of photos that don’t all look exactly the same. Remember to zoom in for some detail shots while you’re at it.
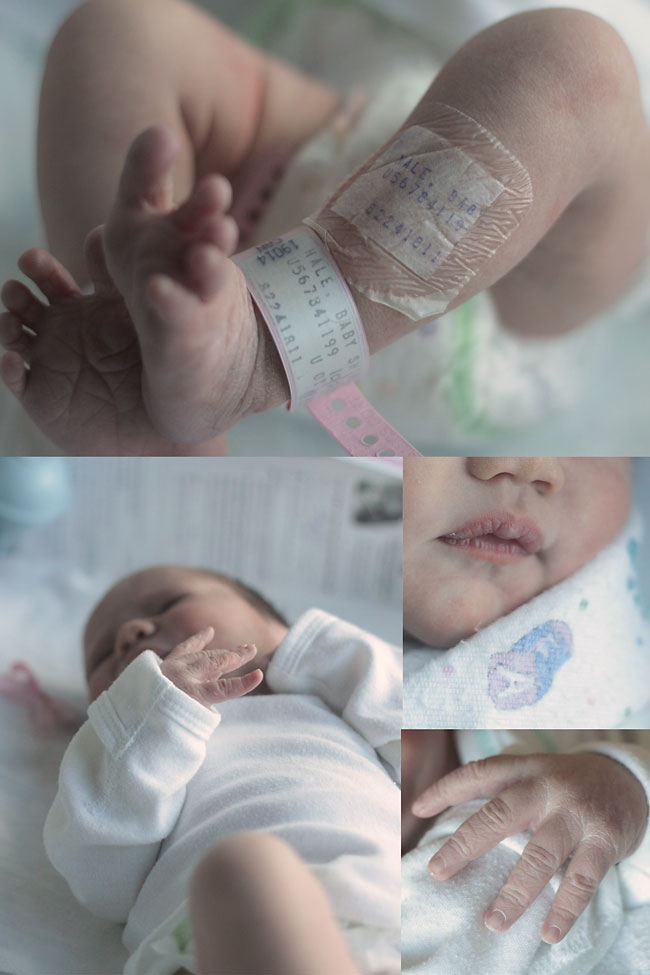
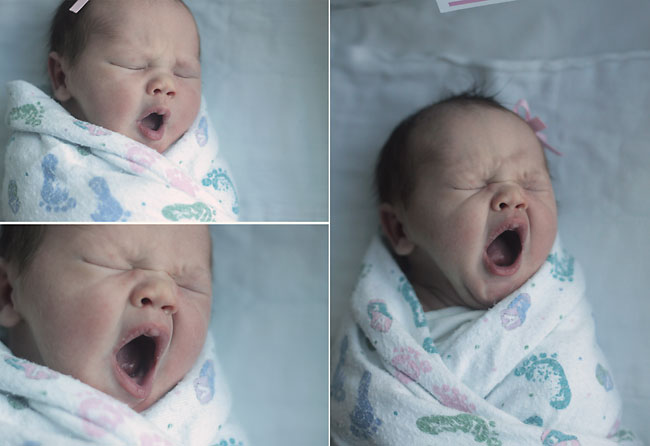
5. Take your time. Don’t just snap a few photos and call it good. Take 5 or 10 minutes and just watch the baby (with camera handy!) once she’s settled in her crib near the window. Even if she’s asleep she’s going to move around a bit, yawn, grunt, and make some cute expressions – all of which you’ll miss if you take a photo or two and call it good.
6. Lose the binky. Pacifiers are great for lots of things, but they’re pretty awful for photos. The kind most hospitals use are so huge they cover up most of the baby’s face, which kinda defeats the point of photos. Let baby suck on the binky until she calms down (make sure she’s wrapped up tight to help settle her), and then VERY slowly ease the binky out of her mouth – so slowly she doesn’t even realize it’s gone. It might take a couple of tries to get it out of her mouth without waking her up, but it’s well worth the time spent. (Read this post for more info on helping babies settle down for photos.)
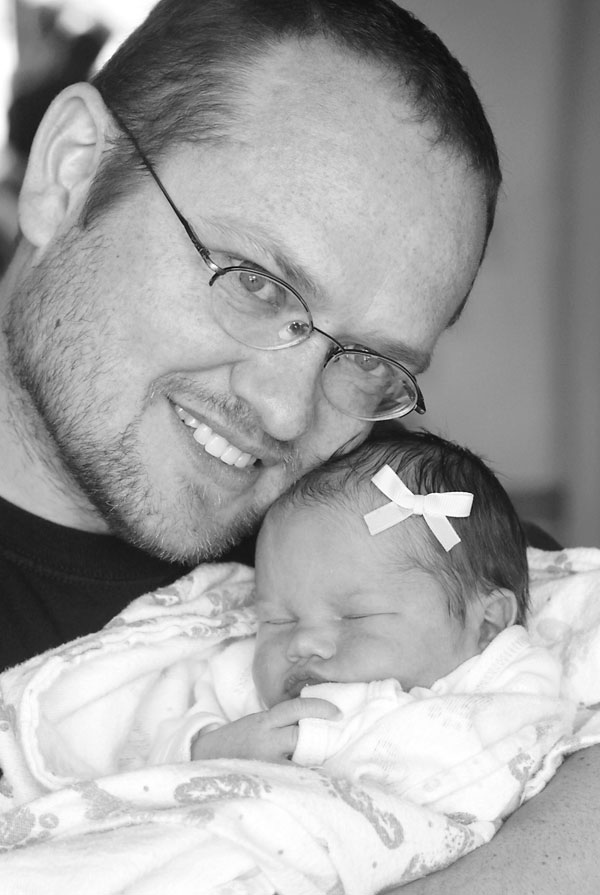
7. Don’t forget mom and dad! Lots of mothers are a little reluctant to appear in photos 24 hours after they’ve given birth, but years later any mom will treasure a photo of herself and her tiny baby. Ask her to hold the baby up close to her face for a sweet photo (and read this post for more info on posing newborns with family members). Be sure to get a few with dad, too!
Want more baby photography tips? Check out these posts:
Setup + props for a newborn photoshoot
DIY baby photoshoot at home: posing
How to pose baby with family members
How to set up a home photo studio

Skylar Williams says
I really like your tip to take photos from above to get cute angles. My sister-in-law just had a baby and she is still in the hospital. I’d love to get some photos taken for her. I think I’ll hire a professional photographer to get the job done better.
courtney prejean says
These are great tips! Thanks!
Martie says
Thanks for the wonderful tips!