
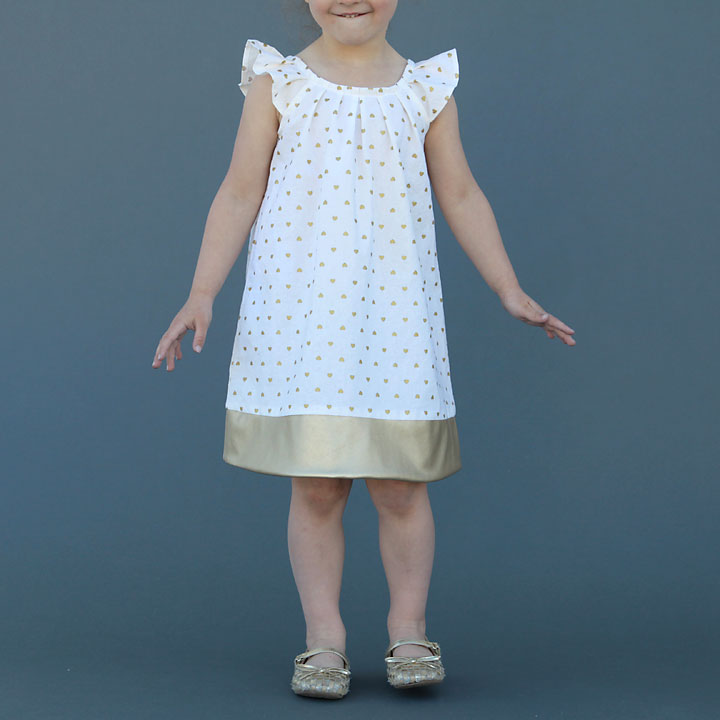
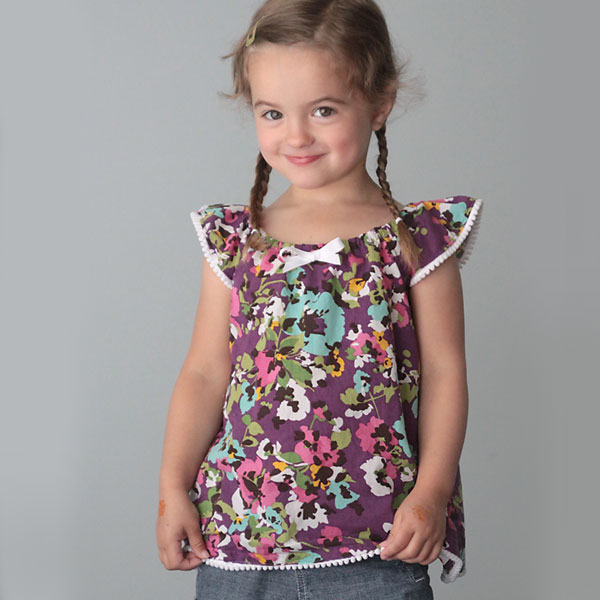
Last summer I shared a free pattern for a flutter sleeve dress (or tunic) in girls size 4T that featured a gathered elastic neckline. It’s a very easy sew that doesn’t take much fabric, and it’s been one of my most popular sewing posts of the past year. Since we’ve had such a lovely early spring this year, I decided to sew up another one, this time with a pleated neckline. The pleats are just as easy (maybe even easier!) than the gathered elastic neckline, and they give the dress a slightly fancier look. I also added a color blocked panel at the bottom just because.
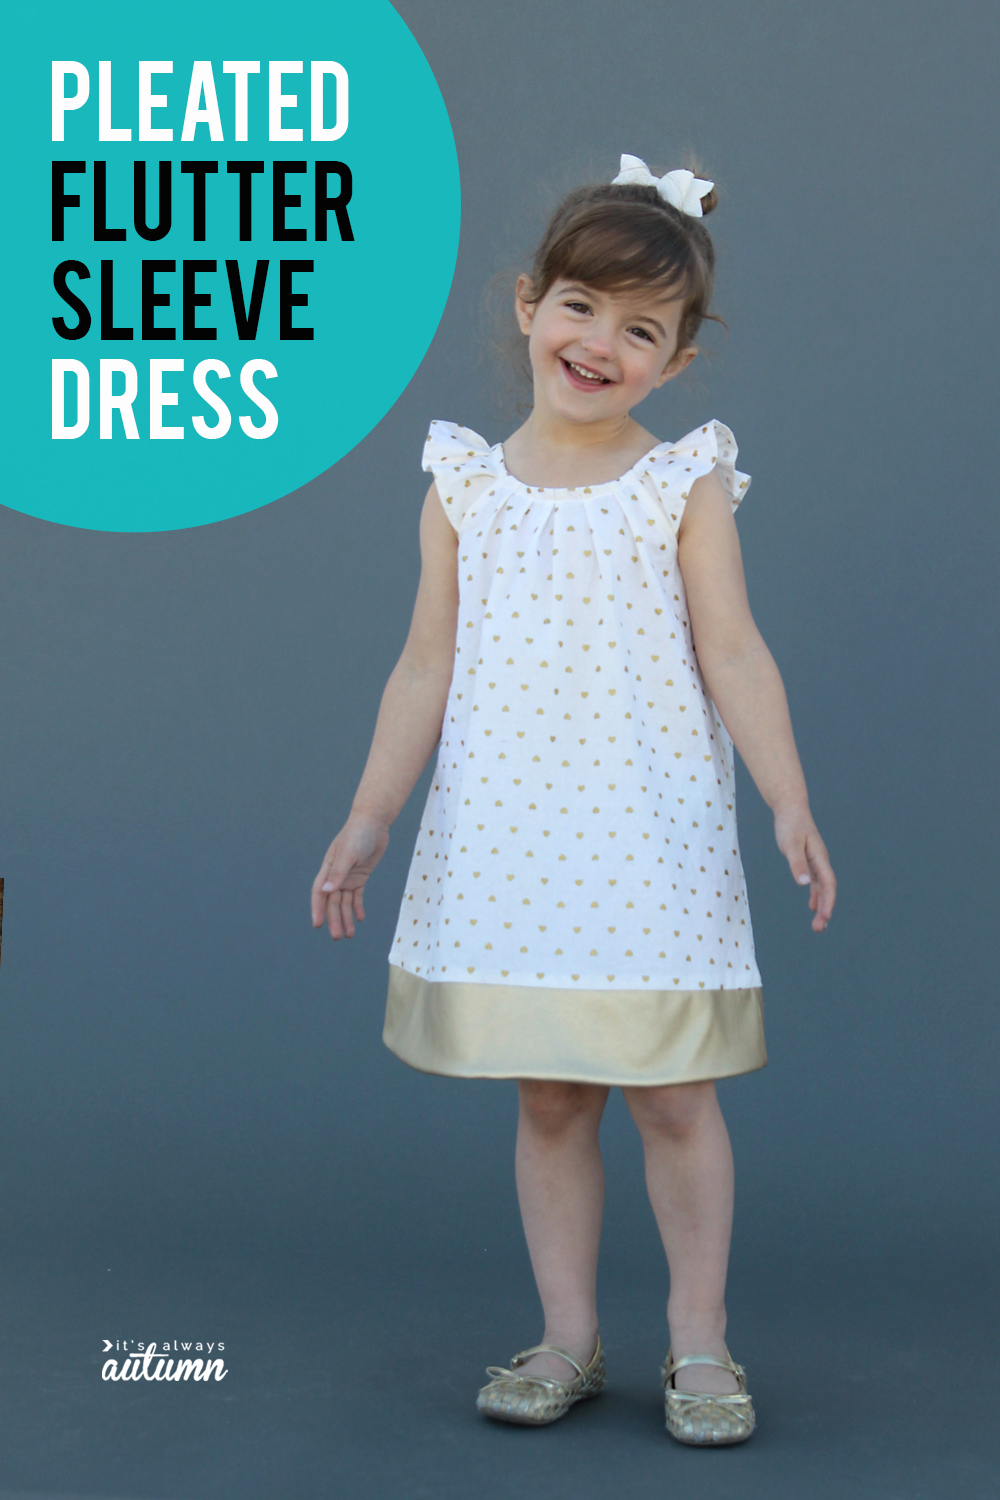
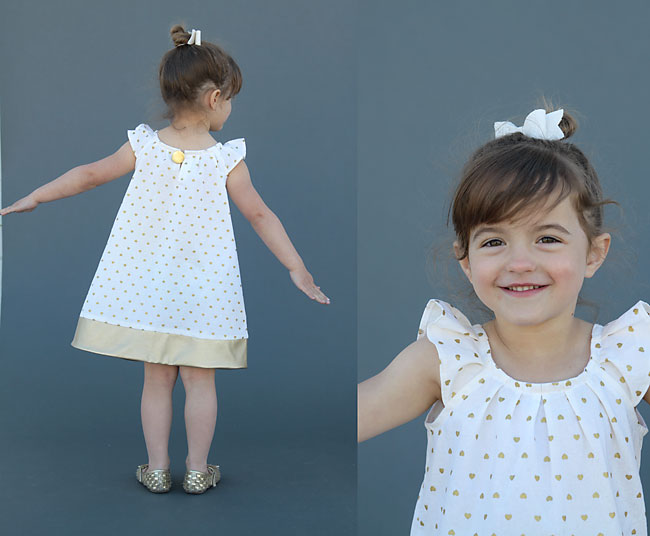
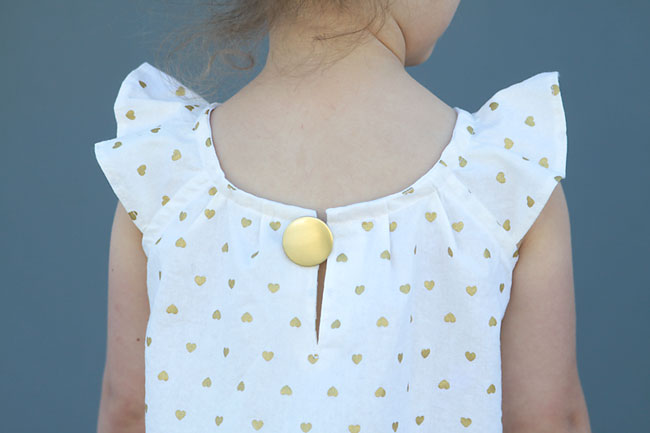
The dress still has the puffed flutter sleeves and A-line shape of the original dress. Because the neckline isn’t elastic, I added a simple button closer in back to make sure it would fit easily over my daughter’s head.
The pattern size is fairly flexible – my daughter is starting to wear 5T in commercial clothes, but the 4T pattern still fits her just fine (I did add about an inch of length).
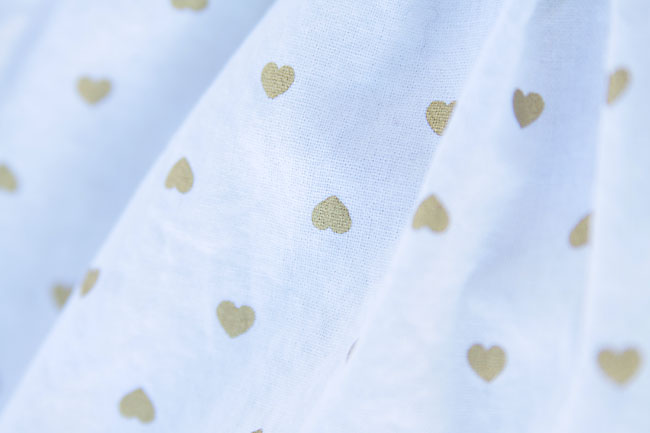
And the gold heart fabric! I love this fabric. It’s from Jo-Ann Fabrics in the quilting cottons section, but it almost looks like a linen:
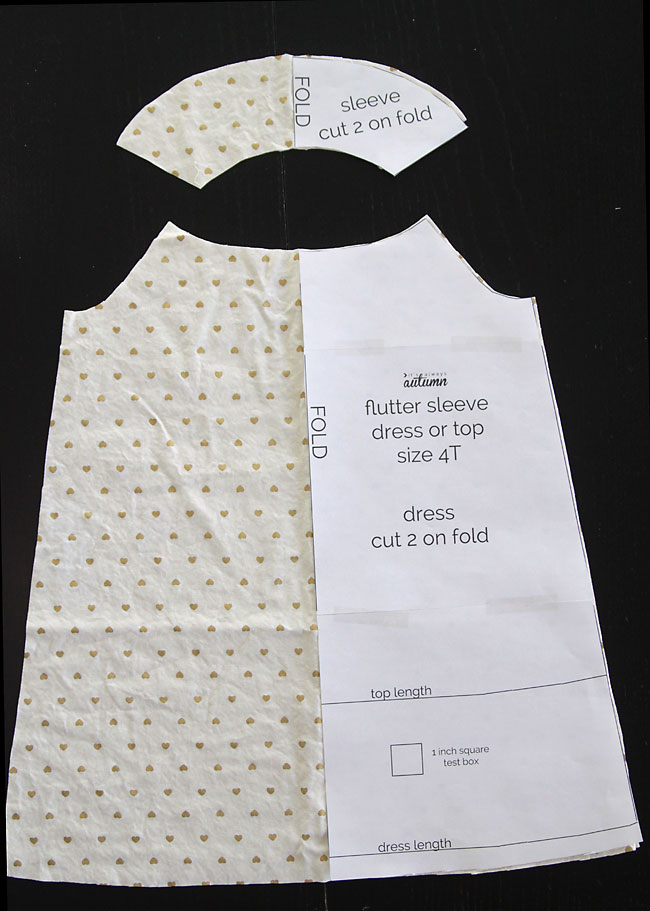
If you want to make a pleated neck flutter sleeve dress, download the pattern from this post. Print it out at 100%, being sure that the text square measures 1 inch exactly.
Cut out two dress pieces and two sleeve pieces, both on the fold:
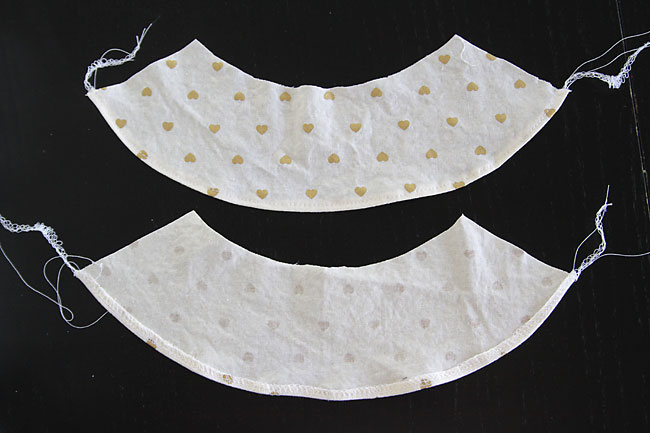
I did not add any trim to the sleeves, like I did on the original dress, so just begin by finishing the bottom edge of each sleeve. I serged the edge, turned up 1/4 inch, and sewed. If you don’t have a serger, a rolled hem would be a great idea.
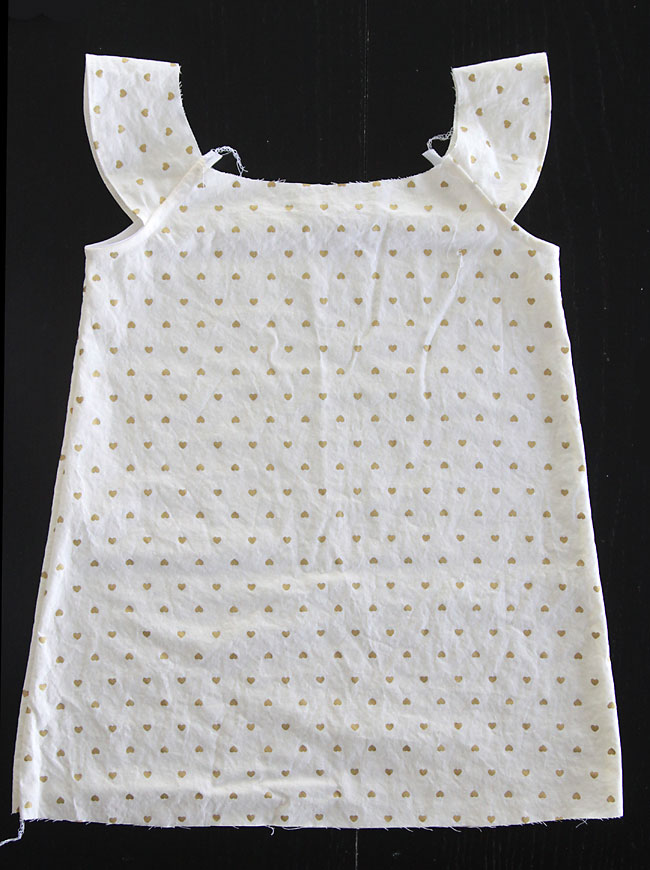
Next, I sewed the dress pieces together and attached the sleeves and finished the armholes as shown in the original tutorial, using bias tape.
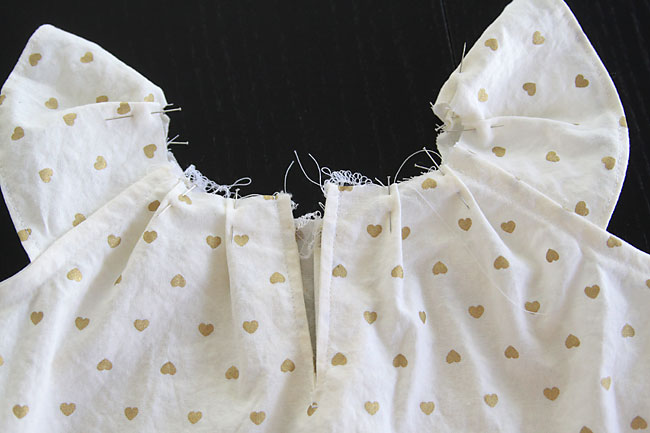
Next, we’ll make a little extra room in the back for a button closure. Cut a facing – a V-shaped piece of fabric 3-4 inches long – and finish the edges, then pin it to the middle of the dress back, as shown below. Cut a slit down the dress back and facing (do not cut through the front of the dress!). Stitch close to the slit on both sides, coming to a point just below the end of the slit, as shown by the dots below.
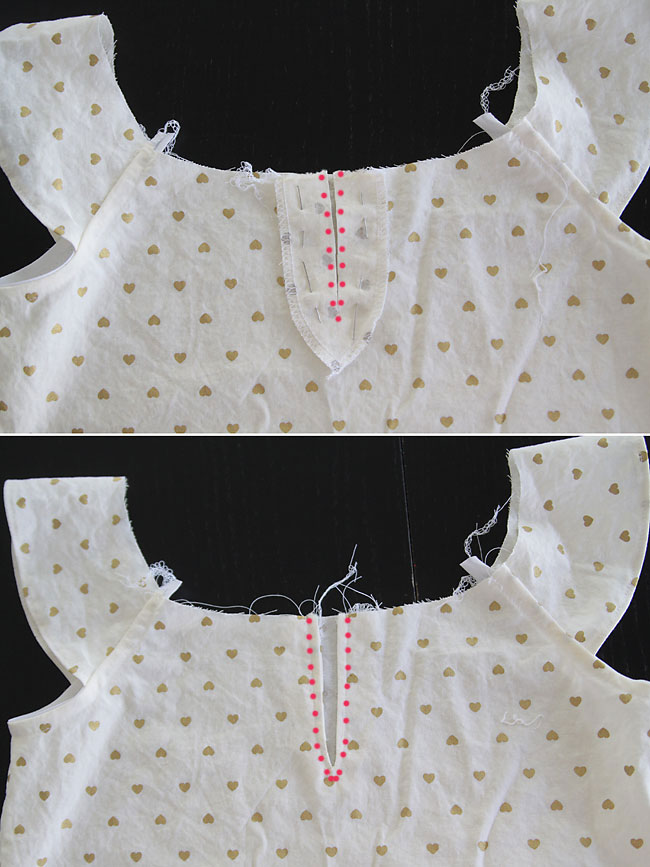
Then flip the facing to the inside, press well, and topstitch close the the opening as you can see above. I like to reinforce just below the slit by stitching back and forth a few times.
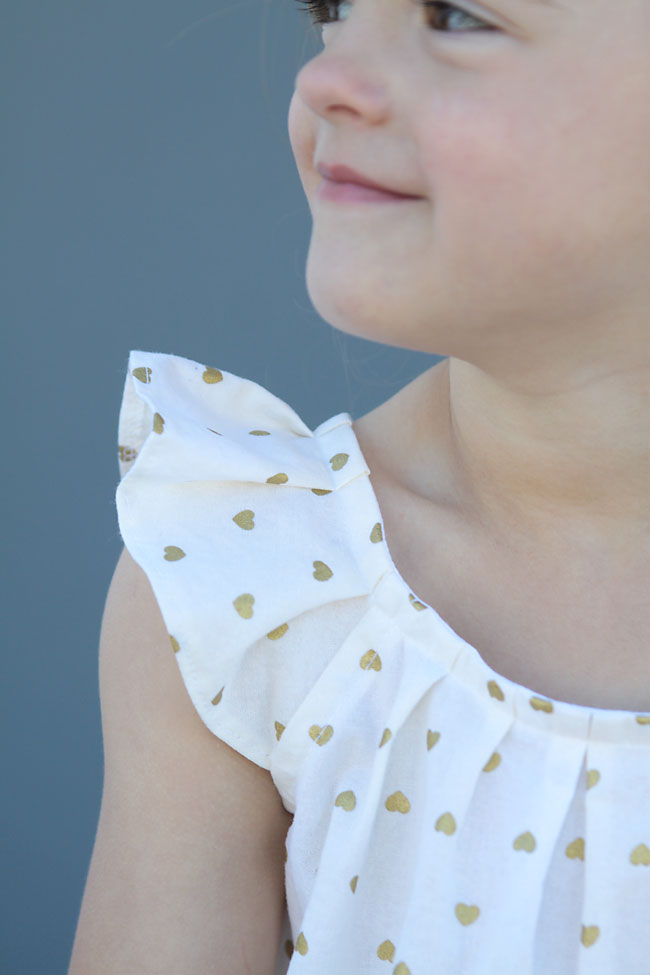
Next we’ll add the pleats. Start by finding the exact middle of the front of the dress. Place a pin 1/2 inch to the left and 1/2 inch to the right of the exact middle. Then, working outward, place pins every 1.5 inches all the way around the neckline (you may have to make some a little bit more than 1.5 inches apart to make sure you don’t end up with a pin directly on a seam).
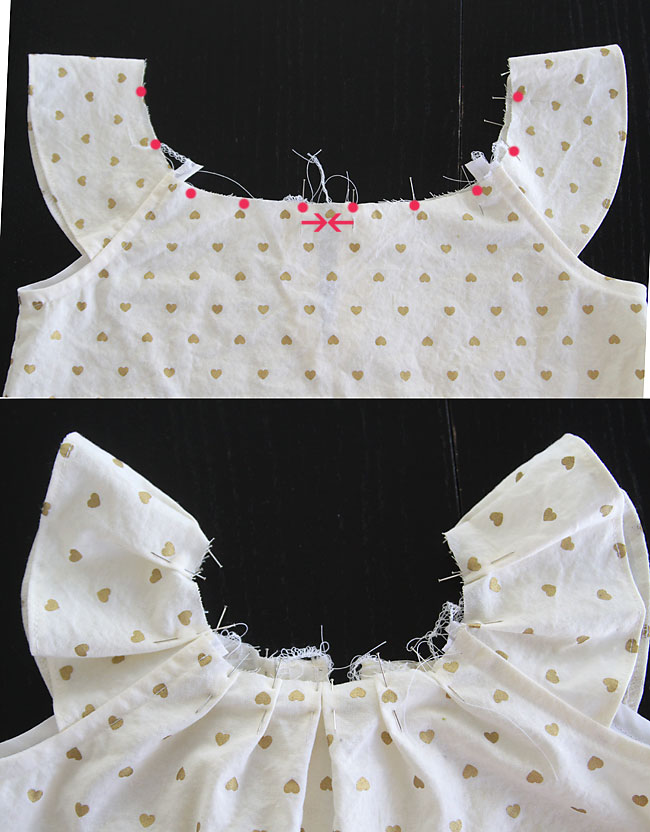
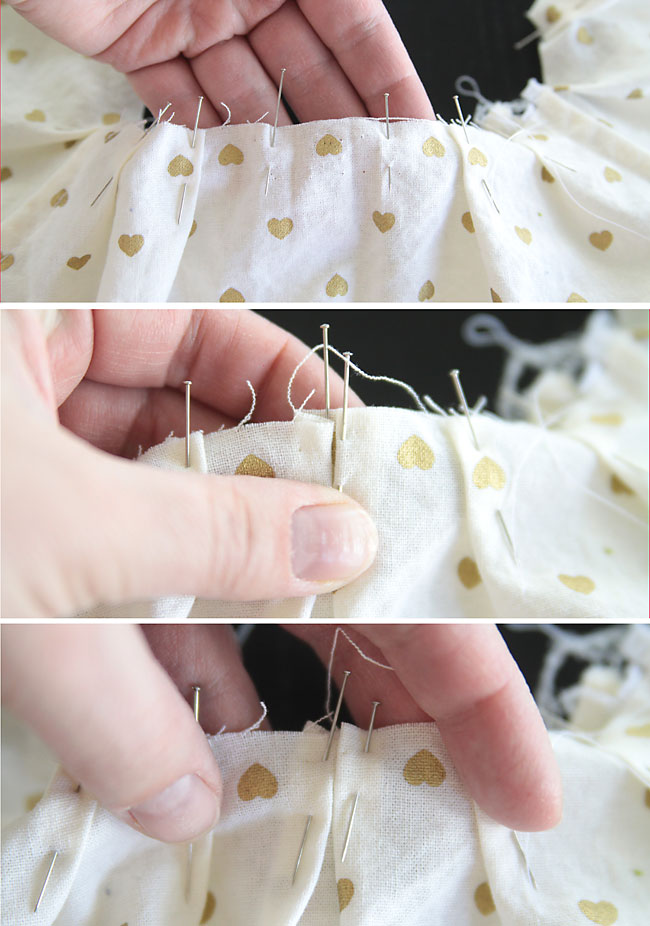
Make small folds in the fabric, bringing each pin to meet a spot 1/2 inch away, making small pleats. The two center pleats should meet exactly in the middle, as you can see in the photo above. Once you’ve folded each pleat, remove the pin and use it to pin the pleat in place. Here are some close-up shots of how to make the pleats:
Continue folding and pinning pleats until you’ve gone all the way around to the back:
At this point, you’ll want to sew a basting stitch across the pleats to hold them in place. Then finish the neckline the same way you finished the arm holes, using bias tape. (It’s similar to what’s shown in the original tutorial, you just don’t need to worry about using the bias tape as casing.)
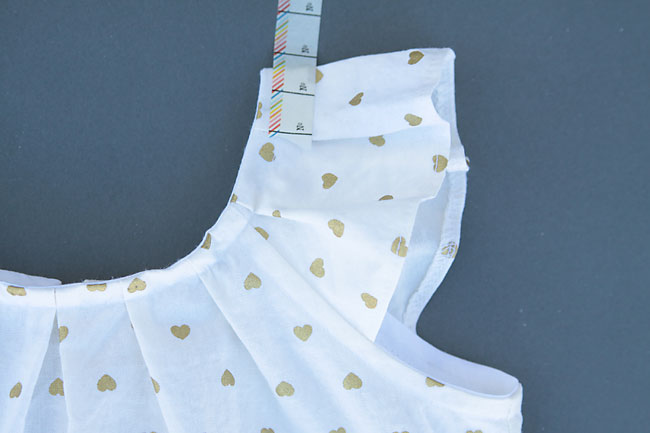
At this point you can hand sew on a button on one side, and a loop of elastic cord on the other side.
The last step is to hem the dress however you wish. I happened to have some metallic gold vegan stretch leather that I’d never used, so I decided to make a color blocked band at the bottom of the dress. I cut of the bottom 3 inches off the dress and used that as a pattern to cut pieces from the vegan leather.
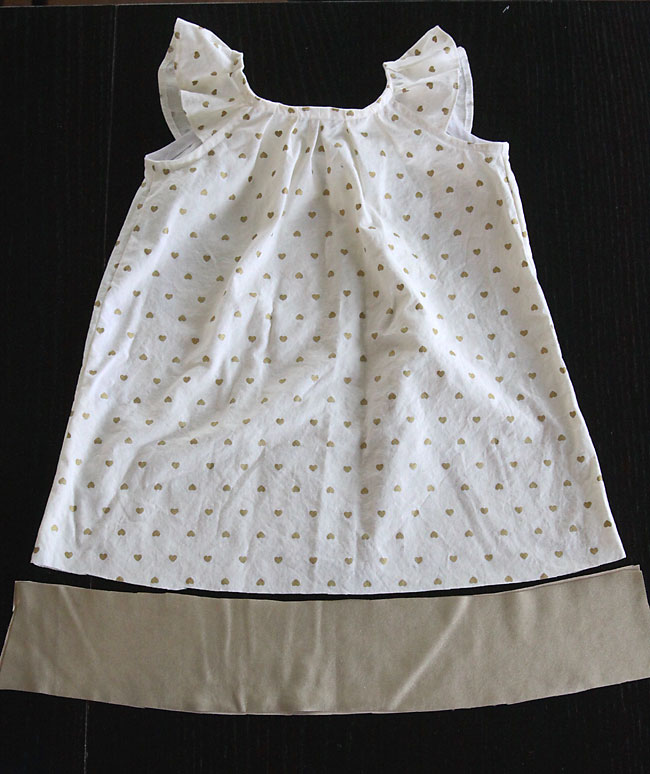
I cut two front hemband pieces and two back hemband pieces from the vegan leather, sewed each front to a back at the sides. Then I layered the two hem band pieces right sides together and sewed along the bottom. I turned it right side out and pressed (with a press cloth since I wanted to be sure I didn’t melt the vegan leather). Then I sewed the hem band onto the bottom of the dress, and pressed. I love how the slightly stiffer vegan leather makes the bottom of the dress stand out a bit so you can really see the A-line shape.
Sorry I didn’t get more photos of the hemband process. You attach it the same way I attached the hemband in this post, except that here the hemband will be the same width as the bottom of the dress so there’s no stretching of either piece.
Remember to check out the original flutter sleeve dress & top pattern post here:
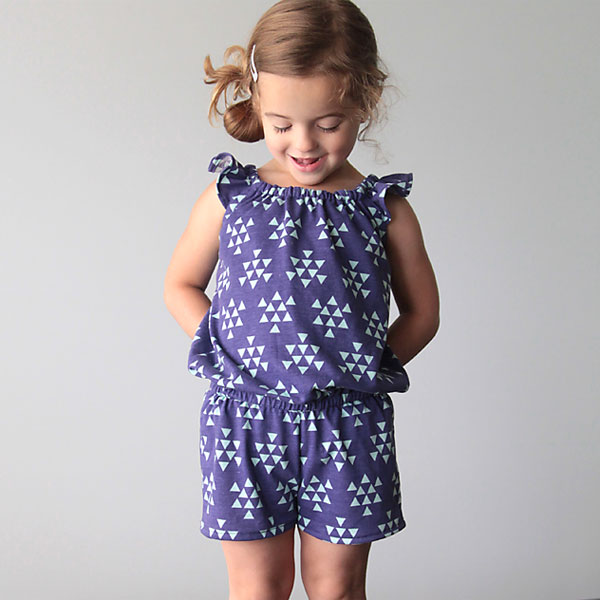
And the free pattern for the flutter sleeve romper here:


Kathy says
I Love your Patterns
So easy to follow
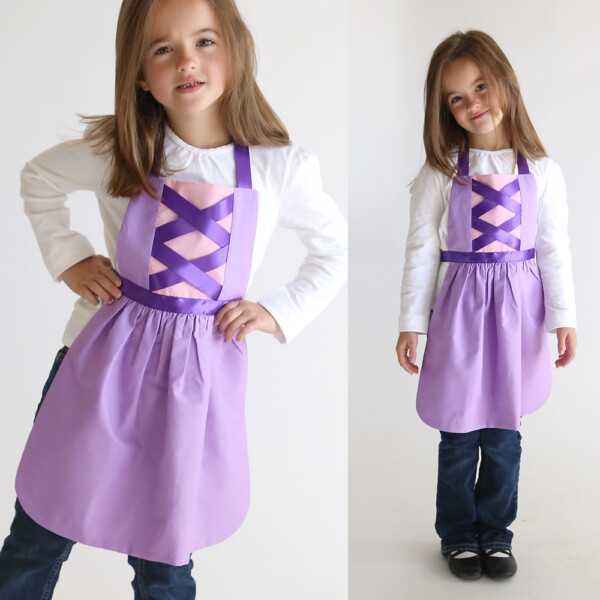
Have made all the Princess Aprons and added lots of sparkle to most of them for my Great Granddaughter ,who is 4.
She loves dress up!!!
Esther says
Muchas gracias por el patrón del vestidito de nena!!!!
Me viene muy bien y es muy fácil.