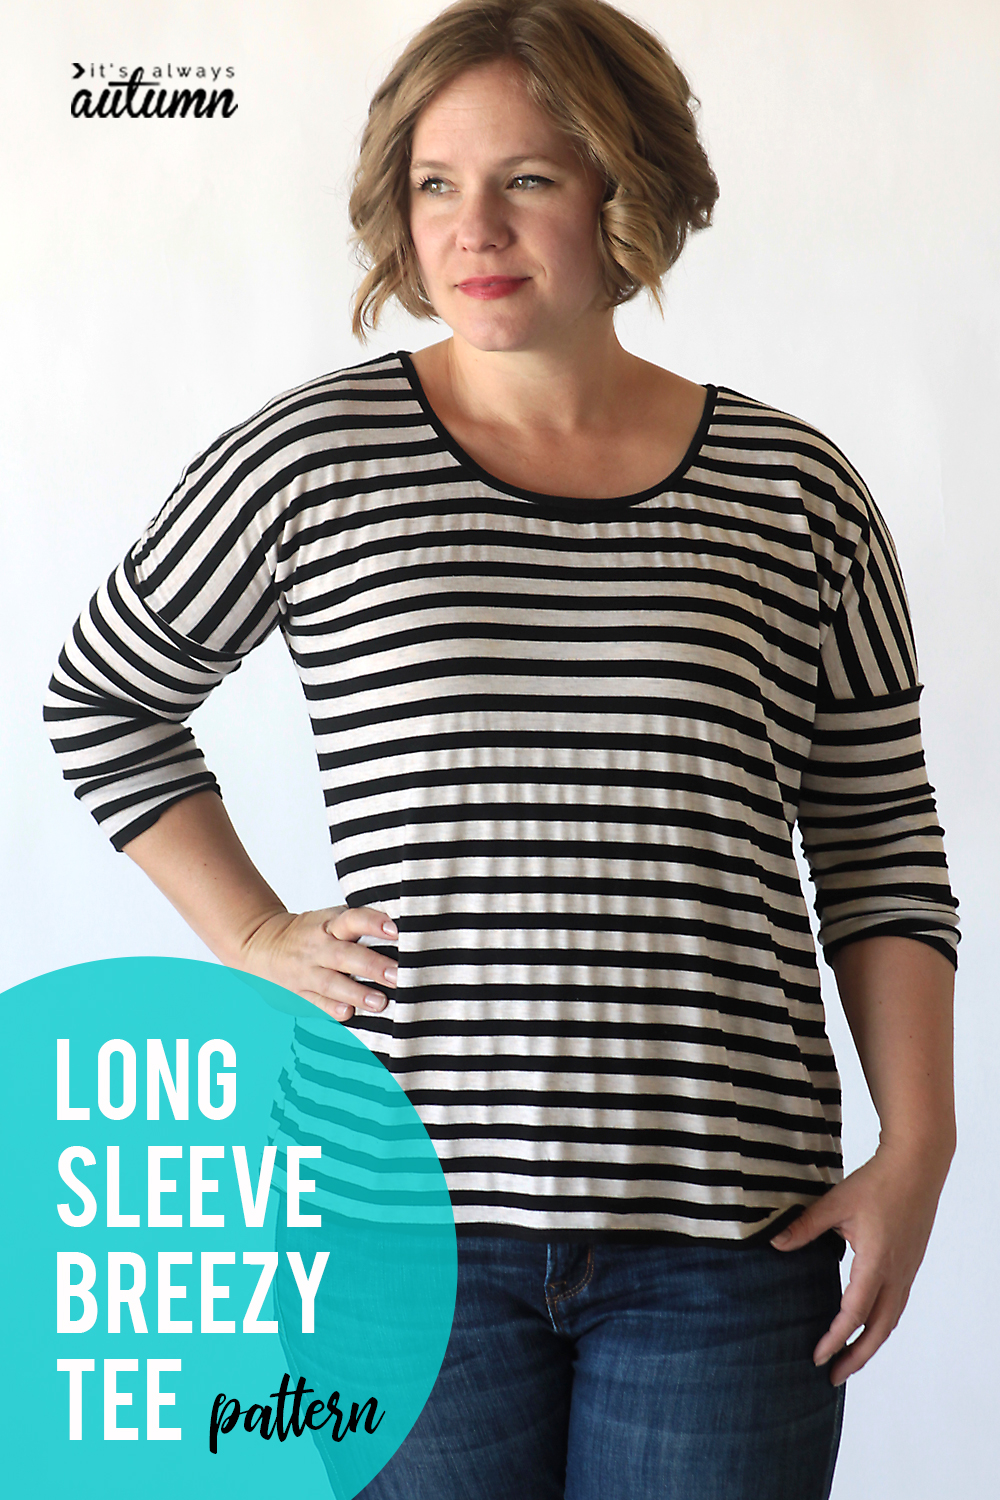
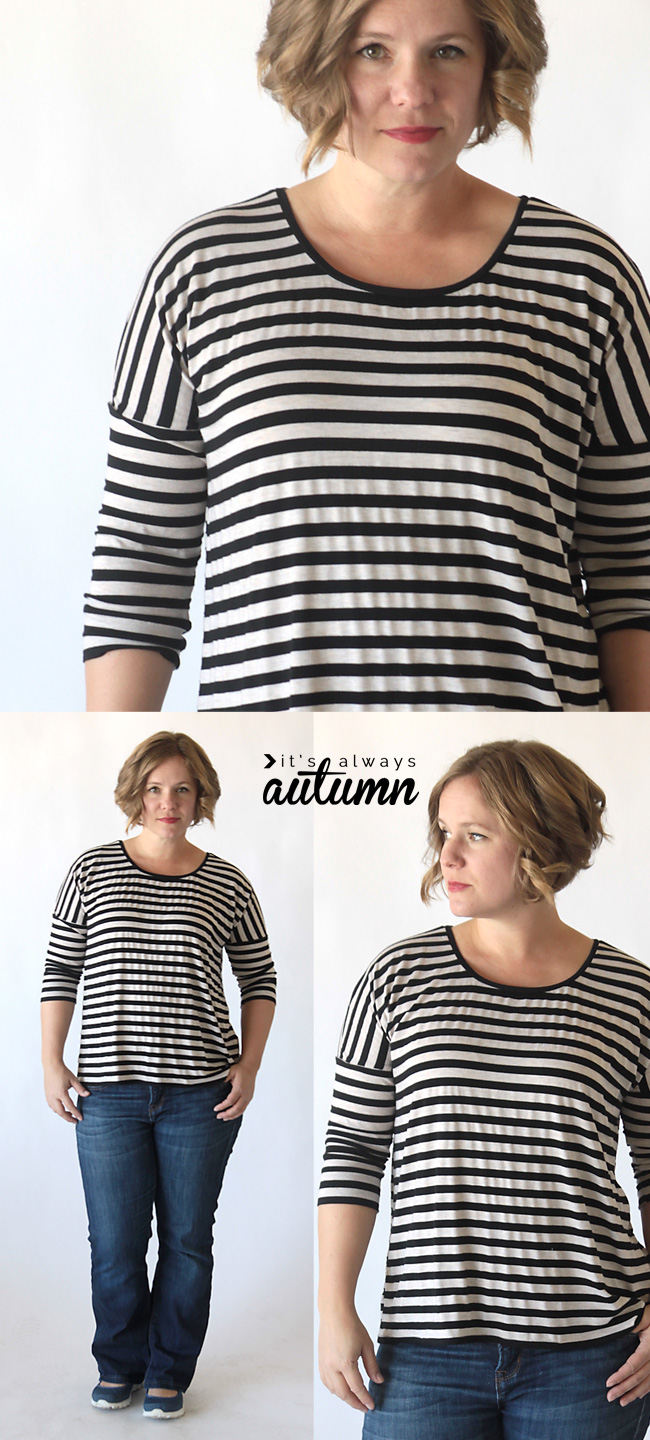
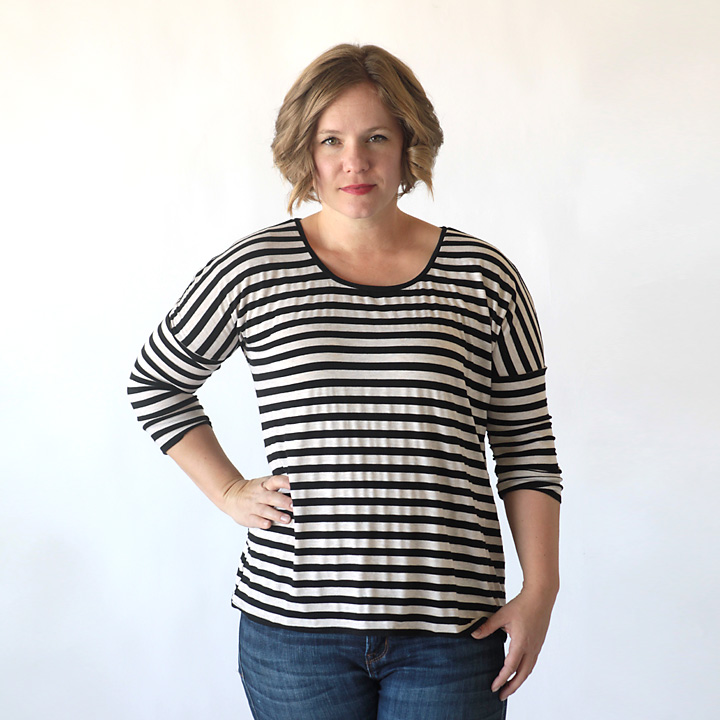
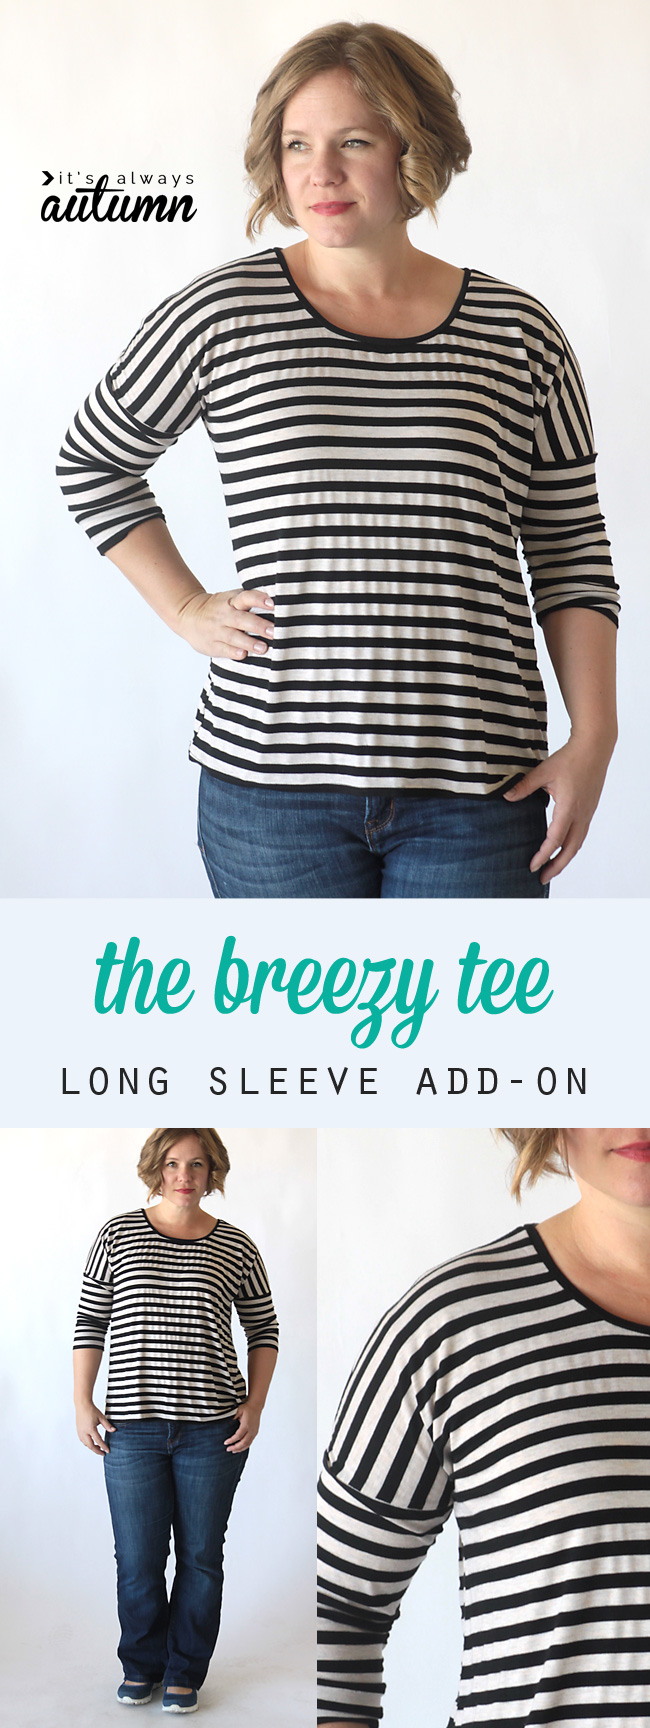
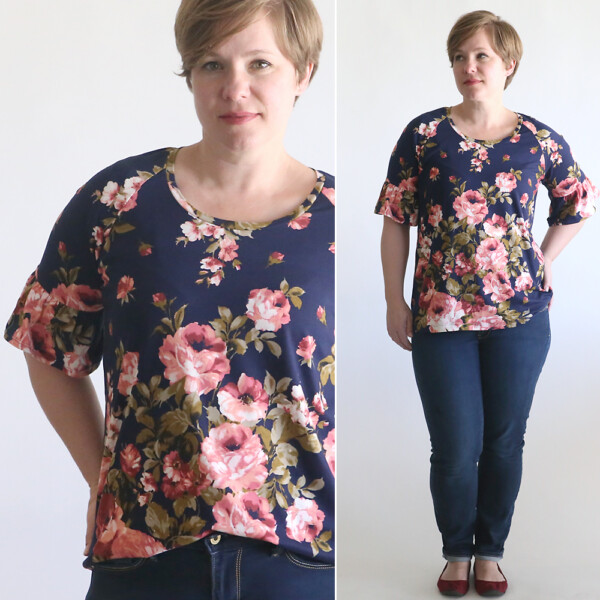
This summer I made a couple of new shirts using my free breezy tee pattern, and they’ve been in pretty heavy rotation. After all, they hide both my muffin top and my upper arms with just the right amount of effortless slouchiness to make me look like kinda cool, not like a mom trying to hide her muffin top. What’s not to love? But seeing as it’s fall and everything around me suddenly smells like pumpkin spice (tell me again why we adore pumpkin for three months and then ignore it completely for the rest of the year?), it’s time for sleeves of the longer variety. So today I’m sharing an easy three quarters or long sleeve add-on to the free breezy tee pattern, which comes in size L.
Both the three quarters sleeve and full length sleeves are super easy to add to the breezy tee. The dolman sleeve style (dropped shoulder) means instead of easing in sleeve curves you’re just sewing straight lines together. Easy!
If you’re careful with placement, you can just barely eek a 3/4 sleeve tee (like the one I’m wearing here) out of a single yard of fabric (you may have to cut your tee about an inch shorter than shown on the pattern to make everything fit). A long sleeve version will take closer to a yard and a half.
Here’s how to add the 3/4 or long sleeve add-on to the breezy tee.
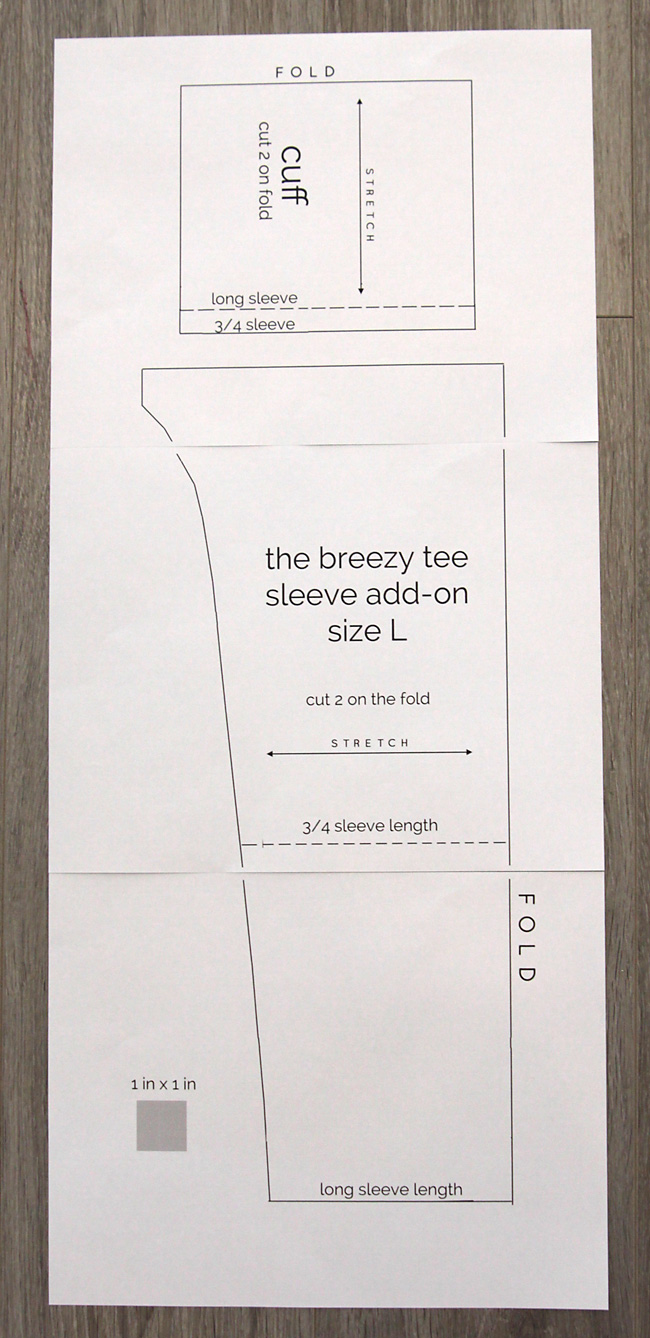
First, download the breezy tee pattern from this post, and download the sleeve add-on here. Print both patterns at 100% or full size and be sure the 1 inch test square is exactly one inch. Butt the pages together without trimming, and tape together and cut out. This pattern is designed for knit (stretchy) fabric, and stretch direction is noted on the pattern pieces. Use half inch seam allowance when sewing. This is what the sleeve add-on looks like all put together:
See the original breezy tee tutorial for an example of what the tee pattern looks like put together.
After washing and drying your fabric, cut two shirt pieces, both on the fold, one using the front neckline and one using the back neckline. Ignore the sleeve piece included with the tee pattern. Instead, cut two of the long sleeve pieces, both on the fold. Also cut two cuff pieces. Finally, you also need to cut a neck binding piece that’s about 1.75 inches tall and 28 inches long (stretch goes along the length).
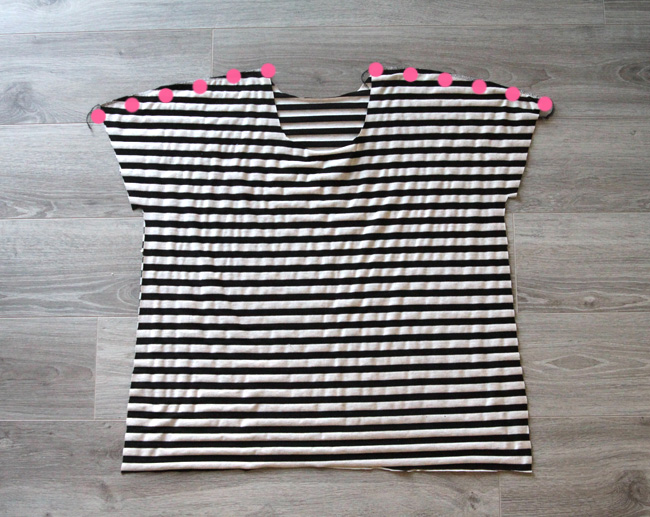
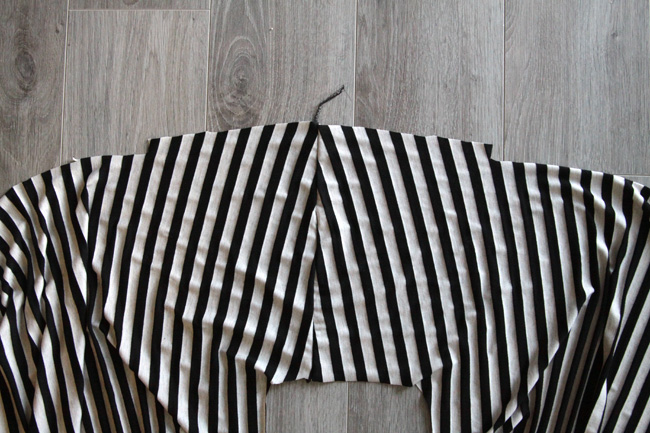
Place the tee pieces RST and sew across the shoulders, as shown below.
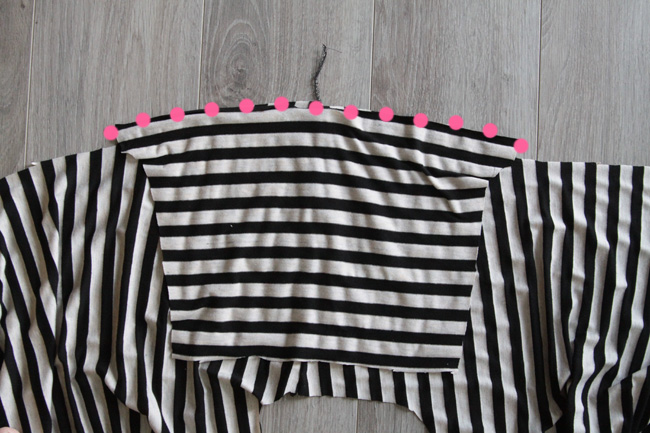
Press the shoulder seams flat and open up the shirt, right sides up. You’ll see an area along the shoulders that notches out a bit like this (neck hole is at the bottom of the photo):
Match up the top (wider part) of one sleeve piece to the notched out area, RST. Pin and sew. Repeat with the other sleeve.
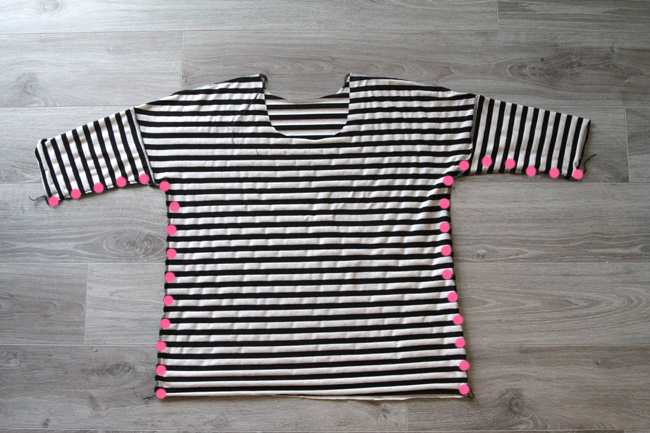
Flip the the shirt so the front and pack tee pieces are RST again, and then you can sew from the wrist of each sleeve up under the armpit, and back down the side seam. I like to give the fabric a bit of a stretch as I sew under the arms to make sure the seam doesn’t pop later.
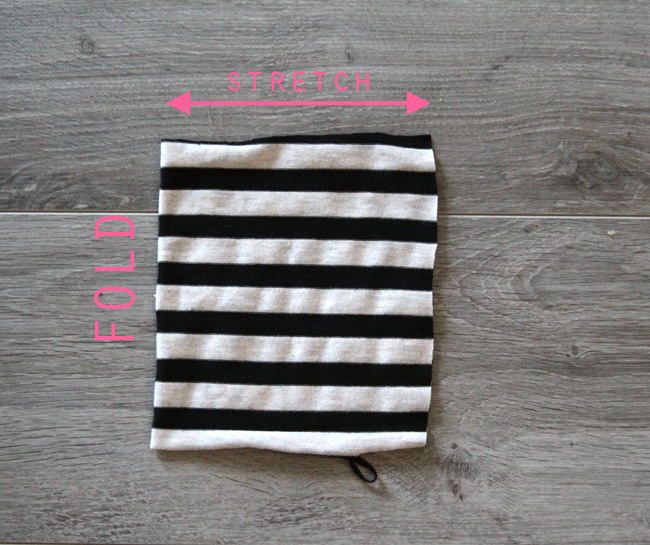
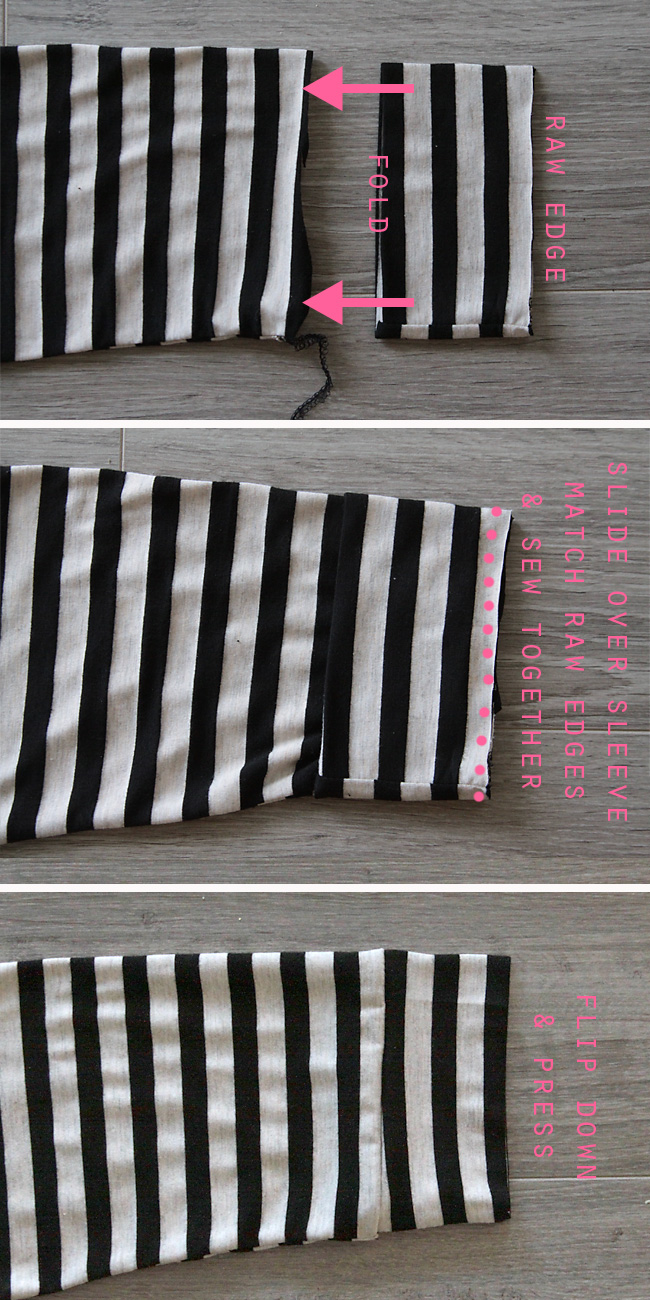
Next you’ll add sleeve cuffs. Fold each cuff in half and then sew down the long raw edge (the right edge below):
Fold the cuff in half again, encasing the seam on the inside, and press. Slide one cuff over the end of one sleeve (RST), matching up all the raw edges as shown below.
Sew the cuff to the sleeve, then flip it out and give it a nice press. The cuff will be just slightly smaller than the sleeve, so you will have to stretch it just a bit as you sew. If you want, you can try on the cuff before you attach it to the sleeve and make sure it’s tight enough for you – if you’re using a very stretchy fabric you may want to make the cuff smaller before sewing it on to the sleeve.
Now you’ll add the neck binding and hem, as described in the original breezy tee tutorial. And you’ll have a cute and comfy top to add to your fall wardrobe.


Erica says
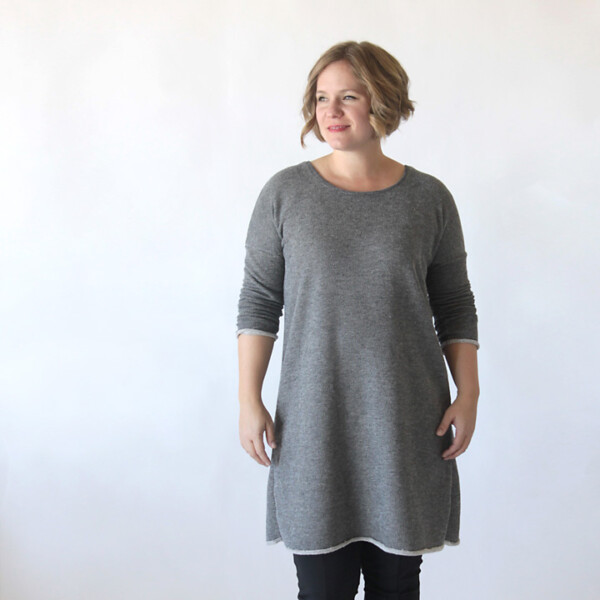
I used your pattern to make what I deemed an ugly sweater and ended up winning cutest.