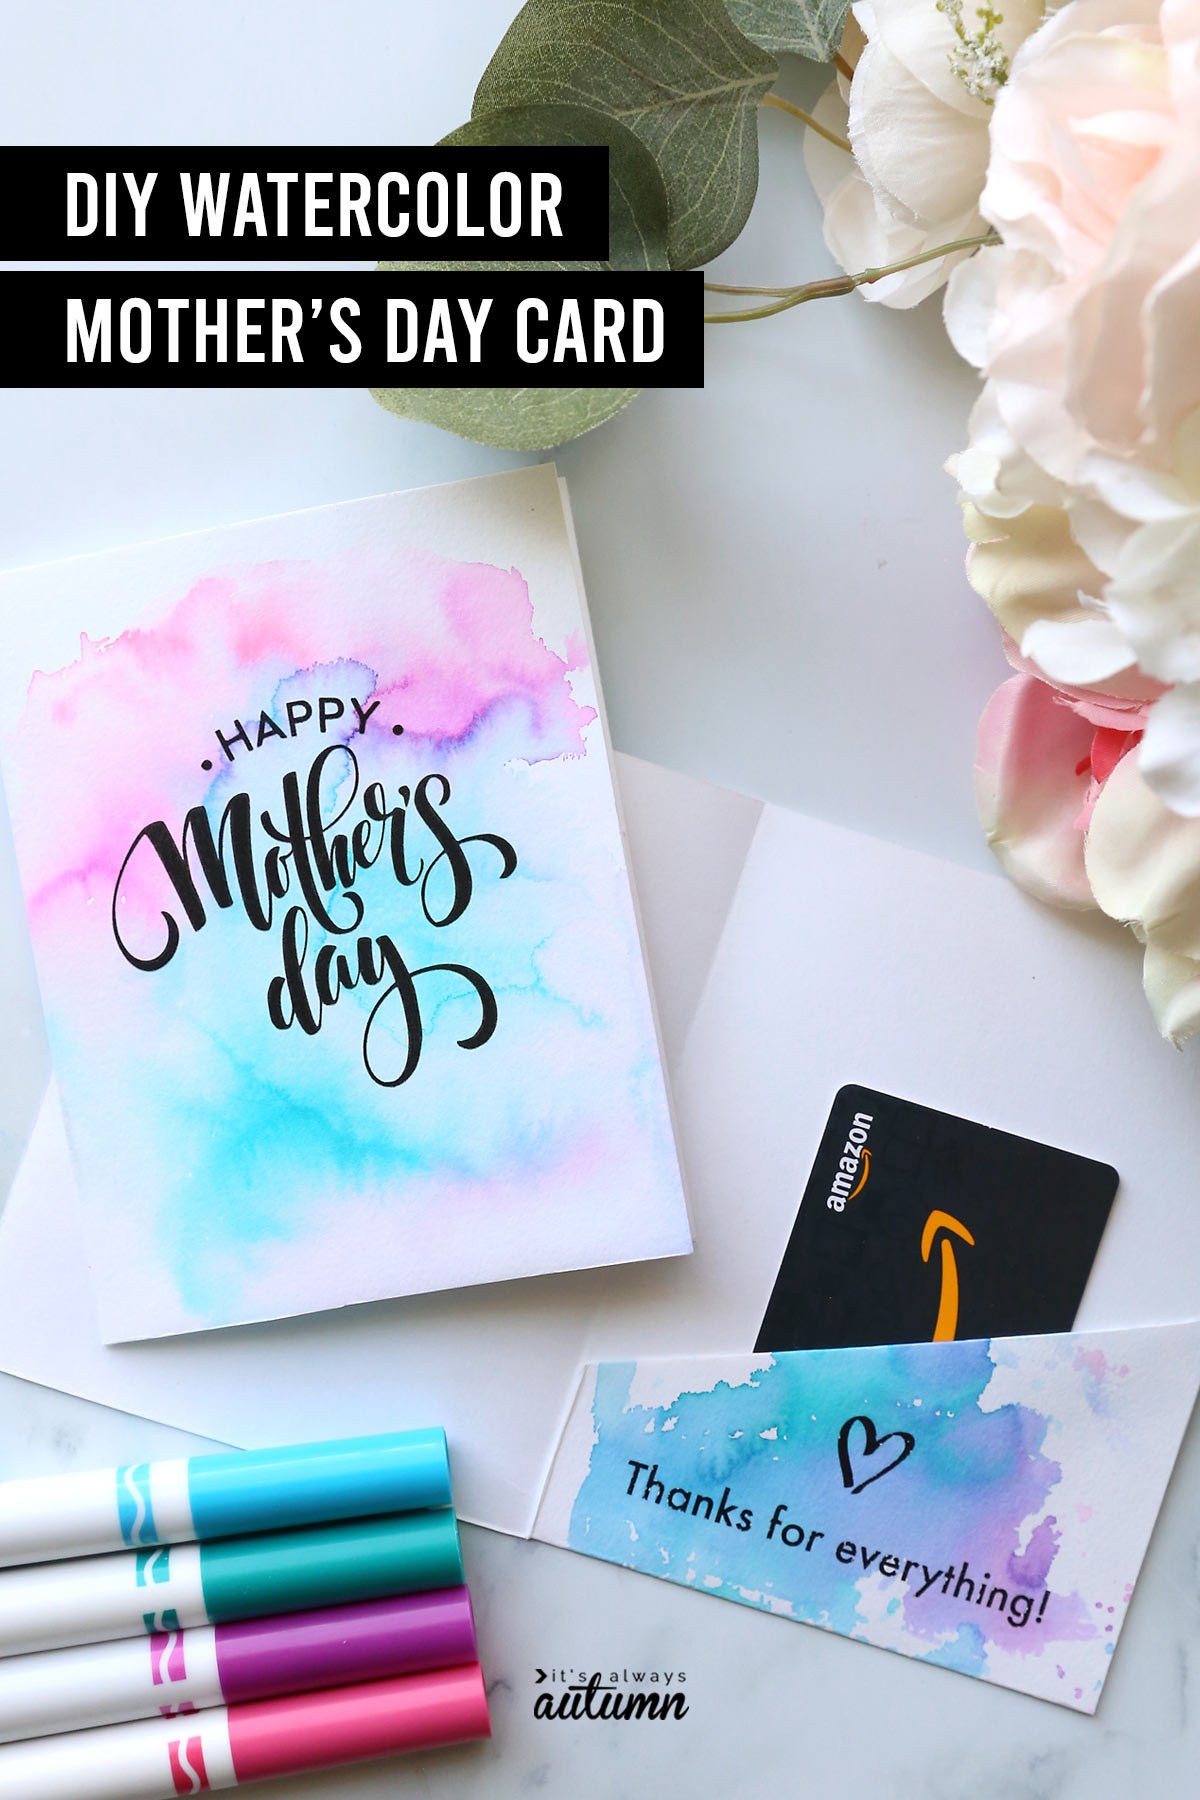
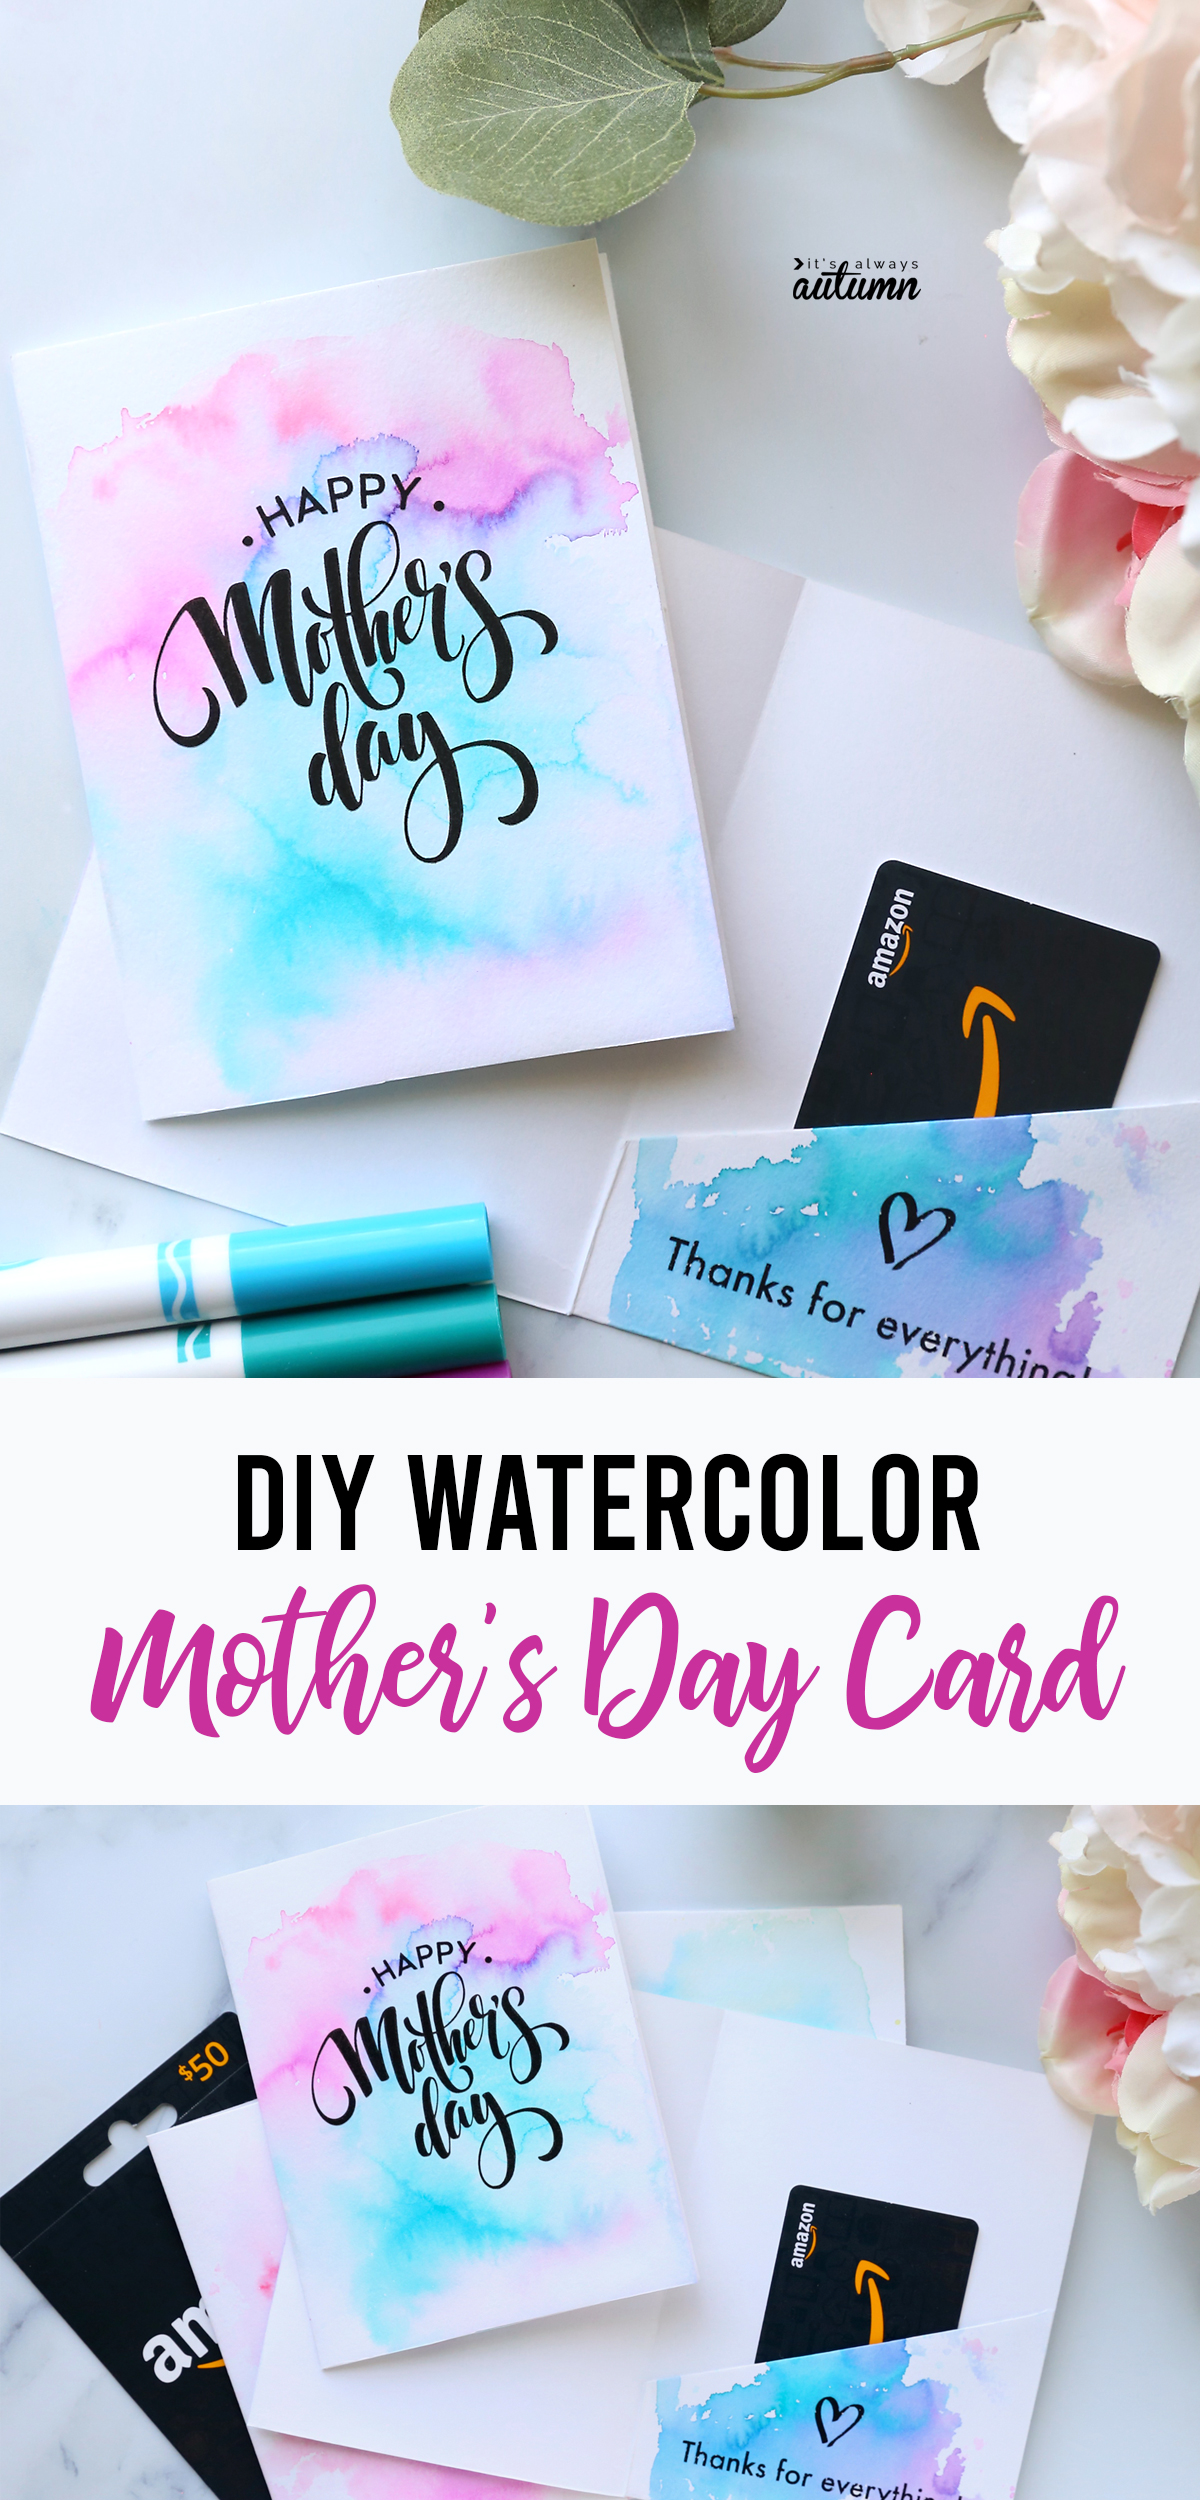
In today’s post: If you’re giving Mom a gift card for Mother’s Day, personalize it with this DIY Watercolor gift card holder. Just download and print the template, then turn it into a masterpiece with our easy cheater watercolor method using markers!
Here’s a hint, if you need an idea for Mother’s Day: moms love gift cards just as much as everyone else does! Gift cards to Amazon or her favorite store, or gift certificates for an experience make WONDERFUL Mother’s Day gifts. And today’s project is a perfect way to give a gift card or certificate: I’m sharing a printable template for a Mother’s Day gift card holder. And them I’ll show you how to make it pretty using a cheater watercolor method. Fun craft for you; great gift for Mom.
Cheater Watercolor Method
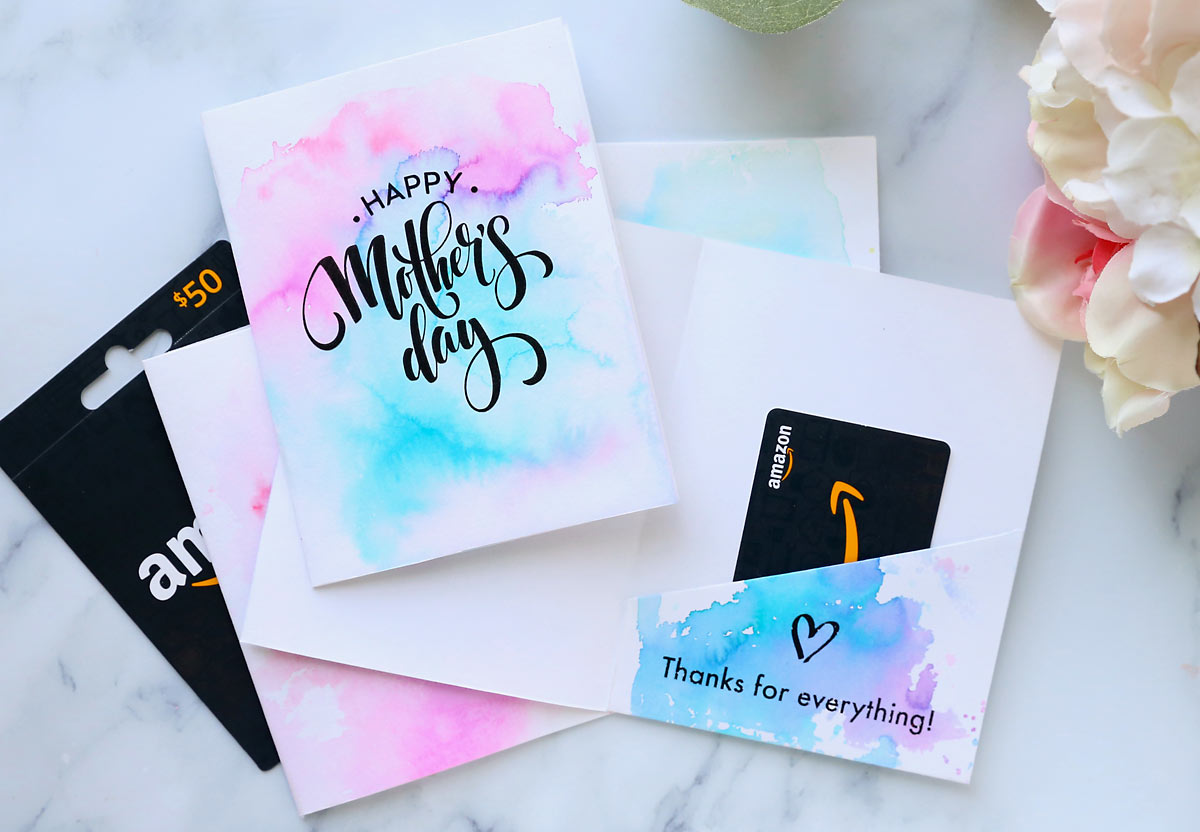
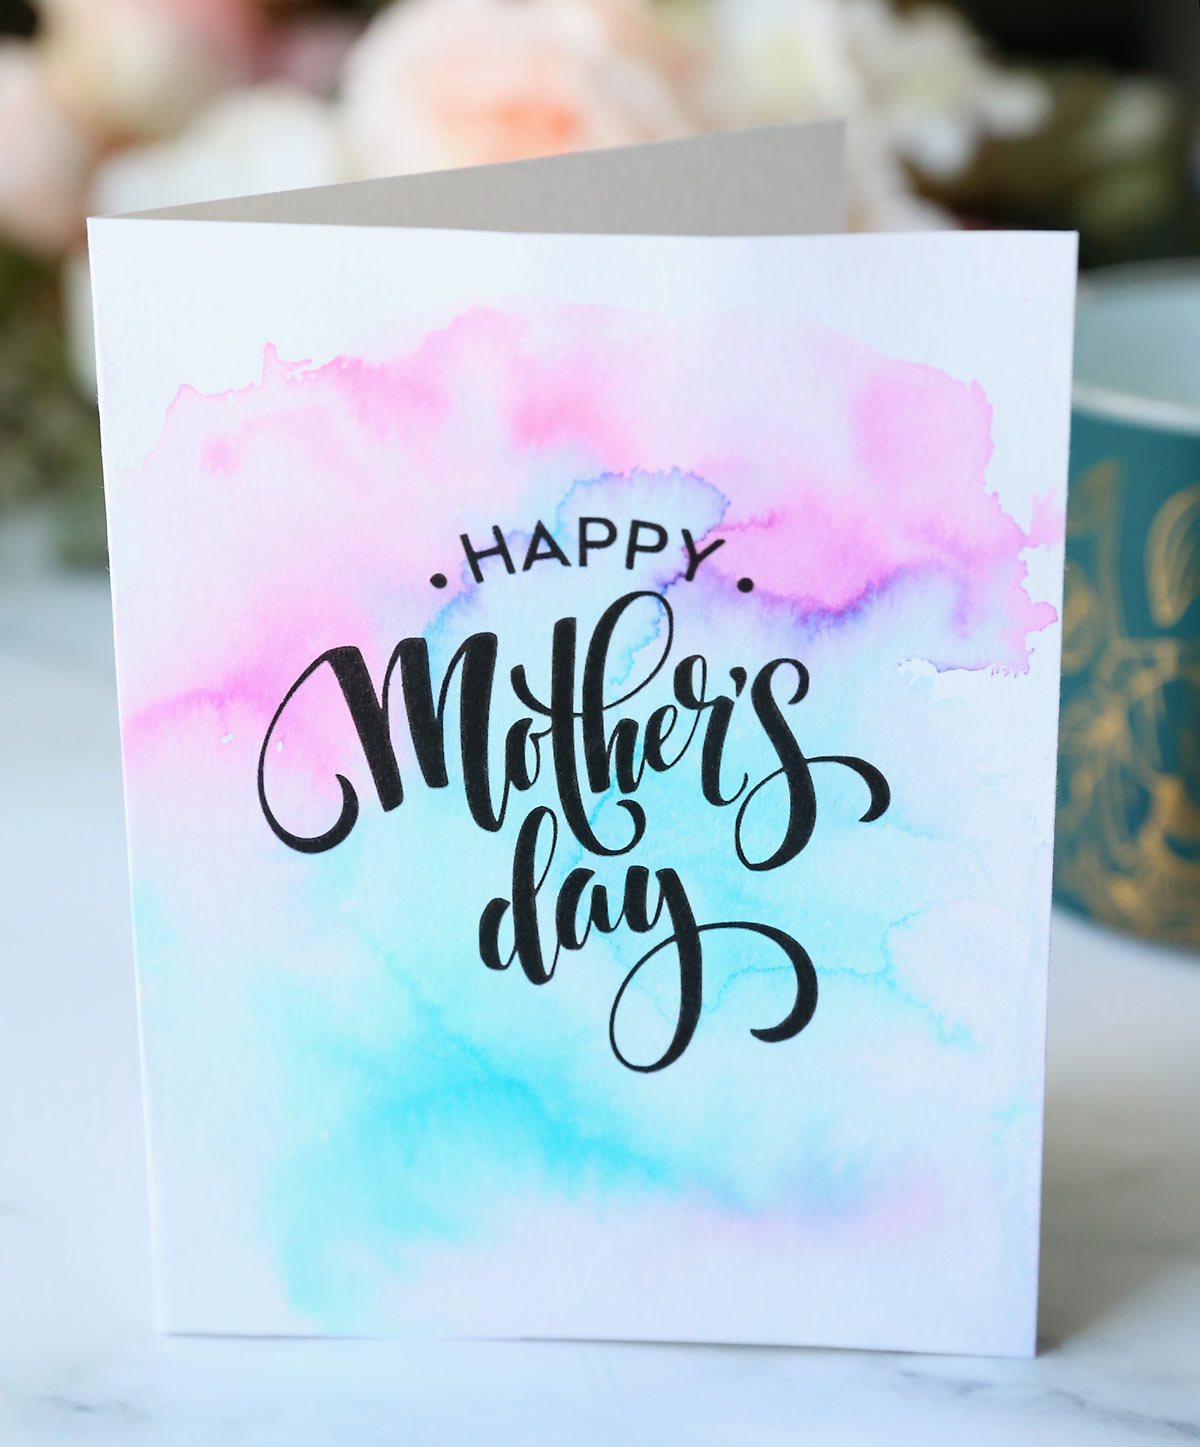
I first shared this cheater watercolor method a few years ago when I showed you how to create DIY watercolor backgrounds for quote prints. It is so easy, and so much fun! You can use this technique to make prints, bookmarks, cards and more. Today we’re making Mother’s Day cards that include a pocket inside to hold a gift card:
Design credit: “Happy Mother’s Day” word art created by WAMDesigns01 on Etsy -the design was purchased and used here with permission.
Supplies
You don’t need many supplies for this project. Here’s what I used:
Template
Click here to download the printable Gift Card Holder template
Paper
I recommend using 98 lb Mixed Media paper for this project. I buy it in a pad at Walmart in the art section and it’s fairly inexpensive. This paper has a nice texture and is the perfect thickness: thick enough to hold up to having water on it but thin enough to run through most printers without jamming. It comes in a 9×12 size, so you will need to cut it down to 8.5×11 before using it.
Other paper options:
- Watercolor paper (approx 140lb). Watercolor paper takes the ink beautifully and looks really nice, but it’s usually too thick to run through your printer, and is also hard to fold into a card, so I don’t recommend it.
- Standard card stock (weight varies). You can use cardstock, but look for one that’s a bit heavier weight – some card stocks are very flimsy and won’t make a nice looking card. Also, I prefer using a card stock that has a bit of texture, like the kind sold for scrapbooking.
- Plain printer paper. DO NOT USE THIS for your cards; however, it’s great to have some on hand to practice the watercolor technique with.
Printer
You can print out the Mother’s Day gift card holder template on either a laser or an ink jet printer. Just remember that if you are using a laser printer you should print the template BEFORE doing the watercolor technique. But if you are using an ink jet printer, you should do the watercolor technique and allow it to fully dry (at least a couple of hours) BEFORE printing the template on your paper. If you try to print first using an ink jet, the ink may run when it gets wet during the watercolor process.
Markers
I used classic Crayola markers – not the washable kind. However, I have had readers tell me the washable versions work as well. And I’m guessing generic brands will work fine too. For my first watercolor post I only used the 10 classic colors; for this post I got a 20 pack of “Bold and Bright” markers so I would have more color options.
Other Supplies
You’ll also need a spray bottle, some gallon size ziplock bags, and paper towels for cleaning up. To put together the gift card holder, you’ll also need scissors and some type of adhesive.
Video
Watch this video to see the entire process in action, both how to make the watercolor print and how to fold the card. Remember if you use a laser printer, print first and watercolor second. If you use an ink jet printer, watercolor (and dry) first and print second). Written instructions follow the video.
How to Make a Watercolor Gift Card Holder for Mother’s Day
Watercolor Gift Card Holder for Mother's Day
Supplies
For the Watercolor
- Printable Mother's Day Template
- Mixed Media Paper
- Markers
- Spray bottle with Water
- Gallon size ziplock bag
- Paper Towels
For Folding the Card
- Scissors
- Adhesive
Want more project ideas? Sign up to get my favorite easy crafts and recipes straight to your inbox!
Instructions
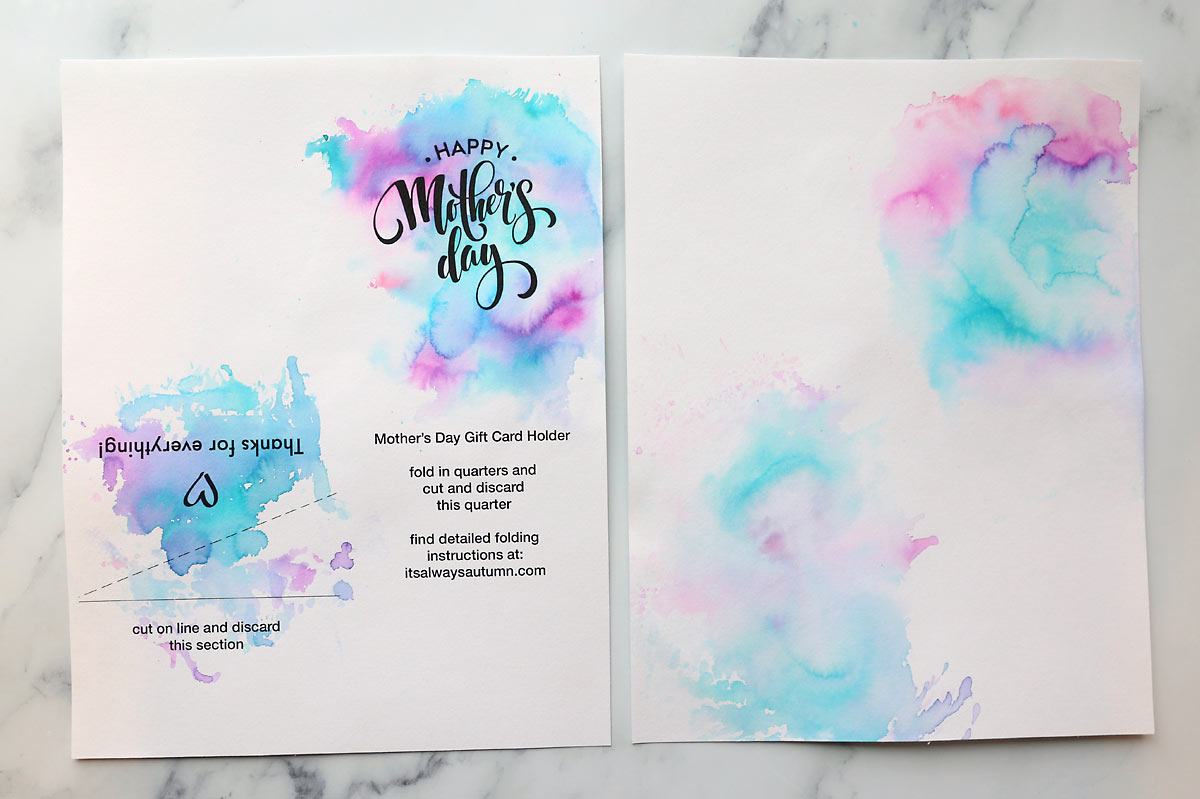
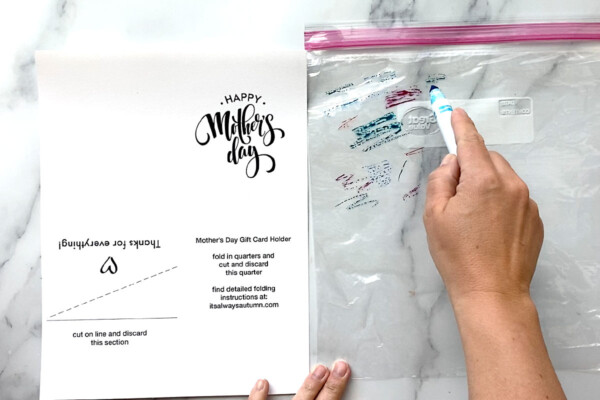
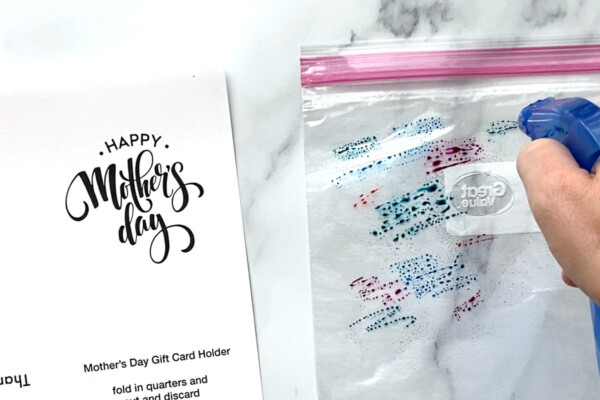
- Trim paper down to 8.5x11 and print out the template (if using a laser printer - if using an ink jet printer, do the watercoloring before printing). Lay a gallon size ziplock bag next to your paper. Scribble on the ziplock bag with a few different colors of markers in the upper left quarter of the bag.
- Spray the bag with water until the ink beads up.
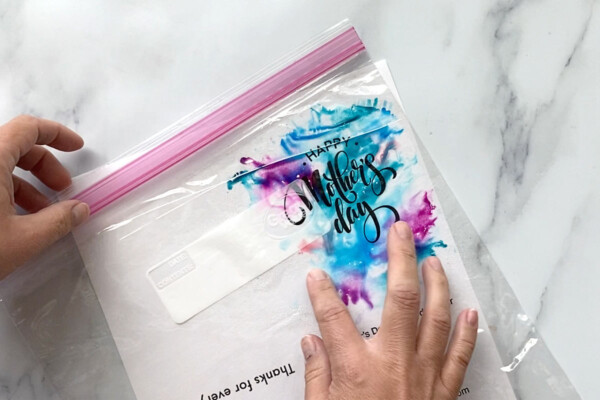
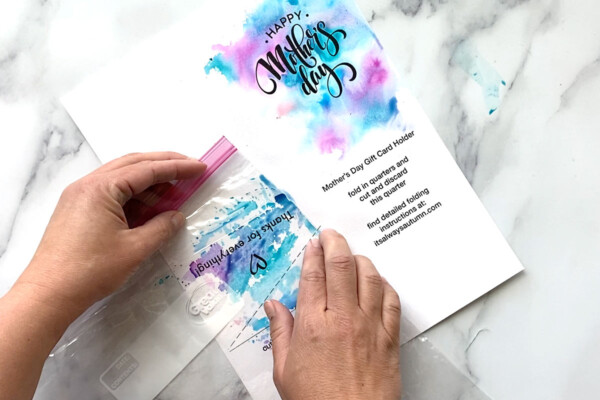
- Flip the bag over onto the top right quarter of your paper. Use your fingertips (not nails) to blend the ink, then peel away the bag. Use a paper towel to clean up any ink that is running off the paper. You can also dab at your design with a paper towel if it seems extremely wet, or link the colors are blending too much.
- Repeat the watercolor effect on the lower left quarter of the paper (you may or may not need to apply more ink and water to the bag before doing so).
- Allow your paper to dry completely before continuing. You may also want to leave the paper between two heavy books overnight to flatten it out before folding the card. If you are using an ink jet printer, print the template onto the card after it's completely dry.
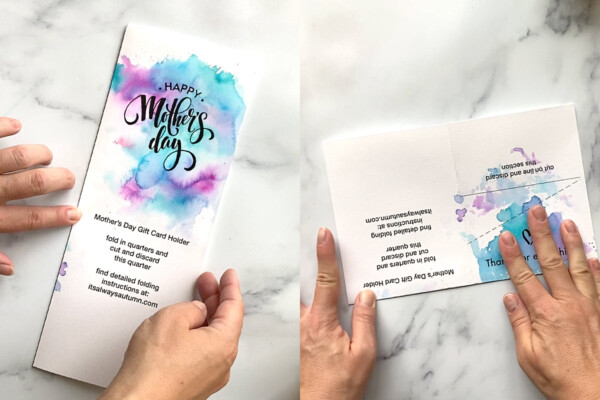
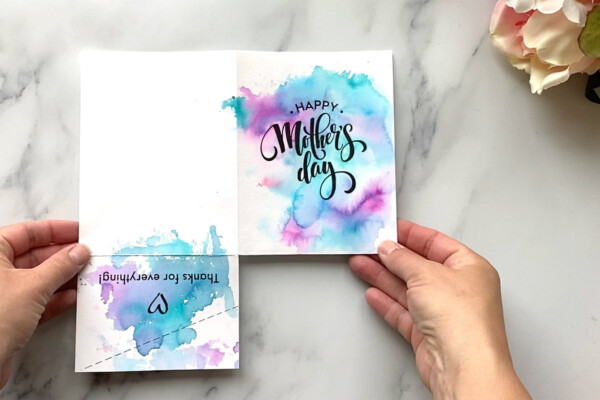
- To fold the card: Keeping the decorated side out, fold the paper in half lengthwise, then in half widthwise.
- Cut and discard the bottom right quarter of the paper. Also cut along the line on the bottom left and discard that portion as well.
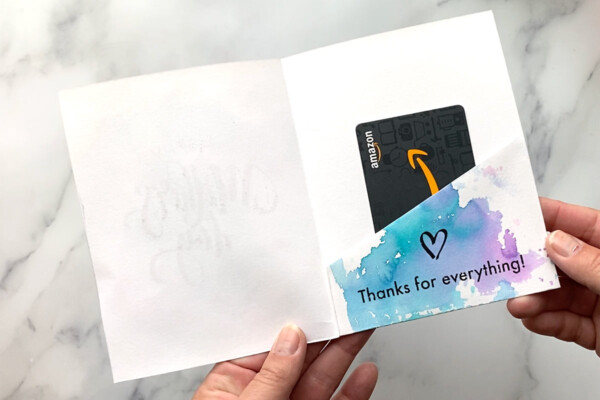
- Flip the card over, and fold up the flap on the right. Fold it in along the diagonal dashed line, then place adhesive on either side of the flap to create a pocket for the gift card.
Tips for Success
Here are a few last notes to make sure your project is a success:
Practice the watercolor technique a few times to see what you like best. Experiment with:
- How much water you spray on the ink – more water will lead to more blending a lighter colors
- Using a paper towel to dab up some of the ink/water before it dries
Use your fingertips to blend, not your nails. If your nails scratch the paper, you may be able to see scratch marks when the design is dry.
Choose 3-4 colors that will mix and blend well. It’s a good idea to stick with colors that are close to each other on the color wheel. Don’t use anything that will create brown when mixed, like green and red.
Be aware that the paper will buckle as it dries, so you should plan to leave it between a couple heavy books for a day either before or after folding it into a card.



Leave a Comment