Are you a closet cleaner-outer or a closet stockpiler? I’m kinda both, depending on the month. Basically I stockpile things until the state of my closet is absolutely mortifying, then I ruthlessly clean things out in an attempt to be one of those people with a tidy closet. It doesn’t actually work: stuff still piles up, but at least the thrift store gets regular donations from me and I have room for my latest sewing projects.
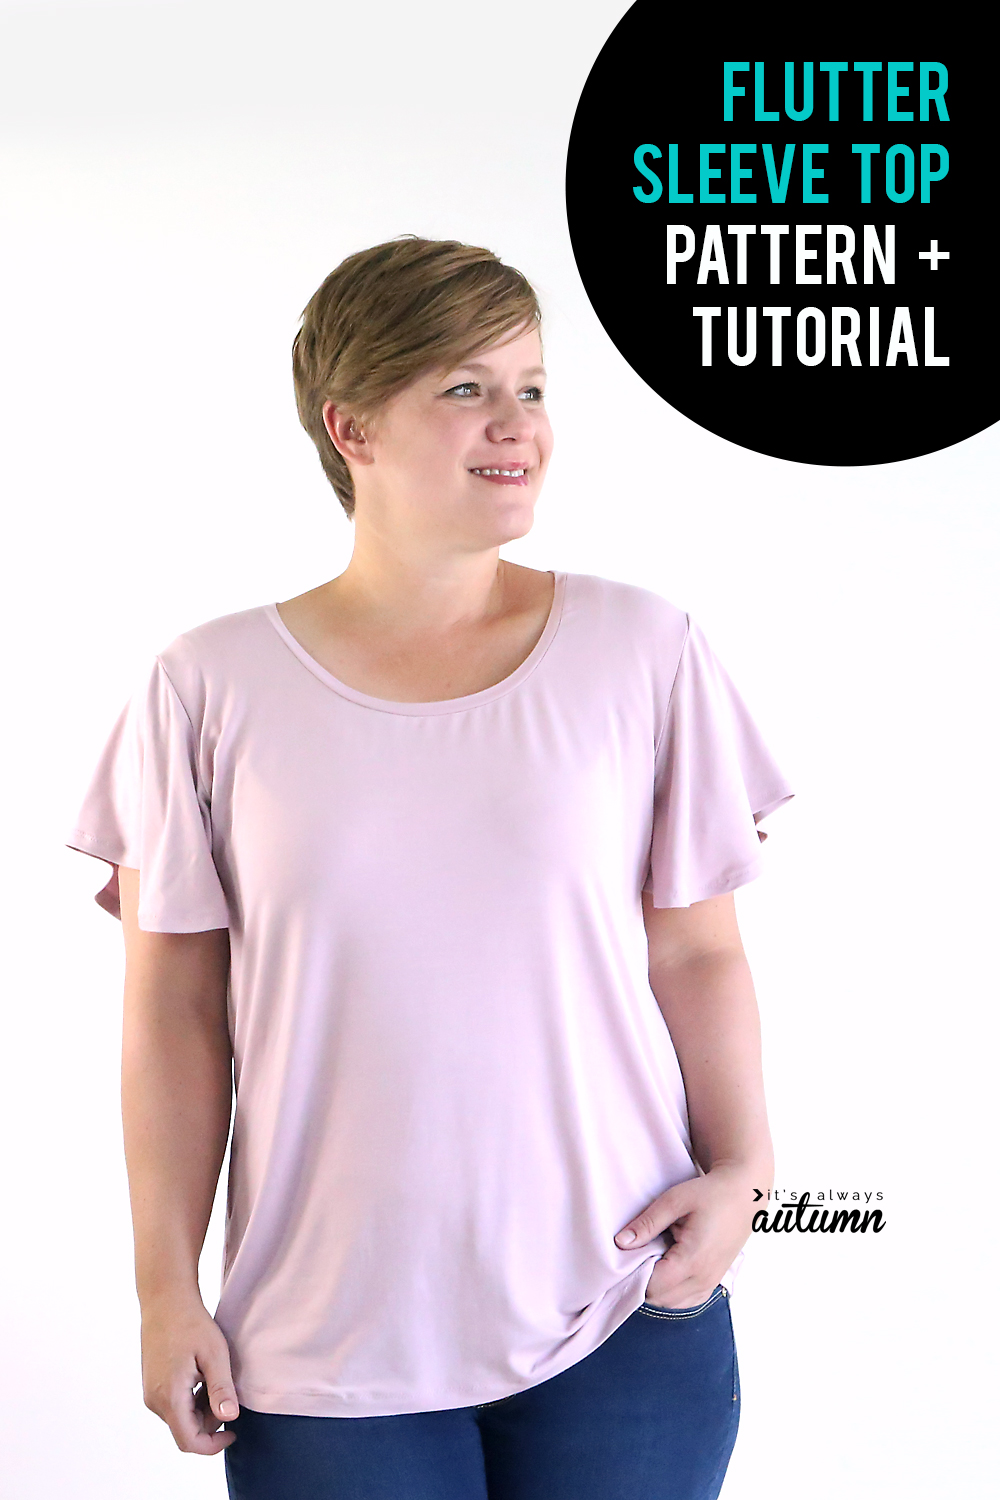
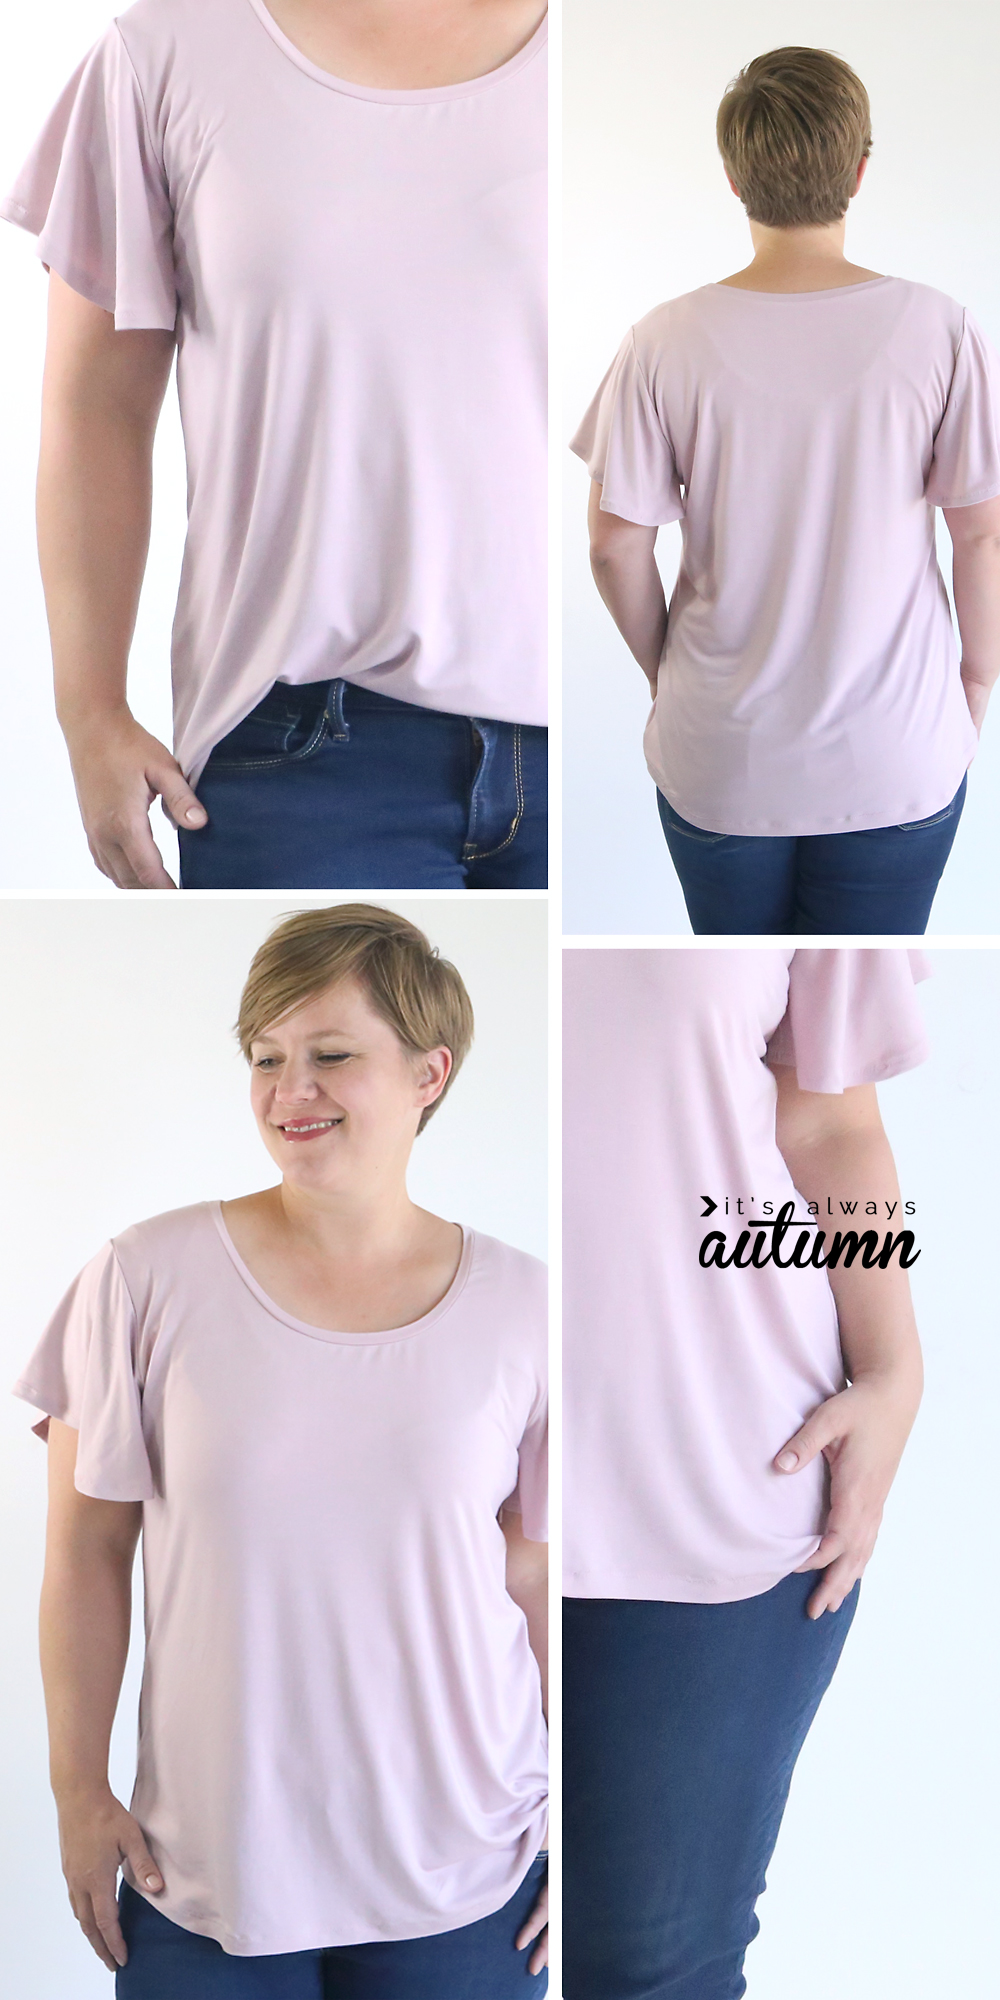
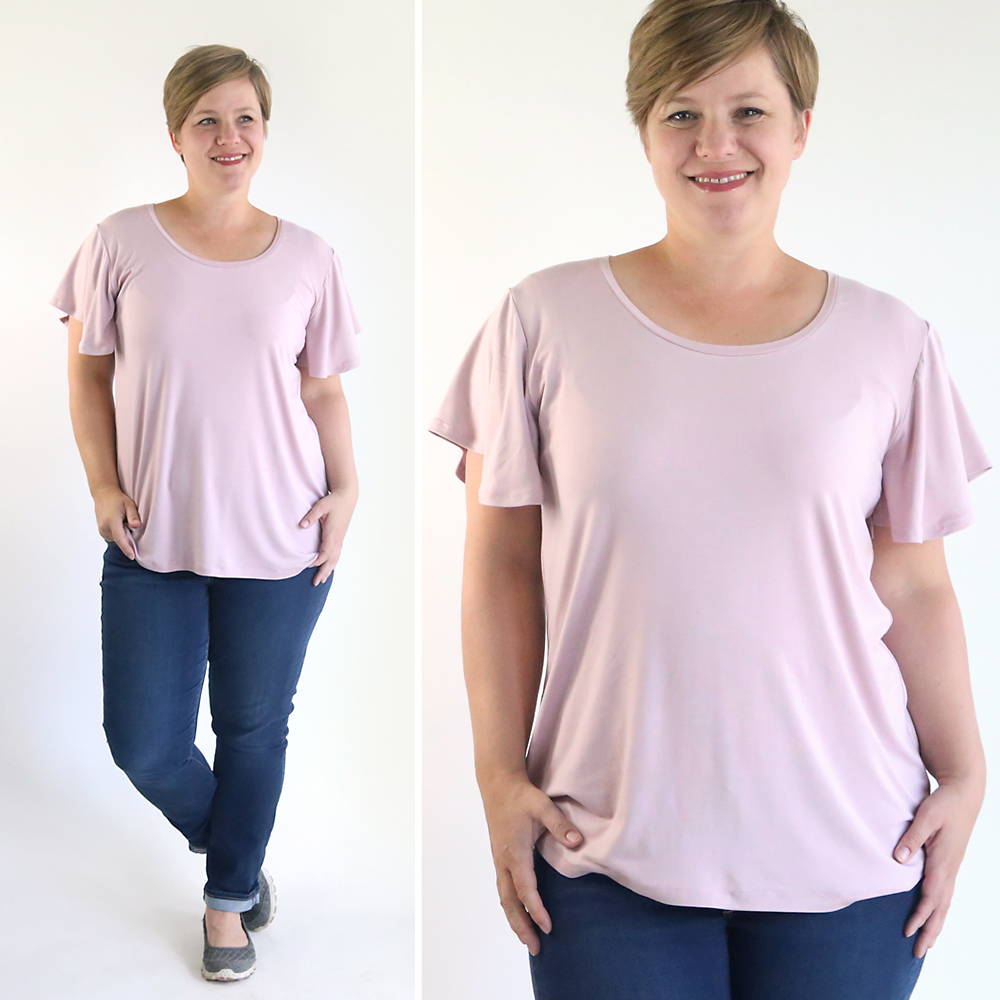
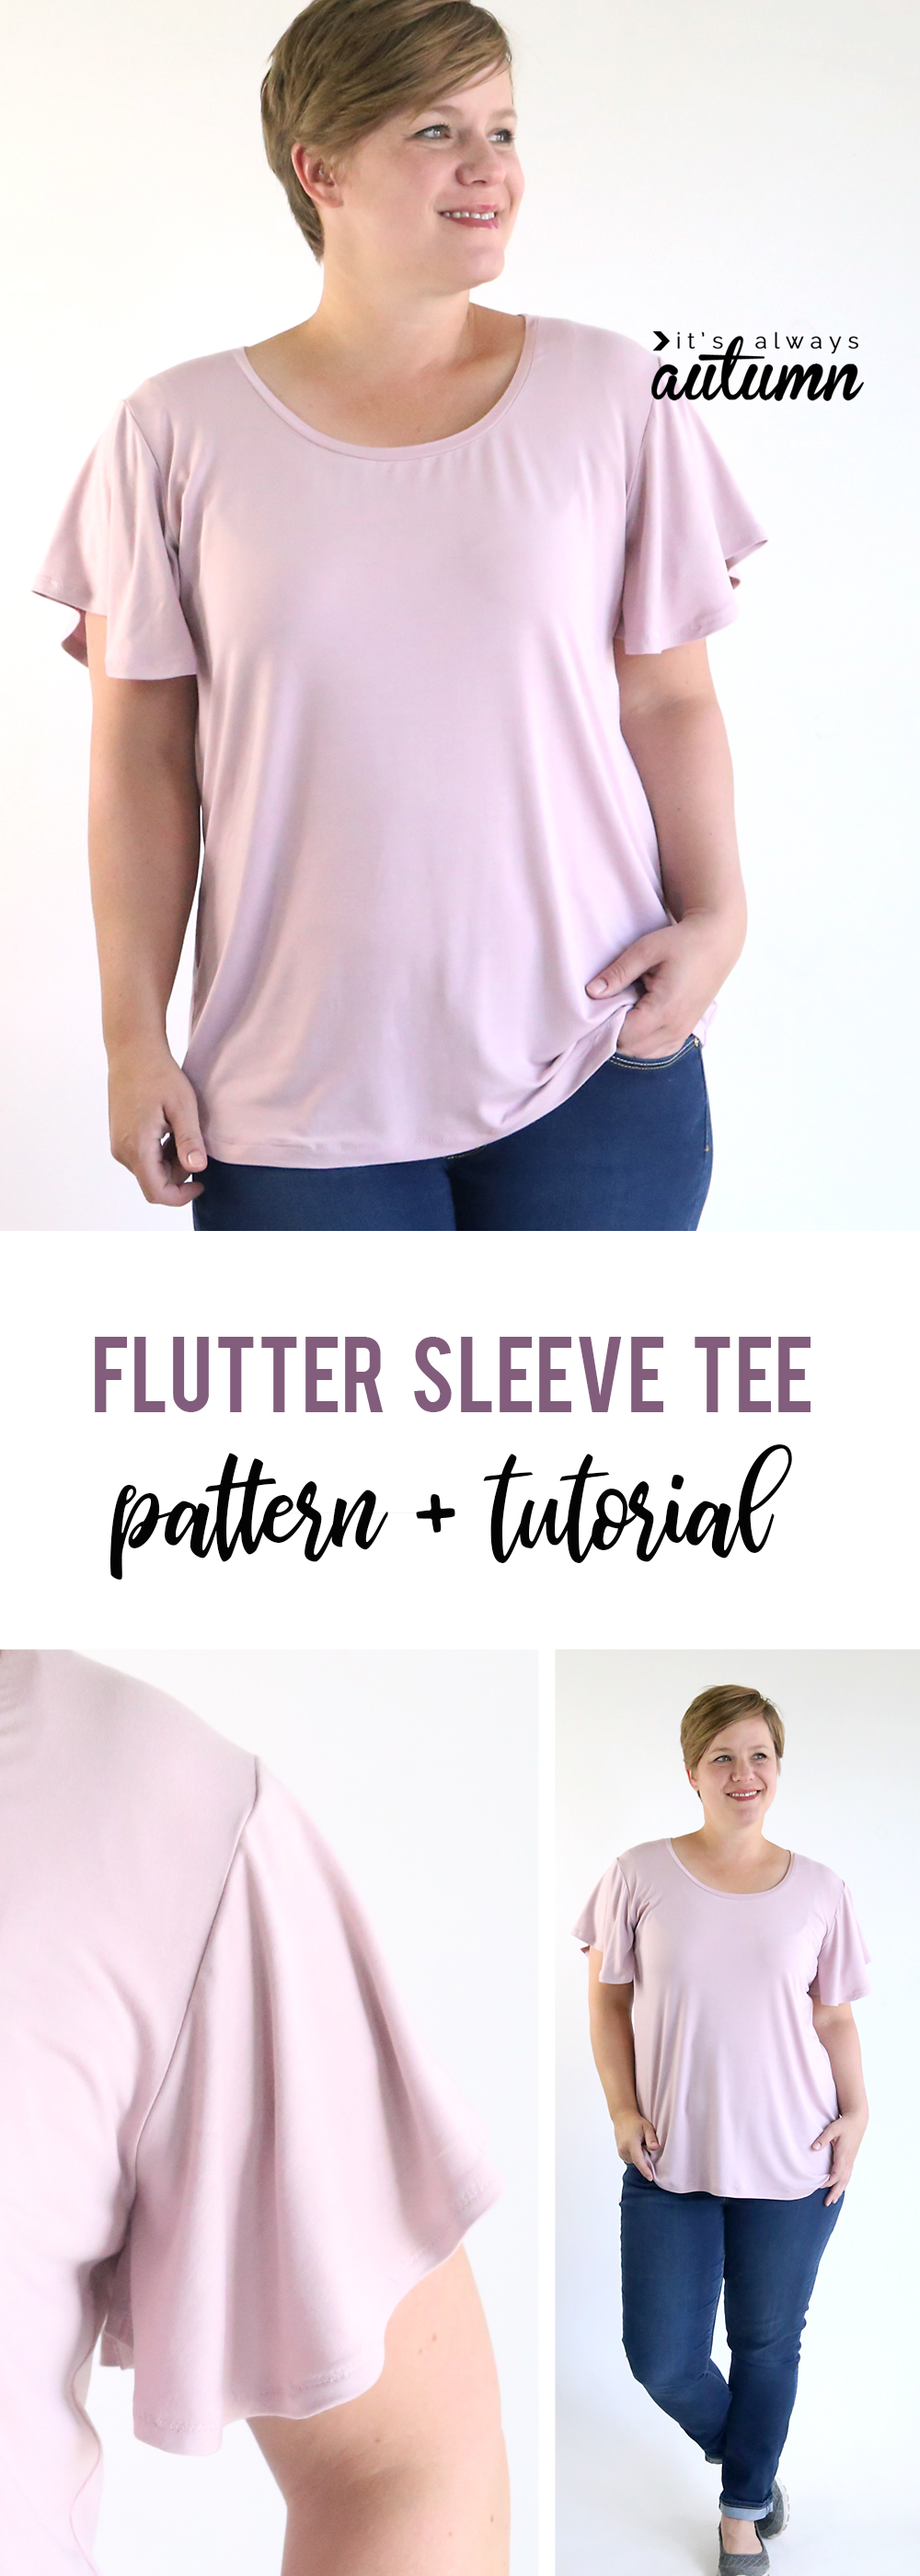
Today I’m sharing another free women’s tee shirt pattern inspired by a top I purchased recently with pretty flutter sleeves.
This is actually a sleeve add-on to a pattern I’ve shared before: the classic tee, which is available in size large only (about a 38 inch bust). I’ve already hacked the classic tee to give it ruffled sleeves, but I think this version is even prettier and more flattering on people like me who carry some weight in their arms.
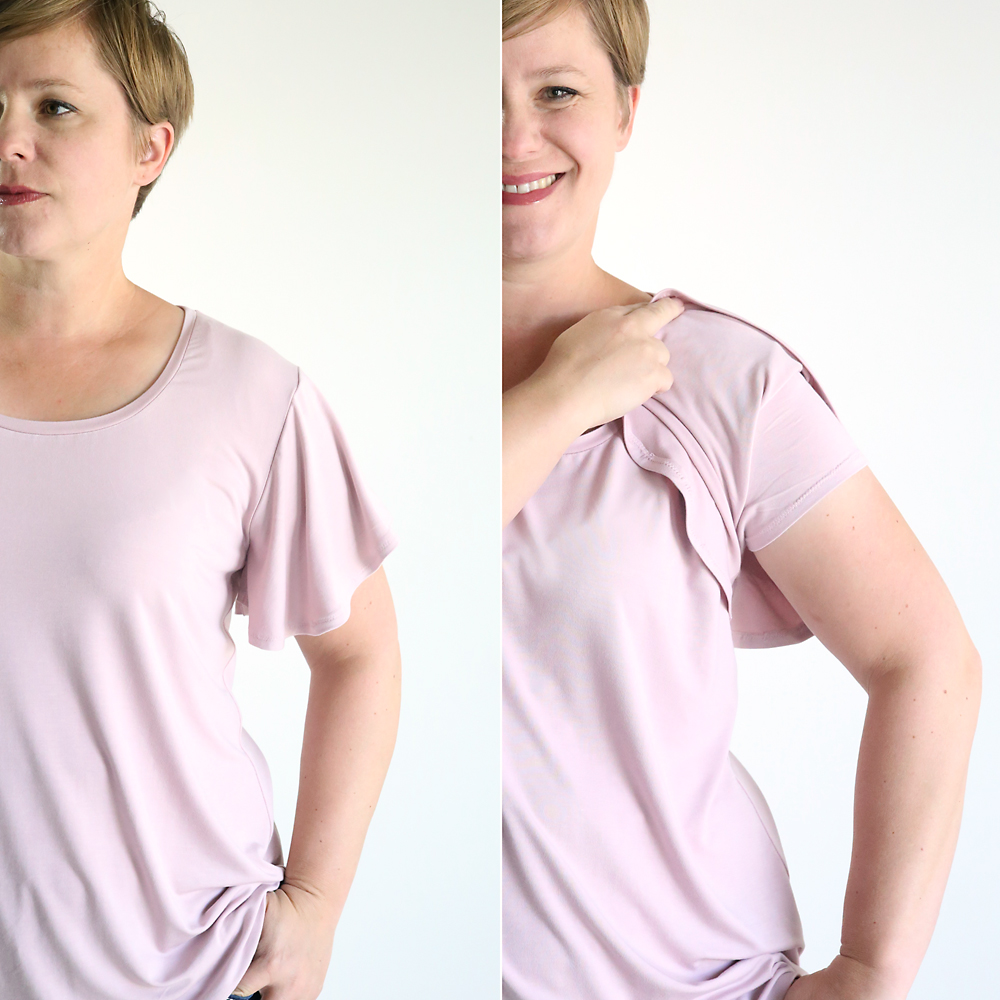
Now, let’s pause real quick so I can complain (‘cuz that’s one of my favorite things to do): as mentioned I based this pattern on a storebought shirt, which is adorable, but the armholes on it are so low you can see my bra anytime I raise my arms, which I have to do regularly while dancing around the kitchen in order to embarrass my teenagers. They’re embarrassed enough by my dancing; they don’t need to be see my bra, too. So my flutter sleeve add-on pattern comes with an optional cap-sleeve that’s sewn in right under the flutter sleeve. No more gaping armhole, and a little extra upper arm coverage in case of a gusty breeze that sends that flutter sleeve a-fluttering.
It’s possible I’m the only one in the world who cares about this stuff, but I’m just going to pretend otherwise because I’m proud of myself for coming up with this. Go me.
Ok, ready for the tutorial?
Free pdf sewing pattern for a women’s flutter sleeve top
Ok, first of all you will need my Classic Tee pattern, which you can download from the Classic Tee post. You should also read through that post and be familiar with the construction. The pattern prints on 8 pages of 8.5 x 11 paper – make sure you are printing at full size and the test square measures 1 inch. Butt the pages together without trimming and tape together. Cut out the shirt pattern and set the sleeve pattern aside (you’ll be using the flutter sleeve instead).
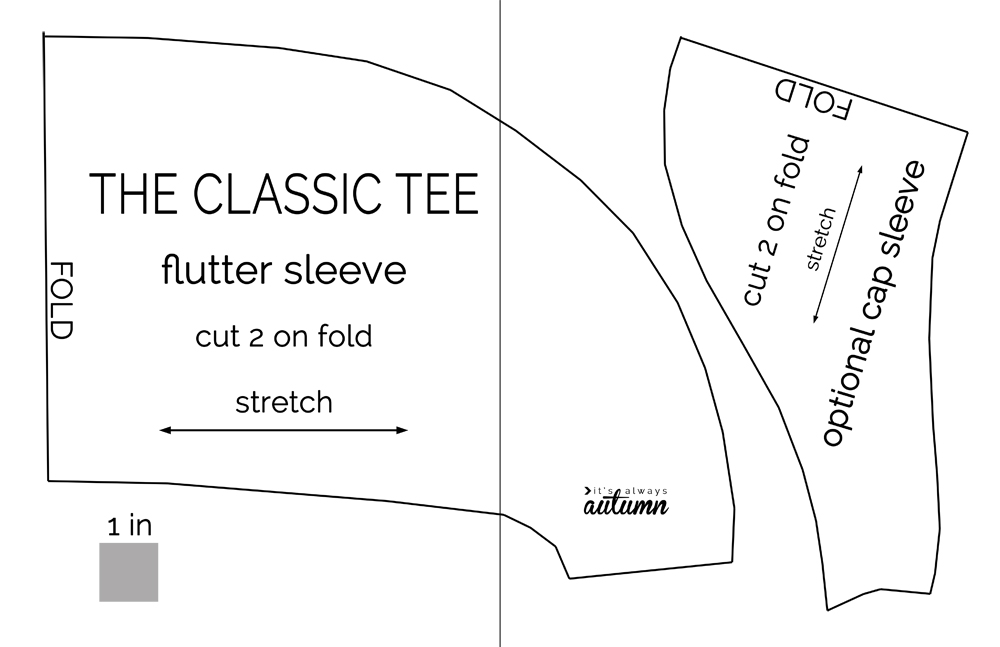
Click here to download the flutter sleeve add-on to the Classic Tee pattern. It prints on 2 pages of 8.5 x 11 paper. Butt the pages together and tape. The pattern looks like this:
You are going to need 1.5 yards of 60 inch wide knit (stretchy) fabric for this pattern, and you’ll want to prewash and dry your fabric. I did manage to squeeze my shirt out of 1 yard, so you can try it if you’d like, but since some knits shrink more than others I recommend 1.5 yards to be safe.
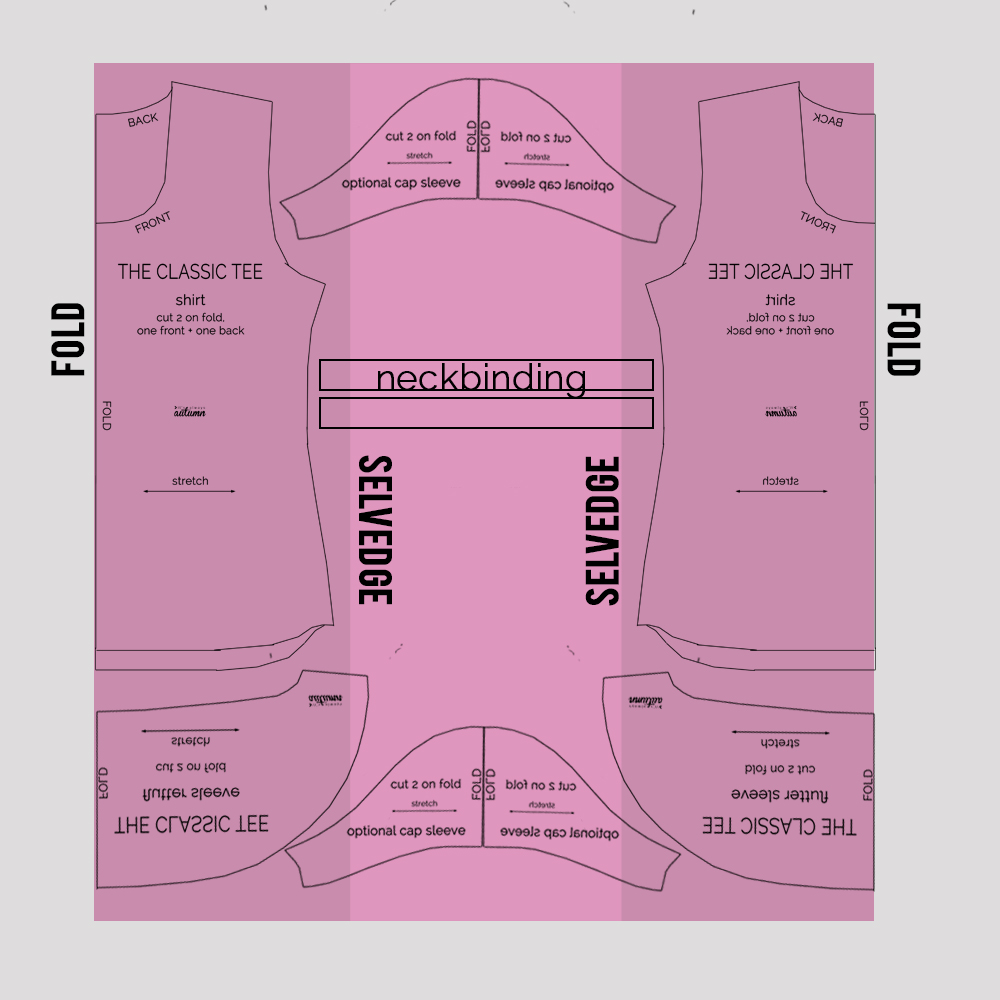
You need to cut out 2 of the bodice piece on the fold, 2 of the flutter sleeve on the fold, 2 of the cap sleeve on the fold (optional) and a neckbinding piece (about 26 inches long and 1.75 inches tall). Here’s how I laid my pieces out to get everything from 1 yard:
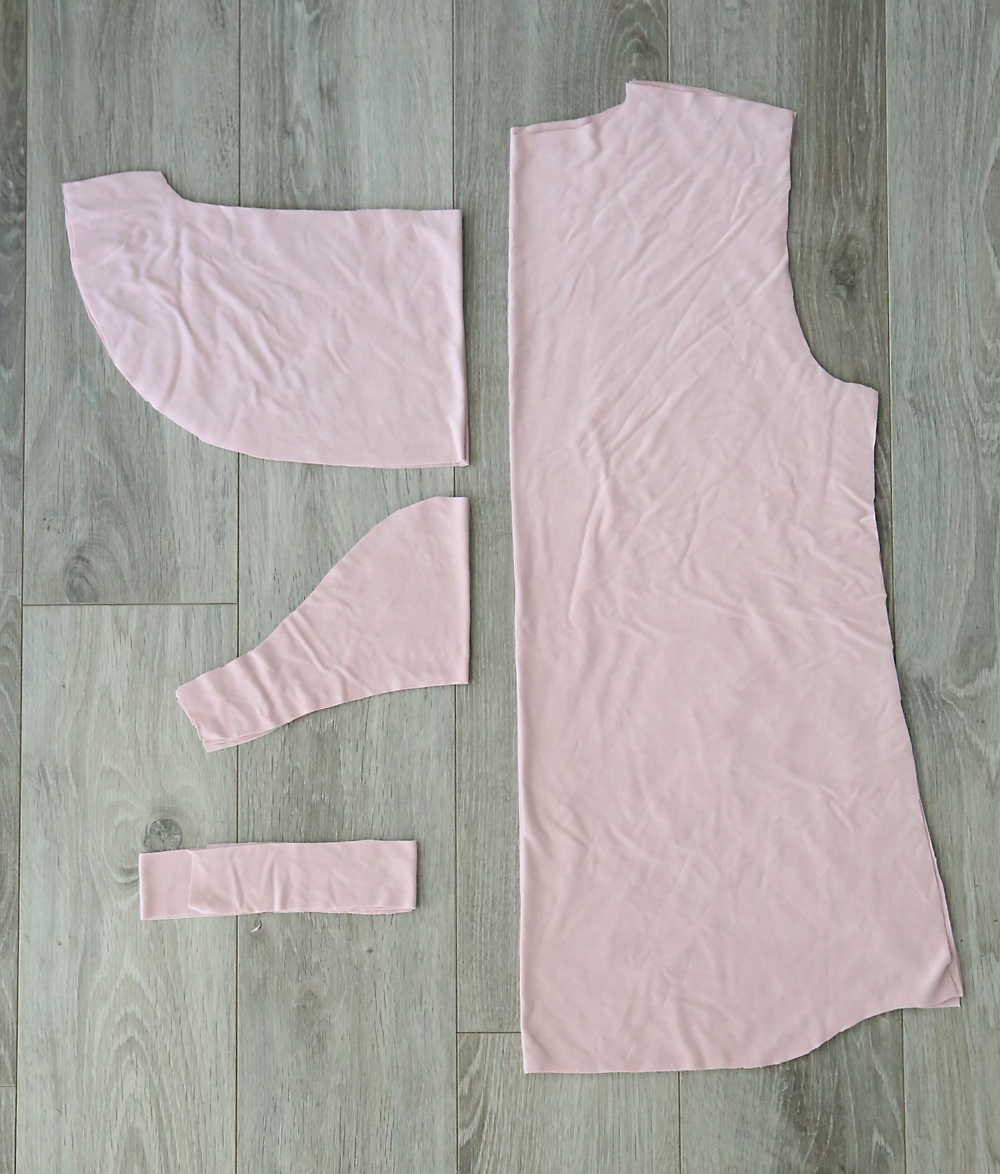
And here are all the pieces cut out:
NOTE ON FIT: I wanted this shirt to have a more relaxed fit, so I added a bit of width to each side of the shirt as I cut it out (cutting at the pattern line just under the arm and angling out to add almost an inch of width at the hip). I also cut it about 1 inch longer than the longer length line on the pattern.
How to sew a women’s flutter sleeve tee shirt
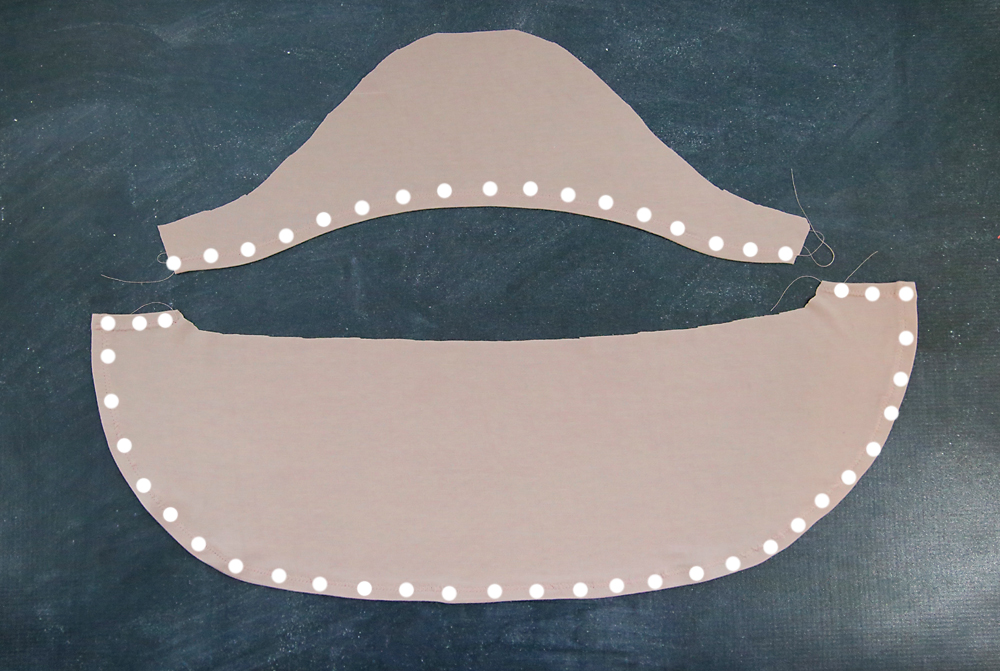
You’ll start by hemming all 4 of your sleeve pieces (if you aren’t using the cap sleeves, just hem the flutter sleeves). The photo below shows where you should hem on each piece. Turn under about 1/2 an inch and hem using a stitch that will stretch. I usually use a double needle for hems on knits, but I was feeling too lazy to change my needle today so I just used a zigzag and it worked great.
Next, place the bodice front and bodice back right sides together and sew the shoulder seams. Half an inch seam allowance is included in the pattern.
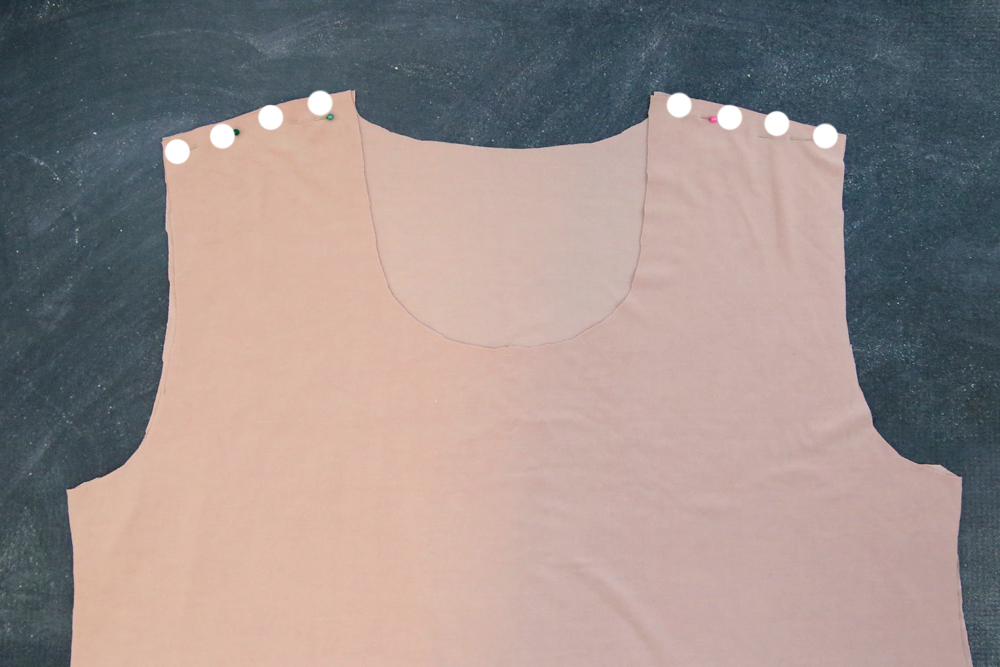
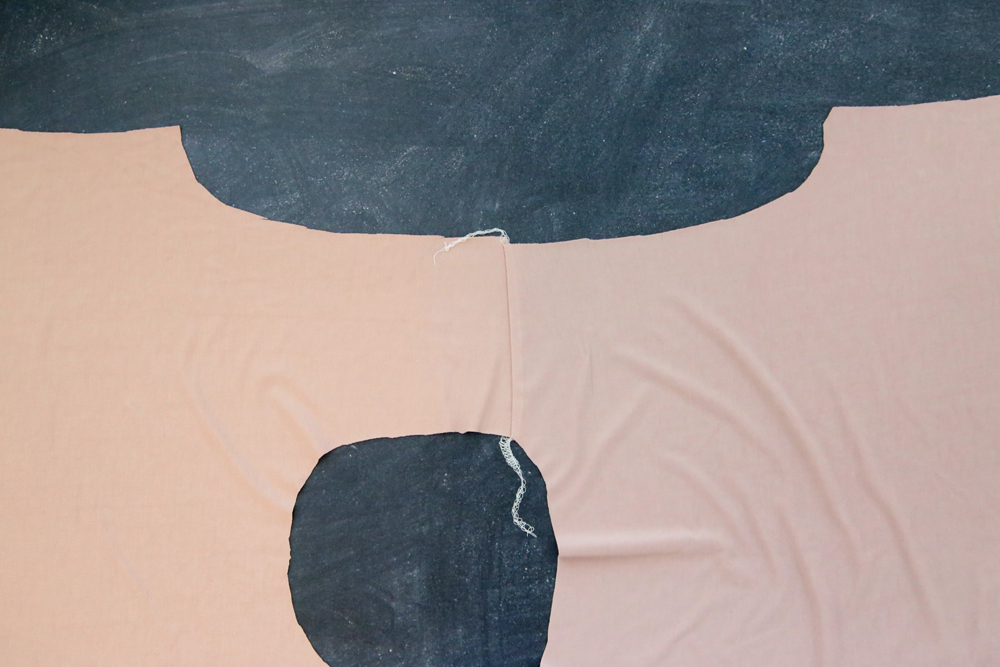
Now we’ll attach the sleeves. Open up the shirt at the shoulder seams and lay it down flat, right side up, as shown below. (Neck hole is at the bottom of the photo, one armscye is at the top of the photo.
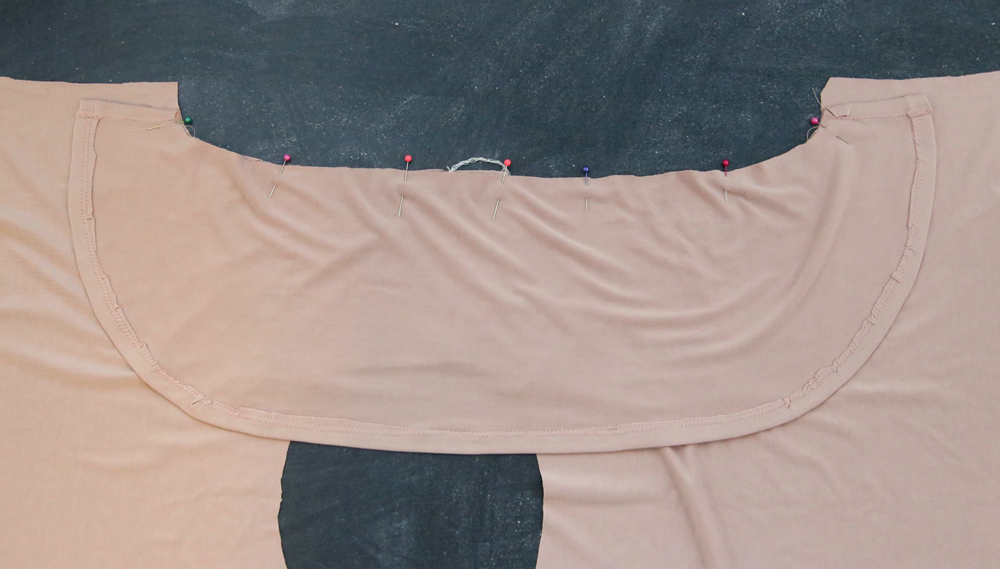
Grab one of your flutter sleeve pieces and lay it right side down on the armscye and pin. The flutter sleeve will fit the armscye fairly well, but it will be about an inch short on either side. If you are not adding the cap sleeve, you can sew the flutter sleeve in now.
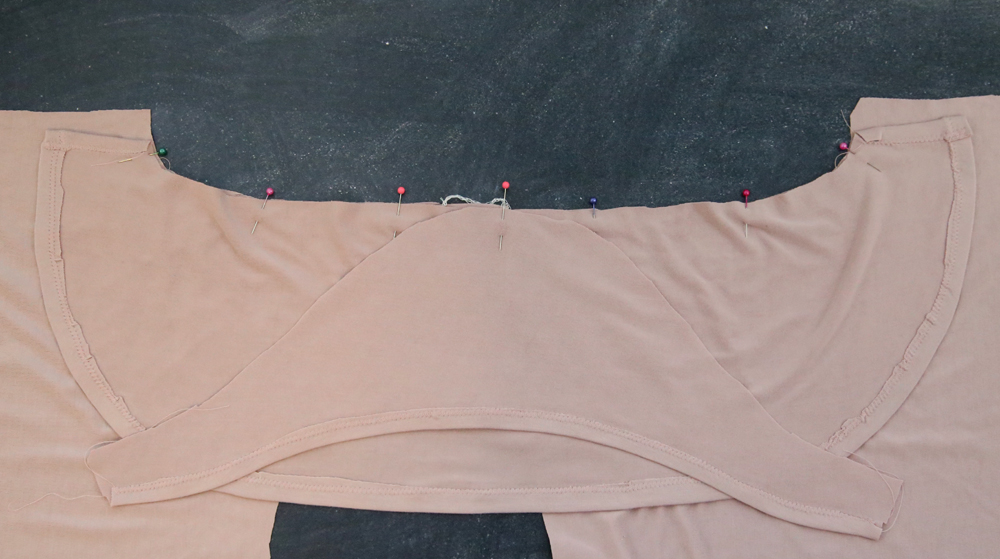
To add the optional cap sleeve, fold it in half to find the center of the curved portion. Match up that center point to the should seam and pin the cap sleeve to the shirt, right side down. You’re making a sandwich: shirt on the bottom, flutter sleeve in the middle, cap sleeve on top.
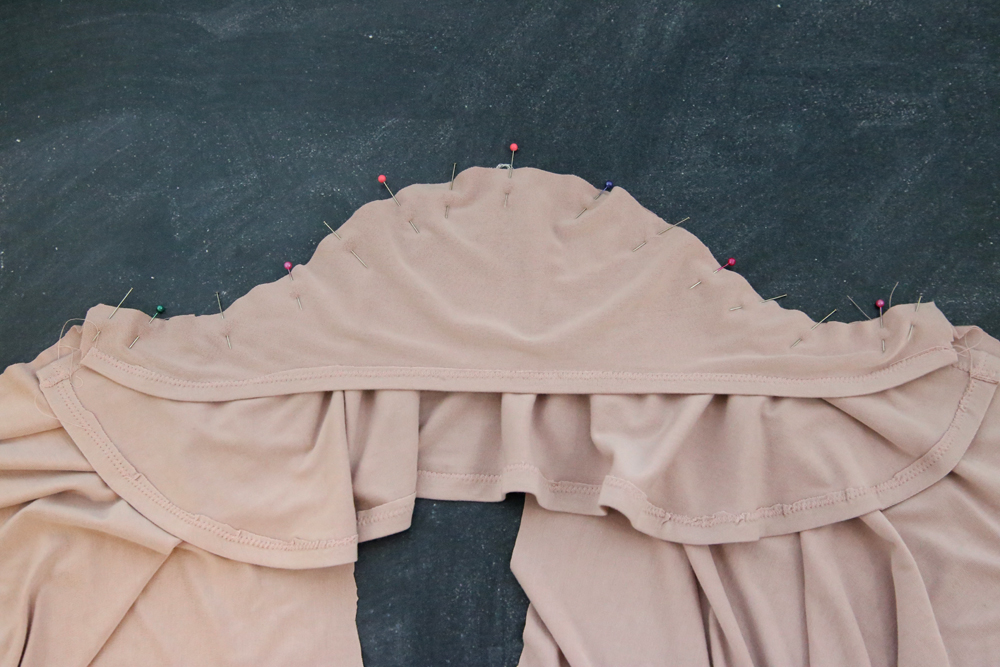
Continue to pin the cap sleeve into the armscye. Since they are different shapes, you will have to ease them together a bit. The edge of the capsleeve will go all the way to the edge of the armscye (unlike the flutter sleeve, which was about an inch short).
Make sure you are pinning through all three layers. Sew along the pins to attach the cap and flutter sleeves to the shirt at the same time. Repeat with the other sleeve.
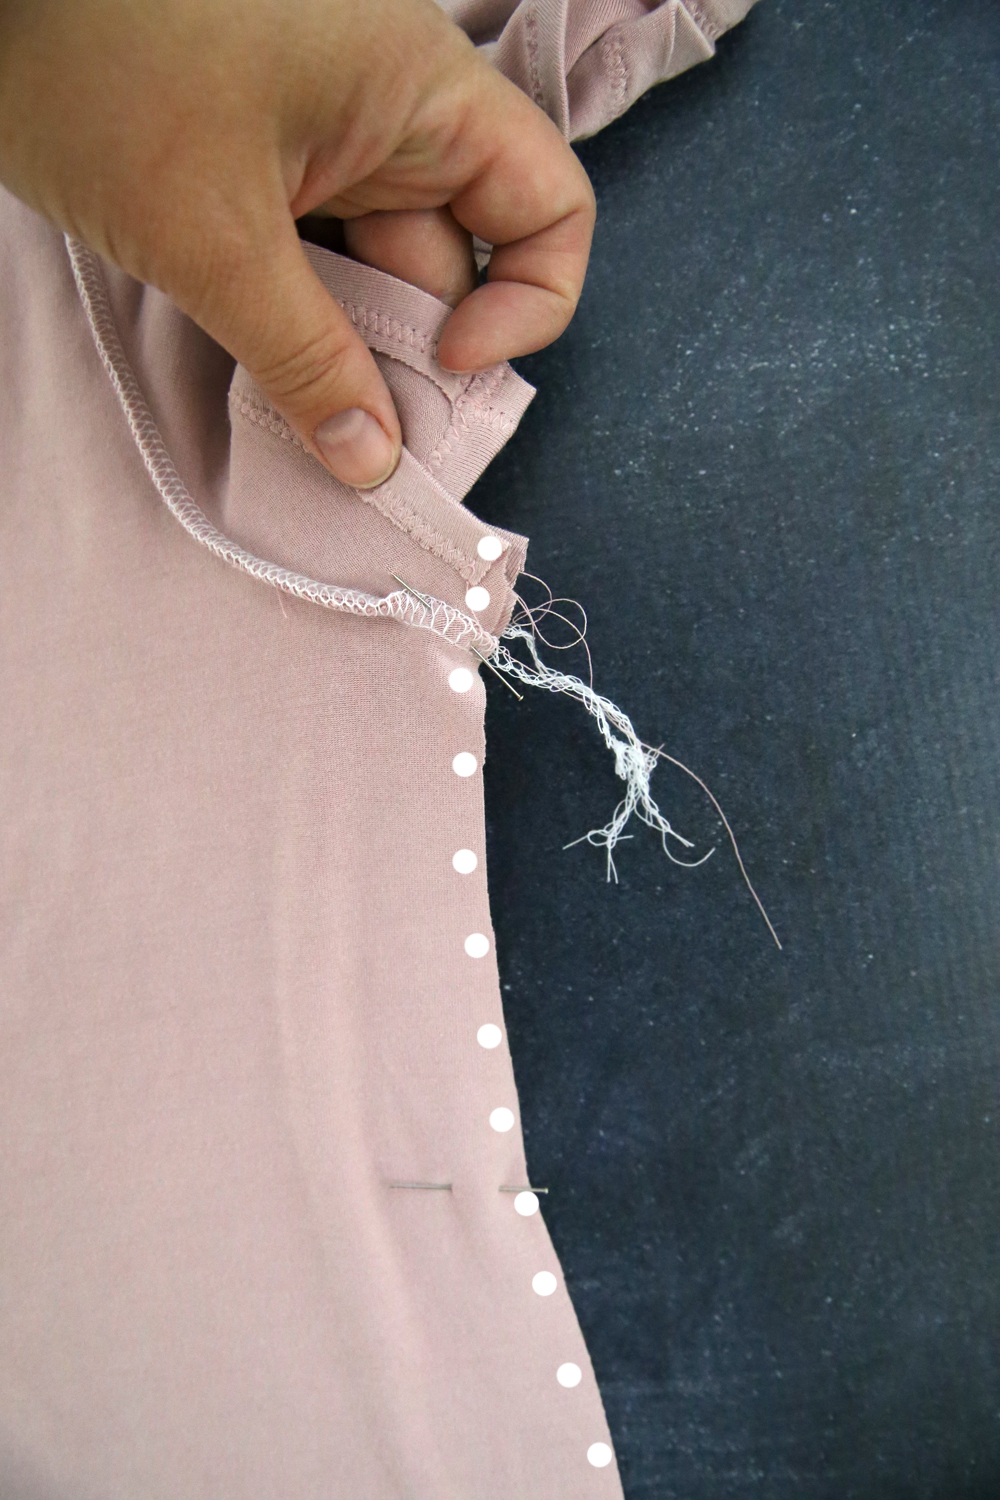
Now you can put the shirt front and back right sides together again and match up the side seams. You will sew the cap sleeves and side seams all in one long seam. Be sure to keep the ends of the flutter sleeves out of the way as you do this:
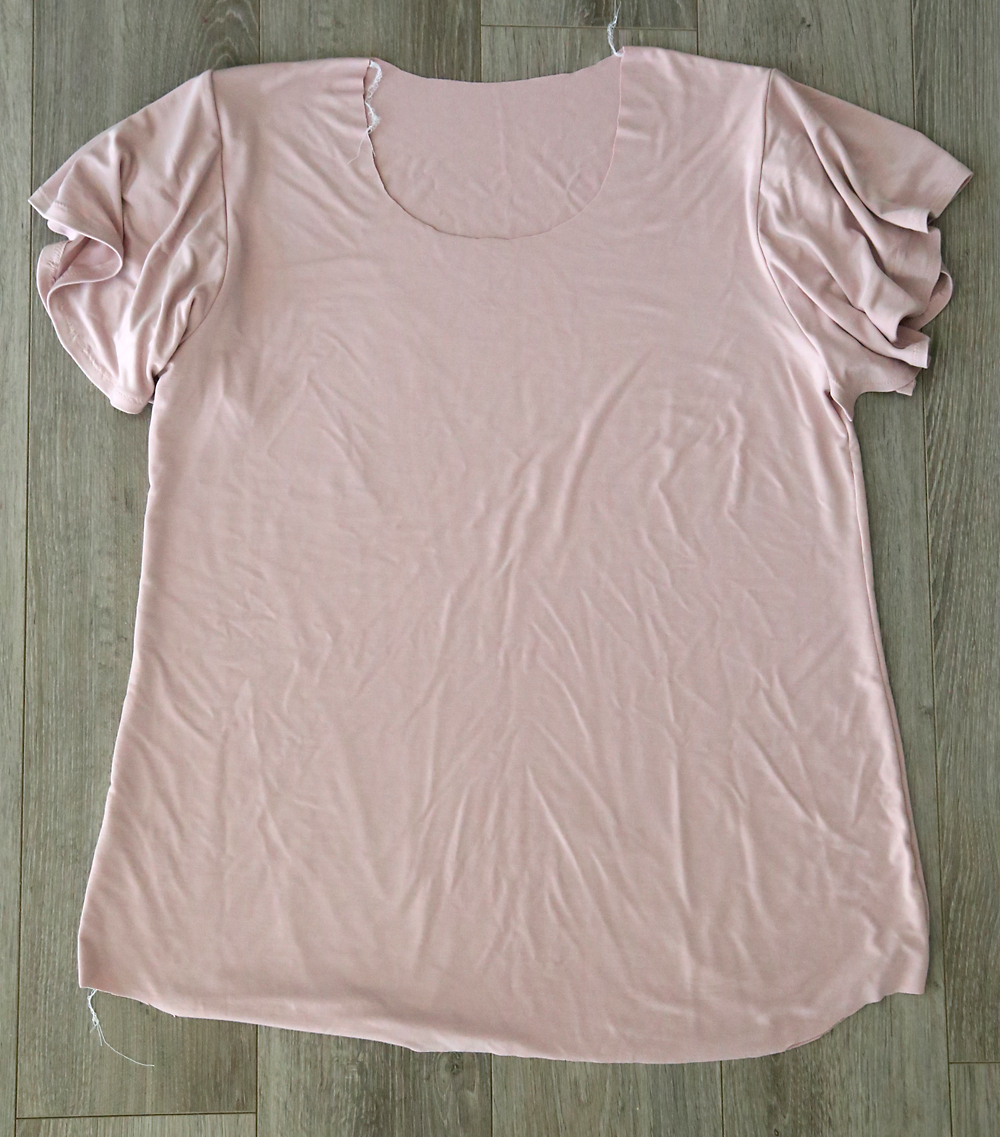
Ok, sleeves are on and the shirt is sewn together – this is what it looks like now:
Your last steps are to hem the shirt and add a neckbinding as directed in the original Classic Tee post.


JacqueB says
Thank you so much for sharing this modification! It’s exactly what I was looking for. I tried it a couple of times on my own, but couldn’t get it right. Your generosity is wonderful. Thank you again!
Angie Gentley says
Genius idea putting the cap sleeve under the flutter sleeve! My sister is an administrator in a school system and is always concerned with keeping her outfits modest, so this will really put her at ease and allow her to shed her jacket when she gets warm! Thank you!