It's Always Autumn

creative tutorials for everyday life

  • Holidays
  • Holidays
    • back to school
    • birthdays
    • Christmas
    • Easter
    • Halloween
    • July 4th
    • Mother’s Day/Father’s Day
    • teacher appreciation
    • Thanksgiving
    • Valentine’s
  • Crafts
  • Crafts
    • crafts + DIY
    • handmade gifts
    • photo crafts
    • kid crafts + activities
  • Recipes
  • Recipes
    • bread
    • dessert
    • main dish
    • side dish
  • Sewing
  • Sewing
    • free sewing patterns
    • sewing for women
    • sewing for kids
    • how to sew
    • gifts
  • Photography
  • Photography
    • beginning photography tips
    • posing tips
    • photo editing tips
  • Tips
  • Tips
    • parenting tips
    • travel tips
    • books I love
  • FAQ

sewing sewing for women
April 5, 2019

How to sew a women’s t-shirt with a contrast shoulder

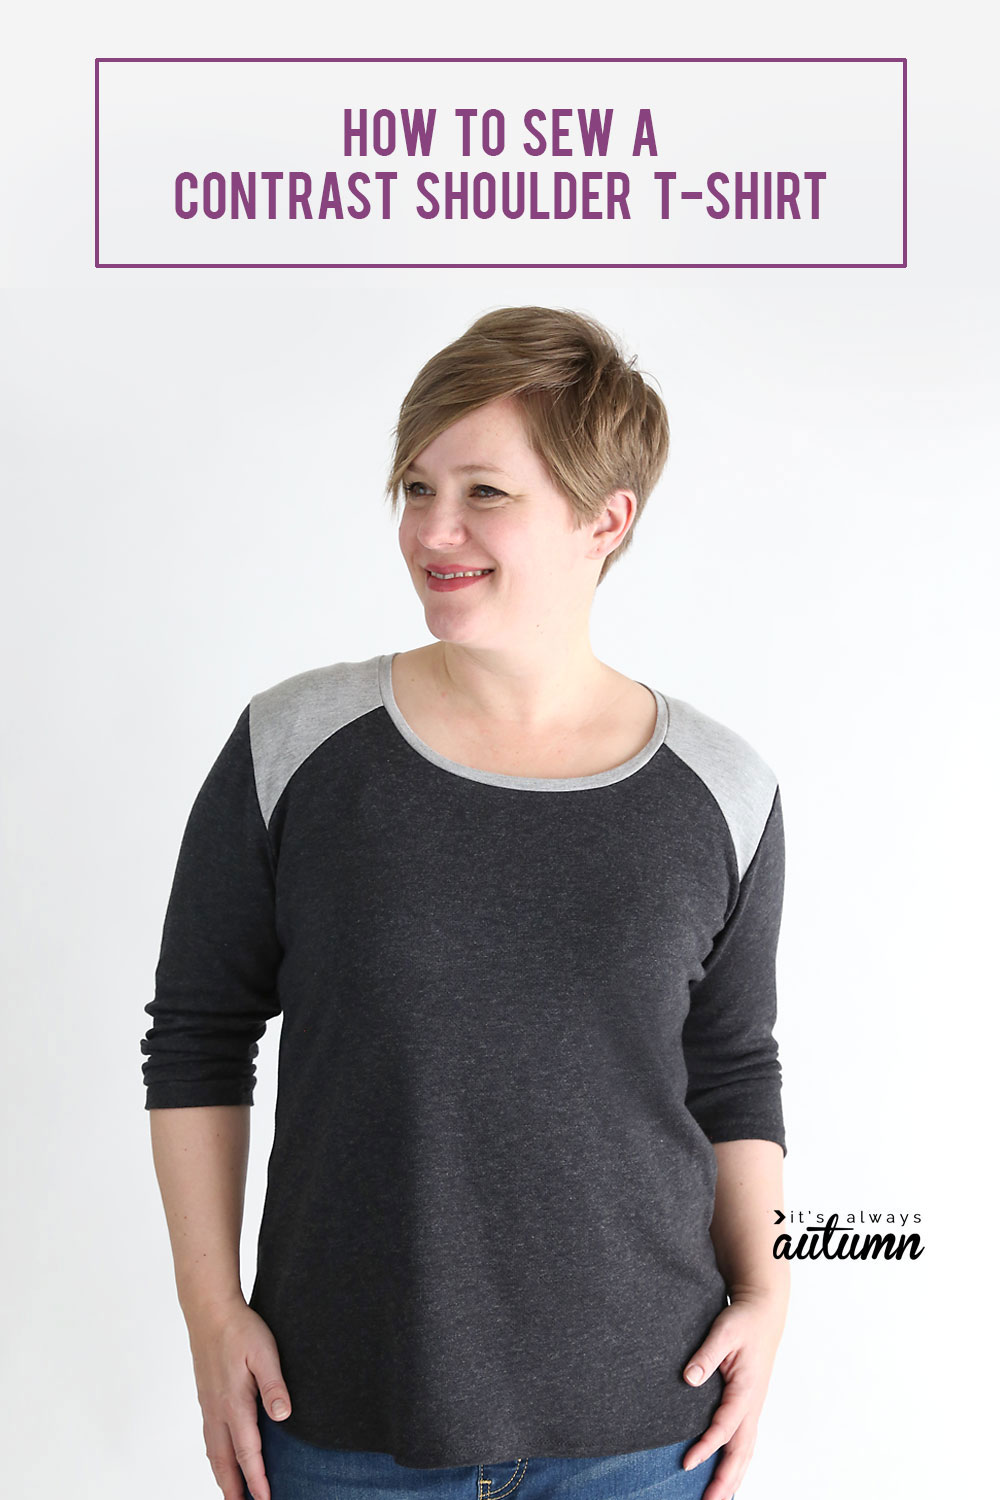
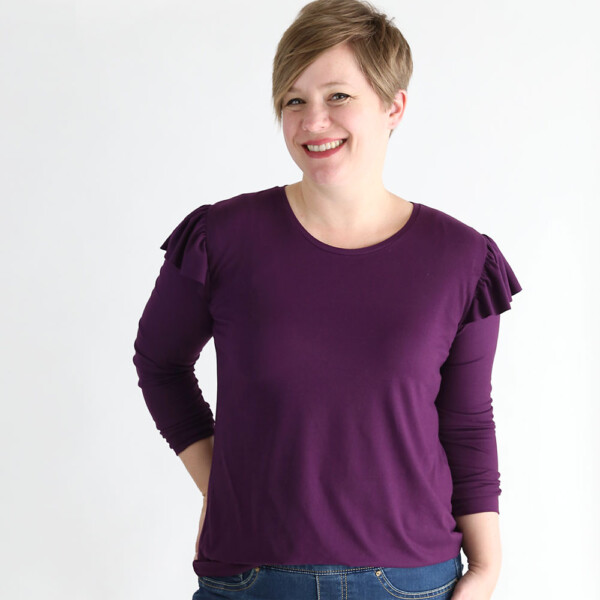
In today’s post: Learn how to hack my Classic Tee pattern to add a contrast shoulder.

A few years ago when I drafted up my Classic Tee pattern, I so was excited to have a pattern that would yield a t-shirt that fit just the way I like! But you know what? It turns out I don’t actually make most of my t-shirts. It’s so easy to find tees on sale for less than they would cost to make! However, I still get a ton of use out of the Classic Tee pattern, because I use it as a starting point for all kinds of knit tops and dresses. In fact, a quick count shows I have 11 different sewing posts on the blog that all started with the same basic t-shirt pattern. (The Classic Tee pattern is in women’s size large only, as are all the variations.)

Woman wearing a long sleeve t-shirt with contrast shoulders

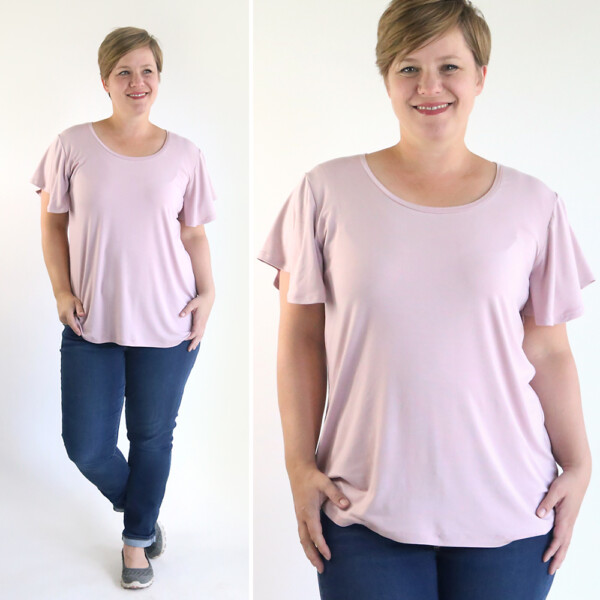
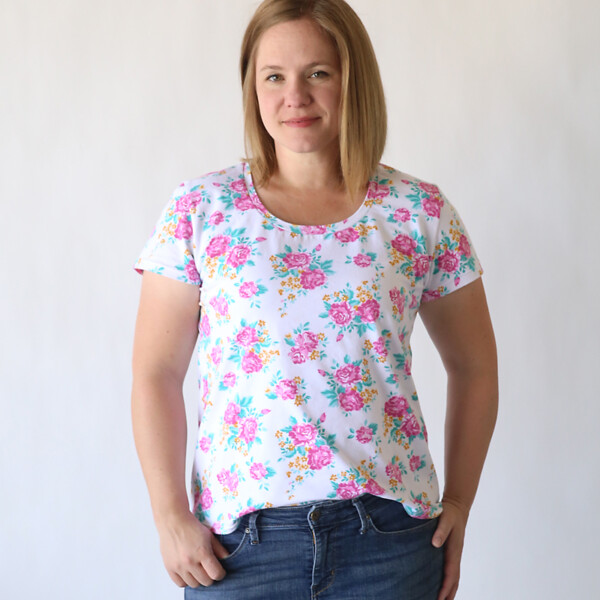
Ruffle shoulder tee | Peplum top pattern | Flutter sleeve pattern | Twist knot tee pattern | Cap sleeve maxi dress | Ruffle sleeve dress | Striped midi dress | T-shirt midi dress | Classic tee maxi dress | Classic tee in a relaxed fit | Classic tee with elbow sleeves

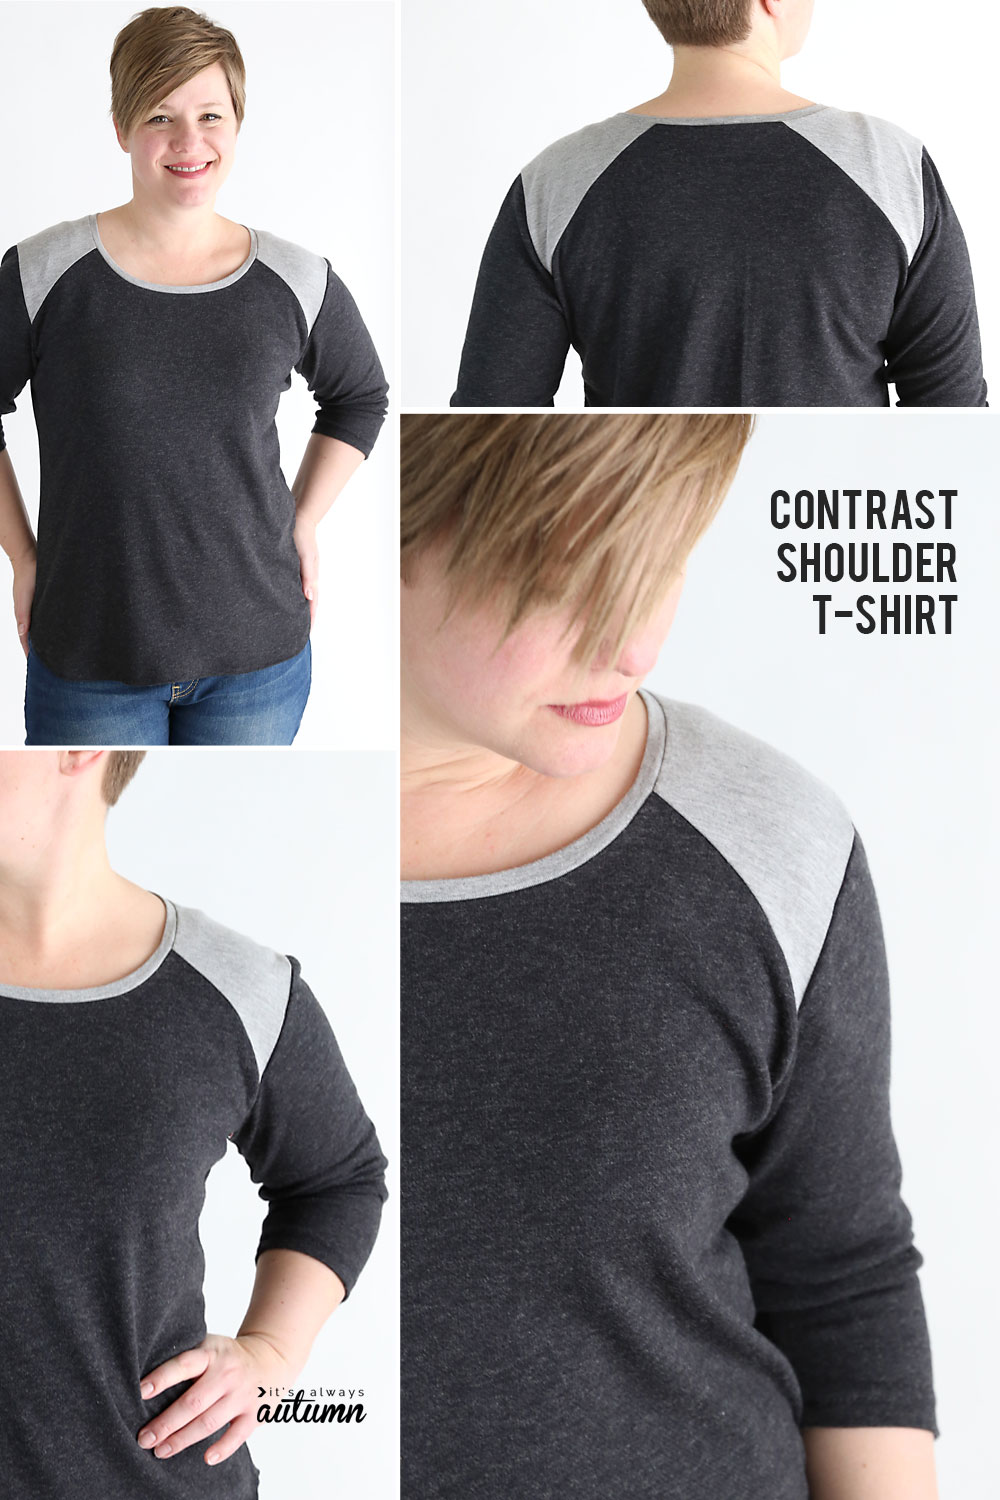
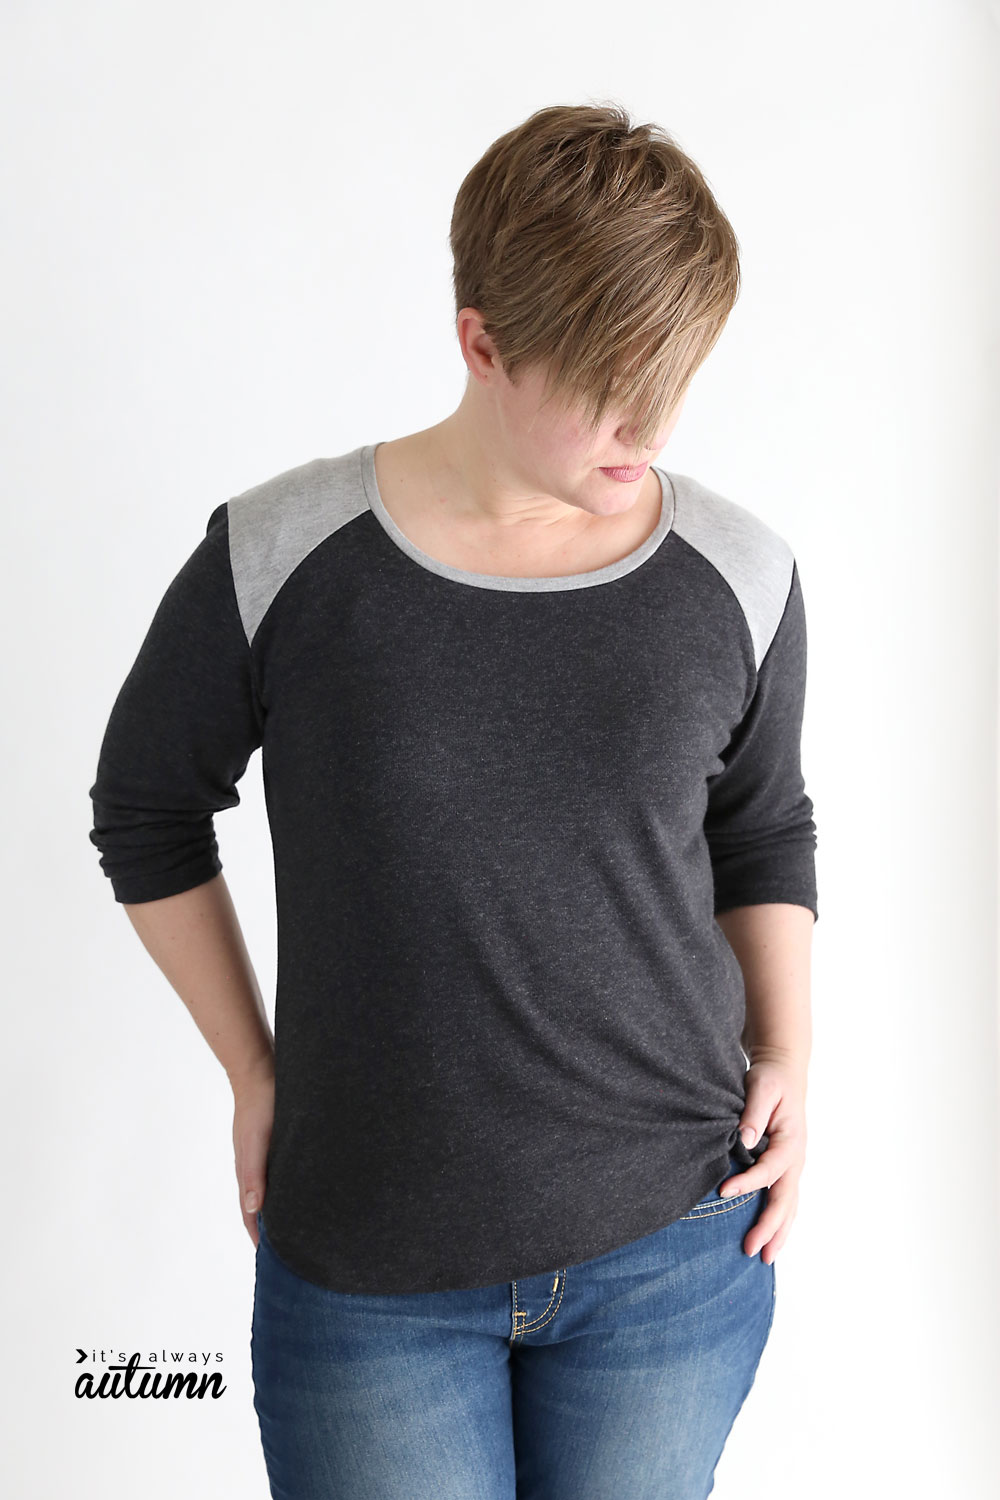
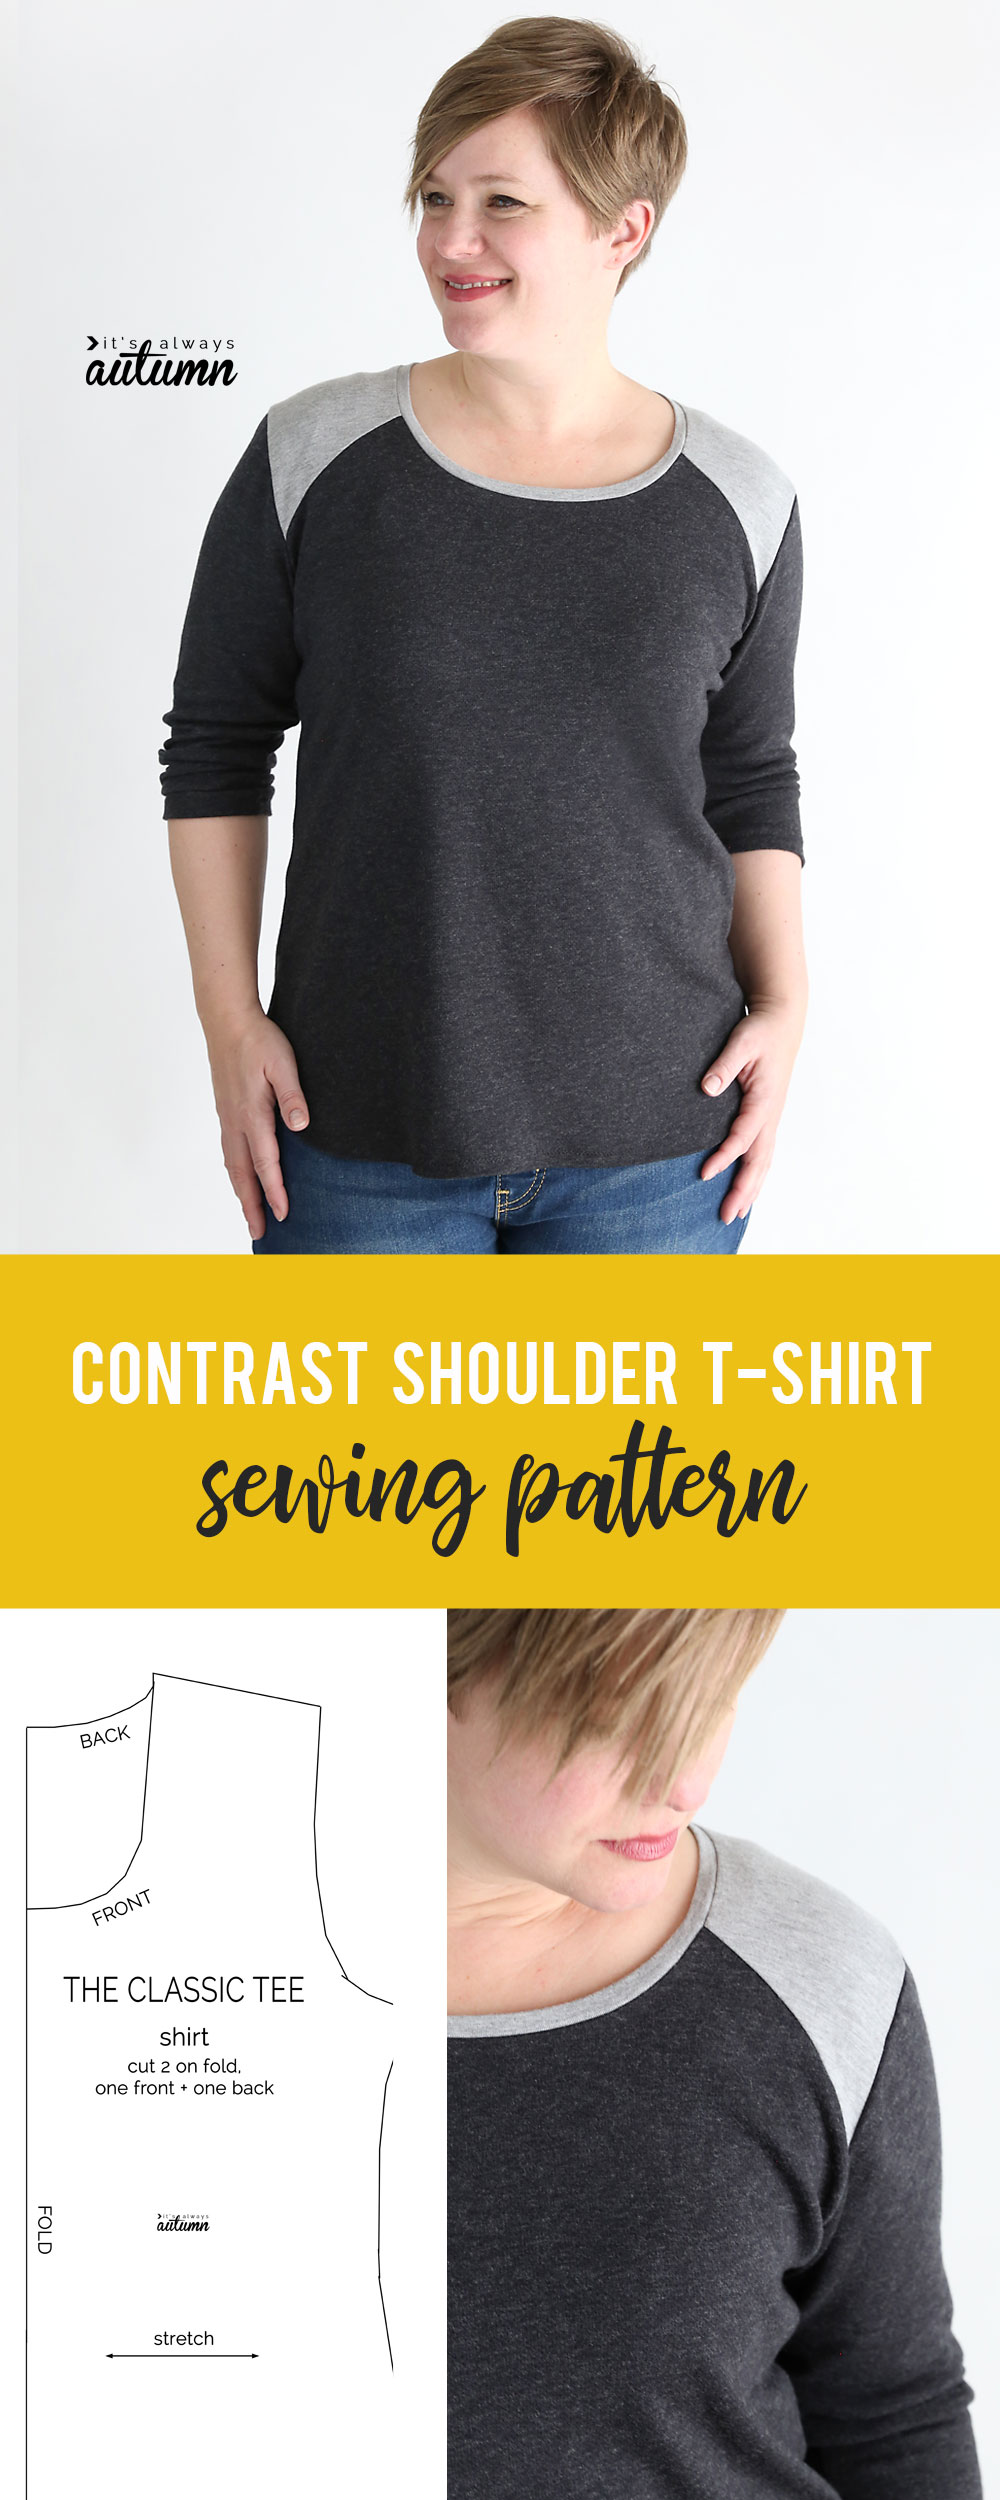
And today I have yet another variation for you! I’m calling this the Contrast Shoulder Top.

Woman wearing a grey t-shirt with light grey patches on the shoulders

How to sew a contrast shoulder t-shirt

To make this top, you’ll need to visit the Classic Tee post and download the free printable pattern. Follow the instructions in that post for printing and taping together the pattern, and for prewashing your knit fabric.

For this variation, we are going to add a contrasting panel that goes across the shoulders of the shirt. So you will want a main fabric (for most of the shirt piece and the sleeve pieces) and a small amount of a contrast fabric (for the contrast shoulder panels).

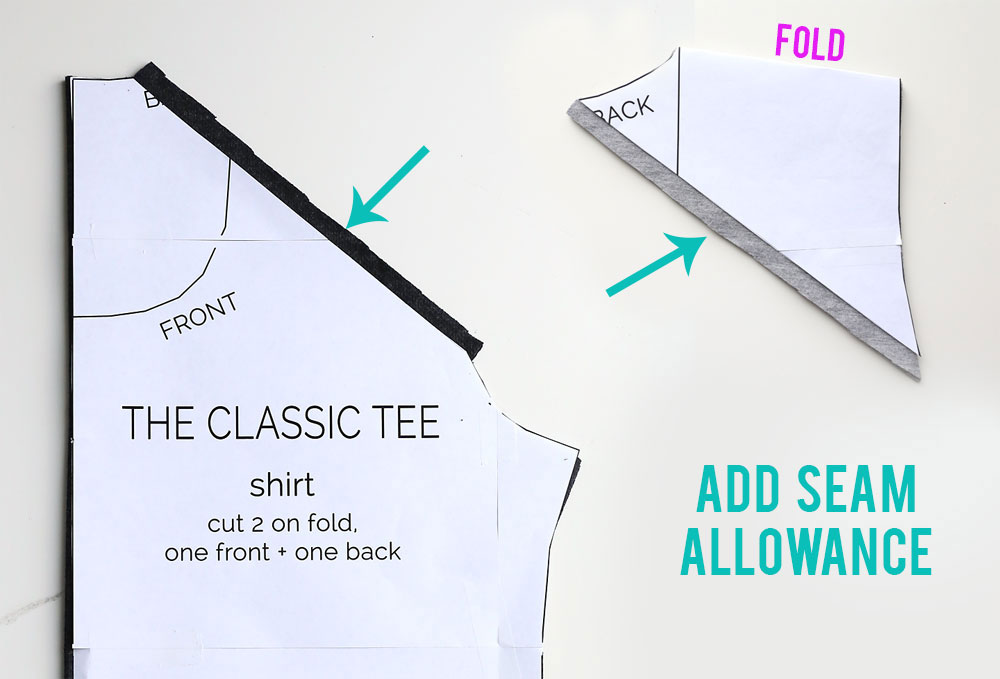
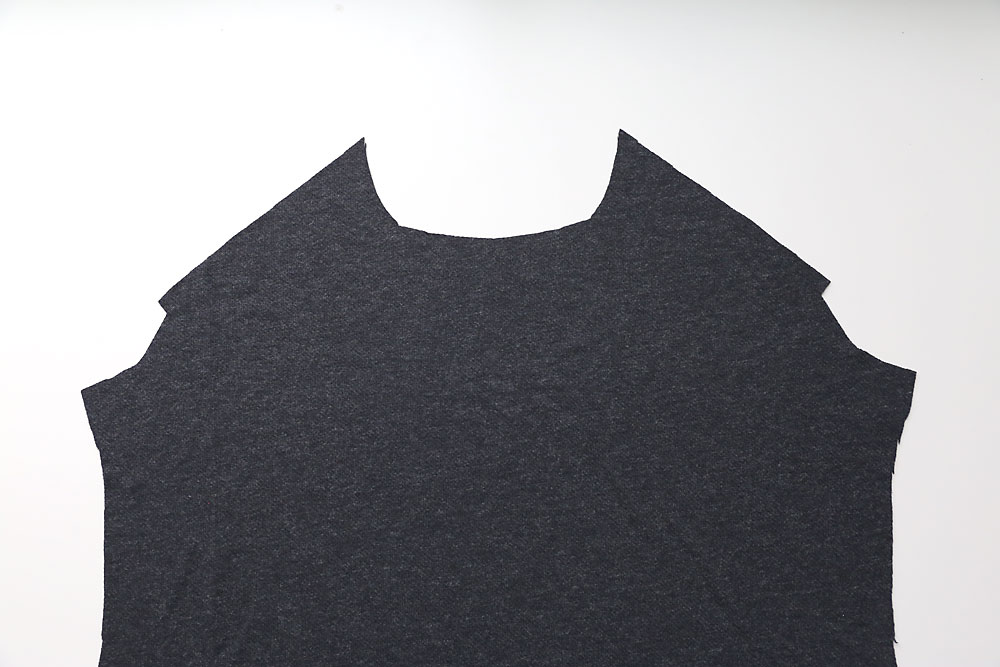
We’ll begin by slicing up the shirt pattern as shown below (sleeve pattern does not get changed). First, cut a diagonal line from the neck to the armscye as you can see in the photo below. Second, cut off 1/2 an inch at the shoulder seam, as shown by the purple dotted line.

The Classic Tee shirt sewing pattern


Now you can cut out the larger pattern pieces from your main fabric, and the smaller angled shoulder pieces from a contrast fabric. BE SURE to add 1/2 inch seam allowance along the line where the shirt pattern was sliced on both the shirt pieces and the contrast pieces. Also, you will cut the smaller contrast piece ON THE FOLD, which is why we cut half an inch off the pattern at that spot.

The Classic Tee sewing pattern sliced diagonally from the neckline to the lower armscye

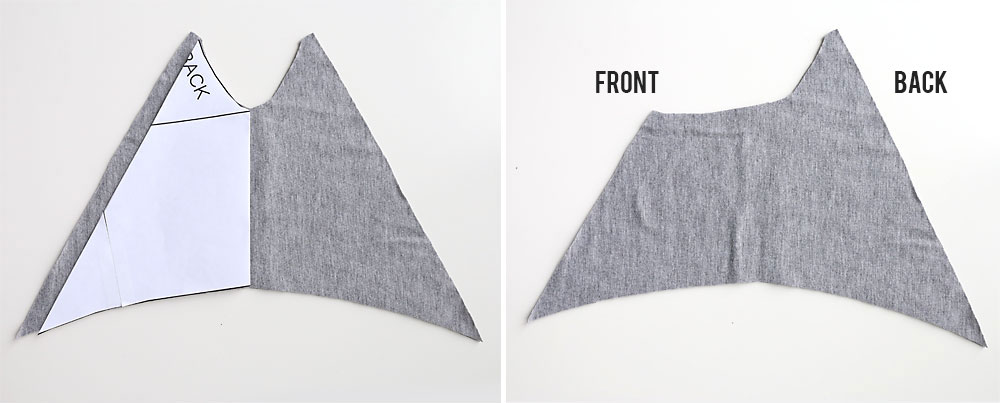
Now you will have two shirt pieces and two contrast pieces. Be sure one shirt piece is cut using the front neckline and the other is cut using the back neckline.

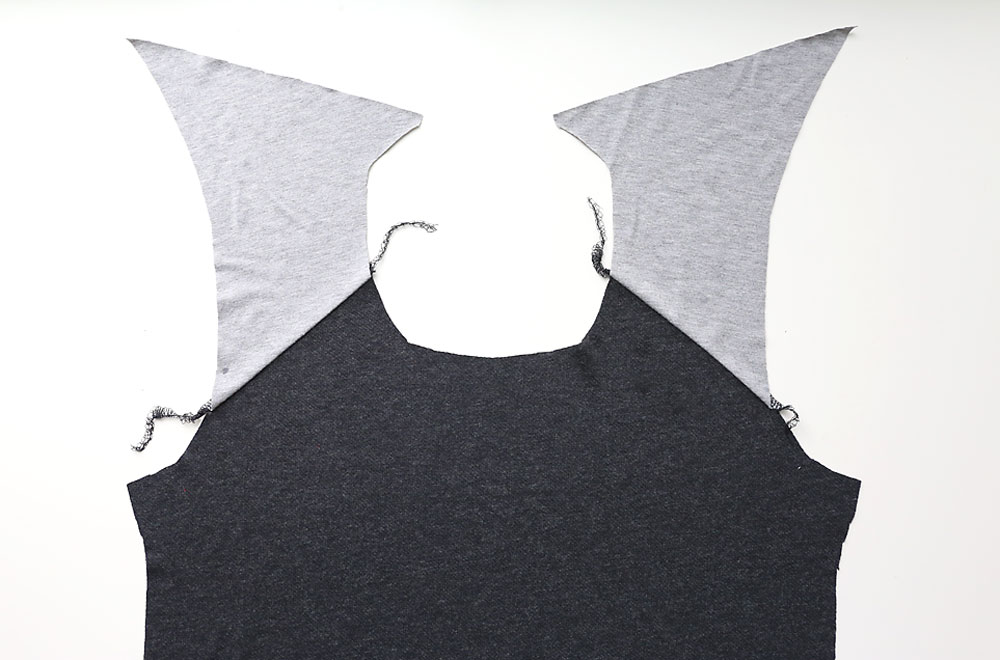
The contrast pieces need to use both the front and back necklines as well. Open up the contrast pieces, and they will look like the photo on the left below (only using the back neckline). Cut along one side of each contrast piece using the front neckline so they look like the photo on the right.

Contrast shoulder pieces cut from lighter grey fabric

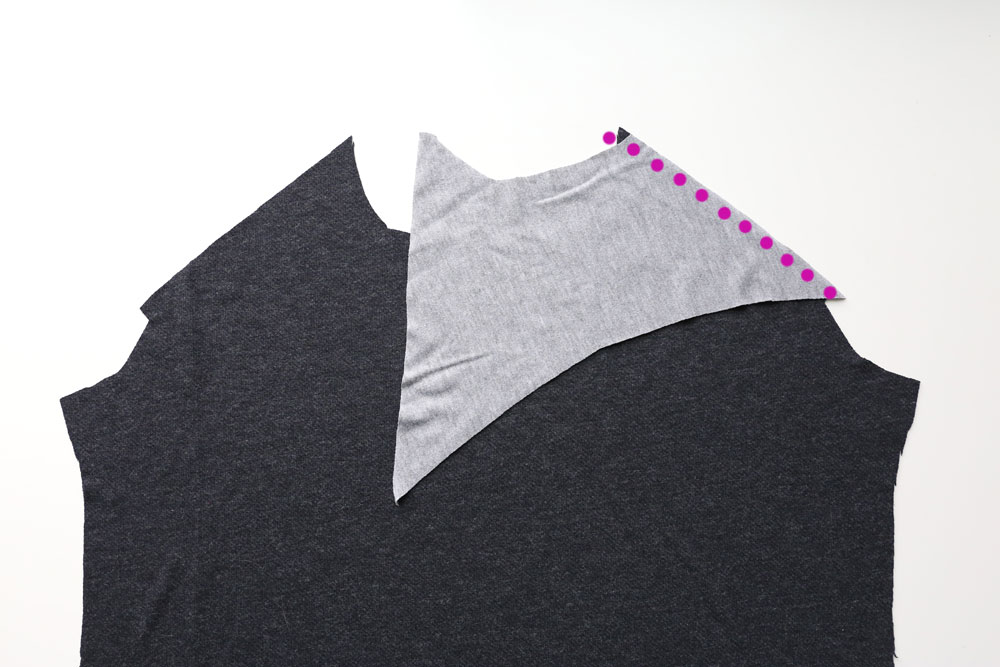
Time for assembly! Start by laying the front shirt piece down on a flat surface, with the right side facing up.

Shirt front piece

Then lay a contrast piece on top of it, matching the areas where you cut the pattern apart and added seam allowance. Be sure right sides match, and be sure you are matching up the part of the contrast piece that was cut using the front neckline. Sew together using a 1/2 inch seam allowance.

Shirt front piece with contrast shoulder piece pinned to it

Repeat with the contrast piece on the other side, and then press the seams open.

Shirt front piece with shoulder pieces sewn to it

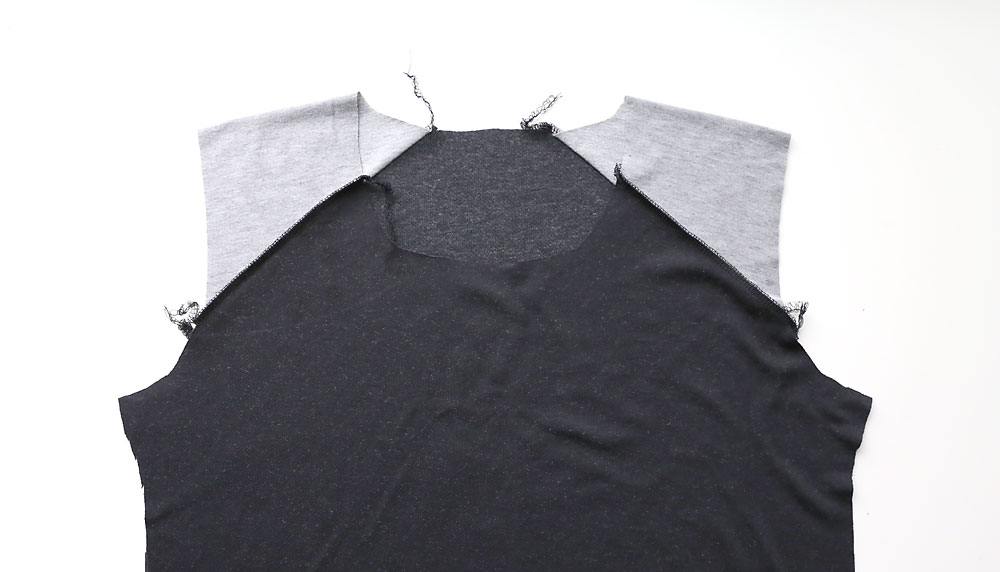
Next you’ll attach the contrast pieces to the back main piece in the same way. Once the contrast pieces are attached to the back, the shirt will look like this:

Shirt with shoulder pieces sewn to front and back

At this point, the rest of construction continues in the exact same way as is described in the Classic Tee post (pick up right after you sew the shoulder seams together).

It’s an easy modification that gives a lot of interest to a plain t-shirt.

Woman wearing long sleeve t-shirt with contrast shoulder panels

Thanks for reading, and I’d love to see photos if you end up using this pattern!

Woman wearing shirt made from the contrast shoulder t-shirt sewing pattern

Share this:

  • Tweet
  • Print

Home » sewing » How to sew a women’s t-shirt with a contrast shoulder


3 Comments

free email series

NO FAIL CRAFTS + RECIPES

Get my favorite EASY craft and recipe ideas straight to your inbox!

« easy Easter bunny & chick Oreo pops
How to sew a t-shirt neckline with a professional finish »

Comments

  1. Linda wood says

    April 12, 2019 at 2:21 am

    Thankyou for being so kind as to give the free ‘classic tee’. The pdf is easy to assemble, even without numbered pages. Looking forward to making the contrasting shoulders. From the UK. LINDA

    Reply
  2. Tracy King says

    September 20, 2019 at 7:55 pm

    Thanks! Great tutorial and pattern. Very much appreciated.

    Reply

Trackbacks

  1. Linky Thursday | StacySews says:
    April 18, 2019 at 6:57 am

    […] Give your tee a new look by adding a contrast shoulder. […]

    Reply

Leave a Reply Cancel reply

Your email address will not be published. Required fields are marked *

Recipe Rating


Hey, glad you’re here!

I'm Autumn, a mom of five who loves ice cream, Masterpiece Theatre, and clothes that hide the fact that I eat so much ice cream. When I was 18 I got a job at a craft store and told everyone (regularly) how much I hated crafts. Well, things change! Read More…

Find me here

  • Facebook
  • Instagram
  • Pinterest
  • Twitter

free email series

NO FAIL CRAFTS + RECIPES

Get my favorite craft + recipe ideas straight to your inbox!

Popular Posts

101 fun activities that kids can do at home list on a colorful striped background

101 Fun + Easy Activities kids can do AT HOME

50 easy crafts and activities kids can do indoors! Perfect for cold or rainy days.

50 best indoor activities for kids: easy crafts + games

Gorgeous art projects for kids! Easy art that turns out amazing.

20 easy art projects for kids that turn out AMAZING!

Collage of different paper flowers tutorials

How to make GORGEOUS paper flowers

Various flavors of baked mini donuts made from cake mixes

How to make mini donuts! {baked cake mix donuts recipe}

Blog policy

All posts and pictures are copyrighted by Autumn Baldwin and blog content may not be reposted elsewhere. However, linking back to my content is just fine. You may use one photo as long as you link directly back to the specific post. Thank you!

Please view our Privacy Policy here.

Also, please note that this blog is a participant in the Amazon Services LLC Associates Program, an affiliate advertising program designed to provide a means for sites to earn advertising fees by advertising and linking to Amazon.com.

Copyright © 2021 · Divine theme by Restored 316192.168.1.1 router login

Copyright © 2021 · Divine Theme on Genesis Framework · WordPress · Log in

free email series

NO-FAIL CRAFTS + RECIPES

Get my favorite EASY craft + recipe ideas straight to your inbox!

x