
In today’s post: learn how to make chocolate covered peanut butter hearts for Valentine’s Day! Only 4 ingredients and they taste like a Reese’s, but better!
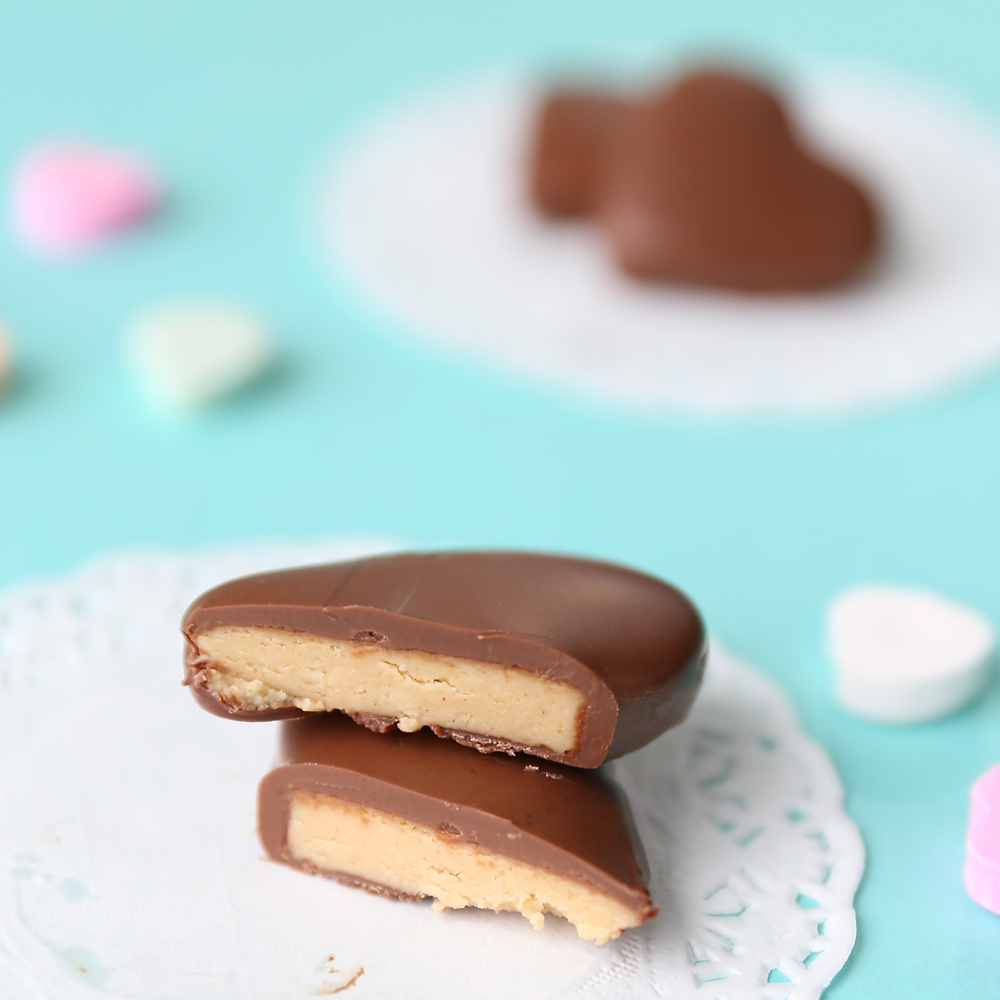
My family has been making what we call “peanut butter balls” for years and years. They feature a smooth creamy peanut butter center dipped in milk chocolate and they’re amazing. I kind of thought we had a secret recipe the rest of the world was just waiting to try…and then I realized the rest of the world has tried them, and they’re called buckeyes. So hey, they’re not exactly a secret recipe, but they’re still amazing. Since Valentine’s day is a mere four weeks away (how did that happen? I swear Christmas was yesterday), let’s make chocolate covered peanut butter hearts (aka heart shaped buckeyes).
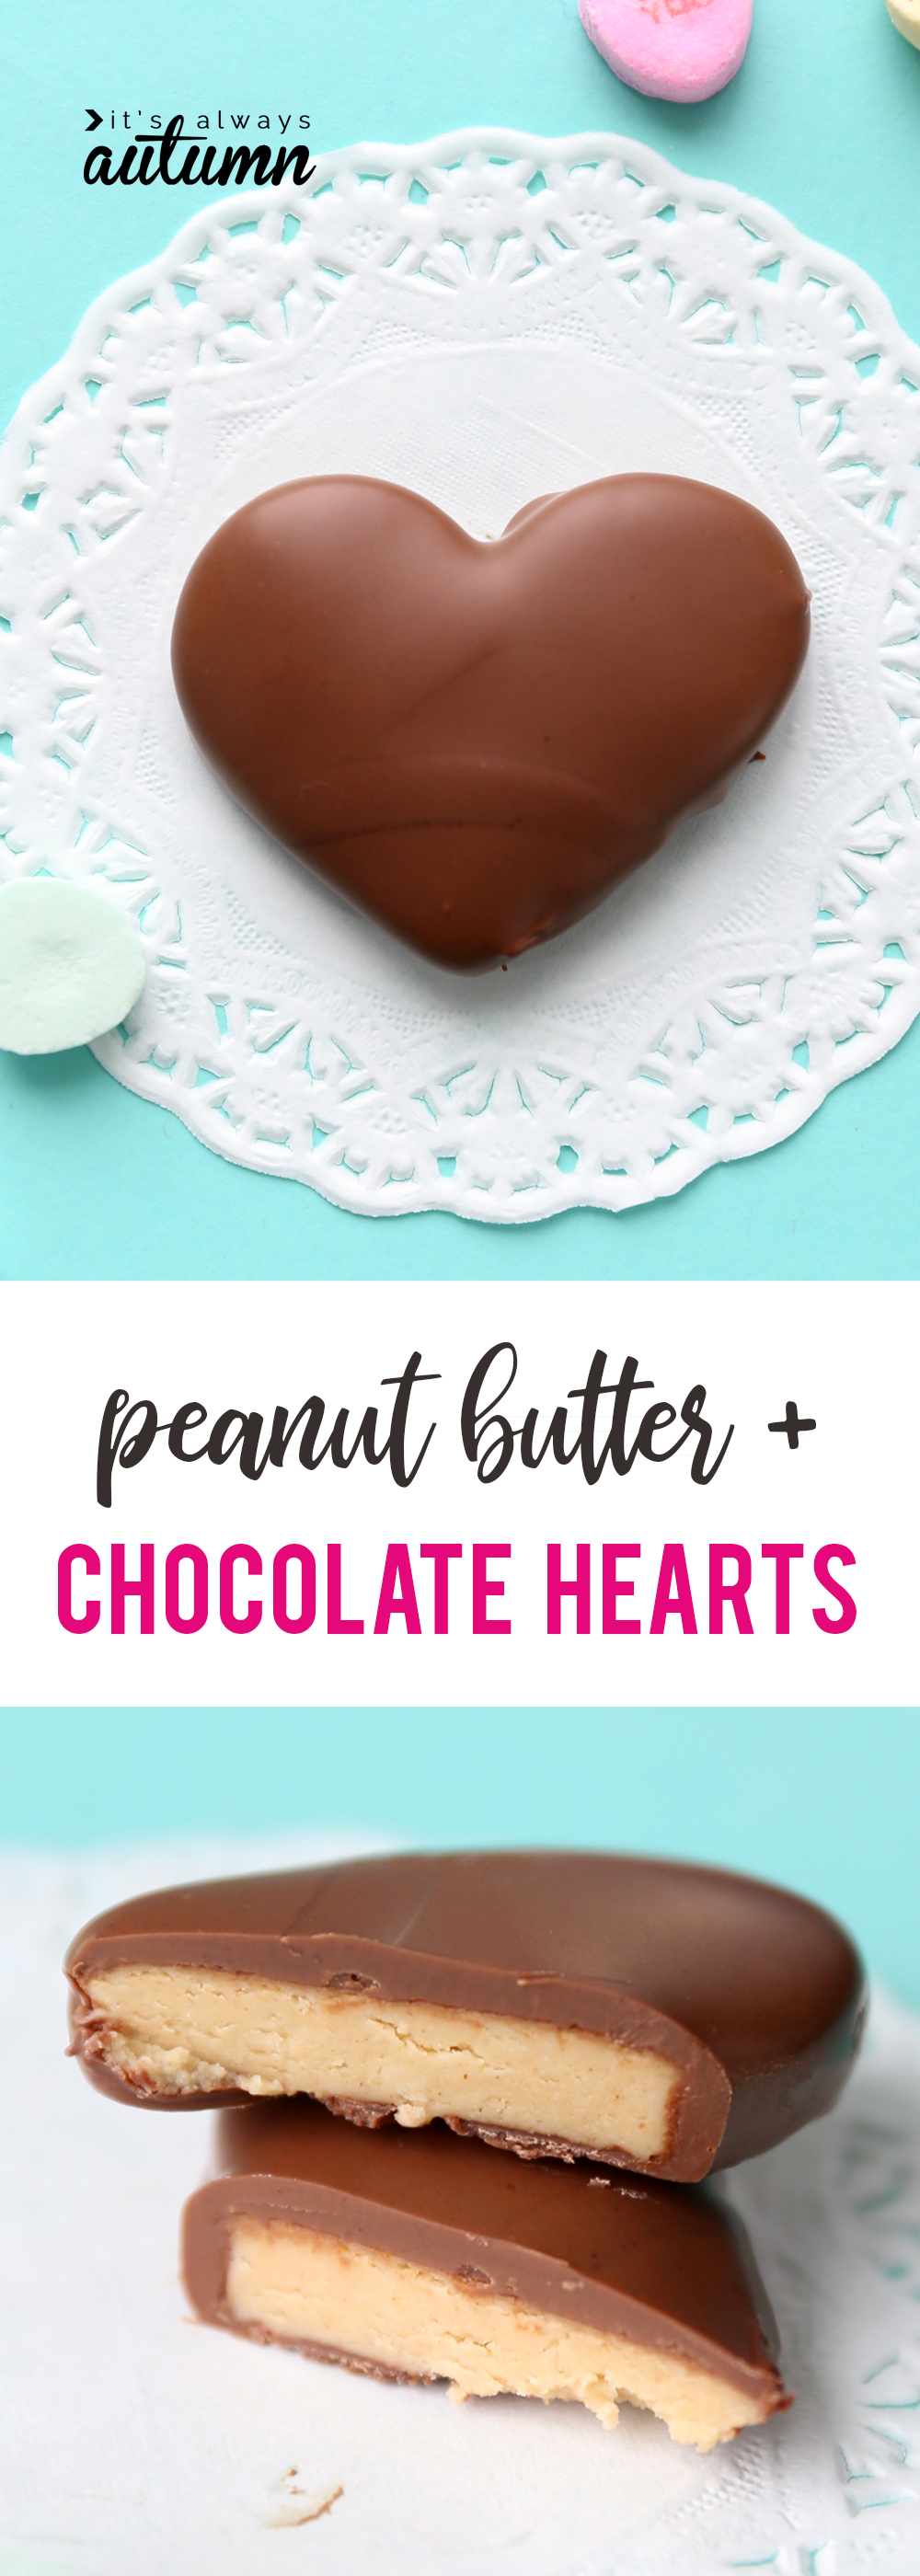
These guys are delicious! My recipe is really simple: just butter, peanut butter, powdered sugar, and chocolate. I’ve seen people add graham cracker crumbs to give the peanut butter mixture a grittier texture (like Reese’s) and seen other people add vanilla, salt, and other flavorings, but I really think the smooth, simple mixture tastes the best. It’s peanut butter and chocolate – it doesn’t really need anything else!
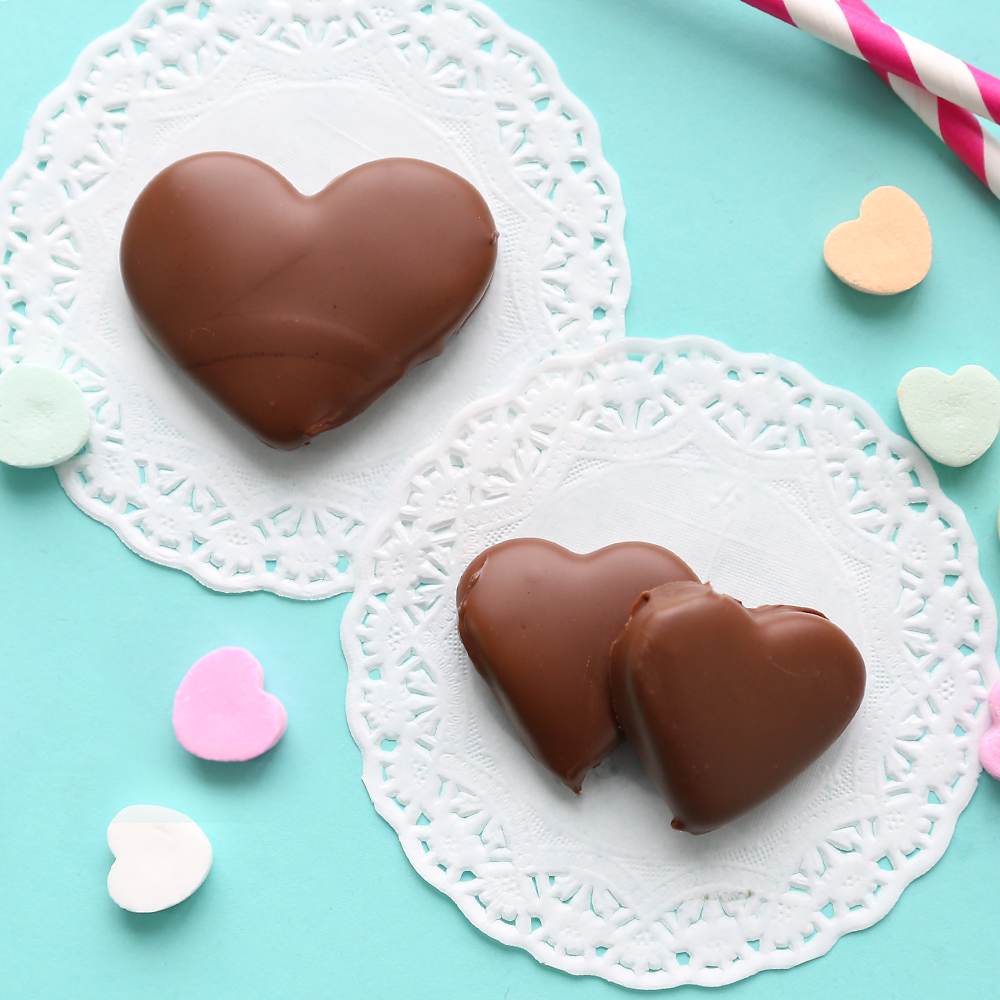
You are going to need a small heart shaped cookie cutter to make these. Well, you can use a normal sized cutter if you want, but that will make fairly giant hearts. The cutters I used were 1.5 inches across and 2.25 inches across. The 1.5 inch cutter makes a bite size treat and the 2.25 inch cutter makes a treat similar in size to a Reese’s.
Before I show you how easy these are to make, I want to talk chocolate for just a minute. Chocolate is actually really temperamental, making it difficult to get a pretty finish on things you dip. That’s because when you melt chocolate, you often lose the “temper”, which refers to something in the crystalline structure of the chocolate. If your chocolate loses it’s temper during the melting and cooling process you’ll end up with a finished product that’s a little grainy, melts as soon as you touch it, and doesn’t set up quite as hard – it won’t have that nice “snap” when you break it. So that’s not good.
So you have some options when it comes to the chocolate you use and how you melt it:
- You can use candy melts or chocolate almond bark to dip your hearts. These are not real chocolate and so they don’t taste as good, but they are made for melting and dipping and generally set up very hard with a great shine. So if you aren’t super picky (or are making these for kids) this is definitely an easy option.
- You can use chocolate wafers made for dipping (I’ve seen the Ghirardelli brand near the chocolate chips in the grocery store). I haven’t actually tried these, but it looks like they are engineered to melt and set up nicely..and I’m guessing they taste better than candy melts.
- You can use a good quality chocolate (either dipping chocolate or a nice brand of chocolate chips) and melt it very slowly over a double boiler, ensuring it never gets very hot. It should take about 20-30 minutes to melt your chocolate and as soon as it’s melted you want to remove it from the heat. As long as it doesn’t get too hot, you shouldn’t lose the temper and the chocolate should set up just fine. Learn more about that method here.
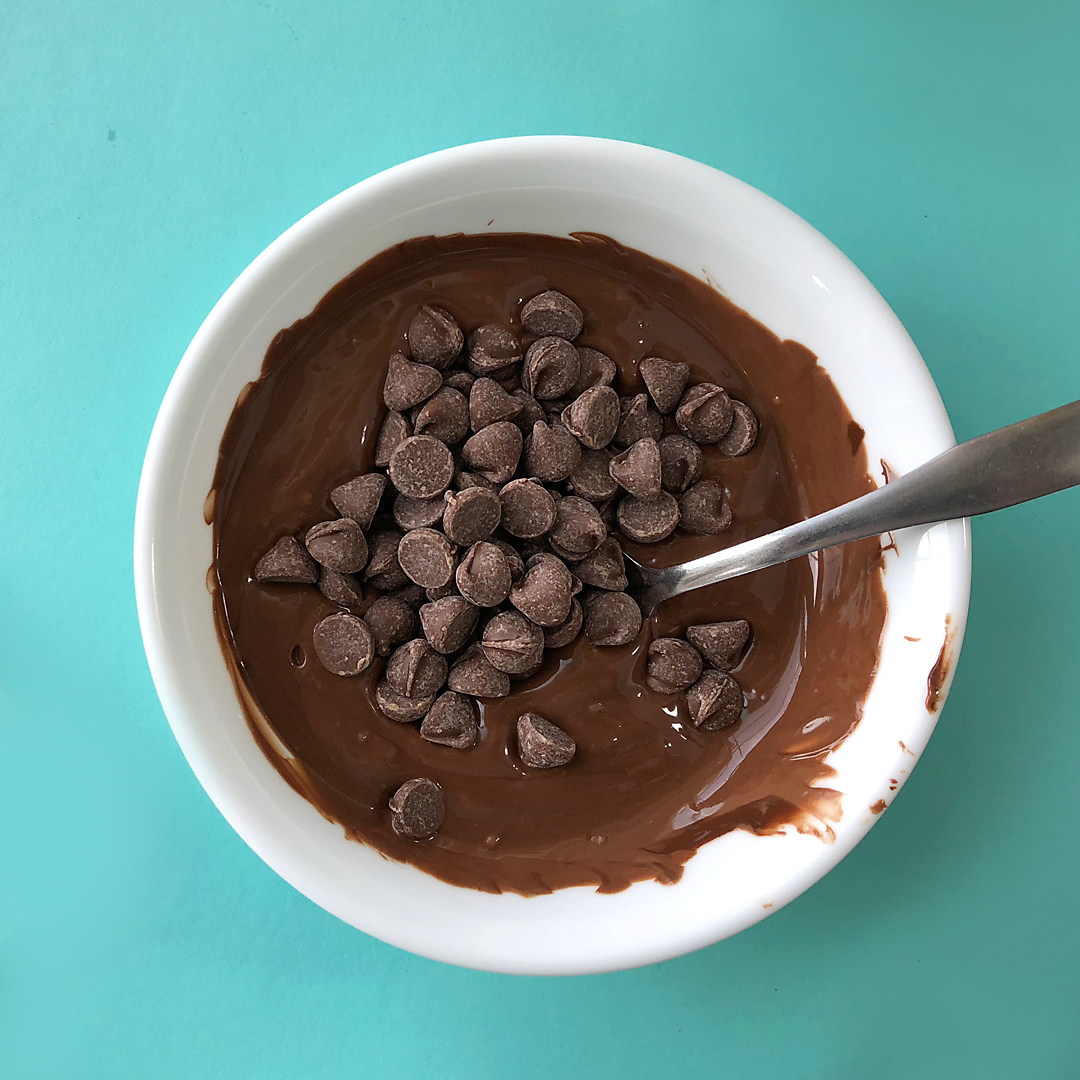
- This is what I do: Start with good quality chocolate chips (like Ghirardelli or Guittard). Place 2/3 of the chips in a microwave safe bowl. Microwave for about 30 seconds and stir. Microwave for 15 seconds and stir. If chocolate isn’t melted yet, continue in 15 second intervals, stirring between each time. Once the chocolate is melted, add in the remaining 1/3 of the chips and stir until they are melted as well. This is a quick and dirty method for tempering the chocolate that usually works pretty well.
It methods #3 and #4 seem like too much hassle, I’d recommend giving the chocolate melting wafers a try.
Ok, on to making the hearts!
Chocolate covered peanut butter hearts
Ingredients:
- 1/2 cup creamy peanut butter
- 1/4 cup melted butter
- 1.25 to 1.5 cups powdered sugar
- 12 oz milk chocolate
VIDEO
This video shows the process, and written directions follow:
Instructions
Combine the peanut butter, butter, and 1 heaping cup of powdered sugar in a bowl. Stir with a wooden spoon until combined. If PB mixture seems quite sticky, stir in more powdered sugar until you have a cookie dough like consistency.
Place the PB mix between two layers of wax paper and roll out to about a 3/8 inch thickness. Chill until firm (15 minutes in the freezer should do it).
Cut hearts from the PB mix with cookie cutters. Place on a new piece of wax paper. Freeze again until firm. (Either eat the scraps of PB mix or re-roll them and cut more hearts.)
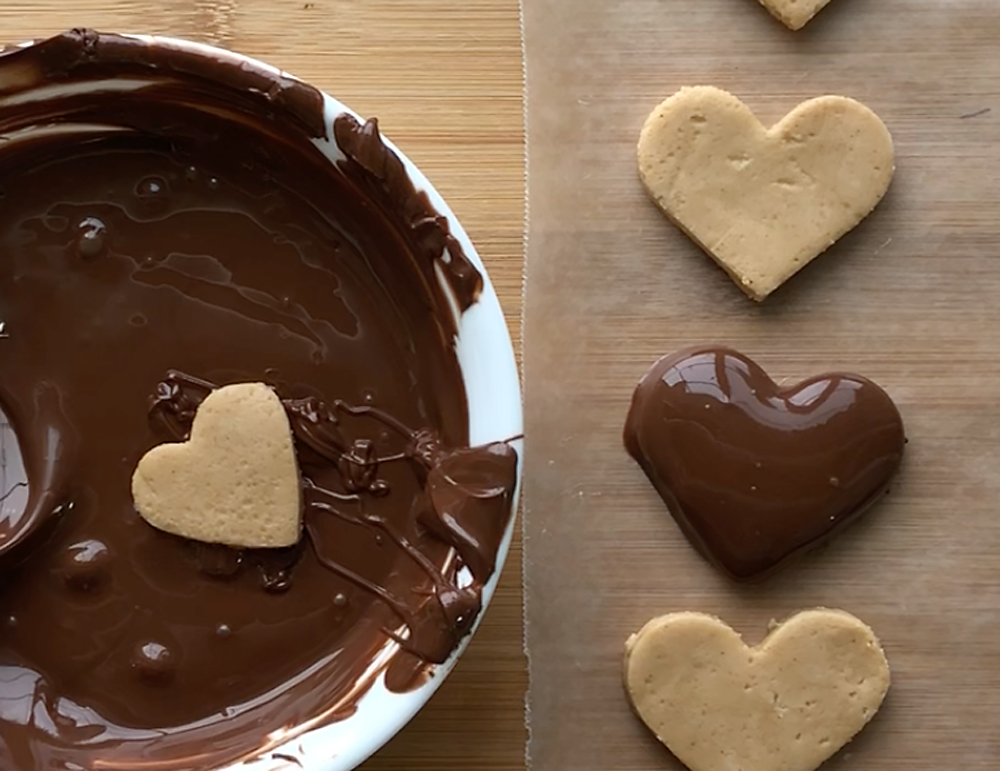
Melt your chocolate as directed on the package or using one of the methods described above. Dip a PB heart into the chocolate, covering it completely with chocolate. Lift the heart out of the chocolate using a fork and tap it gently to remove excess chocolate. Use a toothpick to slide the heart off the fork onto wax paper. Repeat with all the hearts (if you are working with real chocolate work as quickly as you can before the chocolate cools or keep the chocolate in a double boiler with warm water in the bottom).
Allow chocolate to set up at room temperature until firm (a couple of hours).
Enjoy!

Want more Valentine’s fun? Visit these posts:
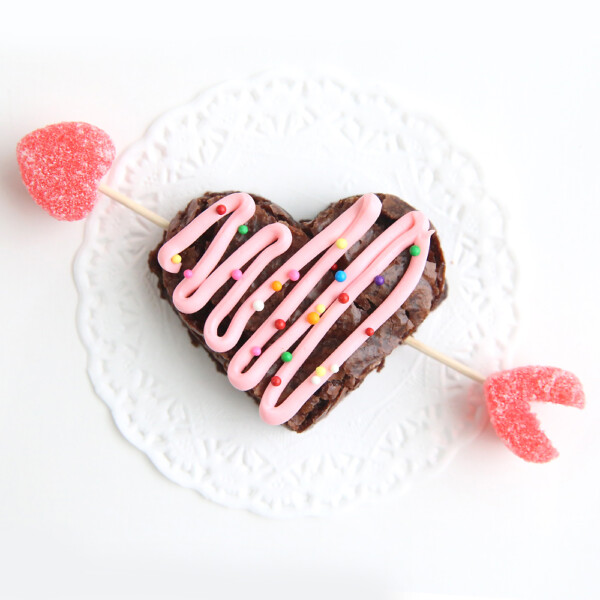
Shot through the heart (shaped) brownies
25 easy Valentine’s treats to make with your kids
Make a heart shaped cake for Valentine’s Day – 4 ways!
Printable Valentine’s candygram poster


Lucy Wynne, Kent ~ England says
Hi Autumn, In the past when melting chocolate I’ve used a bar of fairly high percentage chocolate 50-75%
I don’t have a double boiler so I heat water in a pan but I have a pyrex bowl on top. It doesn’t touch the heated water but sits just above it. Break chocolate into bowl, it will start to melt as it does gently scrape it away from the sides so that you keep a chocolate puddle in the middle of your bowl. When it’s all melted stir in 1 level teaspoon of butter. Stir very gently, this stops the chocolate from “losing its temper” and gives a slight gloss when the chocolate dries. If you keep it overheat and stirring gently, keeping it off the sides it won’t harden up.
You can combine broken chocolate and butter in a pyrex bowl (for some reason glass really does work better). then 30 second bursts in microwave, gently stirring and off the sides each time. Just keep repeating.
Chocolate left over when your project is done? slice apples, kiwi fruit, pears and put on metal or wooden skewer dip in the chocolate. Same with strawberries. Or for not so healthy 🙂 spread over cookies.