
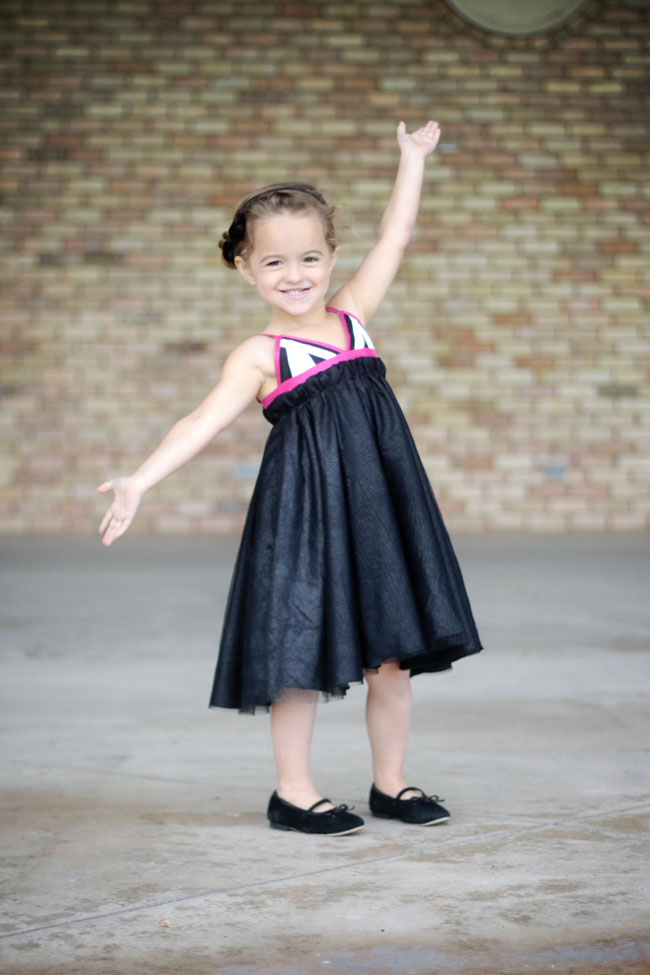
My daughter has quite a few sleeveless dresses from this past summer that she hasn’t grown out of yet. To make them more appropriate for the cooler wall weather, she can wear tights and a long sleeve shirt under them. But I just don’t love the look of a shirt layered under a dress – I much prefer a little sweater layered on top instead. So for my look for STLYO Magazine I sewed up the Heidi&Finn Ballet Sweater.
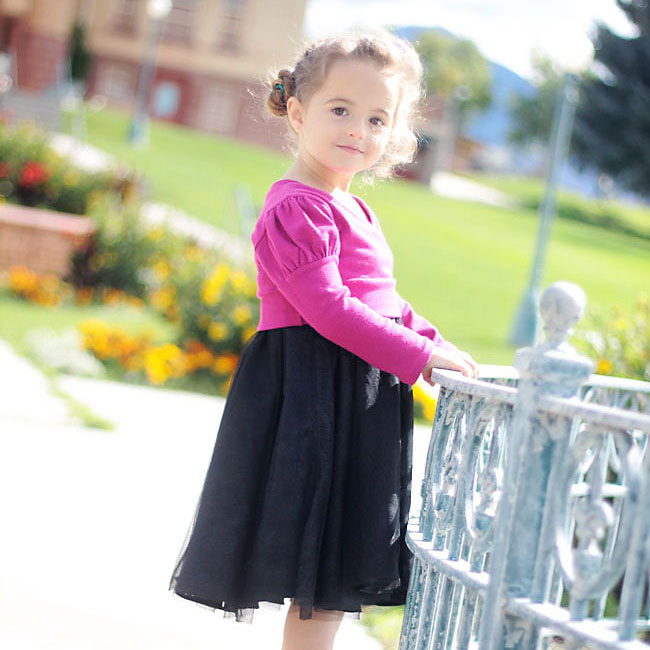
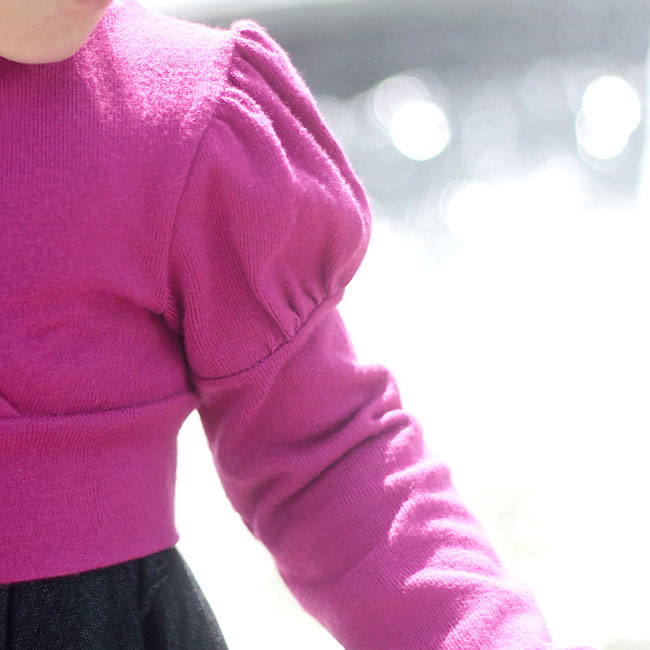
It’s the perfect cropped sweater for layering over dresses and I love how cute it looks. To make it even cuter, I made a super easy sleeve alteration that gives it puffed “princess” sleeves. You can use this simple alteration on just about any sewing pattern, although it’s simplest with patterns made for knits, such as long sleeve tees and sweaters.
How to add a puffed “princess” sleeve to any sewing pattern
Step 1: Cut across the sleeve pattern as shown in the photo, creating an upper sleeve pattern piece and a lower sleeve pattern piece.
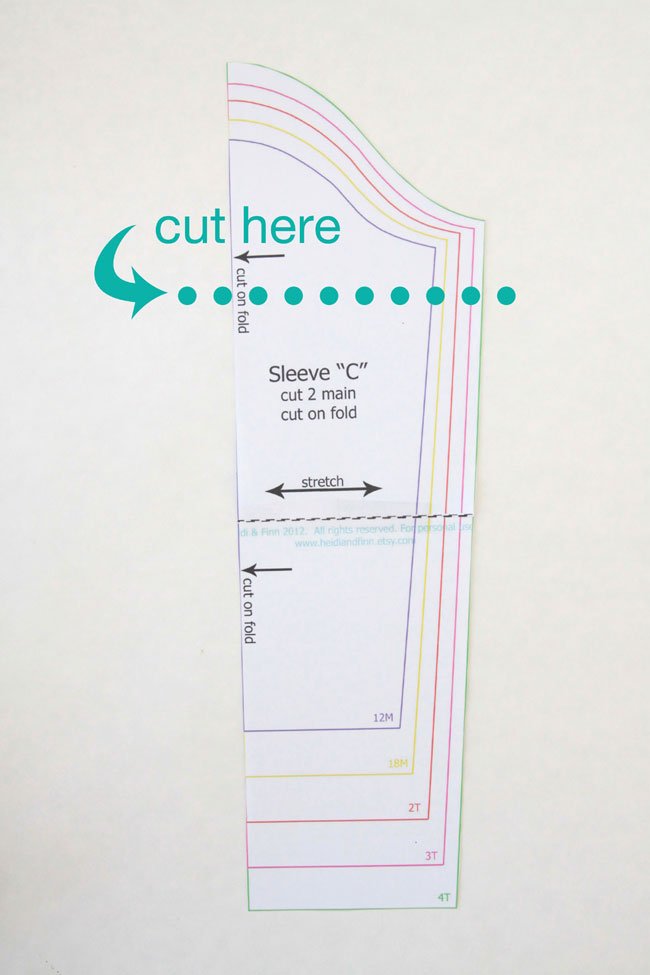
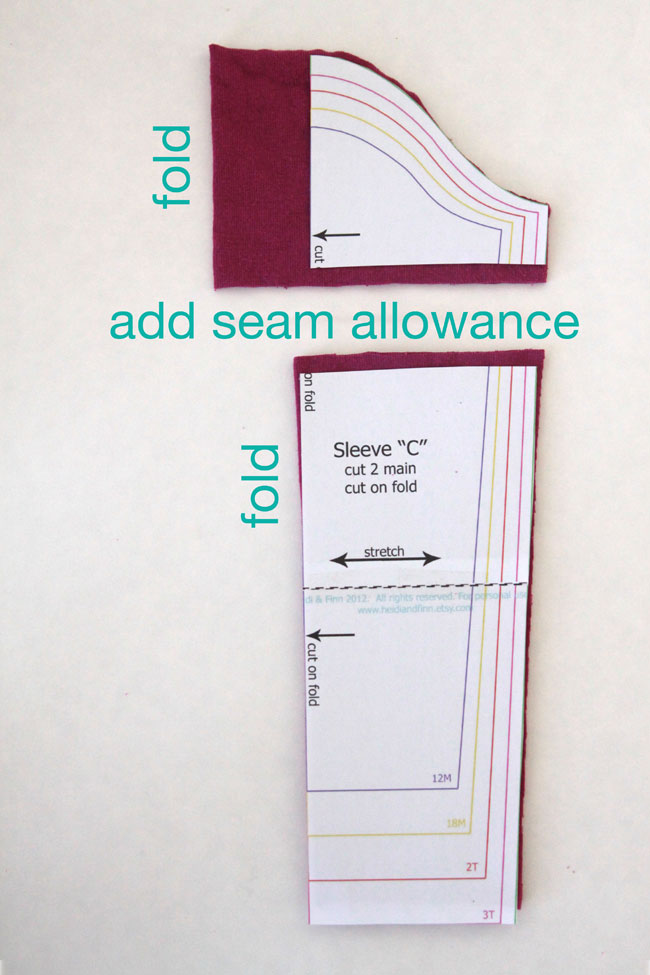
Step 2: Move the upper sleeve pattern piece 2 inches away from the fold and cut around it, adding ½ inch for seam allowance along the bottom edge. Cut out the lower sleeve pattern, aligned with the fold as normal, adding ½ inch for seam allowance along the top edge. (Cut two of each piece as directed.)
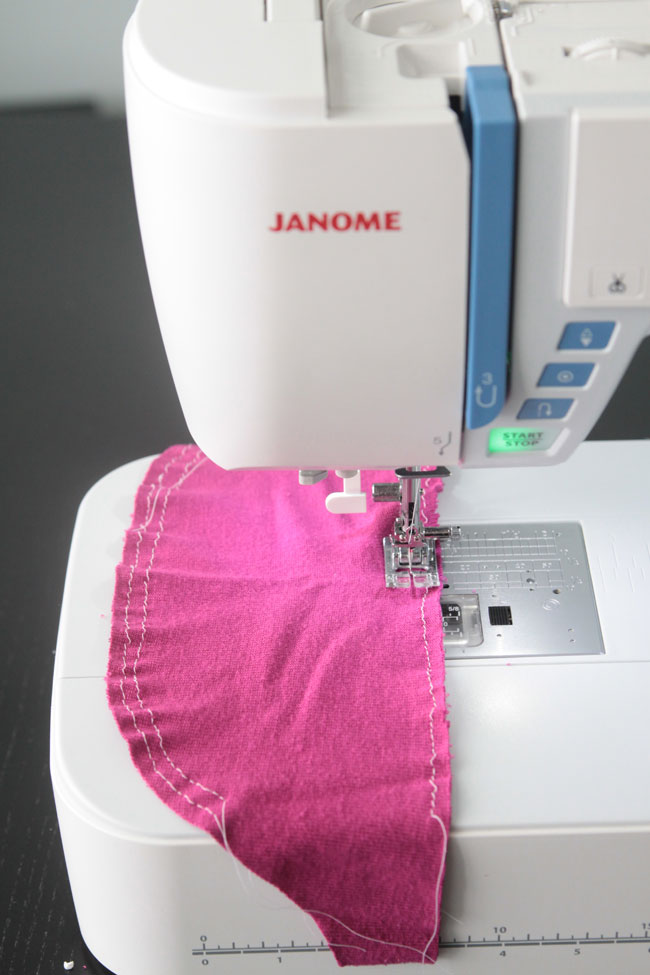
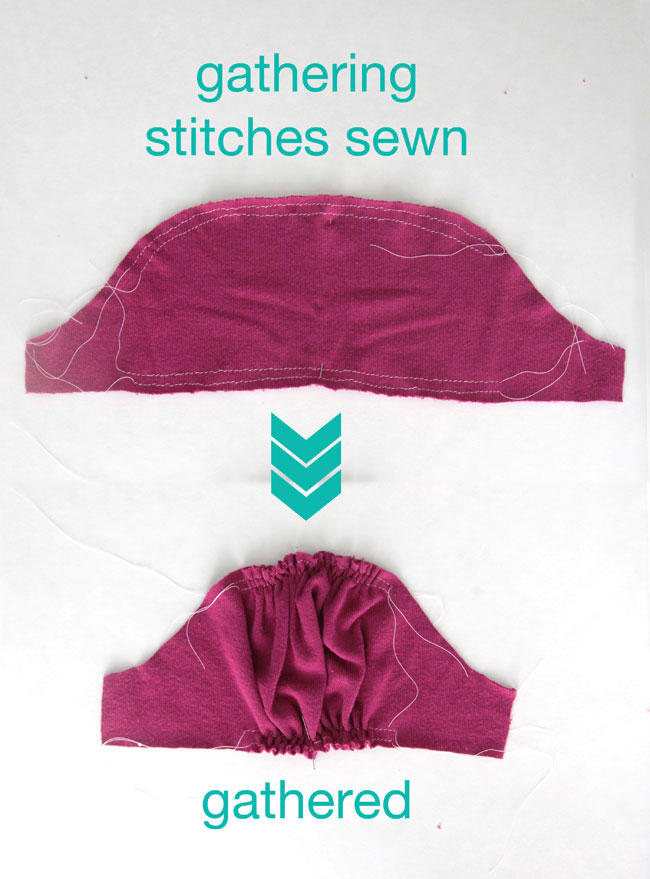
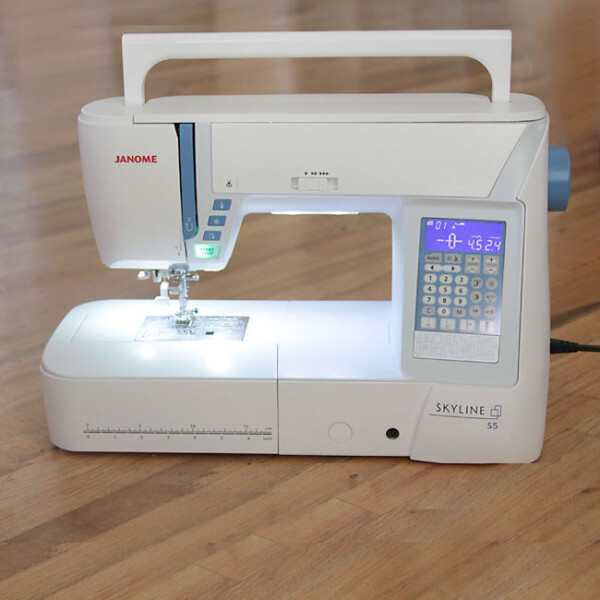
Step 3: Sew two rows of gathering stitches along the top and bottom of the upper sleeve piece, as shown. Gathering stitches should be about ¼ inch away from the edge and about ½ inch apart. (I used the new Janome Skyline S5 for this project – read all about why I think an expensive sewing machine is worth the money here.)
Step 4: Pull the lower threads of both sets of gathering stitches to gather the upper sleeve until it is the same size as the upper sleeve pattern piece.
Step 5: The upper sleeve piece and lower sleeve piece should now be the same width. Match the raw edges, placing the pieces right sides together. Pin, then sew, using a stitch that will stretch (serge, narrow zig zag, or stretch stitch). Press the seam open.
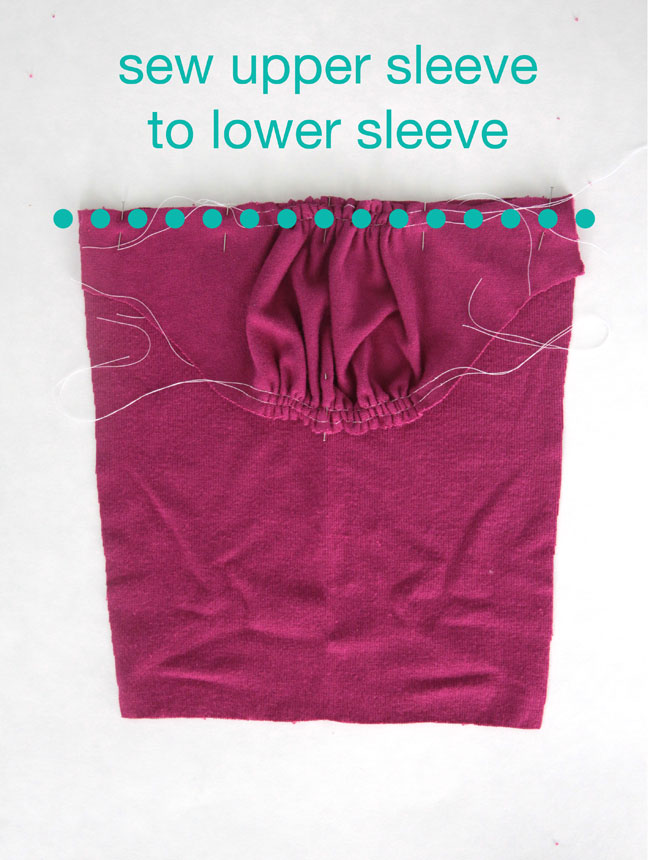
Step 6: Remove the gathering stitches from the seam you just sewed, but leave the gathering stitches along the top of the sleeve in place. When folded in half, your sleeve will now be the same size as the original sleeve pattern piece.
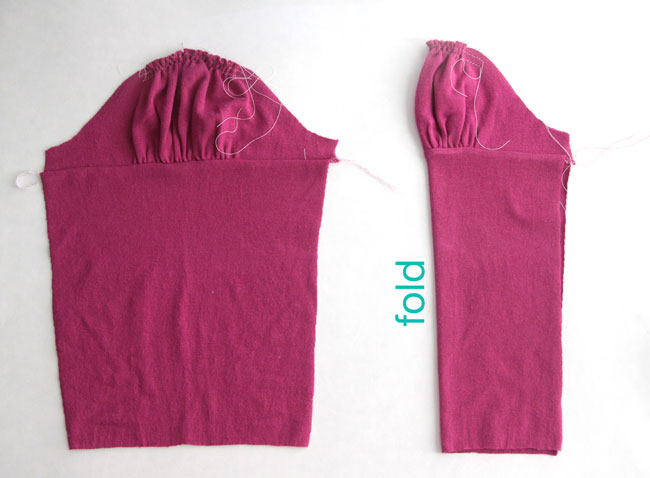
Step 7: Attach it to the sweater as directed in the pattern, then remove remaining gathering stitches. Press seam.
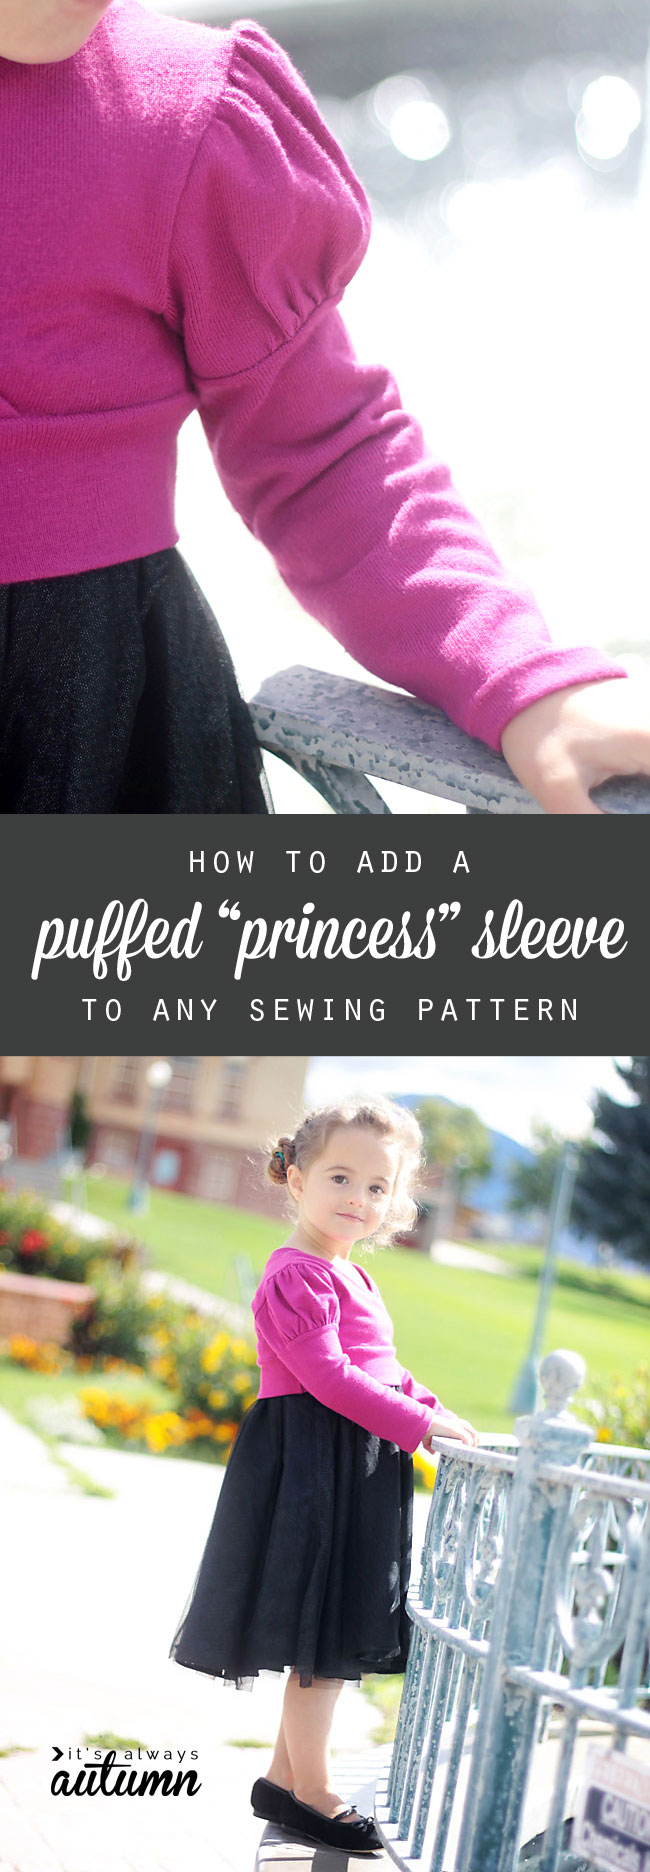
The Heidi&Finn Ballet Sweater is a very quick sew. It’s written to be sewn from knit fabric or sweater knit. I used sweater knit from a large fuscia sweater I found at the thrift store. The pattern includes instructions for ties to make it look more like a genuine ballet sweater, but I left them off for a cleaner look.
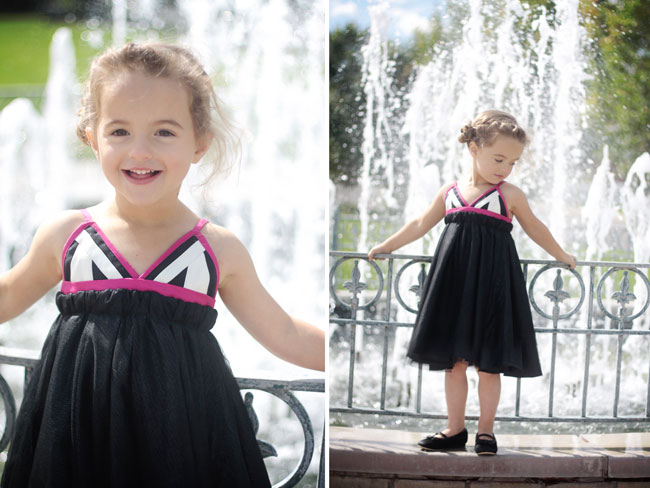
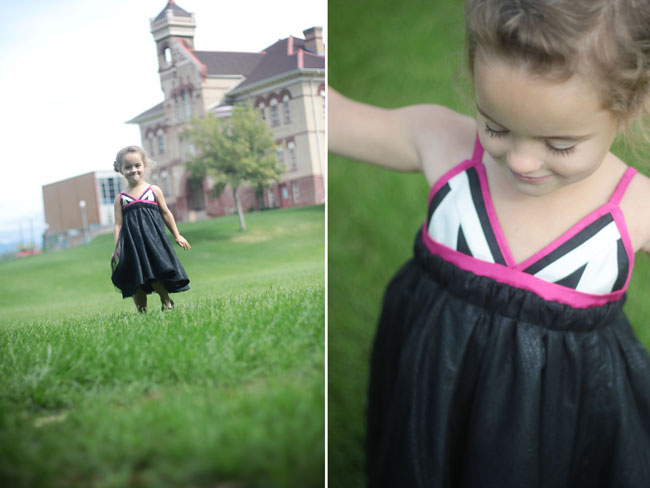
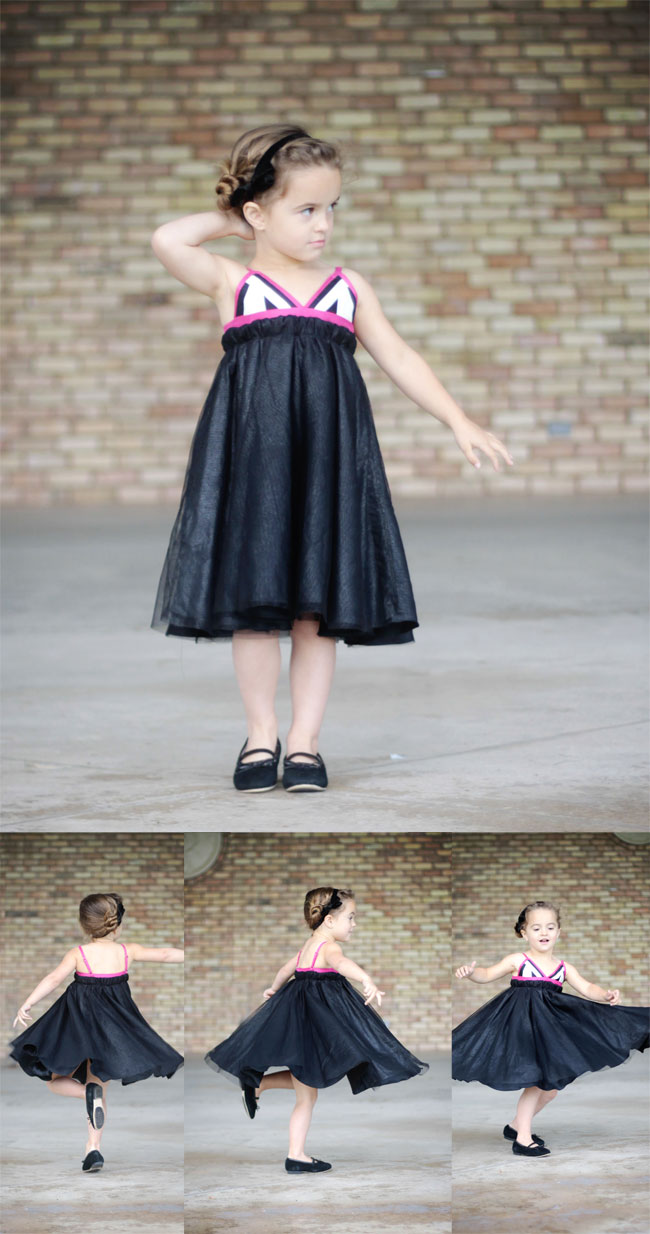
This tutorial appears in STYLO Magazine, a free online magazine featuring over 200 pages of handmade kids’ clothes. Check it out! Here are a few more photos from my look (the dress pattern used is the Scene VI Dress from CaliFaye Collection):


ardianaardilan says
thanks for sharing..I would like to try it.
hasina says
This was one of the easiest tutorials , ive used this for my cousins sleeve, came out perfect, so pleased <3
Wendy says
Thank you for this! I’m wanting to make a raglan hoodie for my niece…with puffed sleeves, so I’m going to give this technique a try. 😀
Karen says
Love this, will definitely be giving it a go, thank you.
kathy says
Adore the sweater and love the “Princess”.