
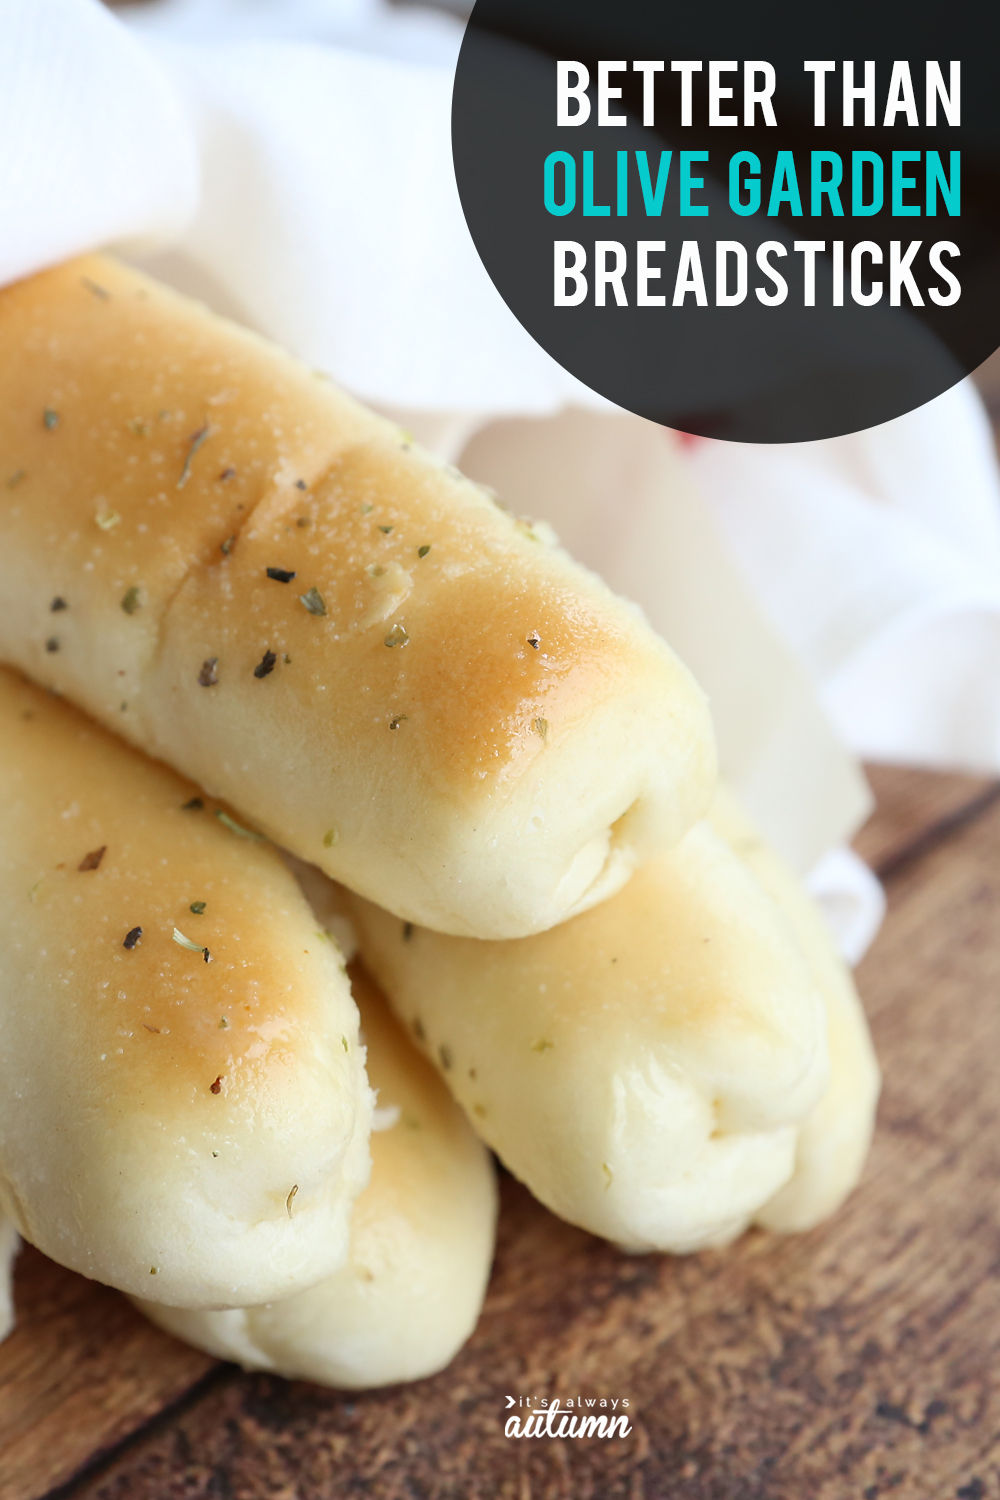
In today’s post: I’m sharing a copycat Olive Garden breadsticks recipe that’s even better than the original! These light and fluffy breadsticks will be the star of any meal.
One of the best parts of going out to dinner at The Olive Garden has always been the breadsticks – they’re so warm, garlicky, and delicious that I keep the server busy bringing more baskets. But to tell you the truth, as much as I like Olive Garden breadsticks, my mom’s breadsticks are just plain BETTER! Don’t believe me? Well, here’s what one of my readers thinks:
“These are better than Olive Garden. These are very light and fluffy. Like pillows. Seriously great. Last time I was at Olive Garden the breadsticks were tough and chewy. Again, these are much better.”
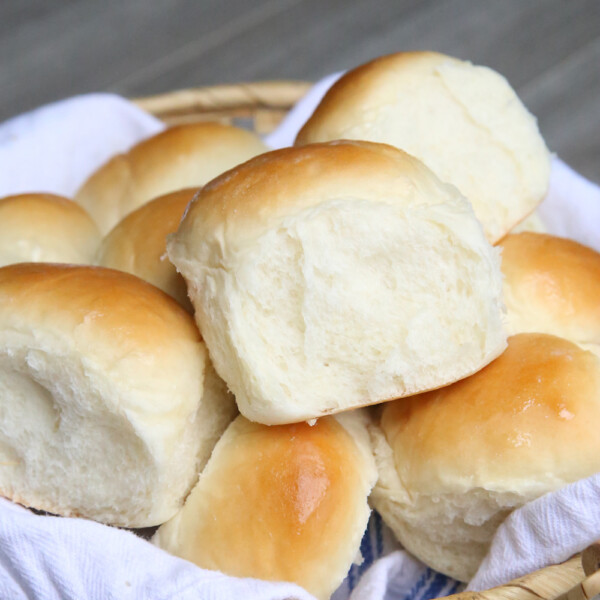
Light and Fluffy Breadsticks
I first published this breadstick recipe over eight years ago and many of you have reported loving these homemade breadsticks. They’re delicious with soup or your favorite dipping sauce (try mixing marinara sauce and alfredo sauce for an outstanding dipping sauce!). They also taste great along side salads, pasta, chili, etc. In fact, I’d rather eat these than the main dish most of the time! They’re dipped in melted garlic butter for the most incredible flavor. This is a copycat recipe that’s actually better than the original.
You Can Make These!
I know making homemade bread can be intimidating, but these really are not hard! You’ll need to start them about 3 hours before you want to serve them, but the hands-on time is actually pretty minimal. I’ll walk you through every step of the process, and I even have a quick video demonstration:
How to make better than Olive Garden breadsticks
If you haven’t made bread before, you can watch the instructional video in my dinner rolls post to get step by step instructions for kneading the dough and letting it rise (or proof). I often let the dough rise sitting out on the counter covered with a towel; you can also place it in a large bowl that been greased and cover it with plastic wrap. The first rise generally takes 60-90 minutes at room temperature (or a bit less if you put the dough in a warm place).
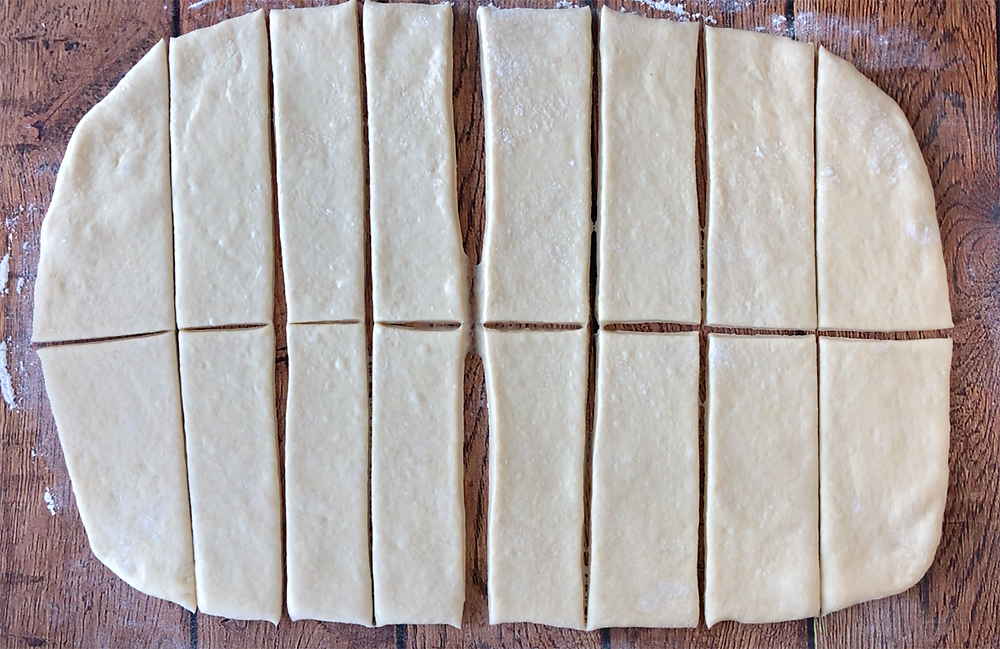
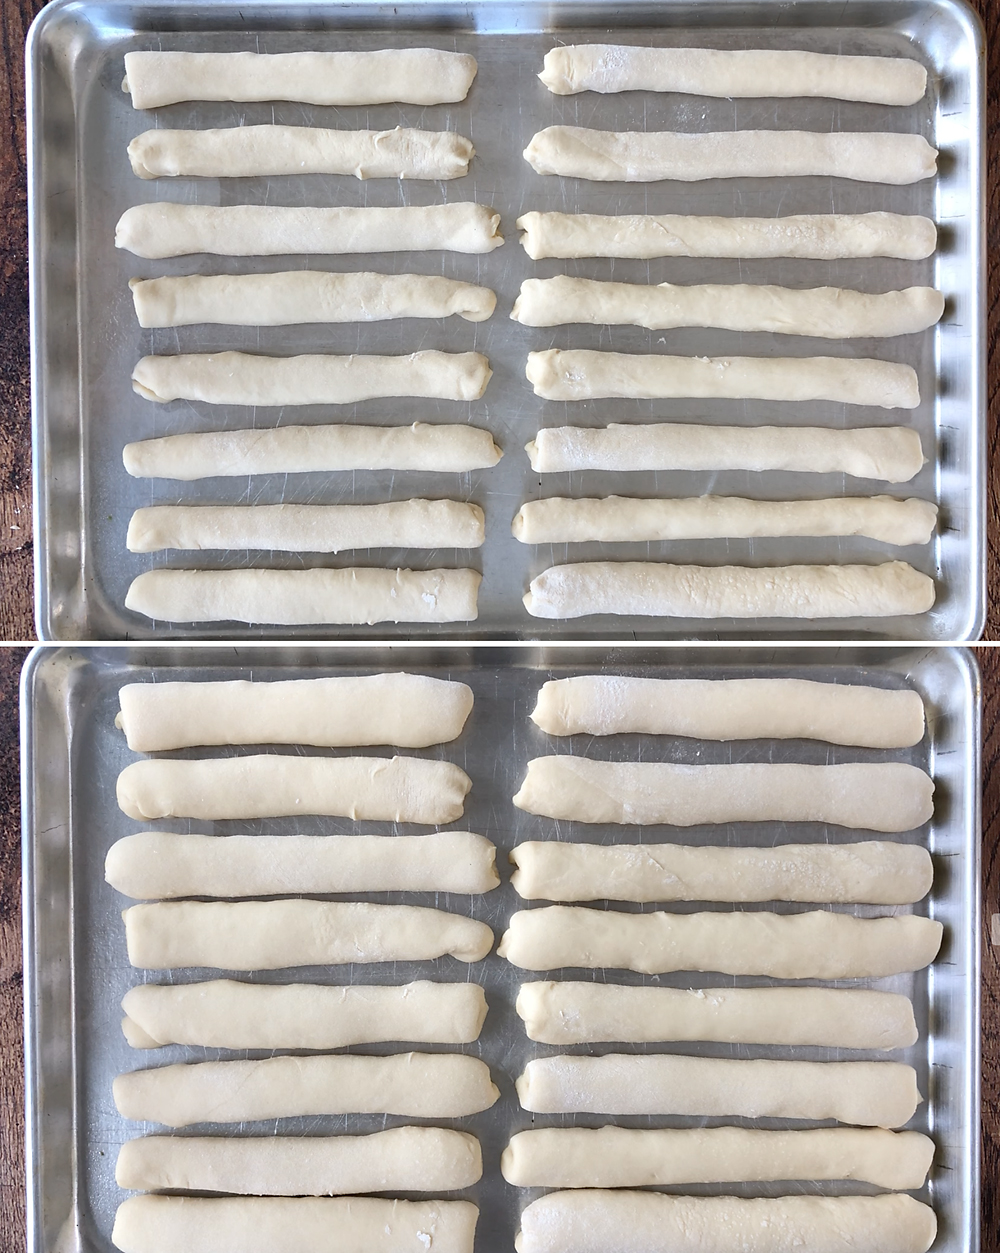
At that point, you’ll punch down your dough and roll it into a rectangle that’s roughly the size of a cookie sheet. Use a pizza cutter to cut the dough into 16 slices:
Take each piece and pull the long sides up together and pinch closed, as shown below:
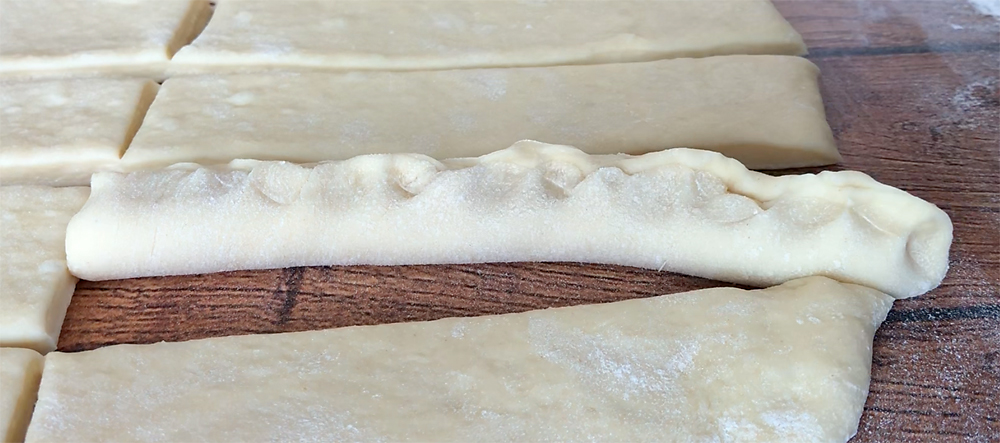
NOTE: the step above ensures you get a very smooth, round breadstick. If you’re not worried about having a perfect shape, you can just roll your dough out into a smaller rectangle, cut it into 16 equal portions, and skip the shaping step.
Place all the breadsticks on a lightly greased cookie sheet and allow to rise a second time until nicely puffed. The second rise usually only takes 30 minutes. Here are the breadsticks before and after the second rise:
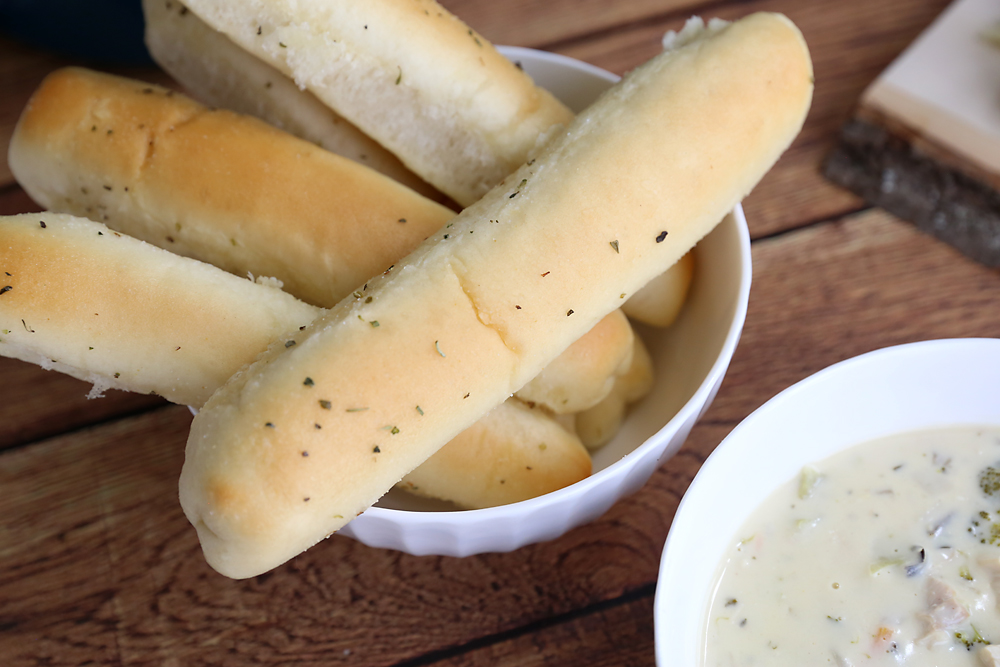
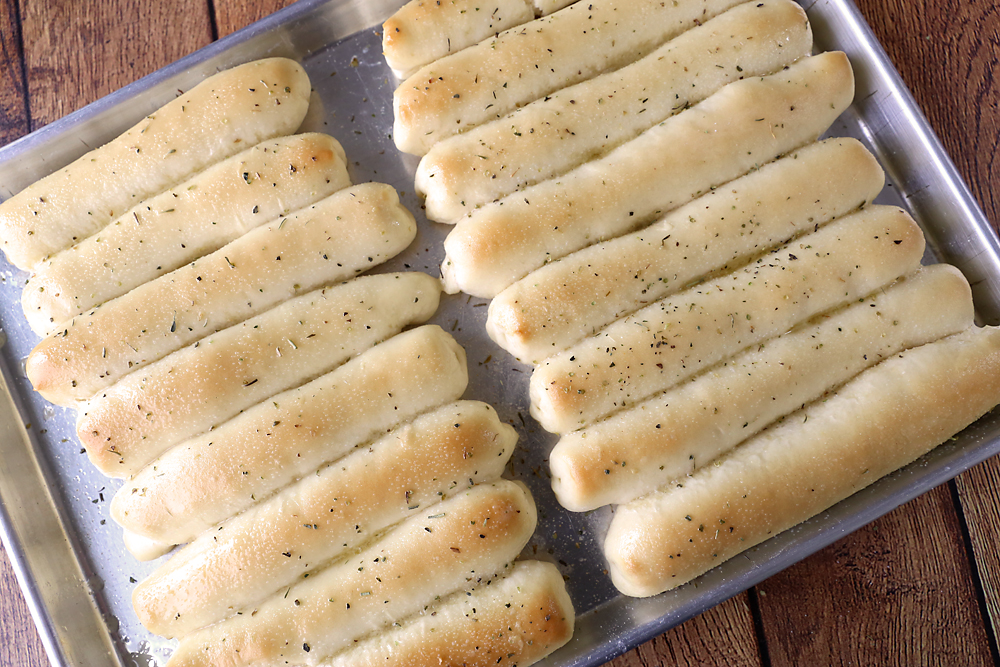
After the second rise, place the cookie sheet in a preheated 350 degree oven and bake for 15-18 minutes until golden brown on top. Then brush the breadsticks with melted butter and sprinkle them with garlic salt and Italian seasoning (or whatever seasoning blend you prefer).

Better Than Olive Garden Breadsticks
Ingredients
Breadsticks
- 1 cup Warm Water
- 1 tablespoon Active Dry Yeast
- 2 tablespoons Butter softened
- 1 Egg
- 3 & 1/4 cup All Purpose Flour bread flour is also ok
- 1/4 cup Sugar
- 1 teaspoon Salt
Topping
- 3 tablespoons Butter melted
- Garlic Salt and Italian Seasoning to taste
Want more project ideas? Sign up to get my favorite easy crafts and recipes straight to your inbox!
Instructions
- Combine all ingredients (except for topping ingredients) in the bowl of a stand mixer and mix using the dough hook attachment until combined on low.
- Continue mixing 5-10 minutes, adding just a little more flour if needed.
- Dough will be soft and slightly sticky; it may not completely pull away from side of bowl. However, it should feel smooth and elastic when it's done kneading.
- Turn dough out onto a floured surface and knead two or three times, forming a ball.
- Cover with a kitchen towel and let rise one to one and a half hours, until nearly double in size. (If you live in a very dry area you may want to put the dough into a large greased bowl and cover it with plastic wrap to ensure it doesn't dry out.)
- On a floured surface, roll dough into a 12×16 inch rectangle. Use pizza cutter to slice into 16 strips.
- Pinched the long sides of each piece together to form a breadstick shape.
- Place sticks pinched side down on a baking sheet that's been lightly greased or lined with parchment paper. Cover with a towel, and let rise about 30 minutes.
- Bake at 350 degrees for 15-18 minutes until golden brown. Brush with melted butter and sprinkle with seasonings.
Tips
That’s heaven right there!
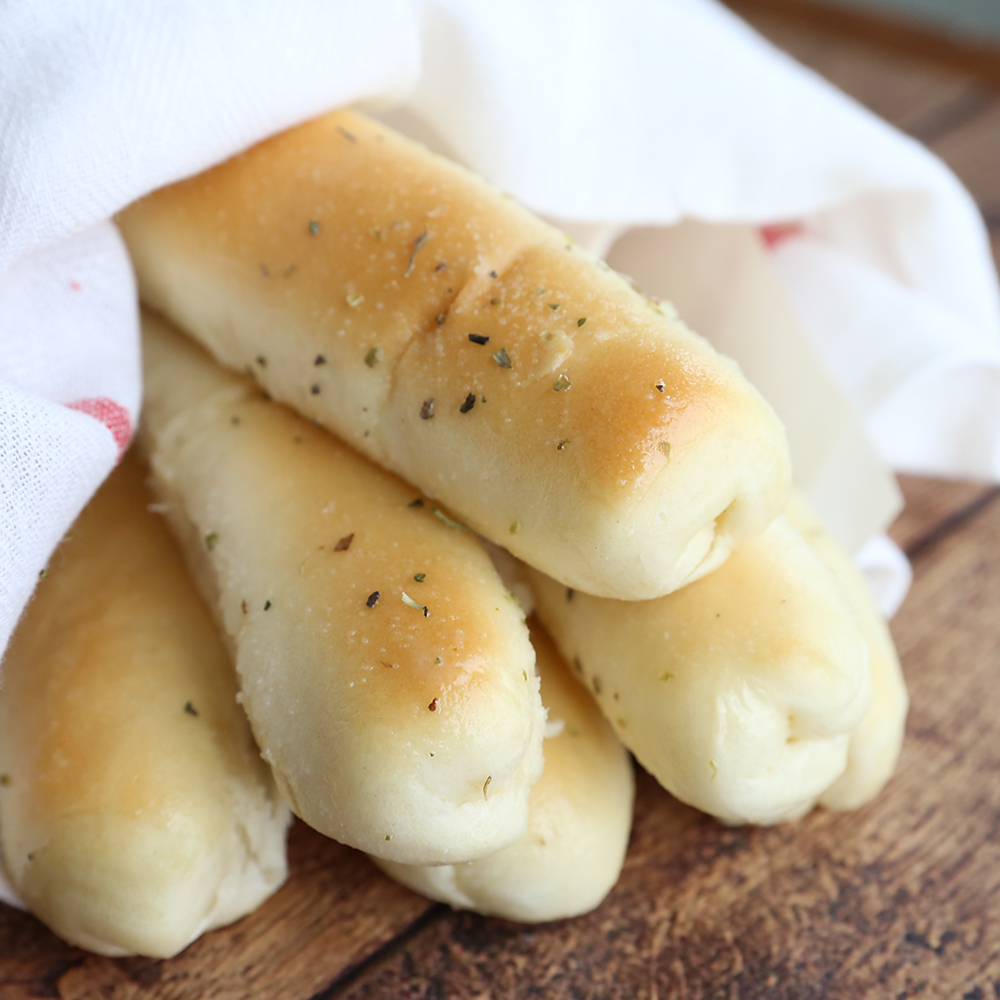
Since these better than Olive Garden breadsticks are nice and buttery, I like to line whatever basket or towel I’m serving them from with wax paper.
These breadsticks really are the perfect compliment to just about any meal (and divine with soup!). Try them with sweet bacon chili or creamy chicken and rice soup.
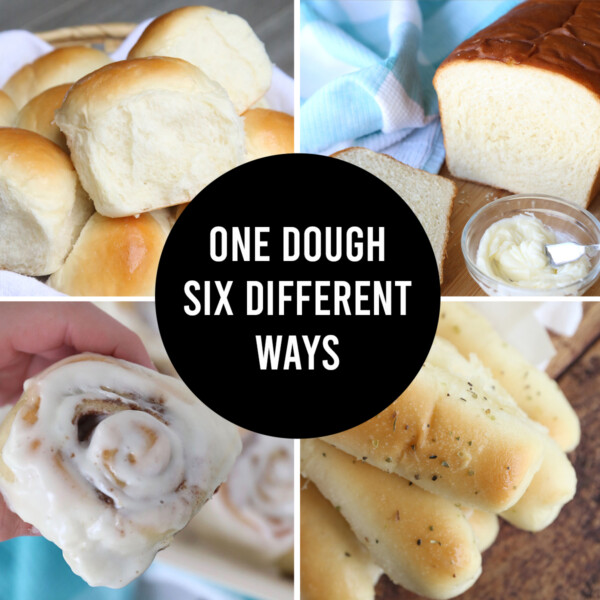
Want more bread recipes? Visit these posts:
How to make perfect dinner rolls
Easy 4 ingredient no-knead artisan bread
Beautiful braided bread recipe

Gin Pollock says
Second rise, do you cover with a towel?
Autumn says
Yep!
Cassie says
I’m in the process of making these right now. I sure hope they turn out. I followed the instructions line by line and did not watch the video. Your instructions say to put everything in the mixer and mix for 5 to 10 minutes. I did that and within 2 minutes it looked smooth however I continued to kneed for a full 5 minutes so I hope they are not dry and tough. In the video you show to add everything and then add flour a little at a time. Not sure why you did not include that in your instructions. I only gave 3 stars for this reason. I will edit my review once they are done if they are good!
Cassie says
Ok so they turned out fantastic! The best breadsticks I’ve ever made! My new go to!
Lael Chamberlain says
Delicious!!! Easy to make, making 3 rd batch tomorrow. Will not buy them at the store now.
Amber H says
Can I freeze these then reheat them? How long would they be good in the freezer for?
Autumn says
Yes you can freeze them for a few months but if you plan to freeze them do not brush them with butter first. Do that after you thaw/rewarm them.
CJV says
how would you suggest reheating these after frozen?
Autumn says
I usually just let them come to room temperature on the counter. You can also warm them in the microwave on a defrost setting or wrap tightly in foil and warm in the oven.
Cindy says
I have made these many times. They are delicious. I do roll out the dough differently. I divide it into two batches and roll each it into a rectangle of about 12 inches by 10 inches. I then cut into fat, wide breadsticks (think size of Olive Garden breadsticks) with pizza cutter. Finally I softly round and taper ends with fingers , rather than doing your rolling and tucking method. Ensures tender consistency sized breadsticks.