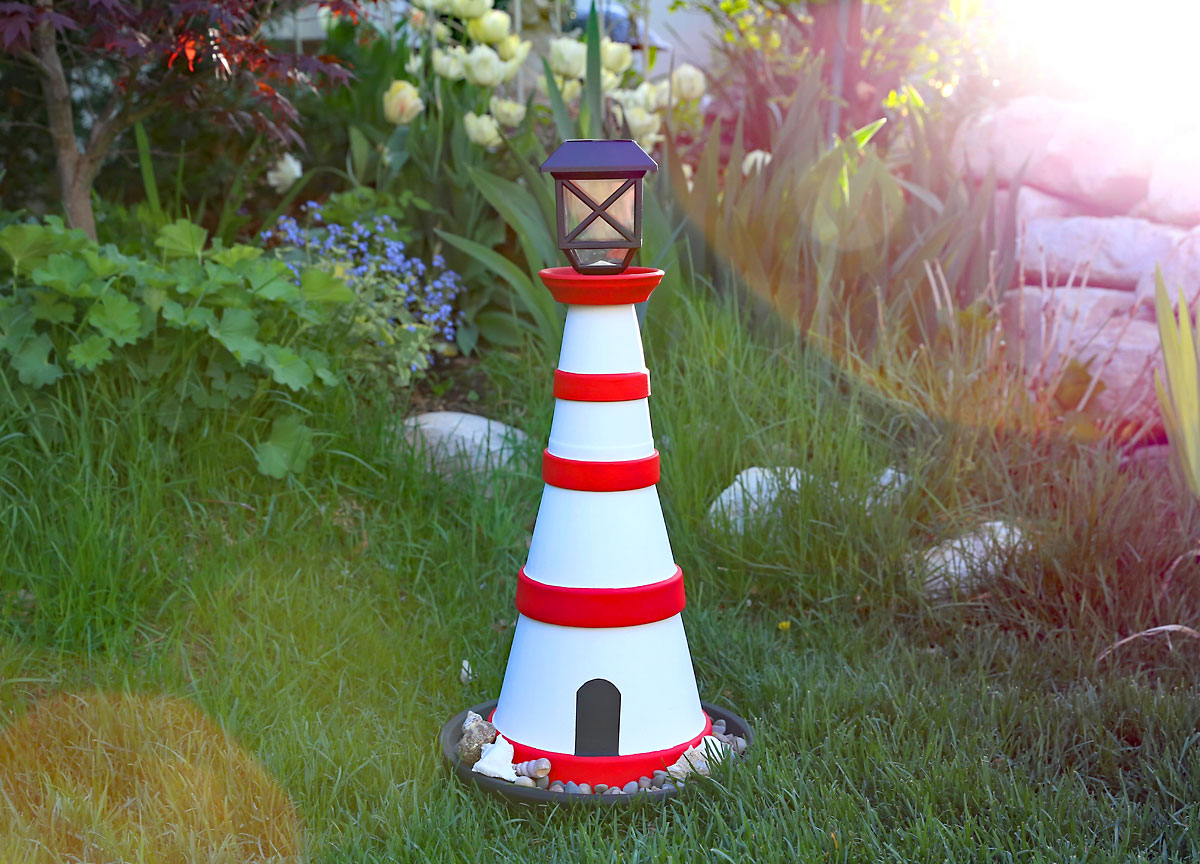
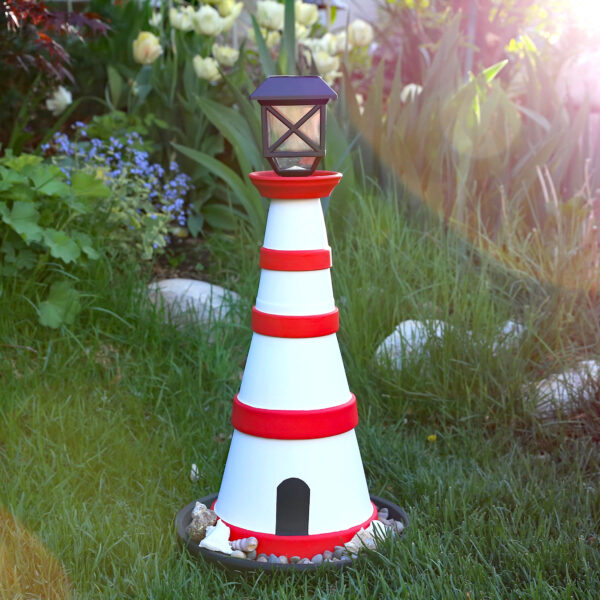
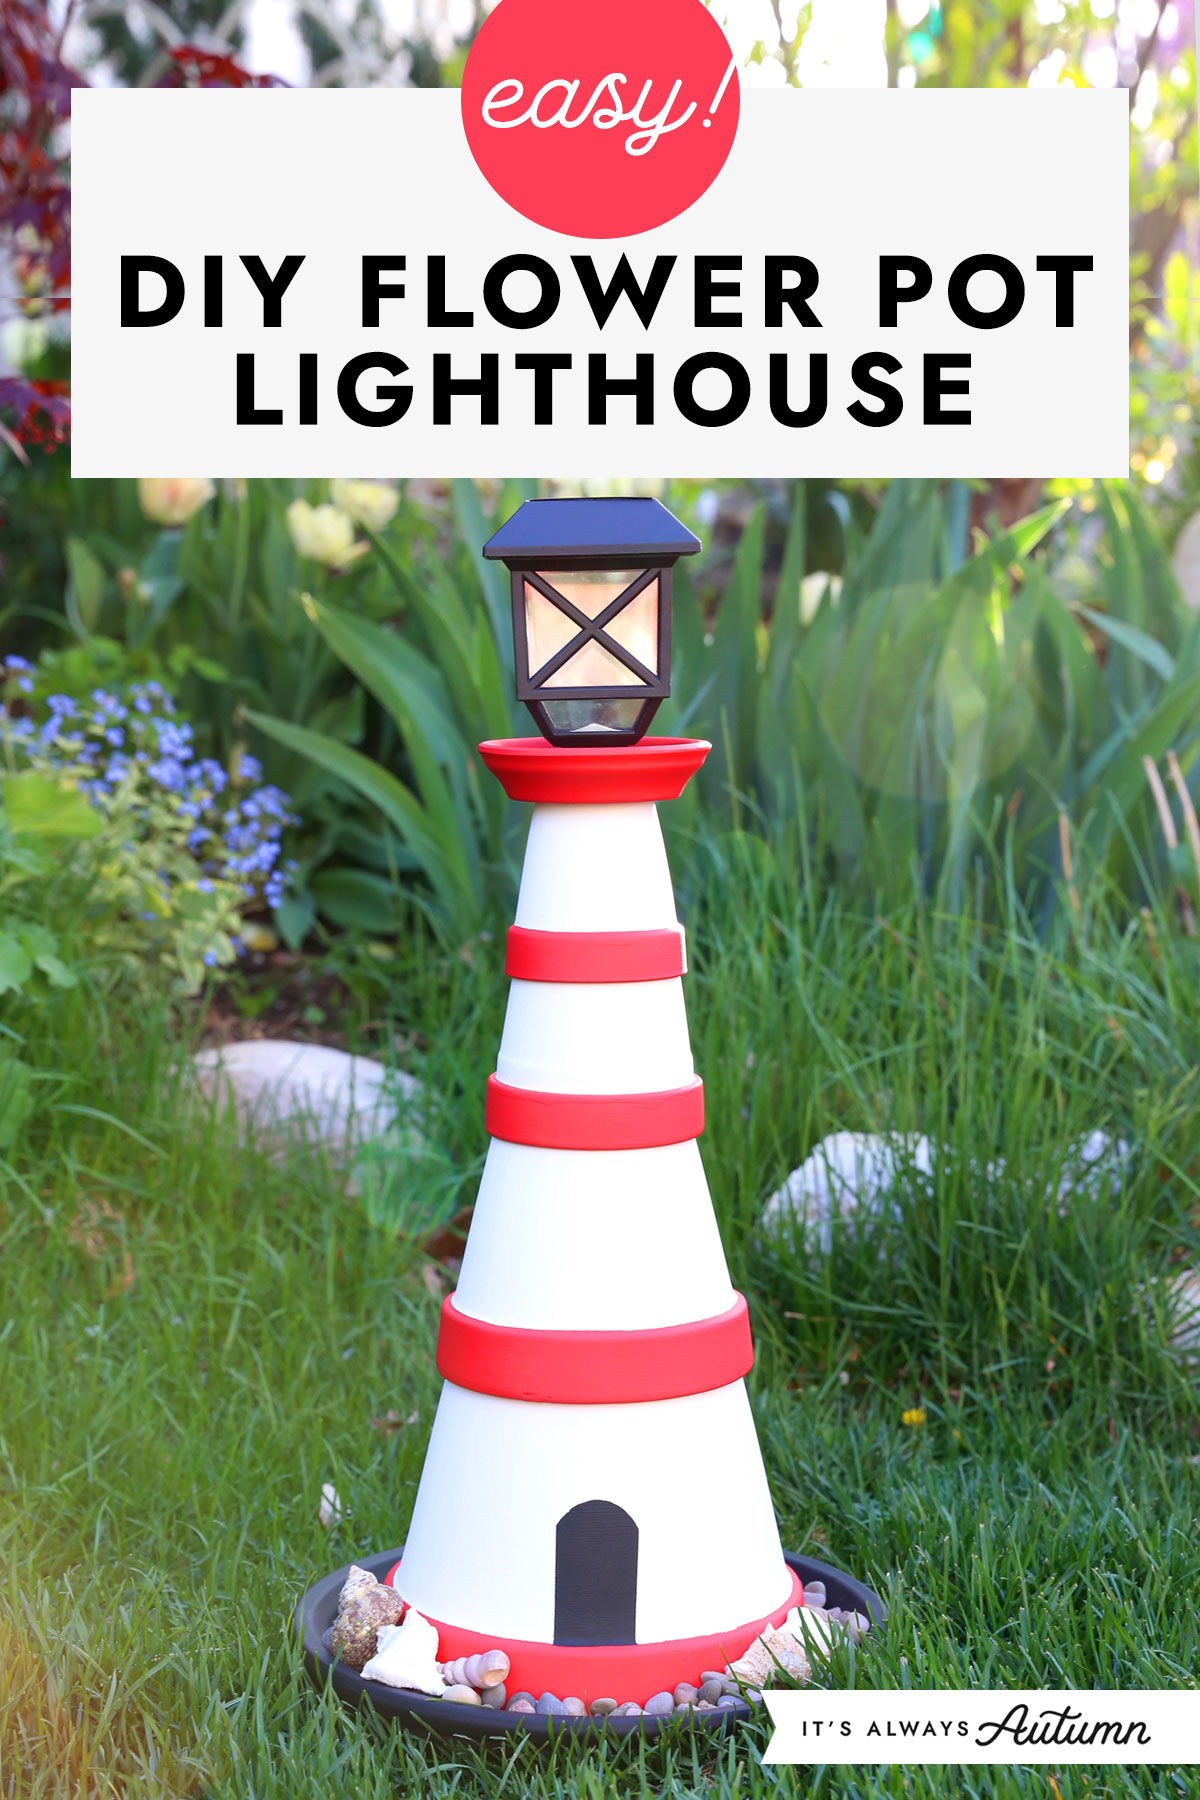
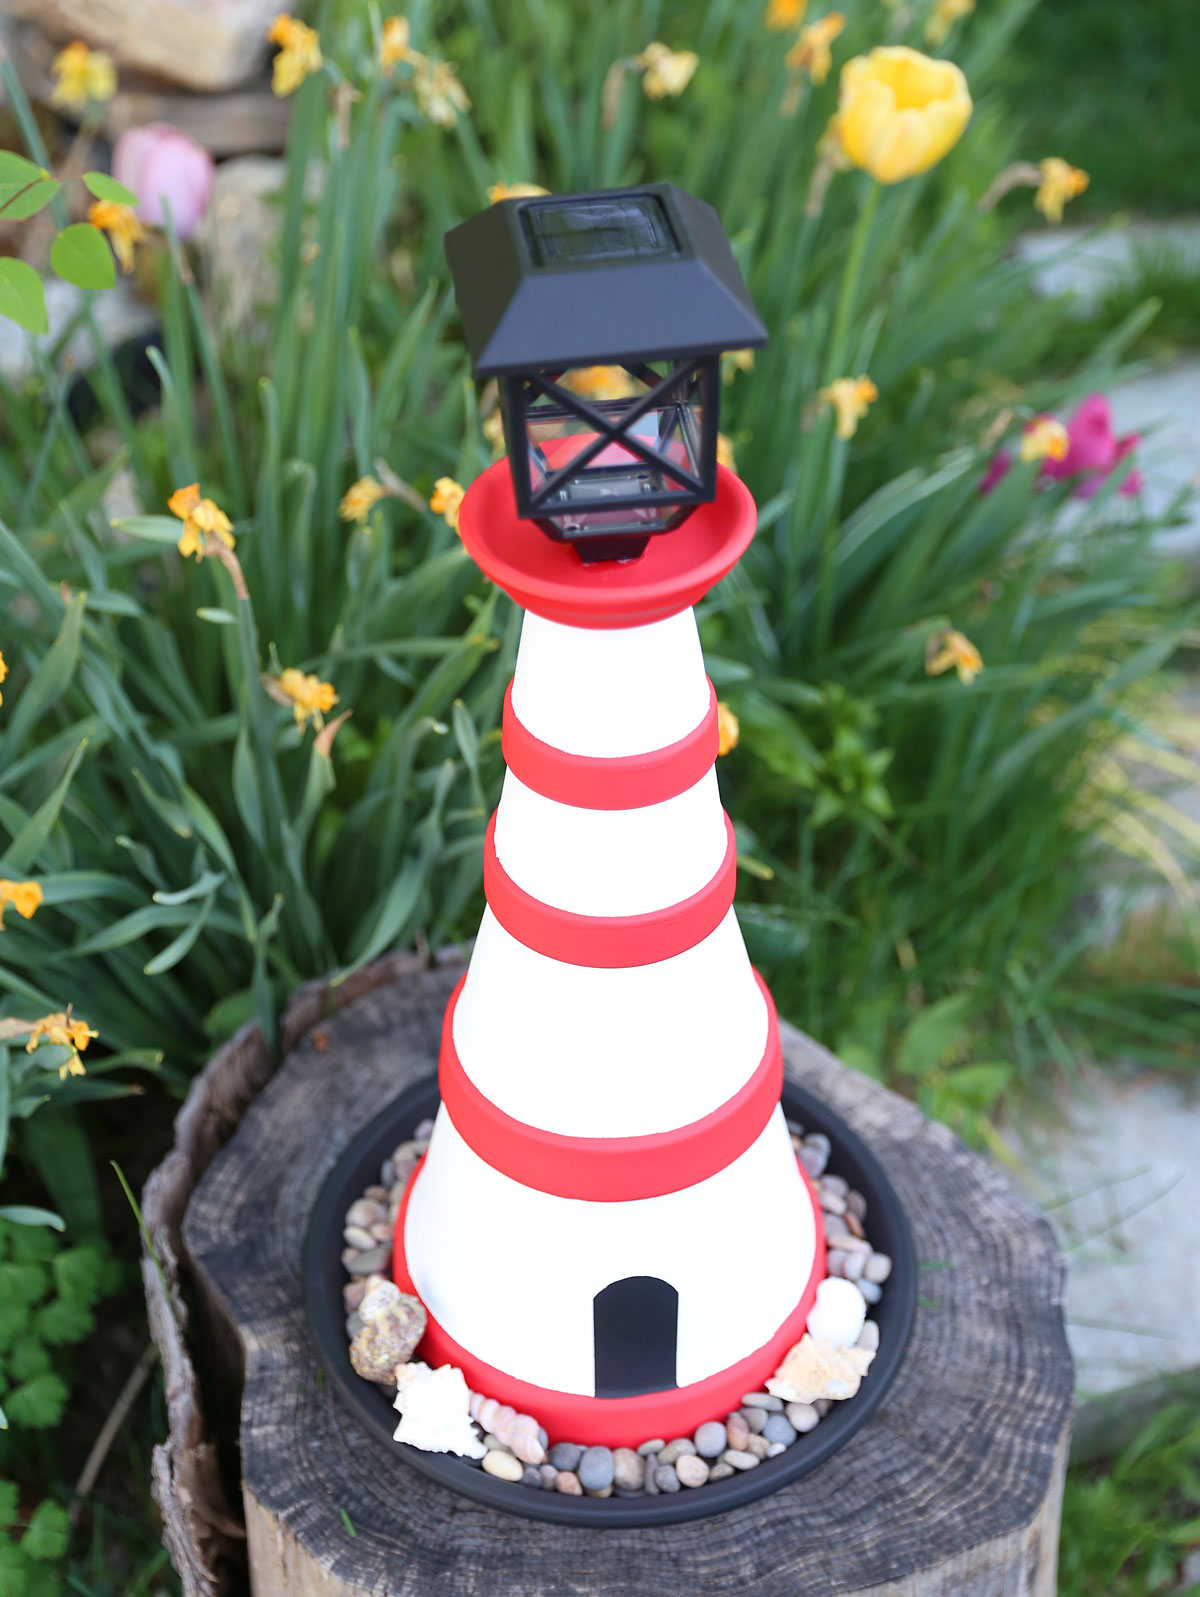
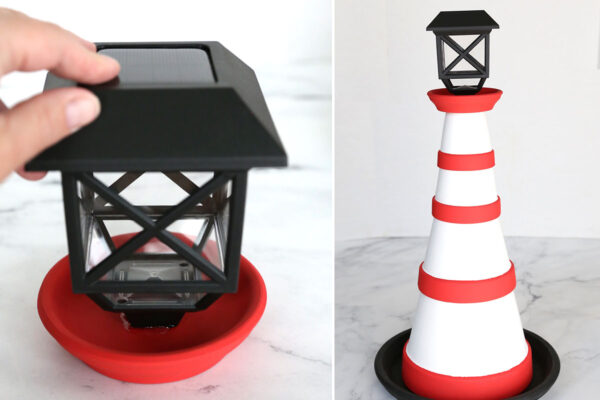
This DIY lighthouse is very easy to put together! Just paint three or four terra cotta pots, stack them together, and top with a solar light. I glued everything together to make sure it would be sturdy and it looks so cute out in the yard. The solar light automatically turns on when it gets dark out making it look even more like a light house.
DIY Lighthouse Supplies
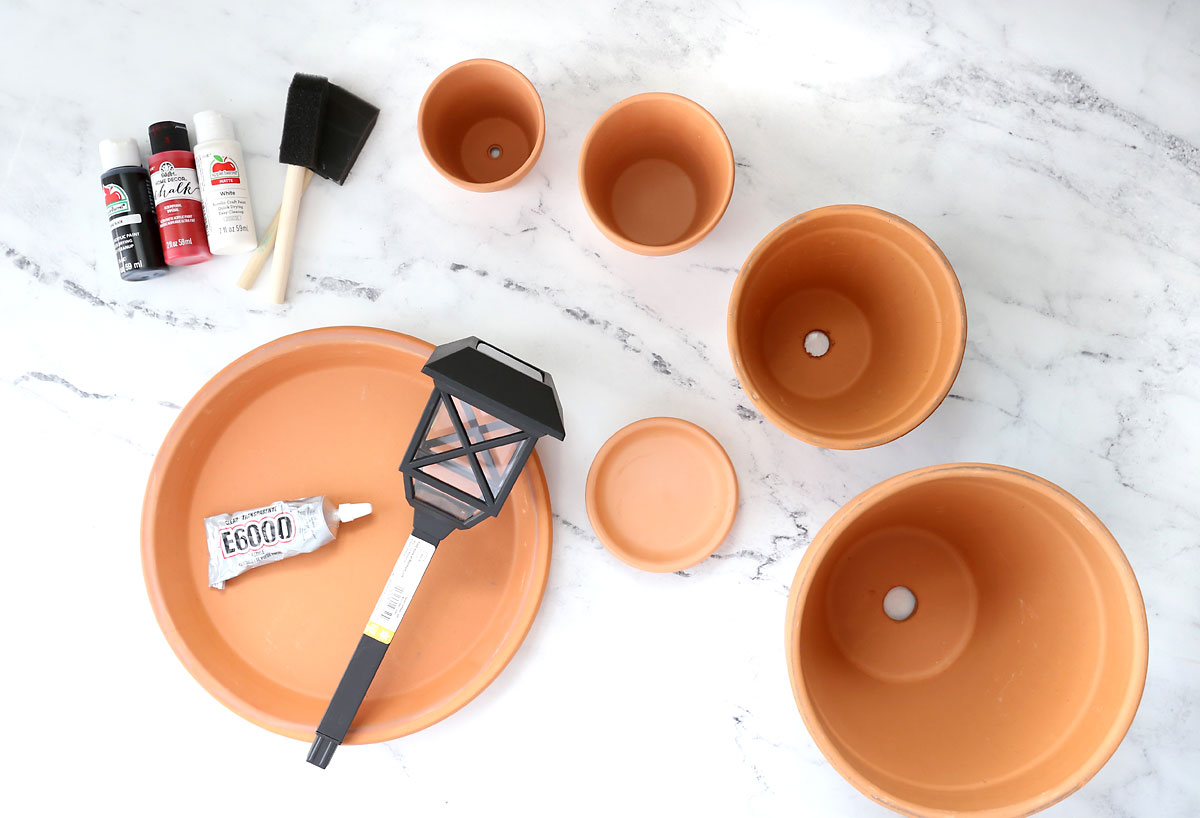
Here’s what you’ll need to make your own flower pot lighthouse:
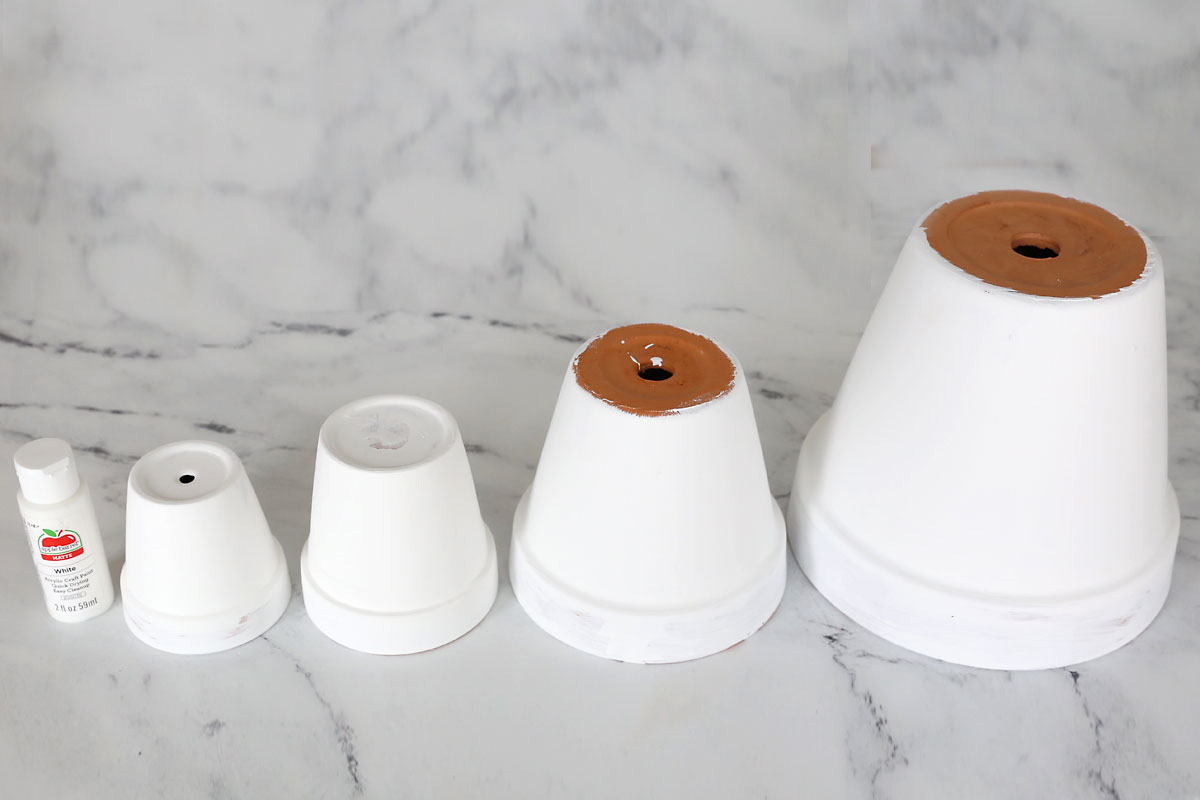
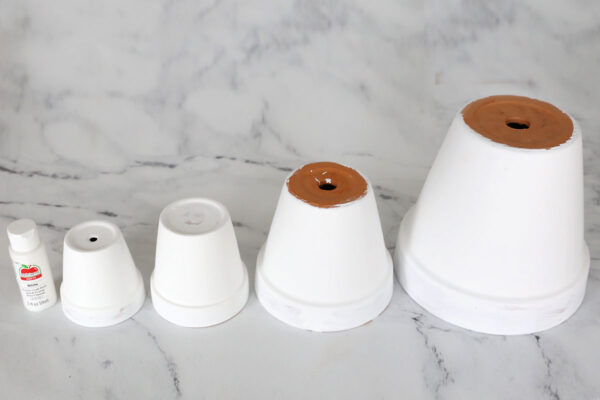
- Terra cotta flower pots in sizes that stack. I got my pots at Hobby Lobby and they are 8.5 inches, 6.5 inches, 4.5 inches, and 3.5 inches in diameter. I used four pots but you can use more or less as desired. Check craft stores and home improvement stores for pots.
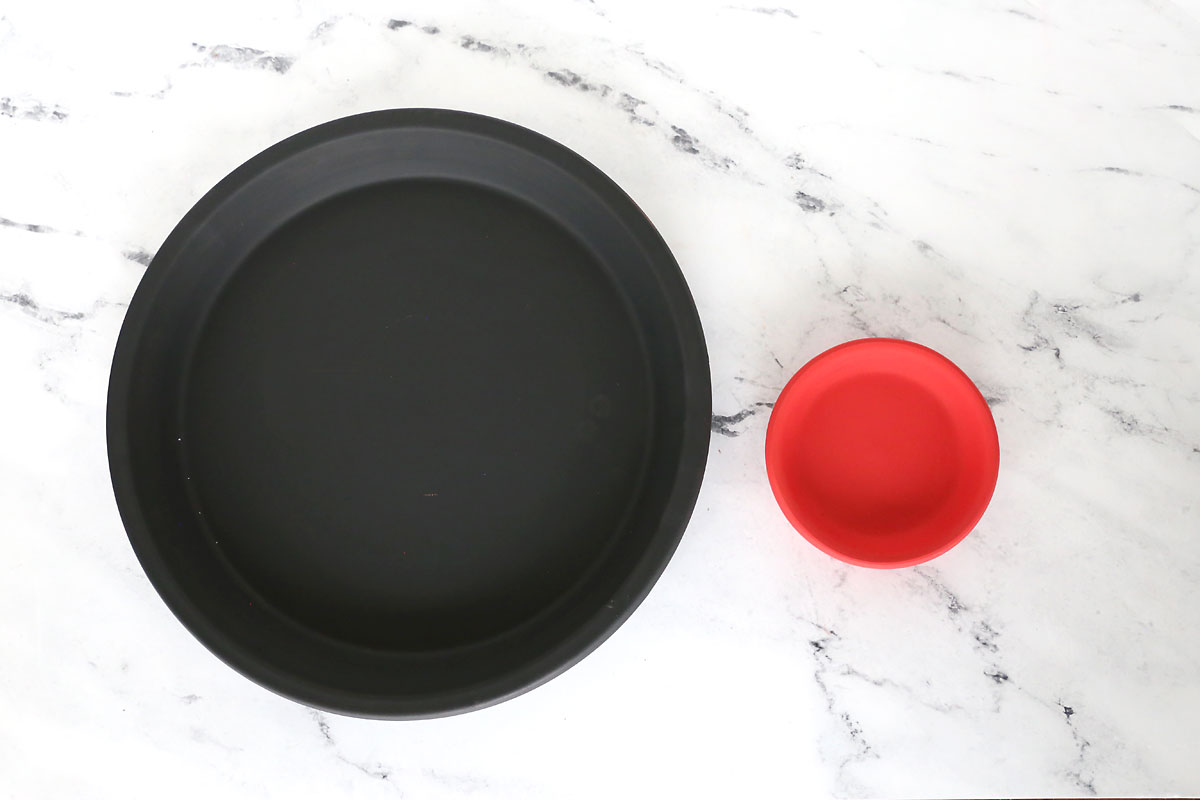
- Terra cotta saucers. You’ll need one saucer that is larger than your biggest pot as well as a small saucer. Mine are 11 inches and 4.25 inches in diameter.
- Acrylic paint and paintbrushes. I used cheap craft paint from Walmart and foam paintbrushes. I also used a smaller paint brush to paint on the door.
- E6000 or other strong glue.
- Solar Light + a way to cut off the stem. I used a $5 solar light from Walmart. Some solar lights have stems that will easily snap off. I used a small hacksaw to cut off the stem.
- Masking tape (optional) for cleaner paint lines.
- Poly Sealant spray (optional)
How to make a DIY Lighthouse
This is a fun project you can complete in about an hour. You do need to paint all the pots but craft paint dries quickly and you can speed up the drying process with a hair dryer if you’d like. Here’s how to make it:
Remove the Stem from the Solar Light
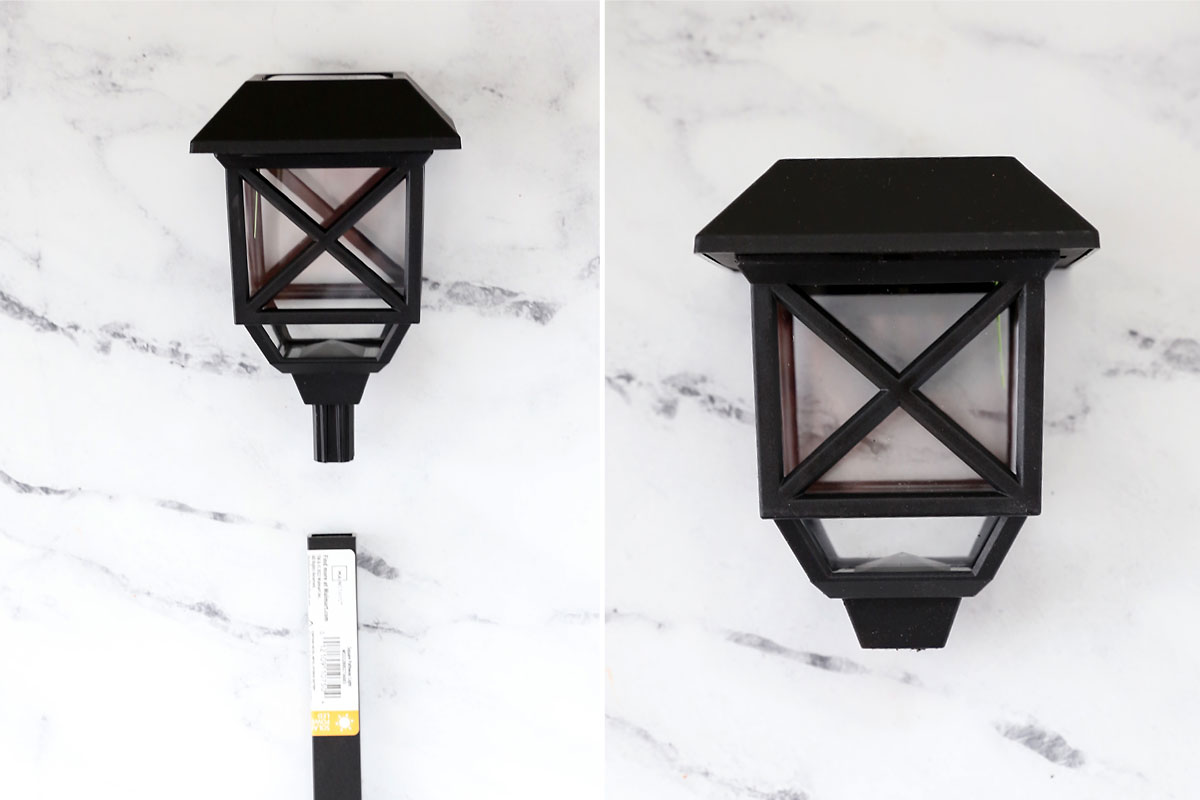
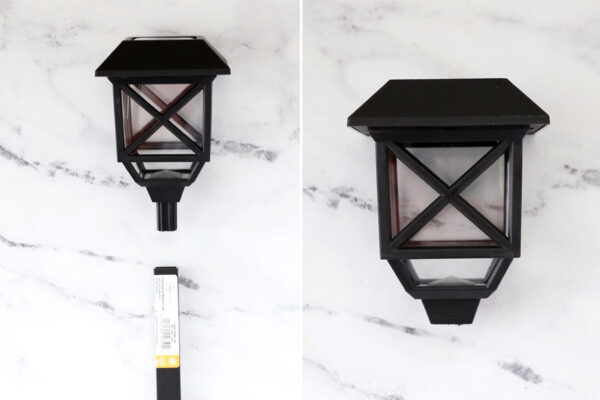
The first step is to remove the stem from the solar light so it can sit flush on top of your lighthouse. Some solar lights have stems that can be snapped off pretty easily. I was able to pull most of the stem off my light, but there was still about an inch long section of plastic that I wanted to remove. So I used a small hacksaw to cut it off.
NOTE: If you would like, you can spray the entire lighthouse with a poly sealant to help it stand up to the elements betters. Cover the solar light with a plastic bag and remove any pebbles or seashells. Then give the lighthouse one to three light coats of a spray poly sealant, allowing it to dry in between.
Flower Pot Lighthouse
Supplies
- 4 Terra Cotta Pots that will stack; see note
- 2 Terra Cotta Saucers one larger than the biggest pot; one small
- Acrylic Paint white, red, black
- Paintbrushes
- Strong glue like E6000
- Solar Light and a way to cut off the stem
- Masking tape optional
- Poly Sealant spray optional
Want more project ideas? Sign up to get my favorite easy crafts and recipes straight to your inbox!
Instructions
- Remove the stem from the solar light. You may be able to snap the stem off, or you may need to use a small hacksaw to cut it off.
- Paint all the pots white, giving them two coats for good coverage.
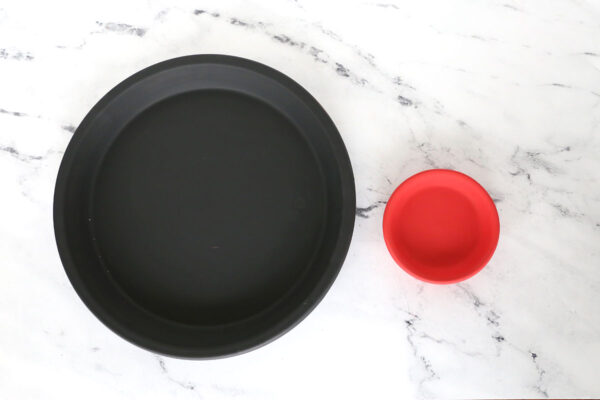
- Paint the large saucer black and the small saucer red.
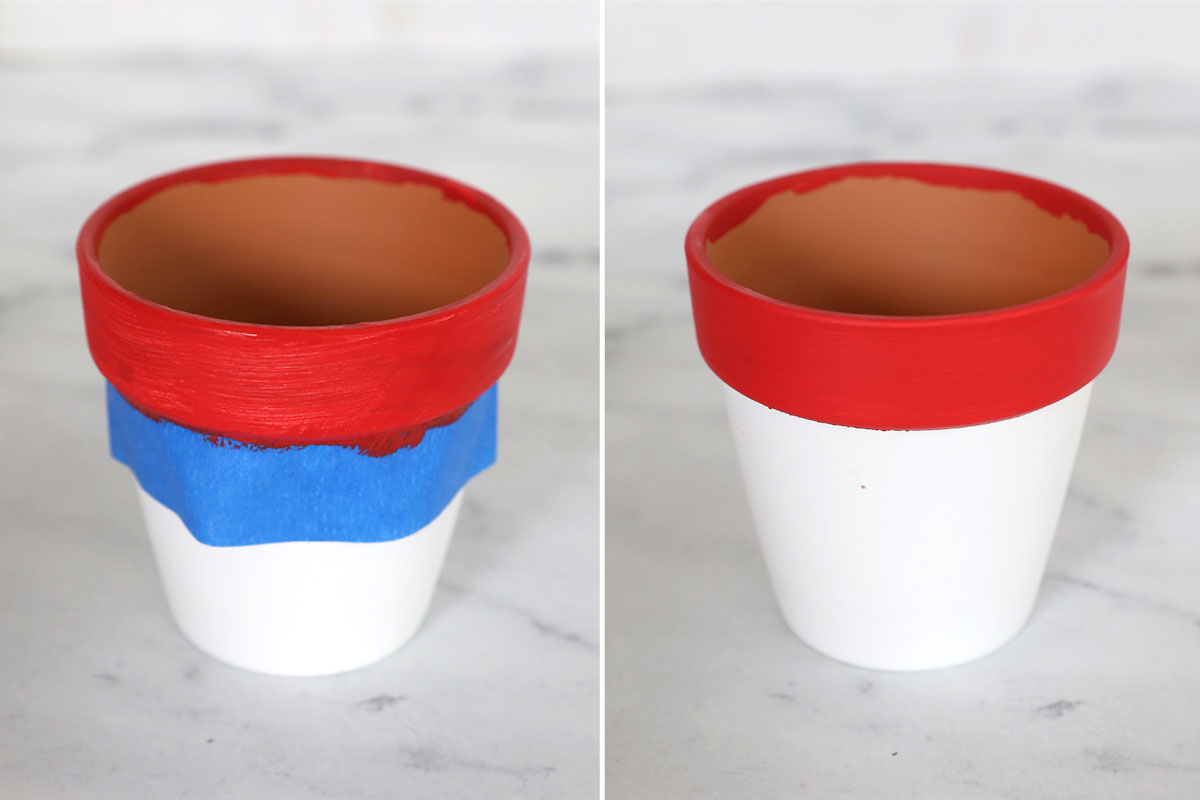
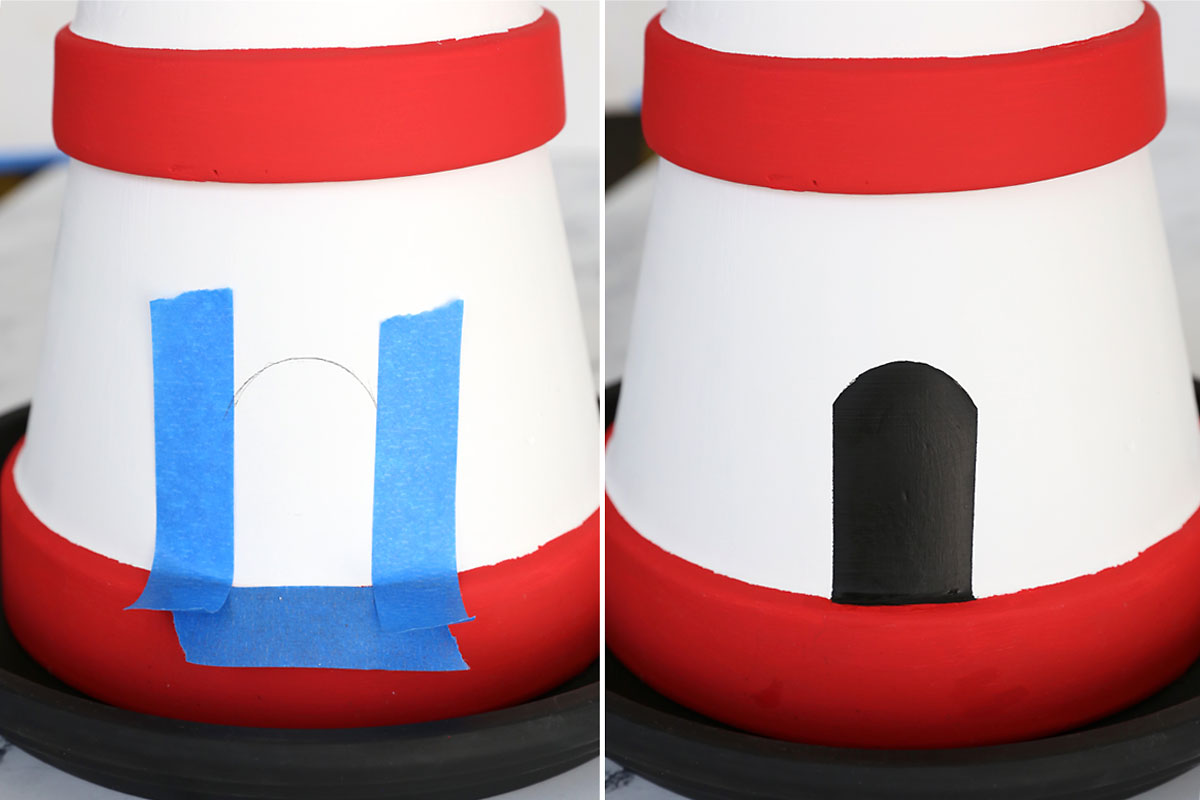
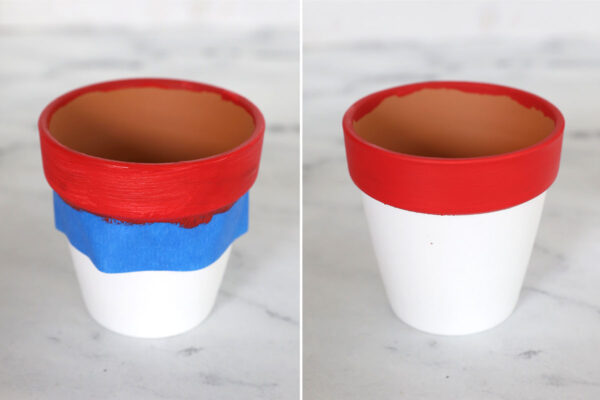
- When the pots are dry, paint the rims red, taping them off if desired for cleaner lines.
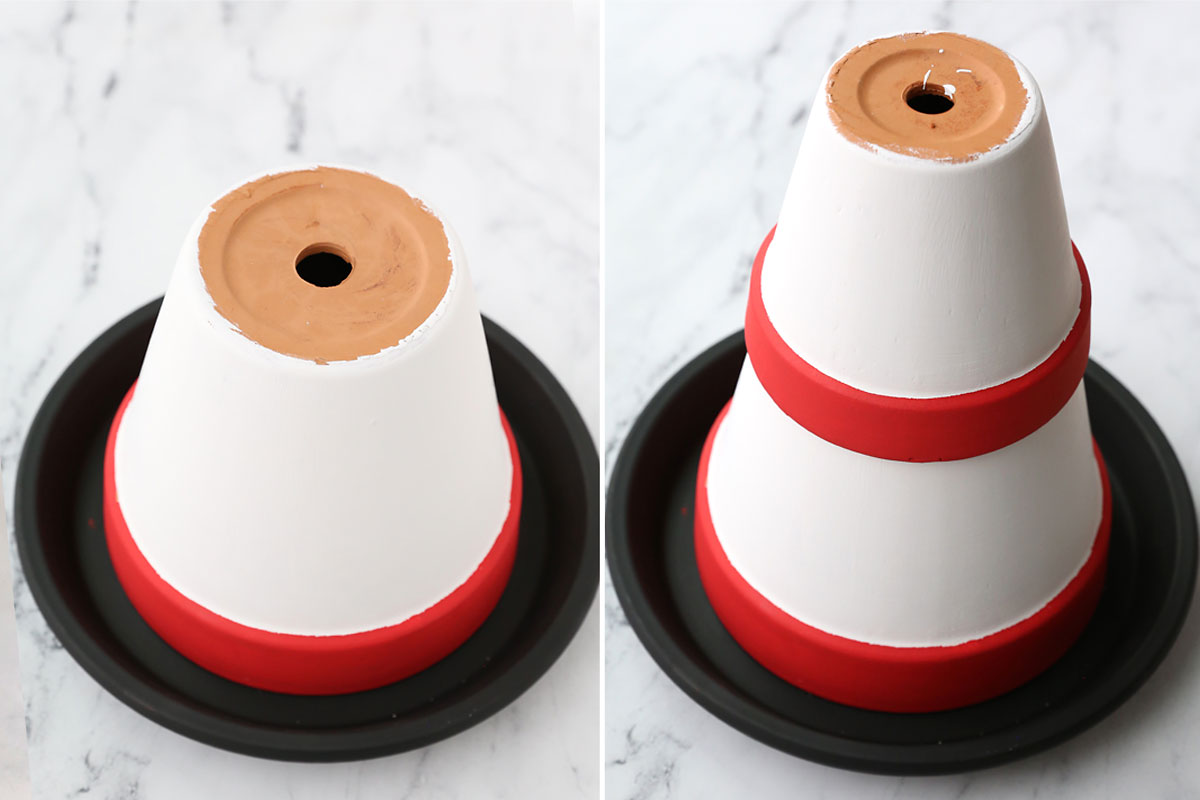
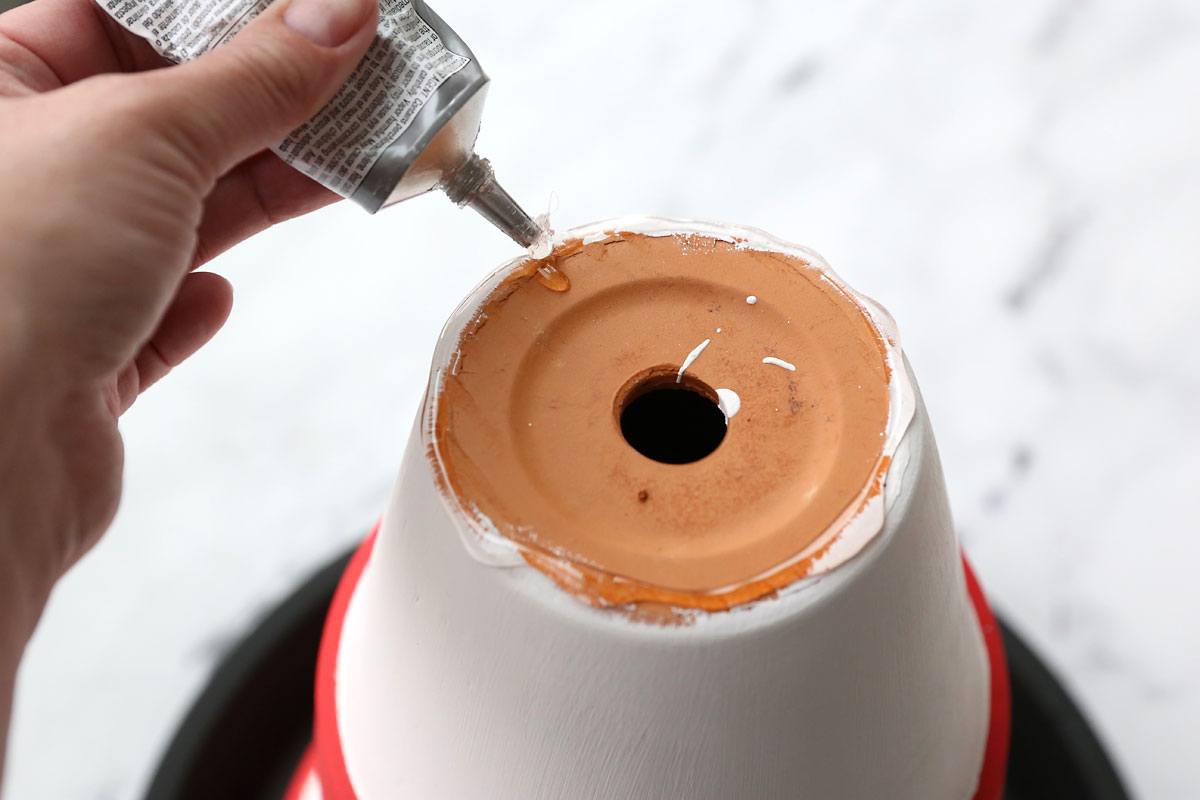
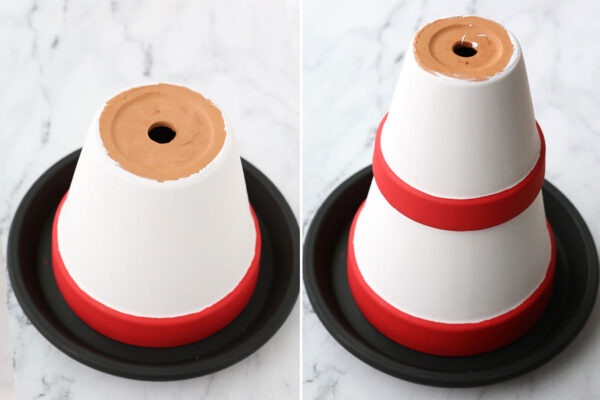
- Glue the largest pot upside down on the largest saucer. Then glue the next largest pot on top of the first pot.
- Continue gluing on pots until all four are glued together.
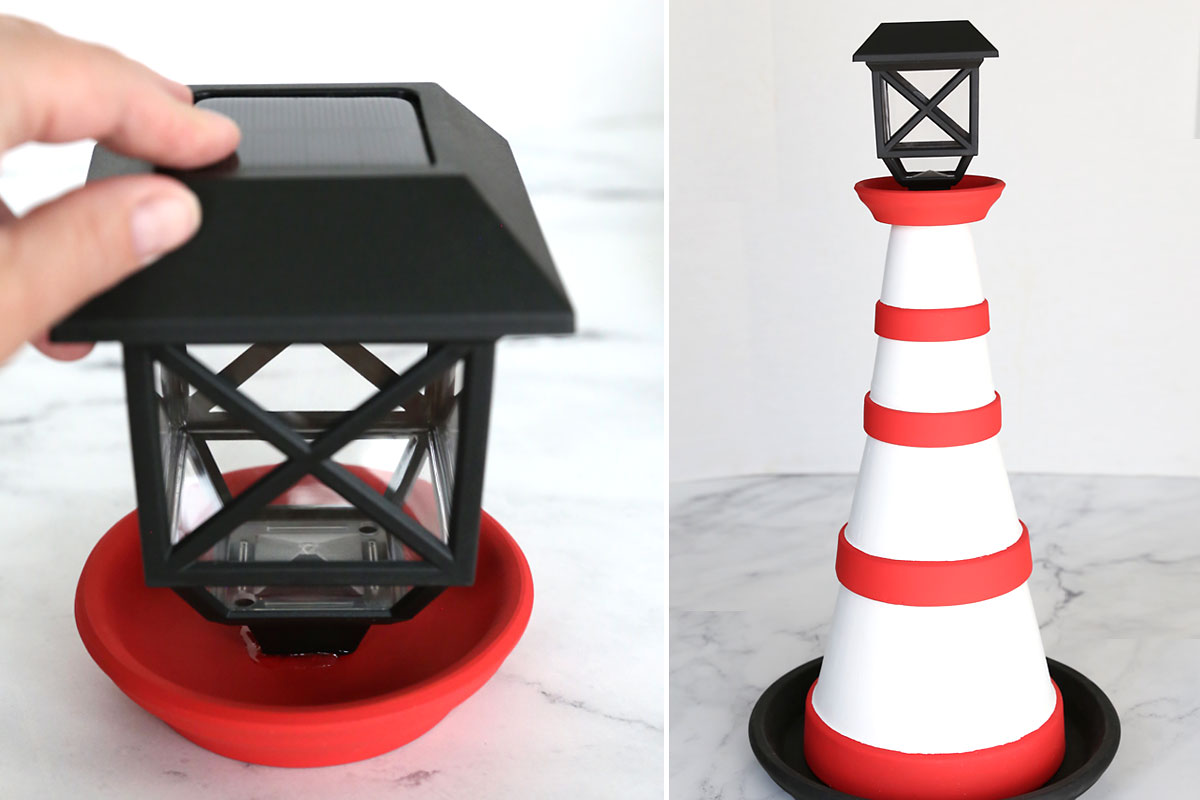
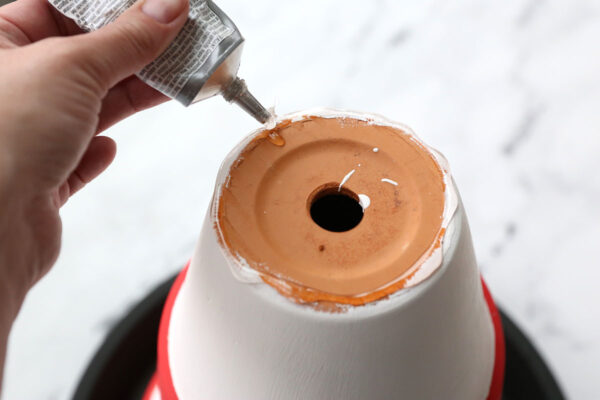
- Glue the top of the solar light to the small saucer. You may need to hold it in place for a few minutes for the glue to set. Then glue the small saucer on top of the smallest pot.
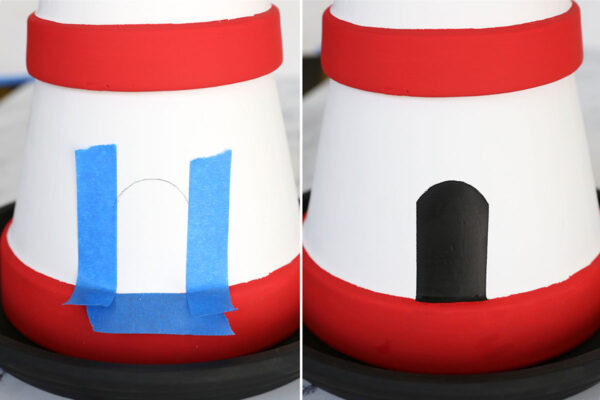
- Paint on any details, such as a door and windows. Optional: cover the light with a baggie and spray the entire lighthouse with a sealant.
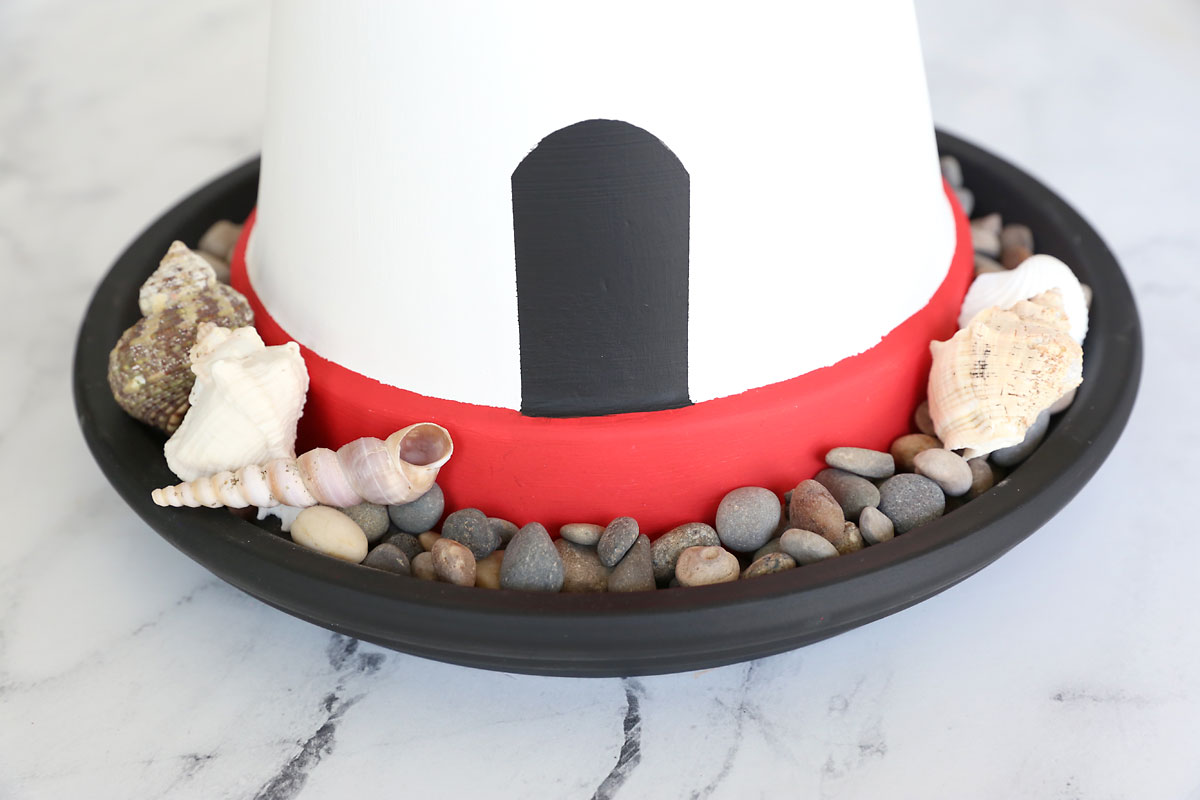
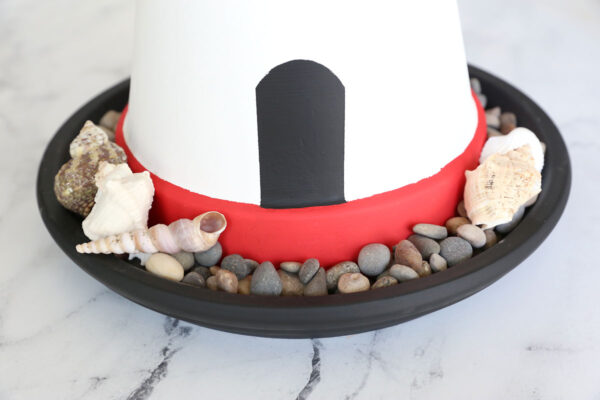
- Fill the saucer with pebbles and seashells if desired.



Leave a Comment