
Every year I think I’m going to buy myself a pretty Mother’s Day necklace personalized with my kids’ names, but I never seem to get around to it. This year I thought I’d try a couple DIY photo jewelry ideas instead, so today I’m sharing this cute DIY photo album necklace. Next week I’ll be sharing a photo bracelet.
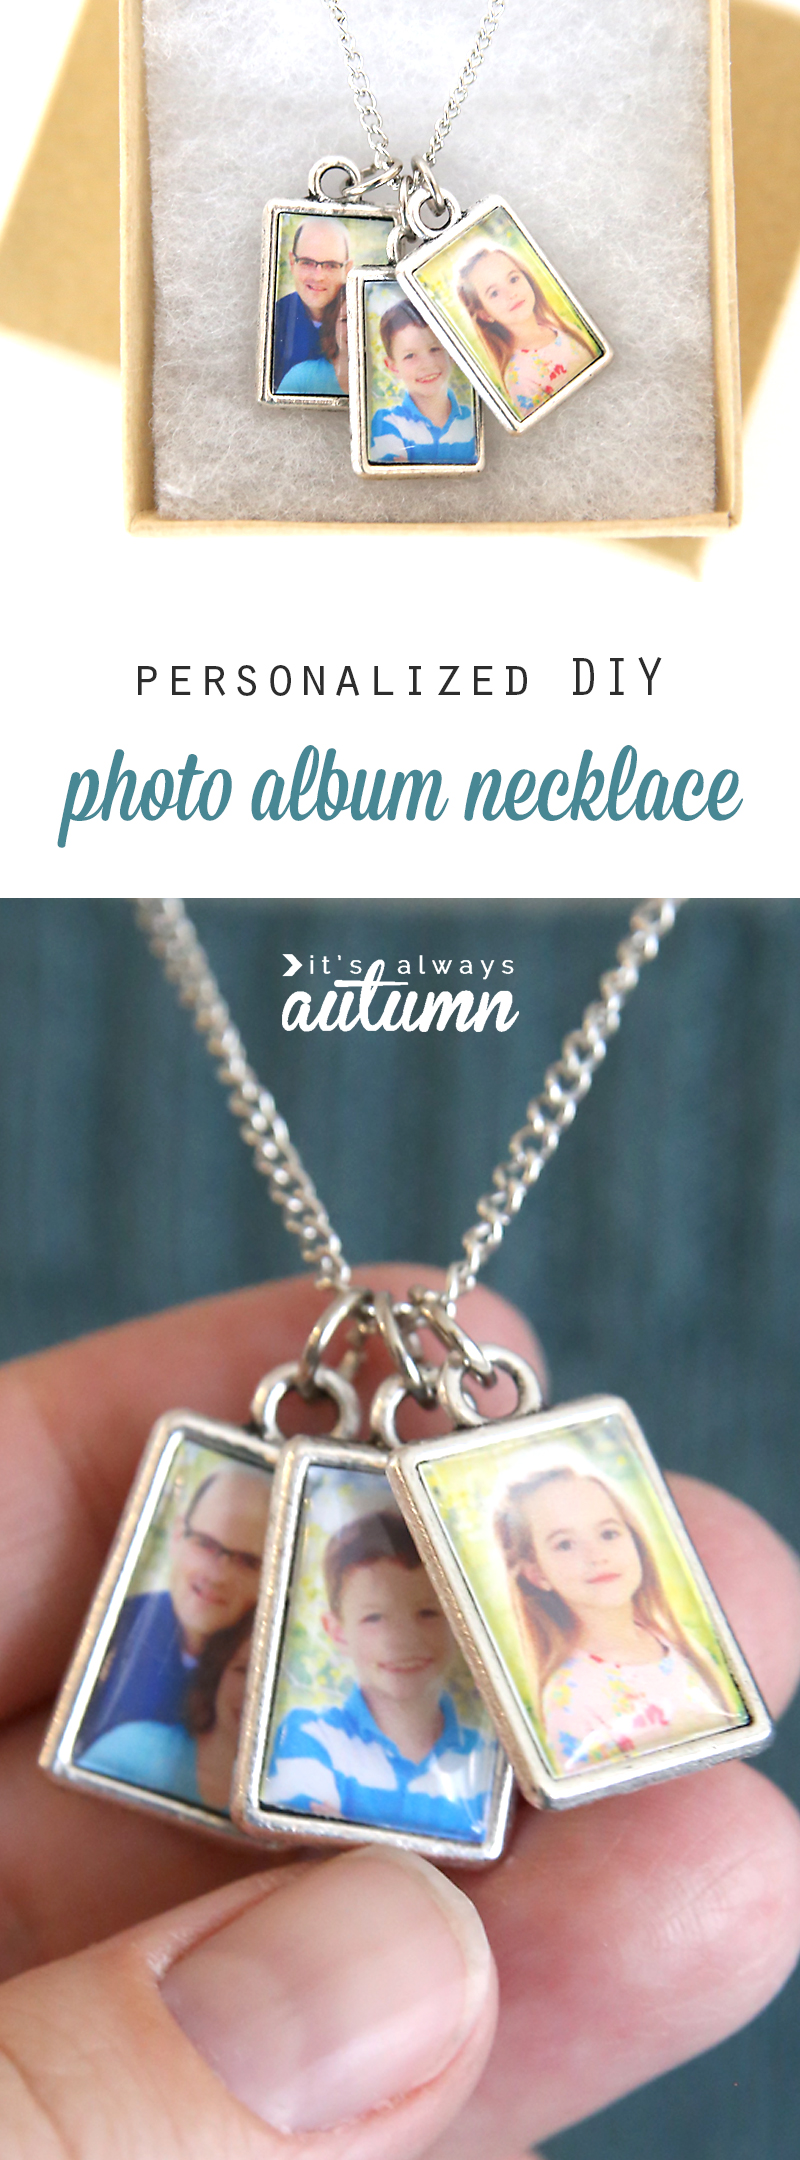
I kind of can’t believe I’ve never made a photo necklace before because they are so dead easy to put together. You can find lots of options for photo necklaces on Amazon: lockets, circle pendants, and this photo album necklace (which is what I used). <—-affiliate links
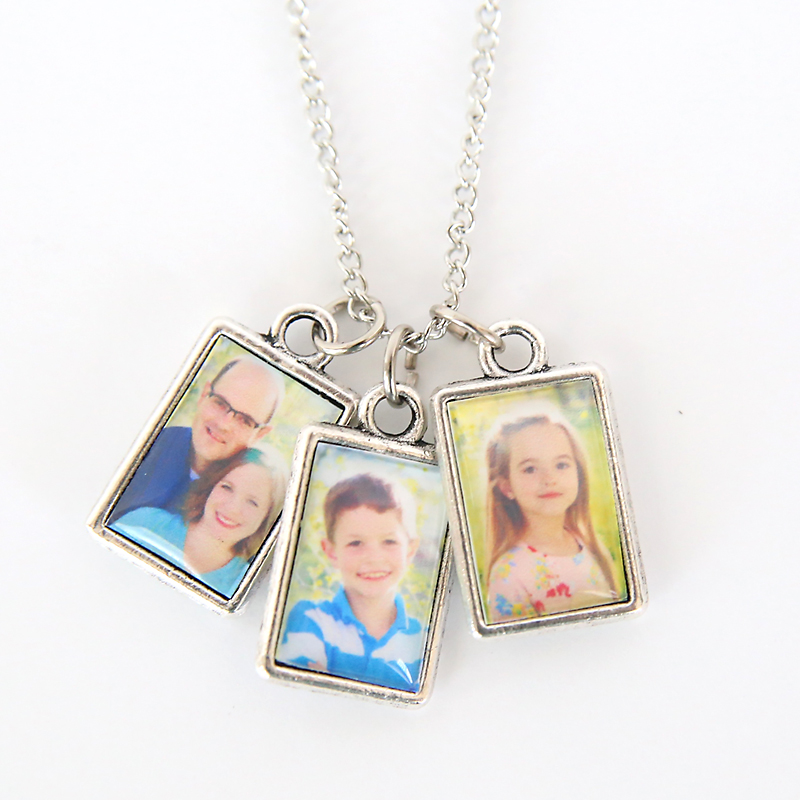
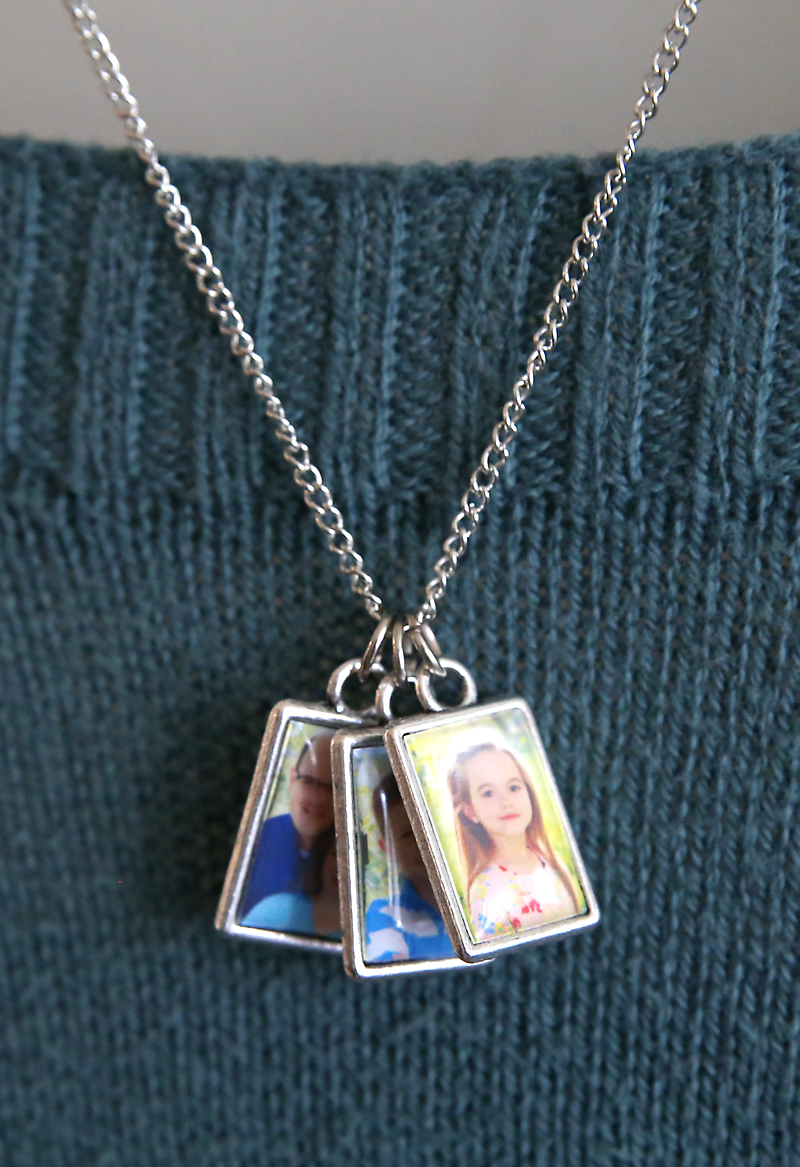
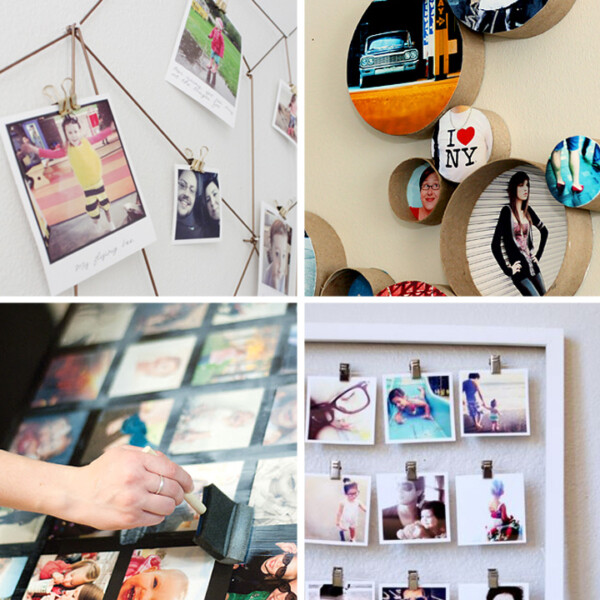
The process for making them are all pretty similar, although the kit I ordered seemed to be the easiest way to go since it included everything you need. It wasn’t the cheapest option, but at $22 shipped I thought I’d give it a try. I really like it! The charms are pretty small, which makes it easy to wear all three at once and not have the necklace feel bulky. Since they’re double-sided, I was able to fit a photo of each of my 5 kids on it as well as one of me and my husband. Perfect!
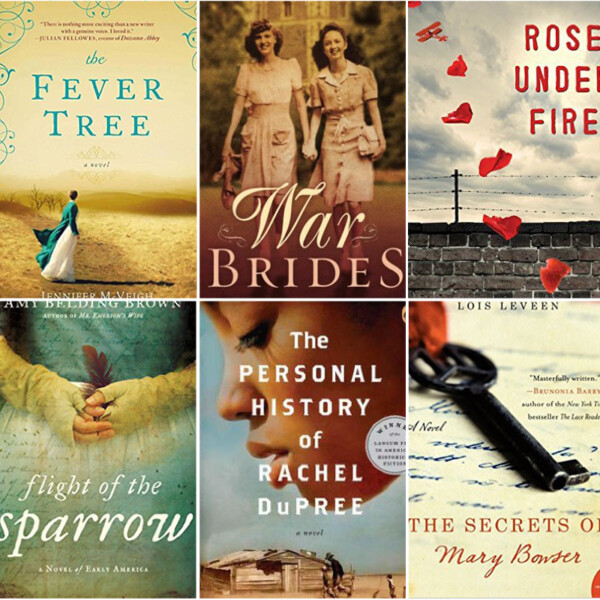
Click here to find 40 different handmade photo crafts + photo gift ideas
How to make a photo album necklace
Here’s a quick video to show you how easy it is to make a DIY photo album necklace:
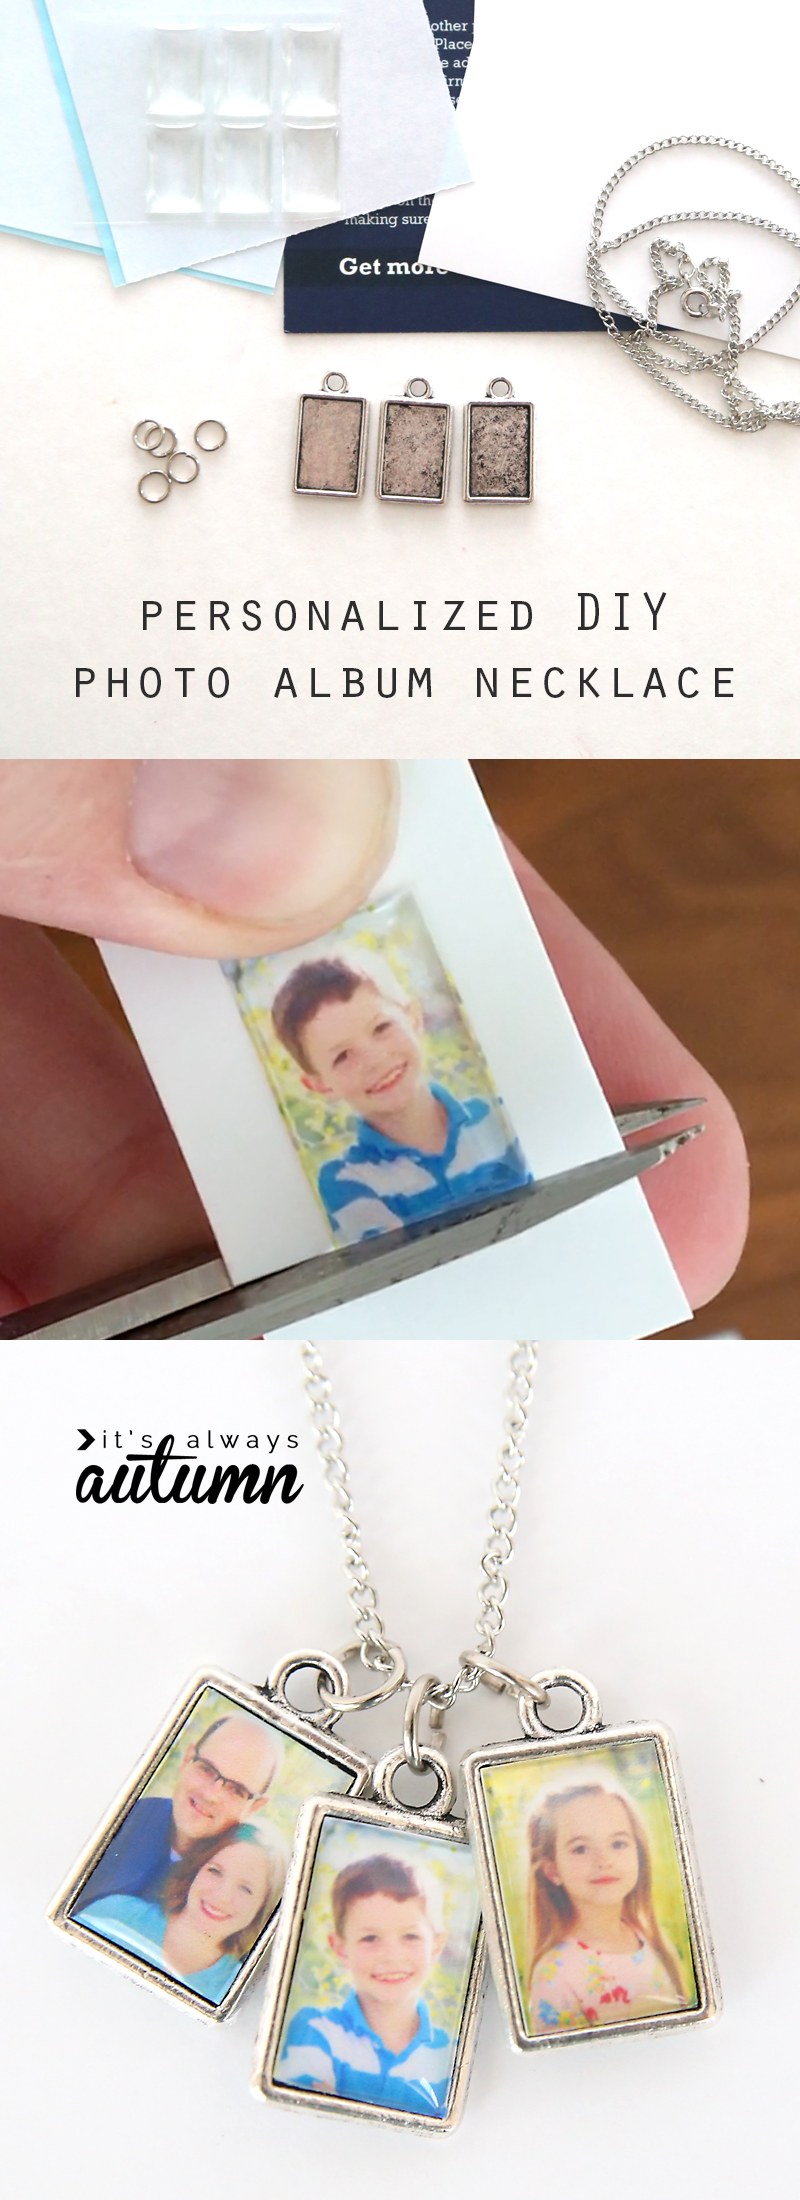
Here’s what’s included in the kit:
2 pieces of 4×6 photo paper
6 Klear-Itz gems
2 adhesive sheets
3 double sided charms
necklace + jump rings for adding charms (not shown in photo below)
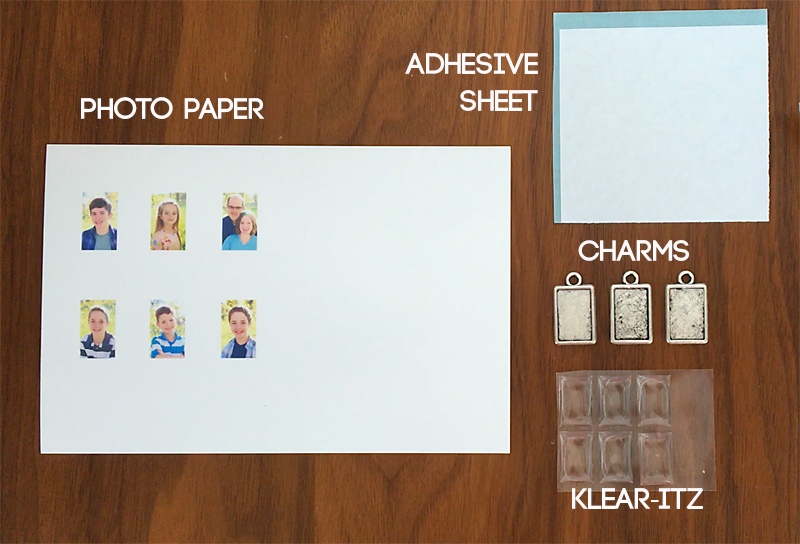
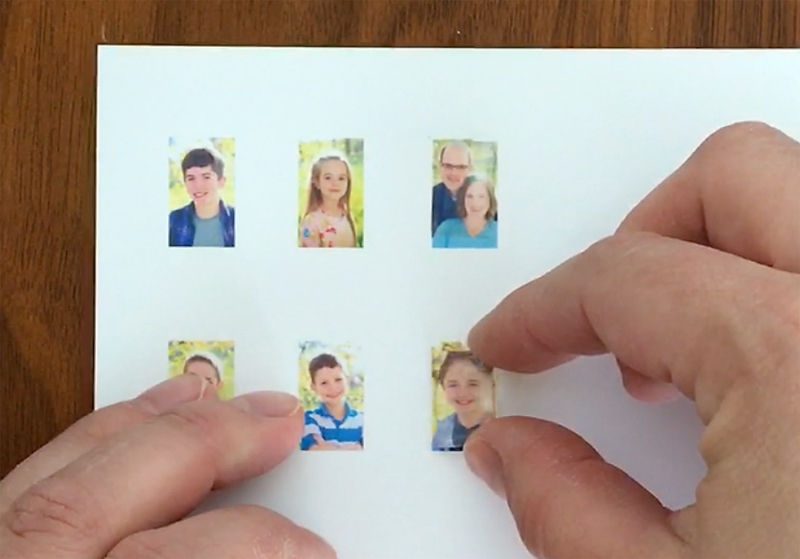
You also receive a download code for software you can use to resize your photos. I found it pretty difficult to use, however, so I just resized my photos using Photoshop Elements and then printed them out on the included photo paper. (If you have Elements but don’t know how to resize things, check back next week!) I imagine you could also use PicMonkey for this step.
Once your photos are resized and printed, you just pull a self-adhesive Klear-Itz gem off the backing and place it over a photo. I made sure to press down hard and rub from the back to make sure it was well adhered.
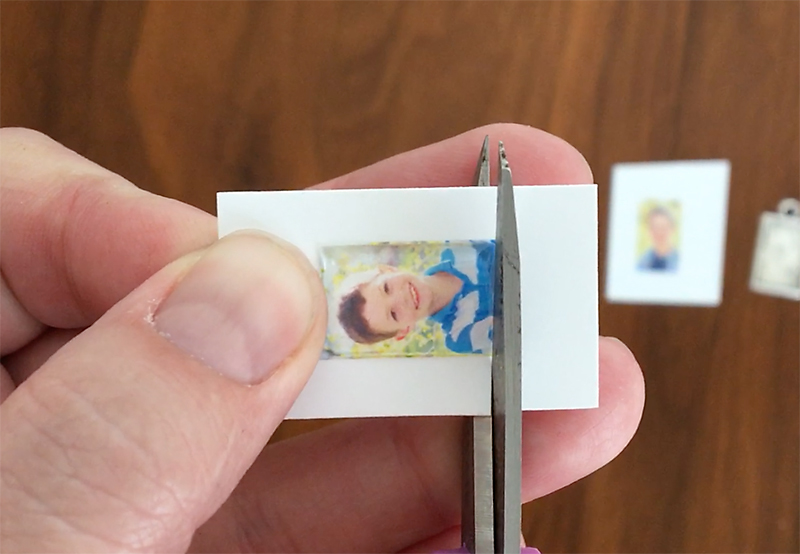
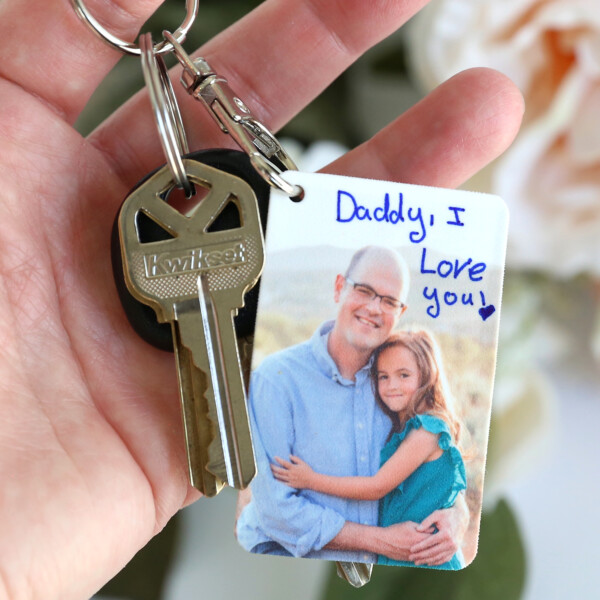
Once the Klear-Itz were on all 6 photos, I put one of the adhesive sheets on the back of the photos. Then I cut them apart and trimmed closely around each Klear-Itz gem.
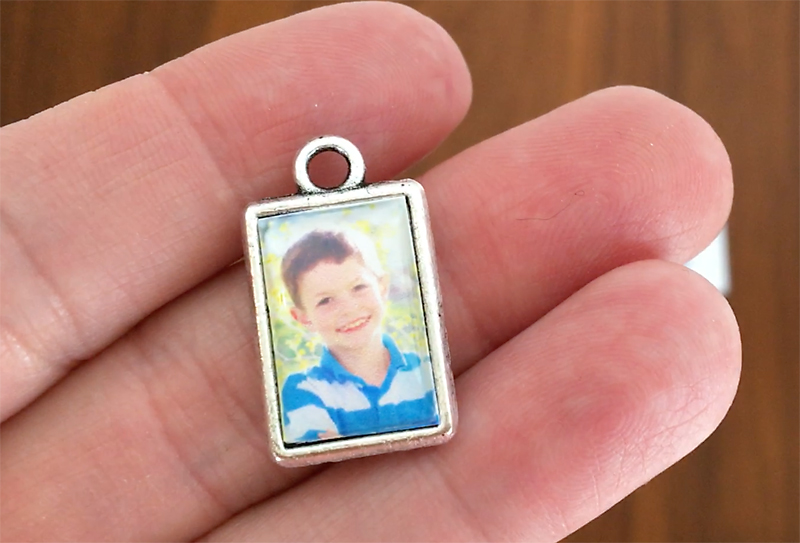
Then I pulled the backing off the adhesive and pressed the photo into a charm.
Three double-sided charms means this necklace can accommodate 6 photos.
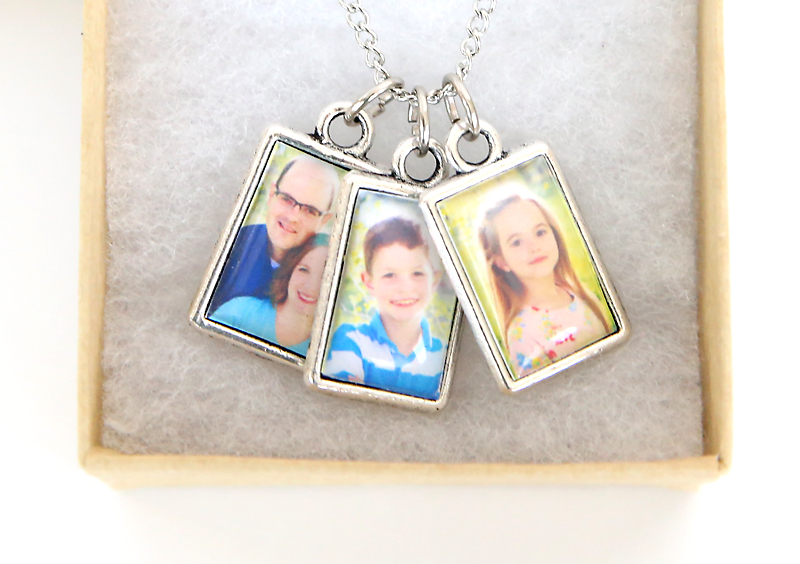
I had my new personalized necklace put together and ready to go in under half and hour! FYI, this post is in no way sponsored by this product, I just tried it out and liked the end result so I thought I’d share. Happy Mother’s Day!
More Mother’s Day gift ideas:


KT Hom says
Awesome video tutorial and handmade gift idea! Thanks for making me smile from ear-to-ear!