
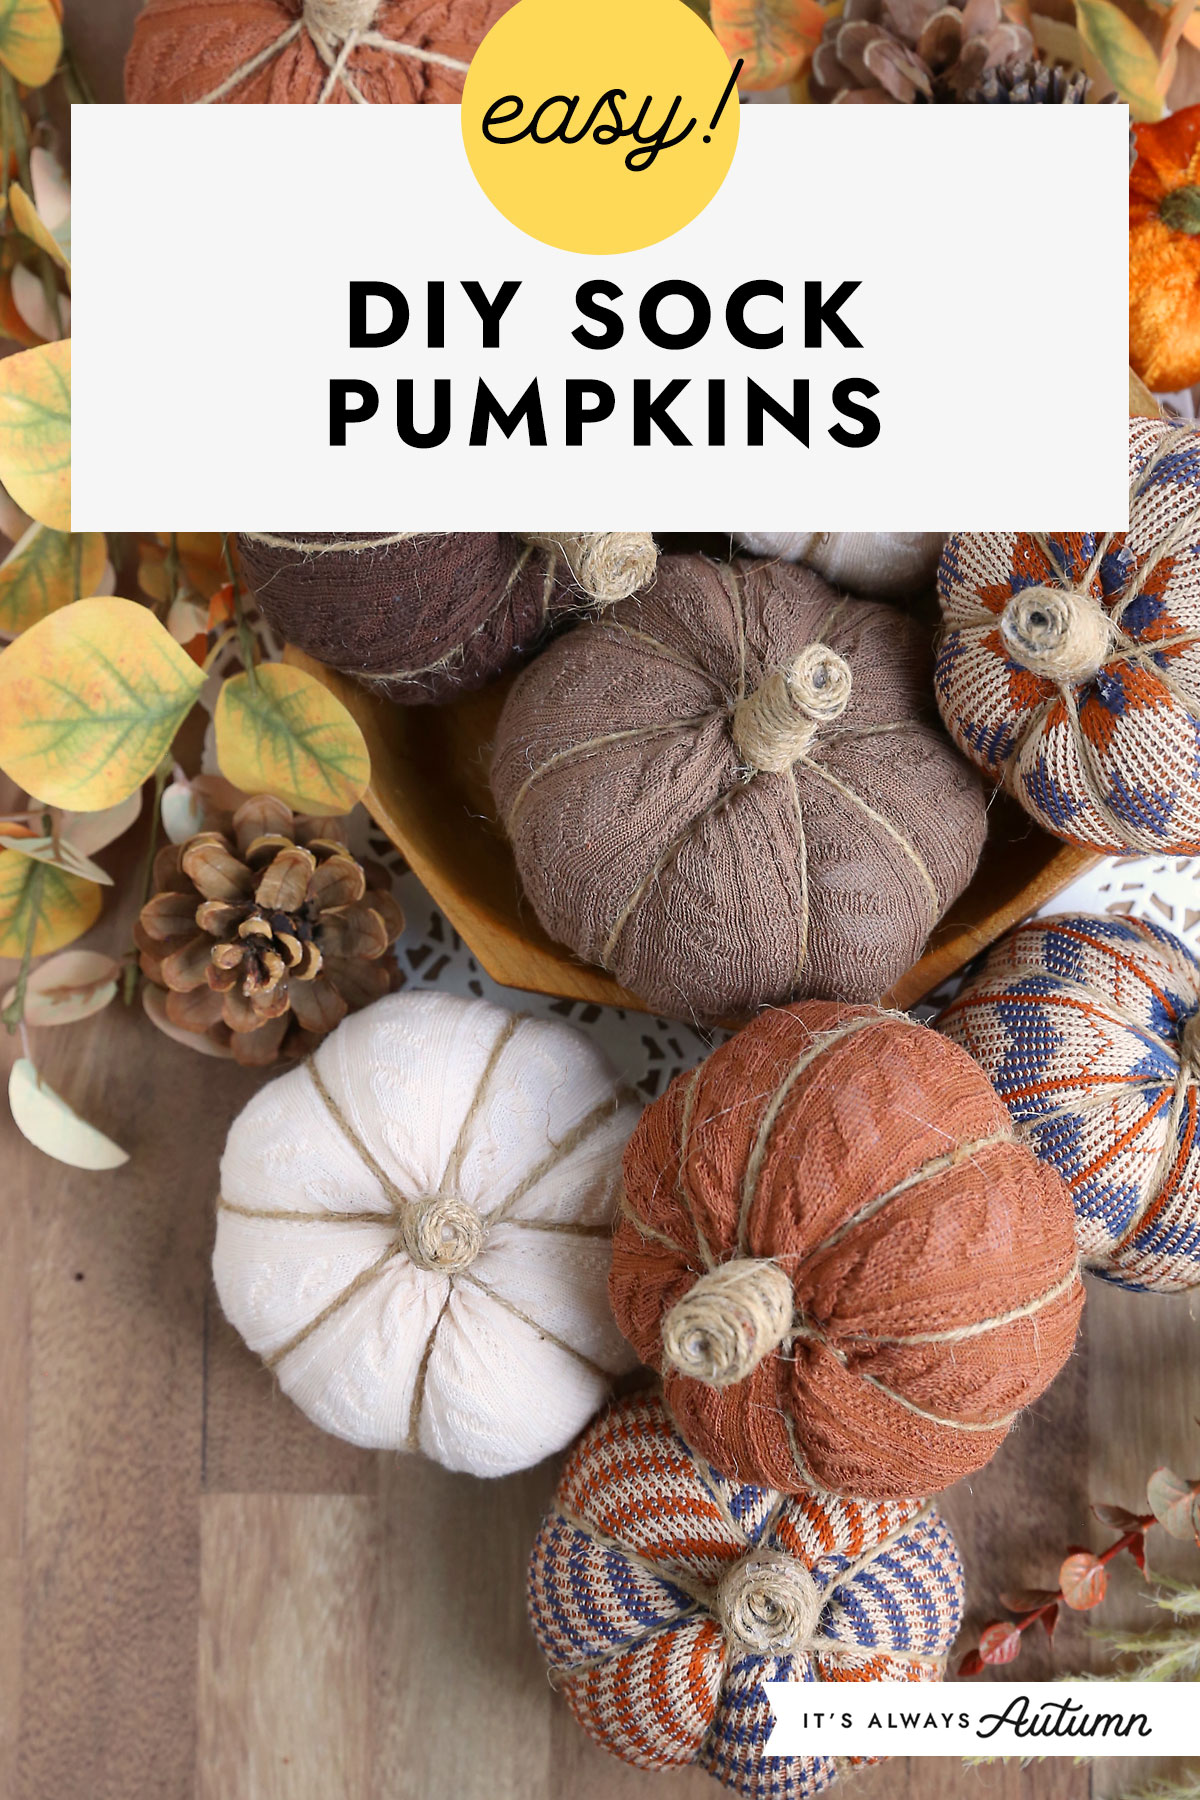
In today’s post: Turn cute patterned socks into adorable little pumpkins perfect for decorating your home for fall. This is an easy fall or Halloween craft you can complete in about ten minutes!
Easy Fall Craft
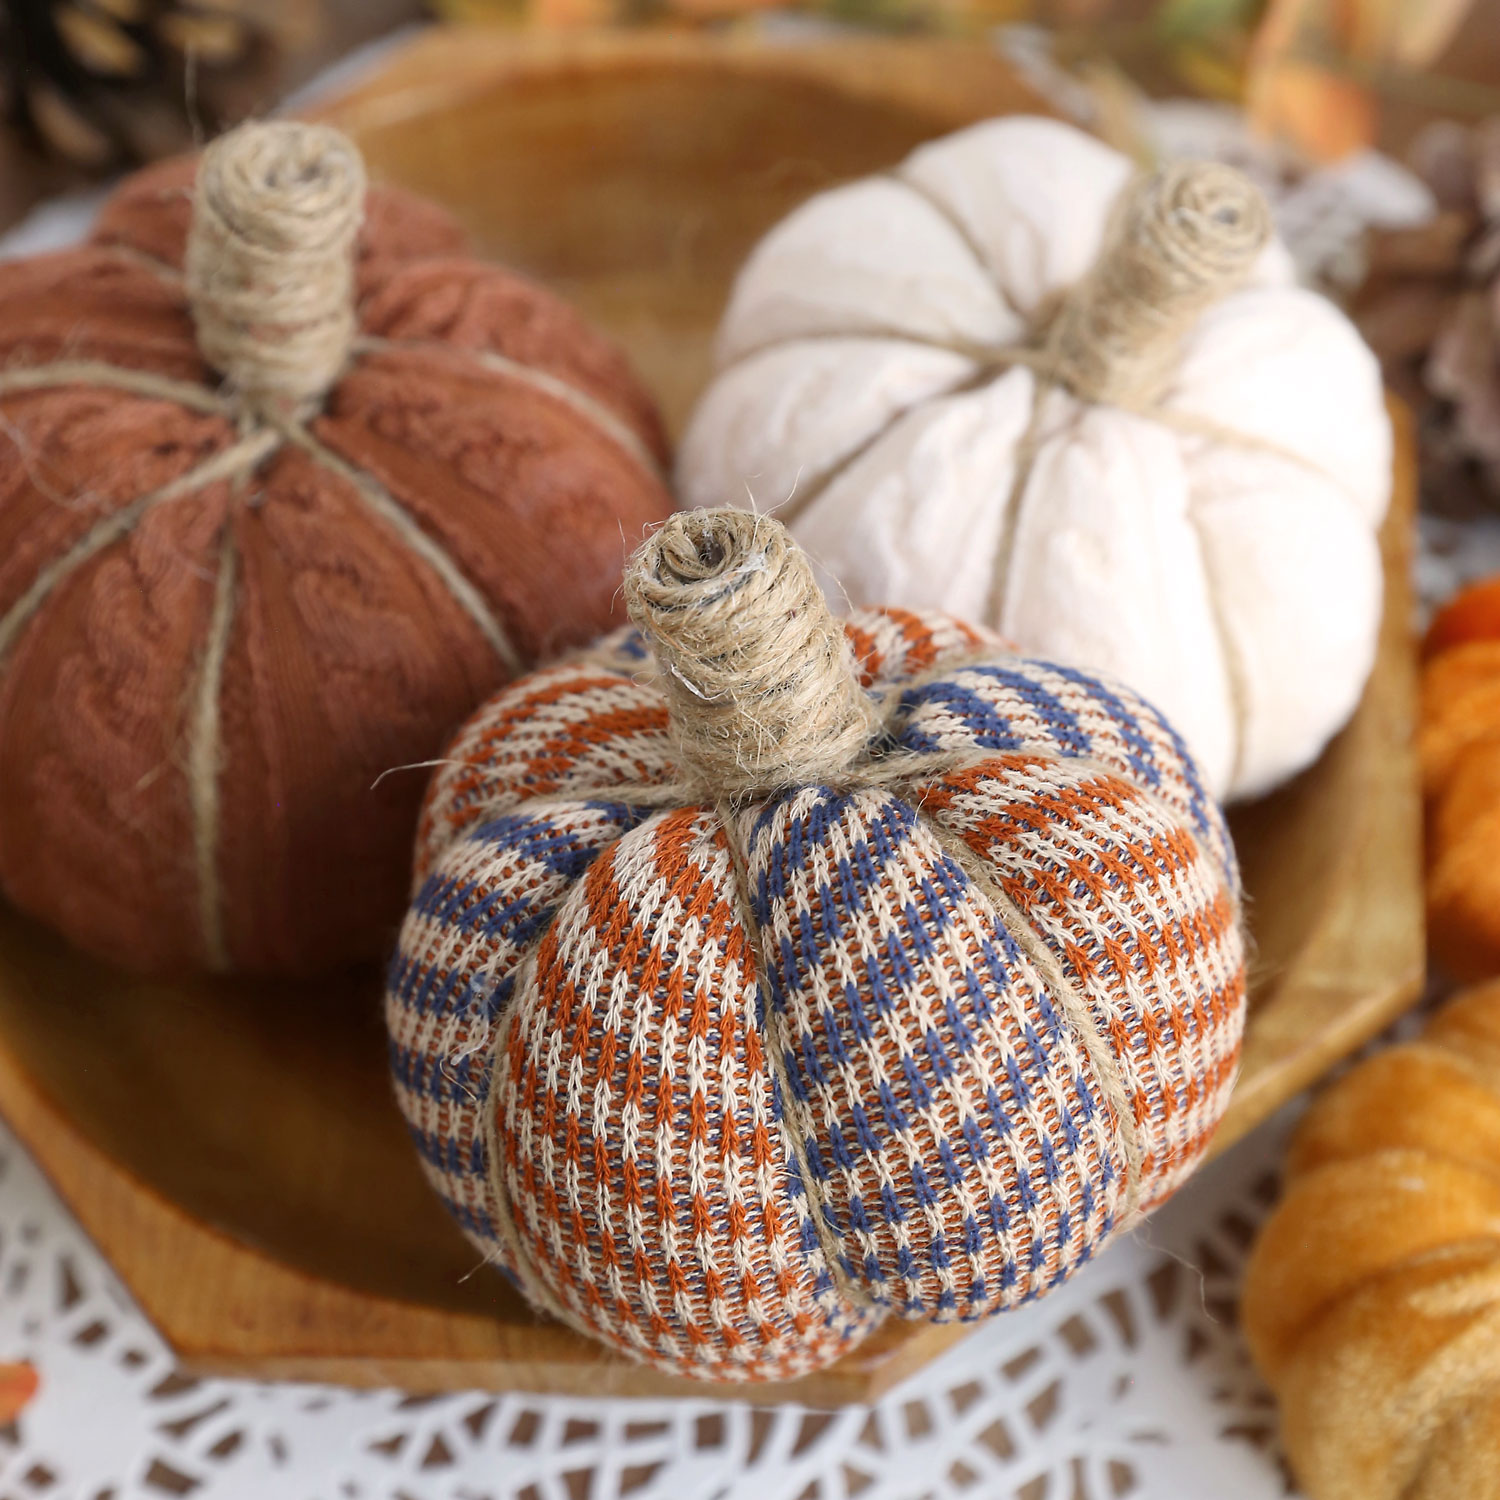
This craft is so quick and so easy! And it’s fun because you can use socks in whatever colors or patterns match your decor. These little sock pumpkins look cute stacked up on a tiered tray or tucked on your mantel. Each one takes about ten minutes to make with just three supplies.
Supplies
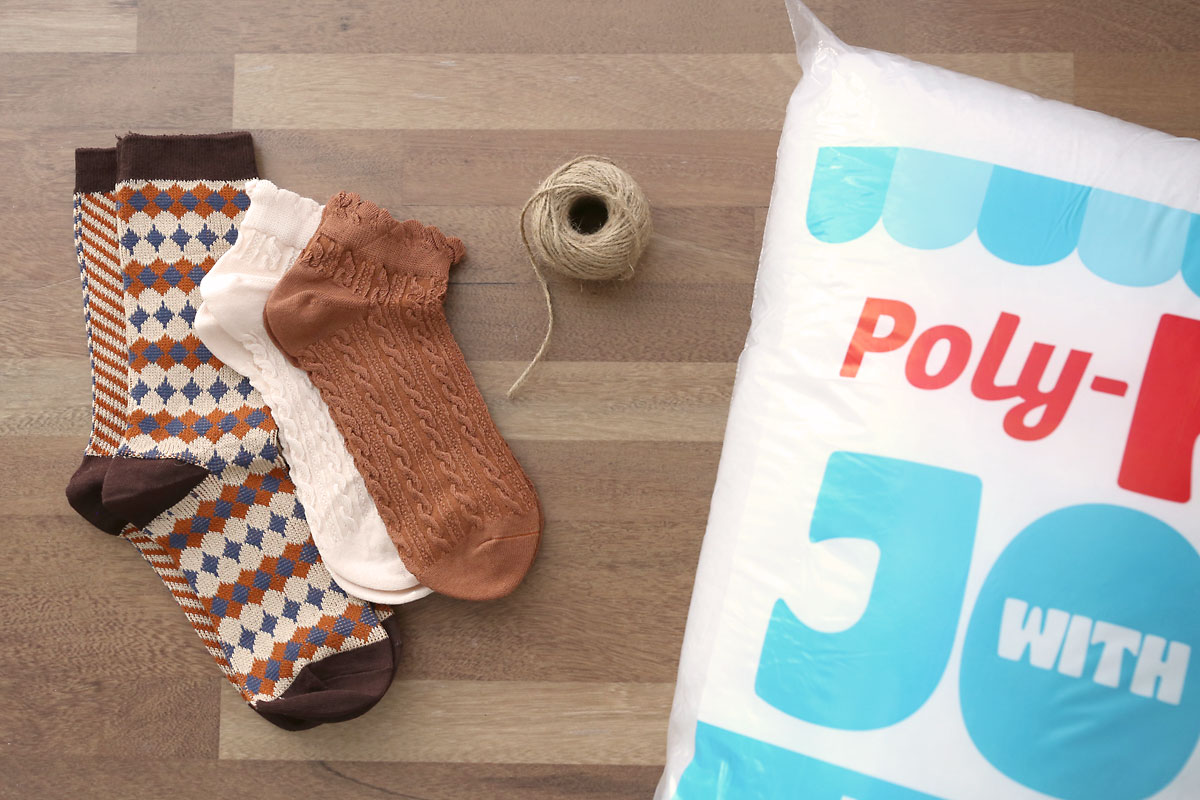
Here’s what you need to make sock pumpkins:
- Socks: you can use just about any type of sock to make these pumpkins! I chose to use solid color socks that have a cable knit pattern as well as patterned sock in coordinating colors. You’ll need one sock for each pumpkin.
- Twine: I used jute twine from the dollar store. I used about a yard of twine per pumpkin.
- Poly-Fil: you’ll use this to stuff the socks. I purchased this big bag of Poly-Fil from Amazon and used around a quarter of it making ten pumpkins.
You will also need a glue gun, and when using a glue gun I recommend using silicone finger caps to protect your fingers from burns.
How to Make Sock Pumpkins
Cut + Stuff the Sock
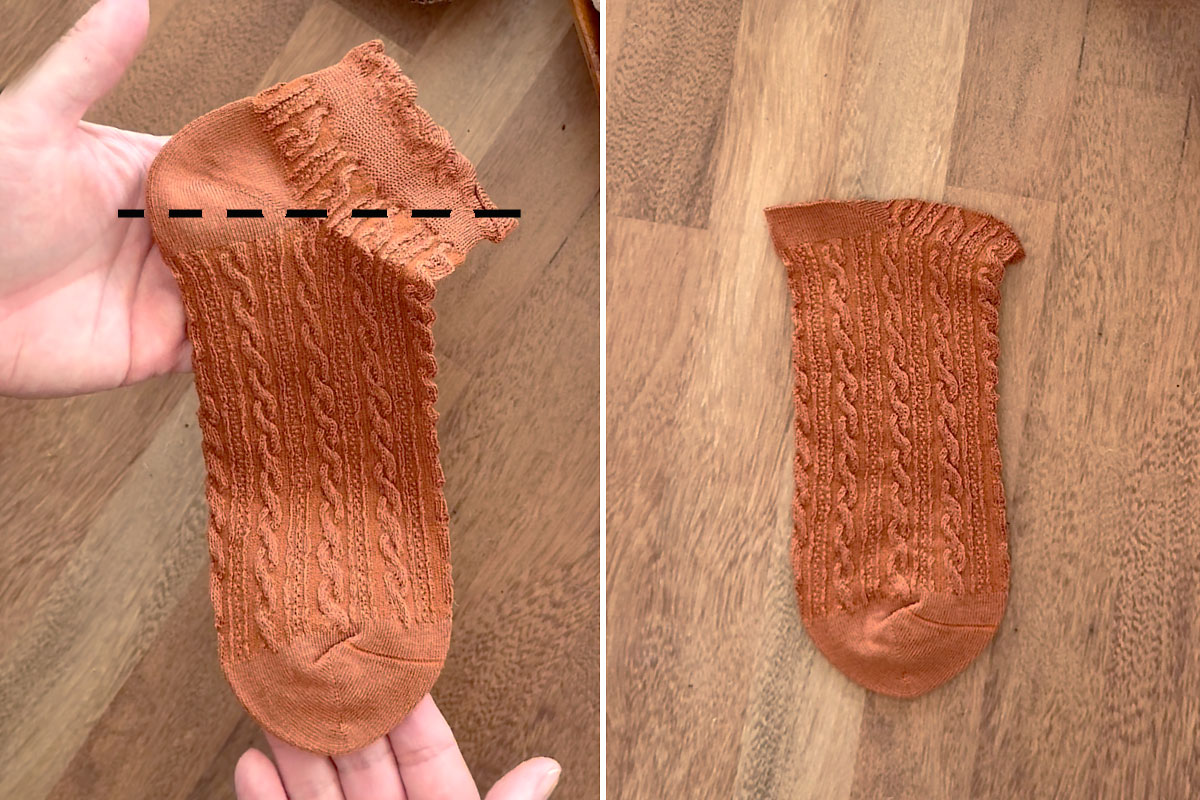
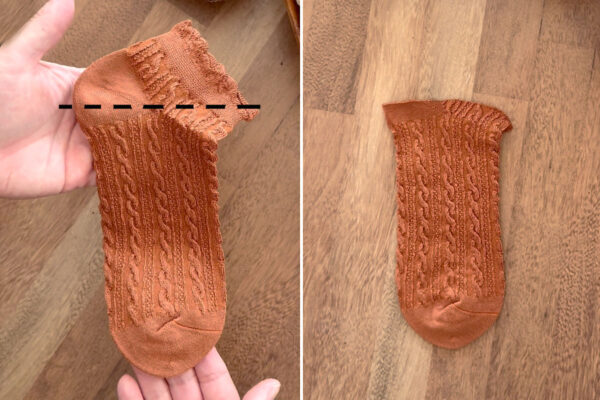
You’ll use just the foot portion of the sock to make each pumpkin. Hold the sock with the foot portion up and down and cut straight across at the heel, keeping some of the heel attached. Discard the ankle portion of the sock.
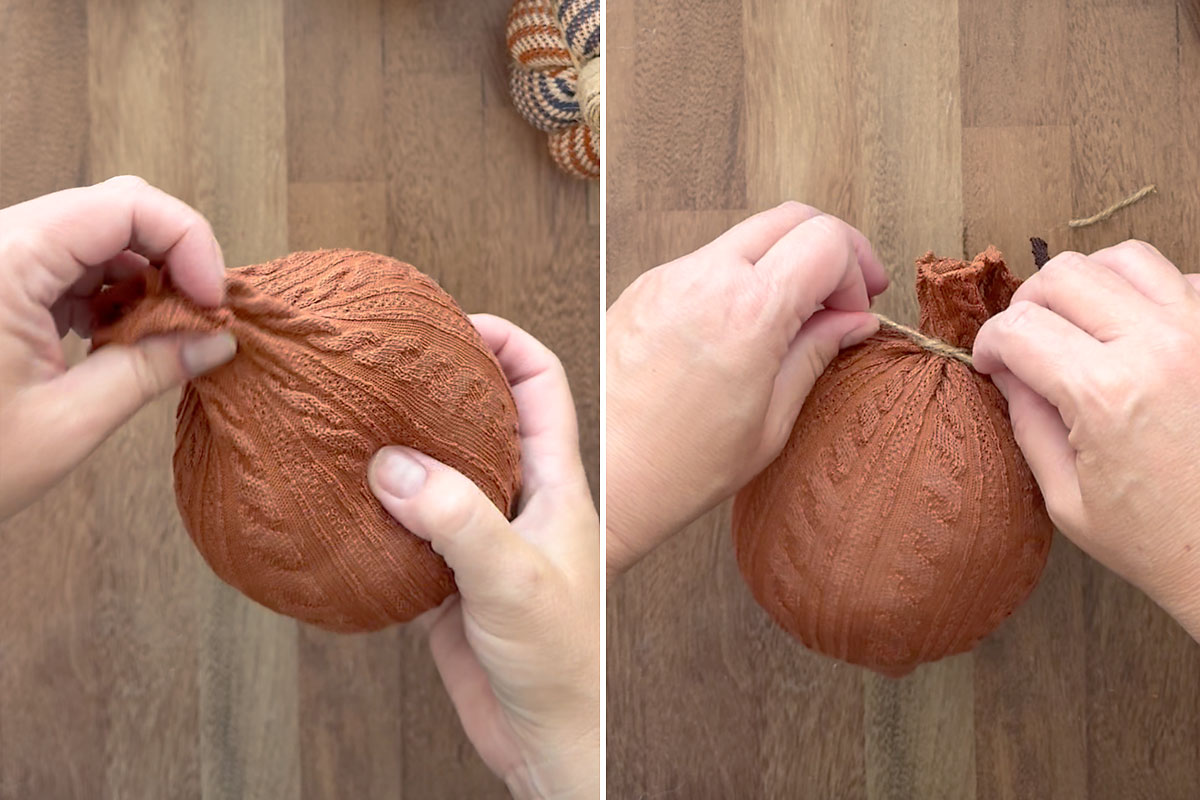
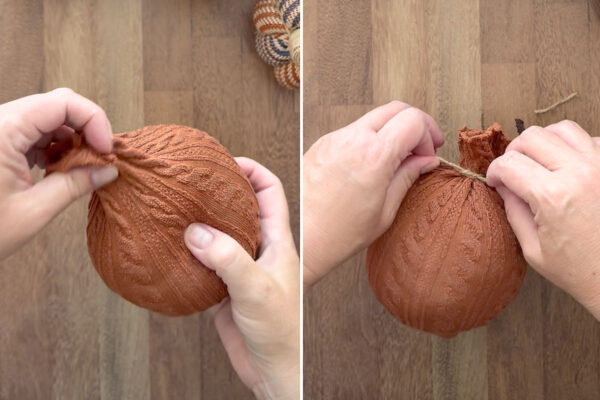
Now it’s time to stuff your sock! Grab a large bunch of polyester filling and form it into a ball with your hands, then stuff it into the toe of the sock. Fill the sock as full as you’d like, depending on how stretchy the sock is. Pull the top edge of the sock closed and wrap the end of your twine around it a couple times, tying a knot. You want to leave at least an inch of excess fabric above the twine, and don’t cut the twine at this point.
Different Colored Toe?
If you are using patterned socks that have a different colored toe, that will make the bottom of your pumpkin a different color. If you do not want that to happen, turn the sock inside up and gather up the toe section. Tie twine around it. Then turn the sock right side out and continue.
Create Sections
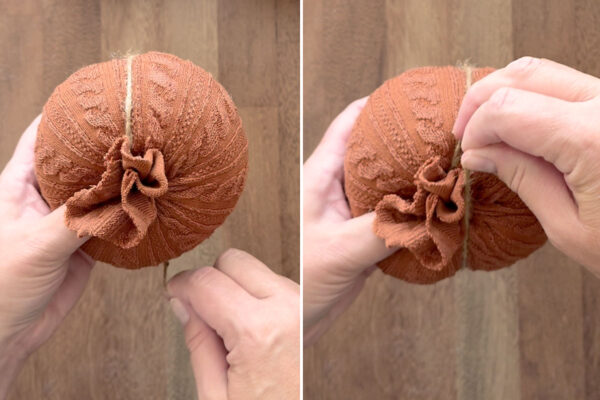
Now that you have a ball tied at the top, it’s time to create sections to make it look like a pumpkin. You have used twine to close the top of the sock; do not cut that twine. Wrap twine down one side of the sock ball and back up the other side, then pull the twine tight enough to cinch the ball and create a depression.
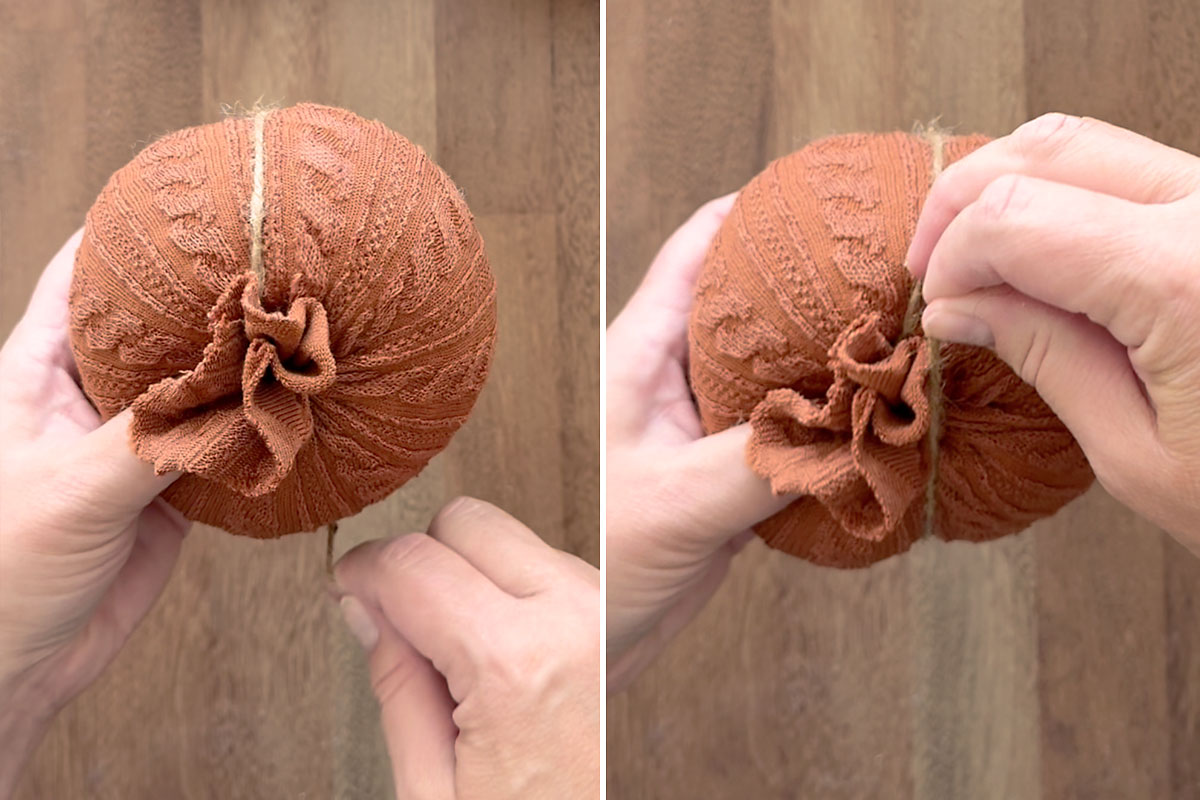
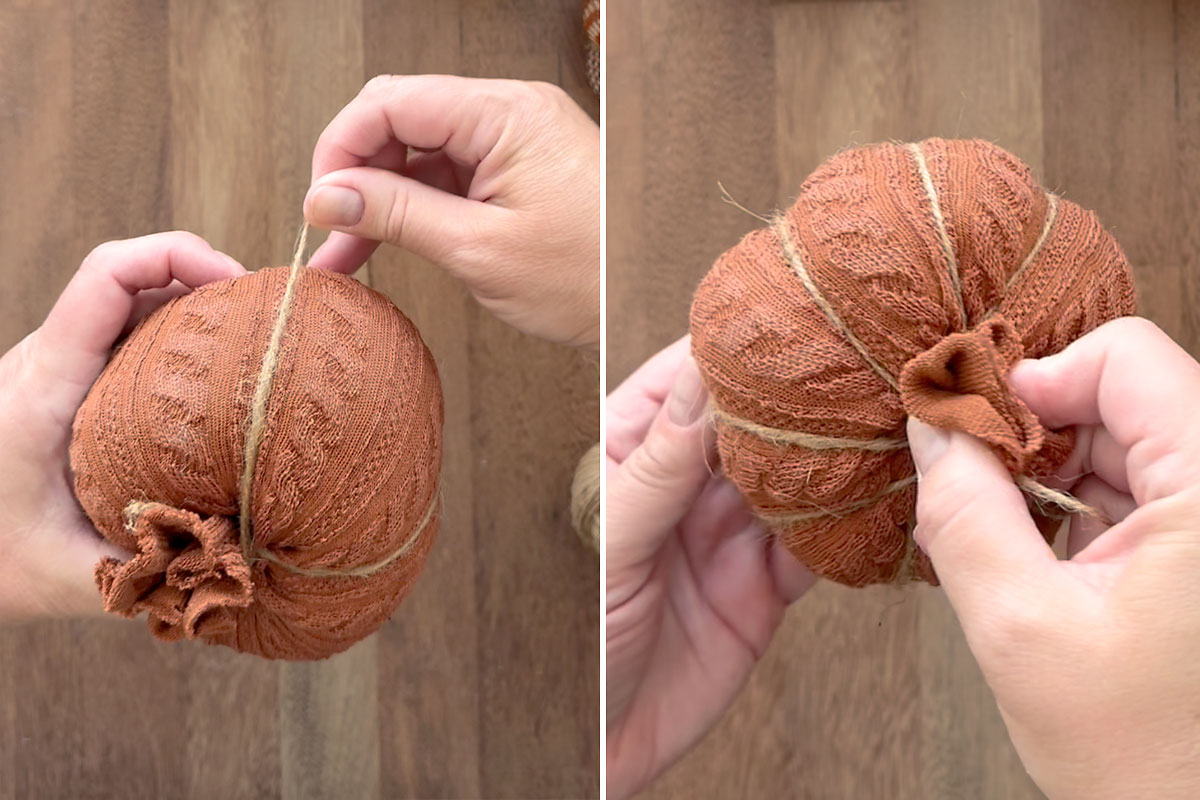
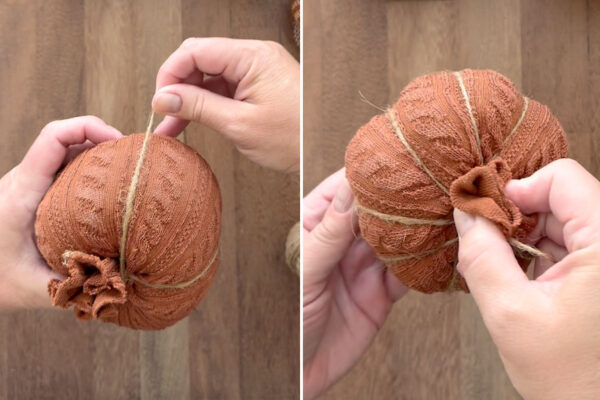
Rotate the ball ninety degress and wrap the twine around it again, dividing the ball into four sections, again pulling the twine tight. Then wrap the twine twice more, this time dividing each of the four sections into two. Your ball will now be divided into eight sections and will be looking a lot more like a pumpkin!
Create the Stem
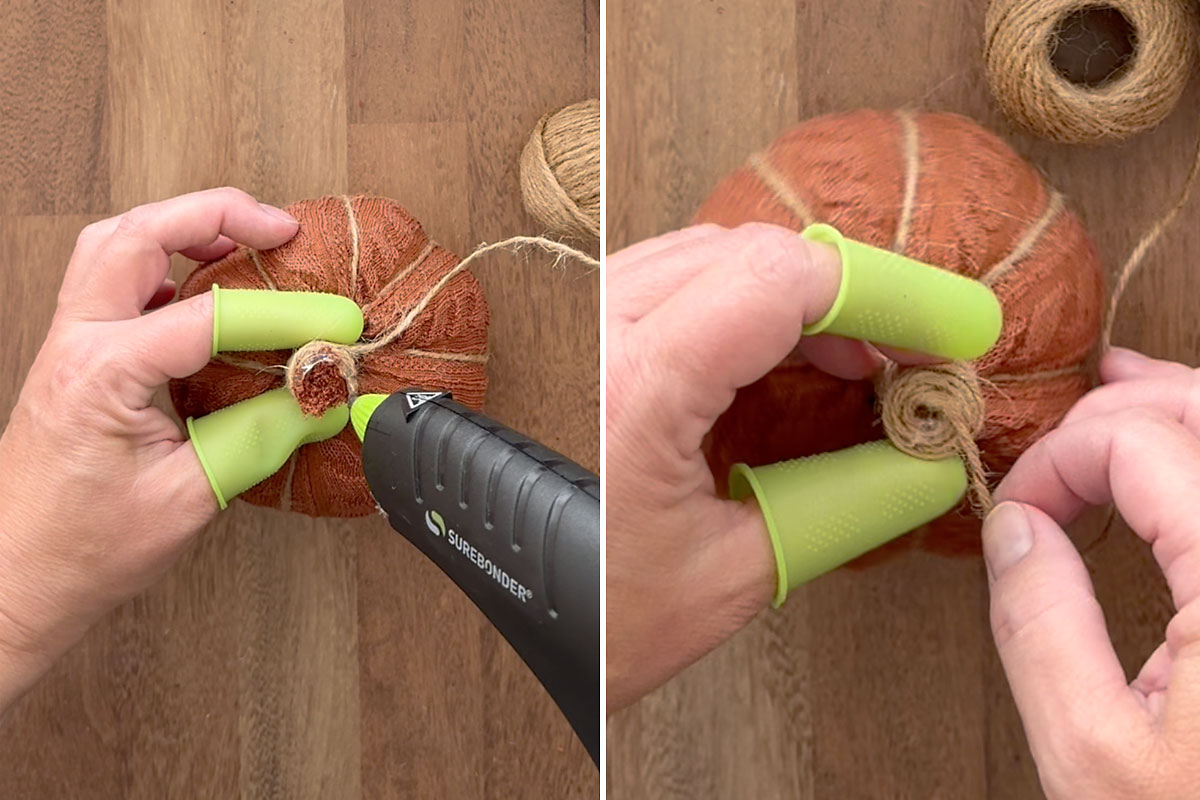
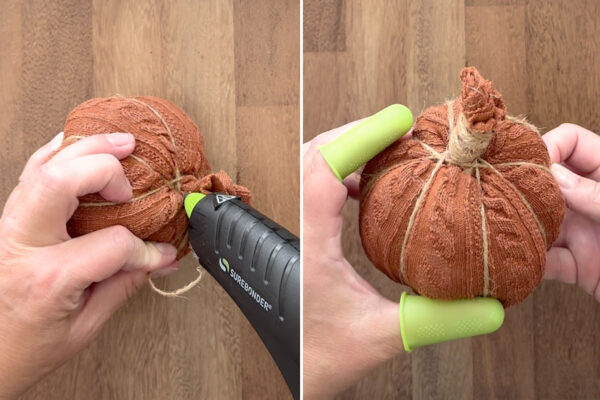
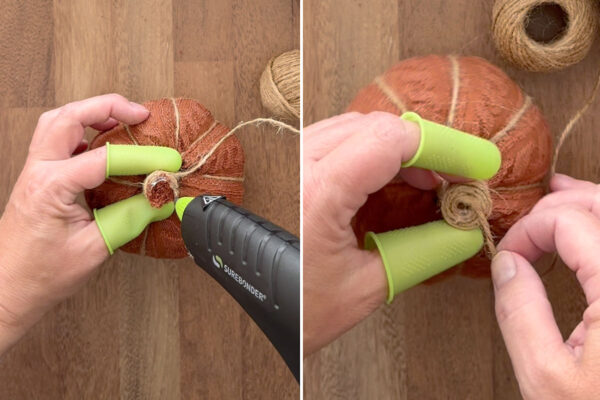
To finish the pumpkin, you’ll wrap twine around the excess fabric at the top to create a stem. Grab your glue gun and some silicone finger caps to protect your fingers from burns. The twine should still be connected to the roll at this point. Place some hot glue at the top of the pumpkin where the extra fabric is, and tightly wrap twine around it.
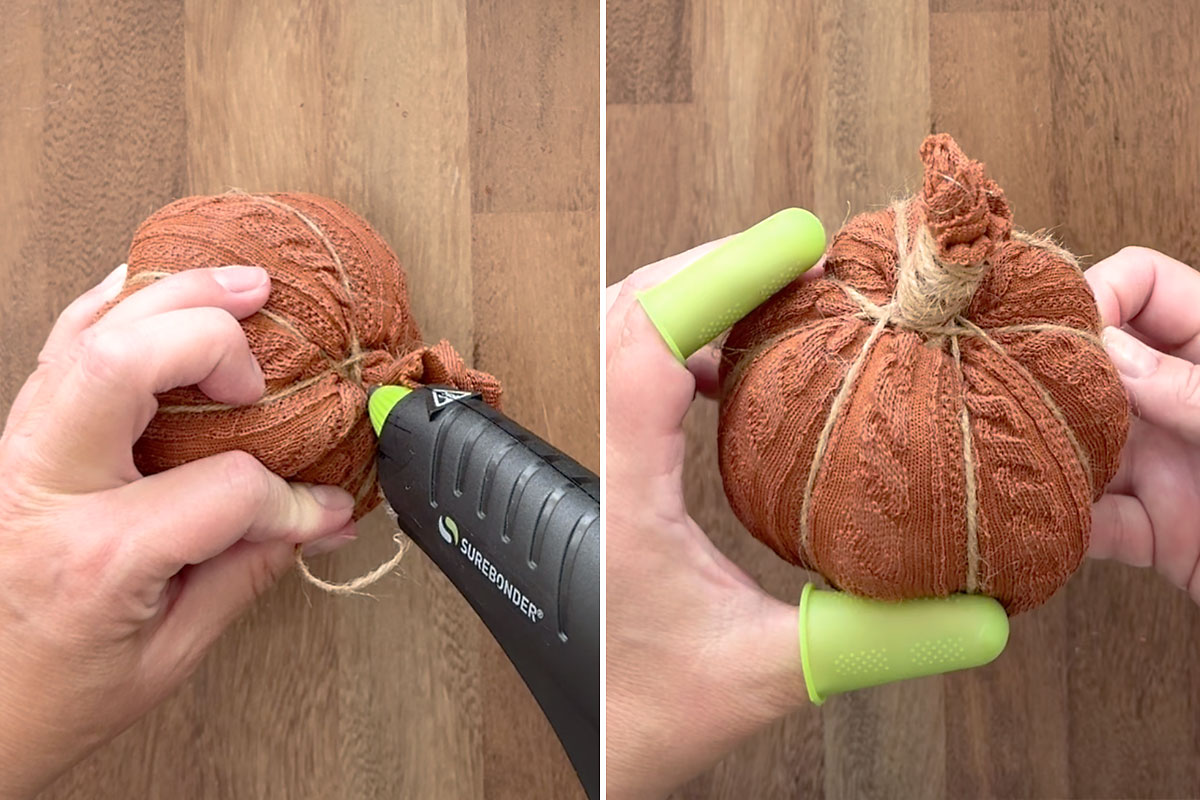
When the stem is as tall as you’d like, trim away any remaining fabric. Use hot glue to secure twine around the end of the stem, coiling it from the outside in to completely cover the sock fabric. When it’s filled in, you can cut the twine and glue the end of it down.
Finished Product
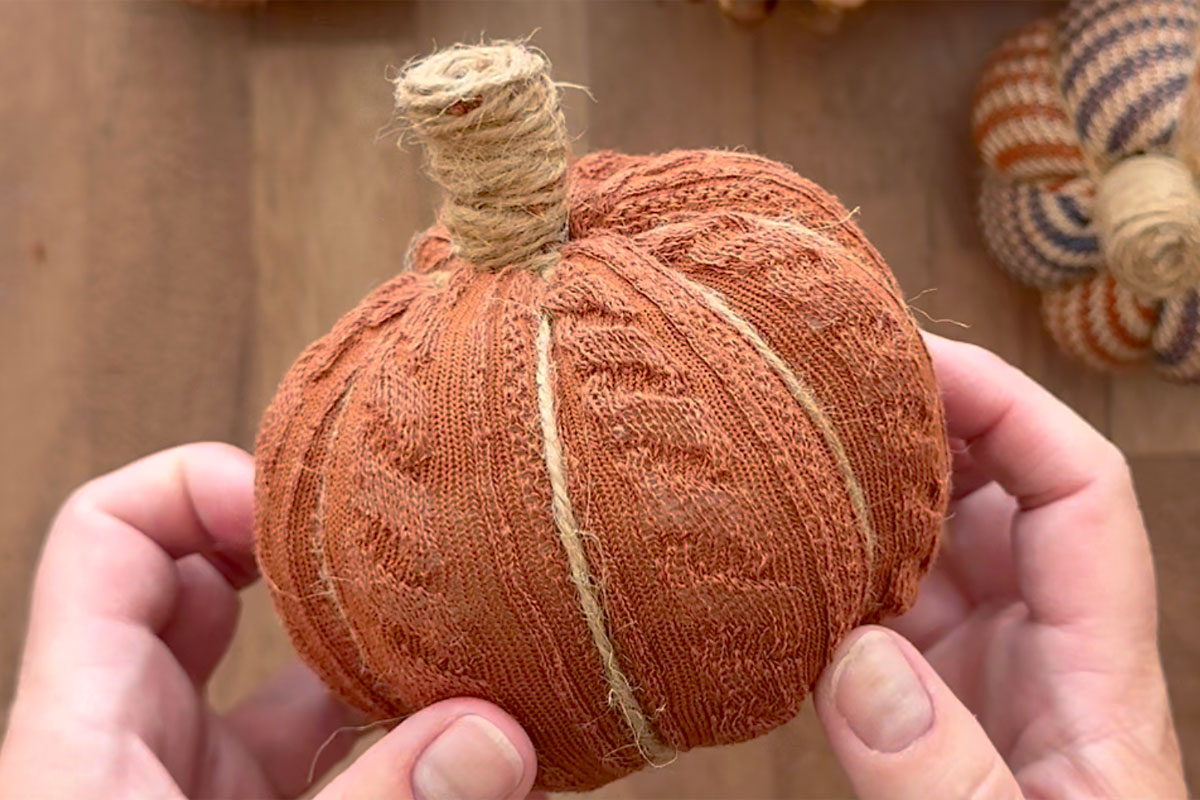
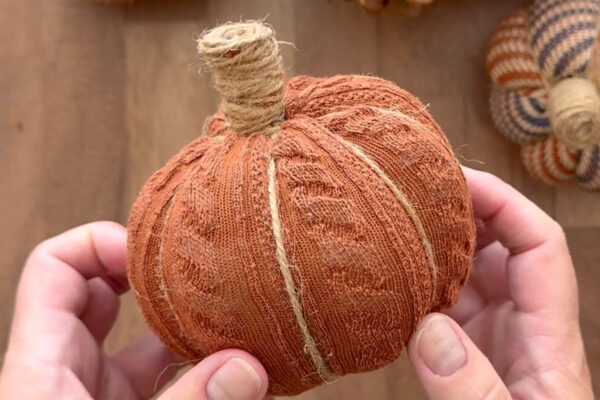
Here’s what the finished sock pumpkin looks like:
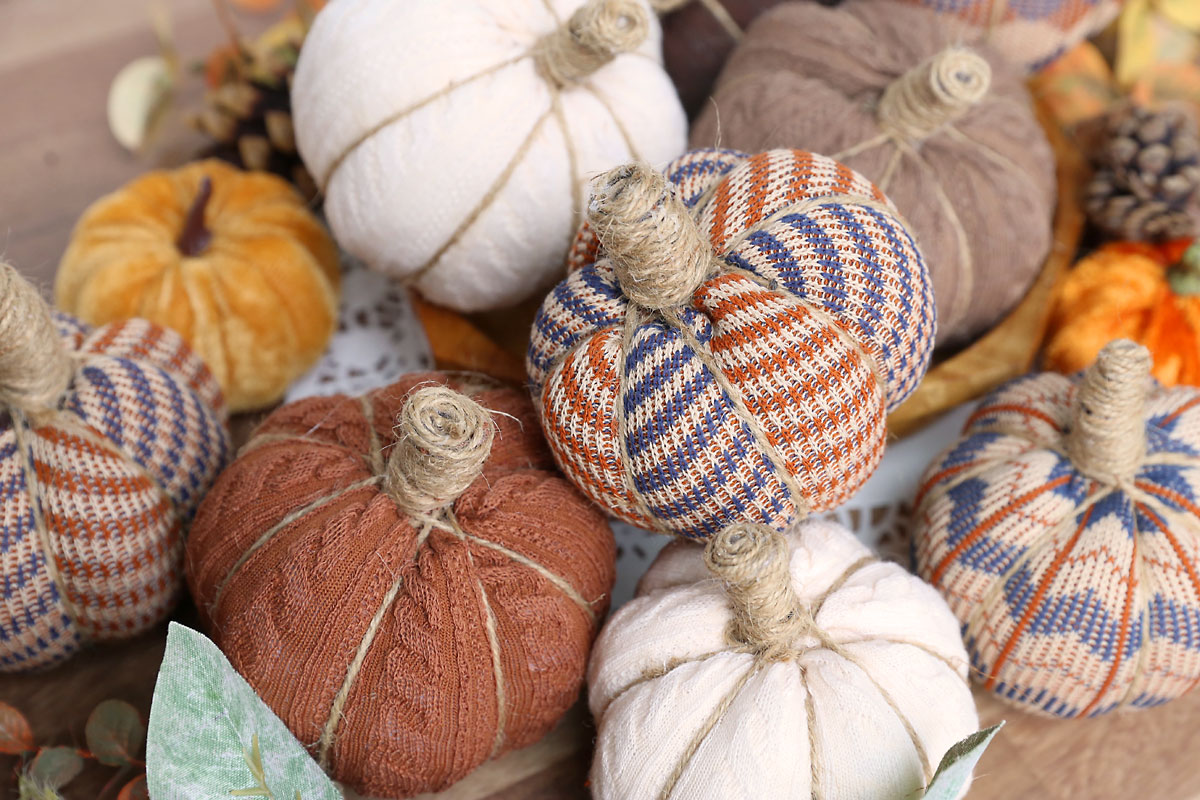
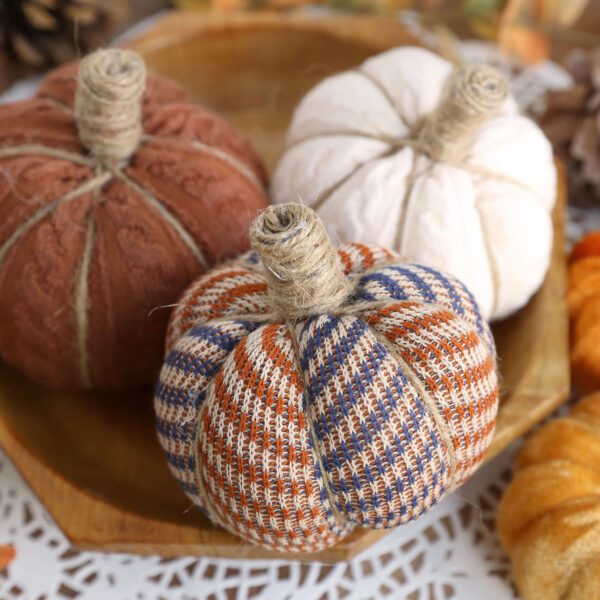
Sock Pumpkins
Supplies
- Socks
- Twine
- Ply-Fil
Want more project ideas? Sign up to get my favorite easy crafts and recipes straight to your inbox!
Equipment
- Hot Glue Gun plus silicone finger covers
Instructions
- Hold the sock with the foot portion up and down and cut straight across at the heel, keeping some of the heel attached.

- Stuff a large bunch of poly-fil into the toe of the sock. Pull the top edge of the sock closed and wrap the end of your twine around it a couple times, tying a knot. Leave at least an inch of excess fabric above the twine, and don’t cut the twine.
- Wrap twine down one side of the sock ball and back up the other side, then pull the twine tight enough to cinch the ball and create a depression.
- Rotate the ball ninety degrees and wrap the twine around it again, dividing the ball into four sections, again pulling the twine tight. Then wrap the twine twice more, this time dividing each of the four sections into two. Your ball will now be divided into eight sections.
- Place some hot glue at the top of the pumpkin where the extra fabric is, and tightly wrap twine around the excess fabric to create a stem.
- When the stem is as tall as you’d like, trim away any remaining fabric. Use hot glue to secure twine around the end of the stem, coiling it from the outside in to completely cover the sock fabric. Cut the twine.
- The pumpkin is finished and ready to display!


Debe says
THANK you for your website and sharing your ideas, they are always inspiring!
Larry Weader says
Very nice looking and much simpler than I expected!
Dottie says
Once again Autumn you have snashed it. I will be trying this craft with my grand daughter. Happy Fall x here in the uk we are waking up to seasons decorating. !!