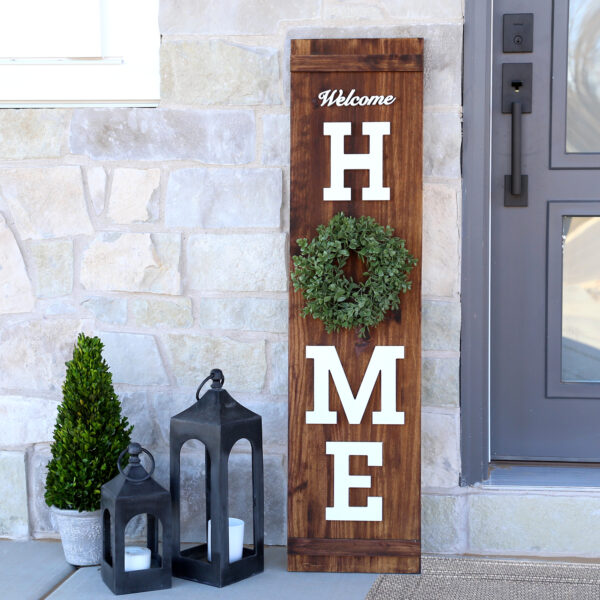
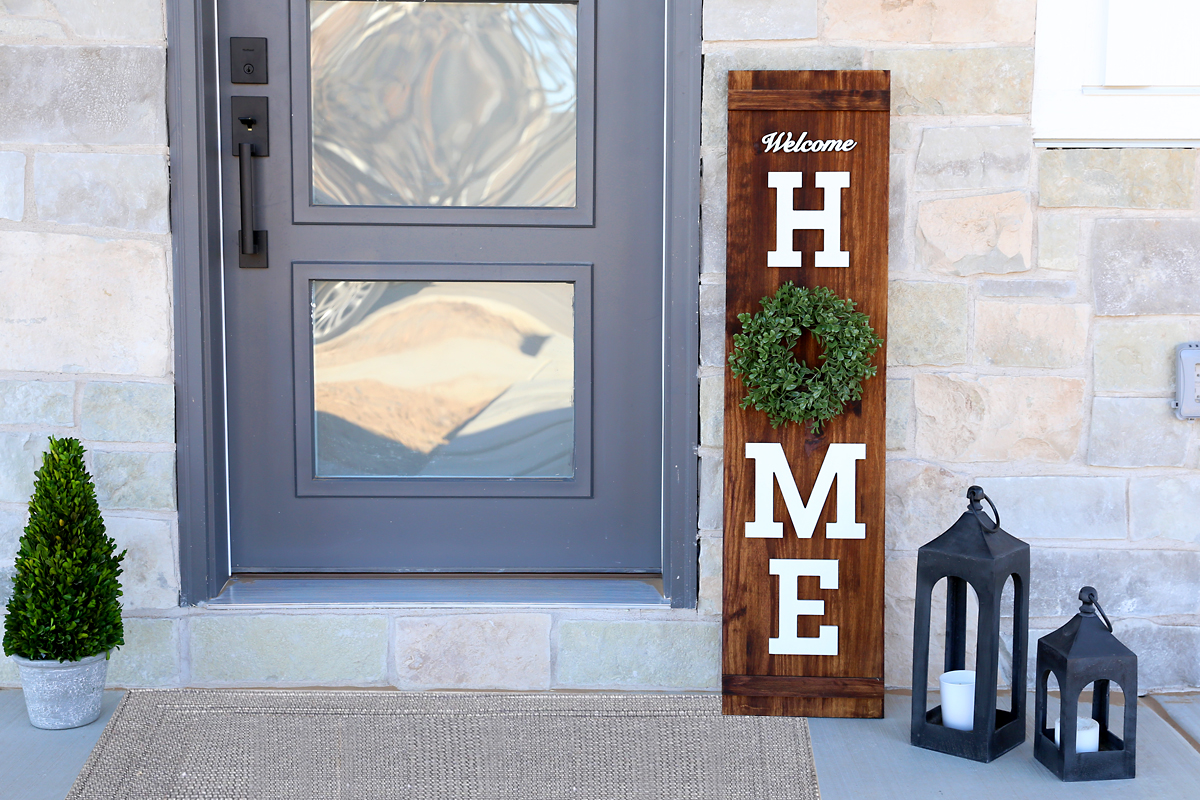
I’ve been wanting to make a welcome sign to add a little personal touch to our front porch. Last time I was at Hobby Lobby I saw a cute version that said “welcome home” and used a small wreath for the “O” in home. It was cute but I didn’t love color of the wood, so (as usual) I figured I could make my own version. I don’t build things very often so I knew I’d have to figure out a really easy way to make this wooden sign without using power tools.
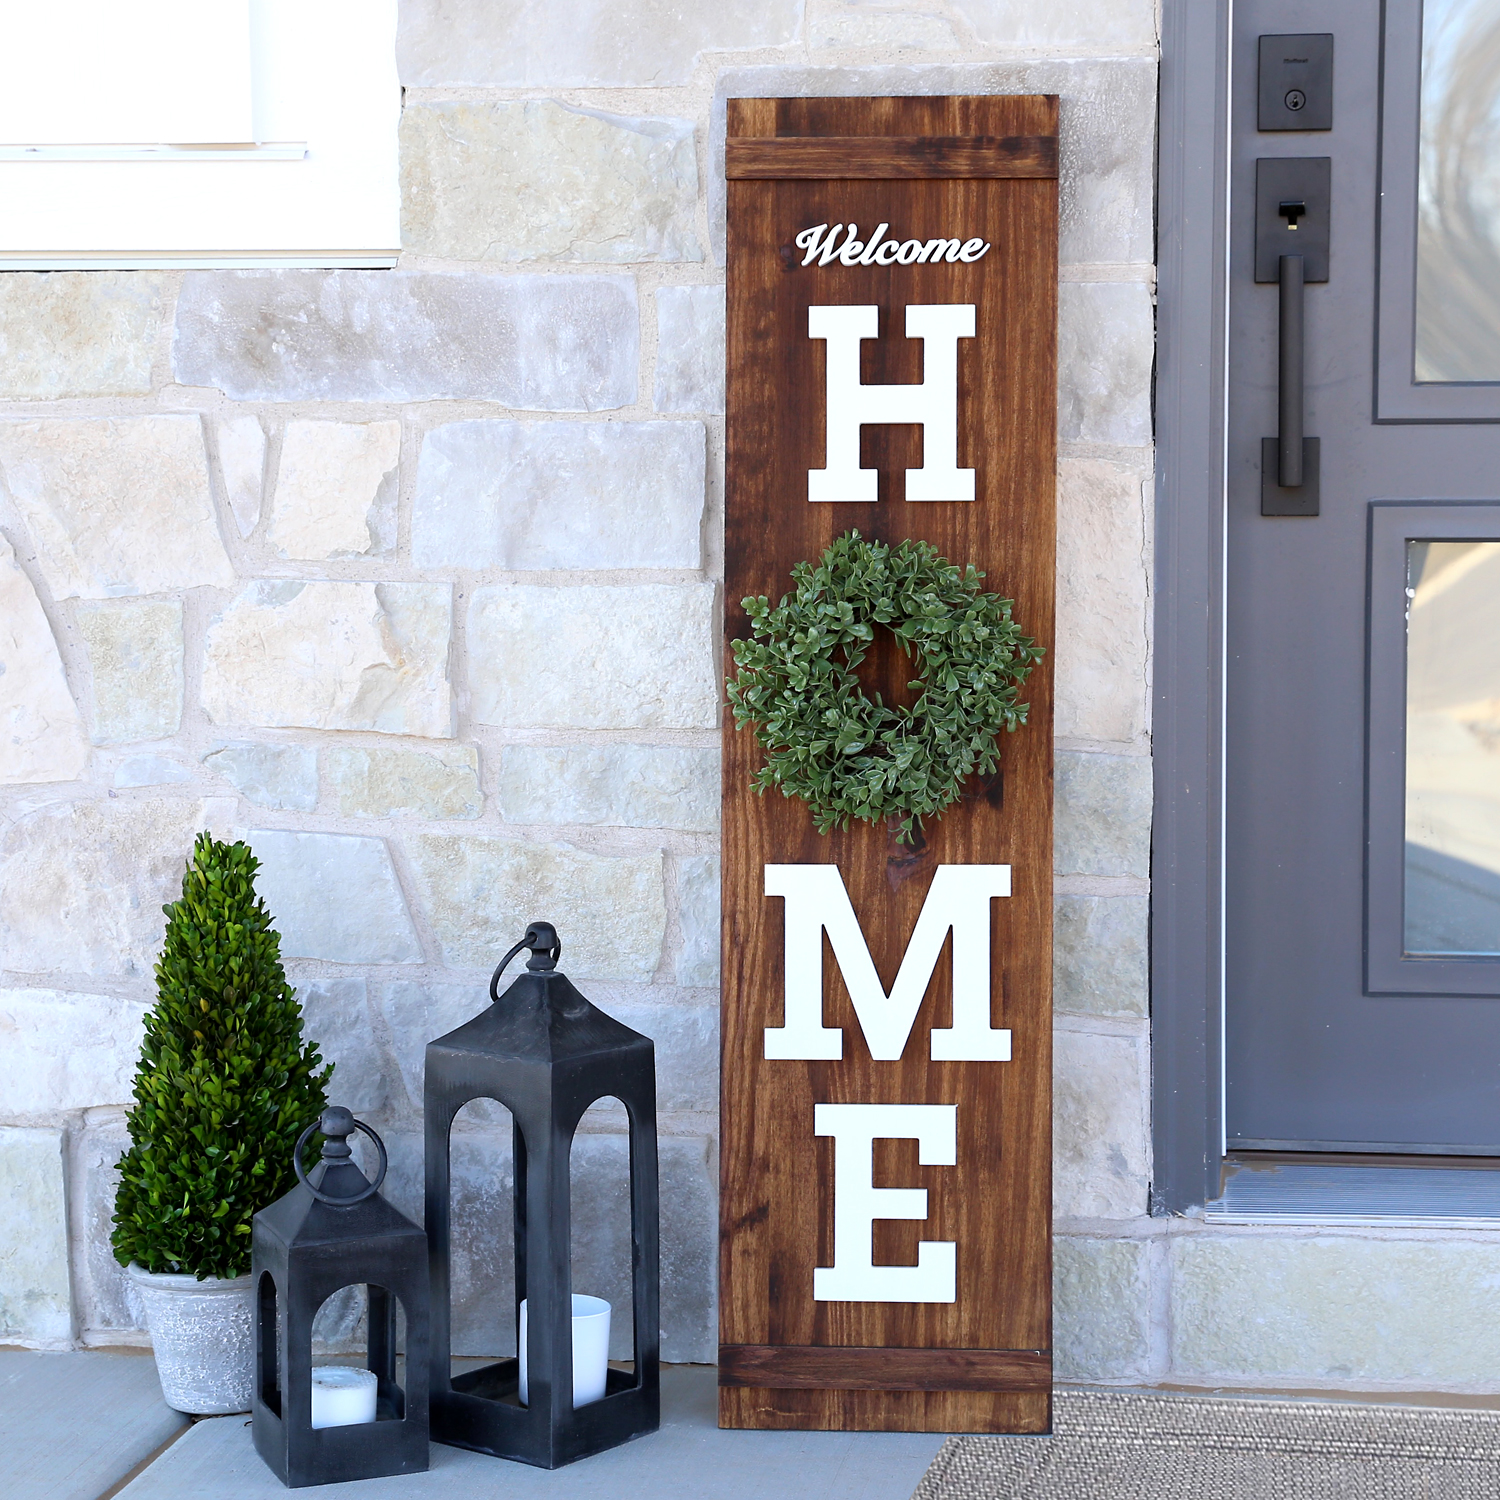
Luckily, this turned out to be very simple and I’ve put together a tutorial for you. I used wooden letters for the words so I didn’t have to worry about cutting vinyl or finding the right type of stencils. I stained the wood I used to bring out the pretty wood grain, but you could also paint it in any color according to your preferences. You could even sand the edges for a more rustic look. Either way this is a gorgeous handmade piece that will welcome your family and your guests to your home.
Supplies
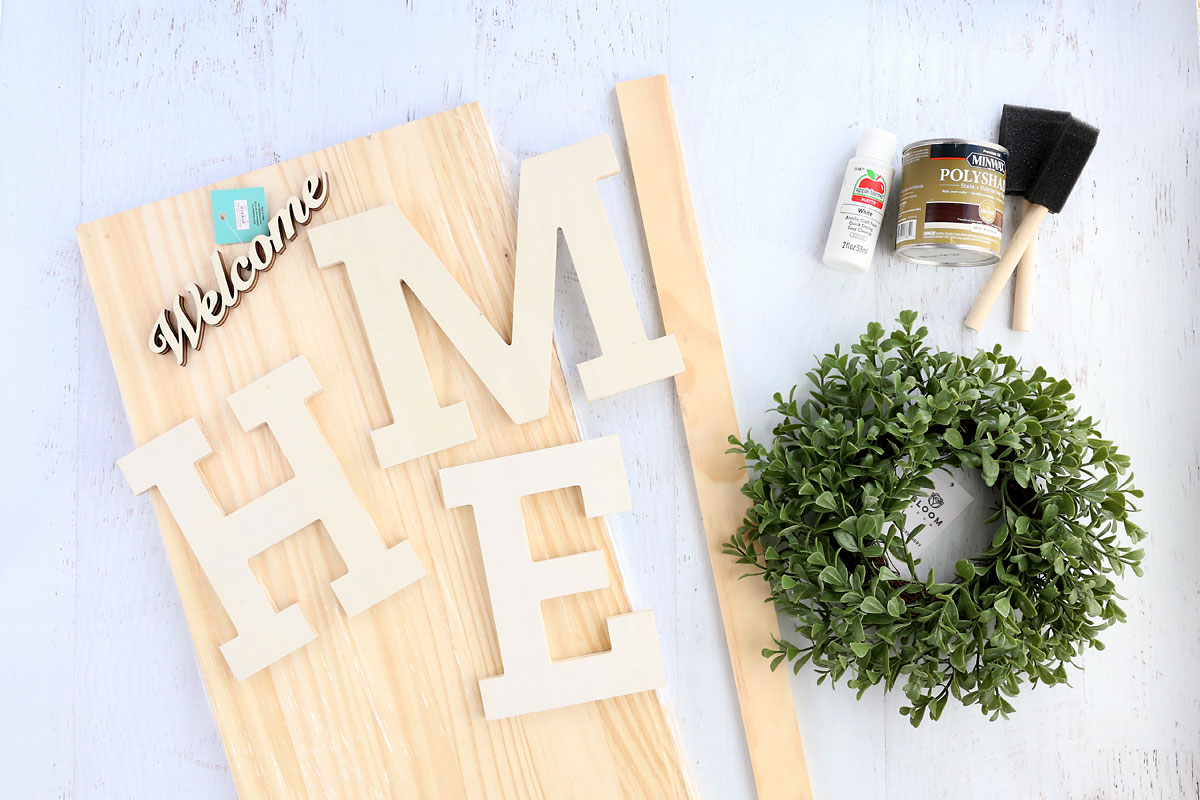
The cost for this easy DIY welcome sign will vary depending on what supplies you already have on hand. If you have to buy every single thing, your cost may run $40-$50. However, if you already have a nice wood scrap that will work plus some paint and stain on hand, you’ll be able to make this for under $20. Here’s what you’ll need:
- Wood board that is 12 inches wide and 4 ft long (more info on this in the box below the photo)
- Wood slat or scrap that is about 2 inches wide and at least 2 ft long optional
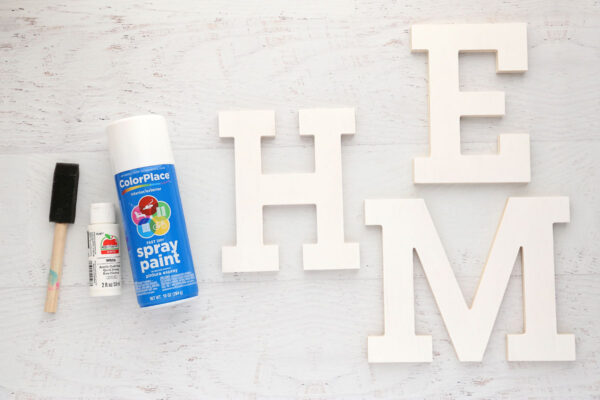
- Wooden letters H, M, E: I used Park Lane brand letters from Jo-Ann that are seven inches tall, on sale for just over $2 each.
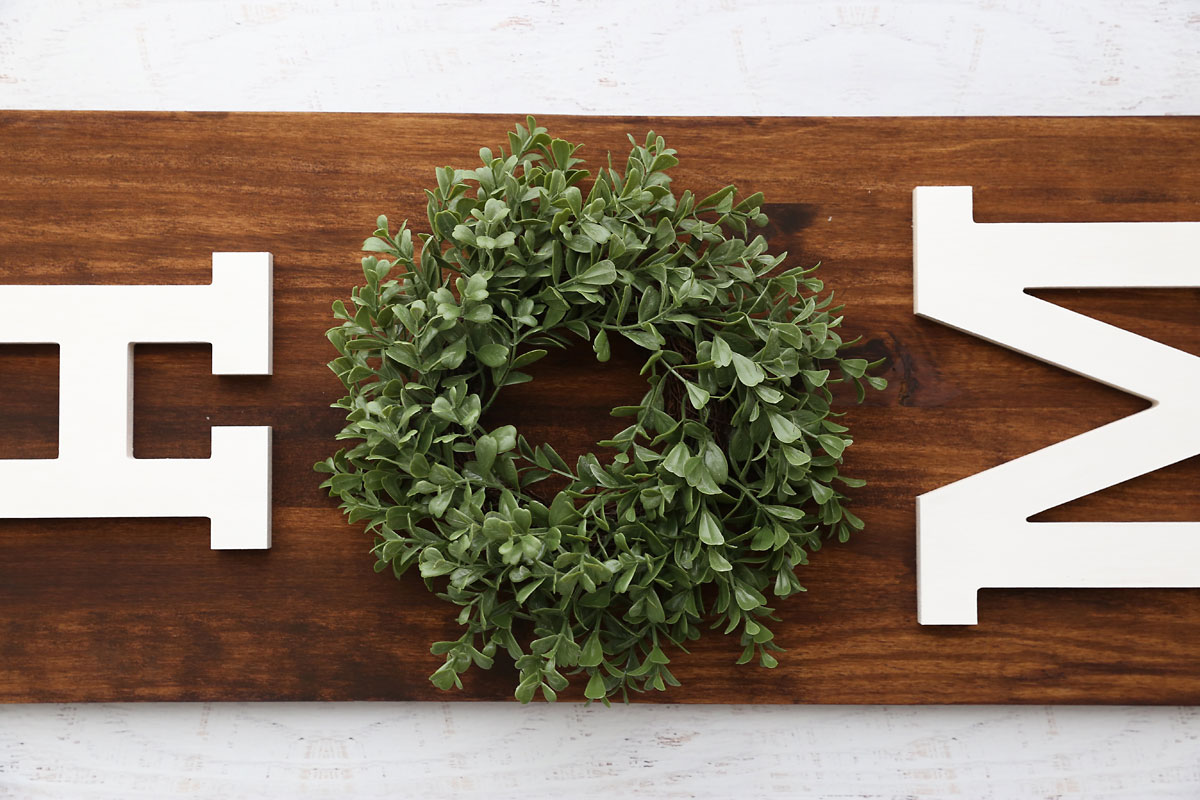
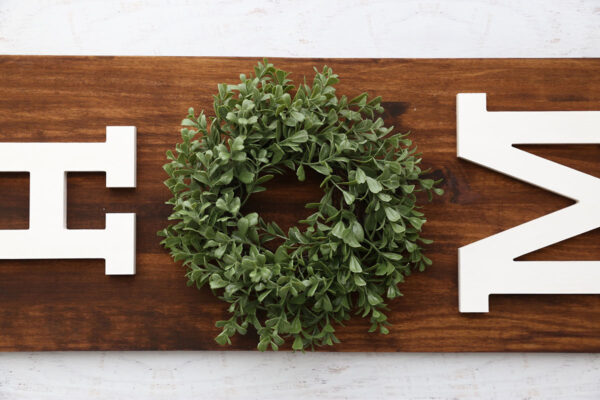
- Mini boxwood wreath that’s a similar size to the letters: I found mine at Jo-Ann. The wreath form is about 6 inches wide on the back; the leaves measure about 9 inches across on the front. Regular price was $10, on sale for $6.
- Small wood cutout “welcome”: I found this at Hobby Lobby for $2.50.
- Stain/paint/paintbrushes: I used a stain+poly in one step along with a cheap foam paintrush to stain the board and white spray paint to paint the letters.
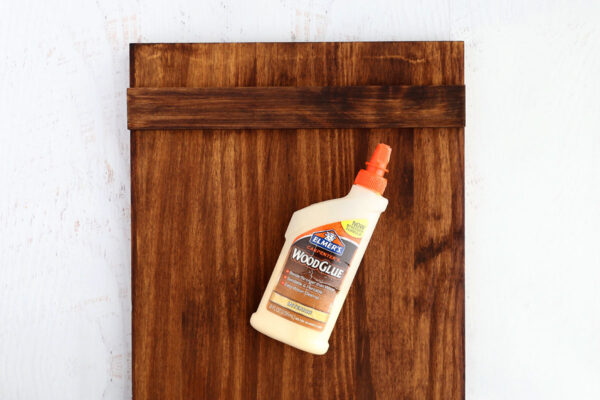
- Wood glue and hot glue: I used wood glue to attach all the wood and hot glue to attach the wreath
What Wood Should I Buy?
For this porch sign, you’ll want a piece of wood that is 4 feet long by 12 inches wide. One option is to buy a 12 inch wide pine board and have it cut to 4 feet long. This is actually a great idea if you’d like to make one sign to keep and one to give away, because 12 inch wide boards are often sold in 8 foot length. Just remember that these boards are called 12 inches wide, but are actually 11.25 inches wide, so they will be a bit narrower than the board i used.
I didn’t want to worry about getting my board cut to size, so I purchased a Reliabilt 1x12x4ft whitewood board that’s usually used for shelving (found at Lowes). It’s a true 12 inches wide and has a beautiful finish that didn’t even need sanding.
You could even use a scrap piece of plywood if you have a way to cut it to size!
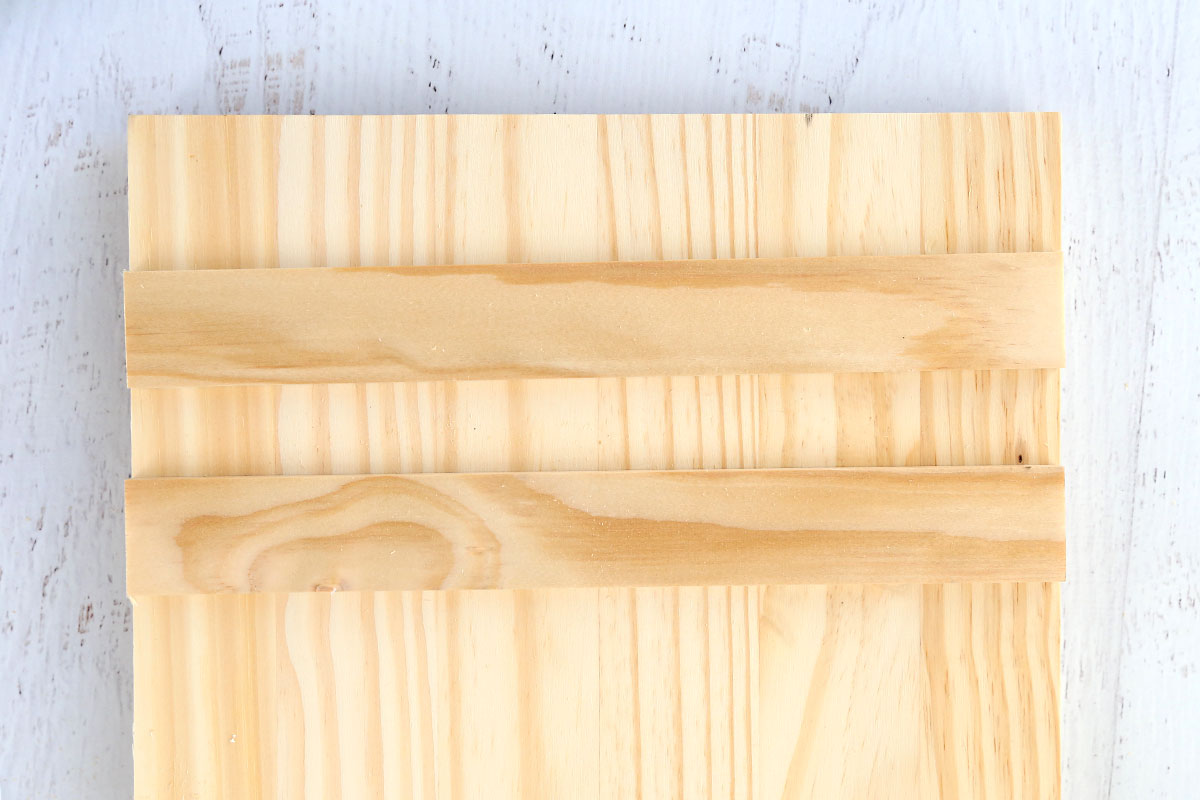
I also purchased 2inx3ft unfinished pine board to use as “slats” at the top and bottom of my sign. You can find this in the hobby wood section for just a few dollars. This is optional but gives a nice finished look to your sign. After your purchase it, ask the employees to cut two pieces that will span the width of your board.
How to Make a Porch Sign
Begin by gathering the supplies listed above. If needed, have your wood pieces cut to size. Remember that if you purchase your wood from Lowes or Home Depot the employees can cut it to size for you in the store, which means you won’t need any tools to complete this project.
- The wood board should be 4 ft tall and 12 inches wide (or 11.25)
- You need two wood slat pieces that are long enough to span the width of your board
Stain the wood
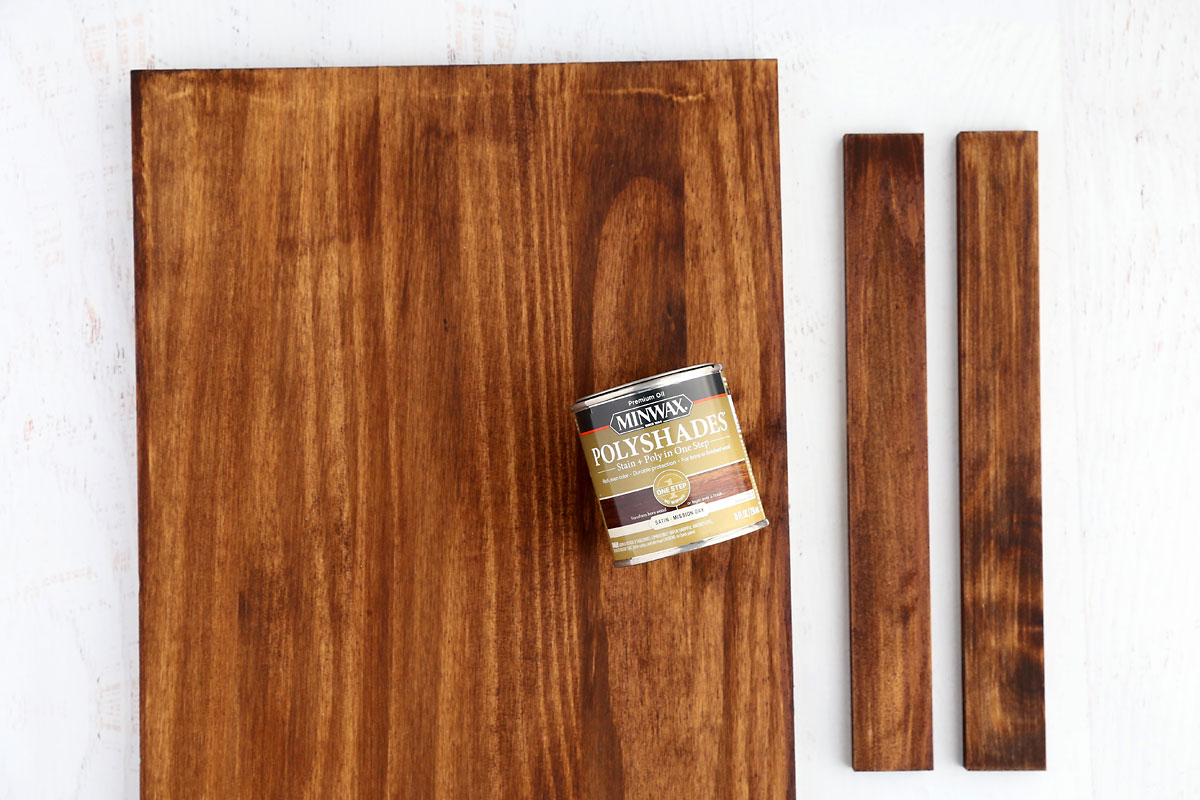
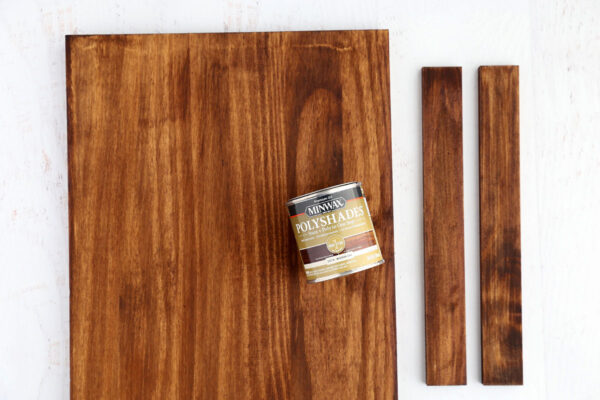
The first step for this sign is to stain your wood – or you can paint it if you prefer. If needed, sand the wood first and wipe it clean. (The wood I purchased did not need any sanding). Then stain or paint the wood, as desired. When staining or painting wood inside, I cover my kitchen table with a couple of trash bags. Then I place the wood on top of inverted plastic cups. That makes it easy to paint/stain the sides and front of the wood in one go. I used a cheap foam paintbrush to apply the stain so I could just throw it away when I was done. You’ll stain the wood board and both wood slats. It’s best to let the stain dry overnight.
Paint the Letters + Word
Next you’ll want to use white paint on the letters and the “welcome” cutout. I had white spray paint on hand so I used that. You can also use acrylic craft paint, it will just a bit take longer to applye. I used a couple thin coats of spray paint. Allow these to dry completely.

Glue It All Together
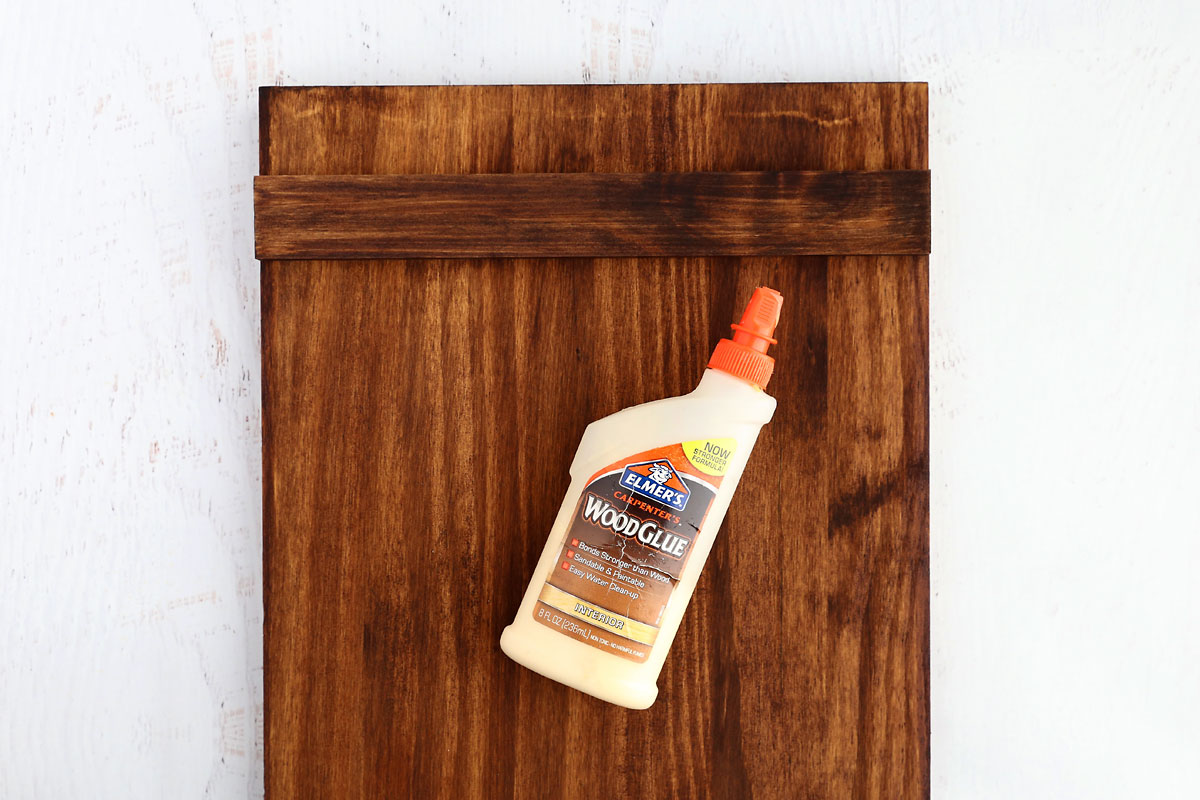
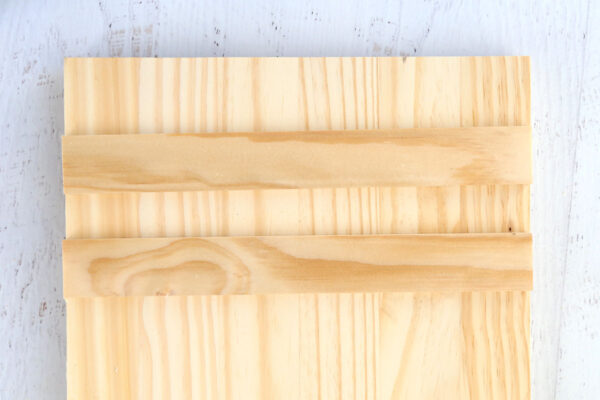
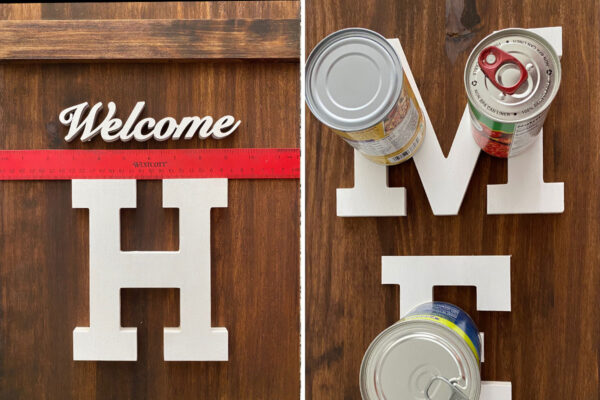
Once everything is dry, you can lay out the different pieces of your sign on the wood board and decide how you’d like to space everything. I started by gluing the wood slats across the top and bottom of the board, about an inch and a half from the edges. I used wood glue to attach the slats and placed a can of food on each to weigh it down for a few minutes as the glue dried.
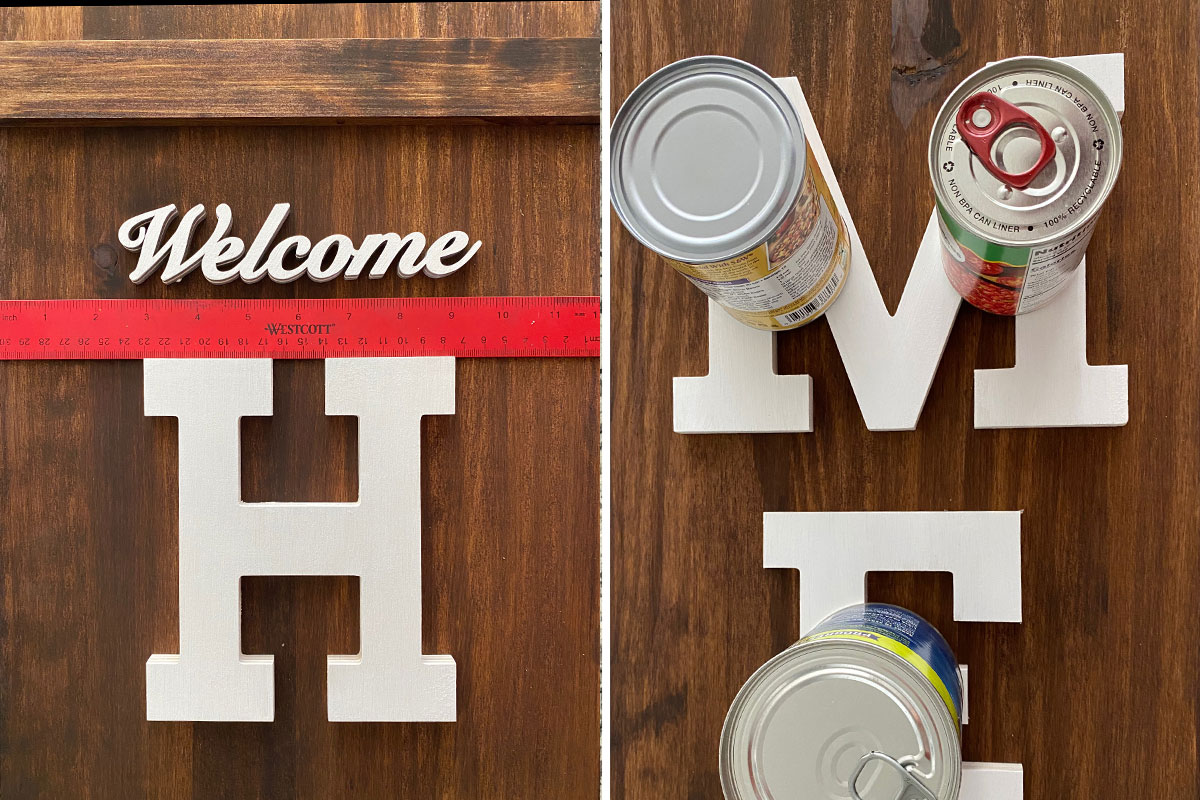
Then I spaced out all the other elements: the “welcome” word, the letters, and the wreath (which stands in for the “O” in “home”). You can eyeball this if you’d like, or if you are using the same supplies I used you will have about an inch and a half in between each item. You’ll want to have a ruler handy to make sure you are centering everything. Again, I used cans of food to weigh down the letters after I glued them on.
Options
If you’d like to further personalize this wooden welcoming sign, consider these options:
- Swap out the colors. Try painting the board white for a white background and using black paint for the letters – or choosing colors that coordinate with your home.
- Instead of gluing on the wreath, add a hook to hang the wreath on, and then swap the wreath out with other holiday items during different times of year (use a pumpkin cutout for the “O” during the fall, or a heart cutout for Valentine’s Day).
- Decorate this fun sign for Christmas by adding holly berries or other seasonal florals to the wreath.
Welcome Home Porch Sign
Supplies
- 12 in x 4 ft Wood Board
- 2 in x 2 ft Wood Slat
- Wood Letters, 7 inches tall H, M, and E
- Small Wreath to use as the letter "O"
- Small "welcome" cutout
- Stain and Paint
- Wood Glue and Hot Glue
Want more project ideas? Sign up to get my favorite easy crafts and recipes straight to your inbox!
Instructions
- Cut two "slats" from the smaller wood piece that are long enough to span the width of the main board.
- Stain or paint the wood board and two wood slats as desired. Allow to dry completely.
- Paint the letters and the "welcome" cutout white. Spray paint is easiest; acrylic paint can also be used. Allow to dry.
- Glue the wood slats across the top and bottom edges of the board, about 1.5 inches from the edge, using wood glue. Weigh the slats down with something like a can of food for a few minutes.
- Lay out the other pieces and figure out spacing (about 1.5 inches between each element). Glue on the "welcome" cutout and the letters using wood glue. Weigh each item down with something like a can of food for a few minutes.
- Use hot glue to adhere the wreath.






Leave a Comment