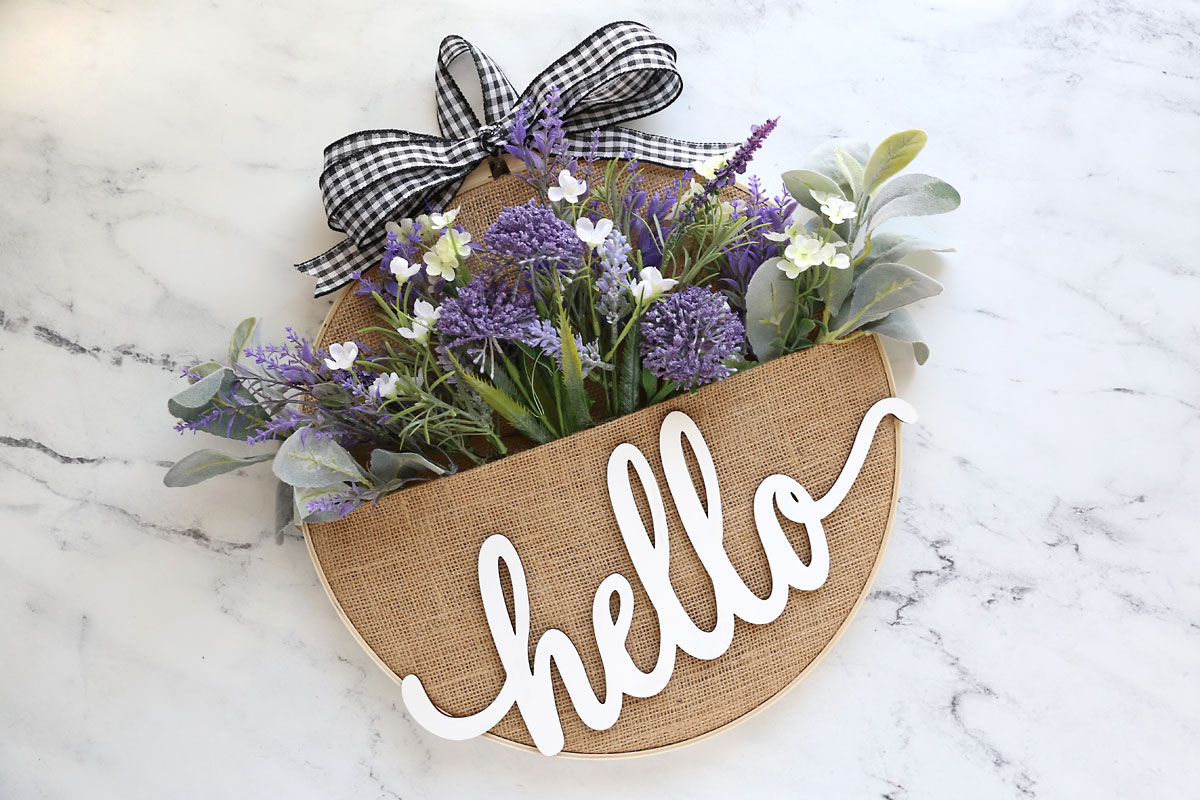
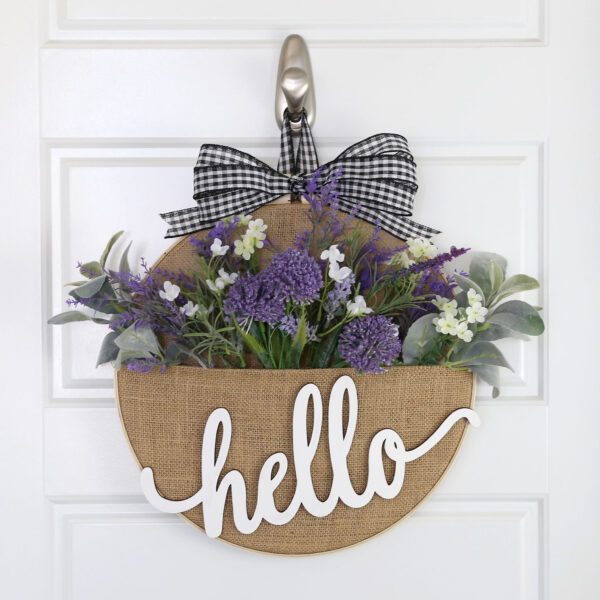
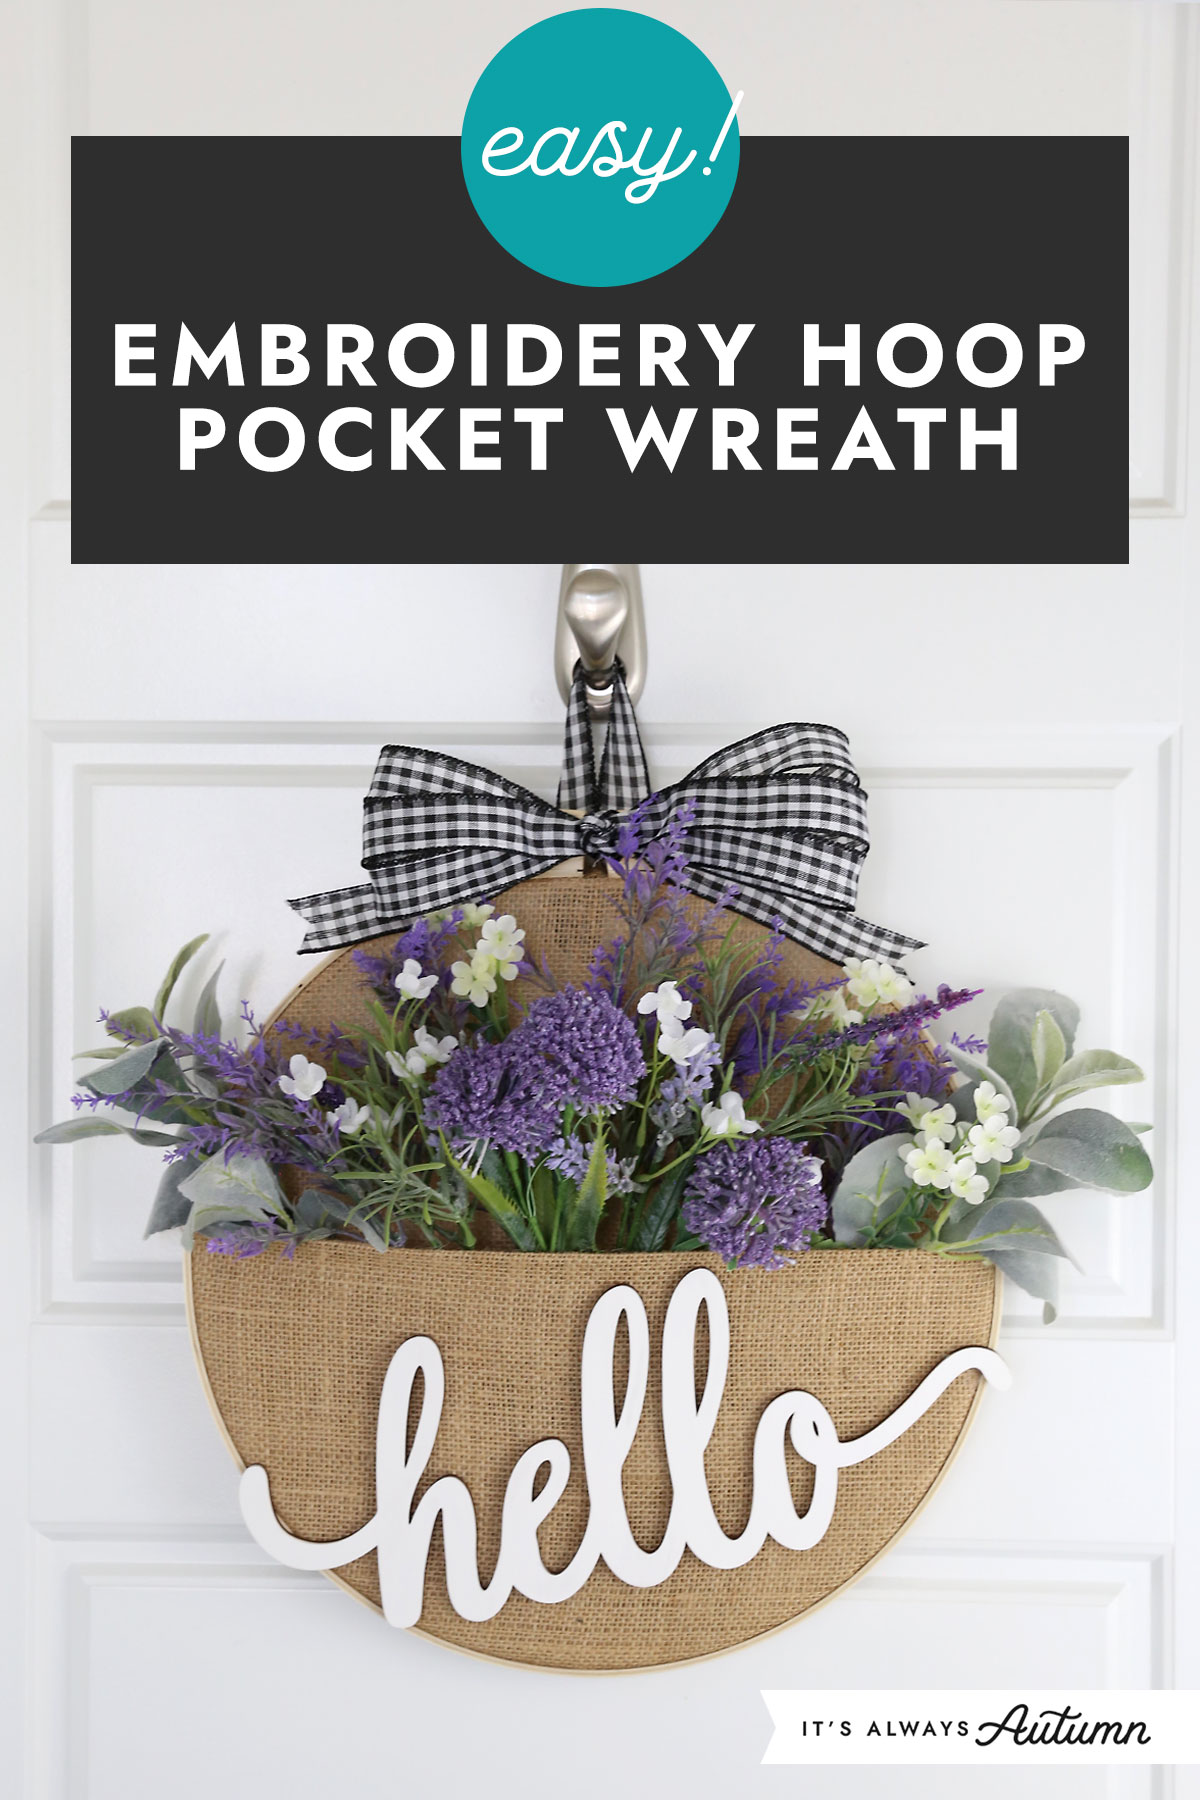
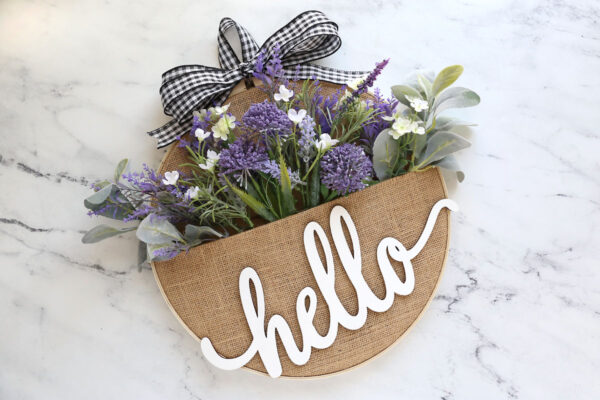
Todays’ project is one of the easiest I’ve ever made – and it turns out really cute! All you have to do is fold a piece of burlap to make a pocket and then sandwich it inside a large embroidery hoop. Add a wood word on the front, a pretty bow on top, and then fill the pocket with your favorite faux florals. The best part is that you can easily update this pocket wreath for any season by swapping out the florals.
Supplies
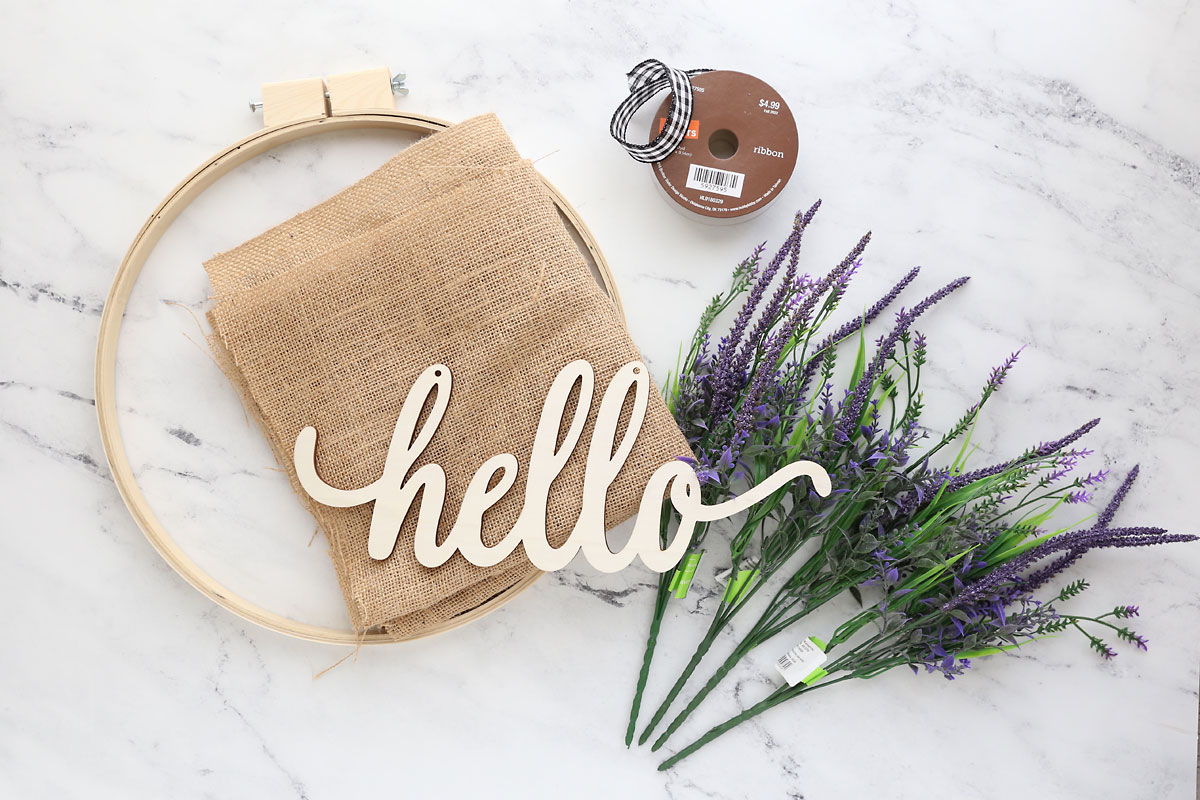
This is what you’ll need to make an embroidery hoop pocket wreath:
- 14 inch embroidery hoop: I purchased this hoop at Hobby Lobby for $7
- 18 in x 36 in piece of burlap: You can find 48 inch wide burlap on a bolt at most fabric and craft stores. Purchase half a yard to get a piece that’s 18 in x 48 in, and then trim it down to 36 in. I purchased burlap at Hobby Lobby for about $2.
- Wooden word cutout: I used this “hello” cutout from Amazon. You can use any word you’d like – “welcome” would also be really cute. Just make sure the word fits across the bottom of the hoop area. NOTE: the word cutout I used came with two small holes in it for hanging. I didn’t like how that looked so I used putty to fill the holes.
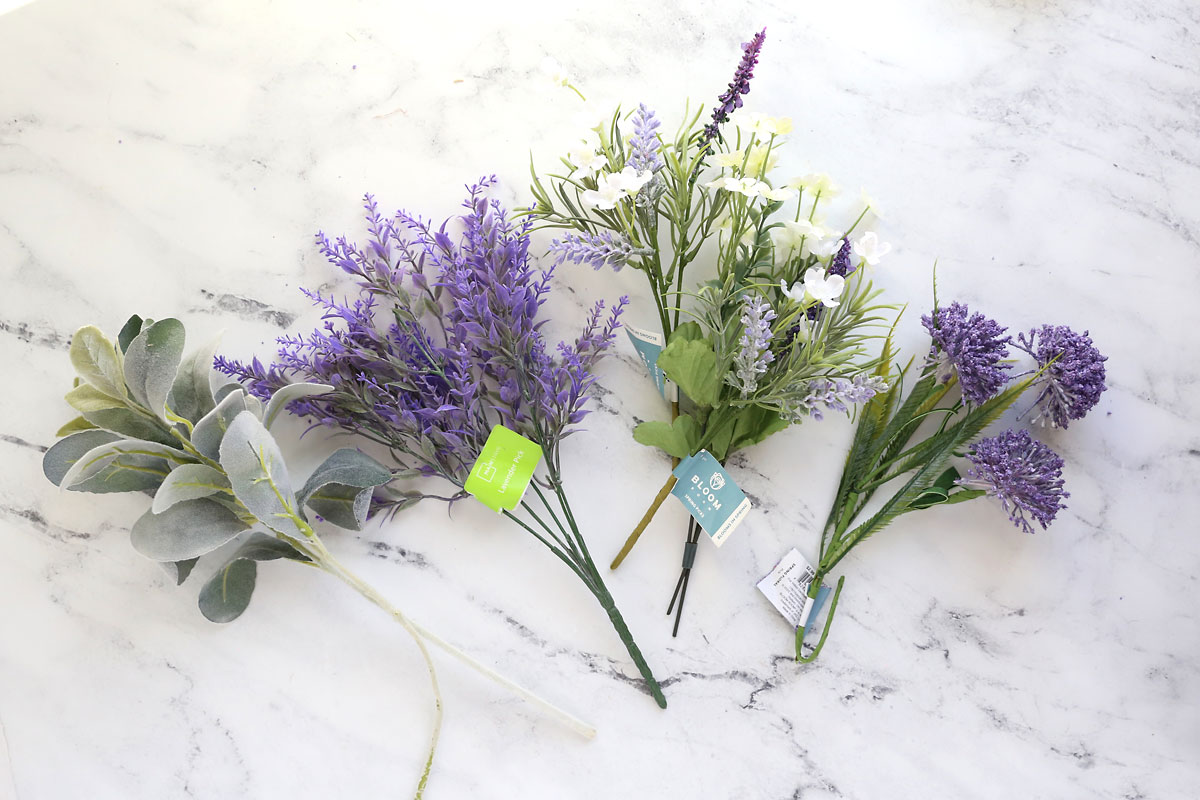
- Faux florals: I used green and purple florals from Walmart and Jo-Ann that ranged in price from $1-$3.
- Ribbon: You’ll use ribbon to make a bow for the top of the hoop and a loop to hang it with. I used about 2.5 yards of 1 inch wide ribbon because I liked one I had on hand. You may use wider ribbon if you prefer. Wired ribbon will make a sturdier, nicer looking bow.
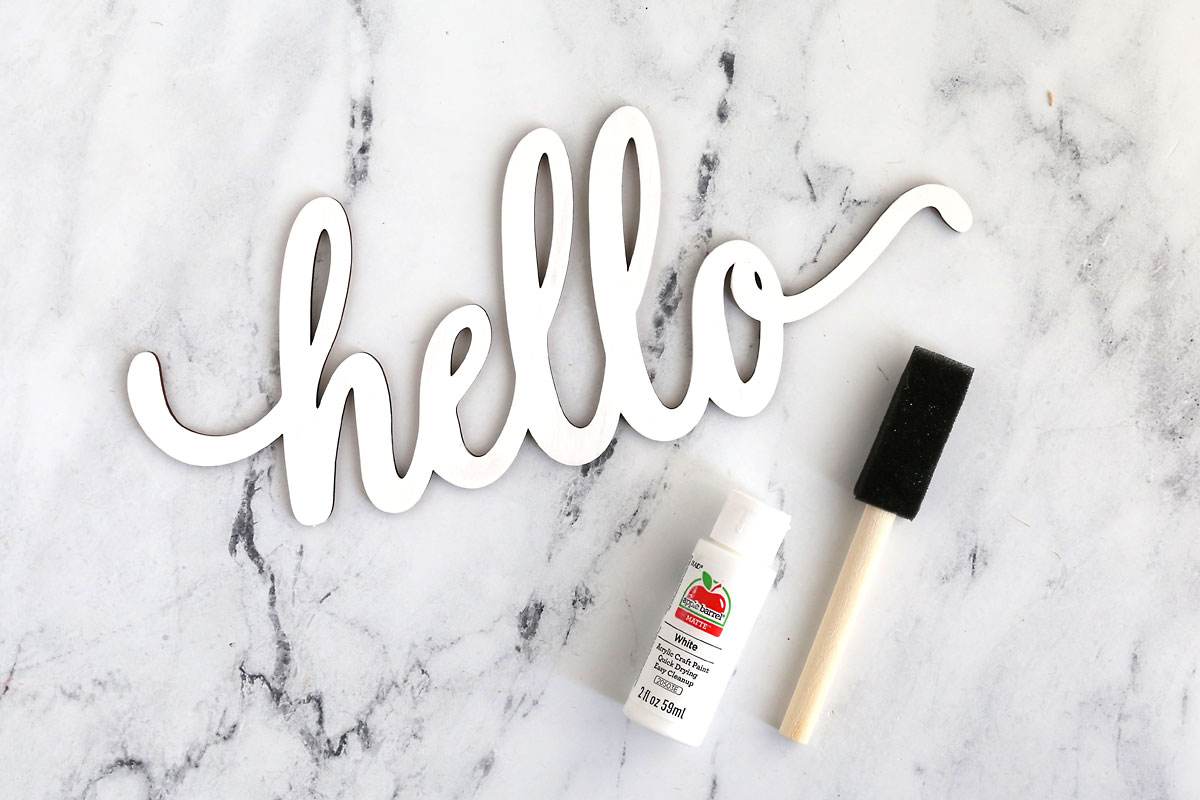
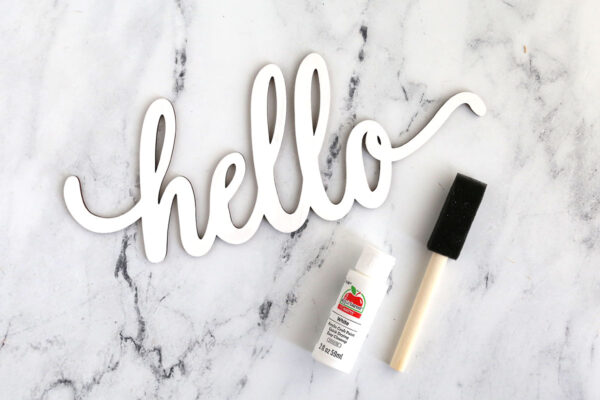
- White paint and paintbrush (optional): I painted the wooded word white using cheap acrylic craft paint and a cheap foam brush. This is optional.
How to Make an Embroidery Hoop Wreath
As I mentioned, this is a really simple craft project that doesn’t require any special skills. You’ll be able to complete the entire thing in twenty to thirty minutes. Let’s get started!
Paint the Wooden Word
If desired, paint the wooden word white using acrylic craft paint and a foam paintbrush. Please note that the word I used came with two small holes in it which I filled with some putty and allowed to dry before painting. You can use a hair dryer to speed dry the paint. You may want to use two coats of paint.
Create the Burlap Pocket
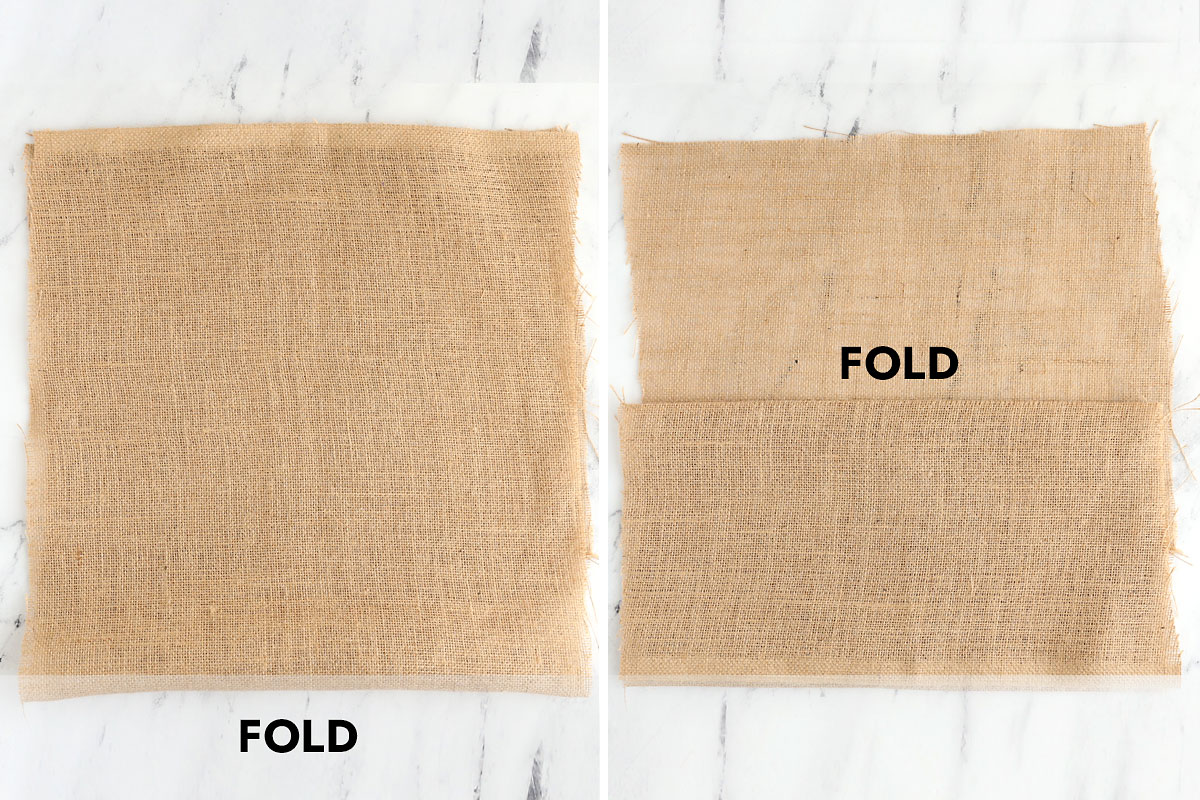
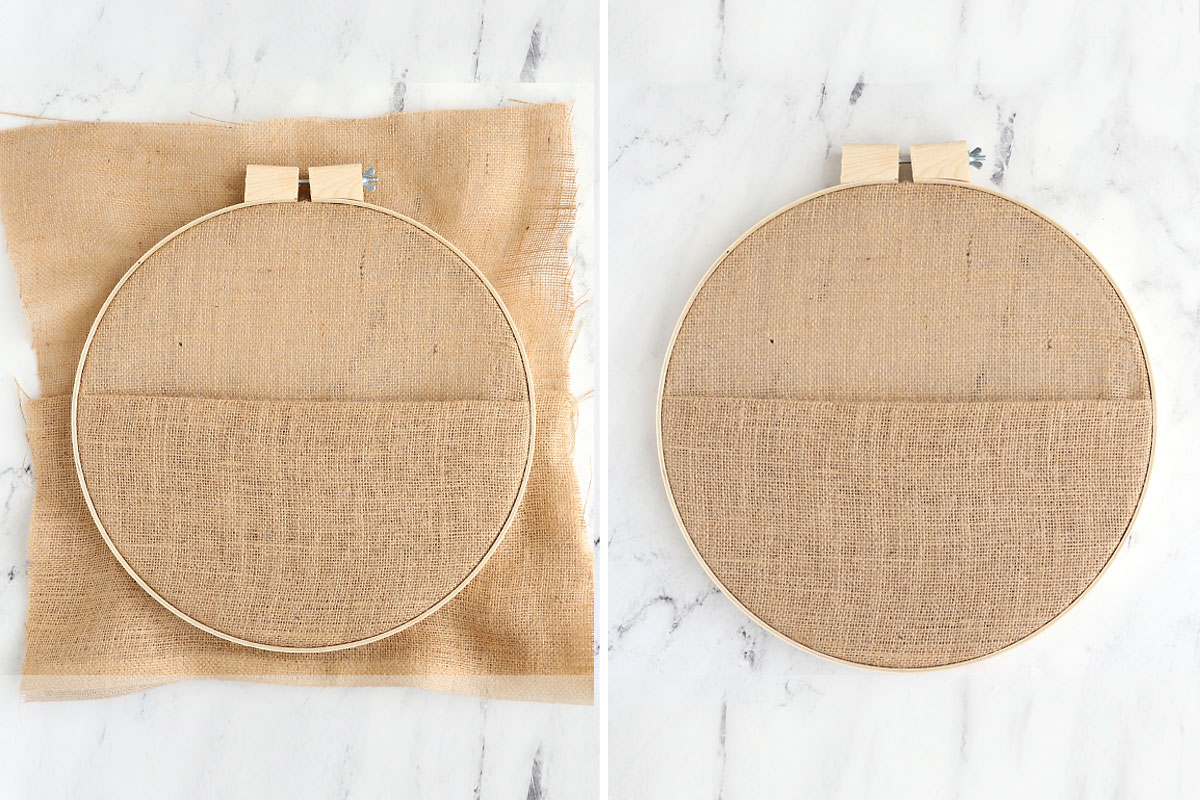
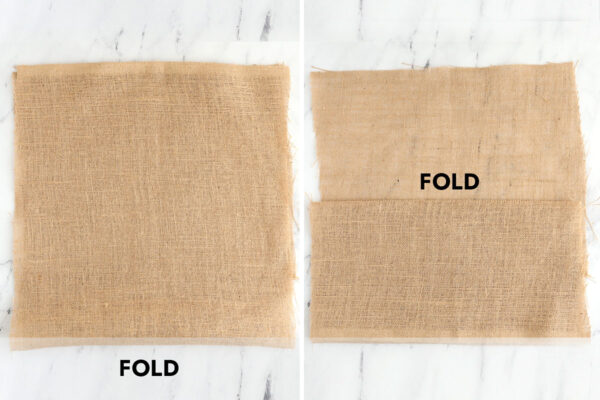
Start with a piece of burlap that is 18 inches wide and 36 inches tall. Fold it in half, placing the fold at the bottom. Then grab the top layer of burlap and fold it back down, matching the raw edge to the fold at the bottom. Press the folds flat (either with your fingers or with an iron).
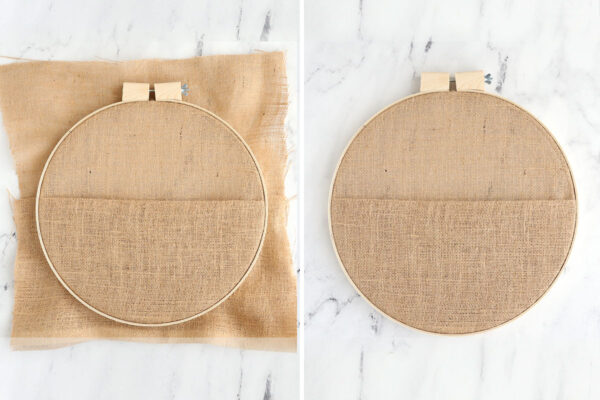
Loosen the outer ring of the embroidery hoop and separate the two rings. Place the inner ring under the burlap so that pocket comes just higher than halfway up. Place the outside ring on top, sandwiching the burlap inside. Pull the material tight all the way around and tighten the other ring. Then use scissors to trim away the excess material in the back.
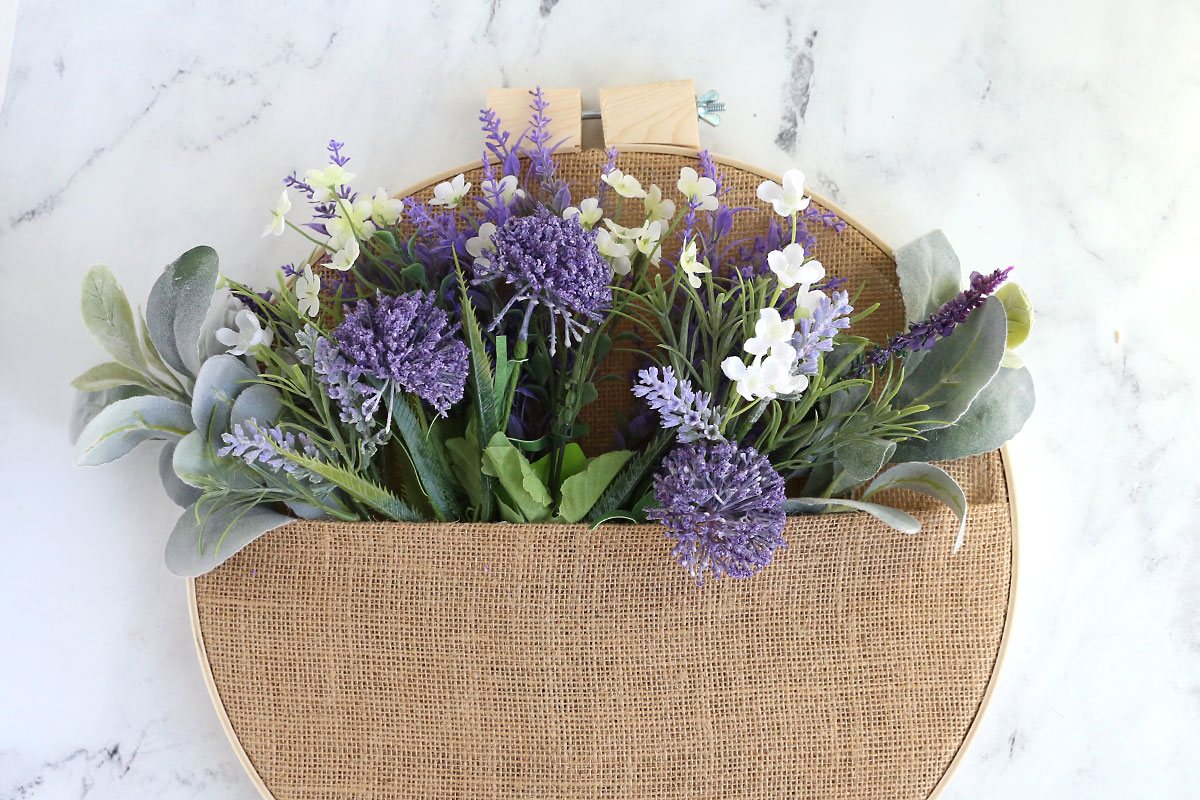
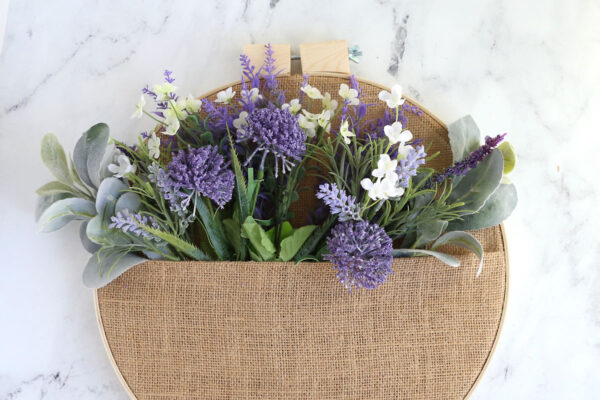
Separate any stems if needed and tuck them into the burlap pocket. Since burlap is rough and textured the florals will stay where you place them and you won’t even need to secure them. Remember you’ll be adding a bow to the blocks of wood at the top of the hoop so you don’t want to cover them with florals.
Add a Bow and Loop
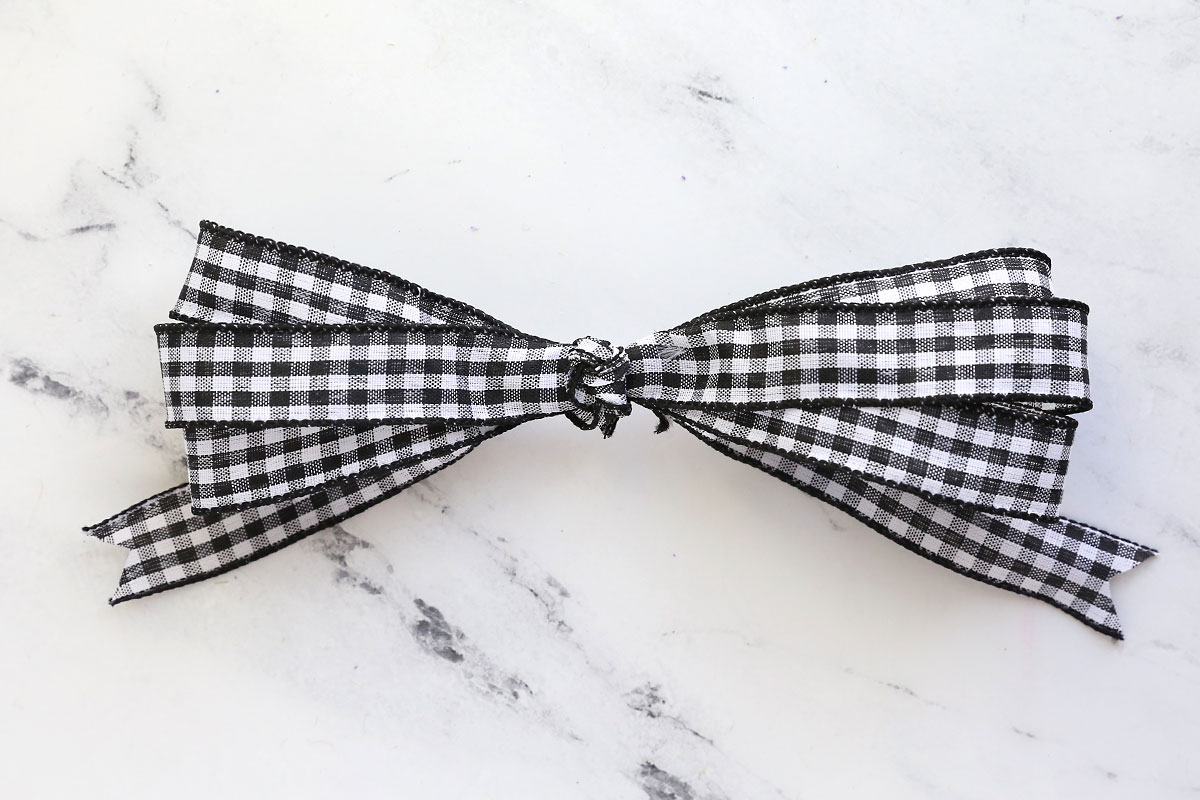
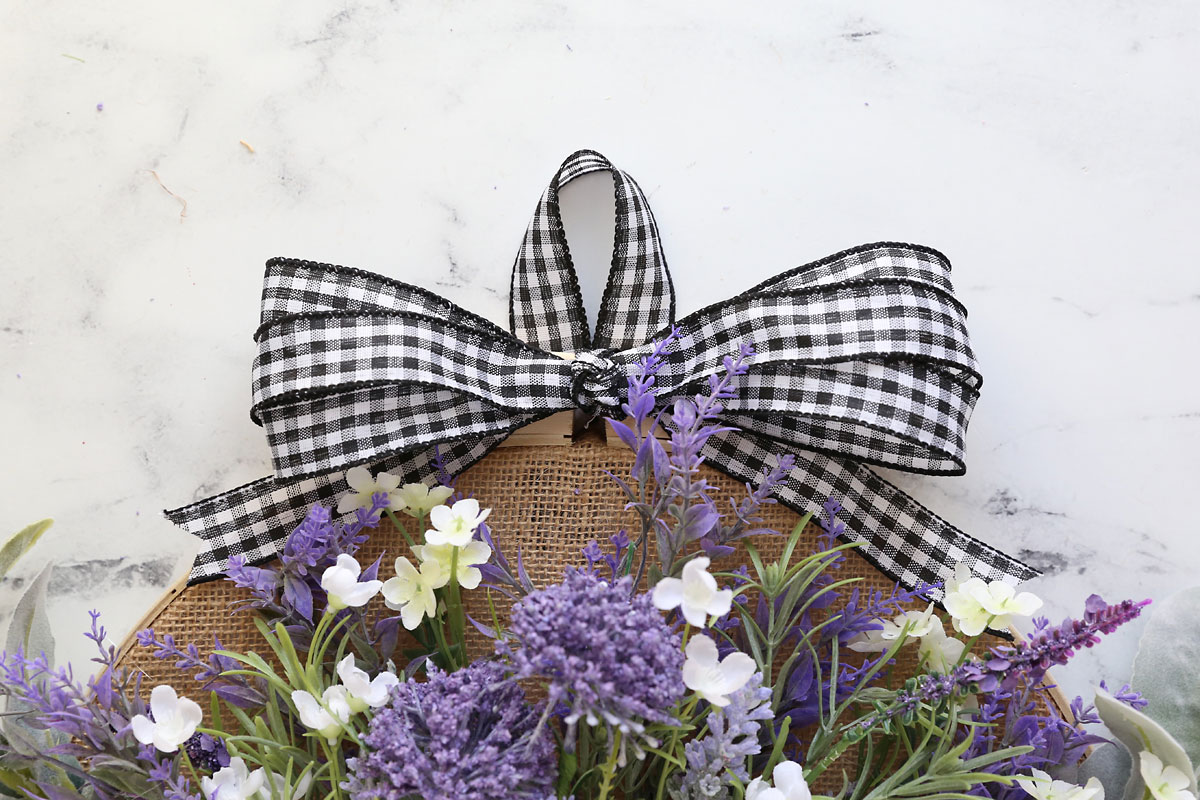
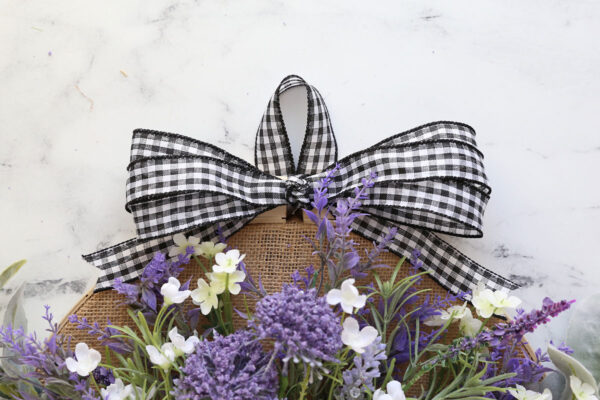
Use ribbon to create whatever type of bow you like best. This is the bow that I made using 2 yards of 1 inch wide ribbon (and you can find instructions for making this type of bow here):
Embroidery Hoop Pocket Wreath
Supplies
- 14 inch Embroidery Hoop
- Burlap 18 in x 36 in
- Wood Word
- Ribbon 2-3 yards
- Faux Florals
- Paint and Paintbrush optional, to paint wooden word
Want more project ideas? Sign up to get my favorite easy crafts and recipes straight to your inbox!
Instructions
- Paint the wooden word white if desired.
- Place the burlap so it's 18 inches wide and 36 inches tall. Fold it in half, with the fold at the bottom. Grab the top layer of burlap and fold it back down to create a pocket. Press.
- Place the burlap into the embroidery hoop with the pocket a little more than halfway up the hoop. Pull the burlap tight and tighten the hoop to secure. Trim the excess burlap.
- Fill the pocket with florals.
- Attach a bow to the wood blocks at the top of the hoop. Attach a loop behind the block.
- Hot glue the wooden word to the embroidery hoop.


Leave a Comment