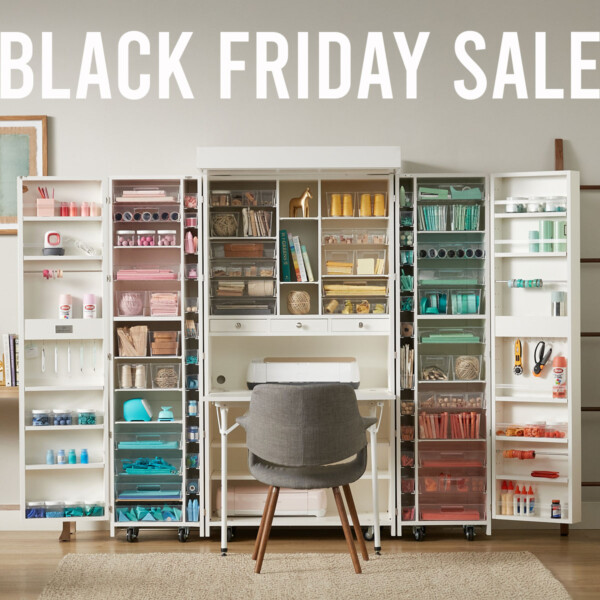
Hey guys, I am so excited to be sharing my new craft room today, complete with the amazing DreamBox from The Original Scrapbox. This is a sponsored post; I was provided a DreamBox in exchange for my honest review and the links in this post are affiliate links. Additionally, I have a special coupon code that will save you money! Use the code AUTUMNDREAMS for $100 off your very own DreamBox or AUTUMNDREAMSBF during the Black Friday sale for $250 off!
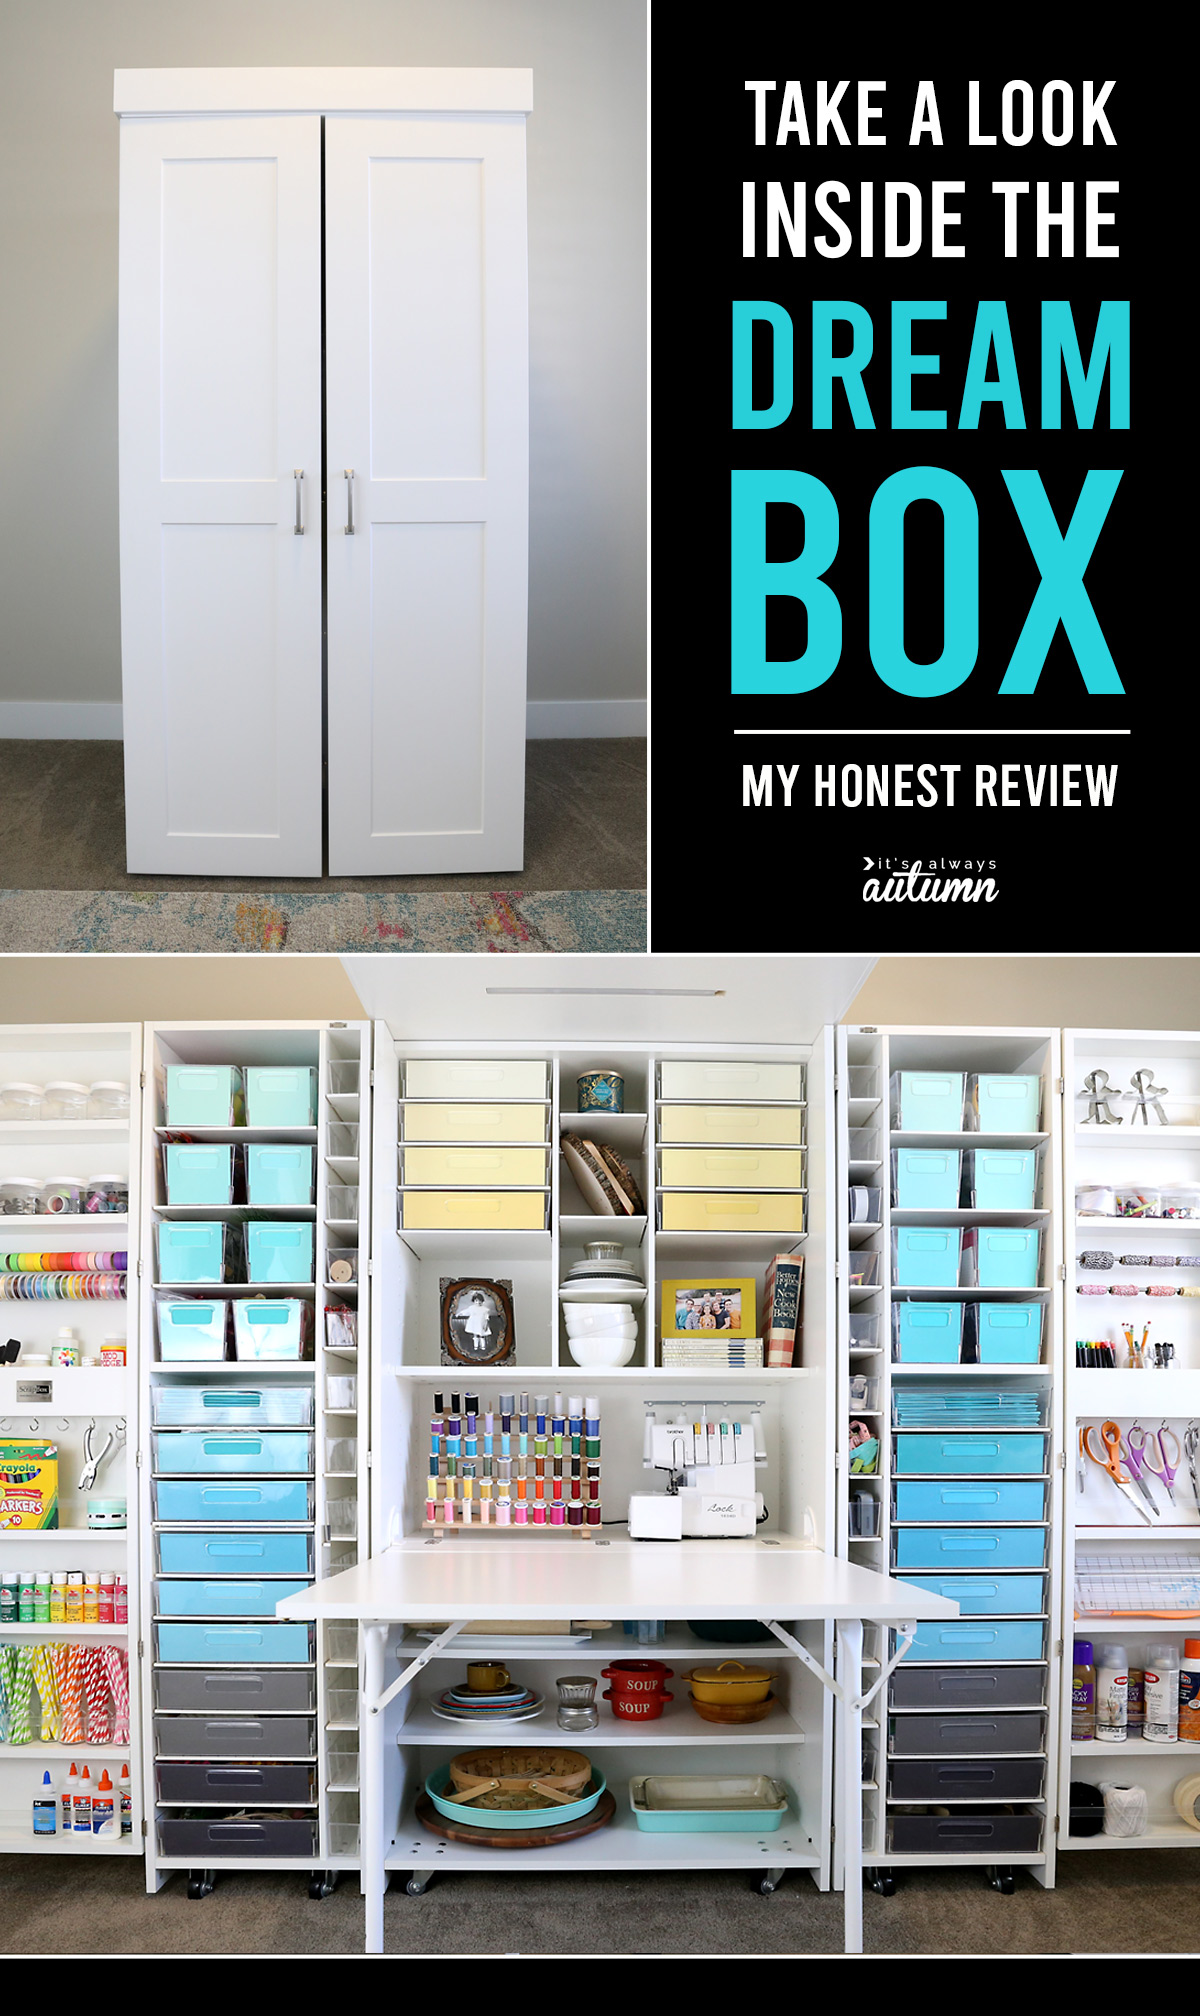
I am going to tell you all about my brand new DreamBox and I have lots of photos and a video tour to share with you today. But first I want to give you the details on the Black Friday sale that starts tomorrow!
Find the Current DreamBox Coupon Codes Here
The 2022 Black Friday sale is running right now! This is the biggest sale event of the year, and this year they are offering the biggest savings I’ve ever seen with my code AUTUMNDREAMSBF:
- This code is for US and Canadian customers and gives you $250 off the DreamBox! You’ll also get a free gift (choose from a planner, a craft caddy, or an essential oils set), $200 off the prebuilt service, and even more savings on bundles with additional furniture.
- If you’re in the UK, use the code AUTUMNDREAMS15 to get 15% off everything!
Clike here to Check out the Black Friday Sale
Don’t worry, if you’re reading this post after the sale is over, you can still use my code AUTUMNDREAMS to get $100 discount off your DreamBox.
Ok, back to the DreamBox review!
My Honest DreamBox Review
When we built a new house four years ago I was thrilled to be getting a dedicated craft room. I’d been sewing at my kitchen table and crafting in a corner of our family room for years and I couldn’t wait to have a room of my own. One of the things I was most looking forward to was being able to stop in the middle of a project and not have to clean everything up. Just being able to walk out and shut the door sounded amazing.
Well, things didn’t work quite as I had planned. I didn’t have any furniture for my craft room and I didn’t know what to get, so I ended up with a couple Ikea tables and a shelving unit. I didn’t have a good organization system so the room was always a mess. I’m not usually a messy person, but it’s hard to be tidy when you don’t have a specific place for things to go. Even when the room was fairly clean, it wasn’t a place I was excited to be in. I actually ended up crafting on the kitchen table again, just because it was a nicer space to be in.
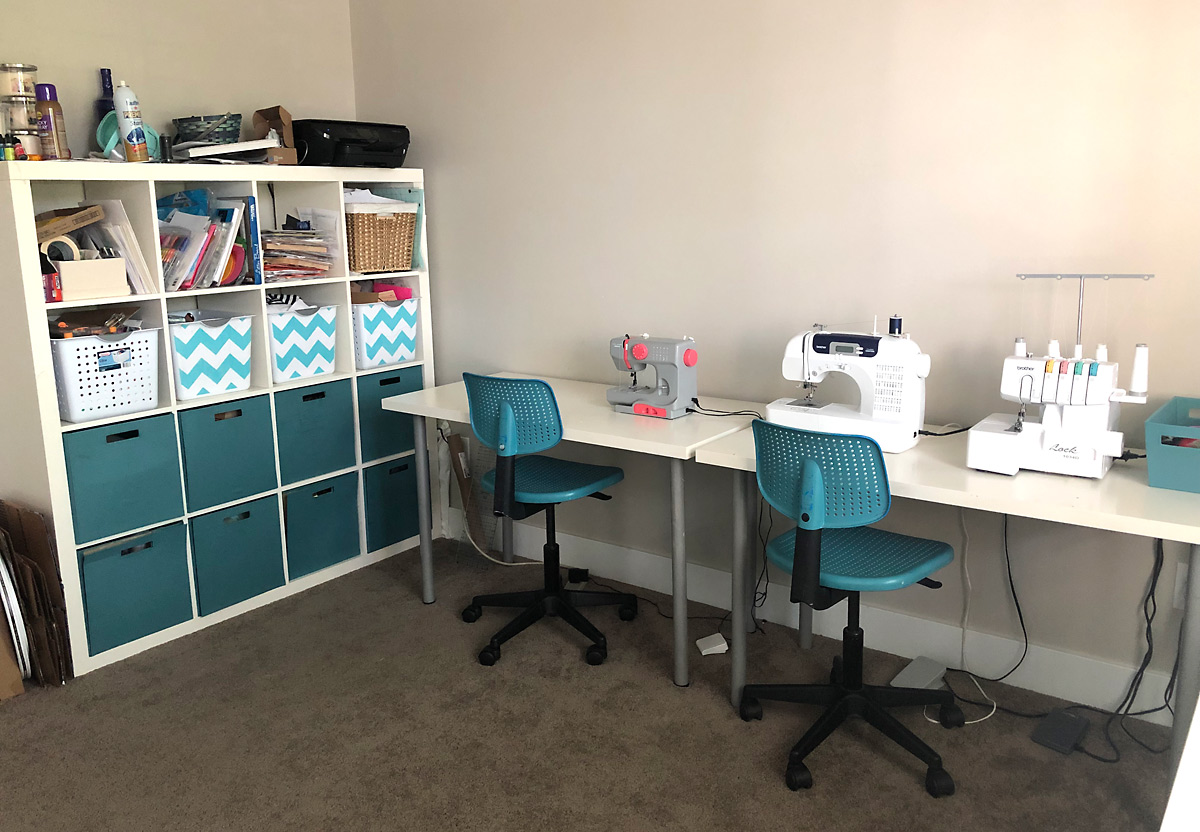
I really wanted to make my craft room a nice place that I enjoyed spending time in, but I wasn’t sure where to start. I thought about get custom shelving built in, but the idea of finding a carpenter and designing something that would work was intimidating. Plus I worried it would be a big investment for shelving and then I’d still have to purchase all sorts of bins or buckets to try to get things organized.
The DreamBox Craft Storage Unit
That’s when the folks at Create Room reached out to me to see if I wanted to try out a DreamBox. It sounded like the answer to all my crafting and organization woes!
Turns out it was. It’s completely transformed my craft space into a beautiful, functional place for me to work while giving me plenty of organized, accessible storage space.
I’ve put together a video tour of my DreamBox which has TONS of information about the box. After the video I’ll include lots of photos and even more information on the DreamBox, including pros and cons.
DreamBox Video Tour
If you might be interested in a DreamBox, watch this video tour. It’s 11 minutes long and I give lots of information about the box, including details on delivery, assembly, how I have my box set up, and more.
DreamBox Photos and More Info
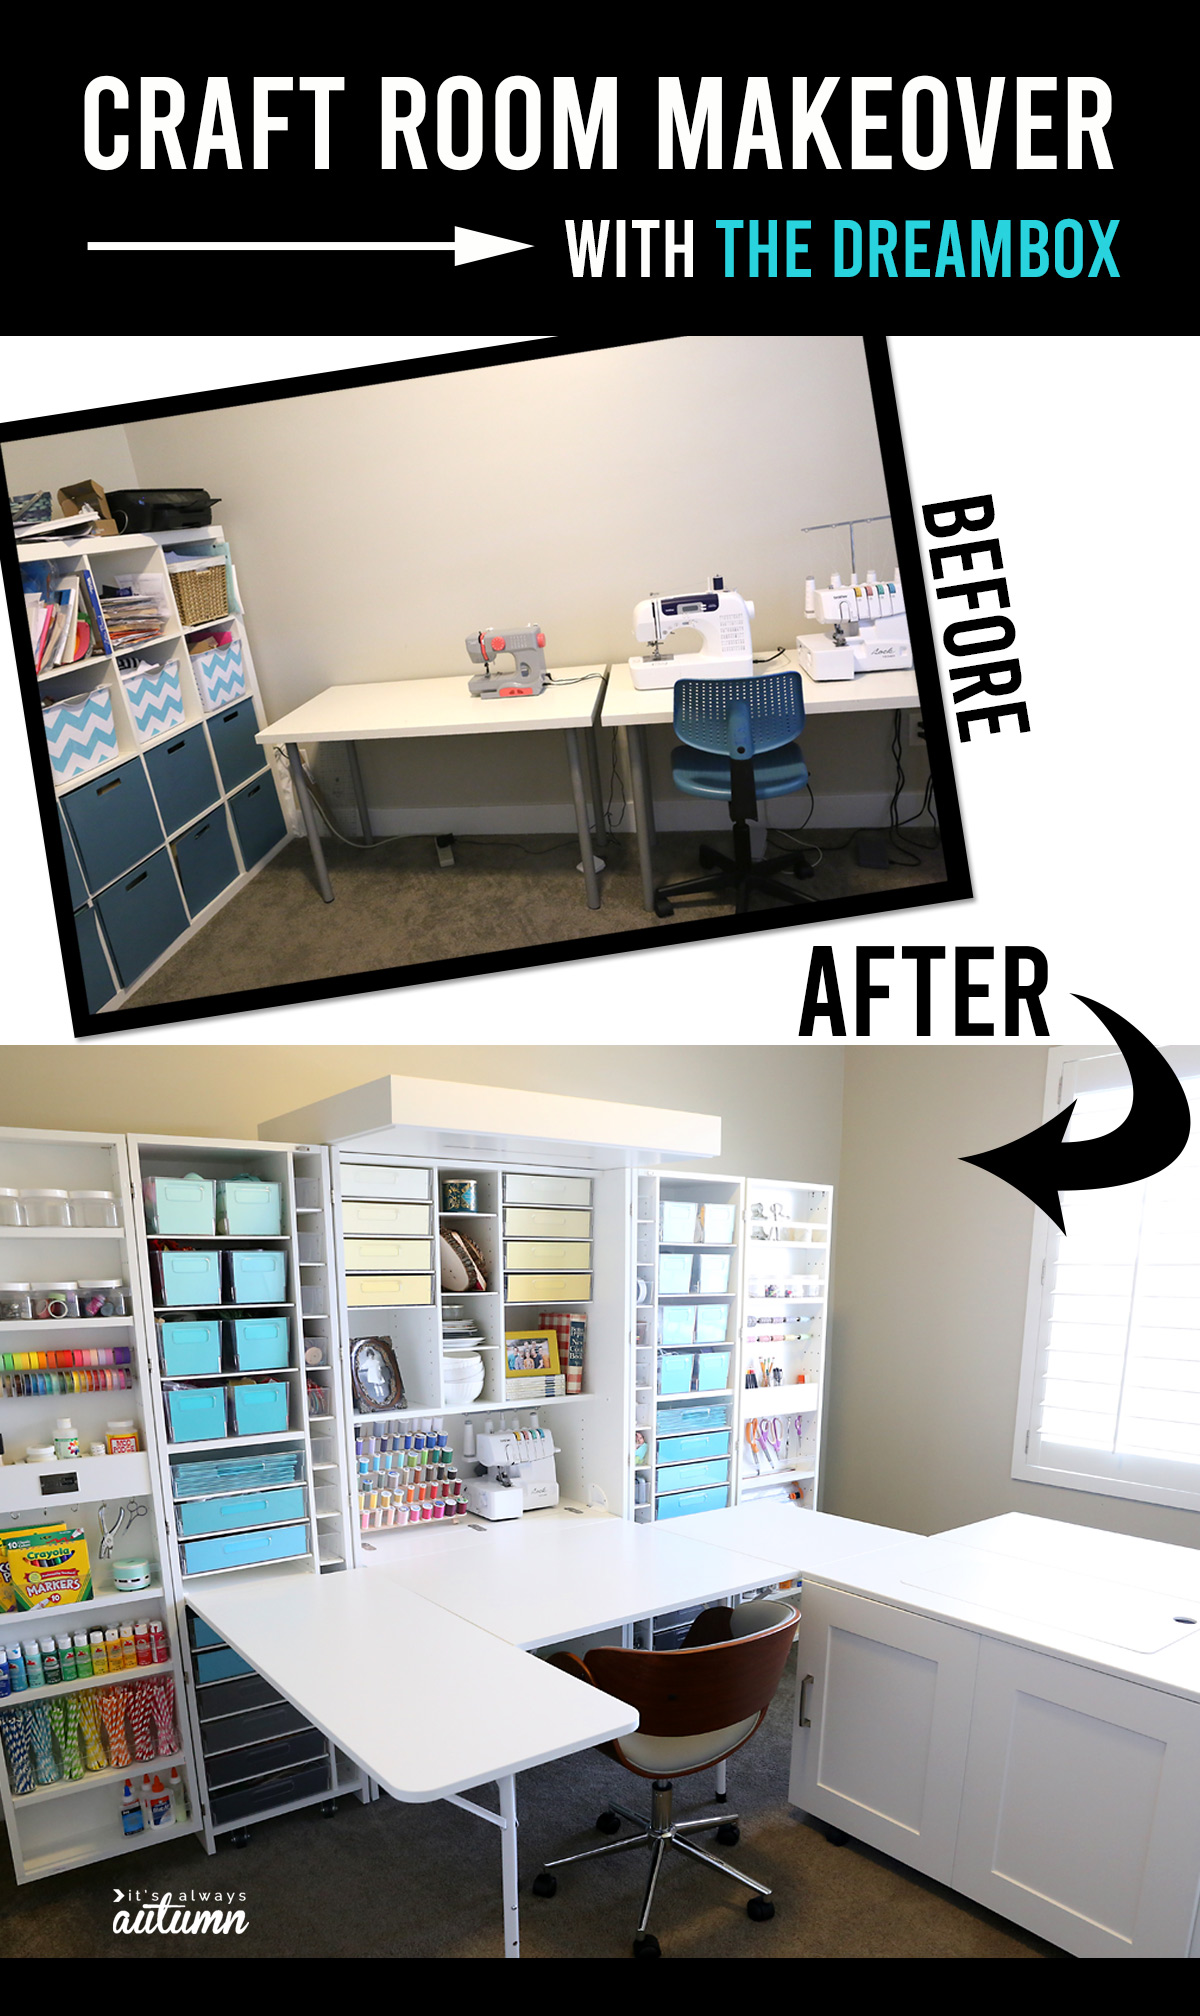
So remember what my room looked like before? This is what it looks like now:
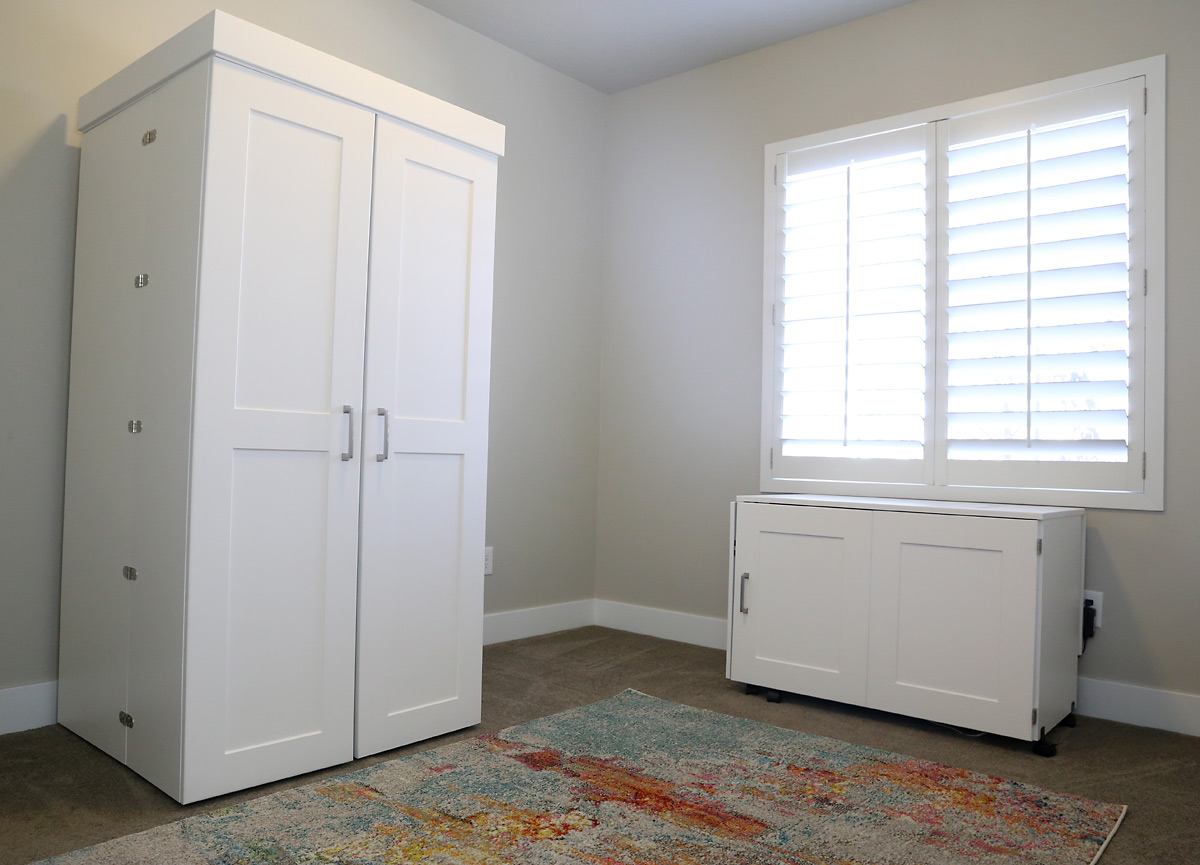
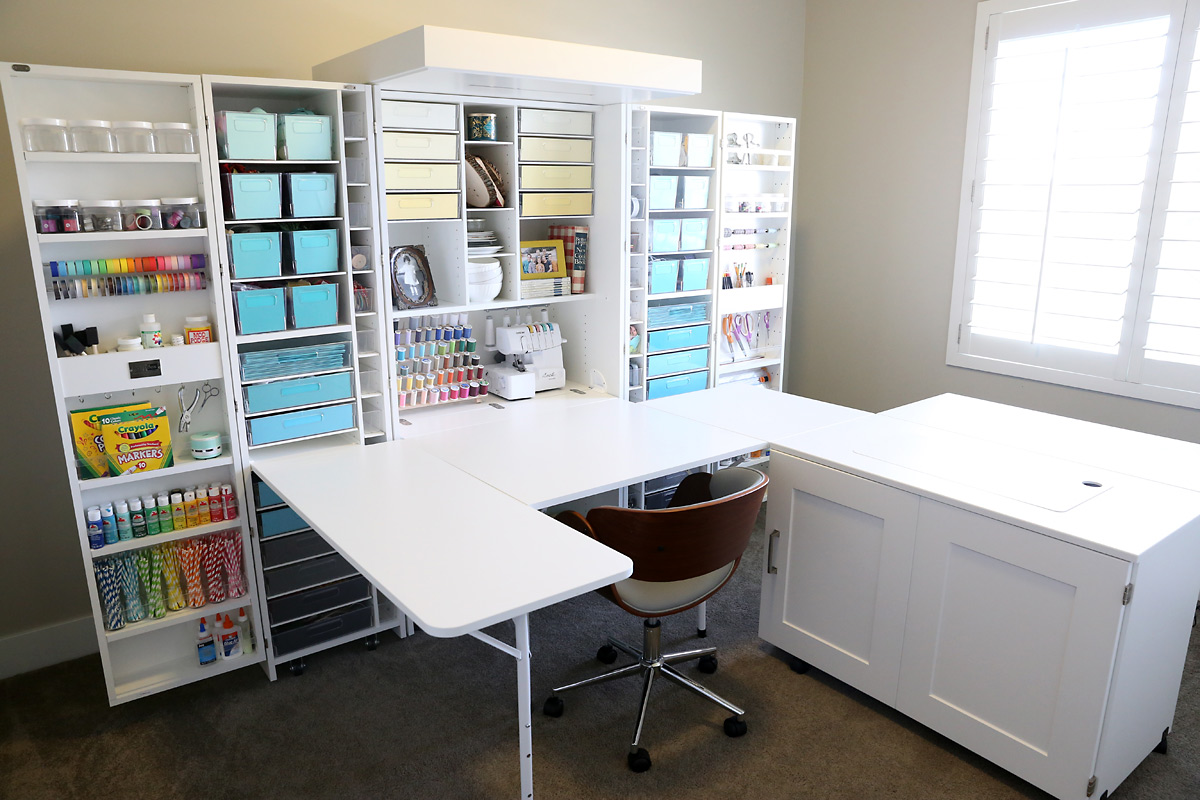
When the box is folded up it looks like a beautiful cabinet and it keeps all my supplies contained and tidy (I do have my fabric stored in the closet, but my other crafting and sewing supplies are all inside the box). NOTE: The smaller cabinet that you see under the window is the brand new Sew Station, also from The Original Scrapbox, and my sewing machine is inside it! I’ll tell you all about that tomorrow!
Here is what the DreamBox looked like when I got it all unpacked and set up:
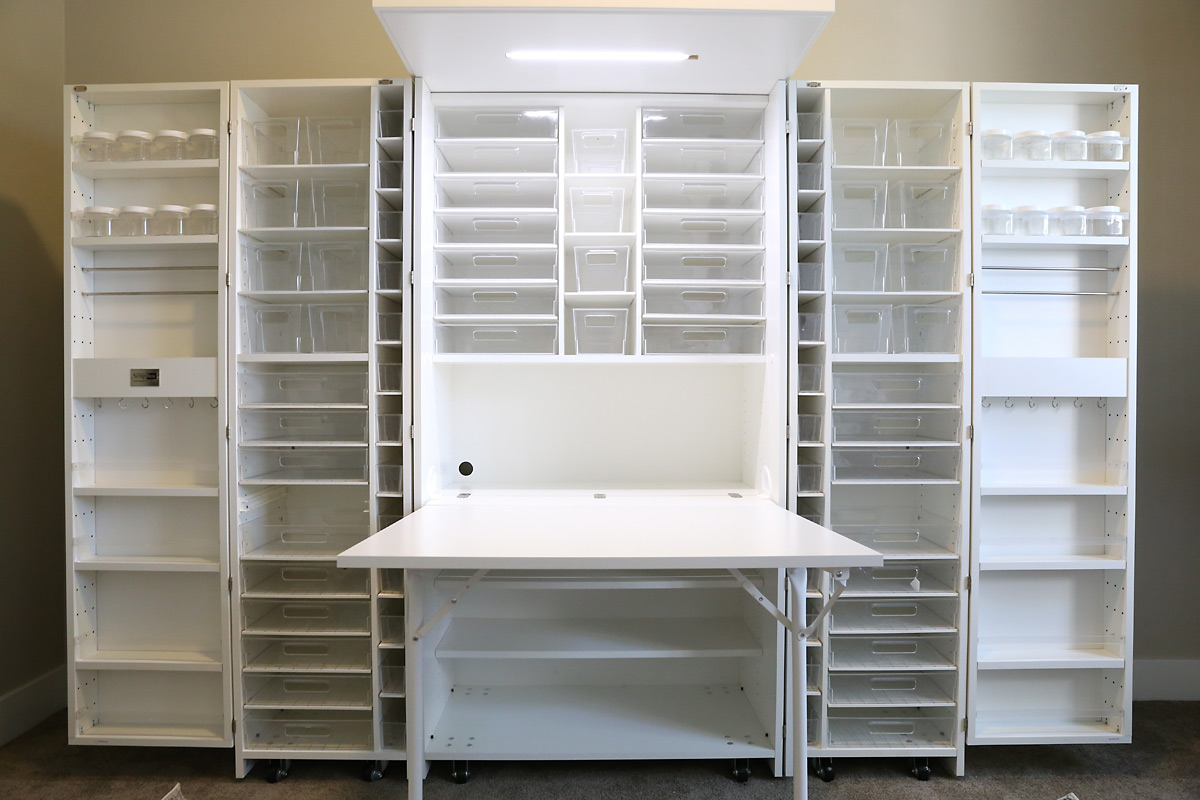
My box includes the White Shaker exterior, the crown (the piece on top that includes a light) and the 80 acrylic tote package. There is a lot of room to store supplies. Here’s what it looks like now that I’ve moved my things in:
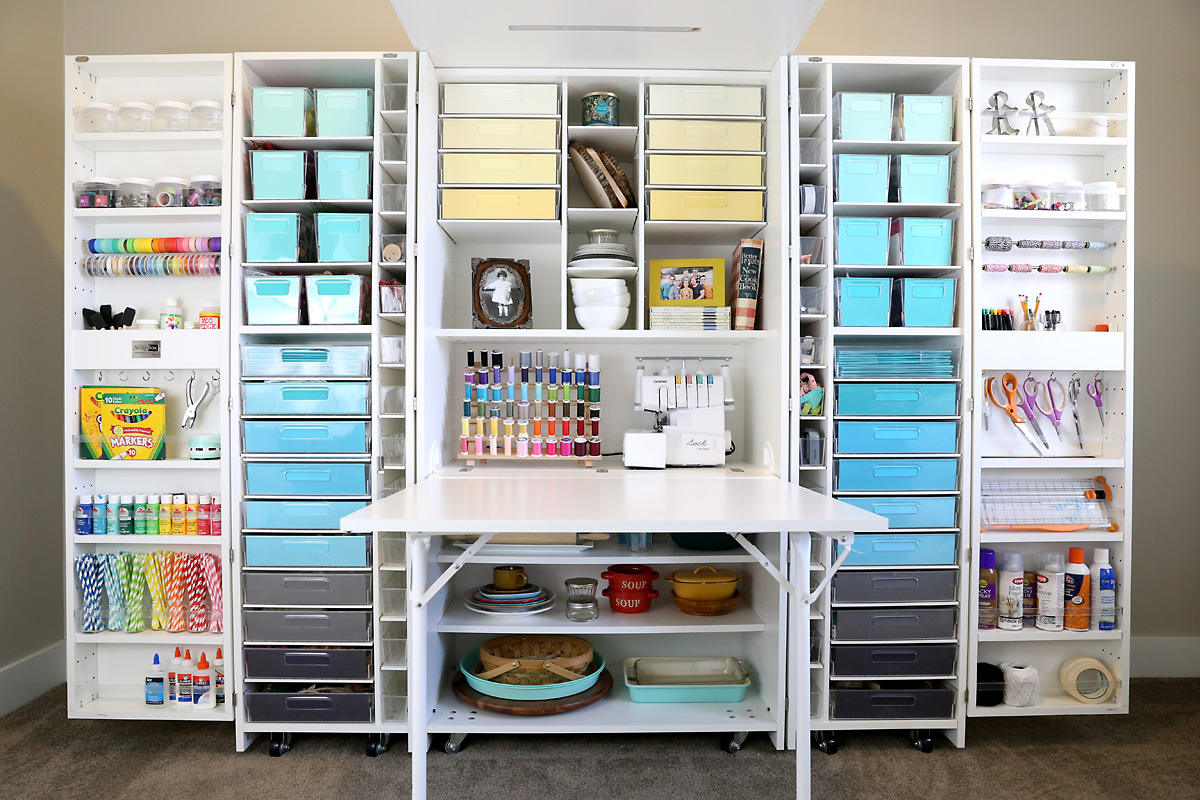
As I mentioned in the video, I really wanted my room to look tidy and beautiful, so I decided to line most of the clear acrylic totes with colored card stock. Most of my craft supplies aren’t color coordinated and I didn’t want anything to look messy, so I sacrificed being able to see through the fronts of the bins. I’d planned to add labels to the bins, but I’ve found that I’ve already memorized where everything is, and I can still see through the sides of the bins if I need to go searching for something. With so many compartments, I have easy access to all my crafting supplies.
DreamBox Pros and Cons: what I love
These are the things that really make the DreamBox special:
The fold up/open out feature is really pretty amazing. Before I could never have used my craft room for another purpose, like letting guests sleep in there, but now I can. With the box folded up I have room to put an air mattress down on the floor and, even better, I’m not embarrassed to let people go in there! Opening and closing the box is quite easy to do; the design is really pretty slick. The swing doors open up easily because they are on sturdy steel caster wheels.
The box works in whatever size space you have. I’m lucky enough to have a dedicated craft room, but if you don’t the DreamBox can work in just about any space. The doors don’t have to be opened all the way out; you could keep them in a U-shape around the table and fit the entire thing in a much smaller space.
The plastic totes are wonderful! The hard thing about storing craft supplies on traditional shelves is that craft supplies come in different shapes and sizes, and many of them are small. Small item just get lost in larger bins, which is what happened when I had all my supplies in IKEA cubes. The DreamBox totes come in 3 different sizes. The large totes are big enough to hold 12×12 scrapbook paper. The shoebox totes are perfect for things like ribbon and sticker sheets. And then there are plenty of small clear totes to help me keep track of tiny items.
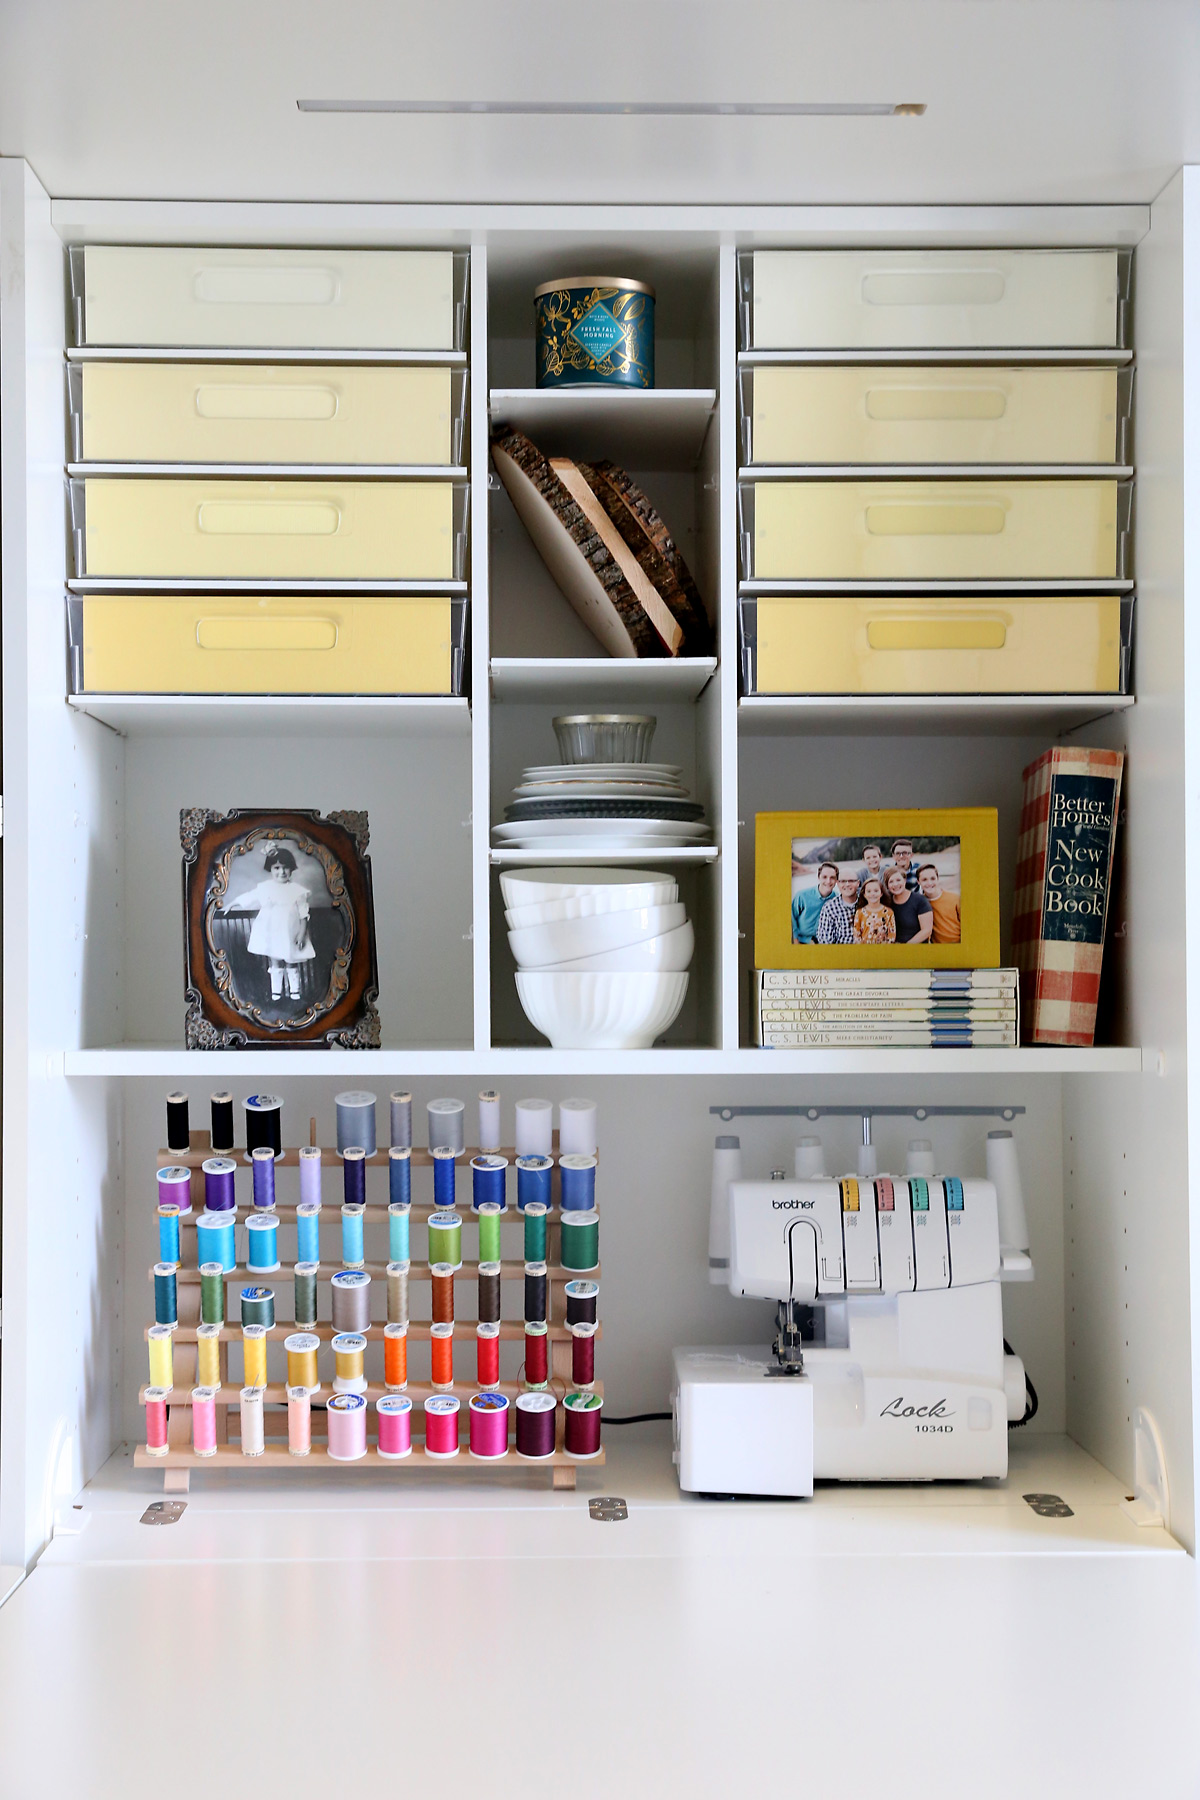
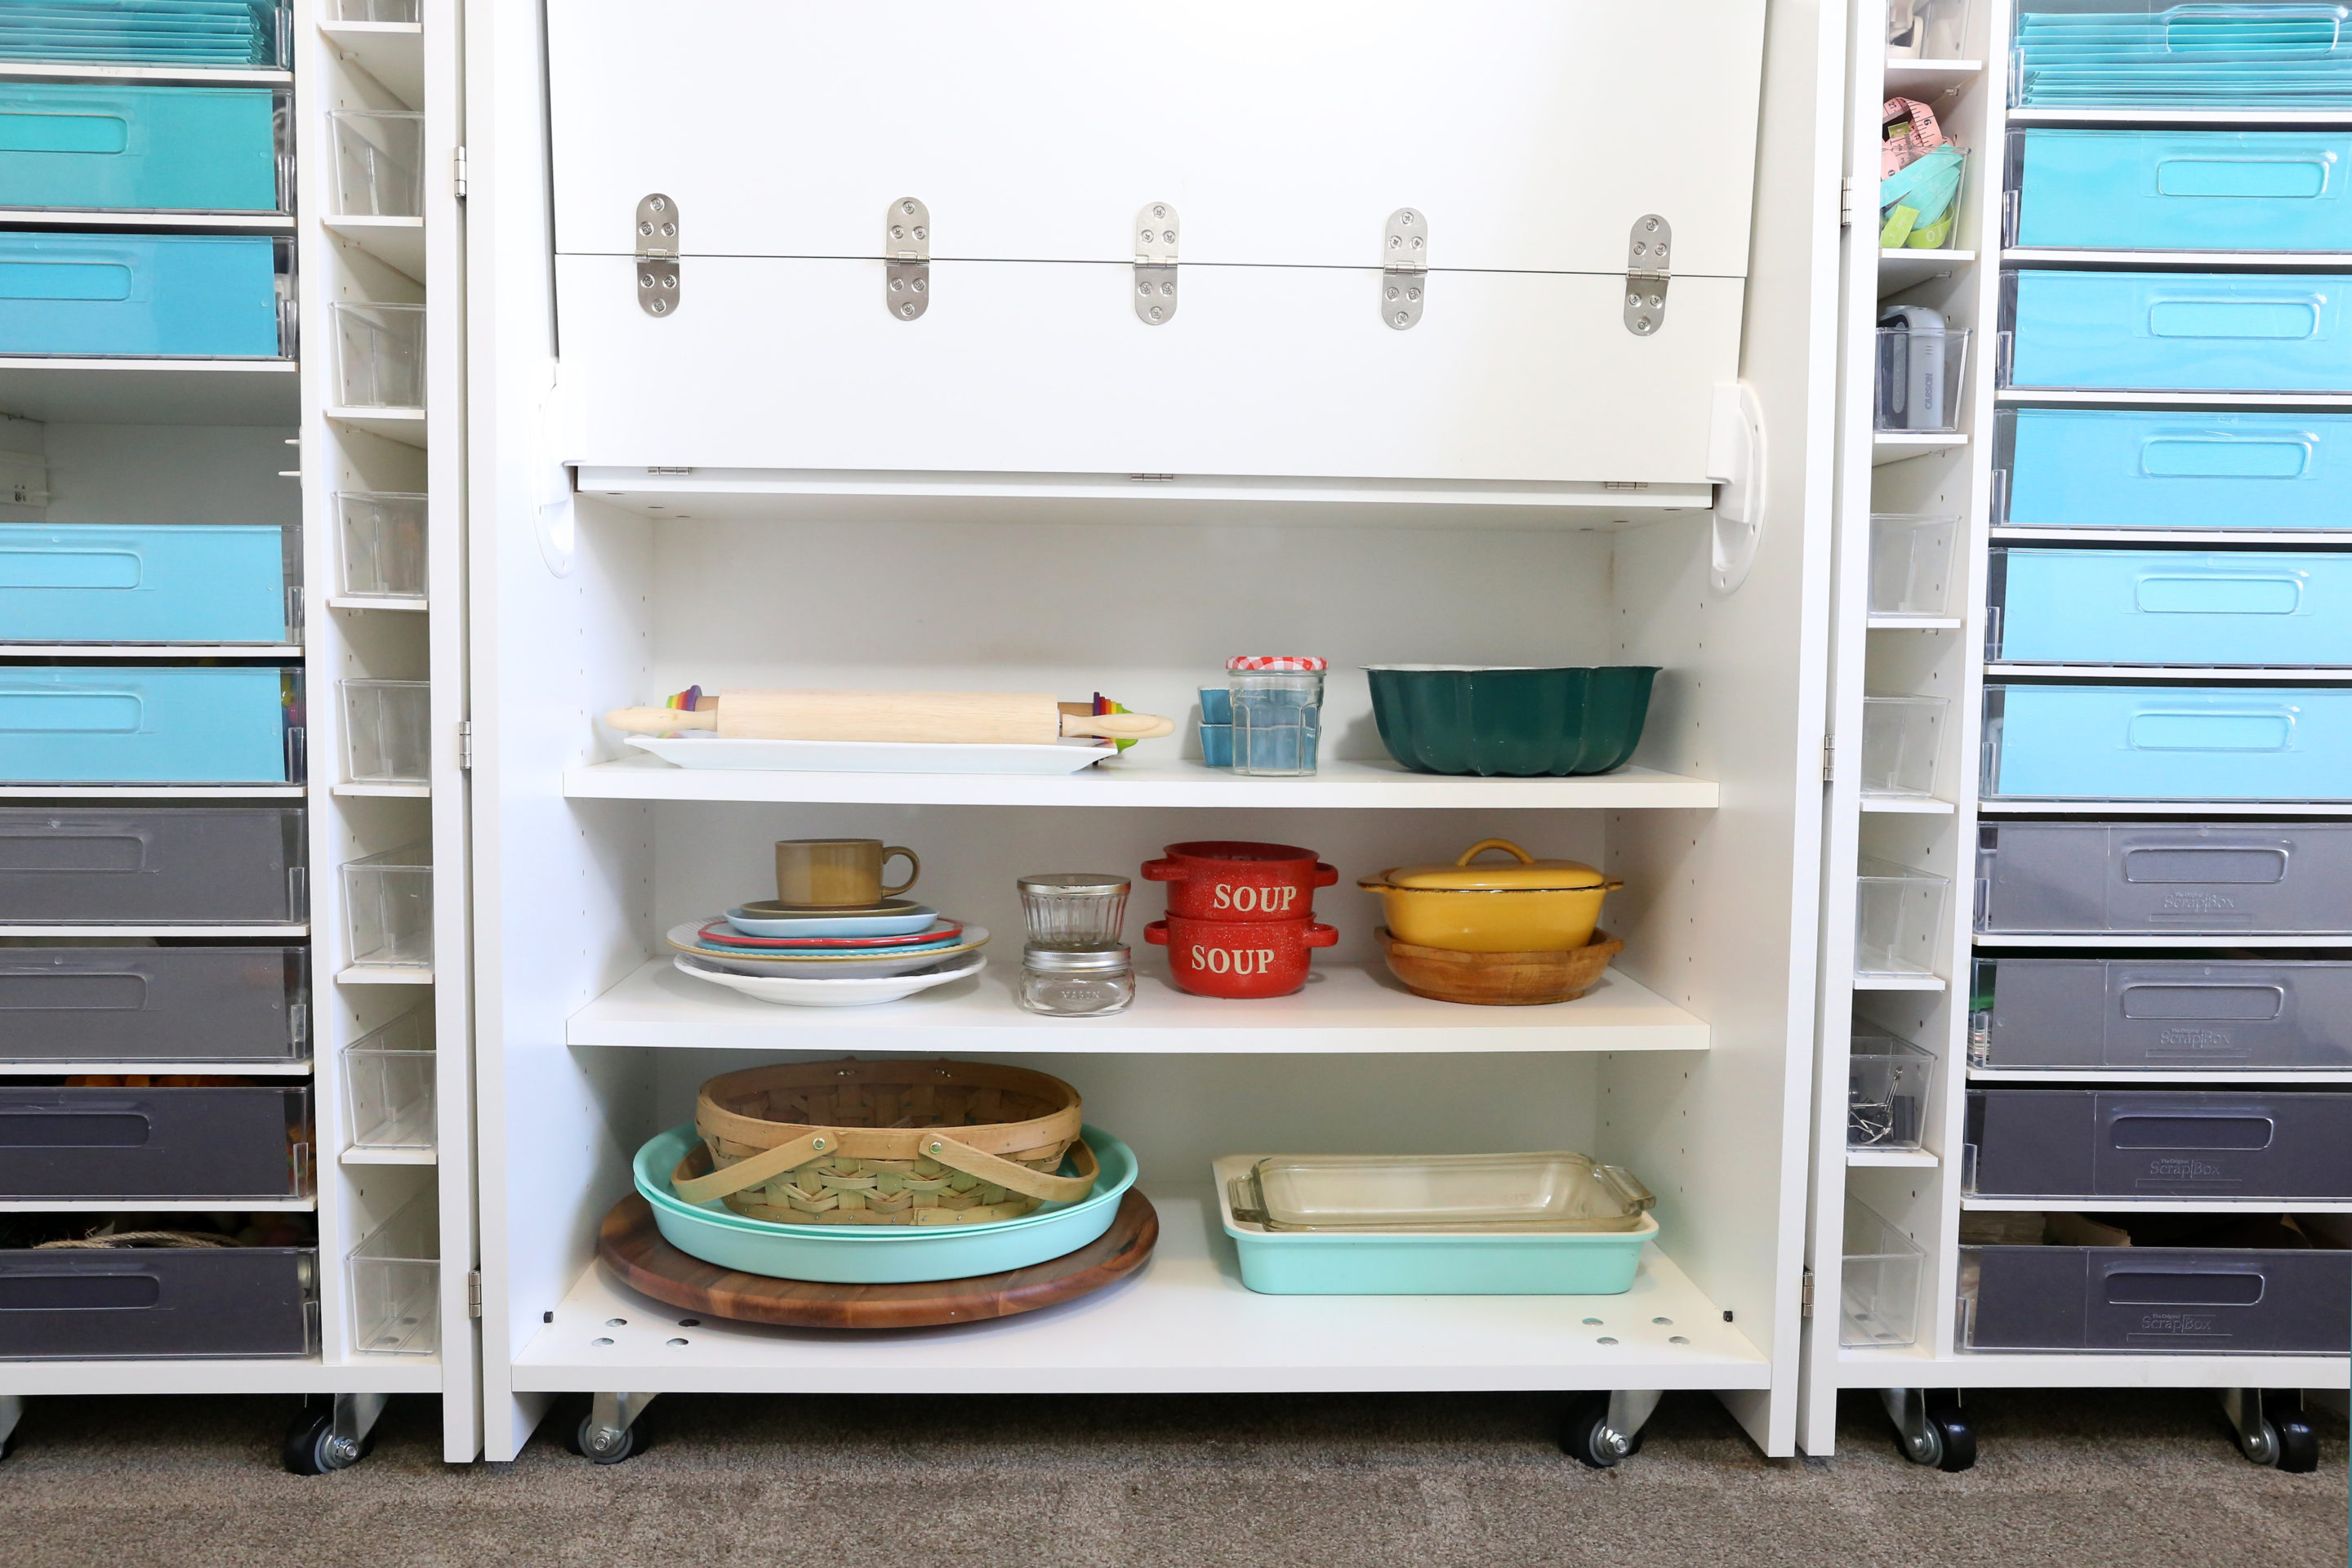
I also love the adjustable shelves! You can place them where you’d like to accommodate your supplies best. You’ll notice that all my totes are on shelves, but since I got my box Create Room has made customizing your unit even simpler. They now have tote tracks that eliminate the need for shelves under the large totes! And don’t forget there’s extra storage space underneath the table that’s perfect for larger items, like a Cricut or Silhouette.
Getting organized means you won’t keep buying supplies you already have but couldn’t find! When I went through all my supplies to move them over I was surprised by how many things I had multiples of. I love that now I know exactly what I have and exactly where it is – when my kids are looking for googly eyes or felt balls or gluesticks I know exactly where to tell them to find it. Having a designated spot for everything also makes it much easier to put things away.
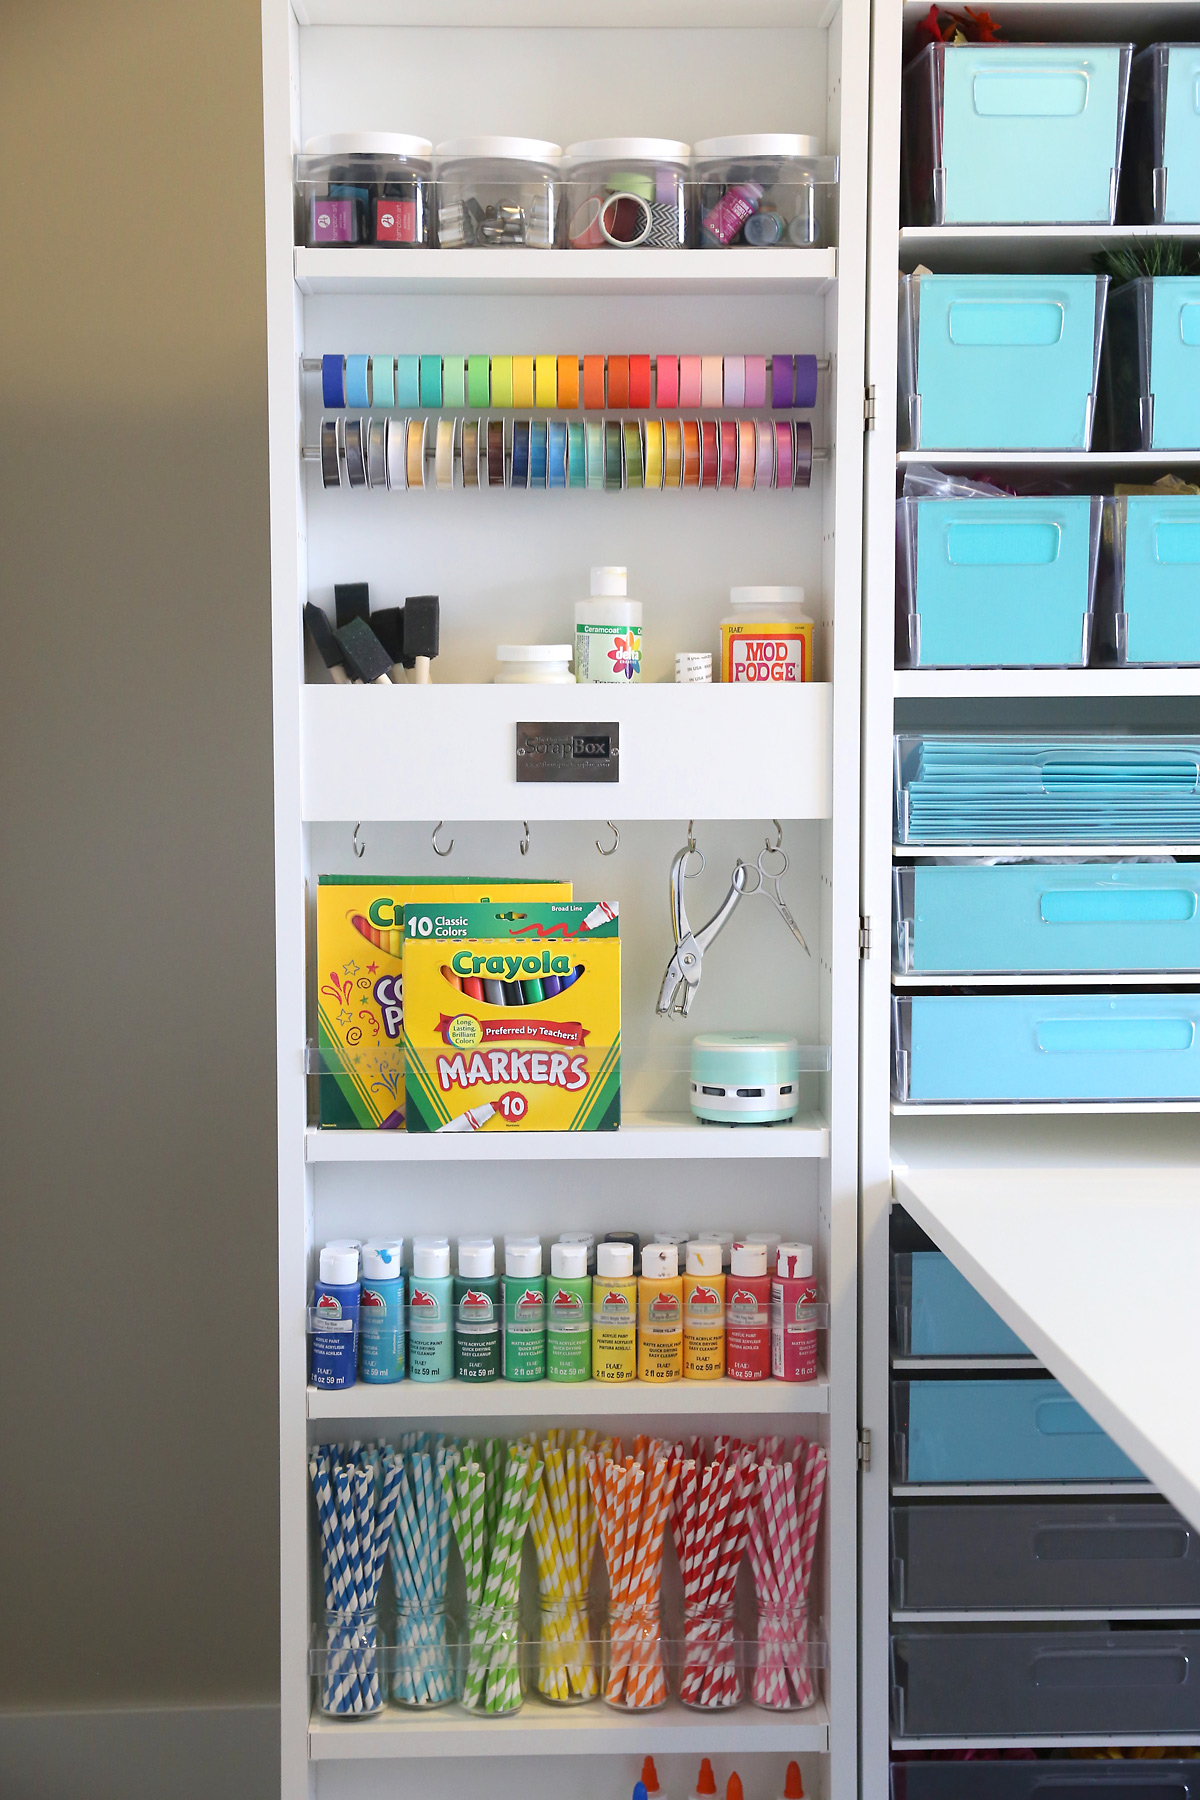
The Dream Box is BEAUTIFUL. It’s heavy and well made and just looks gorgeous in my room (and I love that’s it’s made in the USA). I hate decorating, so I love that the box is really all that I needed to make my room look great. The side doors of the box is especially nice for this – it’s where you can keep things like paints, ribbons, twine, etc. in rainbow order to make it look really pretty. There are clear lidded jars that are great for holding buttons, inks, stamps, etc., and I love the metal rods that hold my washi tape and ribbon. There’s even a row of hooks on each outer door where you can hang scissors, hole punches, etc.
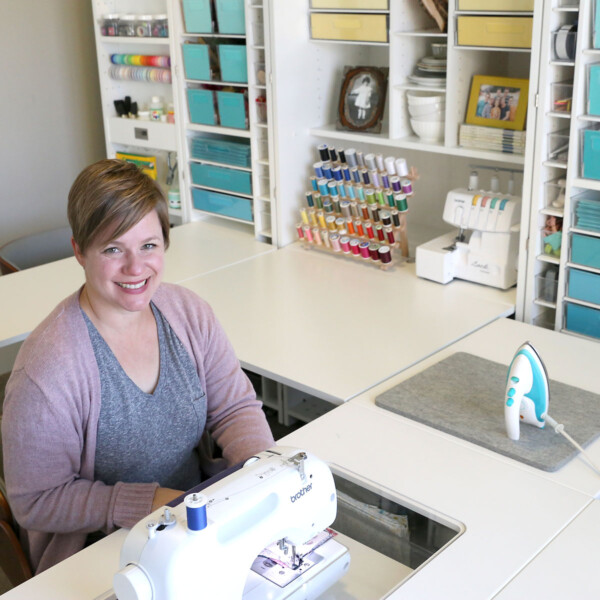
Lastly, there are some really clever accessories and additional furniture pieces that you can use to completely customize your space. In the space where you see my thread and serger, you can add built in drawers. I have the left side table, which gives me more work space, AND the Sew Station that features a lift system that stows my sewing machine away when not in use. My complete set up is pretty sweet:
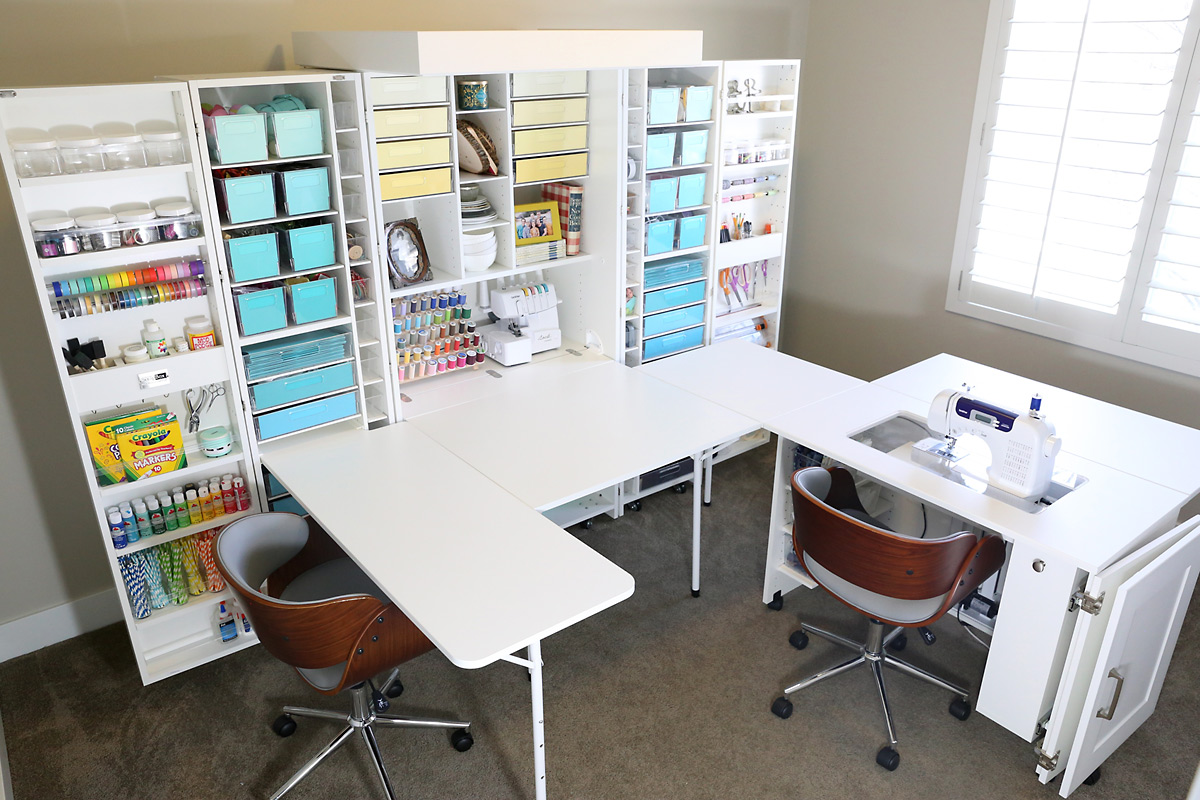
I’ll tell you even more about the Sew Station in another post coming next week!
DreamBox Pros and Cons: what I don’t love
If you’re thinking of investing in a DreamBox, I want you to know what I didn’t love as well!
Set up takes a while. I had the prebuilt service, which is an add-on to the base price. With the prebuilt service the three main pieces of the box are already constructed, which is wonderful. However, it still takes a couple of hours to unpack the crate, carry in the three main pieces, attach them together, and then break down the crate. And ya, it comes in a really big crate.
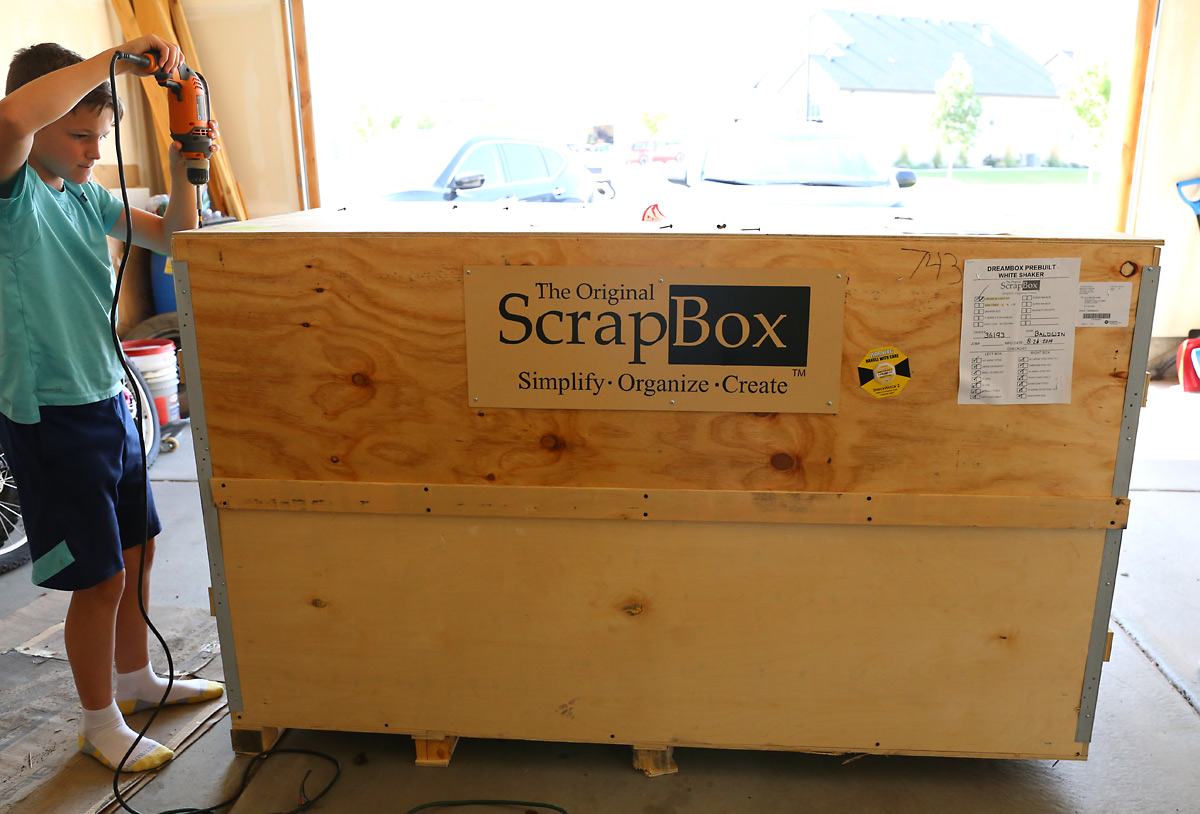
It probably took another 2 hours to add in all the shelves and bins. Without the prebuilt service, it would probably take 3 or 4 more hours, bringing the total assembly time up to 7 or 8 hours. I LOVED having the prebuilt service to make things easier, but if you don’t mind putting together furniture and someone who can help, skipping it and going DIY is a good way to save on the total cost.
Total cost is another thing I want to mention in this section. The DreamBox Craft Storage is is a large organizational system and as such it’s an investment. It can be hard to justify a large purchase like this. I did find that when compared to the cost of built in shelving it’s very reasonable. Additionally, it’s been designed to anticipate the storage solutions a crafter needs, meaning once you purchase the box you won’t need to purchase additional boxes or bins (like you would with built in shelving).
The DreamBox doesn’t work great with an area rug. It’s pretty hard to open and close the box if the wheels need to go over an area rug in your room. Once the box is open you could certainly put a rug down, but if you want to open and close the box regularly, the wheels catch on the edge and that can be a hassle.
The side tables are great, but there are some things to consider. I have a left side table, and it’s a great way to maximize my workspace so I really like it. However, once it is installed, it’s not super convenient to access the supplies in the bins that are now under the table. I don’t think you’d want to put things you’ll need often underneath there. Also, if you are short (like me) it’s a little hard to reach the bins above it unless you stand up and walk to the other side of the table. That’s not a deal breaker, just something to consider. Finally, the table has to come out before you can fold up the box and I find it hard to remove by myself. So if you’re planning to close the box every time you finish working that could be an issue. I’ll be leaving my box open, so it’s not a problem for me.
I hope you guys enjoyed this tour of my new crafting space. Remember you can check out the Black Friday specials here with discount code AUTUMNDREAMSMASSIVEJOY. Or if the Black Friday sale is over, you can still use my code AUTUMNDREAMS for $100 off your DreamBox.


Takwenhawe says
If this price is legit, why isn’t tere a telephone nuber?
Autumn says
You can find the contact info for Create Room (including their phone number) here: https://www.createroom.com/pages/contact-us
Carmen Acevedo says
Love that video..my mom what’s one..she going crazy to get one🥰