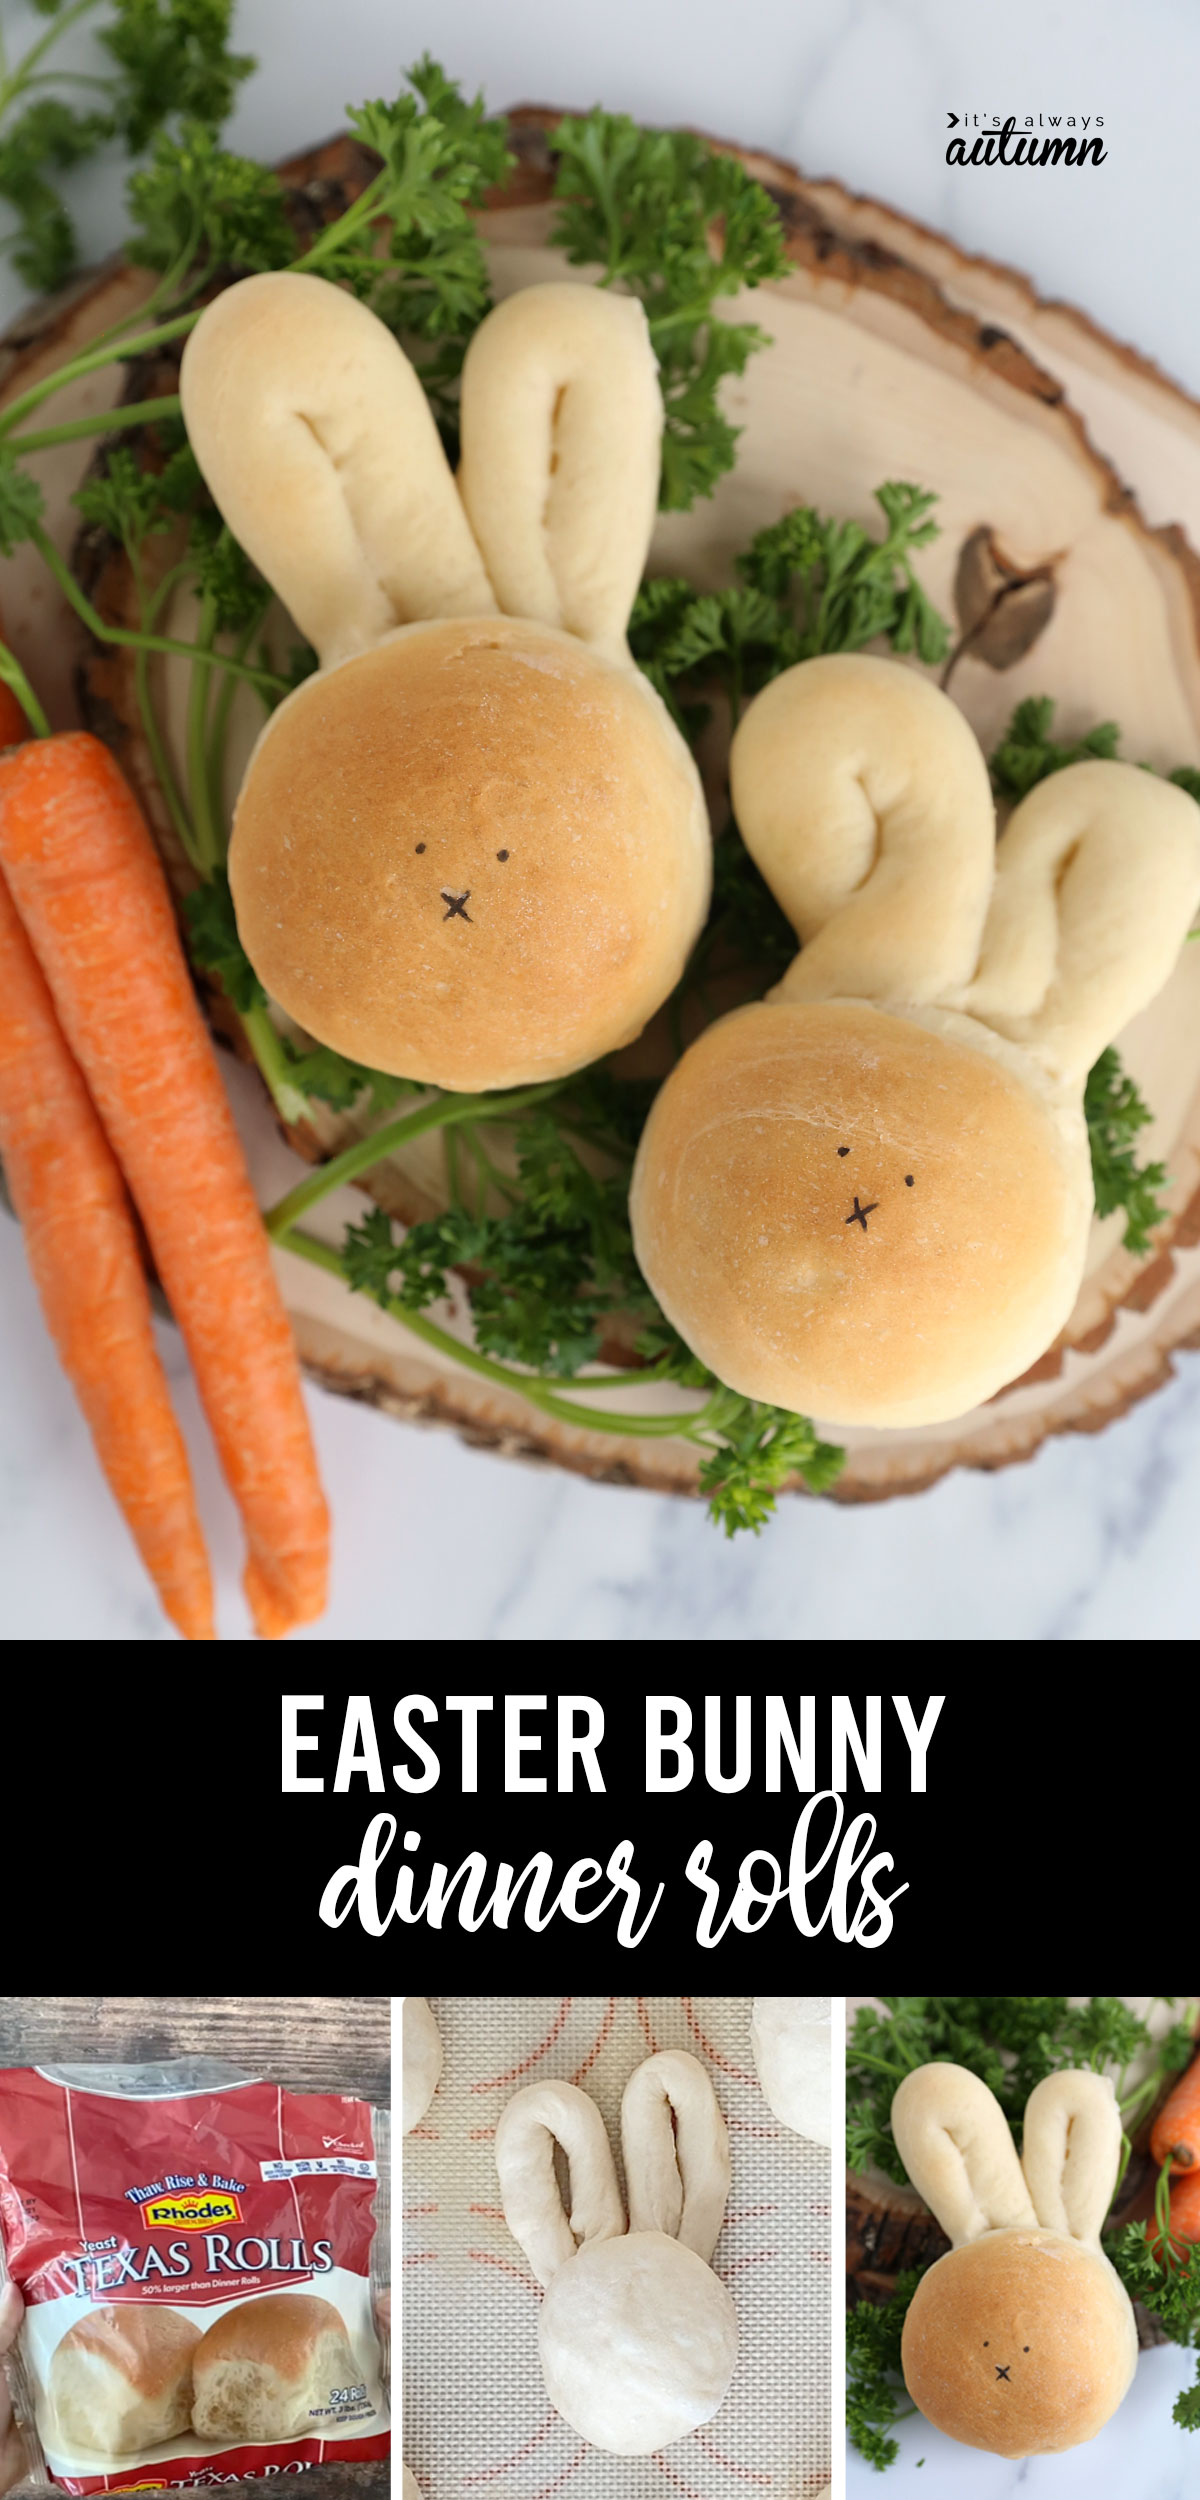
In today’s post: Celebrate Easter with these adorable bunny dinner rolls! You can make them with my favorite homemade bread dough OR make things even easier by using frozen bread dough from the store.
Maybe this is silly, but I just feel happy when I make cute food. Especially bread. Fresh homemade bread really is divine, and for some reason homemade bread shaped like Easter bunnies is even better.
It’s ok if you’re thinking to yourself “ain’t nobody got time for that.” I understand that shaping dinner rolls into Easter bunnies isn’t for everyone…but making them yesterday gave me a bit of joy in the middle of a tough day. The good news is that if you know how to make bread, these will be a cinch, and if you don’t know how to make bread (or don’t want to) you can make these with frozen bread dough from the store. Your kids will LOVE them – they’d be perfect for serving at Easter brunch.
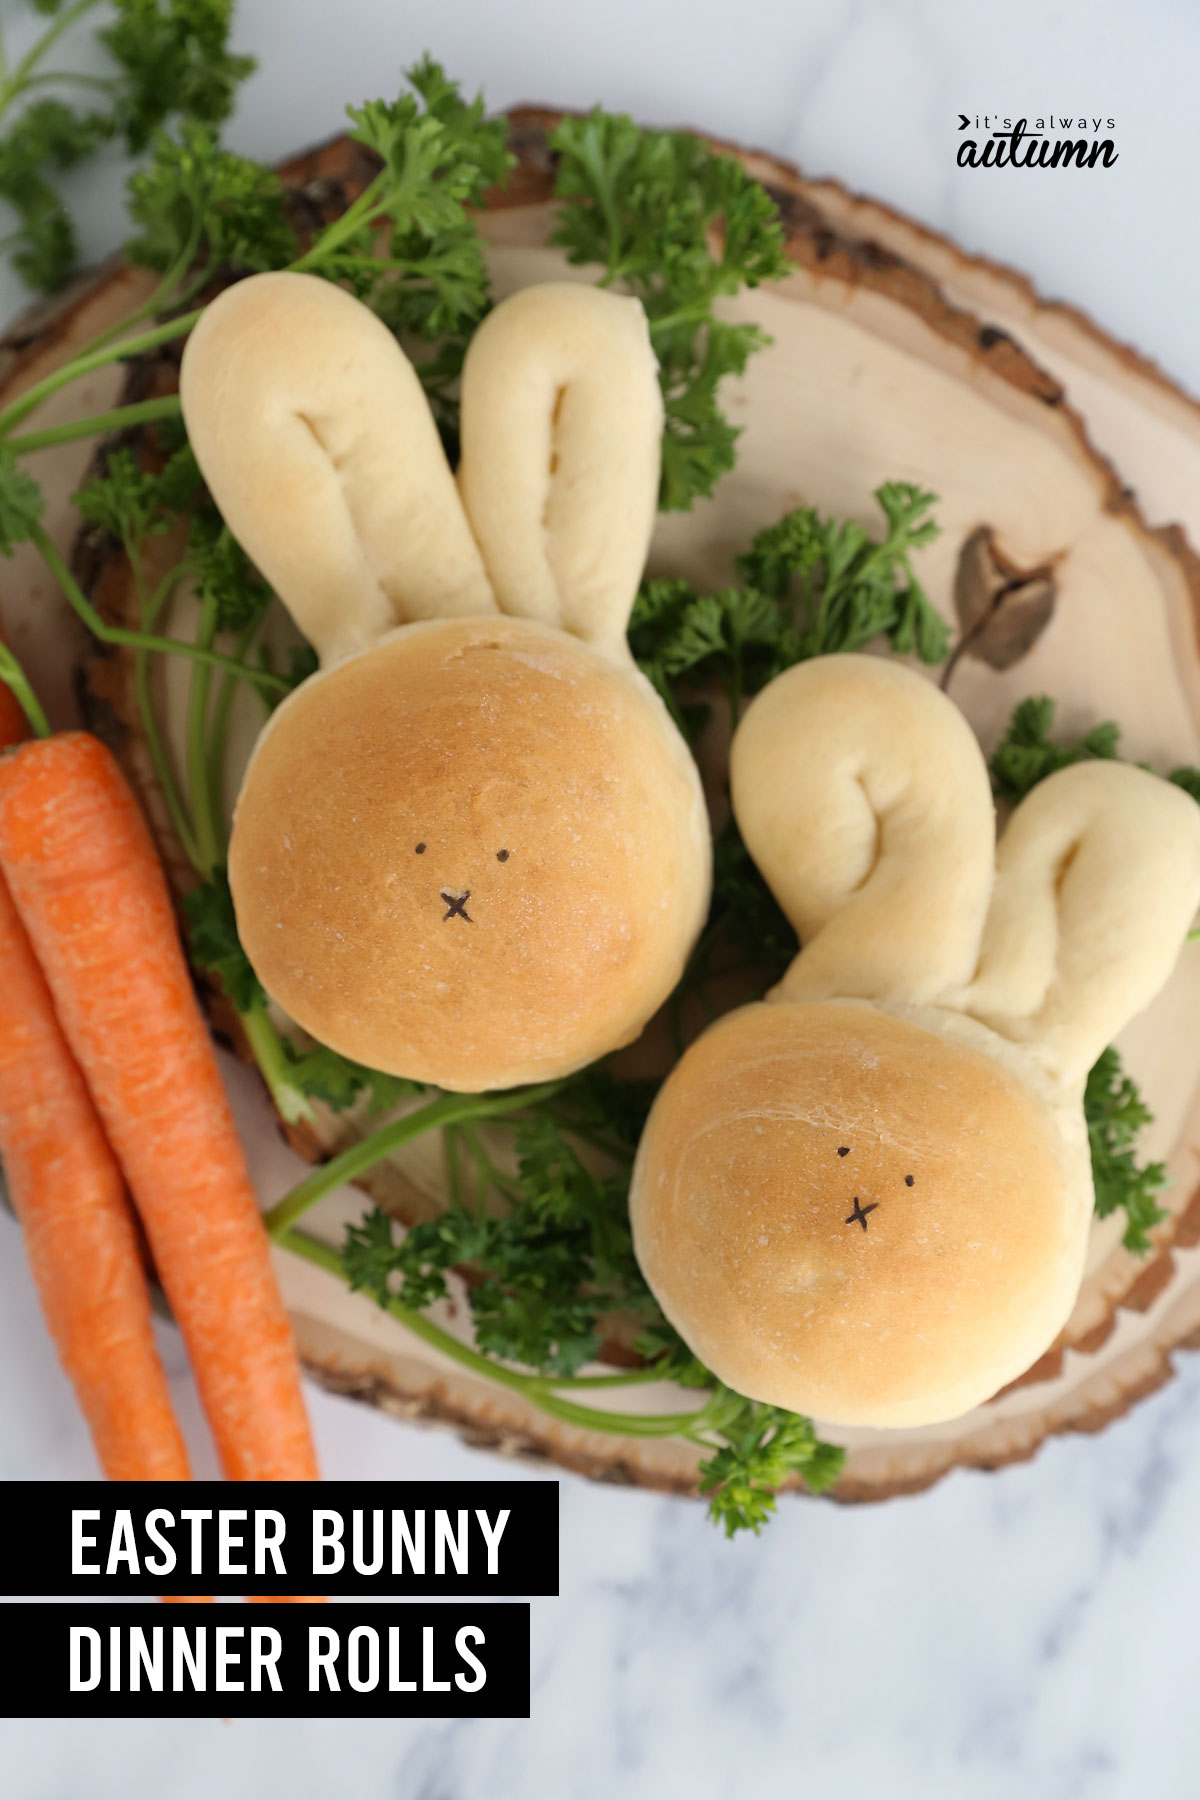
When I started thinking about how to make bunny rolls I first tried snipping two “ears” into a ball of dough, which was supposed to magically grow into a bunny as it baked (as per a random post on pinterest with very few instructions). And that didn’t work. At all. I ended up with freaky gremlins, not bunnies. I saw an easier shaping method at Red Star Yeast and decided to modify that instead, and it worked beautifully!
I’ve made a video so you can watch me make them, and I’ll include some step by step photos as well. Finally, I’m including my favorite dinner rolls recipes (it’s so good!), but remember you can also use frozen bread dough if you prefer.
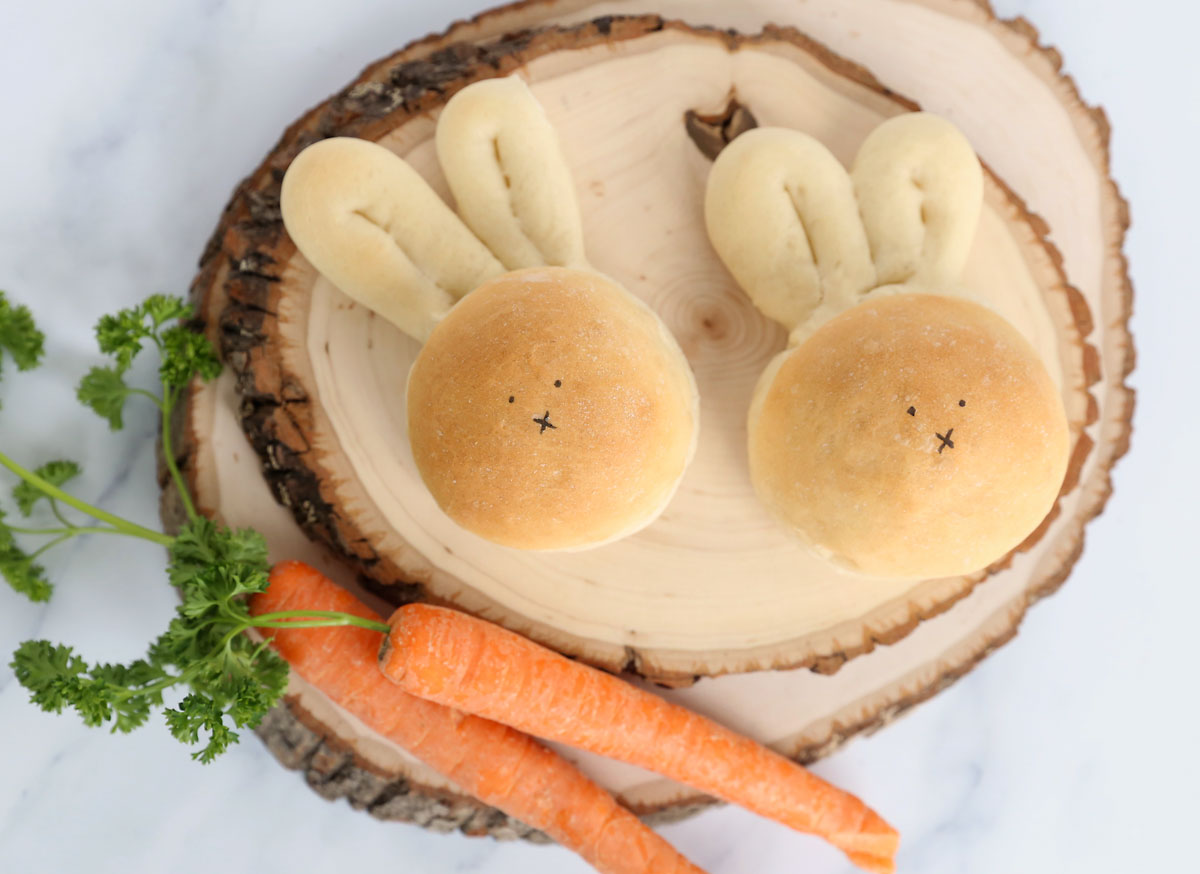
If you want a laugh, check out this post at Mama Sonshine – looks like I’m not the only one who tried and failed to replicate that pin!
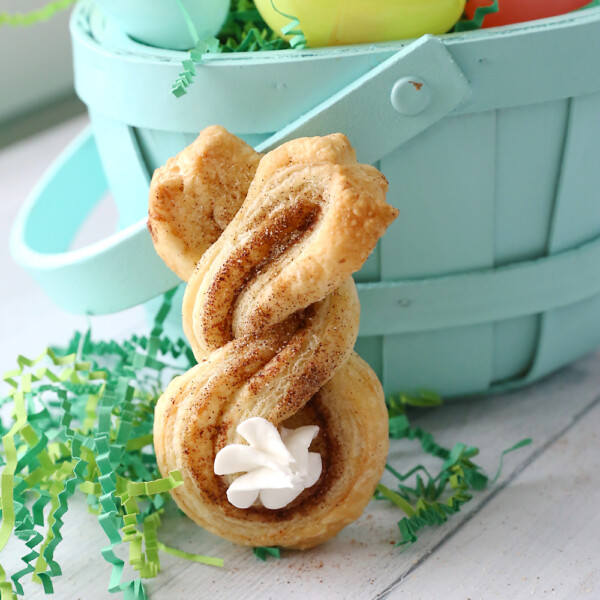
And for an even easier bunny treat, check out the cinnamon sugar bunny twists I made a few years ago from refrigerated puff pastry.
Bunny Dinner Rolls VIDEO
This video will show the process for making these rolls. Recipe card and more detailed instructions follow.
Easter Bunny Rolls recipe
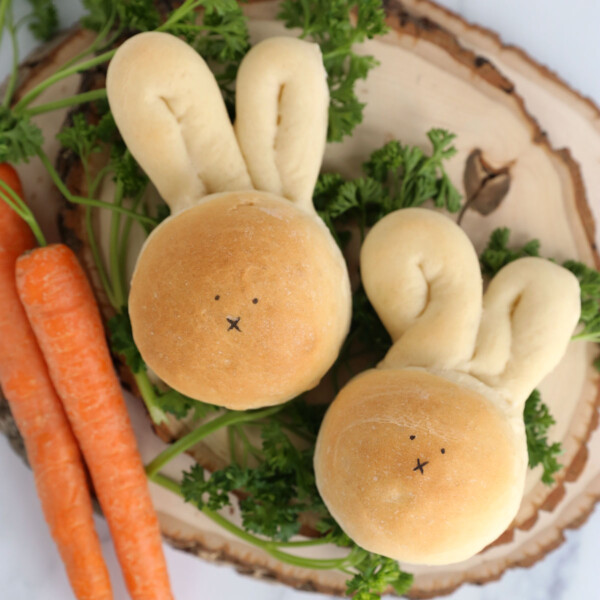
Easter Bunny Dinner Rolls
Ingredients
- 1 tbsp Active Dry Yeast
- 1 cup Warm Water
- 1/4 cup Sugar
- 2 tablespoon Butter softened
- 1 Large Egg
- 1 teaspoon Salt
- 3 and 1/4 cup All Purpose Flour
For Adding Faces (optional)
- 1 tbsp Chocolate Chips
- or Food Marker
Want more project ideas? Sign up to get my favorite easy crafts and recipes straight to your inbox!
Instructions
- In a stand mixer, mix together the roll ingredients using a dough hook, adding a little more flour if needed for the dough to pull away from the sides of the bowl.
- Knead dough 5-10 minutes until you have a soft dough that is smooth and elastic.
- Turn dough out onto greased or floured surface and form a ball. Cover and allow to rise until doubled in size, 60-90 minutes (you can also place dough in a greased bowl to rise).
- Turn dough onto floured surface and punch down. Divide dough into 3 pieces, then divide each piece into 6 to make 18 evenly sized pieces of dough.
- Roll 12 pieces of dough into balls and place on a lined cookie sheet.
- Cut the remaining 6 pieces of dough into 4 pieces each. Roll each piece into a rope about 6 inches long and fold it in half to create an ear. Tuck the ends of two ears under each ball of dough to create a bunny shape. See photos or video in post to see examples.
- Preheat the oven to 350 degrees. Lightly cover the bunny rolls with a towel and allow to rise about 30 minutes, until puffed slightly.
- Bake rolls approximately 20 minutes, until tops are golden brown. Serve immediately OR allow to cool completely and draw on eyes and noses using food marker or melted chocolate chips piped from a sandwich bag.
Tips
- video of how to shape rolls
- info on how to use frozen roll dough instead of making your own
How long does it take to make Bunny Rolls?
As I mentioned before, you have the option to make your own dough for these rolls or use frozen dough. I recommend learning to make your own roll dough, because it’s absolutely DELICIOUS, but if you don’t want to frozen dough works fine.
If you make your own roll dough, plan on 3 hours to make the rolls. If you’d like to add eyes and noses, you’ll want to let the rolls cool before you do that.
If you want to use frozen dough instead, I recommend using Rhodes regular size frozen rolls (not Texas size). It’s a little hard to predict exactly how long the rolls will take, because how long they take to thaw depends on the temperature of your house. At least 6 hours before you want to be eating rolls take out 18 rolls and place them on a lined cookie sheet. Spray them with nonstick spray and cover with plastic wrap. Keep an eye on them and allow them to thaw completely so that they are no longer cold (3-5 hours). If you let them go too long and they start to rise, no biggie, you’ll take care of that when you shape them.
How to shape Bunny dinner rolls
Whether you use your own dough or frozen dough, you’ll need 18 pieces of dough when you start shaping. Twelve of those pieces will be rolled into balls to make the heads, and six of the pieces will get cut up to make the ears. So if you’ve made your own dough, cut it into thirds to begin with, and then cut each third into 6 pieces. Roll 12 pieces into balls and place on a baking sheet lined with parchment paper or a silicone baking mat.
Cut each of the remaining 6 dough pieces into 4, and then quickly roll each piece into a rope that’s about 6 inches long. Fold each rope in half, and tuck the ends of 2 ropes under each ball to make a bunny ears, like this (you can gently twist each ear if desired):
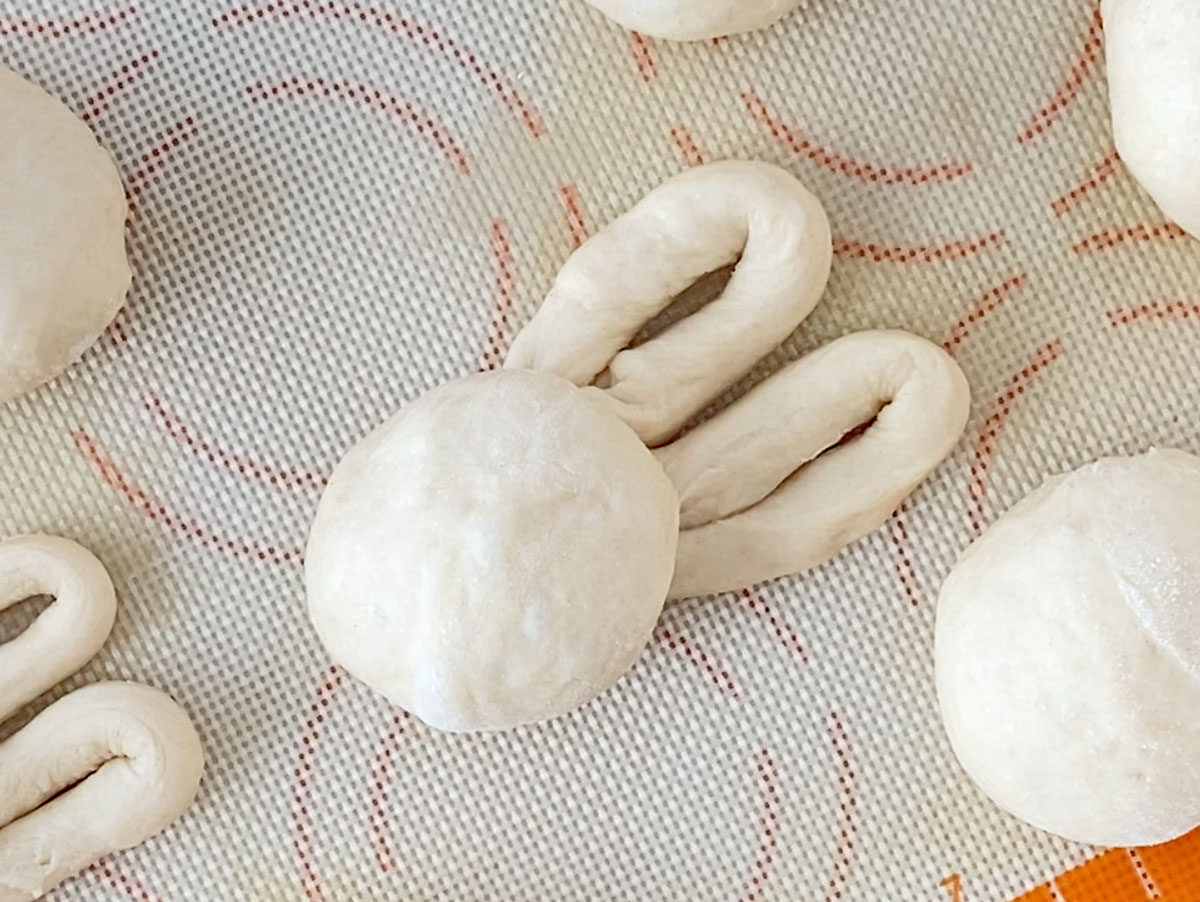
It’s a little bit of a squeeze to fit all twelve bunnies on one baking sheet. You can see in the photo below how I placed them. After they’ve been shaped, you’ll want to gently lay a kitchen towel over top and let them rise for about 30 minutes while you preheat the oven.
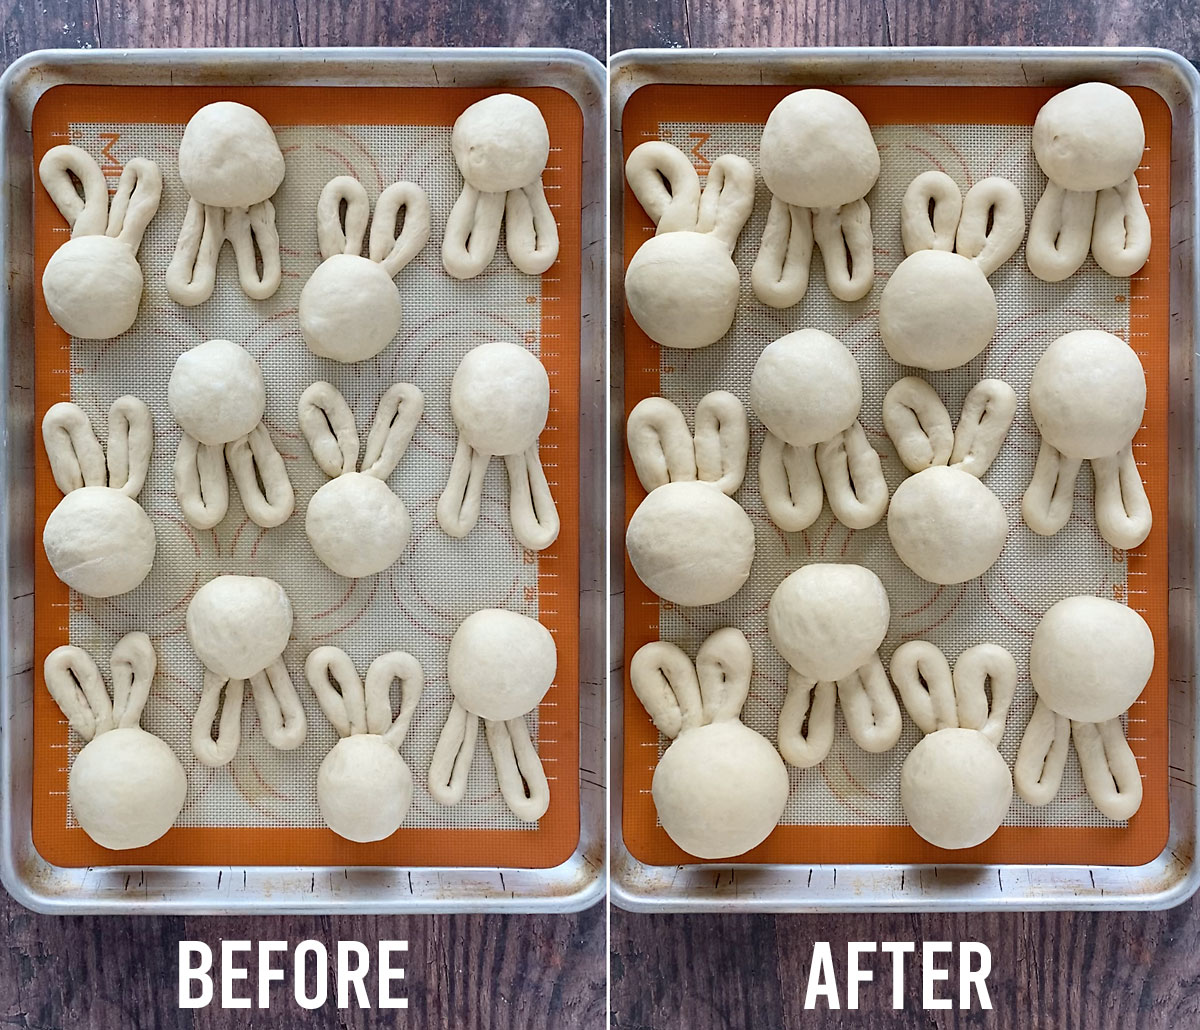
After they rise they will look nice and puffy. Bake for about 20 minutes until tops are golden brown. Please note that the rolls will expand a little more as they bake, and some may bake into each other. If you want to ensure that doesn’t happen, you can split the rolls between two baking sheets. You will definitely need to do this if you use Texas size frozen roll dough. If you are not adding faces, you can brush the baked rolls with melted butter.

How to add Faces
These bunny rolls look cute as is, but I think they look even cuter with little eyes and an X for a nose. In these photos I used a food marker, which you can find at most stores that carry baking supplies or here on Amazon. If you don’t want to purchase a food marker, you can also melt a tablespoon of chocolate chips inside a sandwich bag (just microwave it at 30 second intervals until melted). Snip off a tiny corner of the bag, and pipe on eyes and a nose. You can see me doing this in the video above.


KiziMizi Games says
These Easter Bunny Dinner Rolls are absolutely delightful! The fluffy texture and adorable bunny shape bring so much joy to the table. Not only do they look amazing, but they taste incredible too. The subtle sweetness and buttery goodness make them a perfect addition to any Easter meal. My family and I couldn’t get enough of them. Thank you for sharing this wonderful recipe!
Leonila says
These Easter Bun Buns were very easy to make, super cute and delicious!