
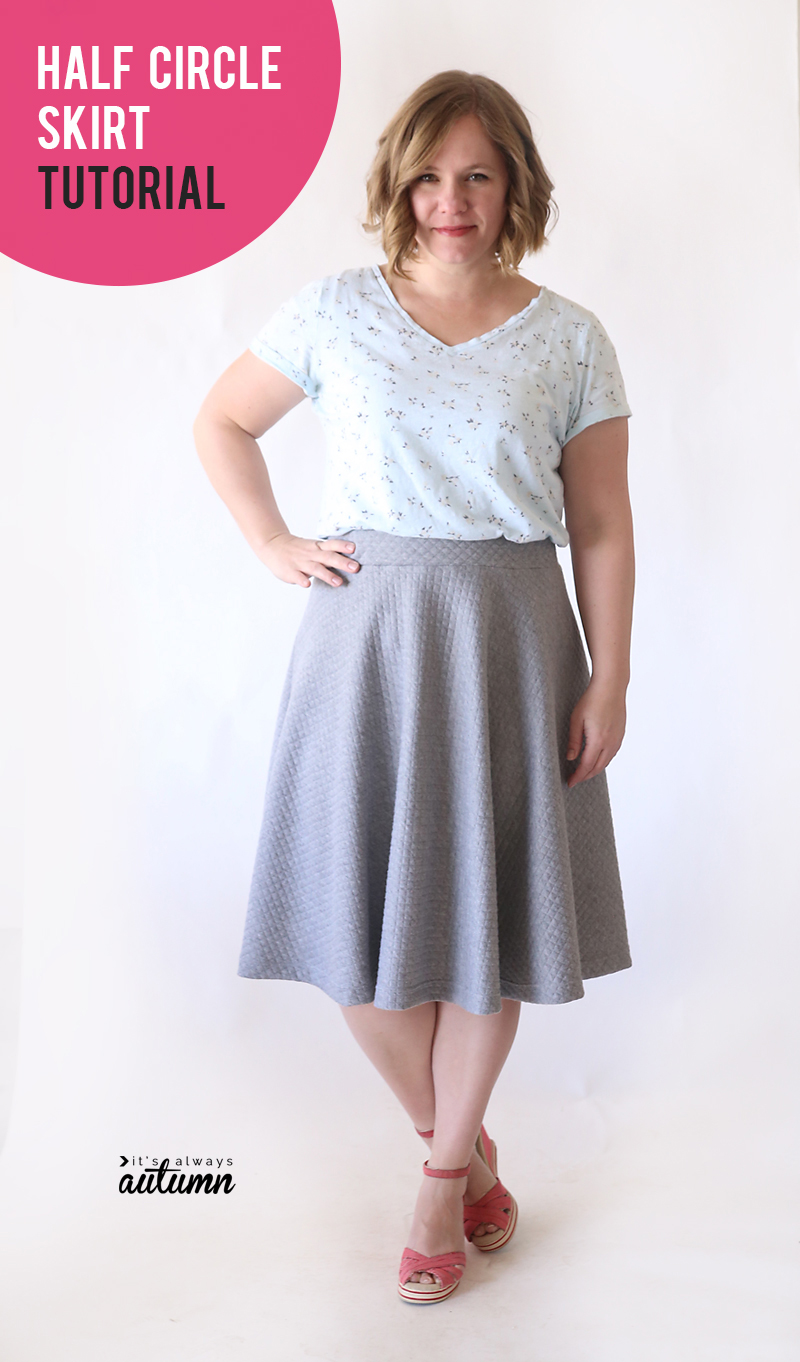
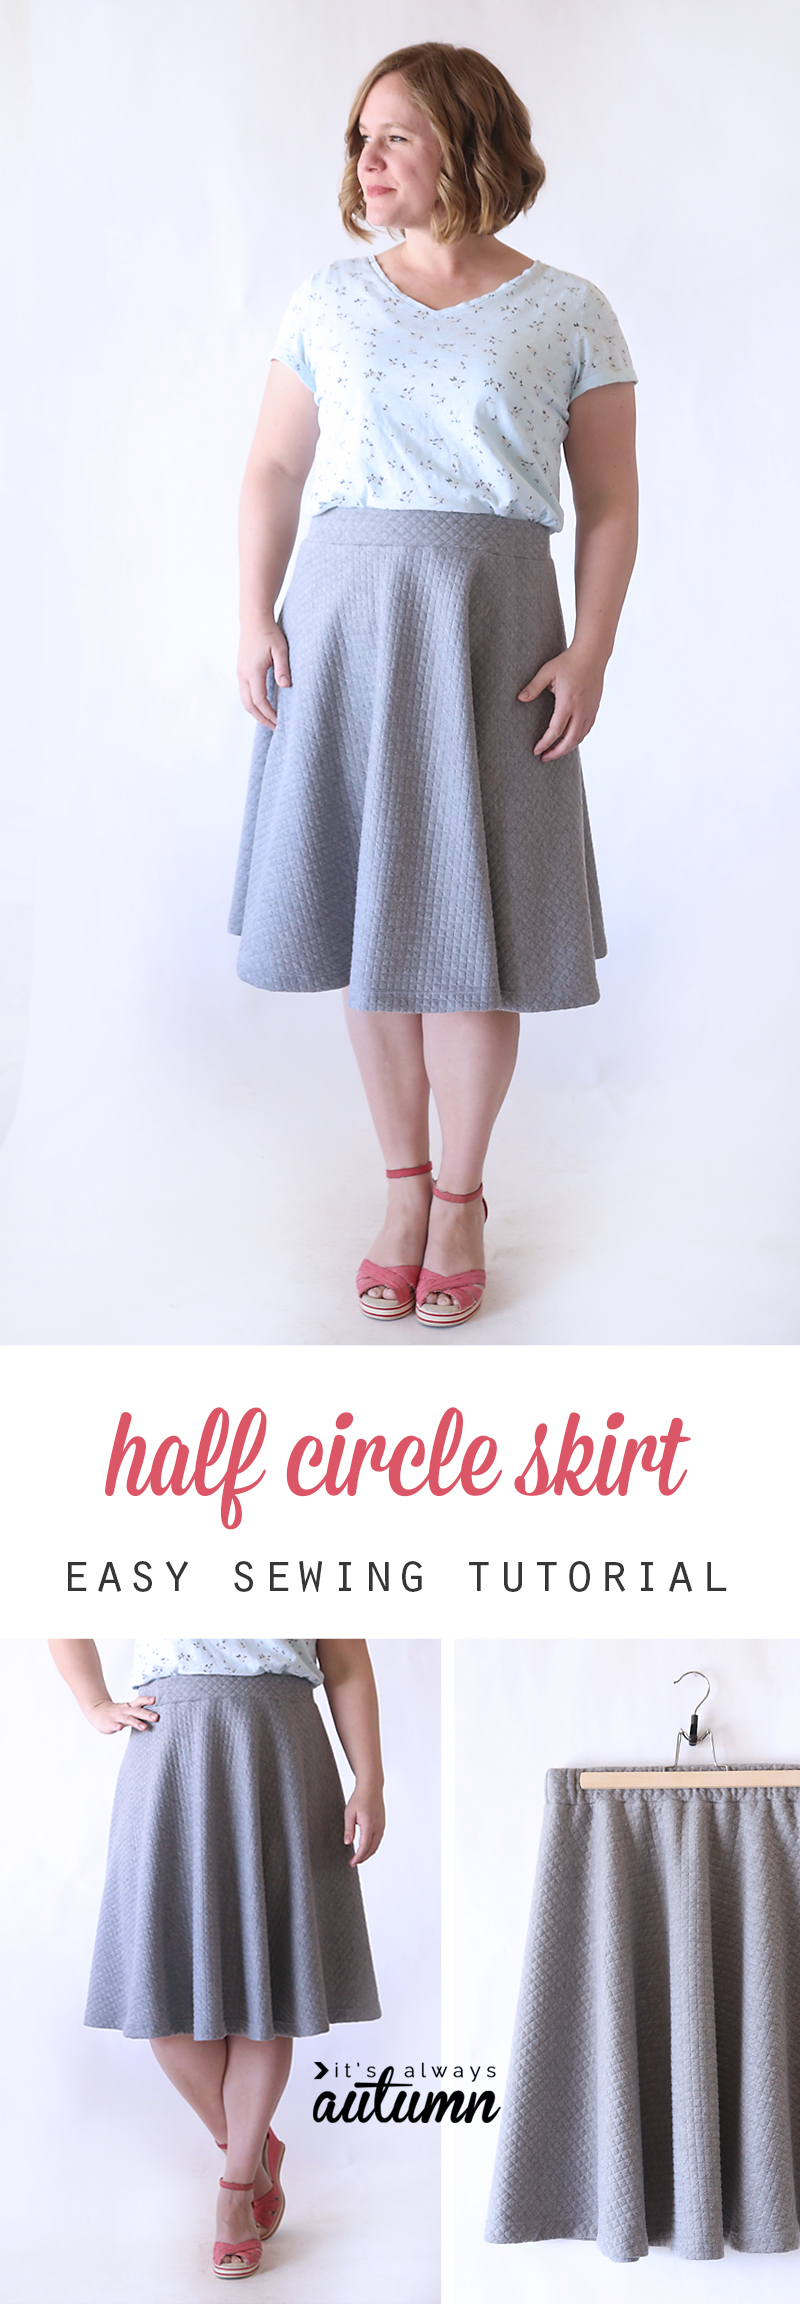
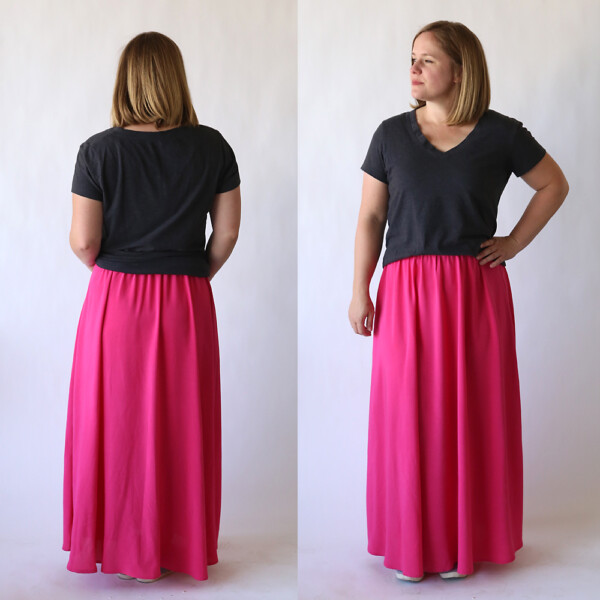
In today’s post: Learn how to make a half circle skirt in any size! Follow the simple steps to create your own pattern and sew a new skirt.
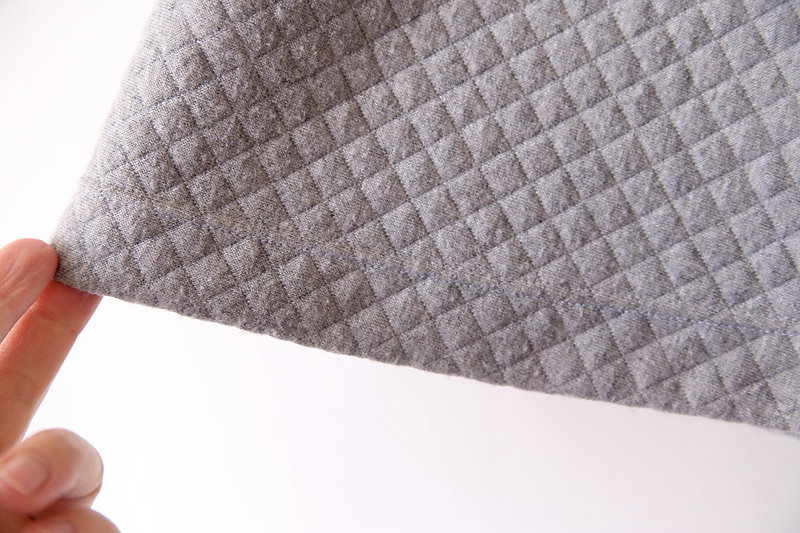
I’ve mentioned before how much I love skirts, especially in warm weather. People think I’m all dressed up, but what they don’t realize is that skirts with elastic waists are just my warm weather version of sweats. And skirts are super easy to sew, especially when you use a stretchy knit fabric so you don’t even have to bother with zippers or buttons.
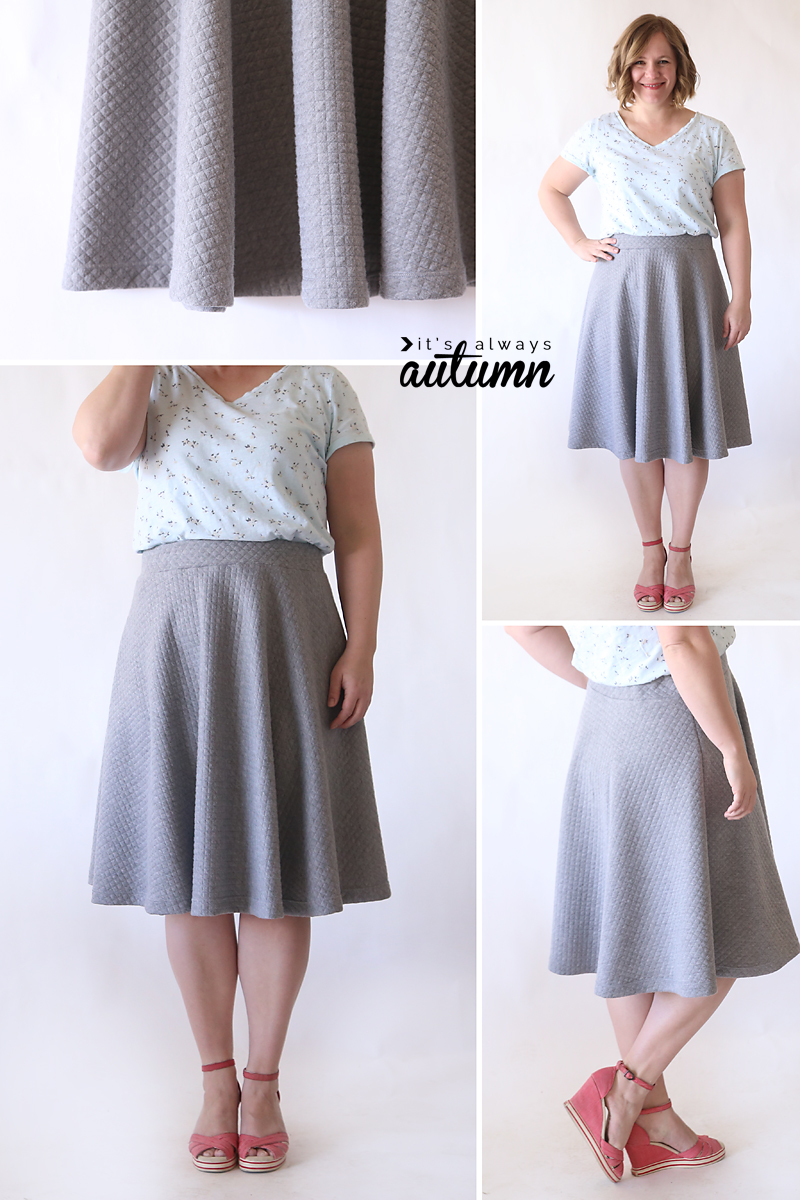
If you’ve made a circle skirt before, you know they are pretty darn easy. This skirt is actually a half circle skirt, which means it’s not quite as full. That’s a good thing for a more casual skirt: it takes less fabric, is even easier to sew, and is less likely to give you a Marilyn Monroe moment while you’re chasing your kids at the park.
How to sew a half circle skirt
To make a half circle skirt, you do need to start with just a teeny bit of math, but don’t worry, it’s easy. You need two measurements: your waist measurement, and a skirt length measurement (the total length you want the skirt to be, from top of waistband to bottom of hem).
Take your waist measurement and divide by 3.14 to get the waist radius. So if your waist is 31 and a half inches, you’ll end up with a waist radius of 10. If you get a weird decimal, just round to the nearest quarter inch.
Then take your length measurement and add it to the waist radius to get the hem radius. I wanted my skirt about 25 inches long, so 10 + 25 = 35.
NOTE: Ok, I have to stop here and add a little more explanation because some people are getting angry at me and telling me I don’t know how to do math 😉 Yes, I am aware that dividing your waist measure by 3.14 gives you the diameter of a circle, not the radius. But that’s ok, because we are making a HALF circle skirt, so the diameter is the measurement we want (you only use the true radius if you are making a FULL circle skirt which requires a lot more fabric)! I am referring to this measurement as a waist radius because you will use that measurement as a radius when you cut out the skirt (see photo below). I promise it works – this is how you make a HALF circle skirt – so please don’t leave me a mean comment about my math ability. Thanks!
You’ll likely need 2 yards of knit fabric, although if the measurements you just got are bigger than mine, you may need a little more than 2 yards. Fold the fabric in half (hamburger, not hot dog) and place it on the ground with the fold going along the top and the selvedge edges running down each side. Measure out from the top corner using the waist radius, moving the yardstick and pinning right at the radius number to create a curve, as shown:
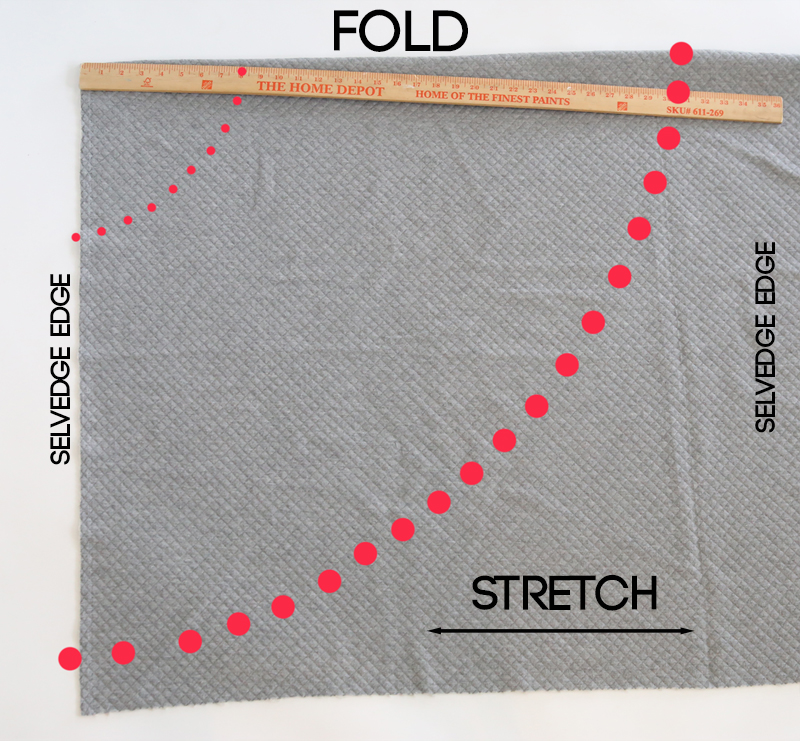
Measure again to create a hem curve, this time using the hem radius number. Cut along the pins…
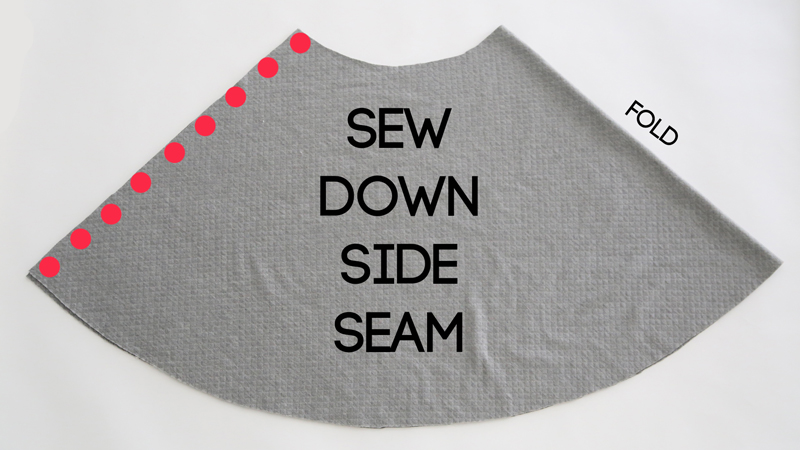
…then sew down the side seam (make sure fabric is RST at this point).
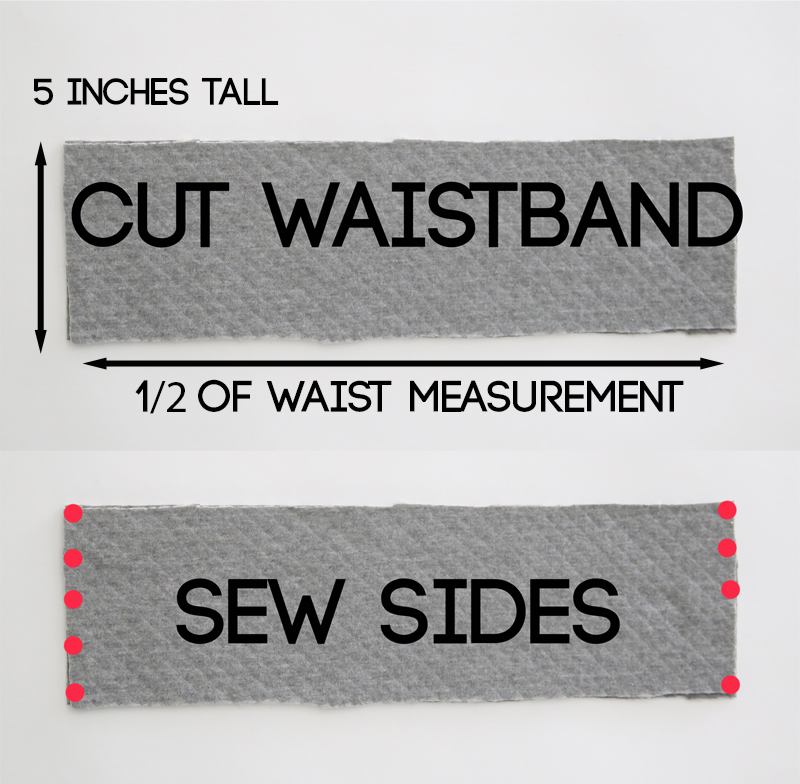
Next you’ll want to cut 2 waistband pieces from some of the extra fabric. The waistband should be 5 inches tall, and half your waist measurement wide. Make sure the long edges of the waistband pieces go with the stretch in the fabric (side to side as seen below). Place the pieces RST and sew all the way down one short side. On the other short side, sew down a little more than halfway, then leave an opening, and sew the bottom half inch, as shown by dots below.
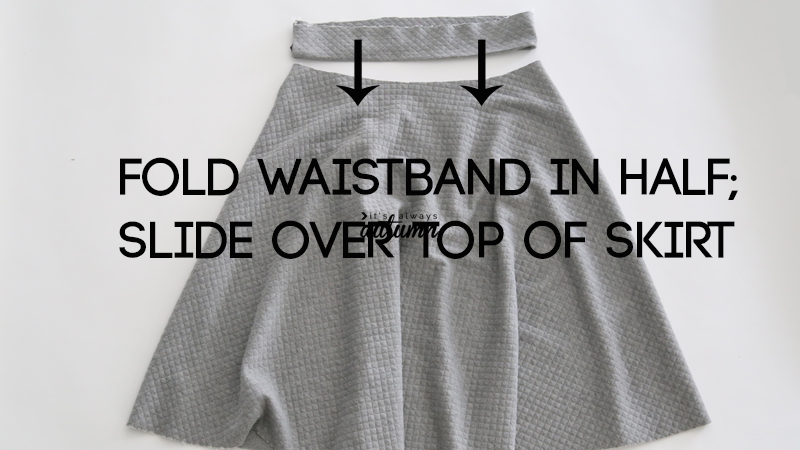
Fold the waistband in half (right side out) and press. Now you have a skirt piece and a waistband piece, as you see below.
Slide the waistband over the top of the skirt and pin the raw edges together. ***One of the waistband seams has an opening; make sure that opening is facing out at this point.***
NOTE: this skirt will only have one seam, so you can decide if you want it to go down the back, or down one of the sides. When pinning the waistband to the skirt, remember you’ll wants the seams in the waistband to be on each side, so either match up the skirt seam with one of them, or center it in between them.
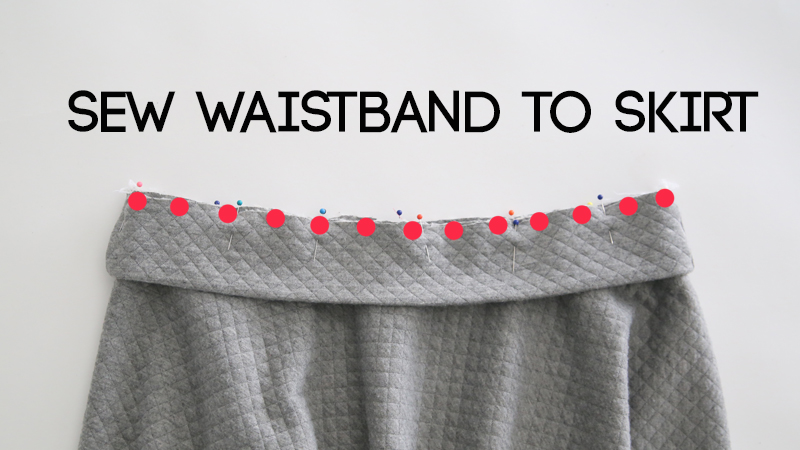
Sew waistband to skirt, being sure to use a stitch that will stretch. I use my serger here and give the waist a tiny stretch as I sew. If you don’t have a serger, be sure to use a zigzag or stretch stitch here, so the waistband will stretch over your hips when taking it on and off.
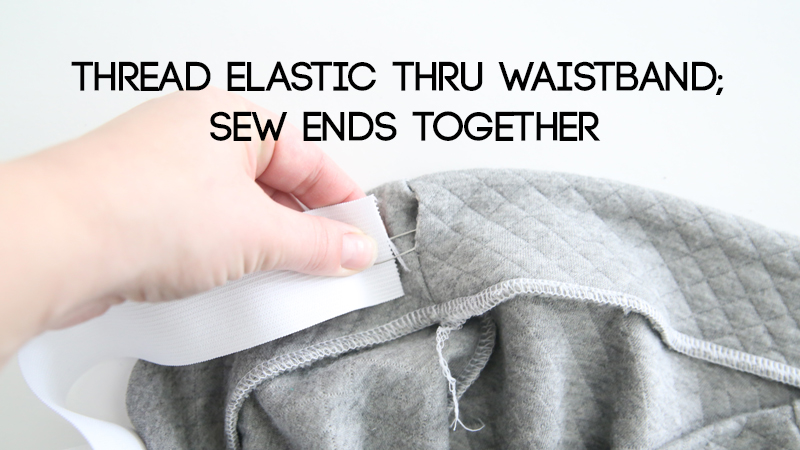
Flip the waistband up and press. Cut 2 inch wide elastic to your waist measurement and thread it through the waistband, using a large safety pin. Try on the skirt and figure out how tight you want the elastic, then sew the ends together and trim.
At this point all you have left is to hem the skirt! Make sure to pin and press up the hem before sewing. On knit half circle skirts I fold up only once, and then use a double needle to sew the hem.
NOTE: If your fabric is very stretchy or very heavy, it’s a good idea to hang up the skirt and let it drape for 24 hours before hemming. Since part of the skirt is cut on the bias, it’s possible that some portions will stretch out and hang a little lower than others, which you’ll want to take note of before hemming.
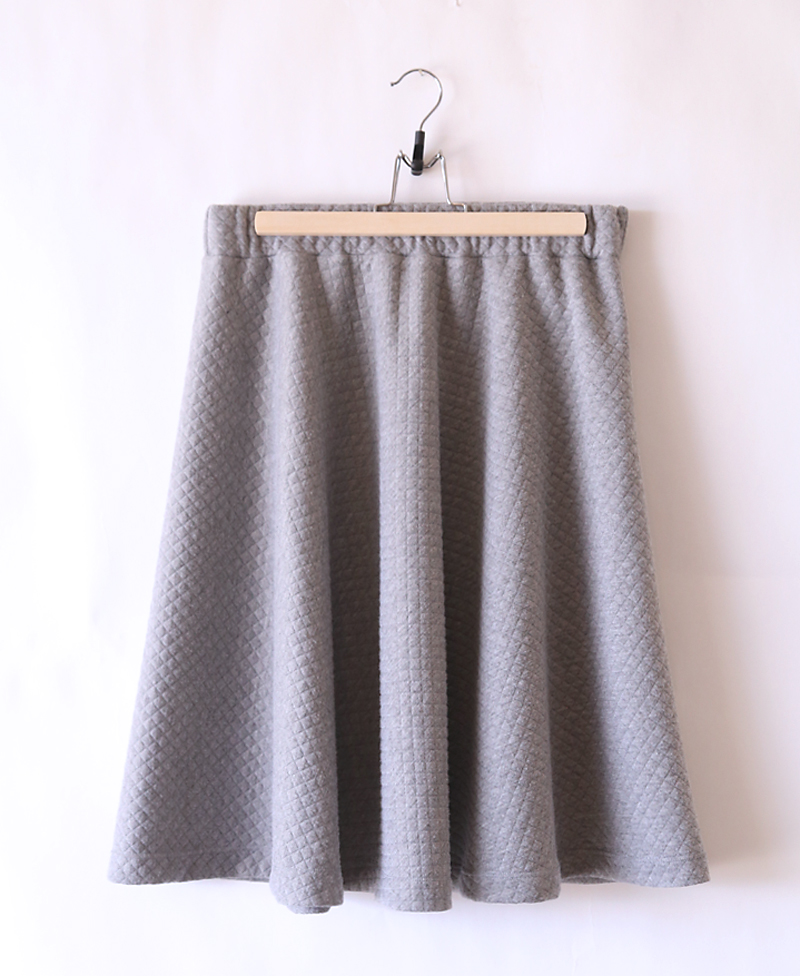
And that does it! One more comfy skirt for spring.
One more resource you might appreciate is this circle skirt calculator, which can help you figure out how much fabric you will need and calculate the radii for your for different types of circle skirts.
Looking for more skirt sewing tutorials? Try these posts:
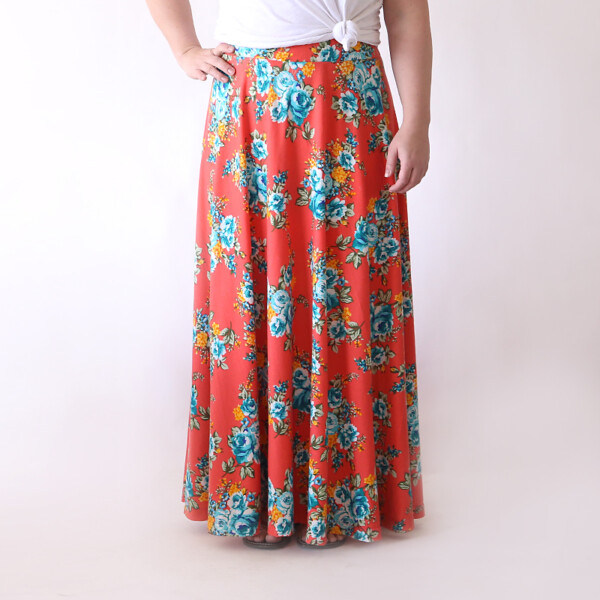
The half circle skirt in a maxi length
The perfect flattering gathered skirt
The easy everyday skirt tutorial
The everyday skirt in maxi length
Sweatpants to cozy skirt refashion
Easy to sew girls’ skirt with attached shorts


Kate says
Absolutely wonderful sewing tutorials with free patterns to boot! I love it! ???.
Katy says
I thought this at first too, but quickly realized the tutorial is correct. Since we are only making a half circle, not a full circle the waist measurement divided by Pi gives the radius used to draw a half circle with a curve length equal to the waist measurement.
Joanne B says
Made this today! First clothing item I ever made, your instructions & pictures were awesome! My question is that it’s shorter in the back than the front when I put it on due to my behind =) can you explain how to account for that???
Darcy says
Hi. When this happens, it’s because (pardon the bluntness) your rear is pleasantly prominent and thus it raises the back of skirts higher than the front. I’m like this, and I learned how to combat it: Take two measurements from your waistband to your knees – one in front and one behind. The difference between those two numbers is the amount you’ll need to add to your desired skirt length (plus 1-2″ for hemming) before cutting. Then when the skirt is made, put it on and stand on a level surface (a platform or a non-carpeted floor), then have a friend use a yard stick and pins to mark every few inches from the floor the finished length desired of the skirt. In other words, if you want it just below the knees, the friend would measure that from the floor and pin at that number all the way around. Make sure that is done from the floor to get the hem even all the way around. 😀
MKEgal says
“Take your waist measurement and divide by 3.14 to get the waist radius”
ACK!!!
Wait, everyone. Don’t cut your fabric yet.
The circumference of a circle (distance around) is pi [3.14] x the _diameter_, not the radius.
Either [pi x d] or [2 x pi x r].
(Go Bing it.)
So if your waist is 31, the _radius_ (what is shown being marked on the folded fabric) would be about 5.
Look at it this way to ballpark double-check: are you closer to 10″ thick on average, or 20″?
If the radius (halfway across the circle) is 5″, you’d be about 10″ thick, with a waist (circumference) about 31″.
If the radius is 10″, you’d be about 20″ thick, your waist would be about 63″
On a slightly different note, unless the fabric is very stretchy,
or your hips aren’t much bigger than your waist,
it might be better to use the hip measurement (or maybe halfway between the two?) to make the radius,
then cut the elastic to the right size for the waist.
autumn says
Hi! The way you’ve explained it is correct if you are making a circle skirt (with the fabric folded into four layers), but this tutorial is for a half circle skirt (with only two layers of fabric). So the “waist radius” that we mark isn’t actually the radius of the circle, it’s twice that. It gets pretty confusing, but I promise it works as written 🙂
Also, you’re right that this tutorial is written for knit fabrics with some stretch. Even a pretty stable knit without a ton of stretch will work when using the waist measurement instead of the hip measurement because fabrics cut on a curve have a lot of give. But for those whose waists are quite a bit smaller than their hips, using something in between the waist and hip measurement might be a great idea – thanks!
Taz says
Yes the comment was right but unfortunately I cut my material before I asked someone who does maths teaching for a living! My material was ruined and he couldn’t believe I was so stupid to have followed the instructions thanks for not knowing the difference between the diameter, radius and pie which now thankfully I do.
autumn says
Hi, Taz, sorry you’re frustrated, but if you followed the instructions in the post what you cut will work just fine for a HALF CIRCLE skirt, which is what we mare making in this post. When making a skirt like this, you are cutting HALF a circle, not a full circle. That means the “waist radius” or measurement from the corner of the fabric must be TWICE as long as the actual radius of a circle (so in essence, yes it will be the diameter) or the waist will not be big enough to fit on you. The person you consulted is probably not familiar with the construction of a half circle skirt, and I”m sorry he thought you were stupid to follow the instructions that have worked great for everyone else who has commented here.
Dani says
You all are ridiculous ? making it way too complicated and I see no one taking ownership once you realized the nice lady who shared her pattern for free was right and was always right. Thanks for sharing your pattern lady and for being a good sport with some salty sewers!
Sarah says
Awesome! Thank you so much! ! I need to make many of these (and the maxi ones too!) Your tutorials are always awesome!