As soon as the weather starts warming up, I start wishing I had more skirts to wear. Jeans are just so uncomfortable in the heat and shorts are really not my friend, so comfy skirts make up a big part of my summer wardrobe. I love how easy to wear gathered skirts are, but the last thing I need is more volume around my waist, so your standard elastic-in-a-casing-gathered-waist skirt just doesn’t do it for me.
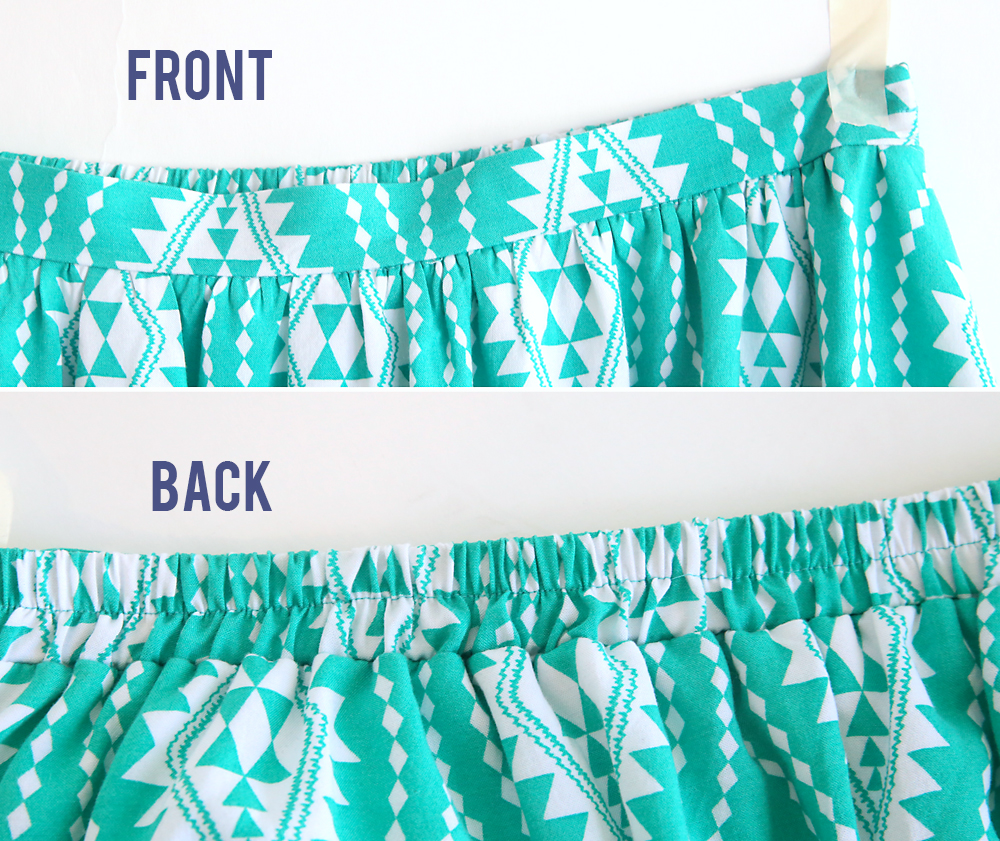
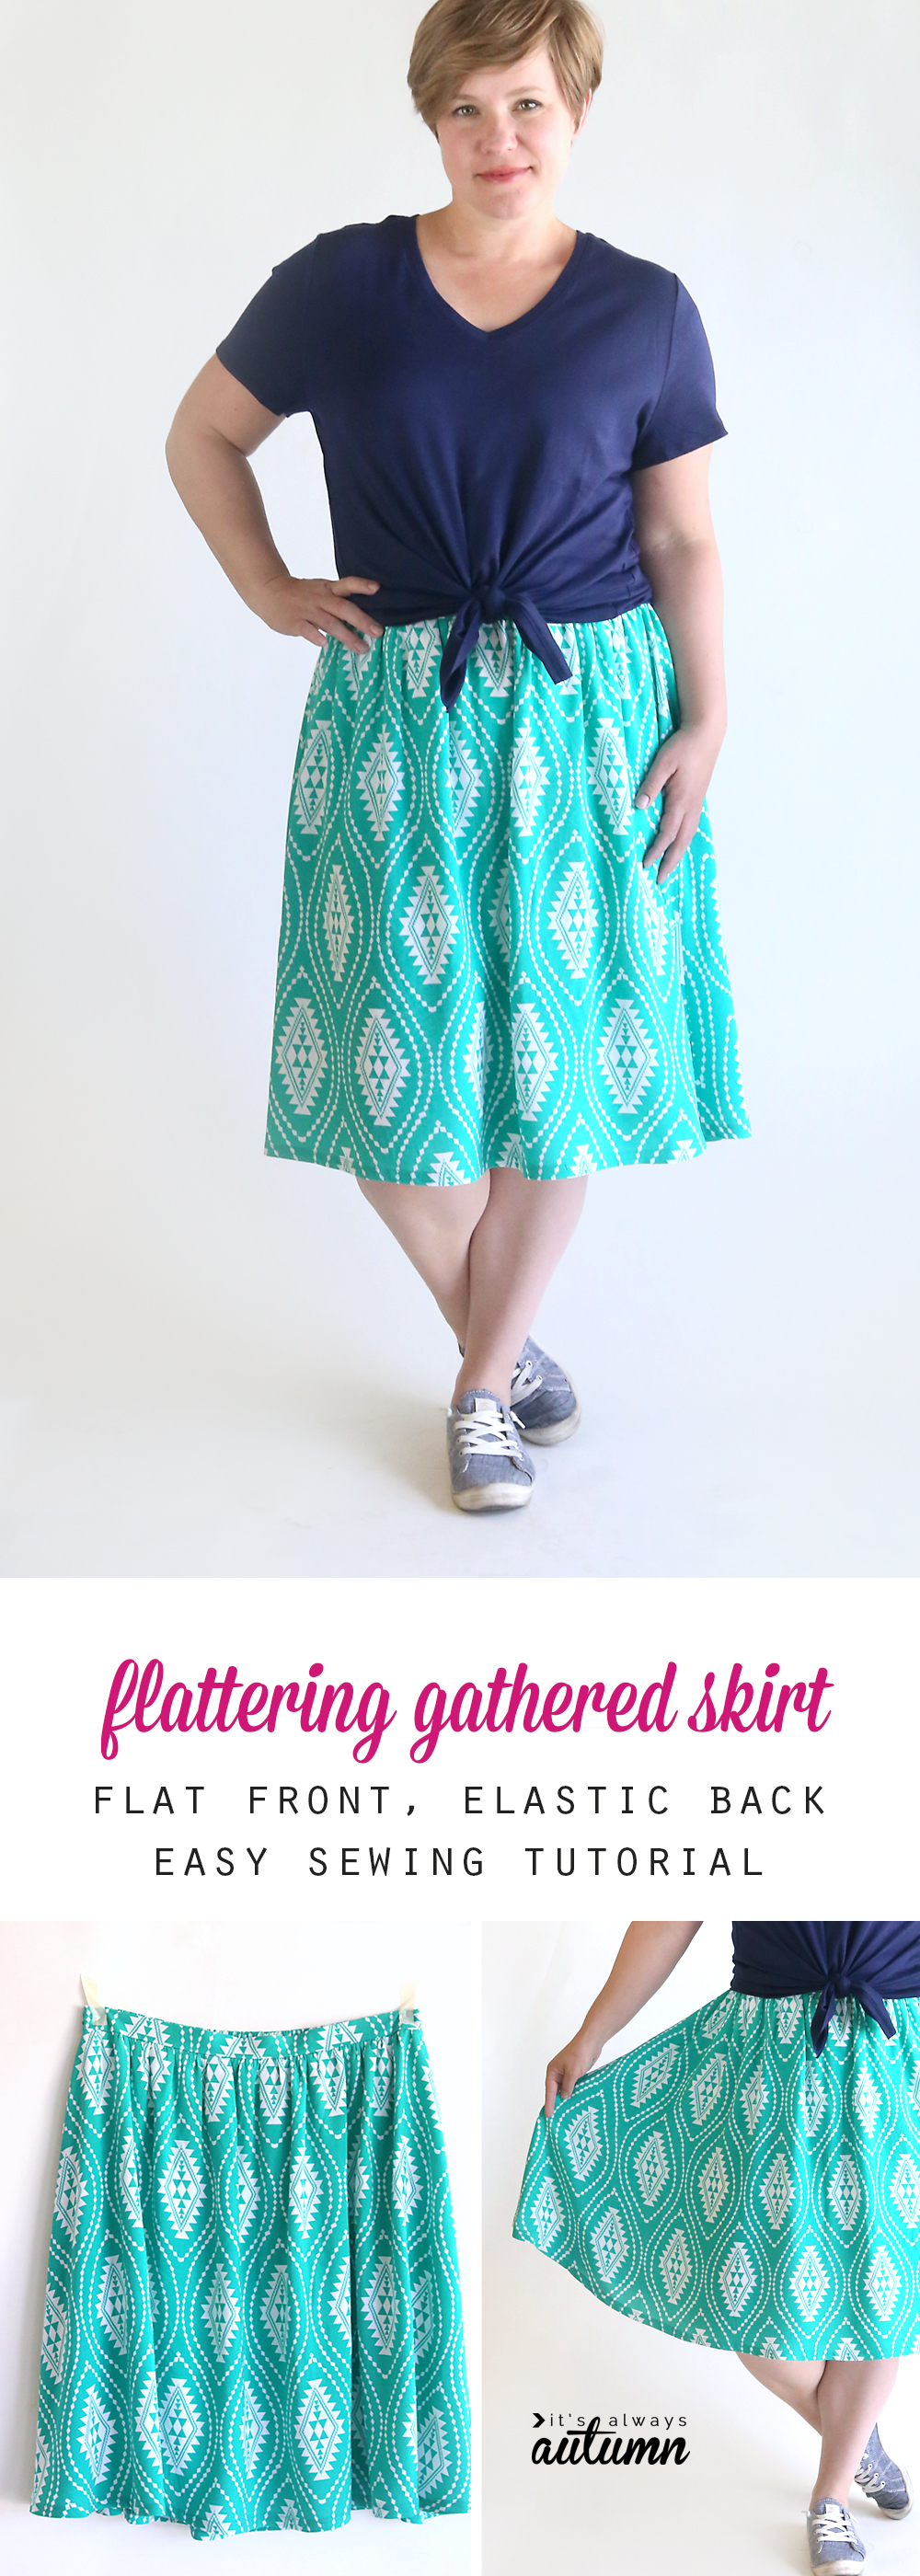
So I figured out a better way to make a gathered skirt. This one has a flat front waistband so it doesn’t add extra volume where I need it least.
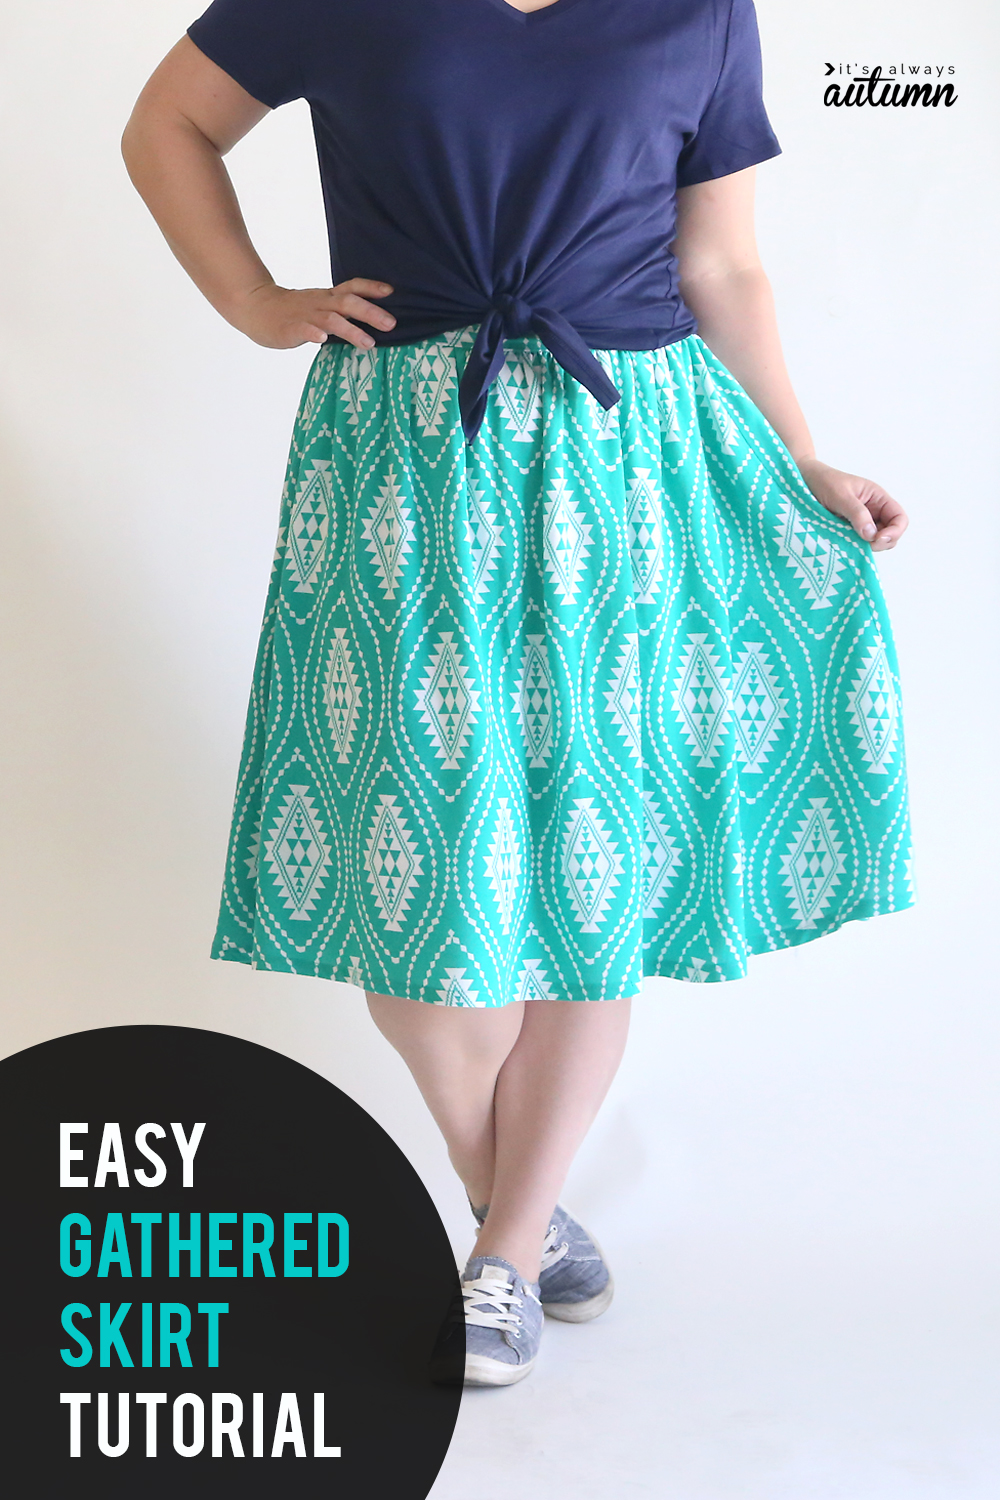
But the back waistband is still elastic, so it’s comfortable to wear, even if I’m sitting on the ground having a picnic.
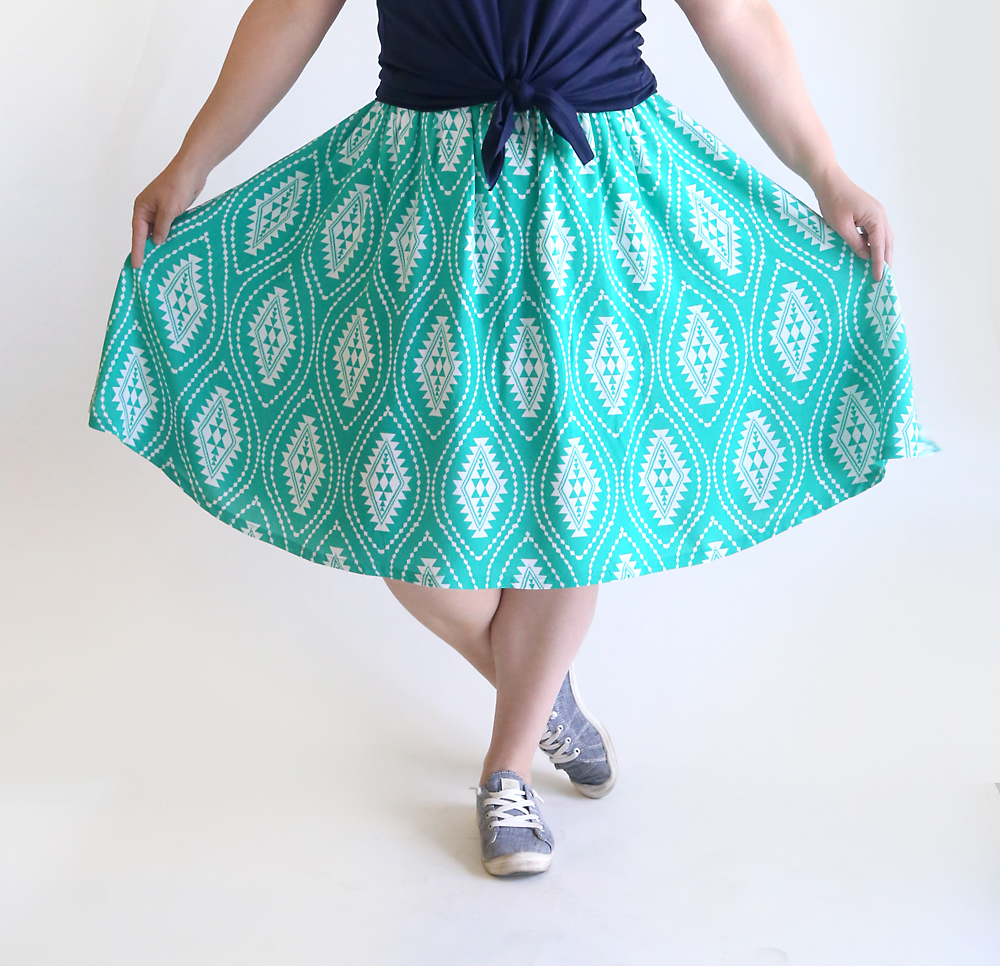
And it’s lightweight, making it cool and comfortable, AND it has a built in lining so I won’t have to worry about wearing a slip with it.
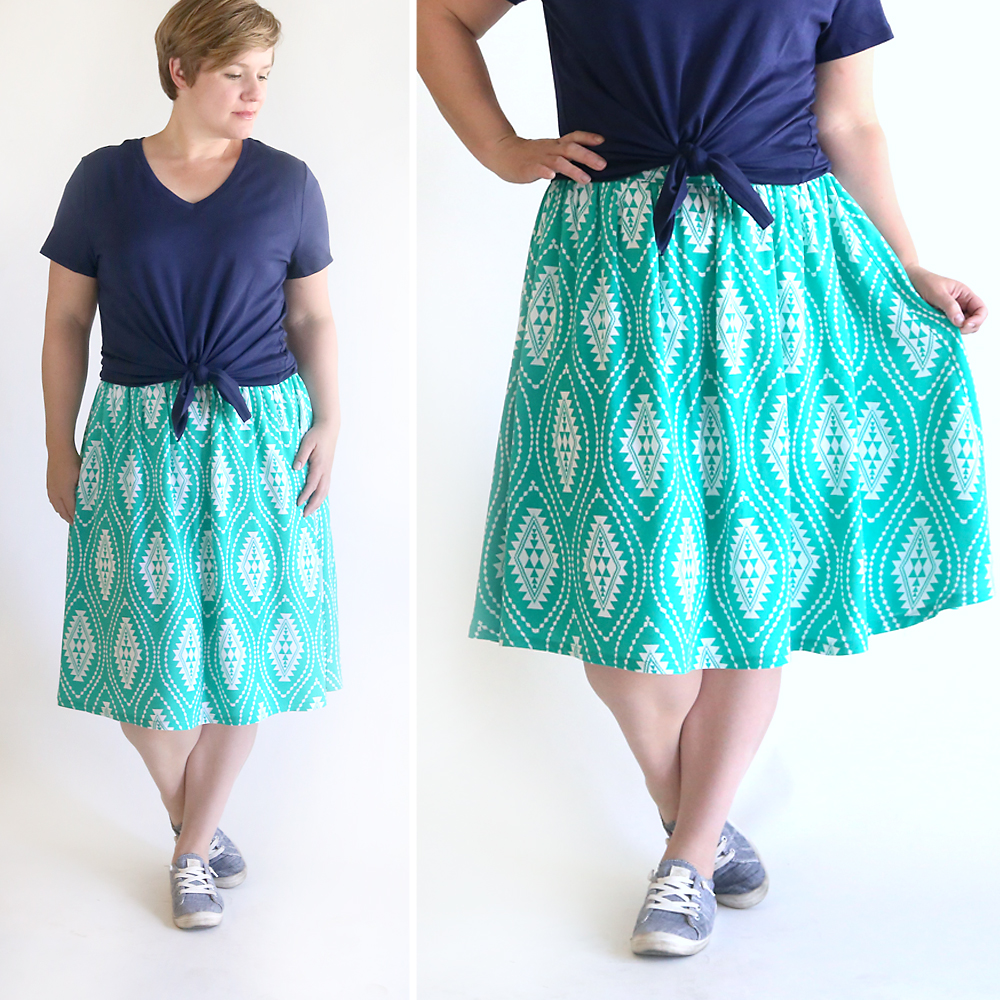
Yup, this really is the perfect summer skirt.
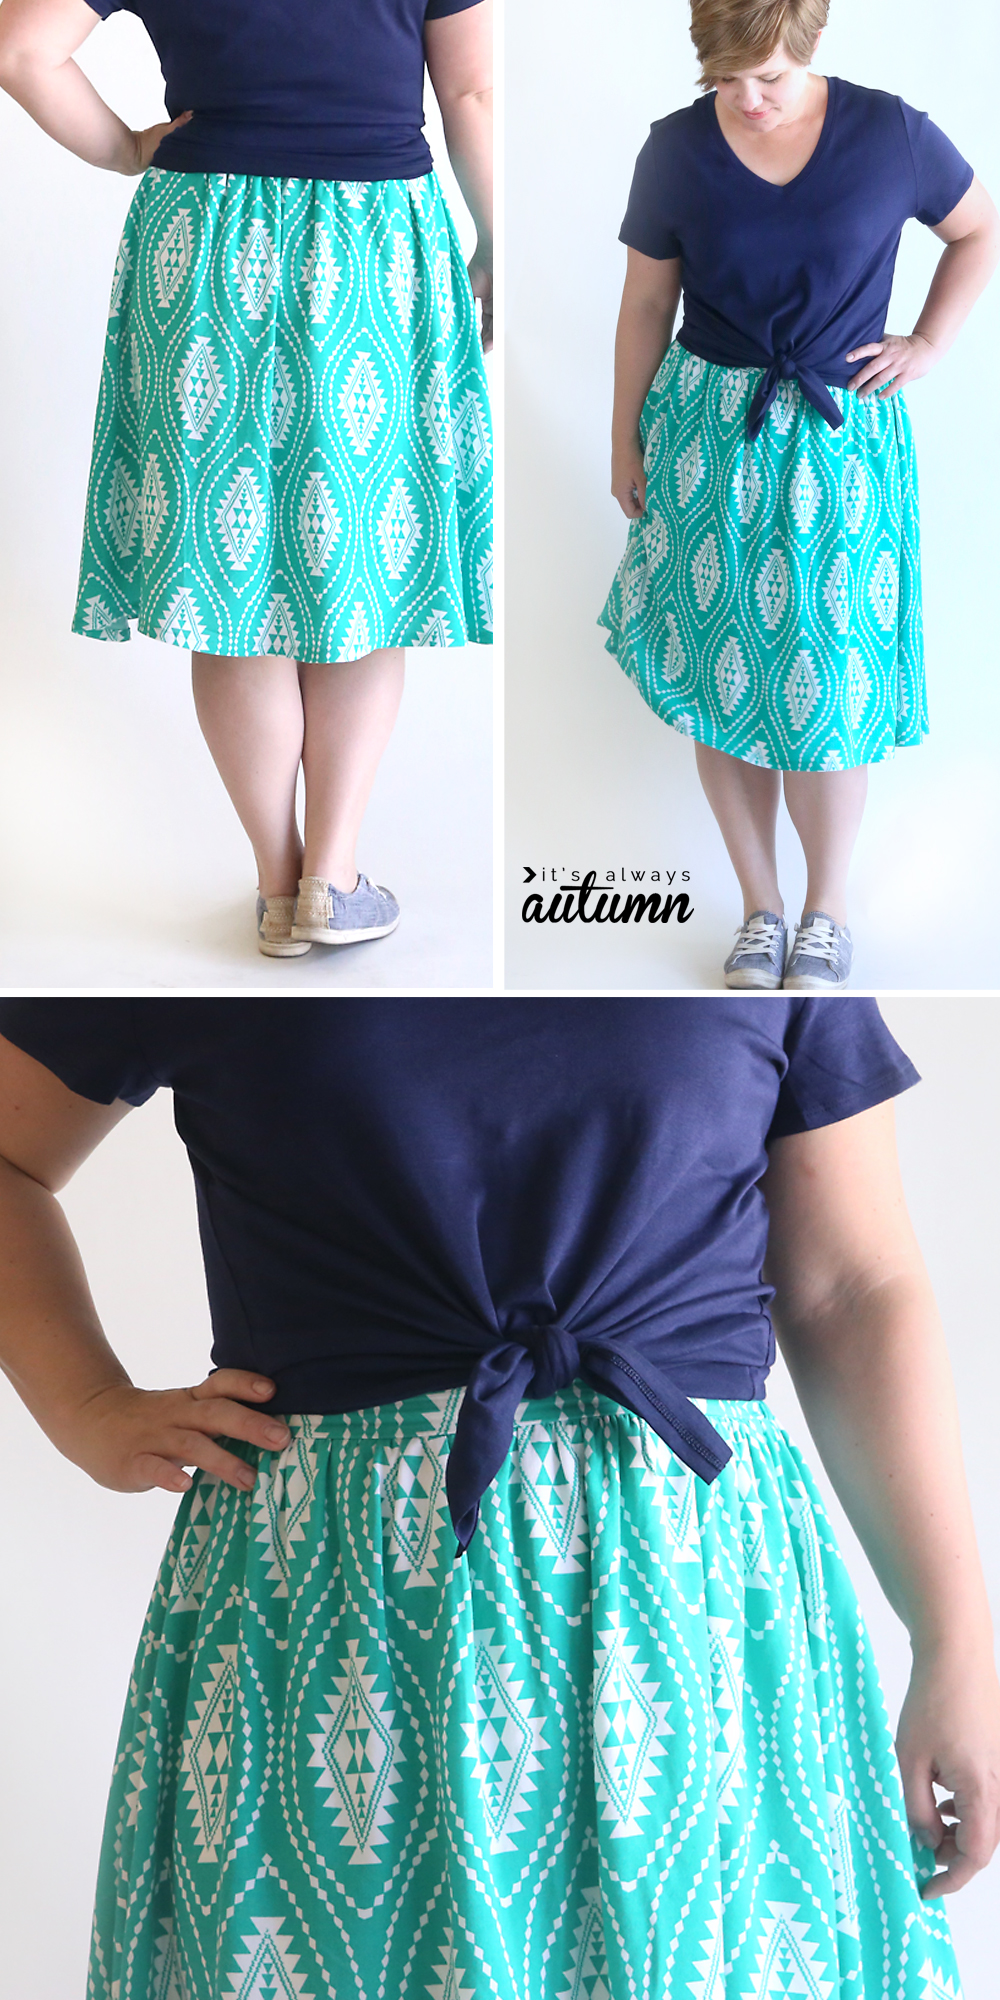
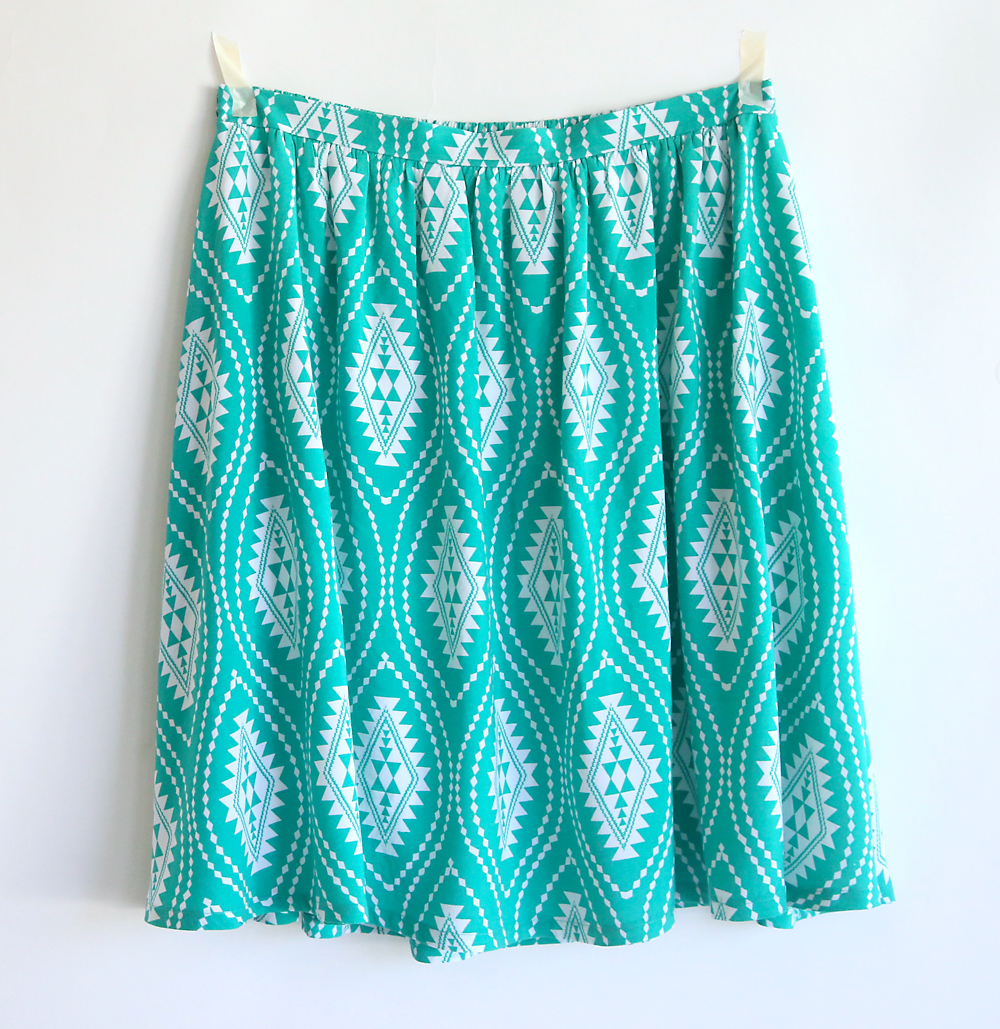
What makes it different than other gathered skirt tutorials you’ll find? Well, first, there’s the flat front waist. Next, instead of cutting a rectangle panel of fabric, we cut the waistband and hem on a curve, meaning the skirt is wider at the bottom than it is at your waist. That way you get lots of motion and movement in the skirt without bunchiness or extra volume at your waist.
Finally, I made this skirt out of a rayon challis (instead of a standard quilting cotton) which means it drapes beautifully and is so soft!
I plan to live in this skirt (and more like it) for the next three months. I have a second skirt in a floral rayon ready to hem and fabric picked out for a third already!
Now that I have the method all figured out, it only takes a couple of hours to make one of these skirts, so who knows how many I’ll end up with!
To make the perfect gathered summer skirt, you will need:
2 yards of soft 45 inch wide fabric (such as rayon challis)
1.5 yards of soft lining fabric (I used a white Jetset brand knit from Joann Fabrics, a tricot would also work well)
18 inches of 1.5 inch wide elastic
small amount of lightweight fusible interfacing
matching thread
NOTE: My skirt is a size L, meant to fit a 33-35 inch waist. You can use the measurements I include below to make a skirt that’s slightly larger or slightly smaller just by using more or less elastic in the waistband.
Please wash and dry your fabric before you begin!
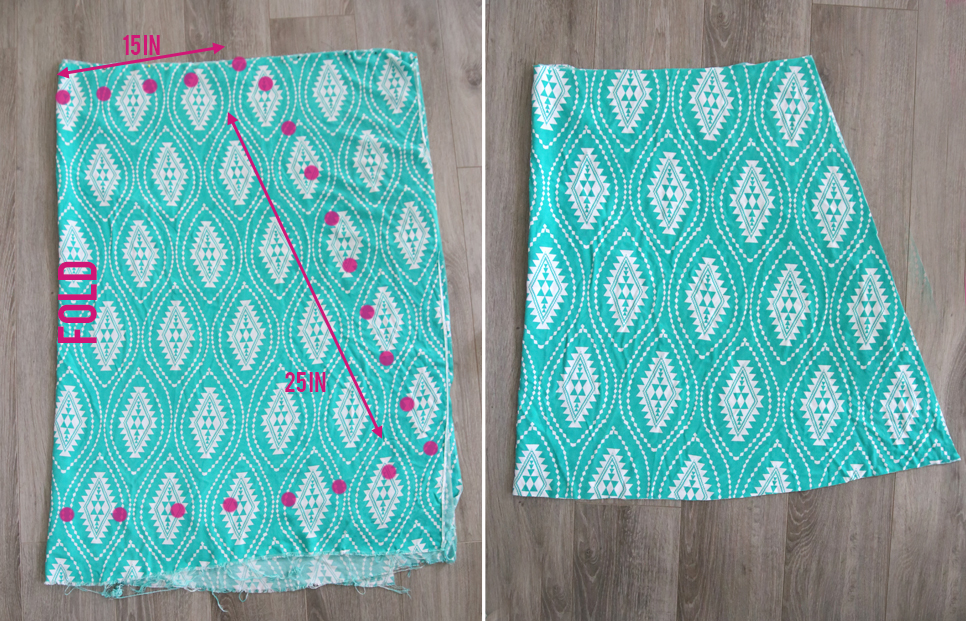
You’ll start by cutting out the two main skirt pieces, a front and a back, which are identical. Fold your fabric in half, matching up the selvedges, and cut a skirt piece like the one you see below:
The top of the skirt should curve up gently at the side seams, and should measure 15 inches from the fold to the edge of the skirt (measure along the curve). Then angle out the side seam and measure down 25 inches, and pin. Continue to measure 25 inches from the top of the skirt, marking as you go along. You’ll end up with a gently curve at the hem, as you can see above. Cut out your skirt piece. Then cut a second, identical skirt piece.
Then cut 2 identical skirt pieces from lining fabric – the only difference here is that the lining pieces can be about 2 inches shorter than the skirt pieces.
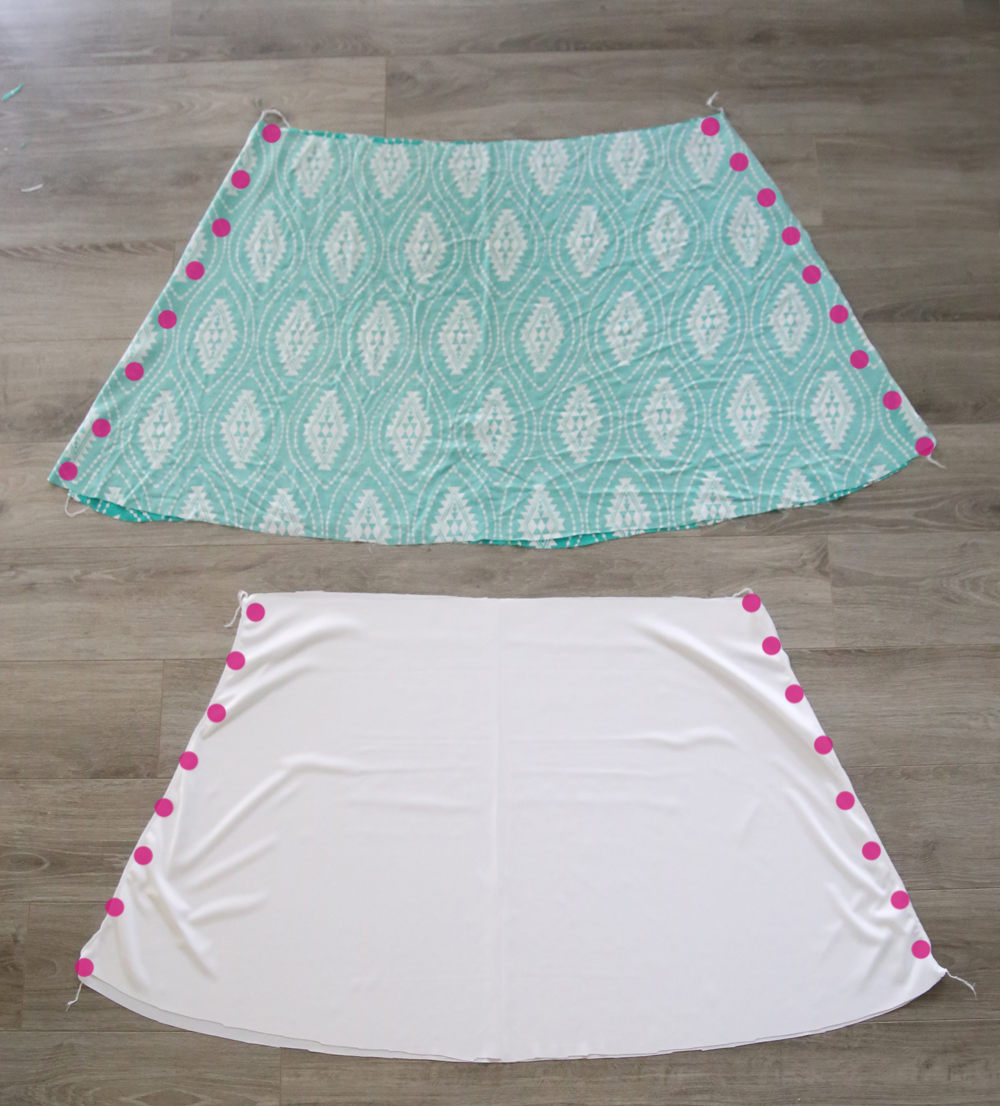
You’ll place the skirt pieces right sides together and sew down the side seams. Then repeat with the lining pieces.
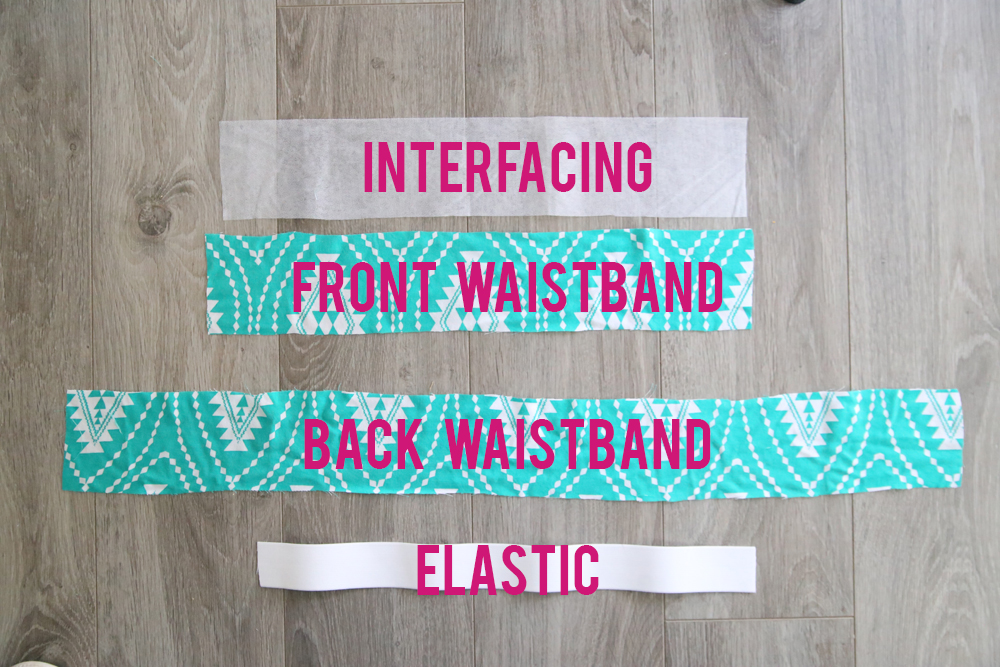
Next, you’ll cut out your waistband pieces.
- Cut a front waistband piece that is 4 inches high and 18 inches long.
- Cut a back waistband piece that is 4 inches high and 30 inches long.
- Cut a piece of lighweight fusible interfacing that is 4 inches high and 18 inches long.
- Cut a piece of 1.5 inches elastic that is 18 inches long.
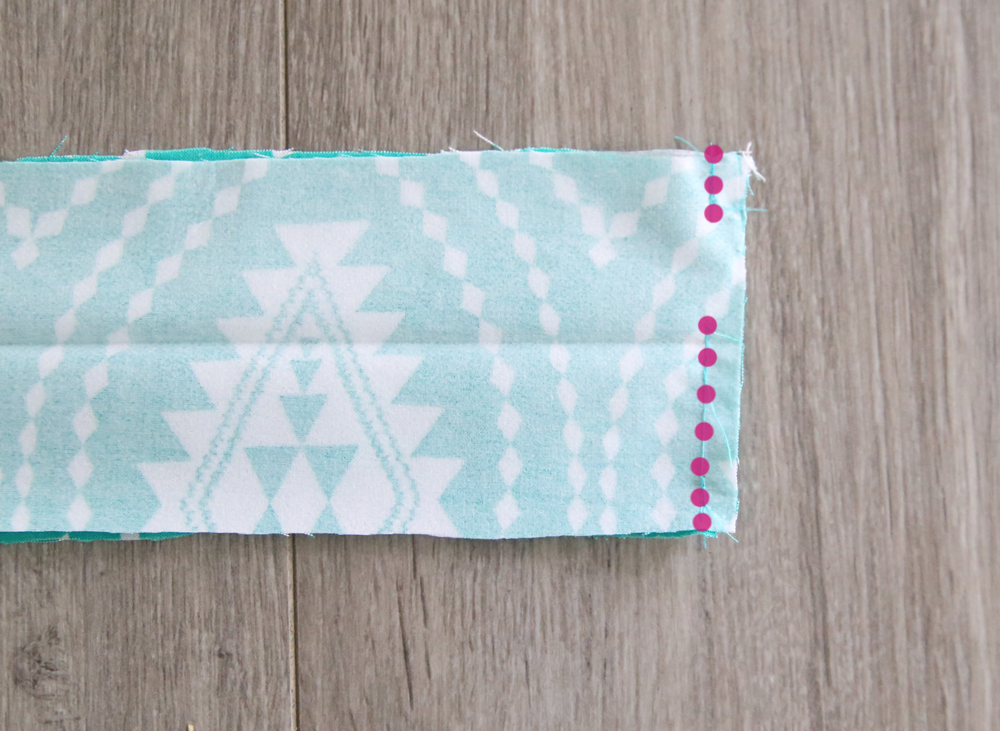
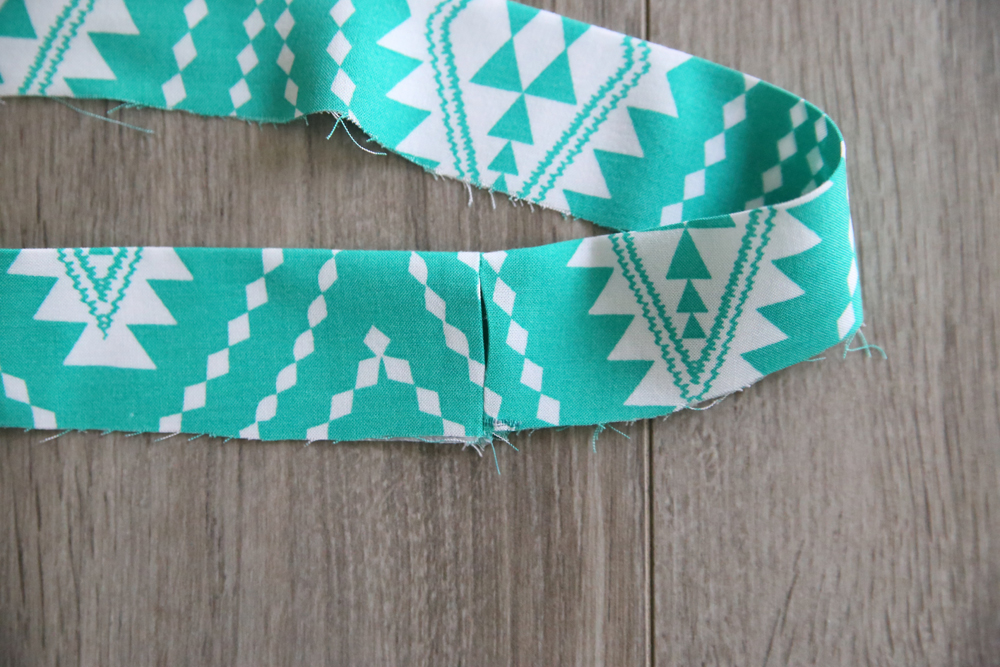
Iron the interfacing onto the wrong side of the front waistband. Then you are going to sew the short ends of the front waistband to the short ends of the back waistband, right sides together. But don’t just sew across each short end; you want to leave a gap in each of those seams as you see below. So plan to sew down about half an inch, then leave an opening of 1.5 inches, and then sew the remaining 2 inches. It’s a good idea to reinforce these stitches (maybe just stitch them all twice). This is going to give us an opening in the waistband to thread elastic through later on.
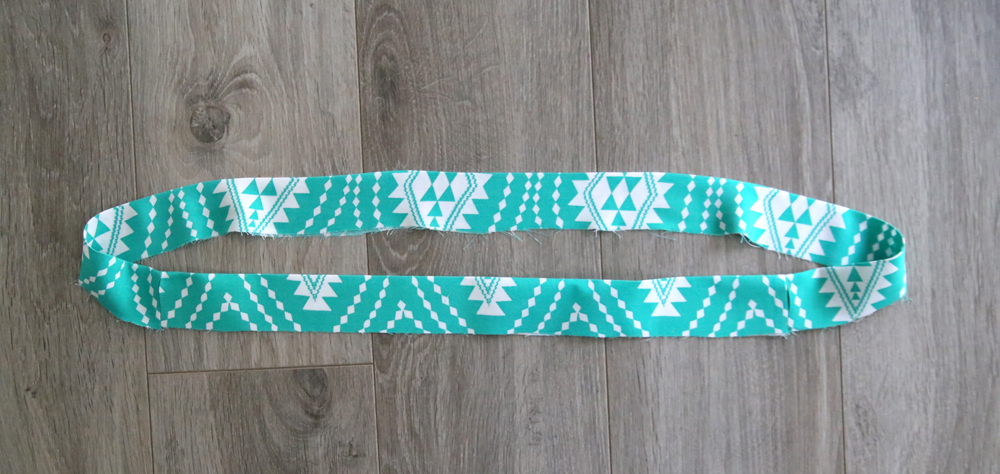
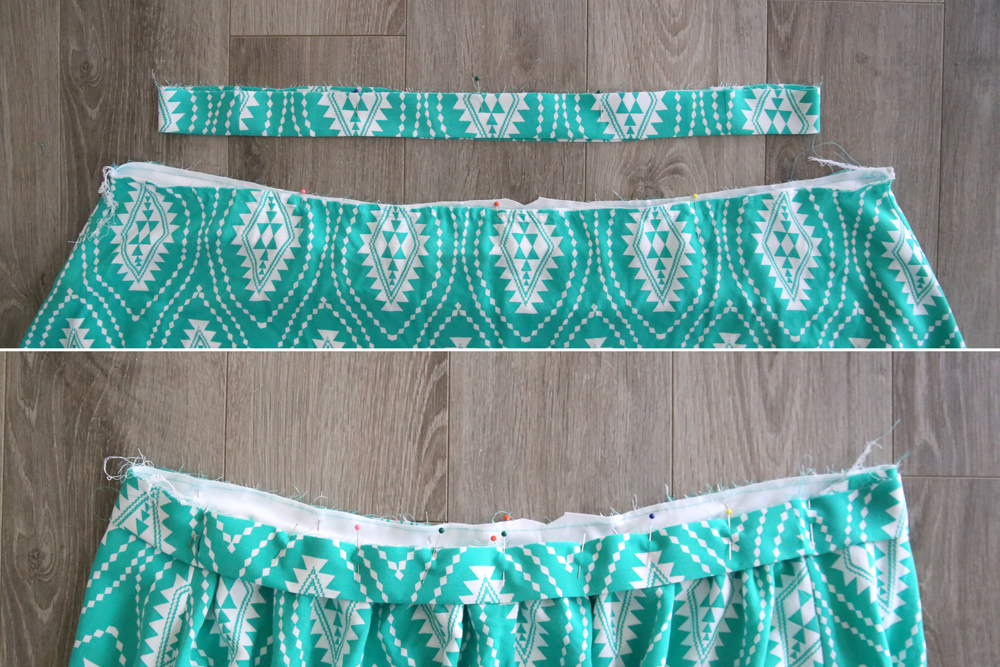
Now you have a large loop of fabric for a waistband. Fold it in half lengthwise, with the right sides out, and press. It will look like the top photo below. At each seam, you will be able to see an opening (bottom photo below).
Now we are going to attach the waistband to the skirt. The back waistband should be about the same width as the top of the skirt, but the front waistband is quite a bit shorter. That means you need to gather the top of the skirt all across the front. (At this point, just slip the lining inside the skirt and treat the skirt and lining as one piece.)
Sew two rows of gathering stitches along the top front of the skirt, about 1/2 an inch apart. Pull on the bobbin threads to gather up the front of the skirt, until it is the same width as the front waistband. Pin the waistband to the skirt, matching up side seams, as you can see above. Be sure that the openings in the waistband seams are facing out at this point.
Sew the waistband to the skirt.
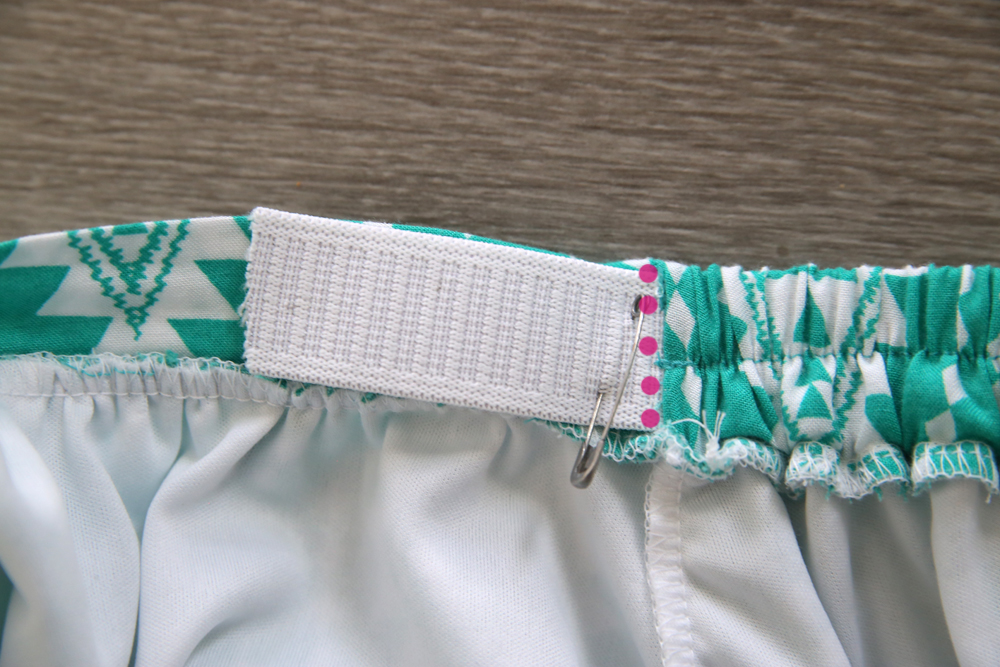
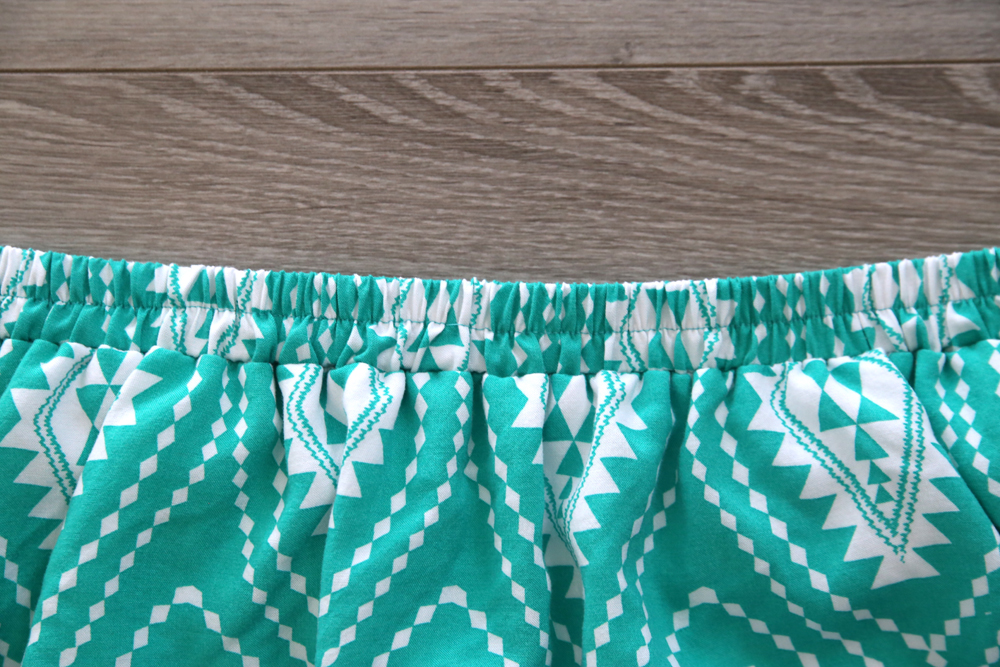
Now take your elastic and thread it through the back waistband. As you pull it through, sew the elastic down at the first seam, as you see below. Pull the elastic all way through the back waistband and gather the waistband up. Try on the skirt and pull the elastic as tight as is comfortable for you. Then sew the elastic down at the second seam (lower photo below). This will gather up the back side of the skirt.
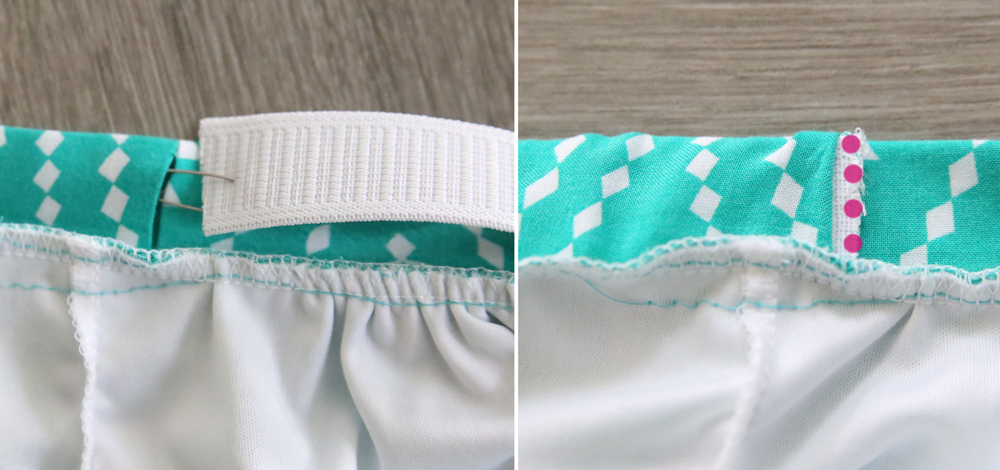
If you’d like, you can stitch across the elastic once it’s in the back waistband. Just pull on the elastic so the waistband is flat, then stitch right across the middle of it. Once you let go, it will gather back up. This step is optional but it ensures the elastic won’t get twisted inside the waistband, and keeps the gathers nice and even.
At this point you just need to hem the skirt and you’re done!
Looking for more skirt sewing tutorials? Try these posts:
How to sew a half circle skirt
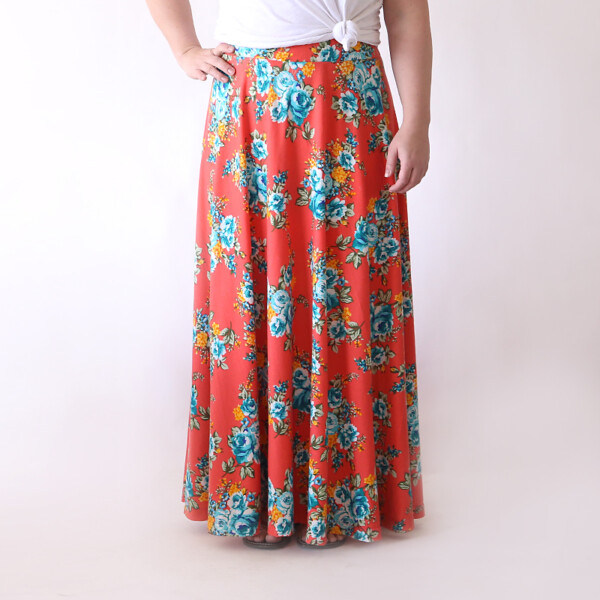
The half circle skirt in a maxi length
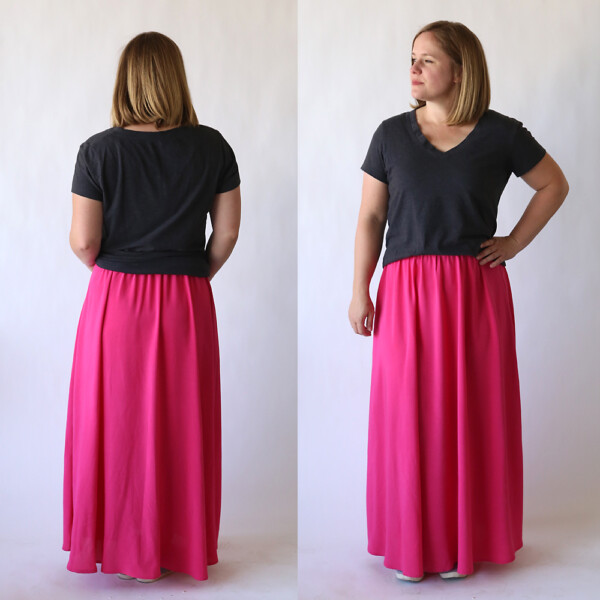
The perfect flattering gathered skirt
The everyday skirt in maxi length
Sweatpants to cozy skirt refashion
Easy to sew girls’ skirt with attached shorts




Nat says
Can you please show a photo on the inside waistband? Does the elastic show or is in encased in the fold?
Autumn says
The elastic goes inside the waistband in the back of the skirt so it does not show, except for a tiny bit right at each side seam where you will sew to secure it.
Rita B says
This skirt looks almost perfect. The only thing I’d change is – adding pockets. I’d love to see a tutorial for adding pockets on the side seam…
Thank you for this idea though. I’ve never seen a pattern that has a flat waistband with slight gathering in the front. Definitely gonna try this. Your instructions are very clear and pictures help immensely so thank you!
Megan says
Thank you! Loved this pattern. I bought a maxi wrap dress at a thrift store and I wanted to turn it into a skirt. Took some finessing, but with the help from your pattern it turned out beautiful and ready for Easter!
Josey says
I love this pattern, I made one out of jean material and lined it with fleece for winter. The triangular pieces were reused to make pockets in the side seams because every woman deserves a hidden pocket.