
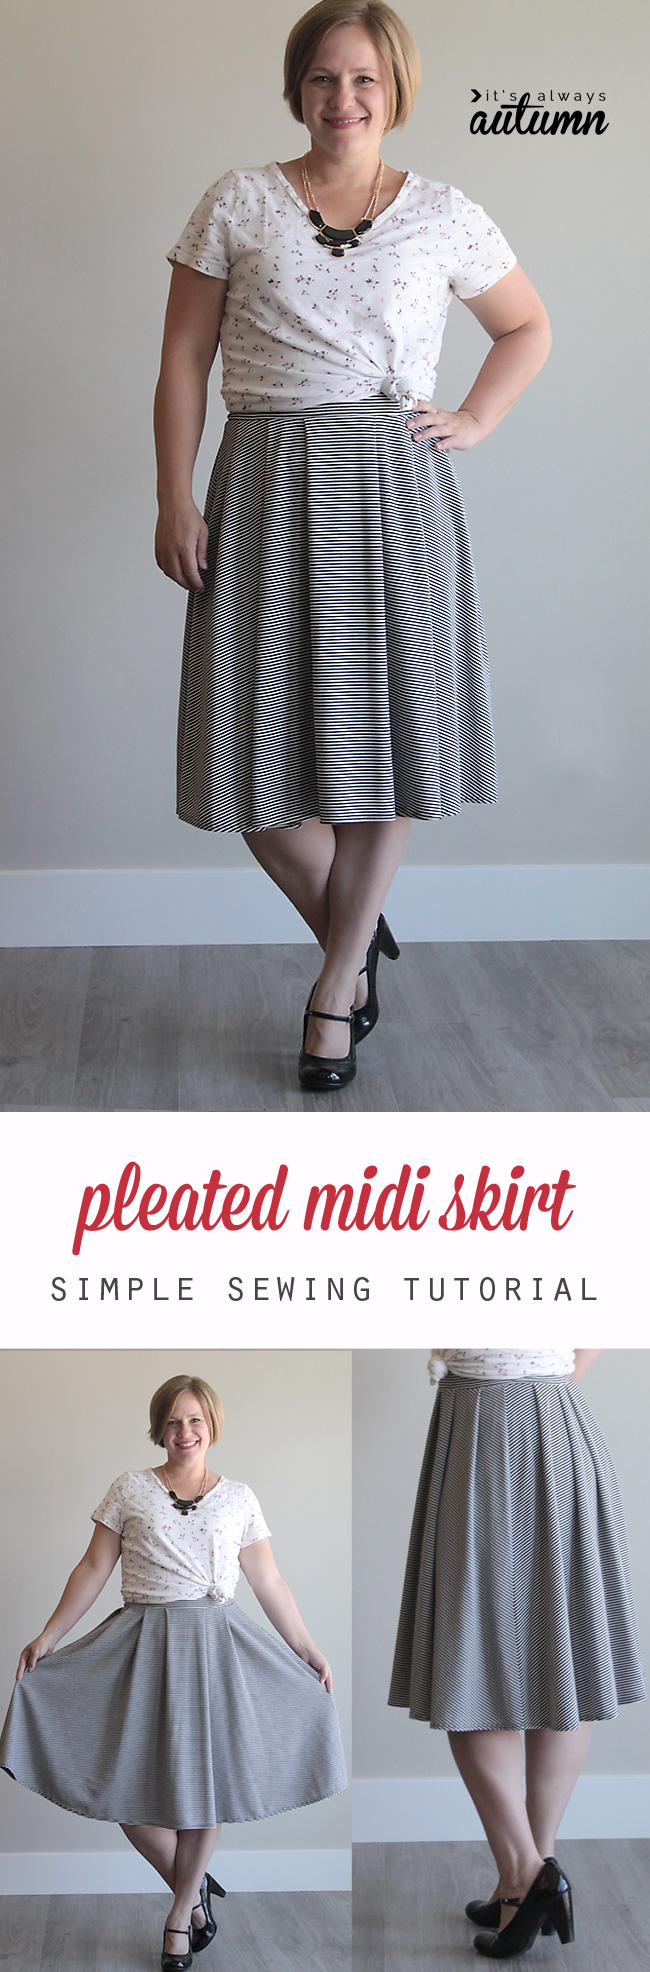
In today’s post: Learn how to create a flattering midi skirt pattern in your size so you can sew up as many as you’d like!
So here’s the deal. I’m pretty realistic about what my body looks like, and what it looks best in (hello maxi dresses!). However, I really really love the look of full skirts that hit just below the knee. So last year I made an easy gathered skirt and posted a tutorial. Despite being told repeatedly by someone on pinterest that I’m too fat to wear that style (thanks for the tip!), I actually really like that skirt. Sure, I know it’s not the most flattering thing I’ve ever worn, but what can I say . . . I’m not sure I really care.
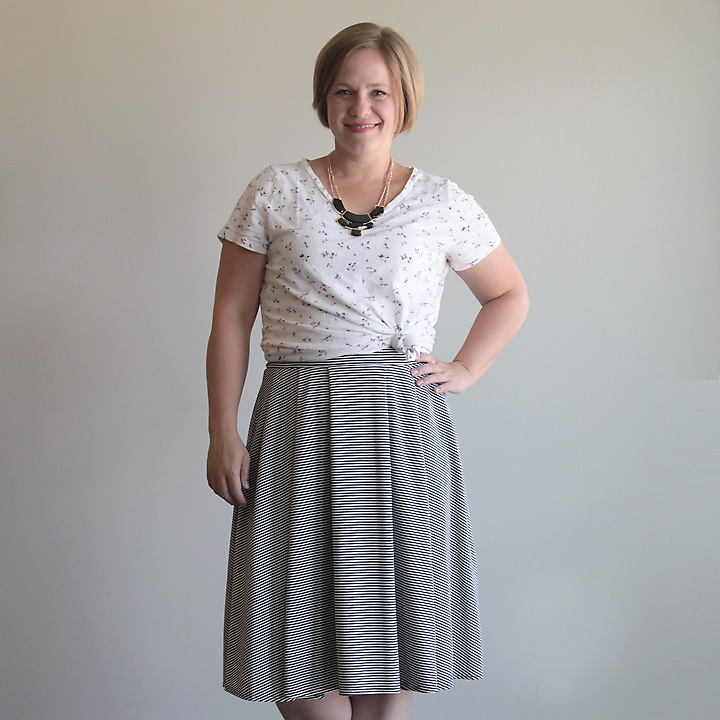
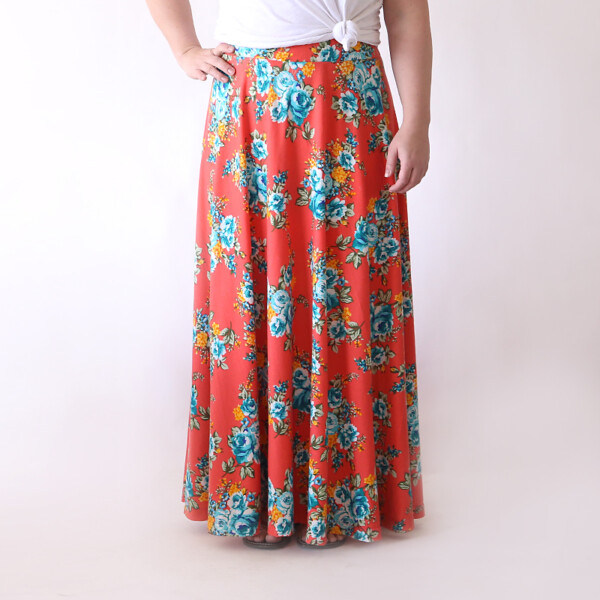
Anyway, I decided it was time for another comfy full skirt that’s long enough for me to chase my kids around without showing any thigh (‘cuz that would be taking this whole body acceptance thing a little too far). Instead of another gathered skirt, I made a pleated version, and I cut the pieces slightly curved to give it a nicer drape. This DIY pleated midi skirt pattern is kind of a grown-up version of the gathered skirt, and I think it’s actually a little more flattering, which should please my pinterest commenter 😉
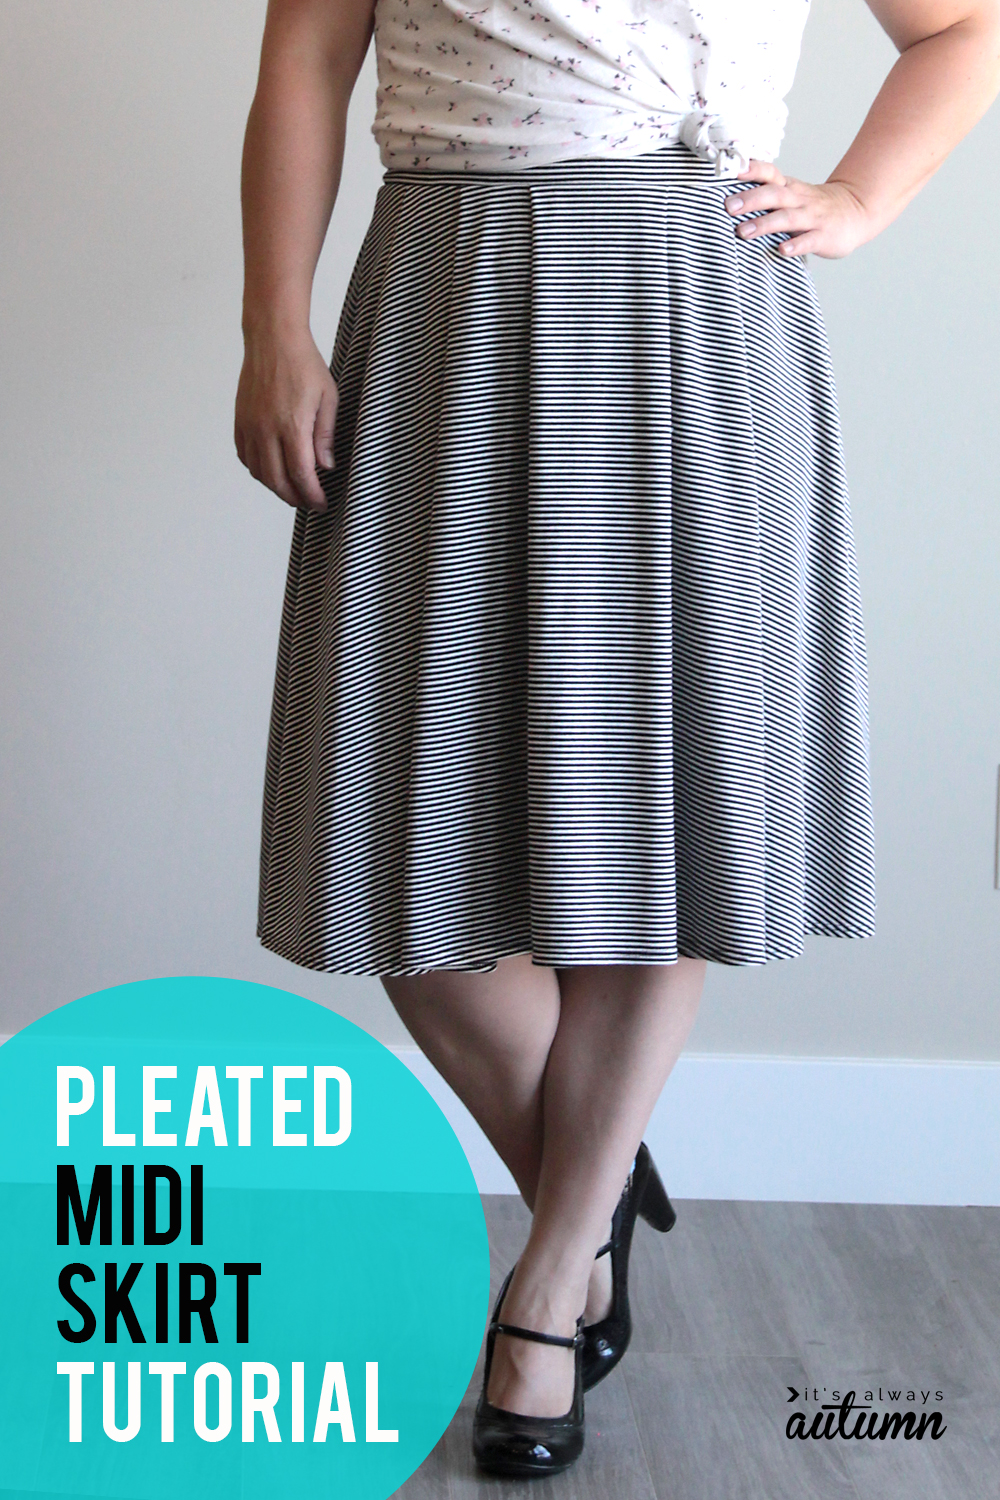
Like the gathered skirt, this one is made from knit fabric, which means I didn’t have to add any closures. No zipper, no buttons, no nuthin’. And the waistband is all elastic, which I’ve got to admit I love. I can go out to dinner in this skirt and do my worst (or best) on a plate of enchiladas and still feel comfy. Now that’s happiness.
Sidenote: I am sooooo old.
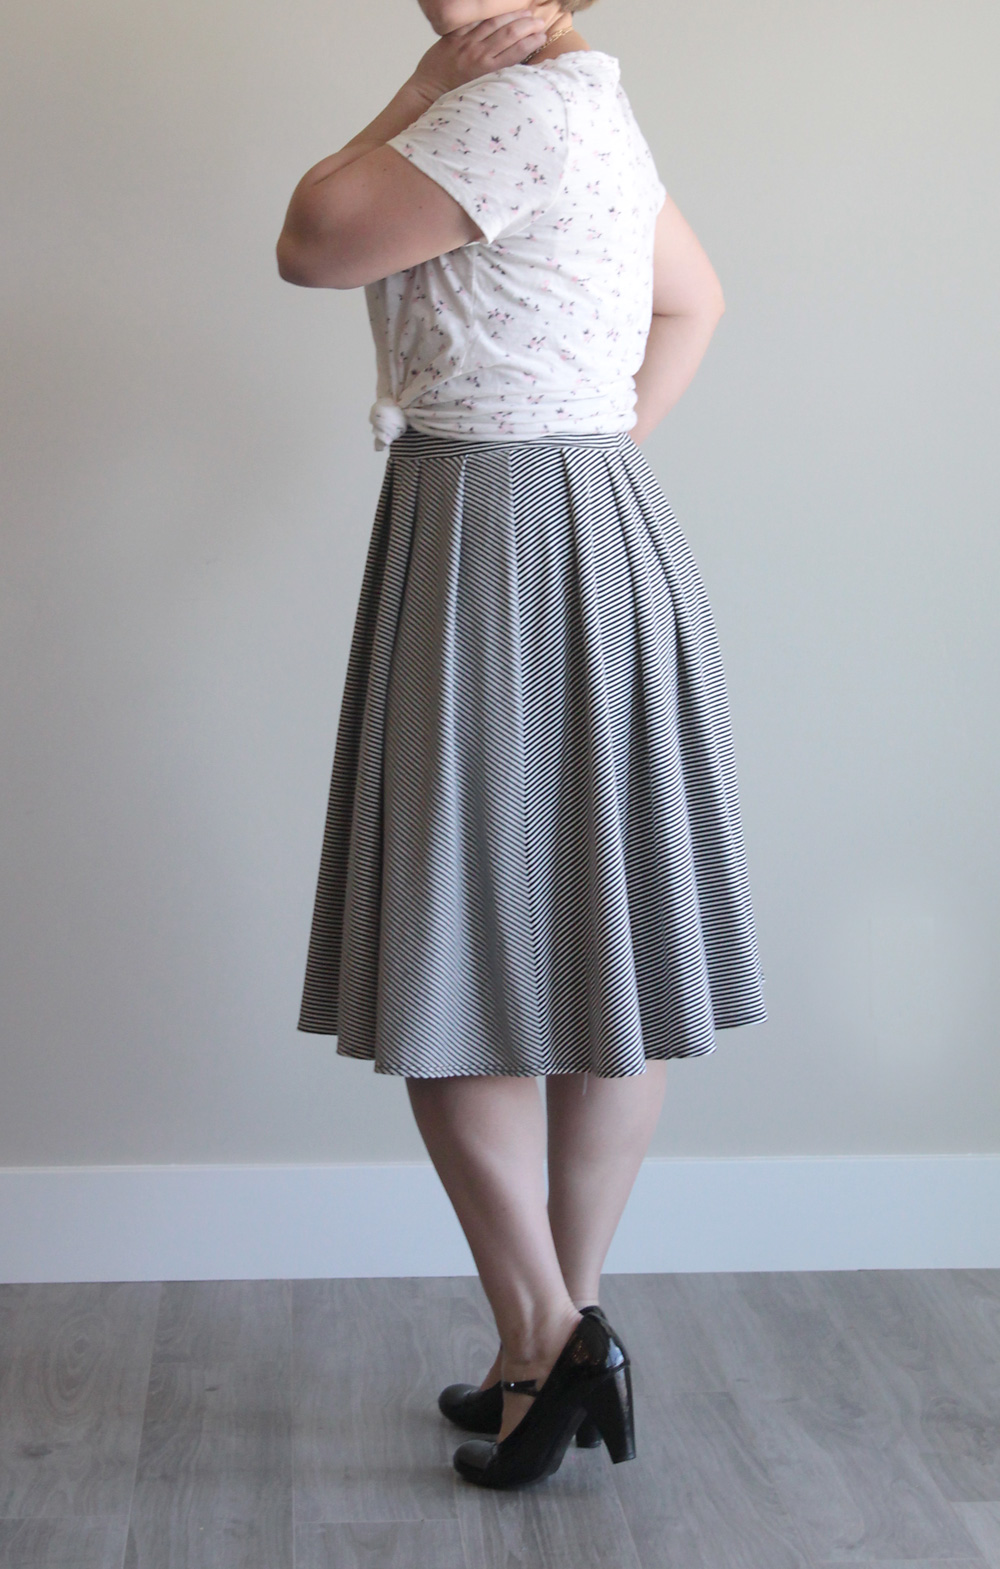
Sidenote #2: Sorry for the slightly wiggy photos – narrow stripes don’t translate very well on a computer screen.
Anyway, the waistband has elastic in it so it’s plenty stretchy, but it’s made to lay flat against your waist so there’s no bunchiness. Because bunchiness is bad. On the other hand, a full skirt is good:
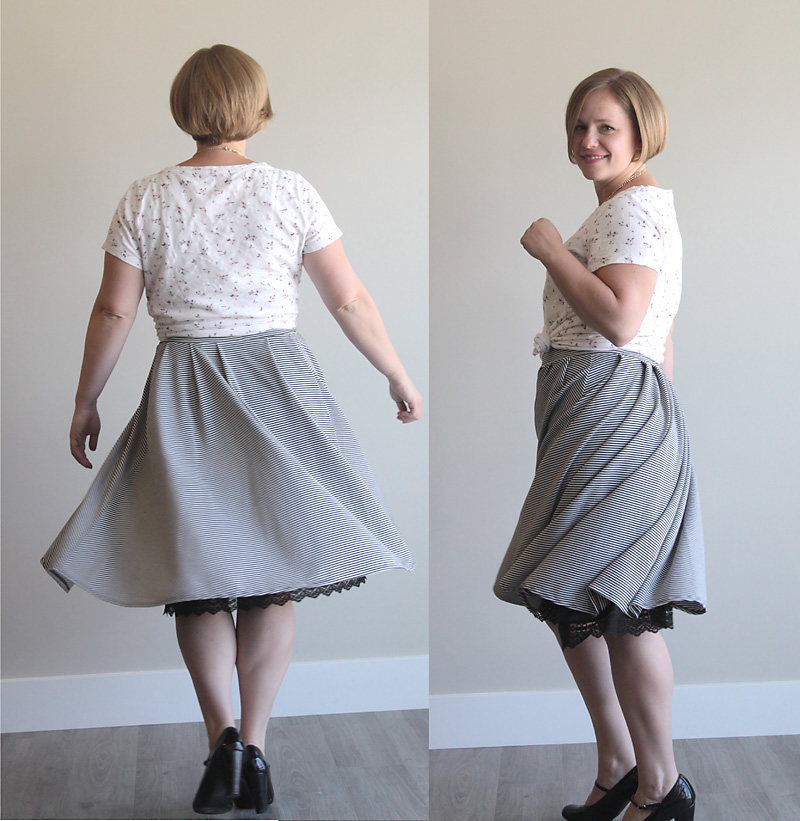
Especially when you want to channel your inner 4 year old and spin once or twice.
And the pleats? Well, I like the pleats too.
DIY pleated midi skirt pattern
NOTE: Before you start cutting things out, you need to make sure your knit is plenty stretchy. We’ll cut the waistband to your waist measurement, and it needs to be stretchy enough to fit over your hips, meaning you’ll want at least a 50% stretch.
Ok, you only need 3 pieces for this skirt: a waistband and a front and back skirt piece. I used 2 yards of fabric and folded it in half twice, from the top first, then side to side, as you can see in the photo below. The stretch is going side to side. You can create a paper midi skirt pattern if you’d like, but since that would take a lot of paper I just cut out the fabric pieces based on my own measurements.
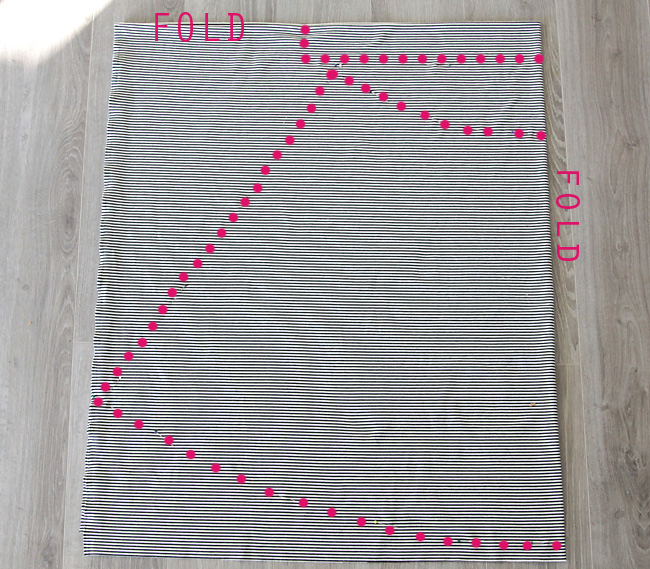
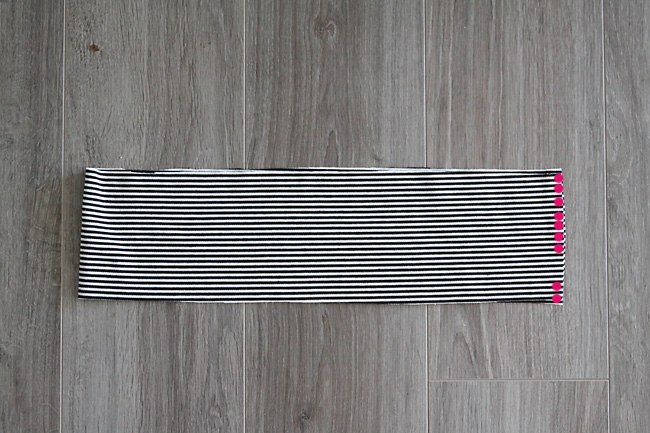
The waistband piece should end up about 4.5 inches tall and as long as your waist measurement plus one inch. In my photo below, since the waistband is cut on both folds, I cut it 2.25 inches tall and half my waist measurement plus half an inch wide.
I cut the skirt pieces out with a bit of a curve, so the skirt would be more full at the hem than the waist. At the top of the skirt I cut a curve that is about half my waist measurement (so if waist is 30, then skirt should be 15 inches wide along the curve at the top, ON THE FOLD). I measured down 26 inches from the waistline to get the bottom curve, making it as wide as the fabric would allow. I’m 5’3″ and I ended up cutting off about 2 inches to make the skirt hit just under my knee.
How to sew a pleated midi skirt
Once you have those three pieces cut out, the pleated midi skirt is easy to put together. Fold the waistband piece, matching up the two short ends, and sew along the raw edges as marked by the dots below, using 1/2 inch seam allowance. You want to leave an opening that’s just over an inch tall. Backstitch on either side of the opening.
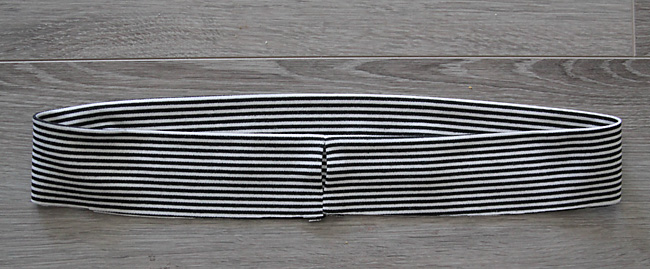
Fold the waistband in half lengthwise and press. You’ll now have a circular waistband with an opening for the elastic to go through.
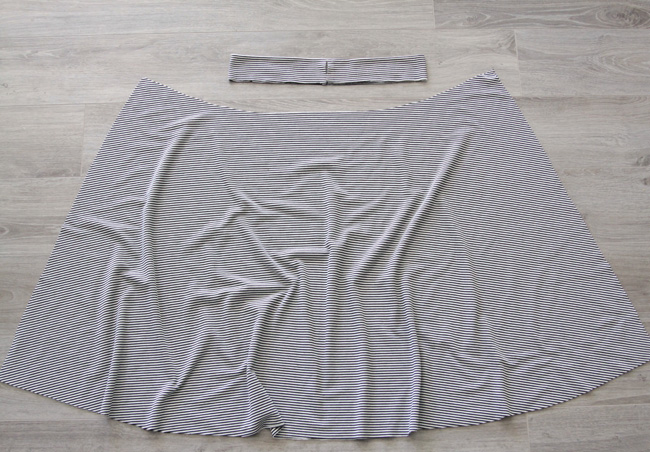
Here’s the waistband and skirt pieces. As I mentioned before, the skirt pieces are going to be twice as wide as the waistband, making a nice full skirt.
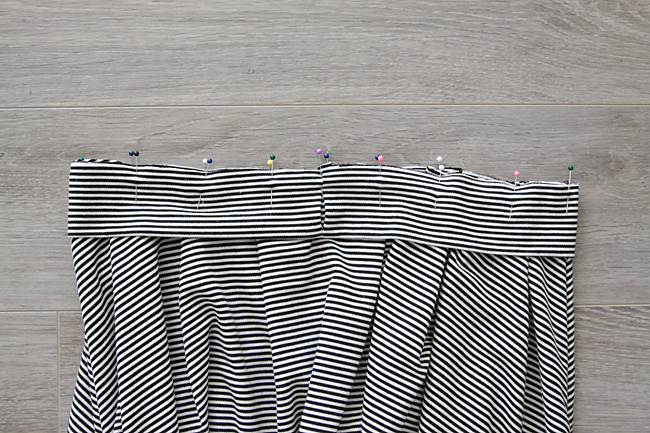
Take one of the skirt pieces and lay it below the waistband. Fold pleats into the skirt piece until it’s just about the same width as the waistband (it should actually be 1/2 inch wider than the waistband on each side to account for seam allowance). You can measure and use math to figure out how big and how far apart each pleat should be, or you can just kind of wing it, trying out pleats of different sizes until you like how it looks. Just make sure to mark the center of the skirt piece and make the pleats even on each side.
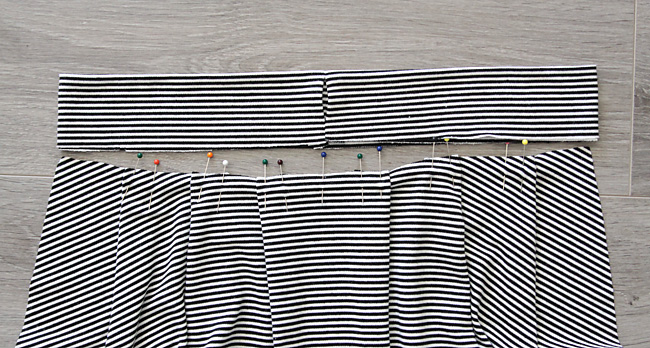
Pin the pleats in place, then sew across them with a basting stitch so you can remove the pins and the pleats will stay. Repeat with the other skirt piece.
Sew the front and back skirt pieces down the side seams, RST.

Now the waistband and the top of the skirt will be just about the same width. Slide the waistband over top of the skirt (skirt is right side out), matching up the raw edges. The seam in the waistband should be in the center back, and the opening for the elastic should be facing out. Pin well.
Sew all the way around, attaching the waistband to the skirt, with a stitch that will stretch (I used a serger, but you can use a narrow zigzag or a stretch stitch on a normal machine). Again, use a 1/2 inch seam allowance.
Once the waistband is attached, flip it up. Use a safety pin to thread 1.5 inch wide elastic through the waistband.
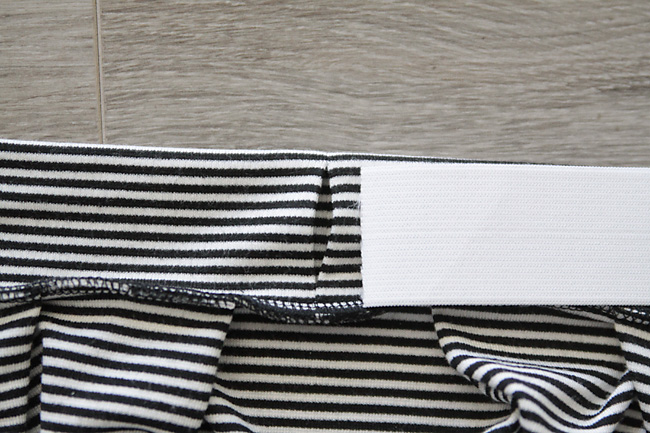
Try the skirt on and adjust the elastic until it’s as tight as you want it, then sew the elastic together and trim any excess. Hem the skirt to the desired length, and you’re done!


Lanae says
I just finished a skirt using this pattern and I absolutely love it.
Thank you for sharing your patterns! My wardrobe has benefitted greatly.
Mia says
You are so adorable in all your skirts! I am so appreciative of your tutorials and the very flattering styles. Thanks!
Jennifer says
I love your posts and the things you make are great. And you look great in them. Thanks for sharing your talents!
NaniX4 says
Love your skirt pattern, can’t wait to give it a try. Very flattering too!! Glad you brushed off the snarky comment, it looks great!