Hey guys! You all know by now that I’m not a pro photographer, but I do like taking pictures, and I’ve learned some tips in the past few years that have really improved my photos. Some of those tips are kind of involved, like how to meter for the best exposure, but some of them are so incredibly simple everyone should know them. So from time to time I’ll be sharing easy photo tips – small, simple things you can do to make a big improvement in your photos. Today’s tip is to move your subject away from the background. It’s amazing what a difference it can make.
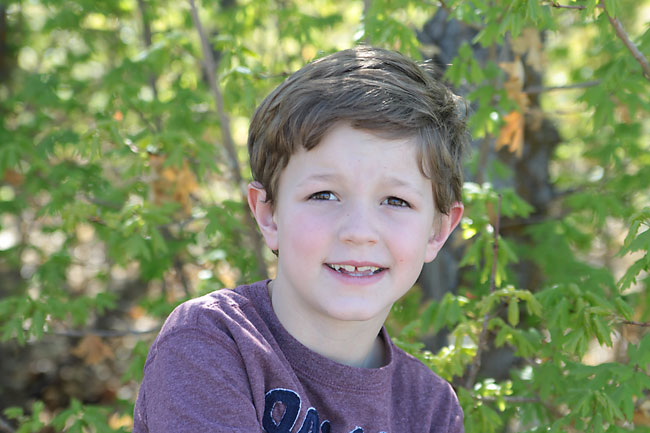
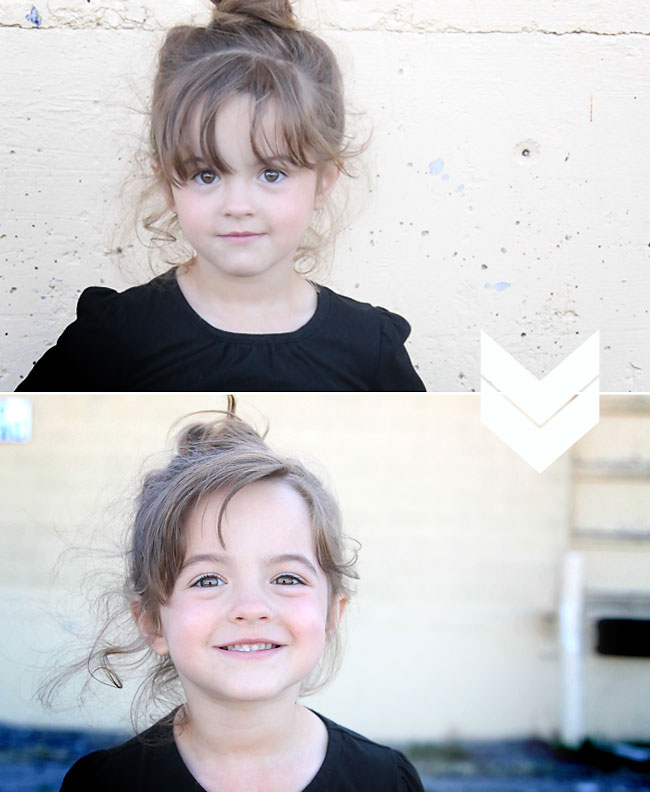
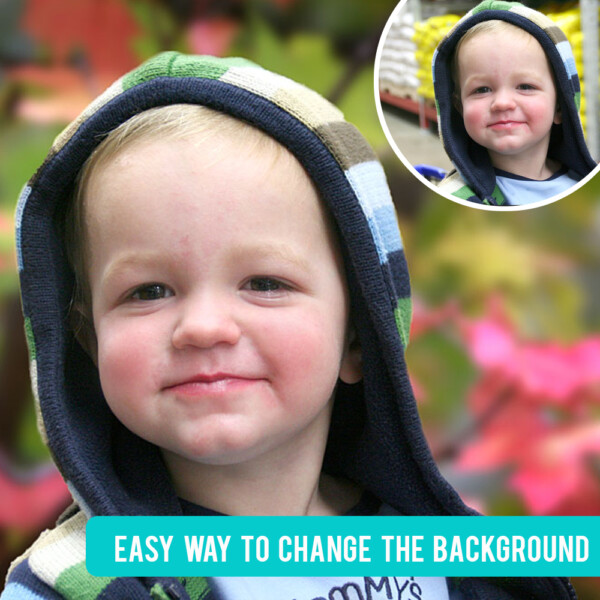
When I was starting to get into photography, if I wanted to take a picture of my kids, I’d walk outside and look for something pretty to have in the background of the photo. Flowers, or trees, or a nice colored wall or something like that. And I’d have my child stand right in front of whatever I’d found, especially if it was in the shade so I knew they wouldn’t be squinting into the sun. I’d put my camera on portrait setting, hoping the background would blur a little bit. And I’d get a picture that looks like this:
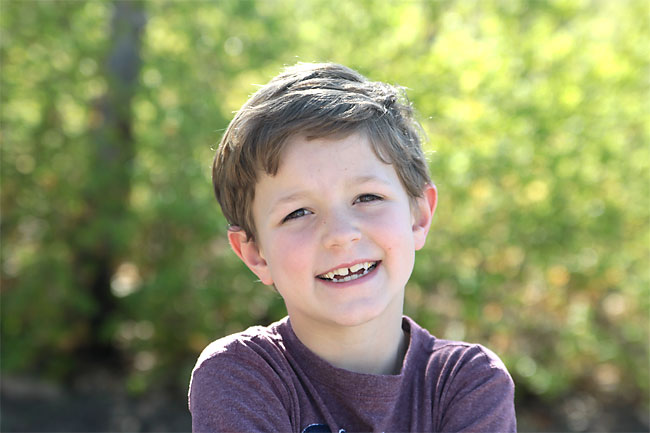
And I’d be frustrated, because even though it was cute, it looked more like a snapshot than a really good photo. I thought maybe I needed expensive equipment to get a better photo, but I was wrong. All I needed to do was have my subject (the person I was photographing) walk away from the background. In this instance, I had my son stand about 15 feet away from the trees instead of right in front of them. And with the same equipment and the same settings, I got this photo:
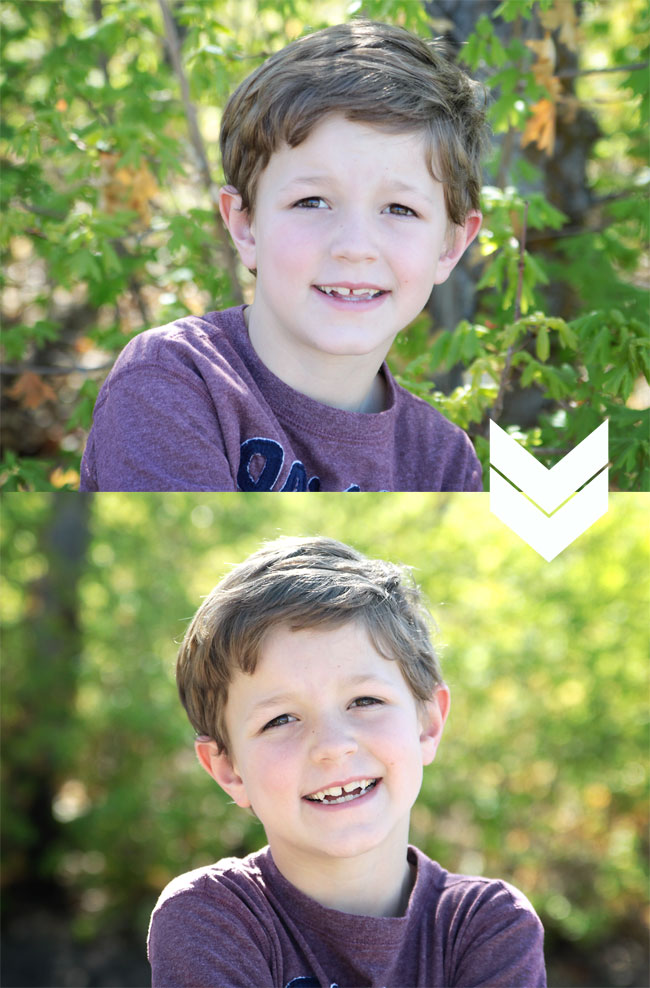
So much better! Putting more distance between your subject and the background is the easiest way to create more background blur (bokeh), which makes the subject “pop” in the photo. It automatically looks more professional. Here are the two photos close together so you can compare (and in these versions I ran the exact same editing process on both photos to brighten and boost a little):
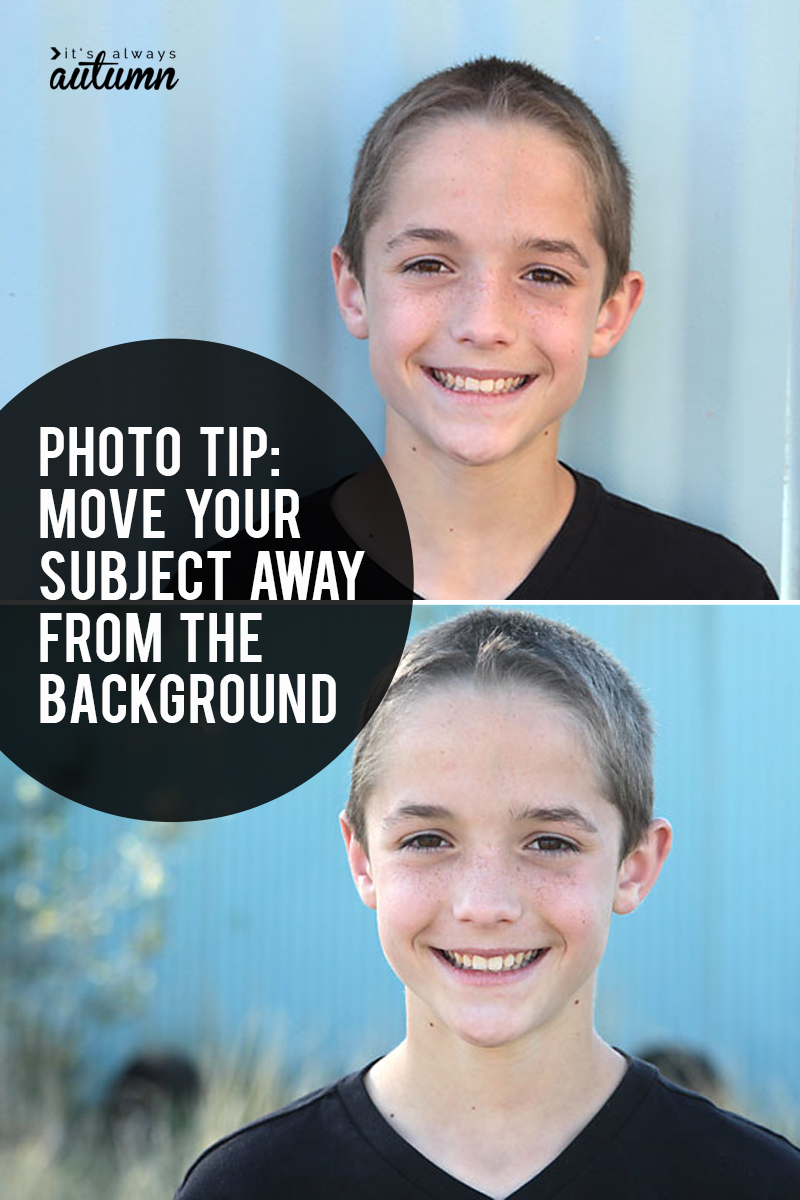
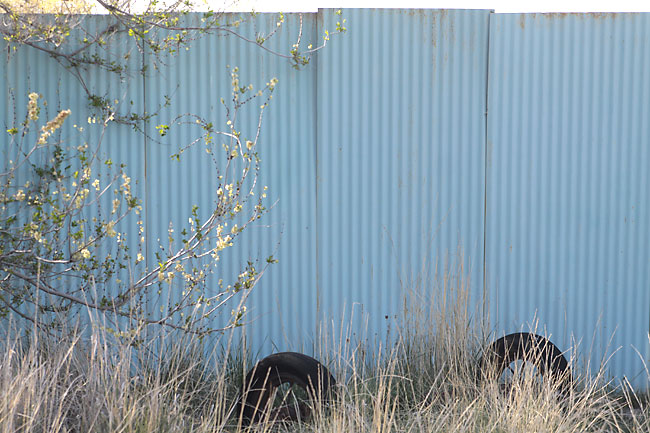
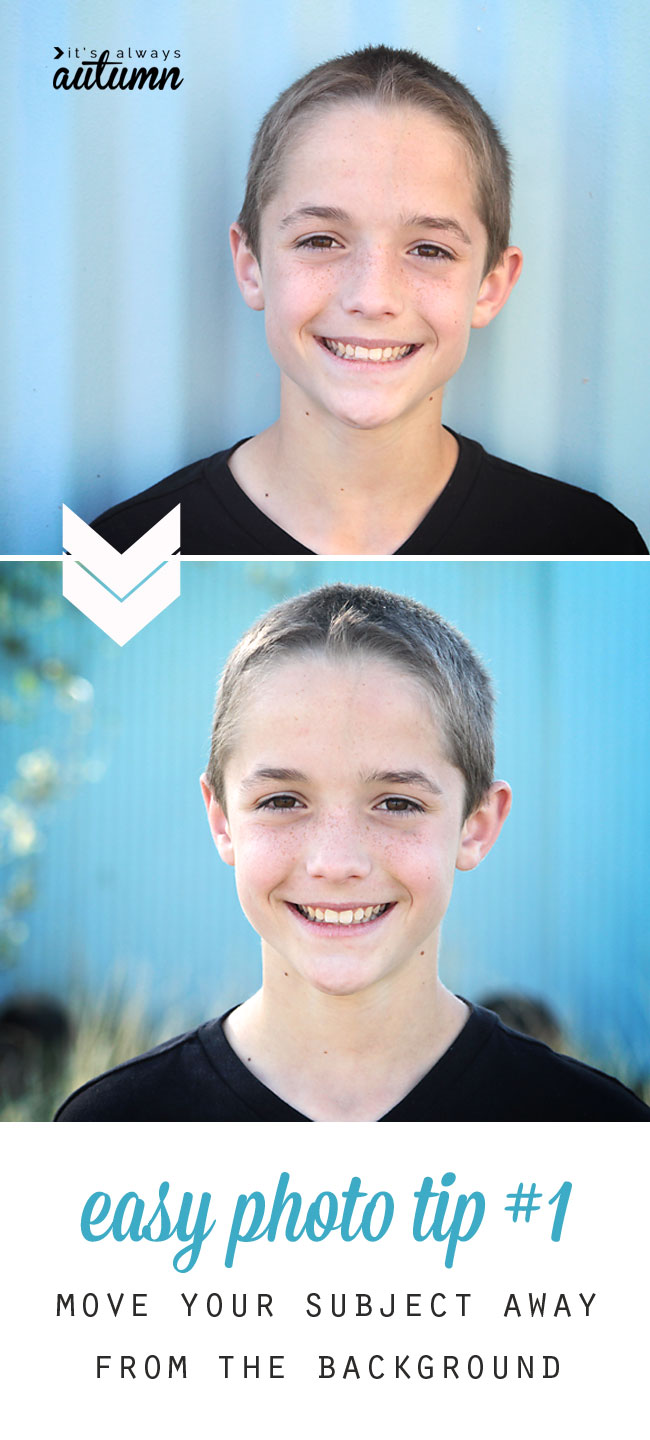
Here’s another example. There’s a fun blue wall not far from my house that I like to take pictures at:
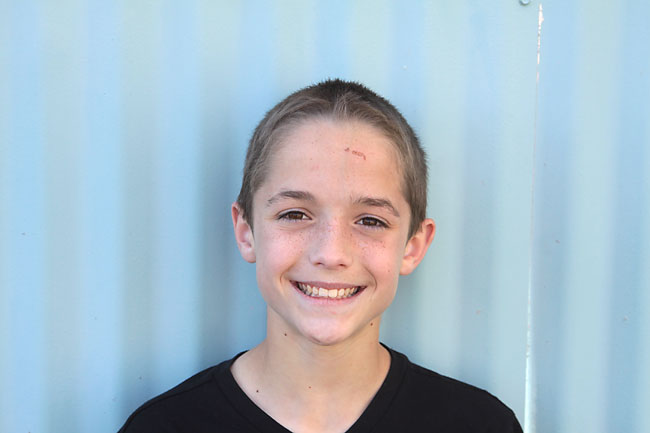
I had my son stand in front of the wall (which provided good shade) and took a headshot:
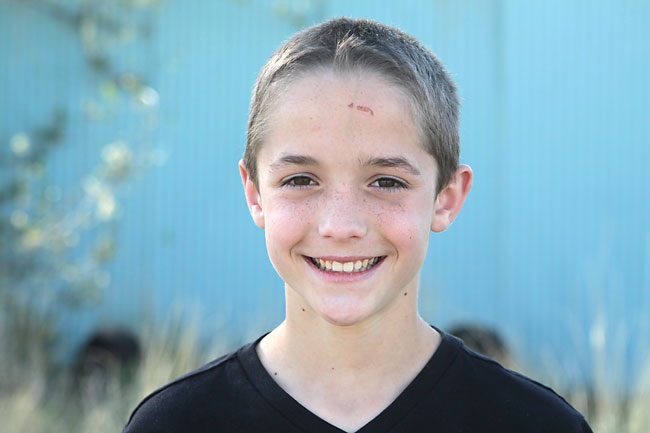
Again, cute, but nothing to write home about. I backed up and asked him to walk about 15-20 feet away from the wall, then took another photo:
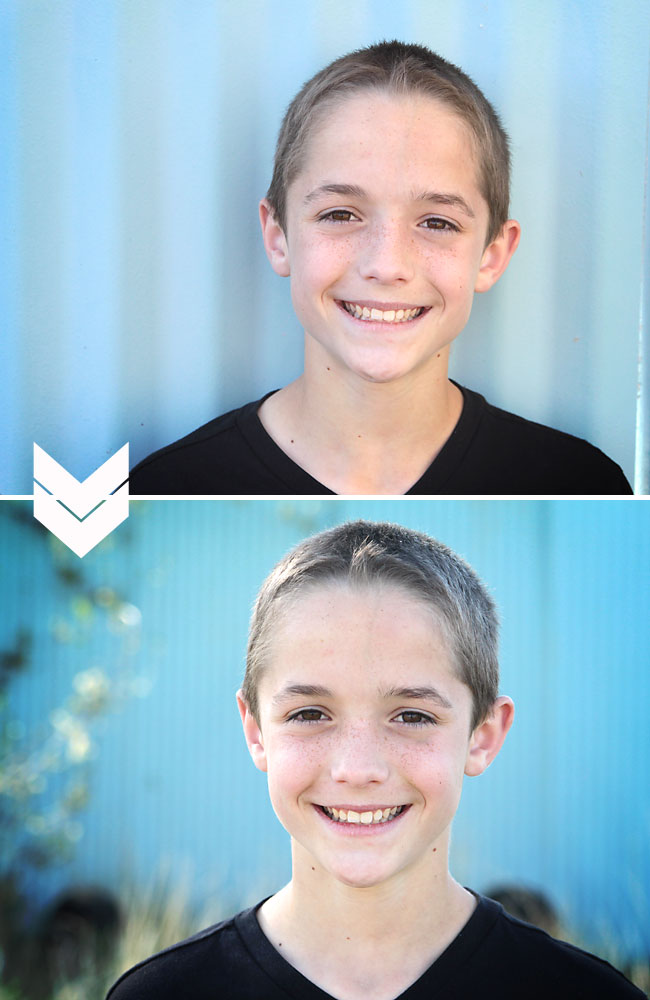
Much nicer! Again, there’s more background blur in the second photo, helping the subject pop. And how did the wall color change? Well, in the first photo my son was standing right in front of the wall, and both he and the wall were in the shade. In order to get a good exposure on his face, the wall color gets washed out. In the second photo my son is standing at the edge of the “shade line” cast by the wall, which means he’s getting a lot more light on his face. So the wall looks darker and richer in comparison. That might be a little confusing – if it is, don’t worry about the details. Just try it and see how it looks!
With my standard boost & brighten edits applied to both photos, the wall looks even prettier in the second photo:
Another wall example:
Again, we see more blur, a slightly deeper background color, and slightly brighter skin tones in the second photo.
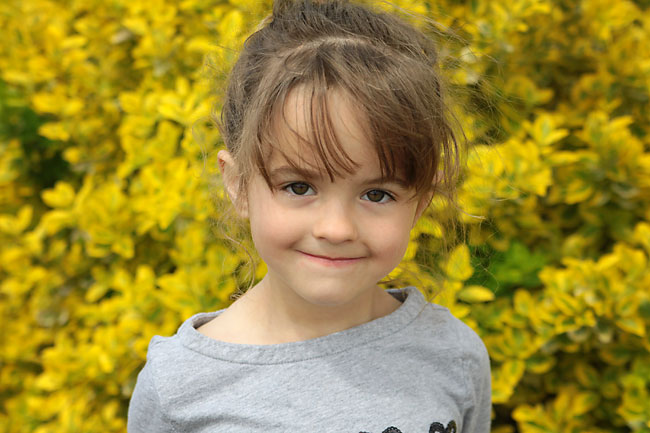
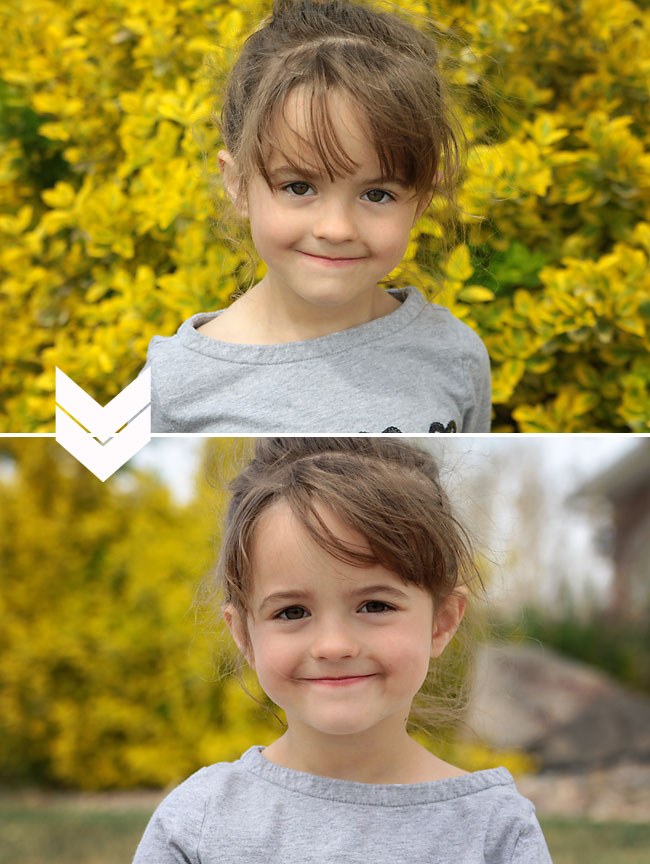
Now, one thing you’ll want to think about is that when your subject moves away from the background, much more of what’s behind her will be visible in the photo. For example, when my daughter stood directly in front of this bush (in some stranger’s yard while their dogs barked at us and I asked her to please hurry and look at me so we could get out of there!), the bush filled up the entire background with yellow leaves.
When she stepped 15 feet away from the bush, the bush was no longer “big enough” to fill in the whole background of the photo. Instead we end up seeing bush, a rock, and a little bit of the house (where people were probably staring out the window trying to figure out why I was in their yard).
BUT, the background is blurry, so even though there’s more in it, it’s still less distracting than it was when it was just full of leaves.
(By the way, you can “shrink” what’s in the background back down to just the bush by standing back and zooming in, which will also make the background even blurrier! See examples of that in this post on focal length.)
Now, some of you might be thinking: the best way to blur the background is just to use a wider aperture (smaller f-stop). That’s true, but unless you’ve invested in some nice lenses and you know how to shoot on manual you won’t be able to do that anyway. I wanted to show that moving your subject away from the background is a very simple way for anyone to get nicer photos with a blurry background. Thanks!







Susan Murphy says
Thank you so much for using examples and every day language for me to understand.
I took a course after I got my camera and it was a bit overwhelming when we got to ISO and shutter speed to control light, etc…
Bonnie Haskell says
I so appreciate your tips…. especially the fact that you aren’t just recommending expensive equipment. Instead, your tips help me use what I already own. Thank you!
Marsha says
I love your easy photography tips. I take picture after picture after picture trying to get something that looks half-way descent. Thanks to your simple tricks, I think I will eventually get better at taking pictures.