This post is part of the easy photo tips series, where I share simple ideas that make it easy for you to take better photos. Today’s post compares full sun, dappled shade, closed shade, and open shade, so you know where to place your subject for the best photographs. Find easy photo tip #1 here.
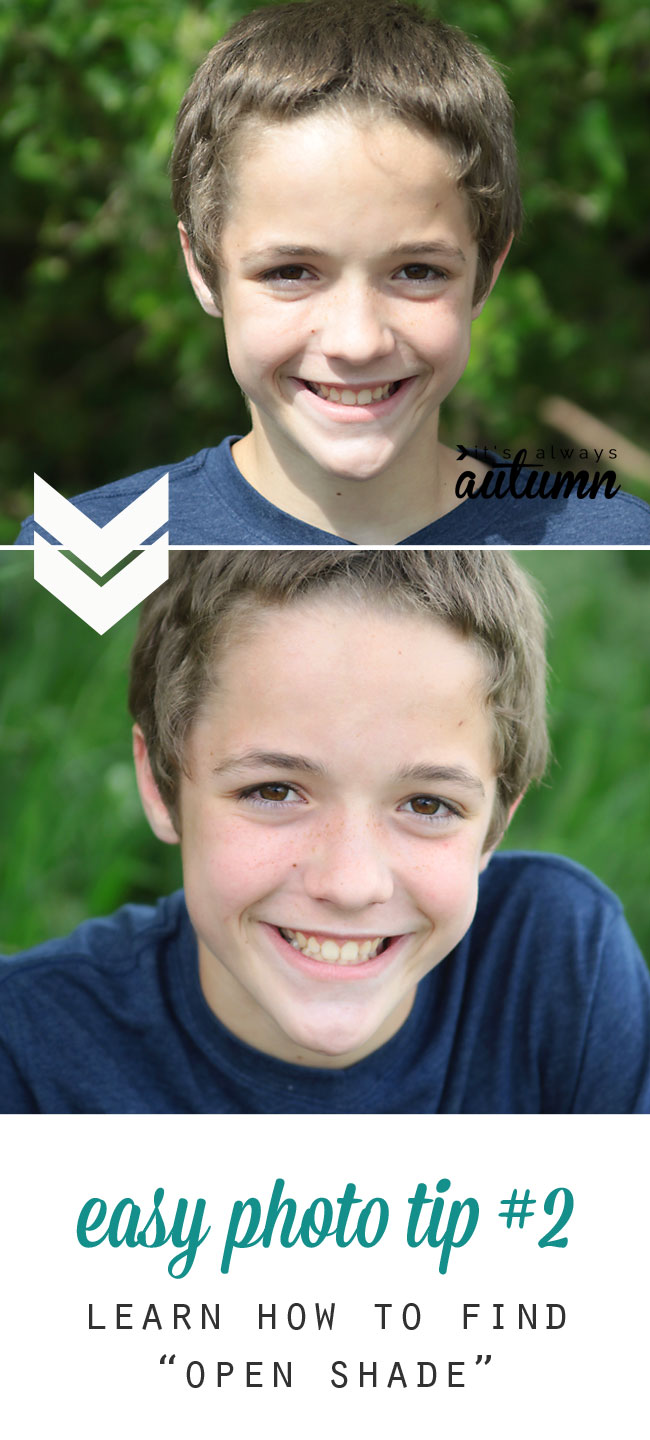
If you study photography, you’ll learn that lighting really is the most important part of getting great pictures. I think knowing how to find the right type of light is even more important than knowing how to shoot on manual. When you’re taking photos outside and the sun is bright overhead, there’s an easy rule of thumb to help you find the best light: place your subject in open shade.
So, what is open shade? Open shade means your subject is standing in the shade so direct sunlight is not hitting him, but he is looking out of the shade toward the open sky. When it’s bright and sunny out, open shade will give you the best photos. Here’s why.
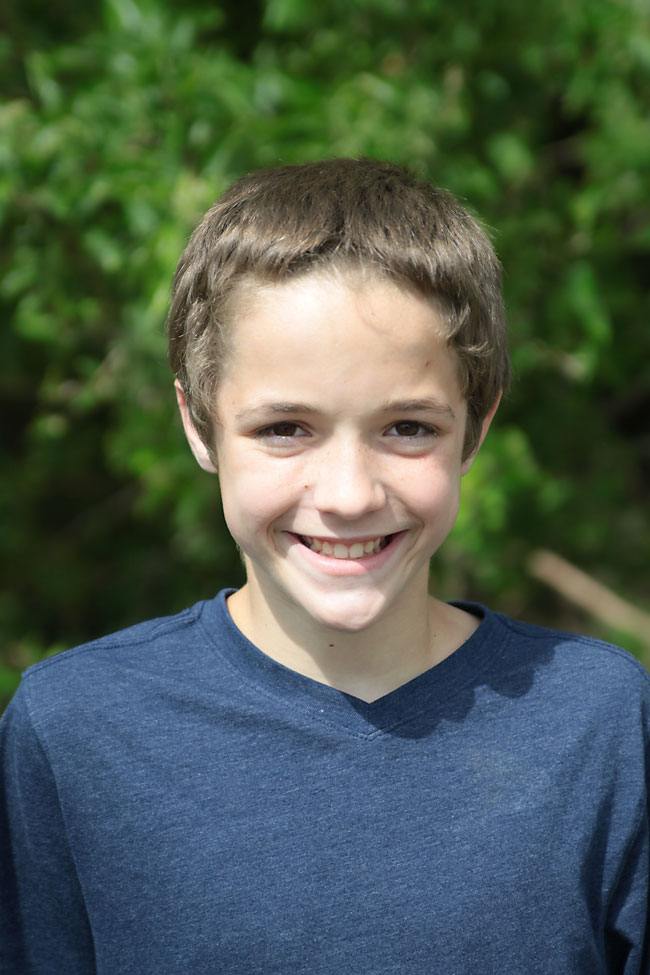
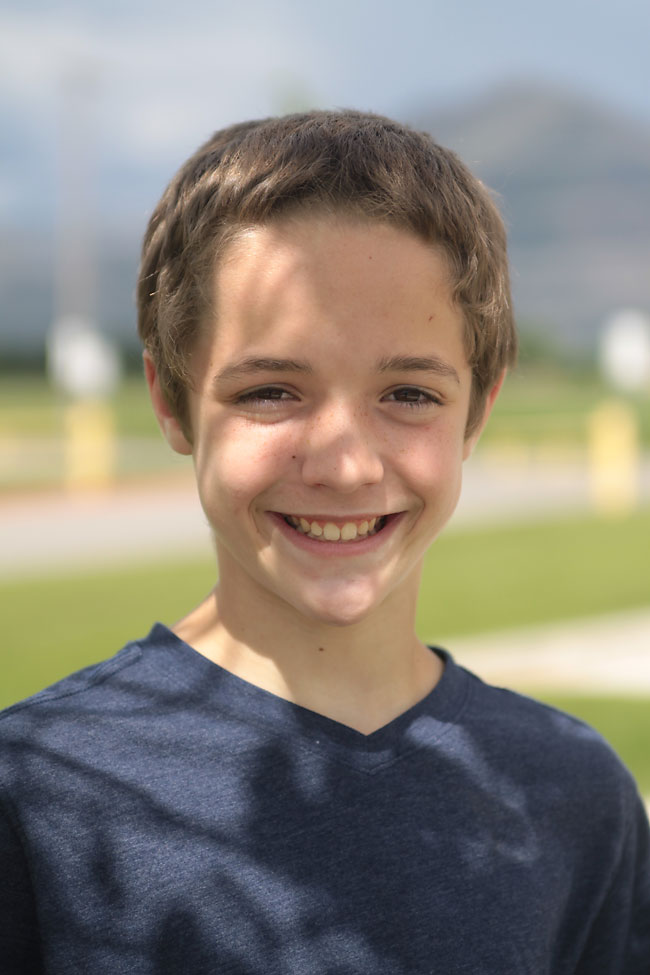
If you place your subject in the sunlight, some parts of his face will be very bright while other parts will have harsh shadows. His eyes will look dark in comparison and the shadows will look funny:
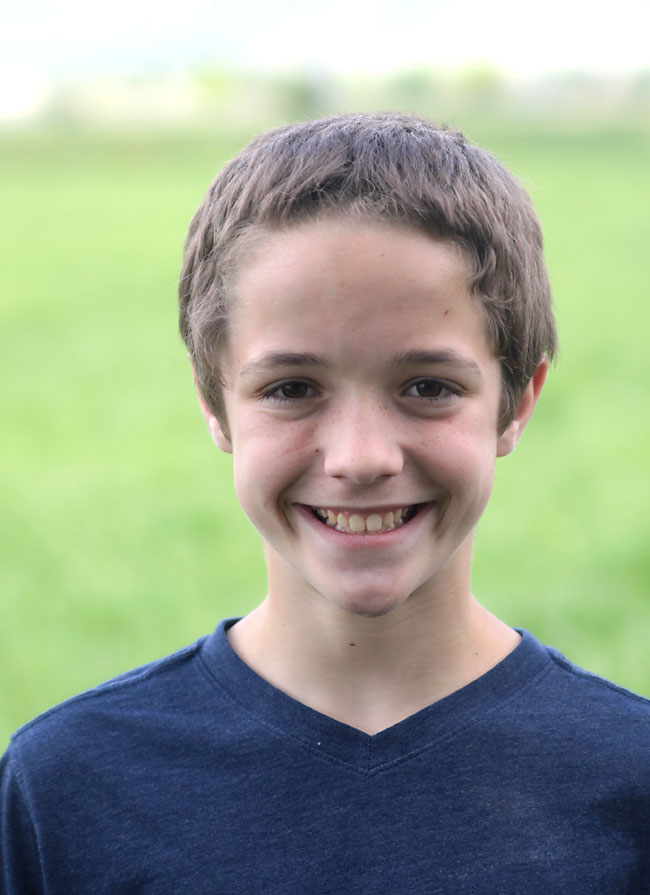
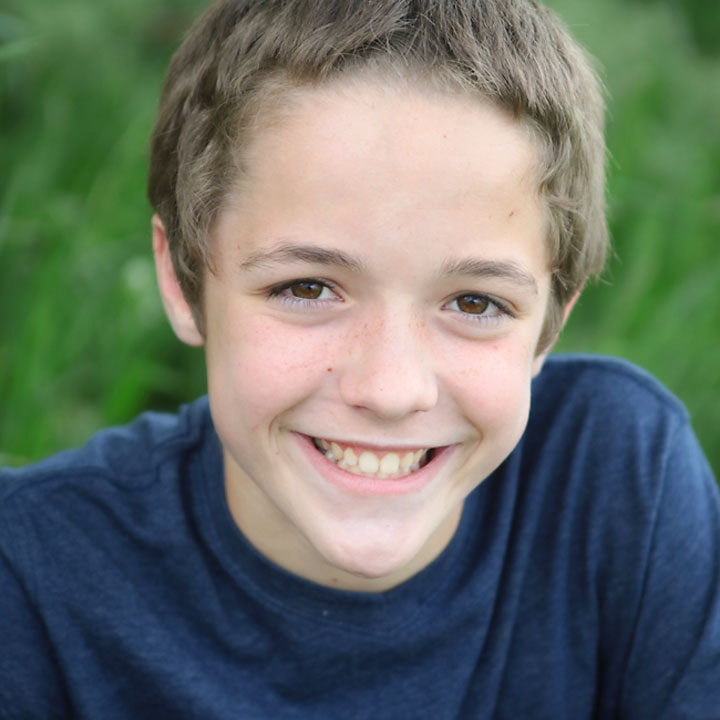
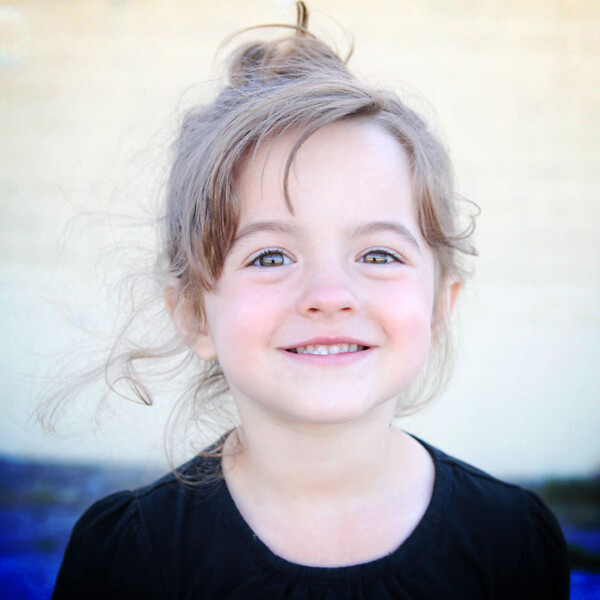
But when you place him in the open shade, the light on his face evens out, removing the harsh shadows and giving his skin a more natural color. And since he’s facing out of the shade toward the open sky, his eyes are bright and you’ll see “catchlights” in them – little white spots that look like a sparkle:
Now, all shade isn’t created equal. If you place your subject so he’s looking into the shade, at the object that is casting the shade (I call this closed shade), you’re going to run into some problems. The background will be much brighter than his face, meaning the background will look washed out while his face will look dark:
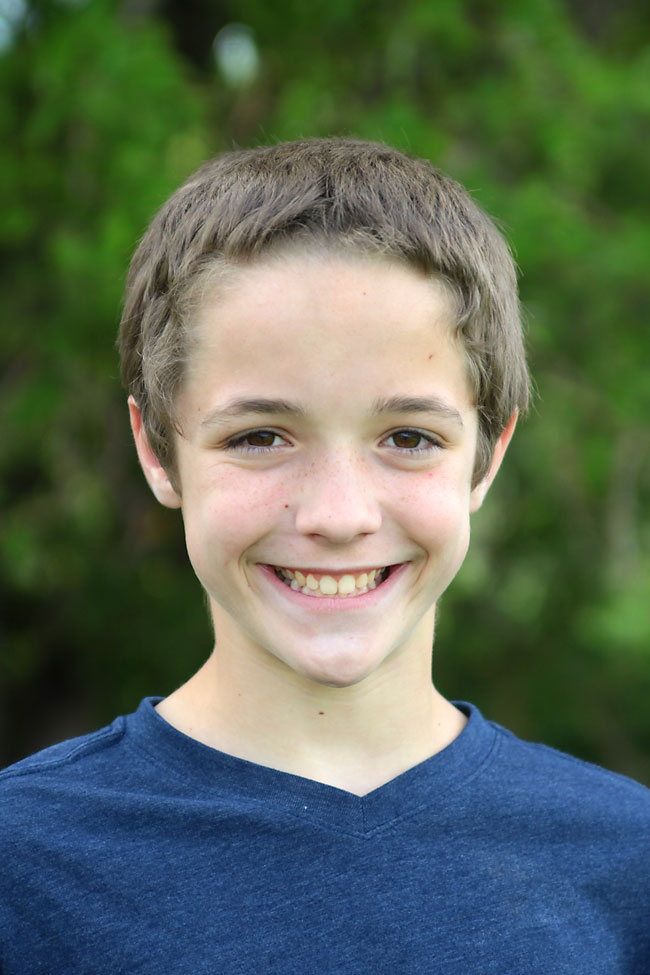
Another type of shade you’ll find is called dappled shade. This is the type of shade cast by leaves and branches, where the sun shines through the shade in some areas. Unless you’re going for a specific artsy look, dappled shade is usual terrible for photos:
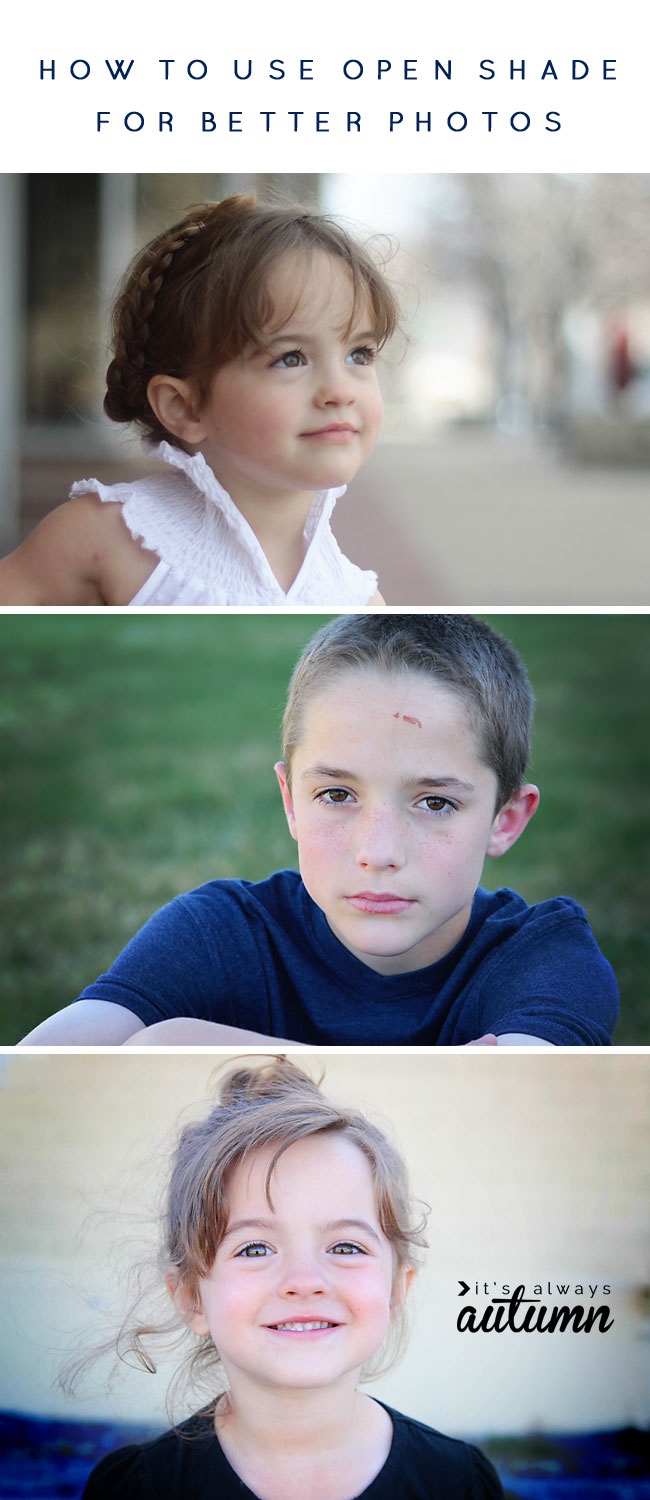
Here are all those photos close together so you can see what a difference the lighting conditions make:
If you’re able to wait until just before sunset to take photos, the light will be much softer and you won’t need to worry as much about using shade, but during the day, open shade is the way to go.
One more thing to note about shade: your photos may tend to look a little dull or cool when taken in the shade. I recommend a quick boost&brighten for really lovely open shade photos.


Madelyn says
Perfectly explained and with great photos For example. Thanks!
Karsten says
Thanks for explaining this well – I have been quite a bit in the dark about what open shade means precisely, since it rarely gets explained properly 🙂
Monique littlejohn says
Thank you so much for this blog post. Today, I’m taking a portrait photo of a senior citizen (93 year old). The images that we have really highlight her deeply lined face. I’m hoping that by shooting in open shade, I will be able to smooth out her face a bit.