
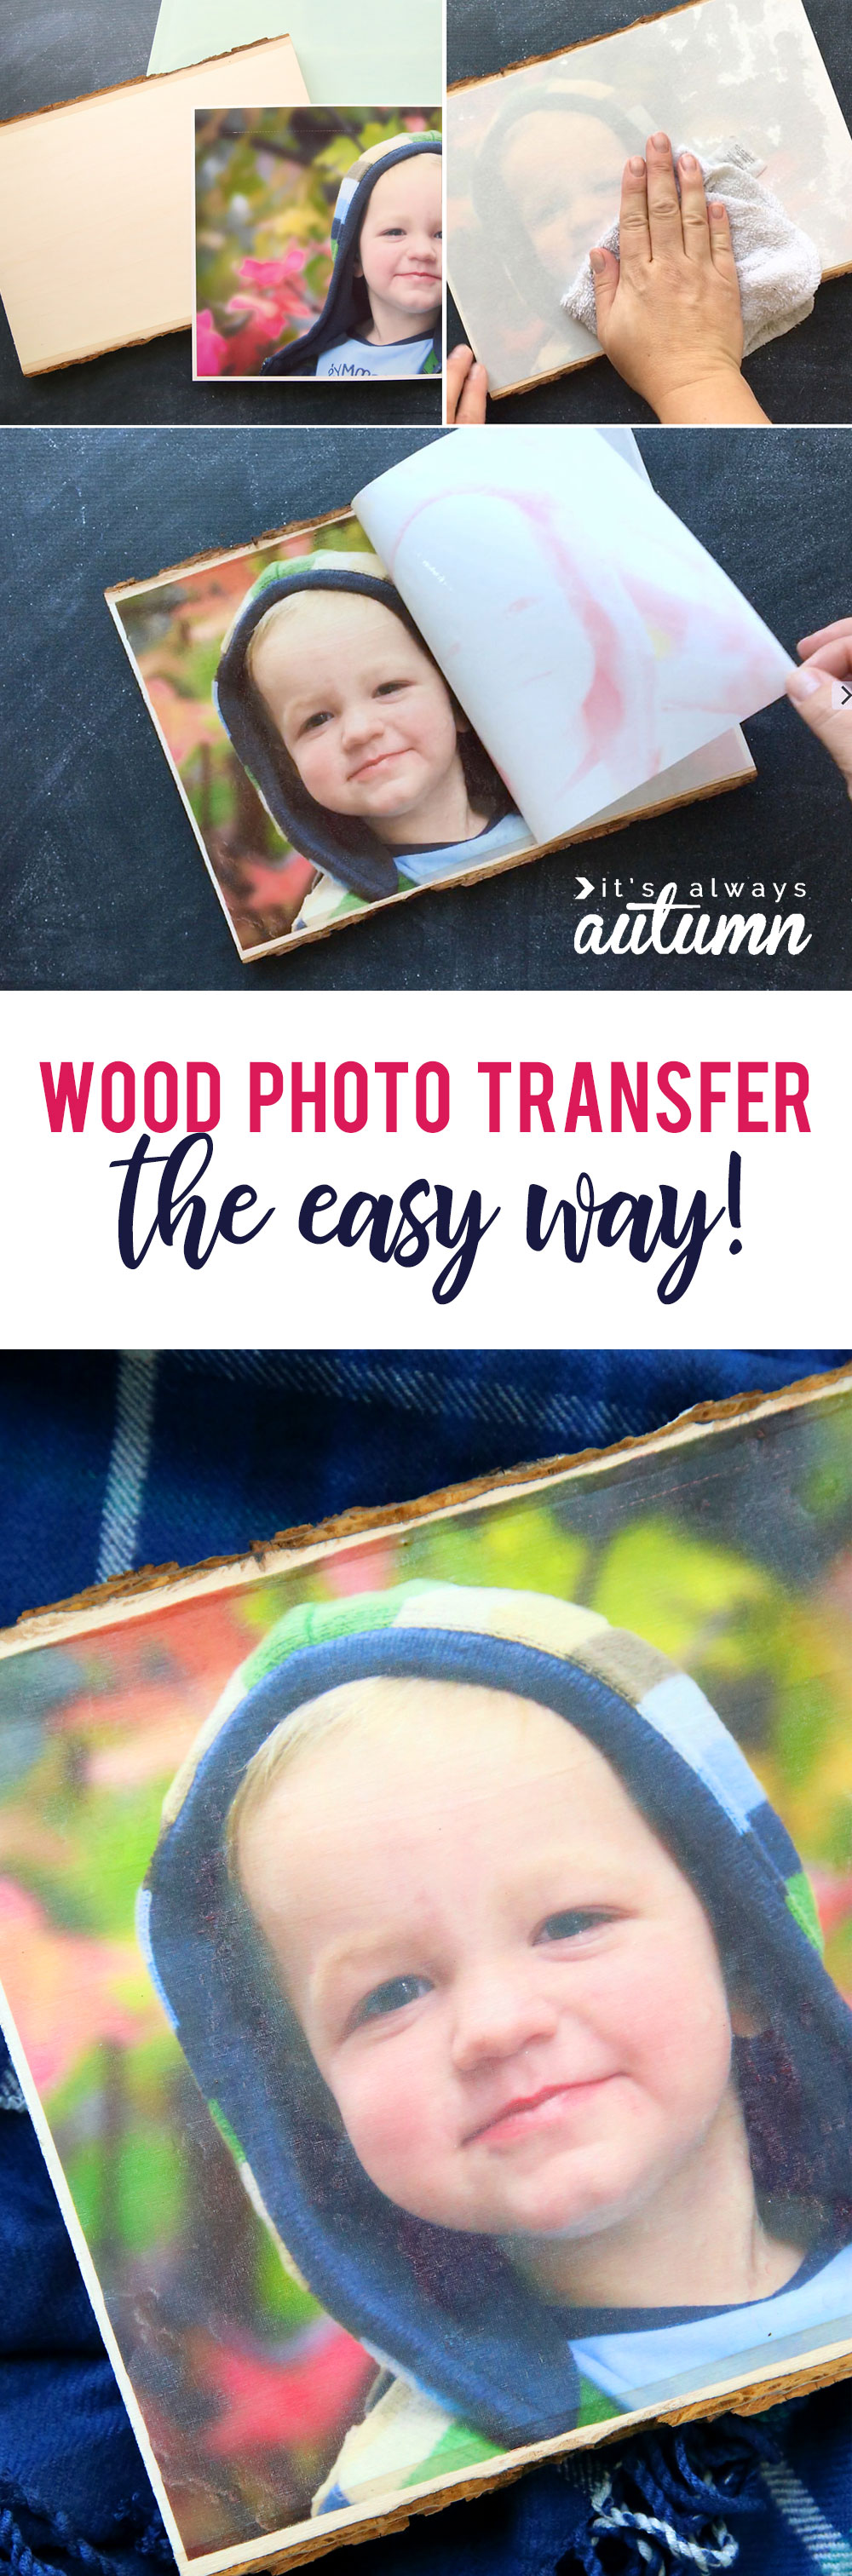
In today’s post: Learn the simplest method for transferring a photo to wood – it only takes 10 minutes!
If you’re a repeat blog reader, you know by now that I’ll put a photo on just about anything. My college roommate introduced me to the wonders of mod podge years ago and I’ve been hooked ever since. My favorite thing about mod podge how you can use it to transfer a photo to wood – it turns out super cool. However, that technique does take a little time, so I’ve experimented with a number of different ways to transfer a photo onto another surface, and let me tell you, I’ve found the absolute easiest way to do it! Today I’m going to show you how to transfer a photo to wood in under 10 minutes using temporary tattoo paper.
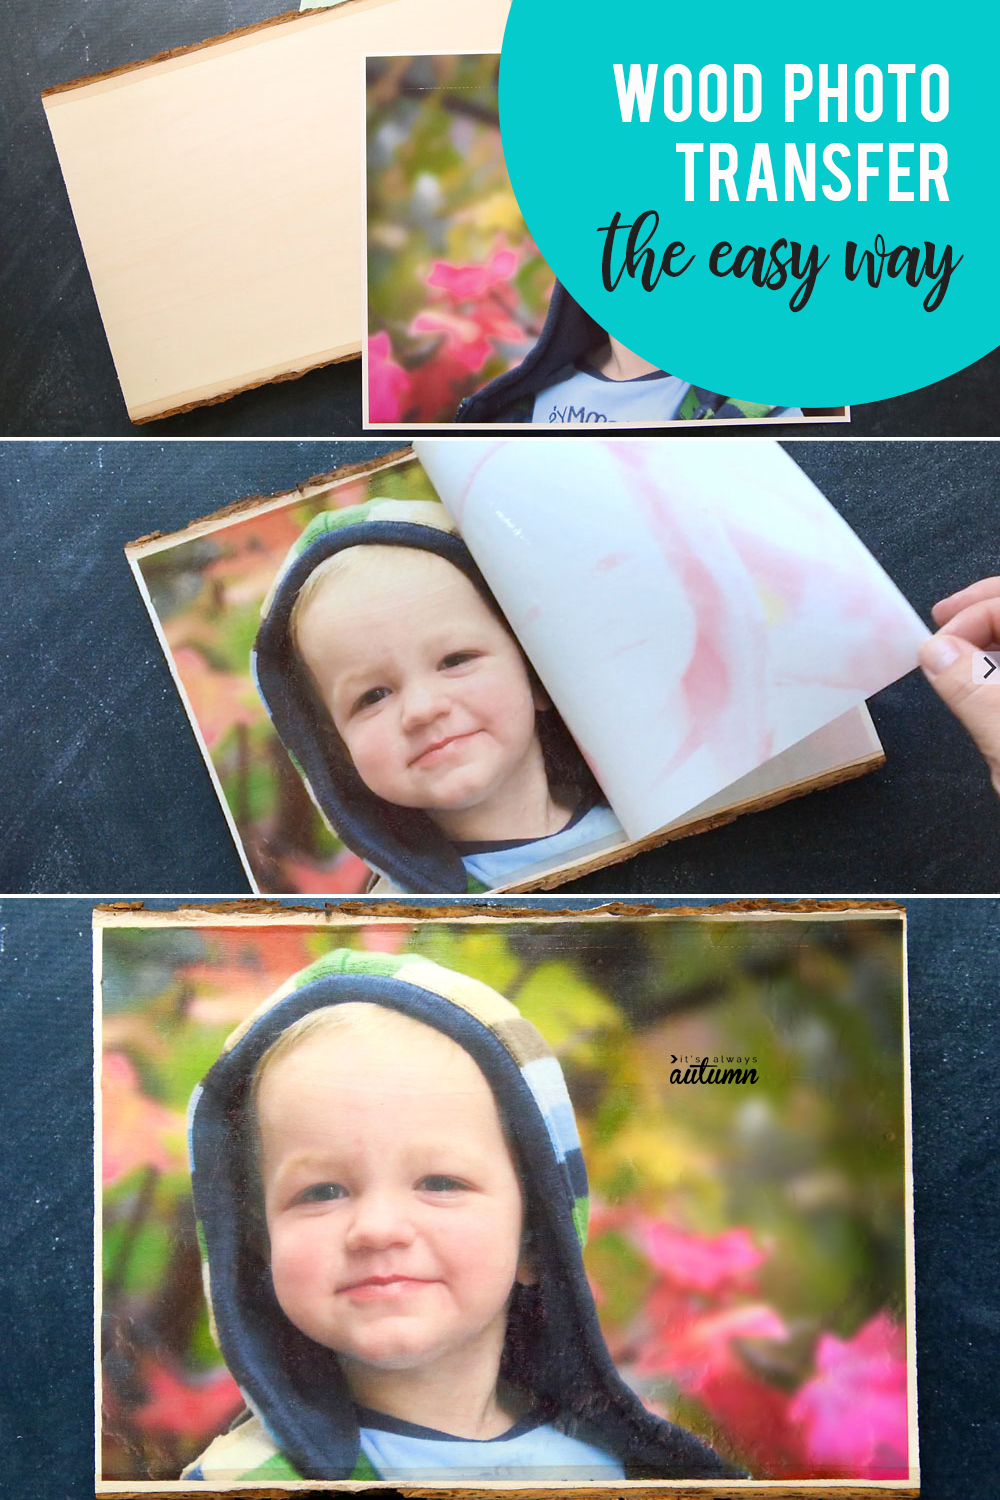
How to transfer a photo to wood the easy way
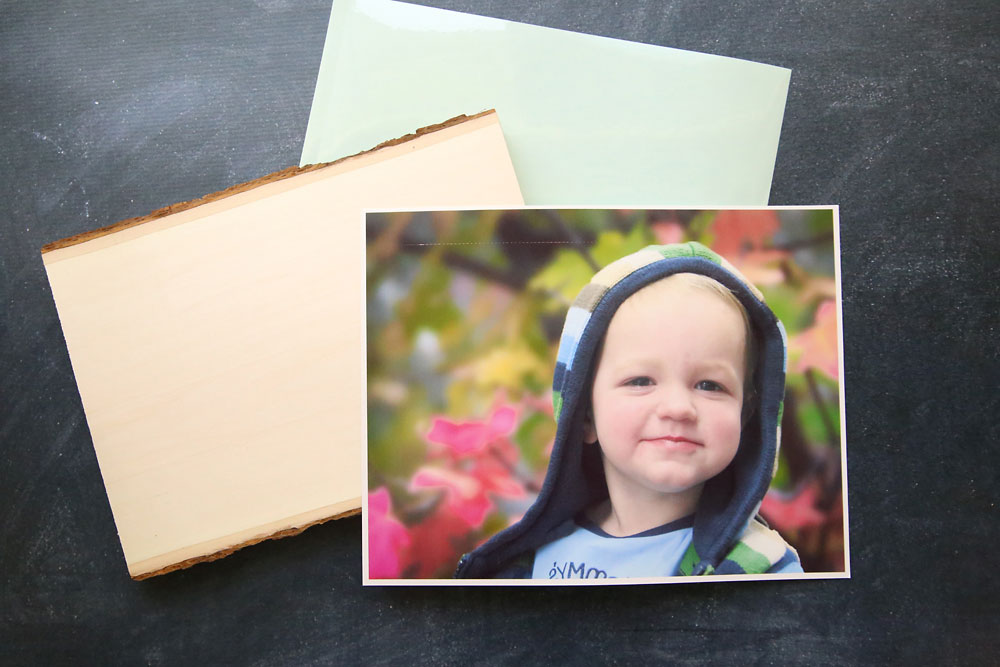
This is a great technique to have up your sleeve for DIY holiday gifts! For this transfer, you’ll need printable tattoo paper. I use the Silhouette brand found on Amazon or in craft stores. It’s made for inkjet printers and can be used to transfer photos to all kinds of surfaces, and looks especially cool when used with wood.
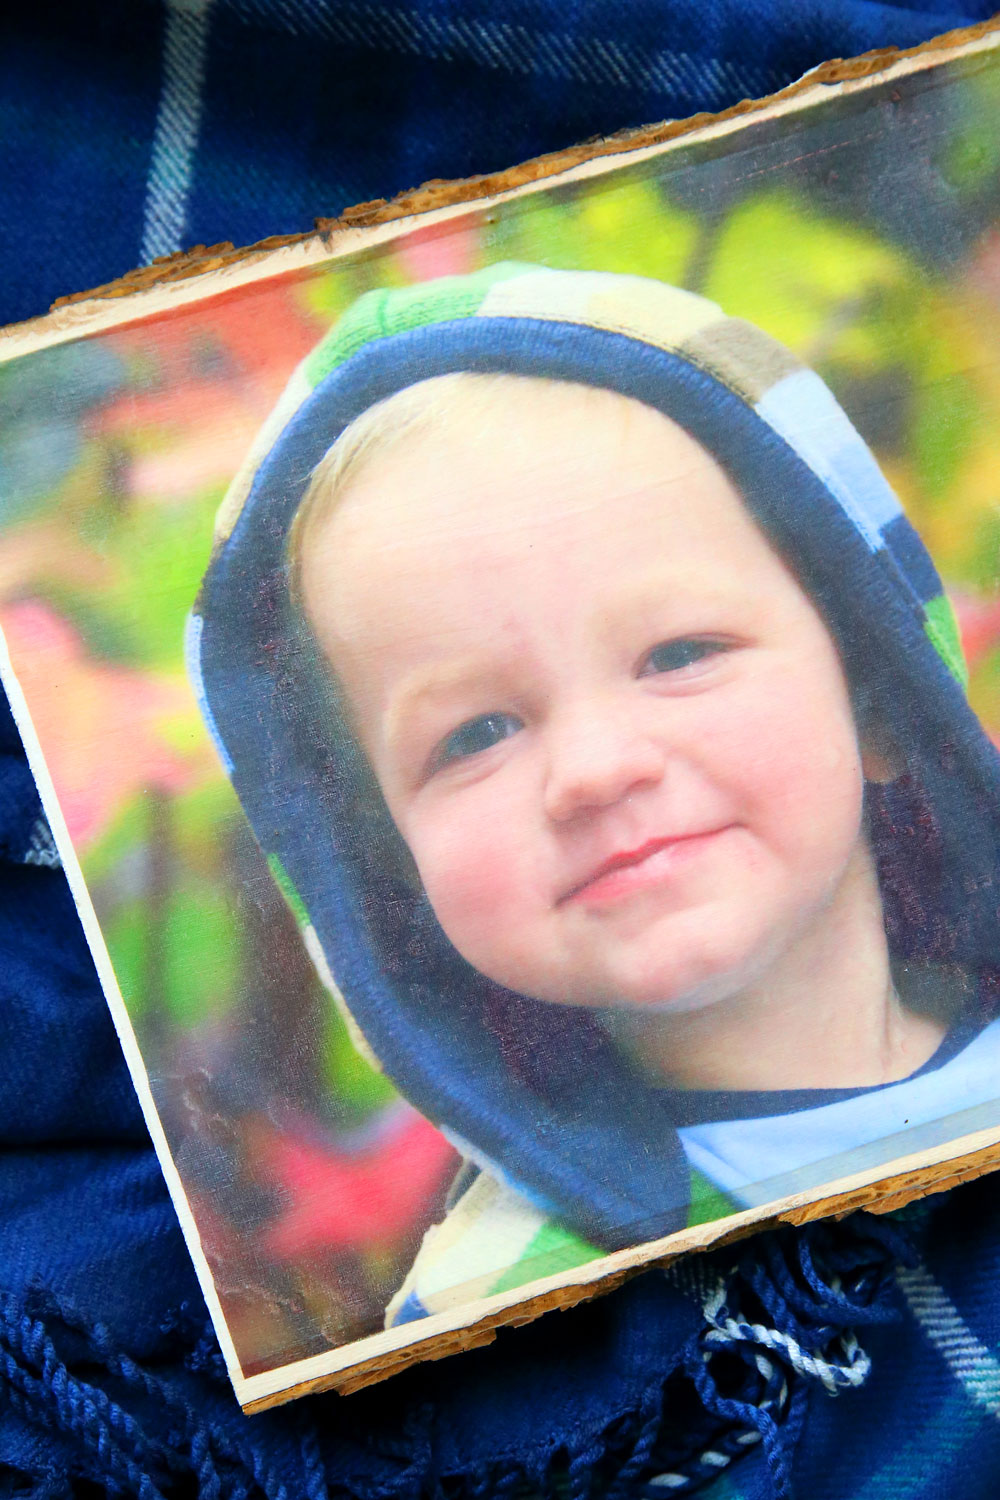
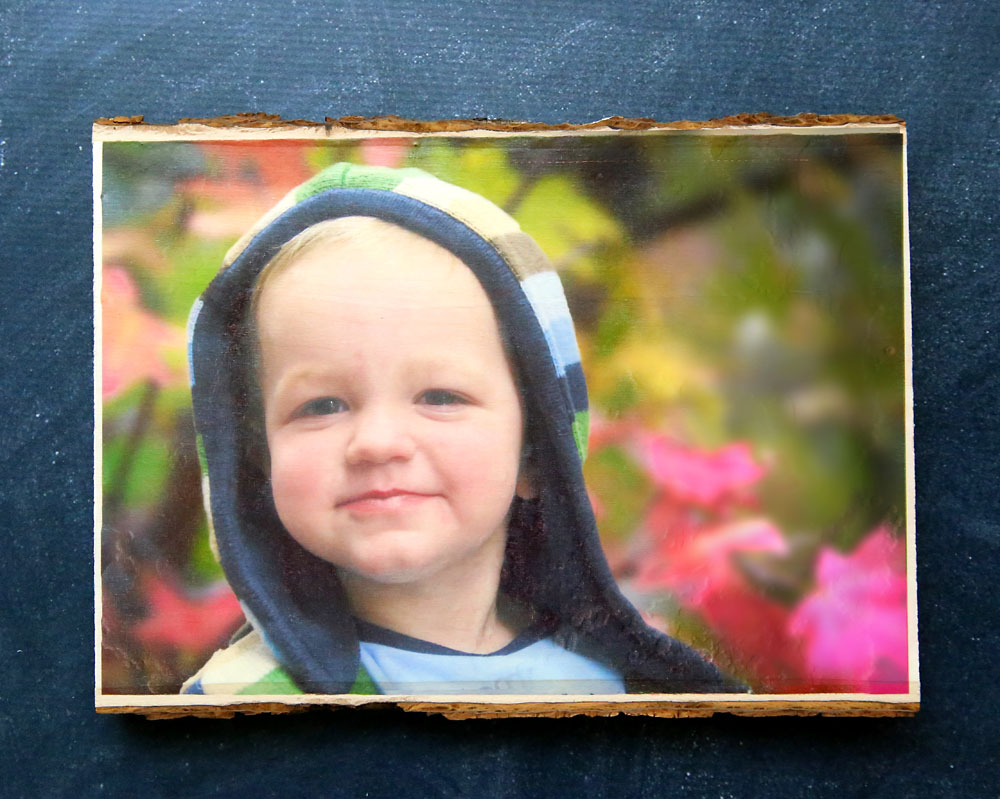
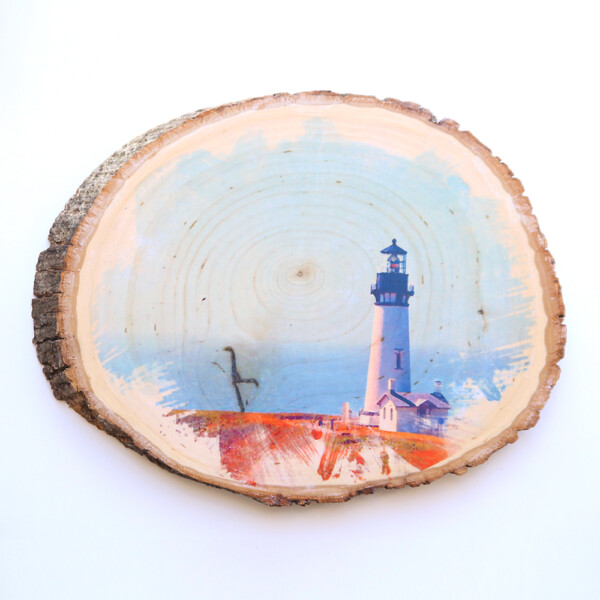
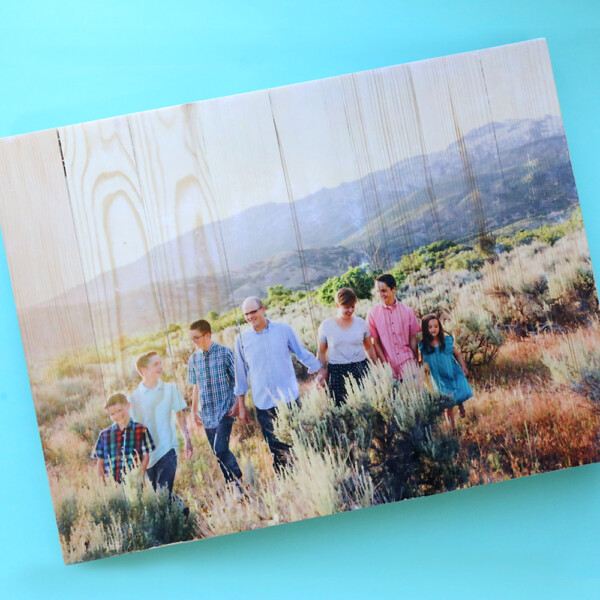
Just remember that the wood grain, knots, and other marks on the wood will show through on your transferred photo. That usually looks pretty cool on scenic photos, but it might not be the look you want when you’re transferring a close-up of someone’s face. If so, just look for a wood slice that’s fairly “clean” or choose a wood plank instead (planks usually have fewer marks/knots).
Wood Photo Transfer in four easy steps
1. Reverse + print your image. Before printing, you will need to reverse your image, which you can do in just about any photo processing application. Once reversed, print your image onto the shiny side of one of the white pieces of tattoo paper. Be sure to print your image big enough to cover your wood piece.
2. Add the adhesive to the tattoo paper. Peel the green backing off one of the adhesive sheets that comes with the tattoo paper and place the adhesive sticky side down on your printed photo. Use a credit card to thoroughly smooth down the adhesive.
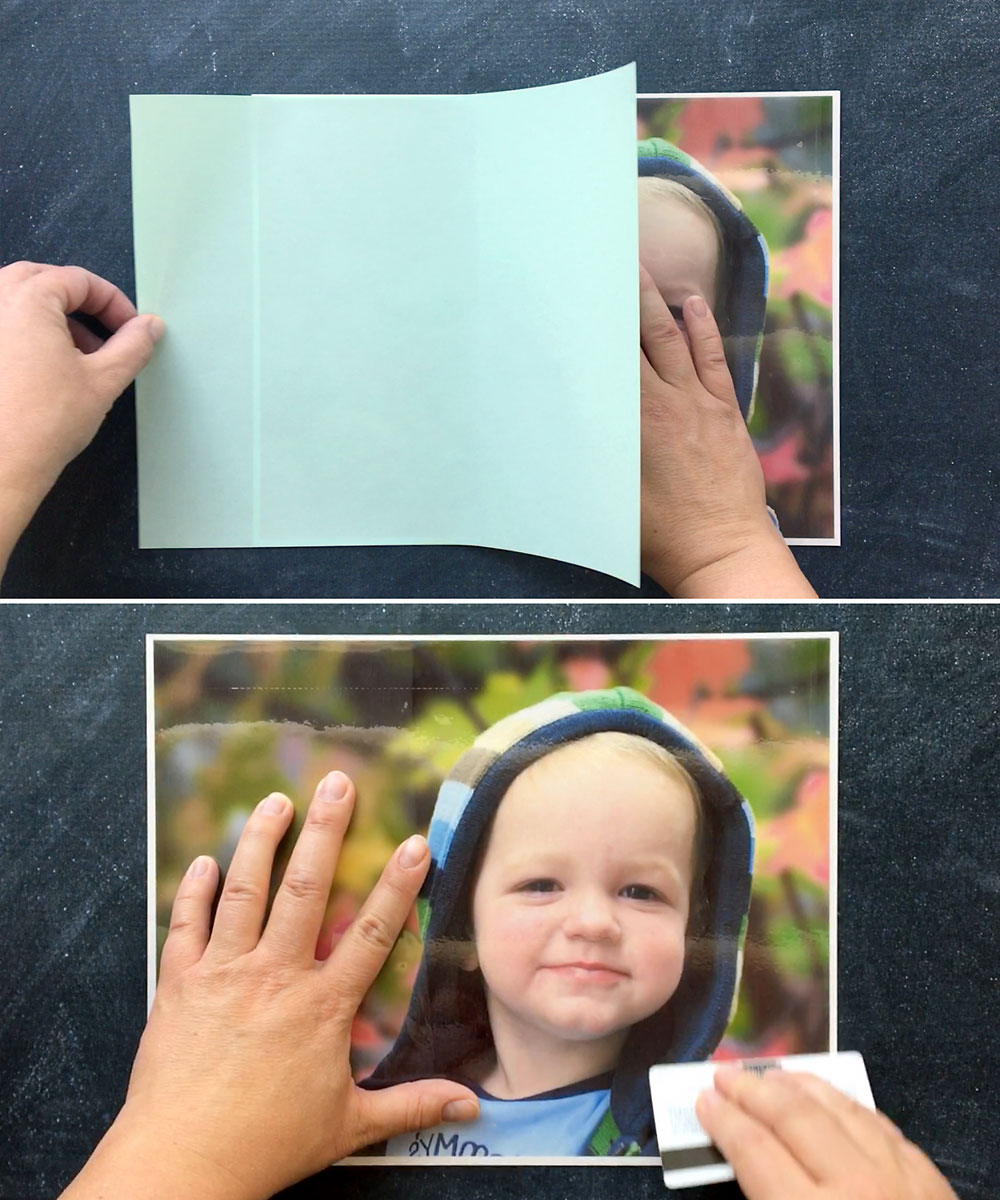
3. Trim. If needed, trim the photo to the same size as your wood piece.
4. Transfer the photo. Peel the plastic backing off your photo and lay it face down on the wood. Use a damp cloth to dampen the back of your photo for about 10-15 seconds. You will be able to see your photo through the paper. When the paper is completely damp, carefully peel it off to reveal your photo transfer.
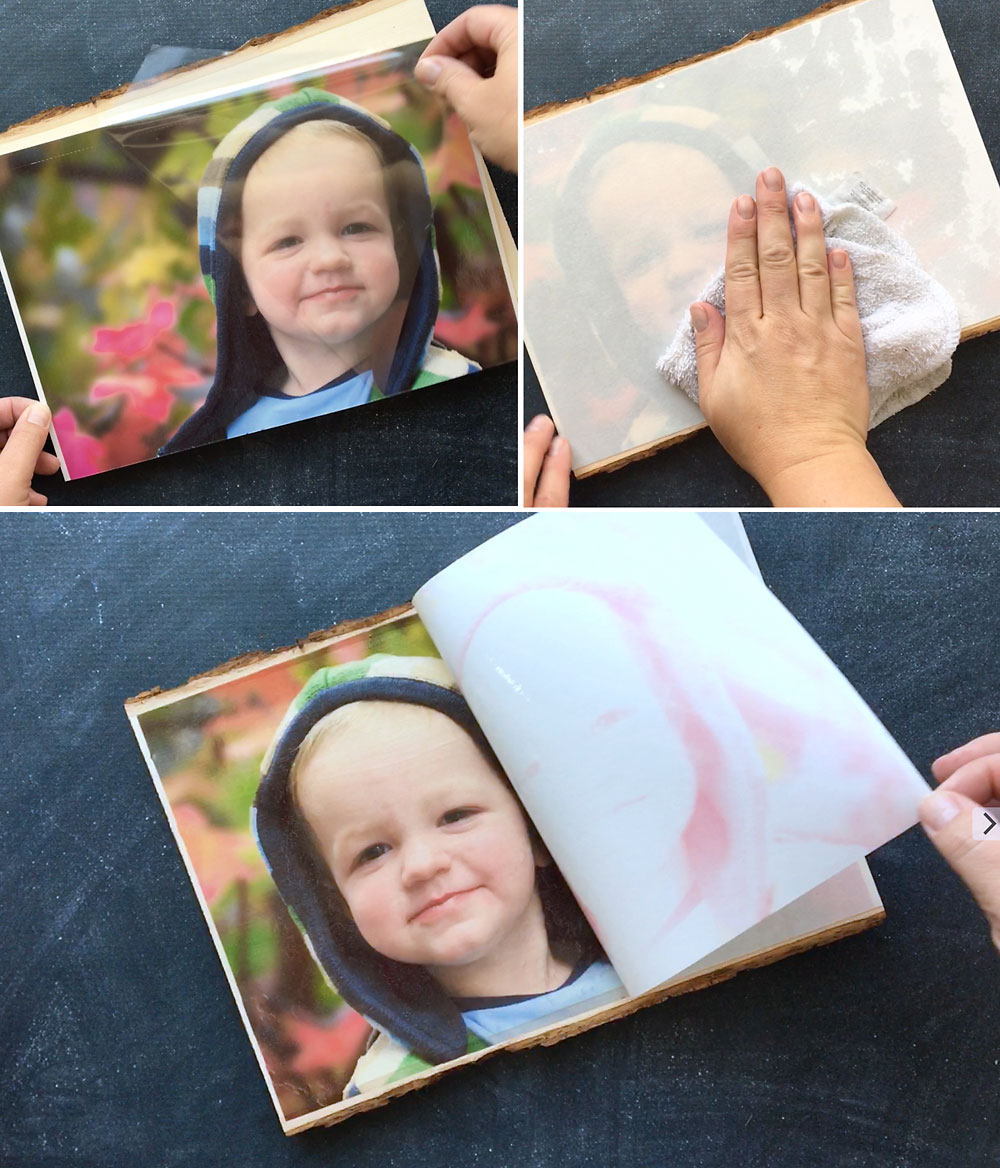
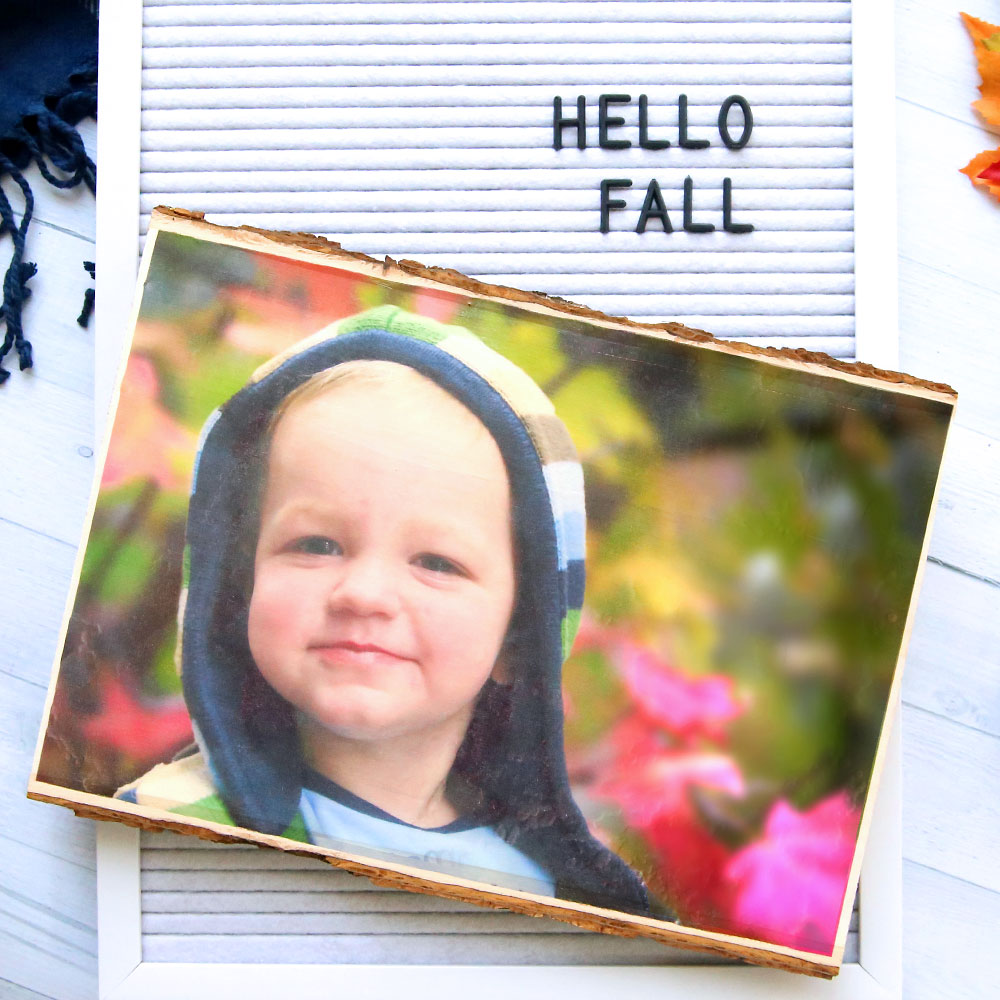
And done! The photo takes on a pretty, canvas-like texture after the transfer is complete.
Here’s a quick video that shows the process:
Easy wood photo transfer tips
- Print a test sheet first before printing on the tattoo paper to make sure your image is reversed and it’s the right size for your wood piece.
- I find it works best if I choose the photo paper setting on my printer.
- If you’d like to seal your project, you can cover it with a thin layer of Mod-Podge.
- With this technique, the wood grain will show through on the lighter areas of your photo, but not very much on the darker areas of your photo. If you would like more of the wood grain to show through, try doing a mod podge wood photo transfer instead.
Love photo projects? Check out these posts:
The mega list of photo crafts and photo projects
How to make photo collage letters
DIY Personalized photo candles


Ruth says
Do you need to spray anything on the picture after it is on the wood?
Autumn says
I finished it with a Krylon Matte Spray.
Patricia says
I wonder if this technique will work with water slide paper that you use to put decals on dishes with because I know you can use water slide paper to make temporary tattoos so was wondering if it would work for the wood transfer technique that you listed above
Autumn says
I’m not sure Patricia. I tried waterslide paper once and found it kind of hard to work with so I haven’t used it much. Let us know how it works if you try it!
Cynthia says
What a cute baby!!!
Jeanne says
This is so cool! Thanks for sharing! I have to try this with my grandkids’ pictures. Woo hoo!