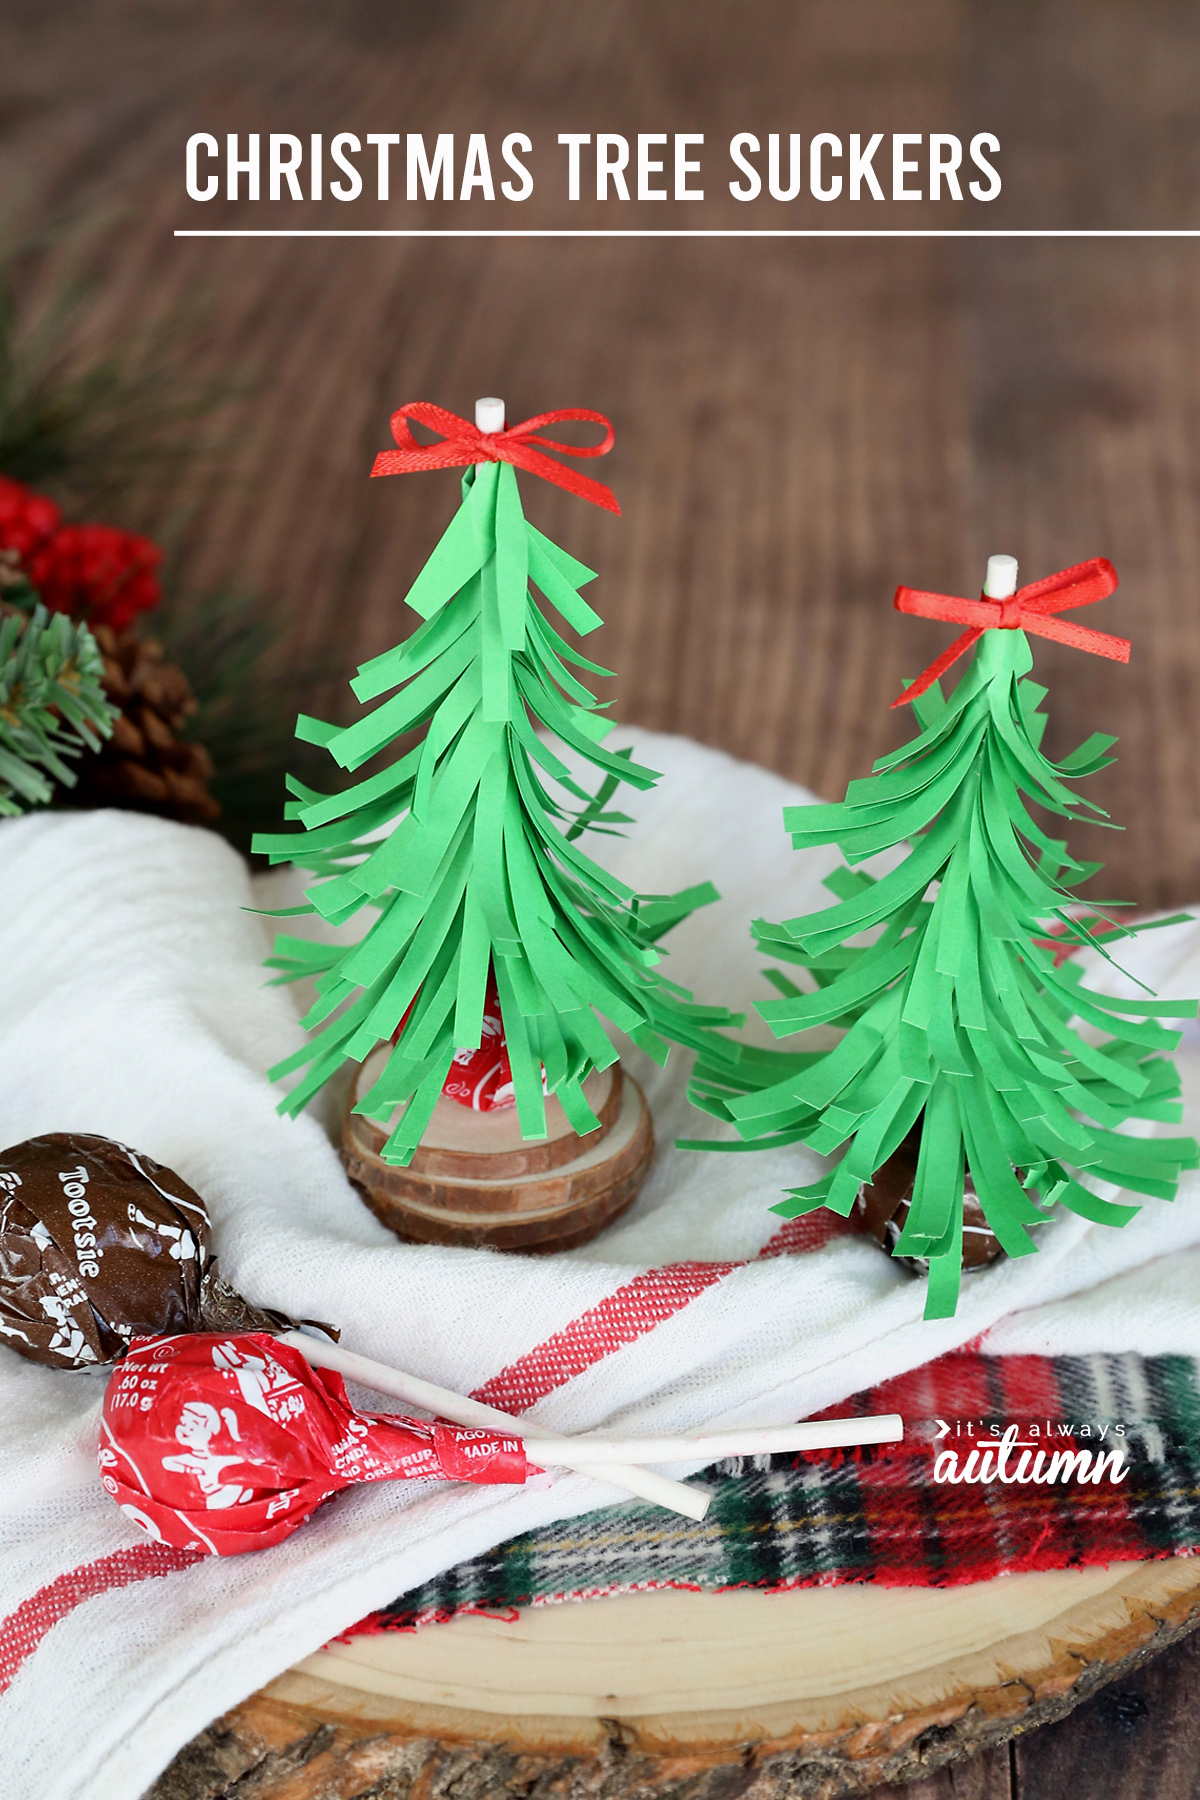
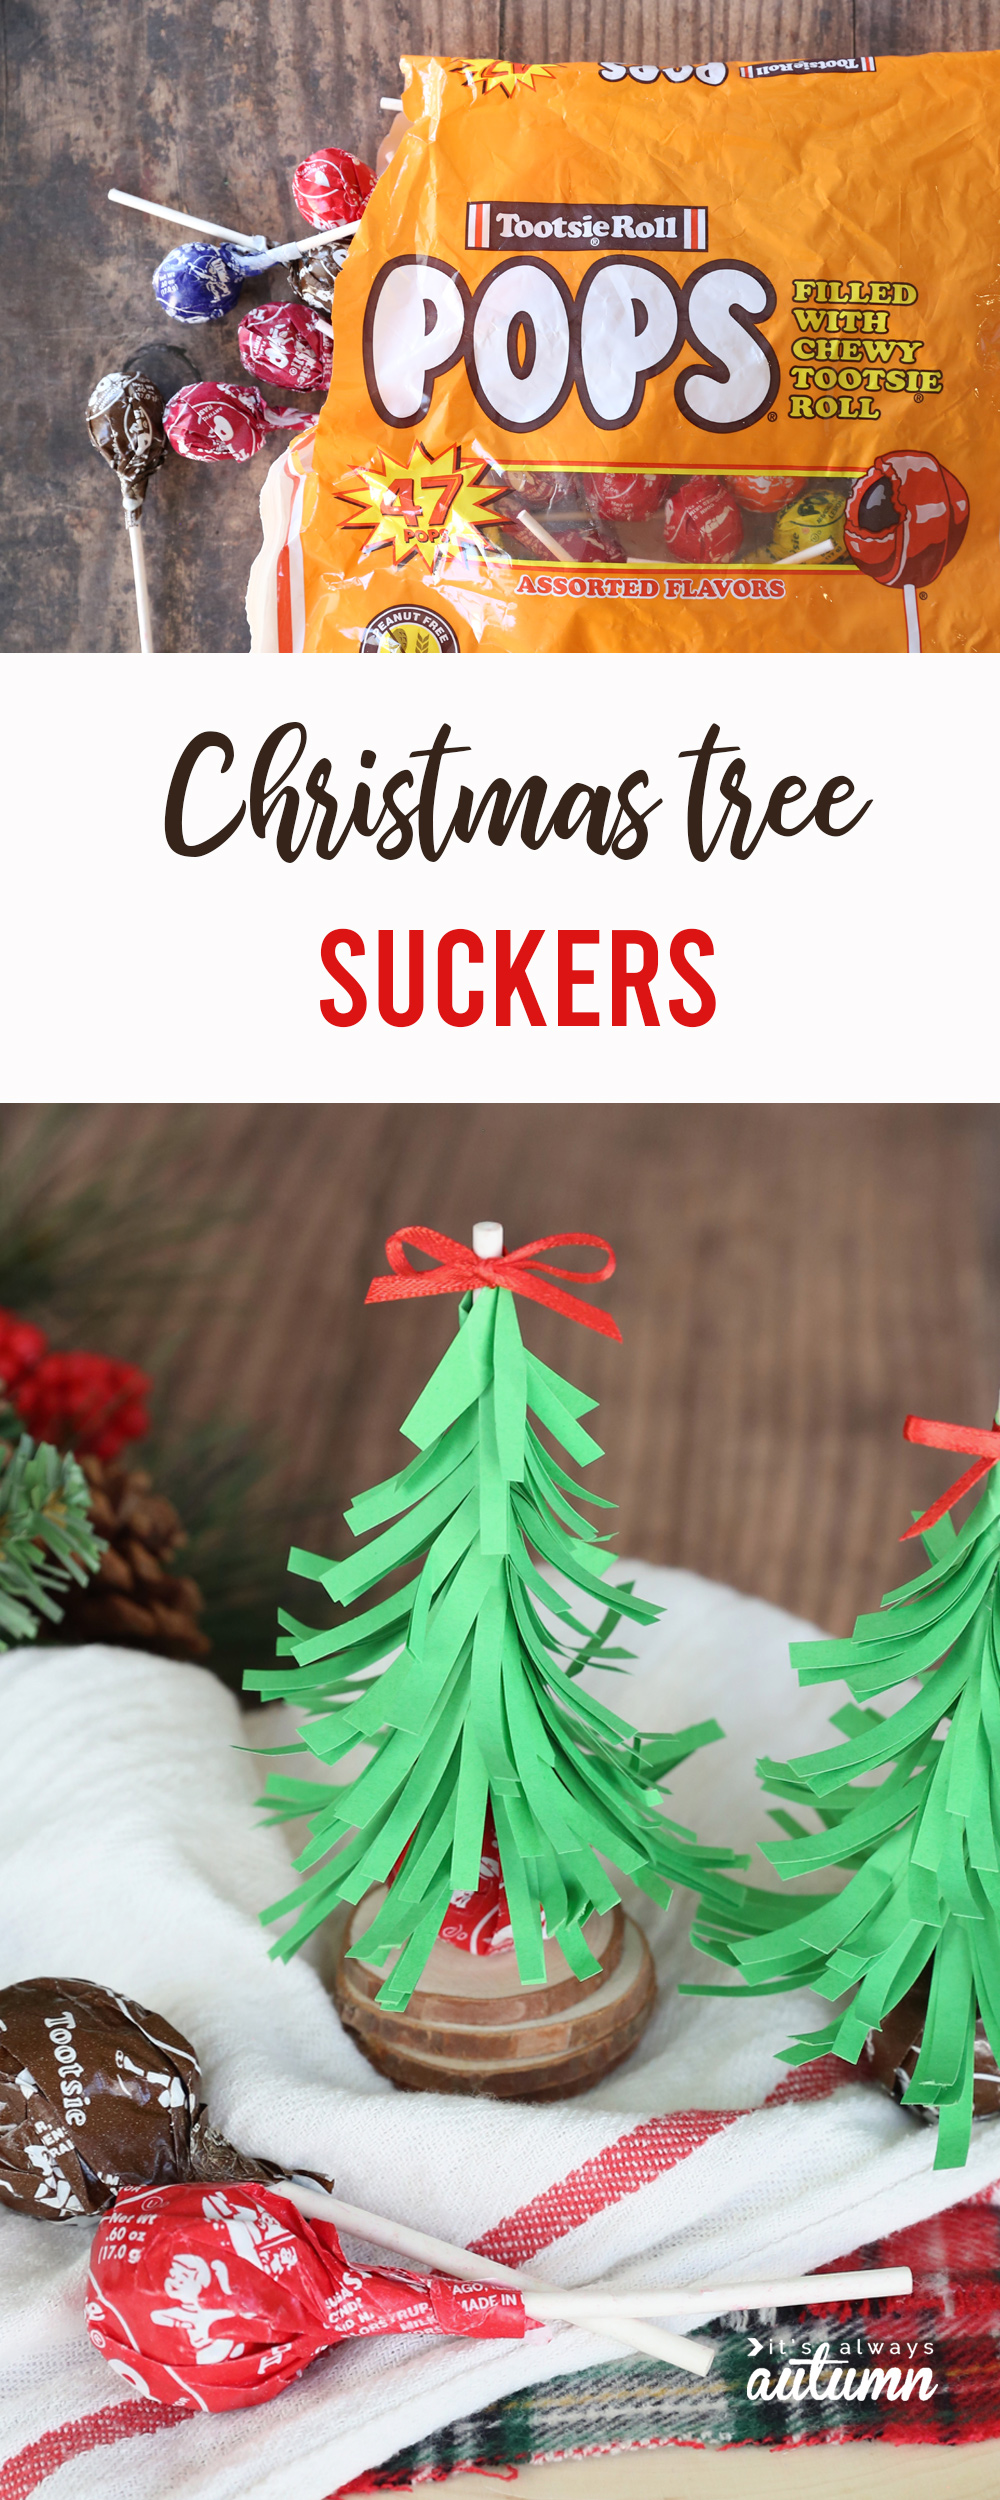
In today’s post: Turn a sucker into a Christmas tree for a cute holiday treat.
My kids like to give small gifts to their friends at Christmas time, but they have pretty small budgets. So they’re usually tempted to buy their friends a cheap trinket. As a mom, I’m trying not to collect (or give) any more cheap trinkets that clutter the house for a few weeks before they get trashed. A small edible treat seems like a better idea!
Christmas Tree Suckers
Older kids could make these Christmas treats on their own, and younger kids that have good scissor skills could help you make them.
Now, each sucker only takes a few minutes to make, but I probably wouldn’t want to make an entire classroom’s worth of these. I mean, you certainly could, but that would be a lot of cutting and I for one would get really bored trying to make 30 of these in one go. But this would be a fun project to make 5 or 6 of with your child for his or her good friends.
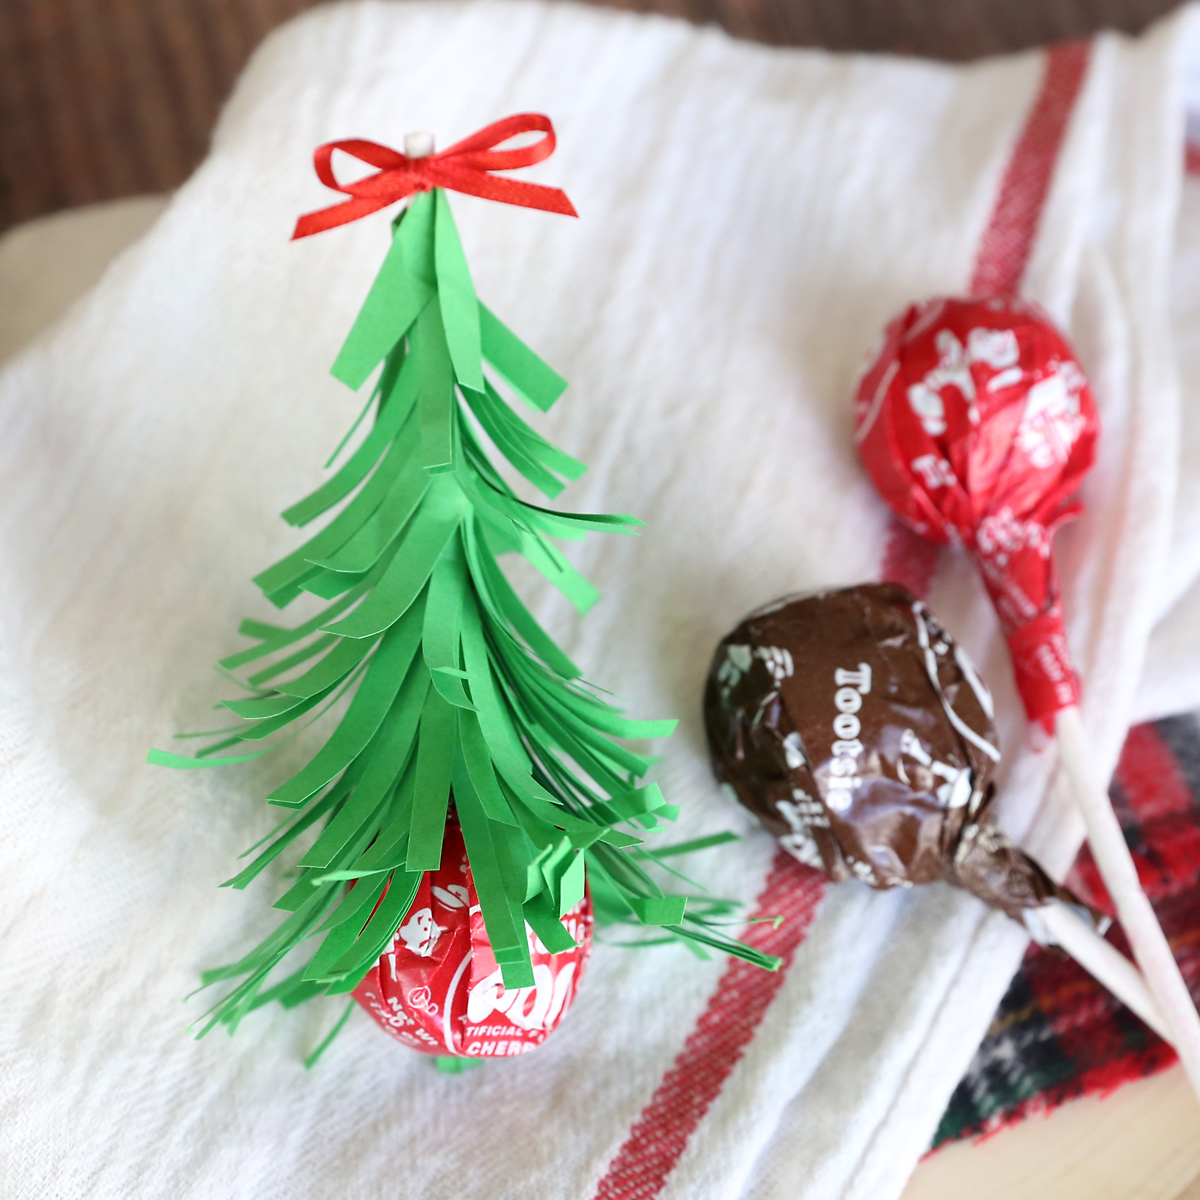
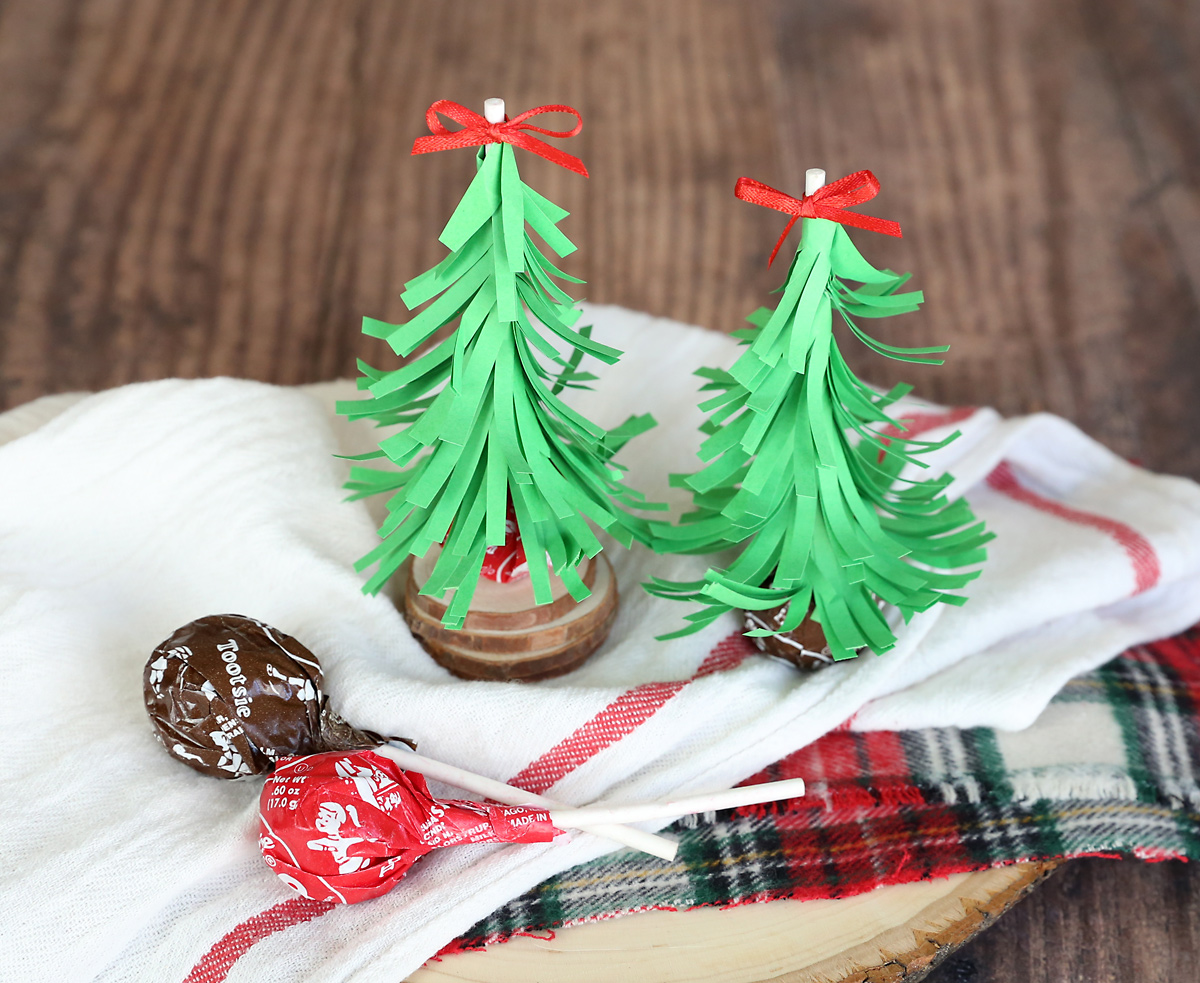
One more note – in my photos you see the suckers standing up. Some of the Tootsie Pops in my bag stood up great on their own while others didn’t. If you want your finished trees to stand up, test your suckers first to see which ones to use.
Christmas Tree Sucker Supplies
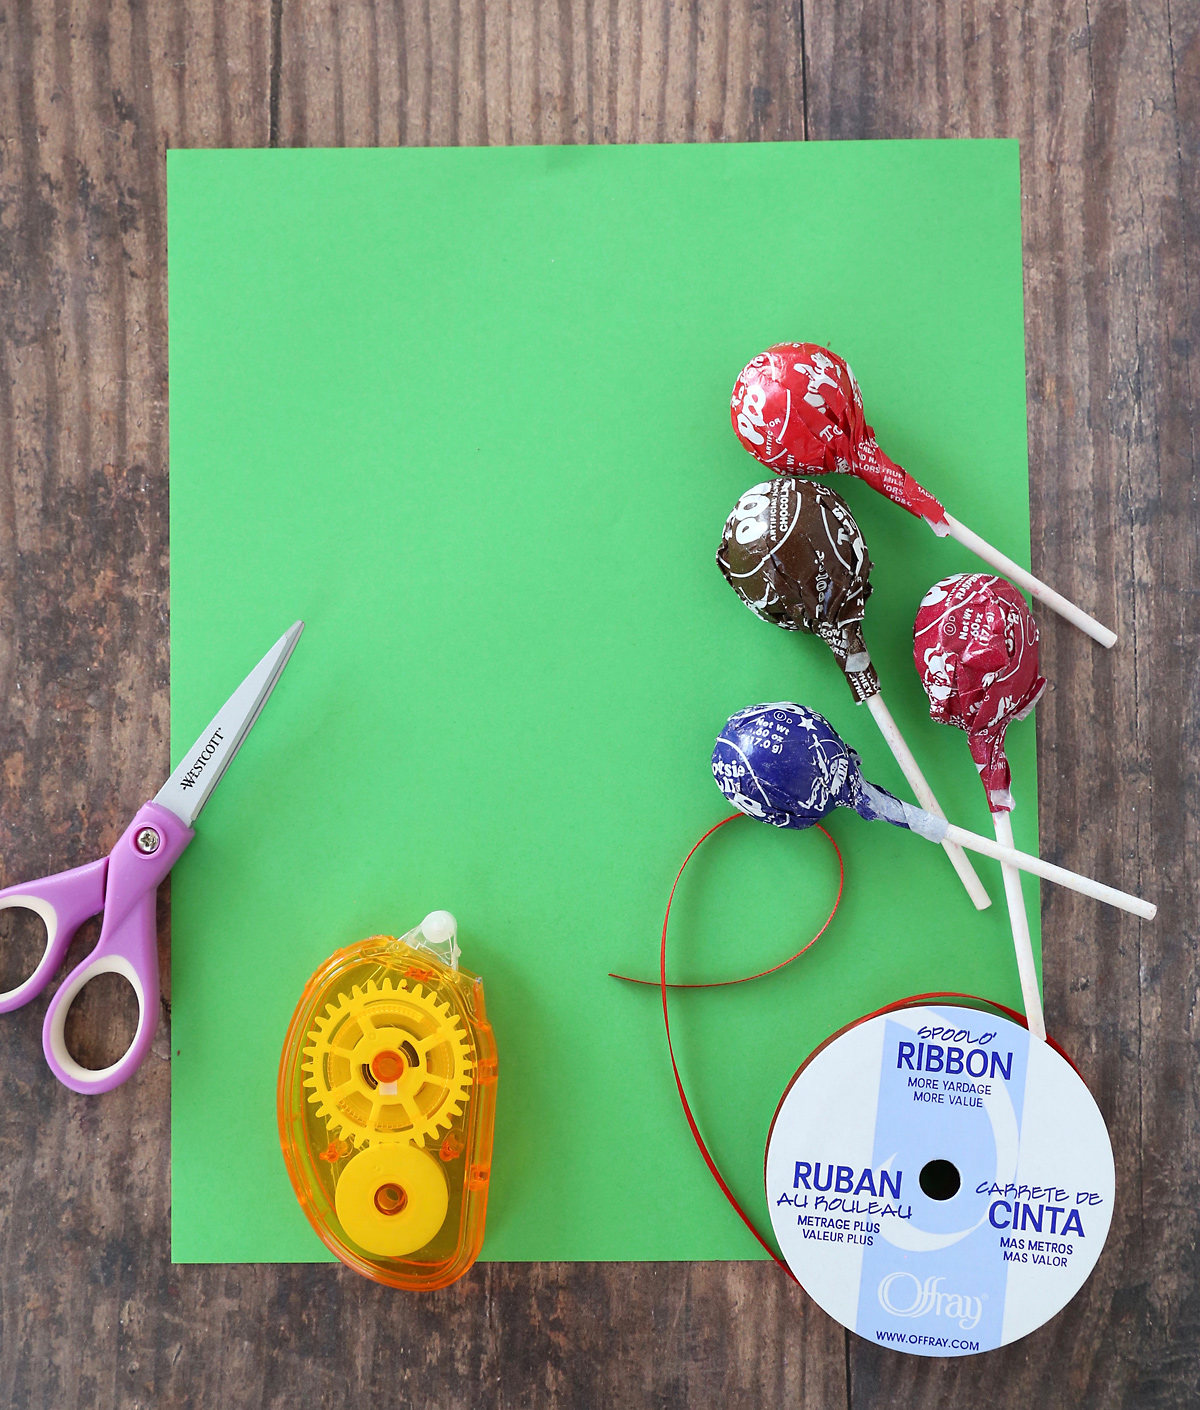
Here’s what you need to make Christmas Tree Tootsie Pops:
Tootsie Pops
Green paper (not heavy paper like cardstock, just colored printer weight paper)
Scissors
Adhesive runner
Narrow red ribbon (if you don’t want to mess with tying bows, you could glue a pom pom on top instead)
How to make Christmas Tree Suckers VIDEO
Watch this video to see how to make the Christmas tree suckers (written instructions follow). Please note that if the video isn’t showing up below, that means you are using an ad-blocker. Whitelist this site in order to see the video. I know no one likes watching ads, but they allow me to create tons of free content for you. Thanks!
Instructions
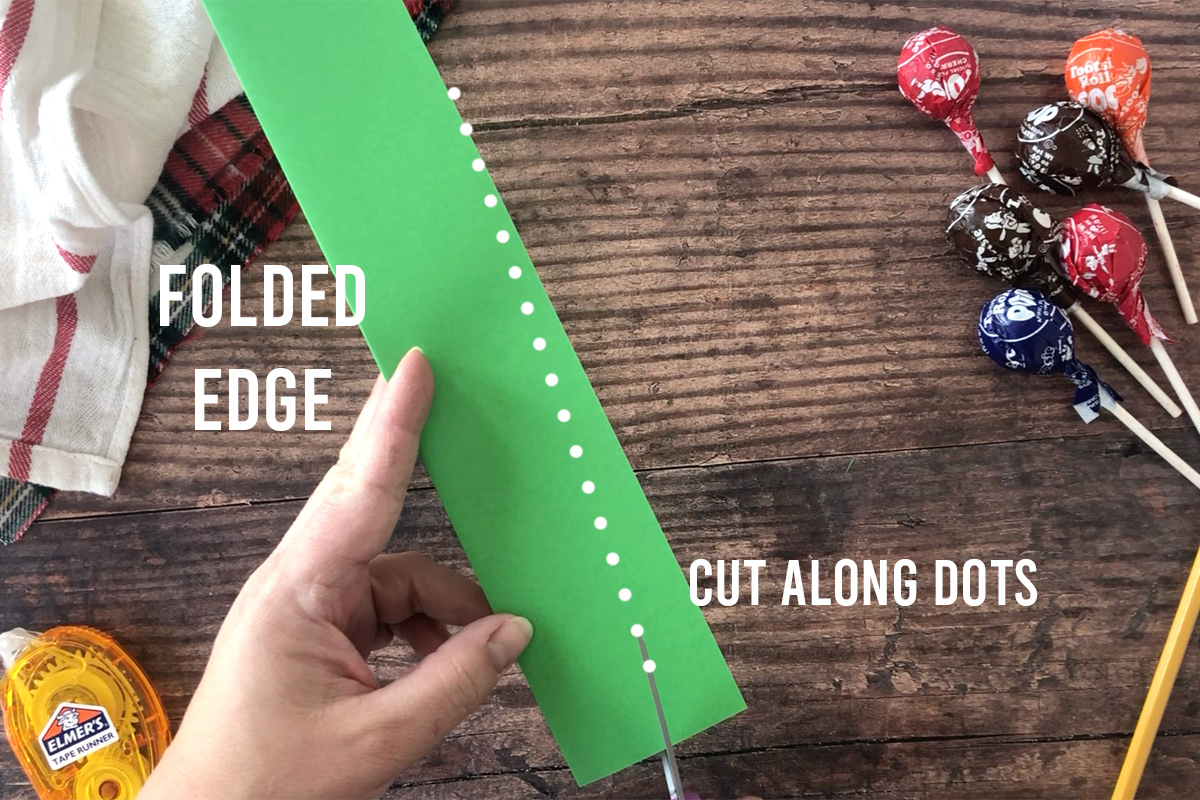
Step 1: Cut a green piece of paper in half lengthwise (you only need one half for each tree). Fold the paper in half lengthwise again.
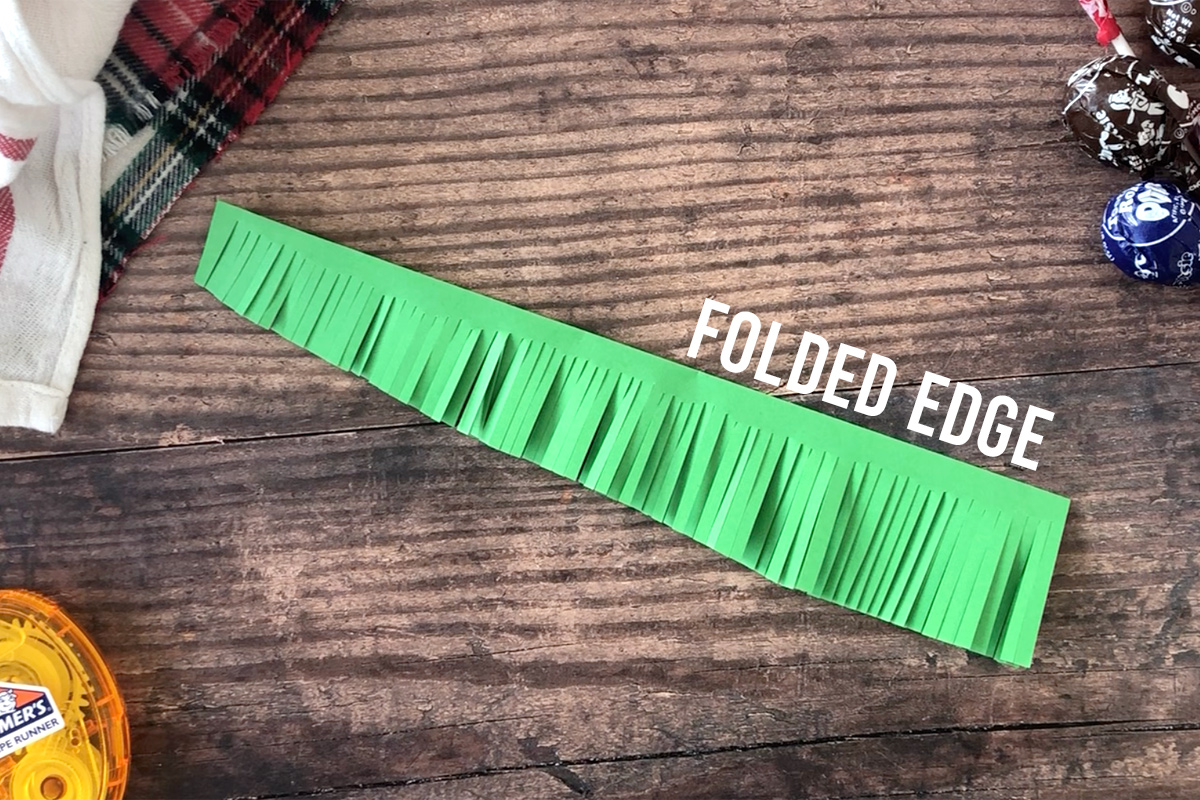
Step 2: Cut the long side of the paper (NOT THE FOLDED SIDE) at an angle, so it’s smaller on one side than the other.
Step 3: Fringe the long side of the paper that you just angled. I cut my fringes about 1/8 inch wide.
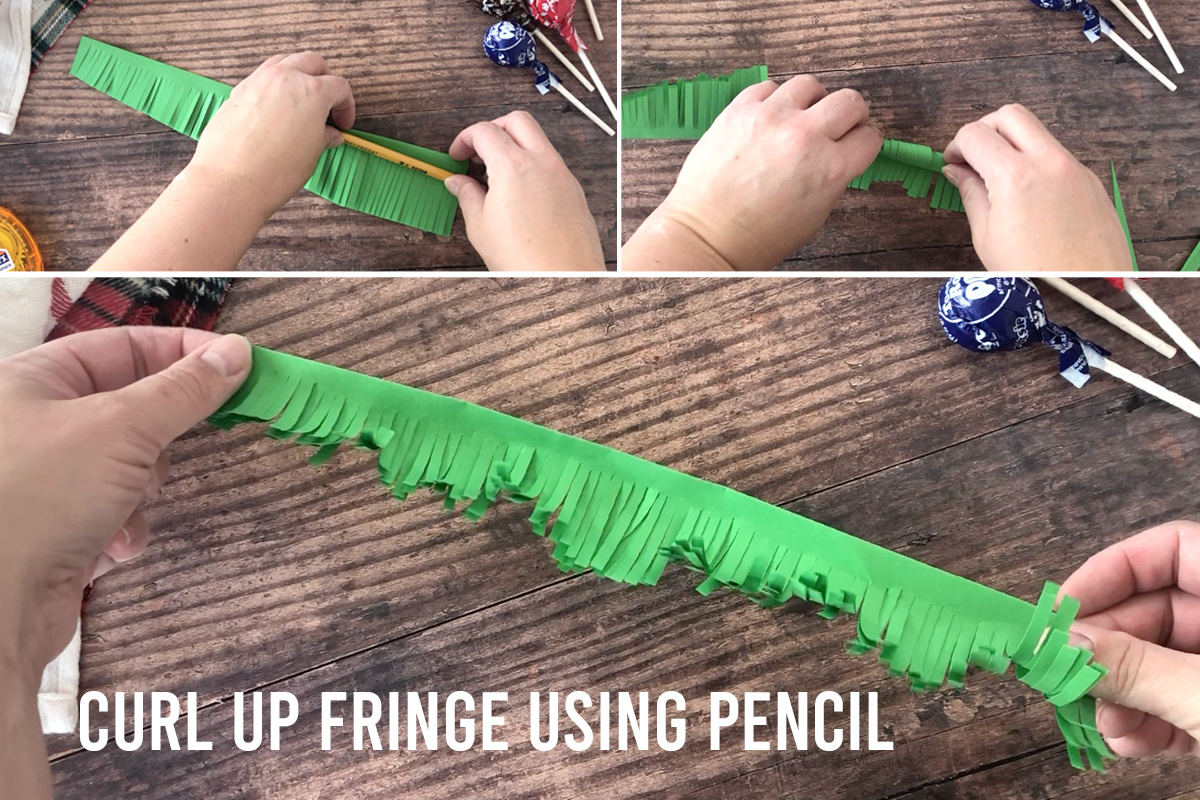
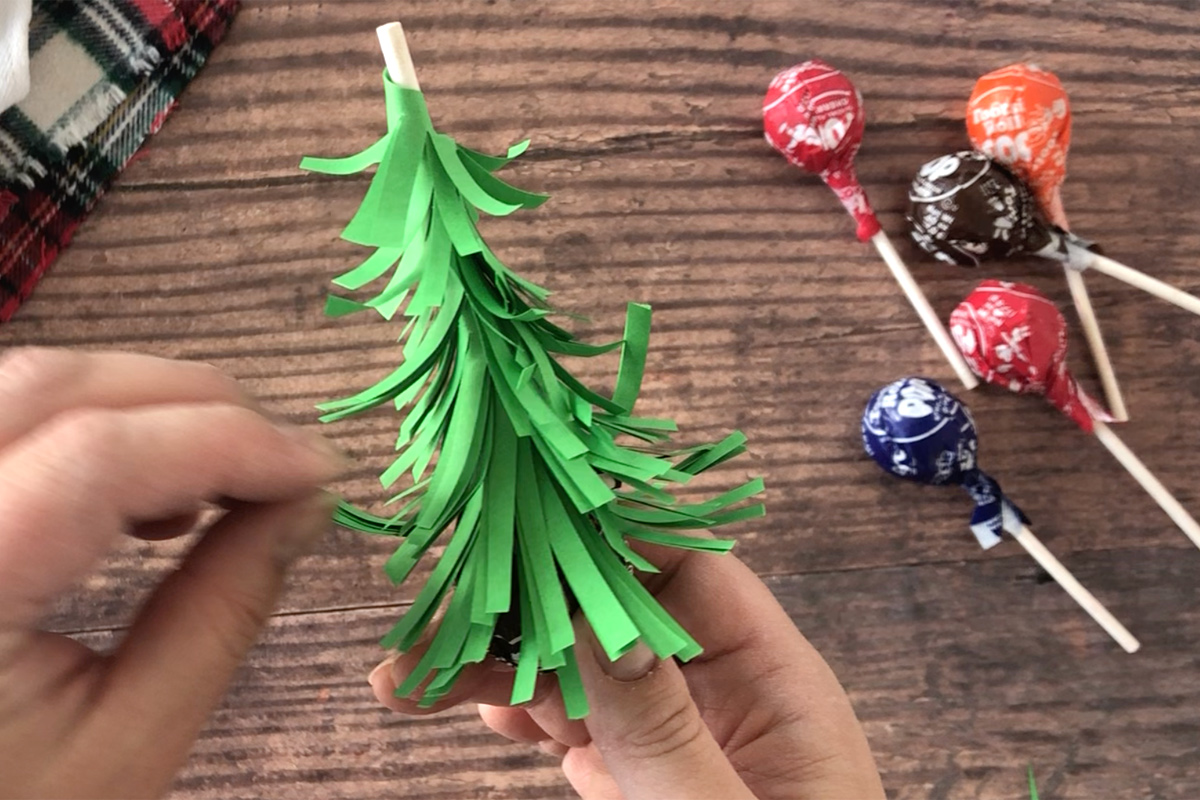
Step 4: Use a pencil to curl up the fringed part of the paper.
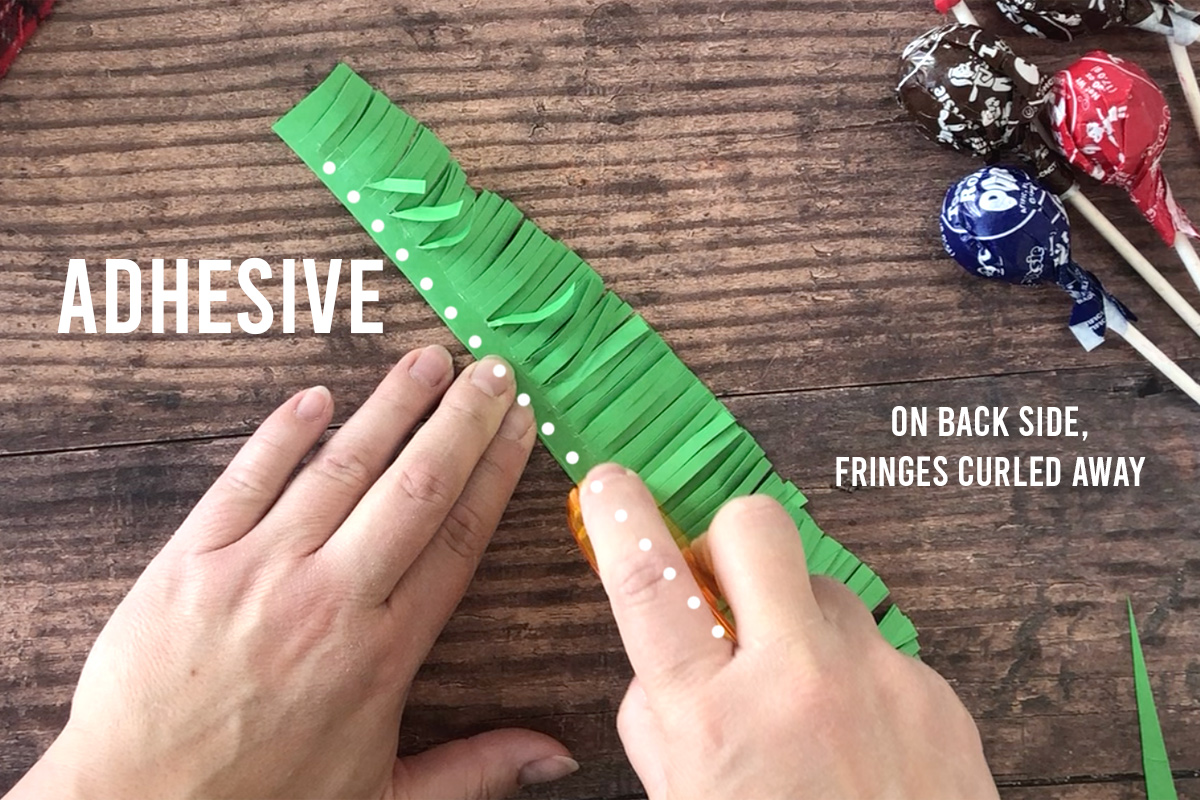
Step 5: Turn the paper over and run an adhesive runner all the way down the folded edge (this is NOT the side that you curled up).
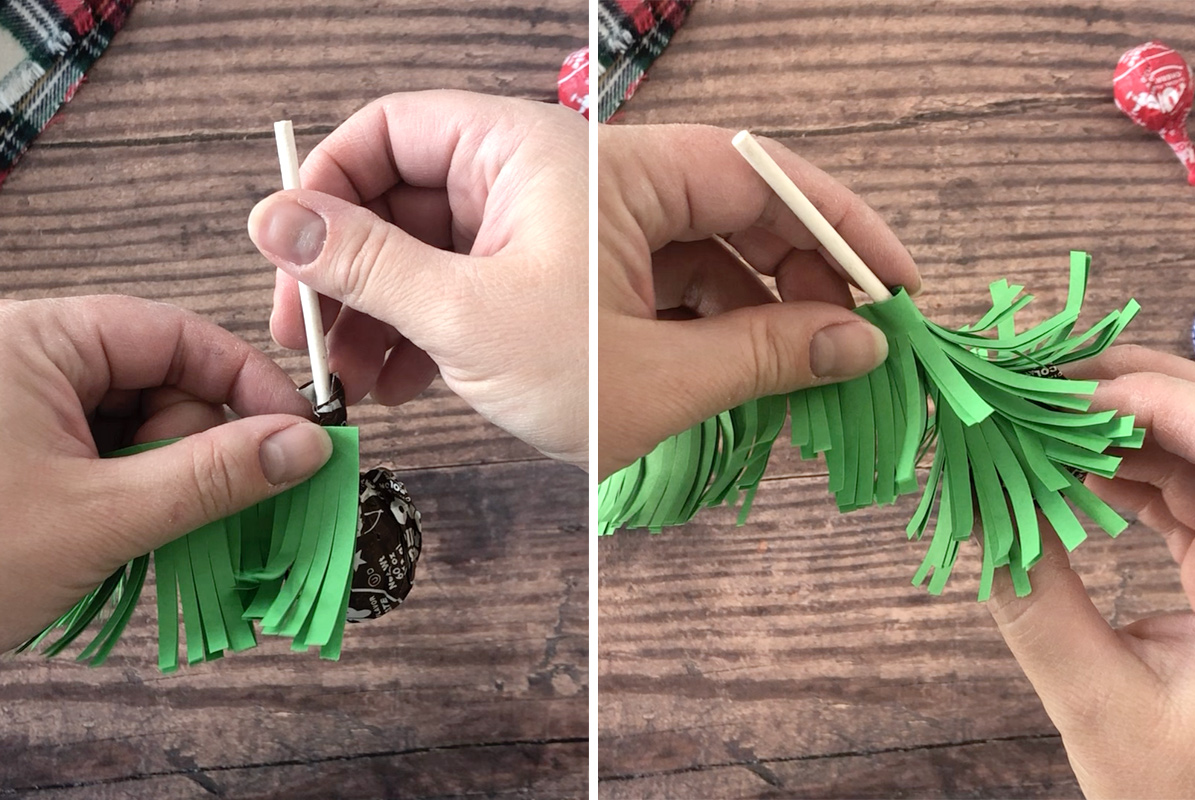
Step 6: Starting at the wide end, adhere the folded end of the paper to the sucker stick, wrapping it around and up the stick. Fluff up the “branches” if needed.
Step 7: Tie a bow at the top of the sucker stick with narrow ribbon. (Tying small bows can be a hassle, so you could glue a pom pom or star on top of the stick instead.)
Look for more Christmas fun for kids? Visit these posts:
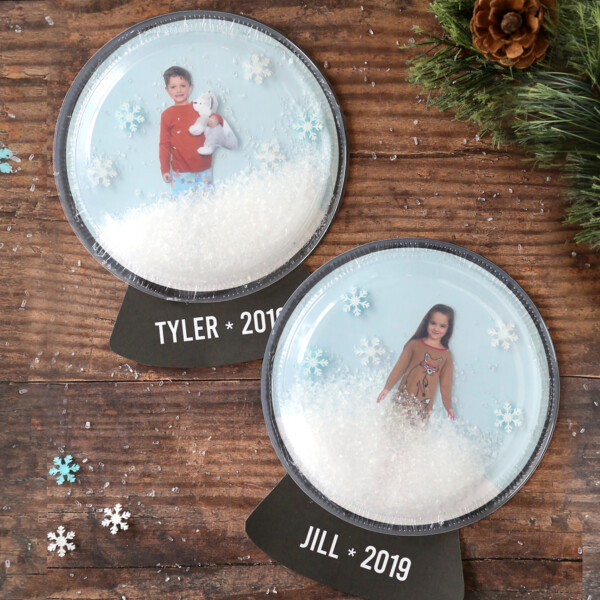
Photo Snow Globe Craft for kids
25 Christmas Treats to make with kids

Starr says
Cute idea! How do the trees stand up straight? I can’t imagine how the suckers would stand up on the end.
Autumn says
Some of the suckers balance really well and stand up on their own. You can test them out and choose suckers that will stand.