
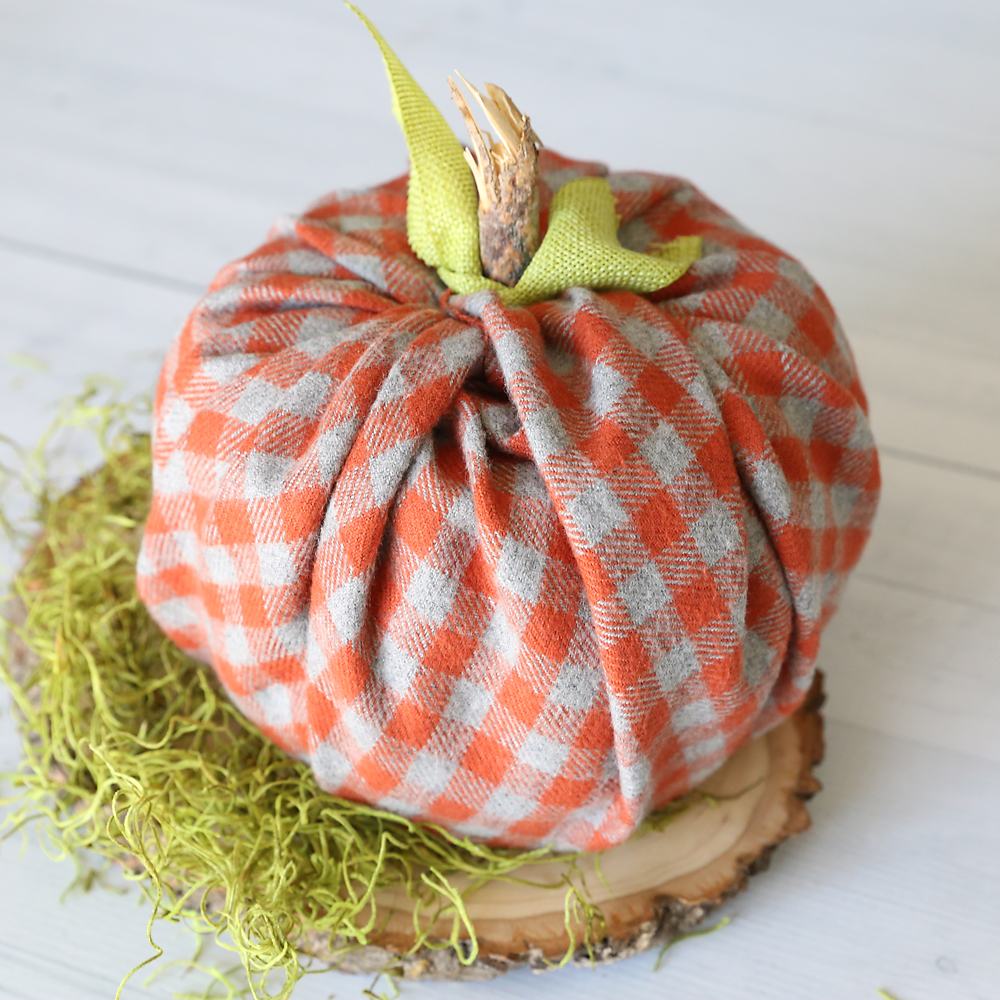
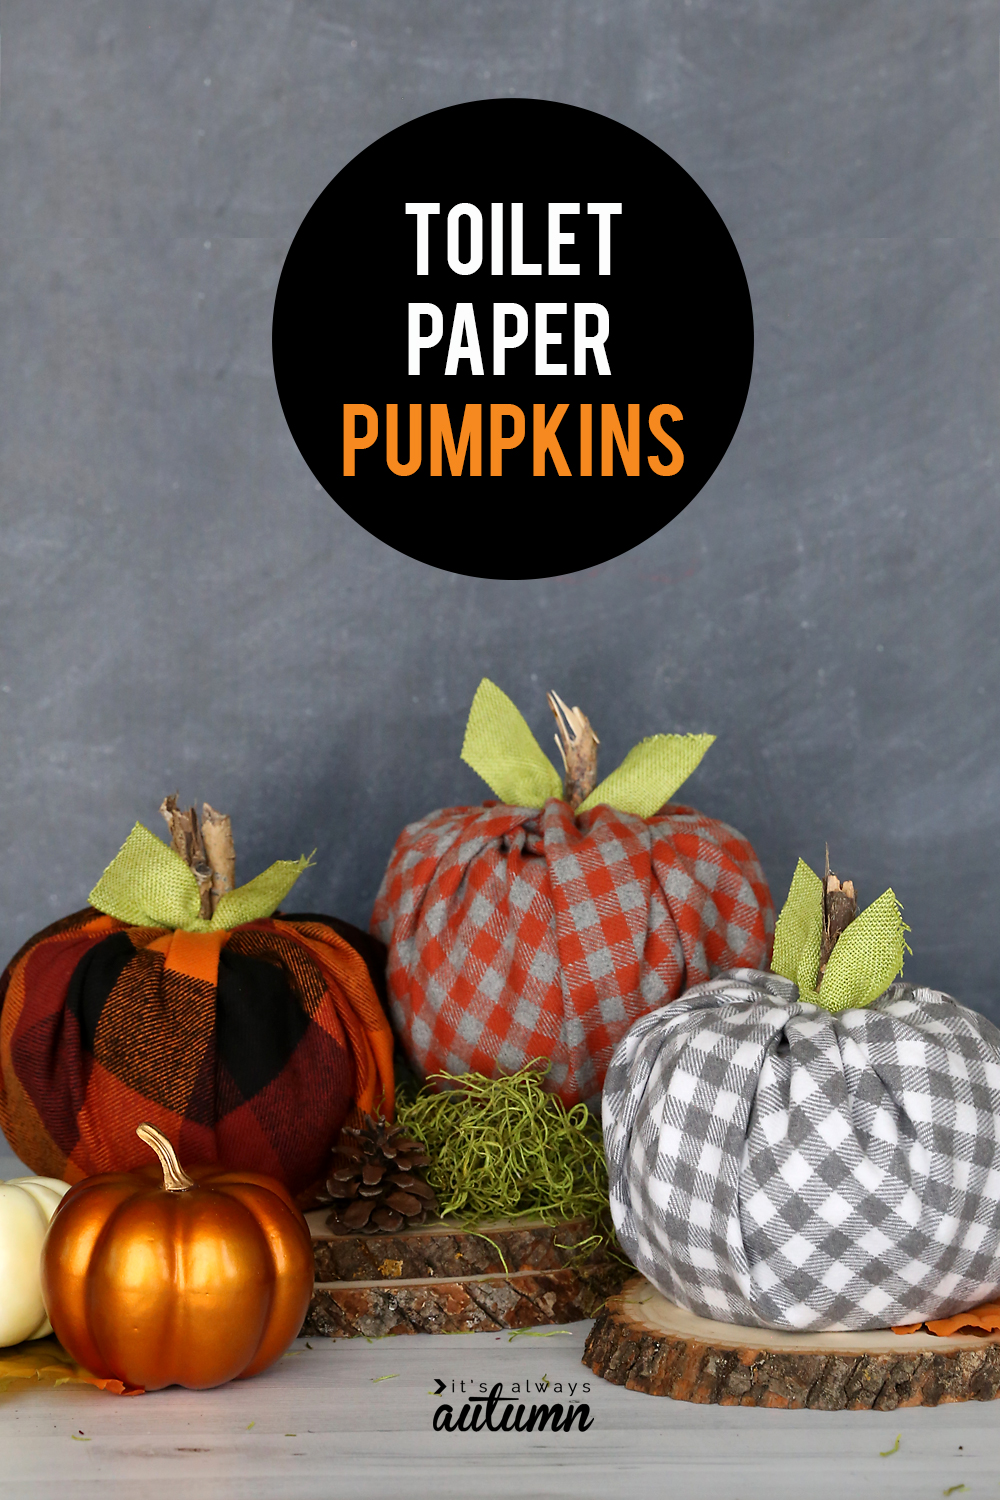
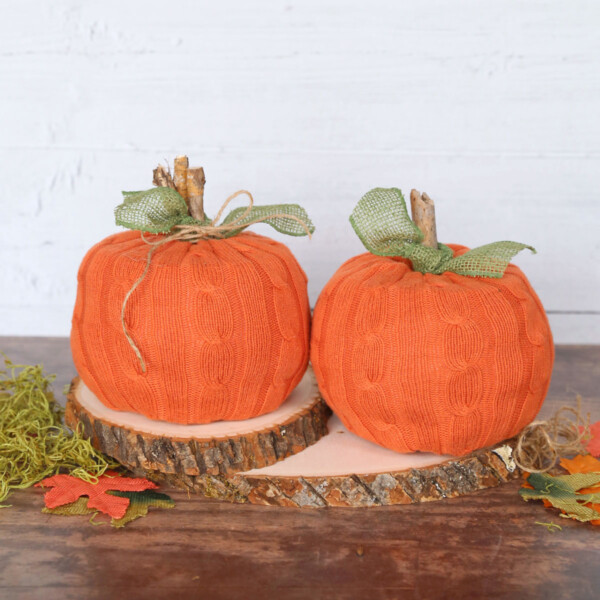
In today’s post: Spruce up your fall decor with these easy DIY plaid flannel toilet paper pumpkins.
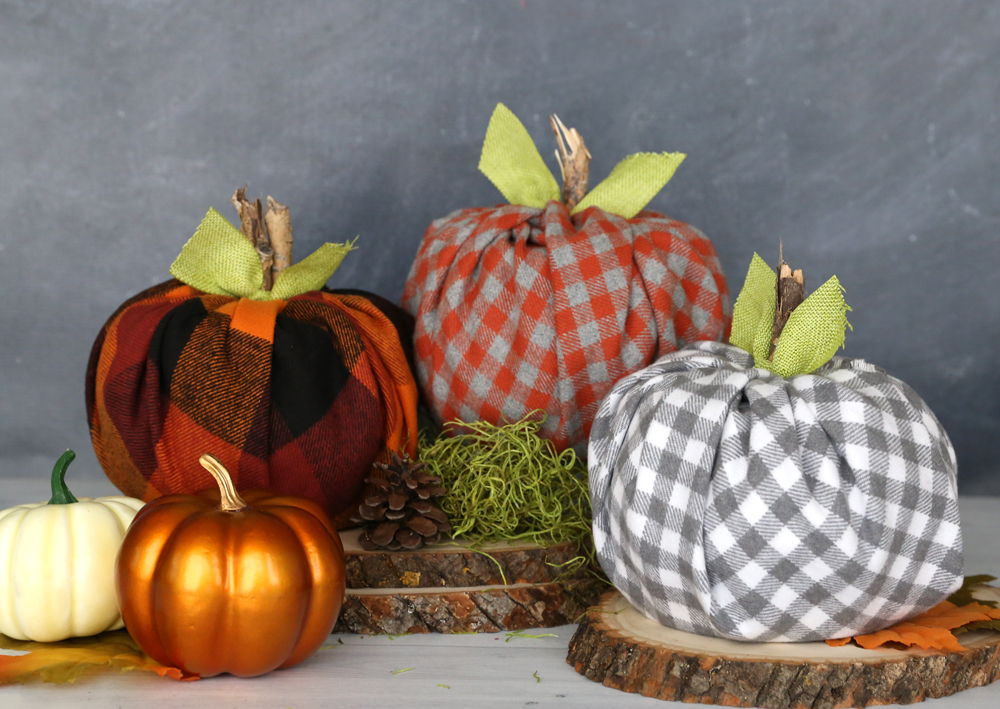
You’ve probably seen toilet paper pumpkins before – this is one of those crafts that’s been around for AGES. I mean, I think people were making these back when I was a kid and that was a LONG time ago. Anyway, I was at the fabric store the other day and saw a collection of gorgeous plaid flannels and decided the good old toilet paper pumpkin could use a little update. A PLAID update.
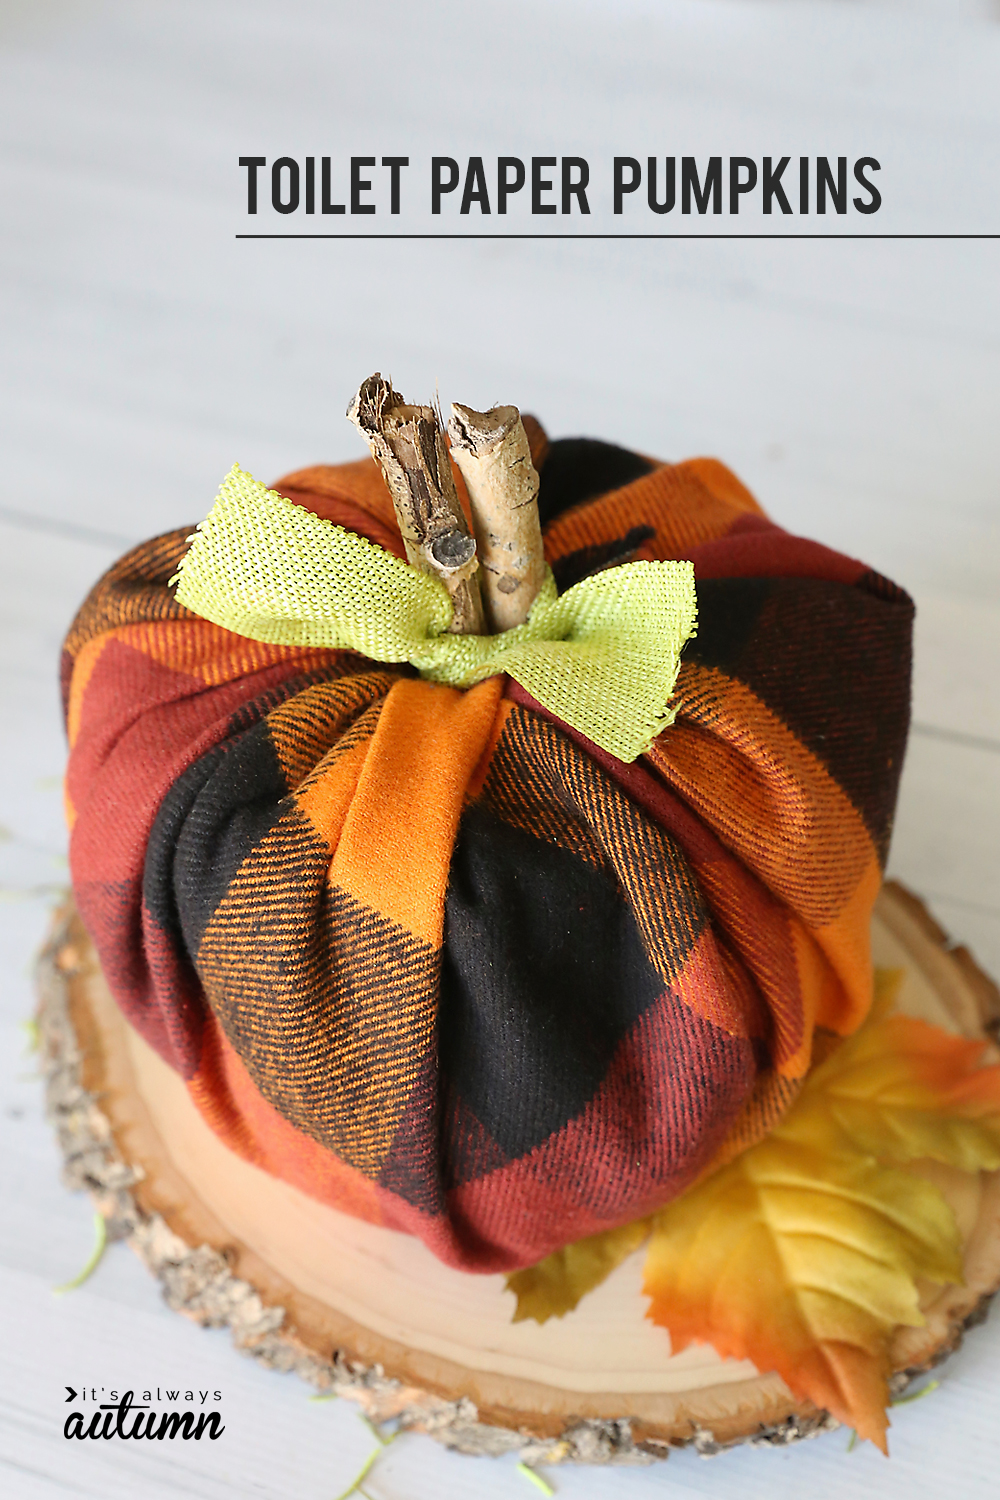
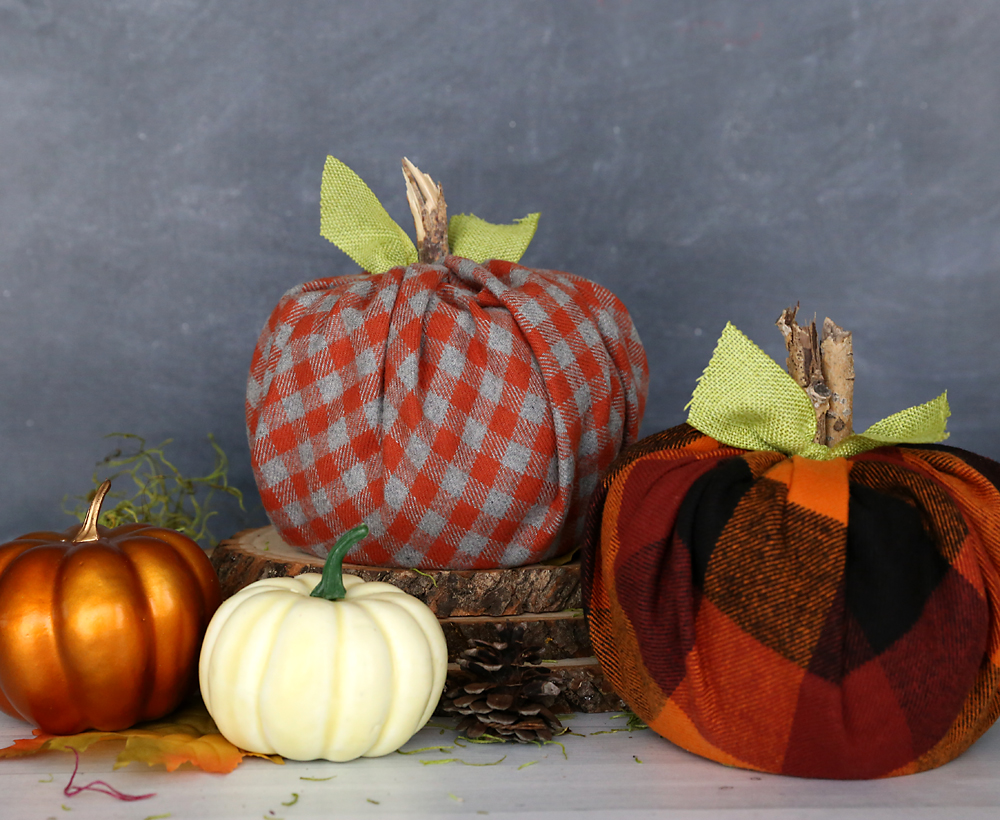
Crafting doesn’t get much easier than this, people. Find yourself some pretty fall colored fabric, wrap up a roll of toilet paper, and stuff a stick in the top for a stem: (pumpkin) mission accomplished.
How to make toilet paper pumpkins
As you’ve probably deduced, this craft hardly requires instructions, but it’s your lucky day–you’re getting them anyway. Start by gathering your supplies:
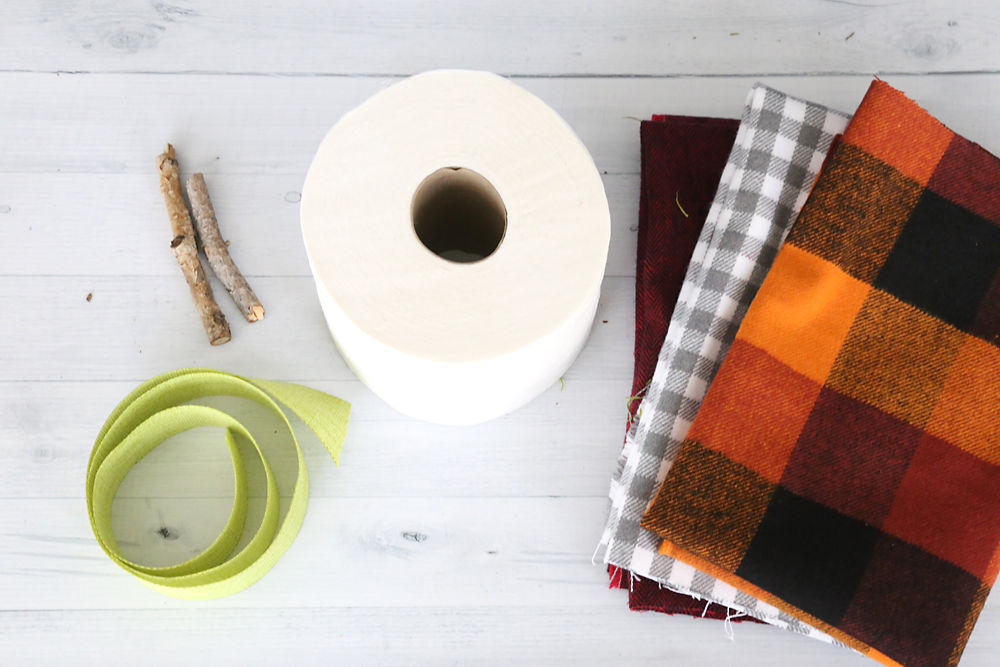
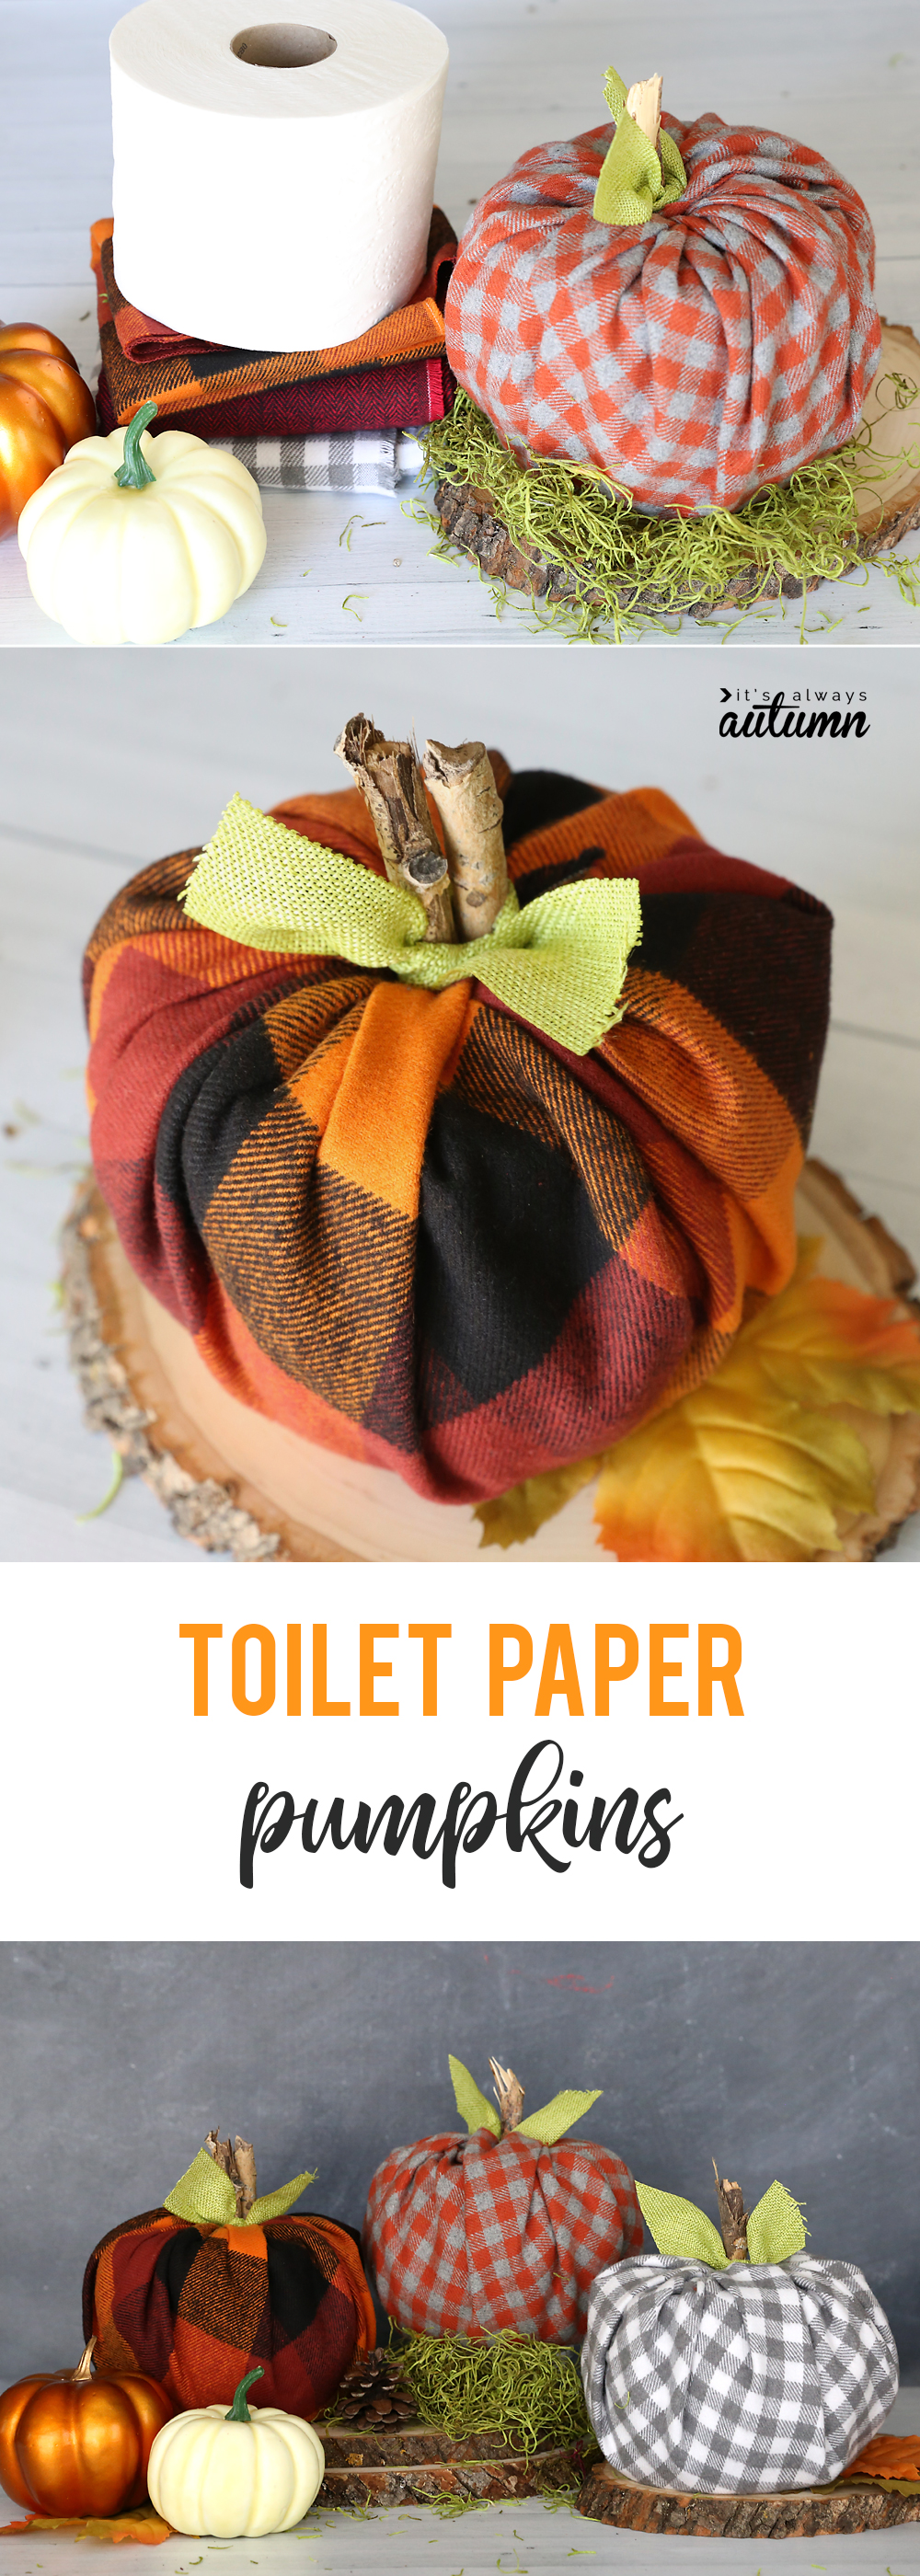
- Toilet paper rolls: I used “mega” rolls because they are a lot wider than the standard rolls. We want our pumpkins to look round and fat, not tall and square (more on that later)
- Fabric: you’ll need an 18 inch square of fabric for each pumpkin. You can buy a fat quarter, which is 18×22 inches, or purchase half a yard of fabric, which will be enough for two pumpkins. I used plaid flannel because it’s soft and pretty, but you can use pretty much any fabric you’d like.
- Sticks: you’ll want at least one 3-4 inch stick for each pumpkin stem. I just told my kids to find me some sticks last time we were at the park and then I cut them to size. If you don’t want to forage for sticks, feel free to buy cinnamon sticks and use those instead.
- Green ribbon or leaves
- A pencil
Watch this video to see how to make plaid flannel toilet paper pumpkins (written instructions follow):
Toilet Paper Pumpkins
Supplies
- 1 18x18 inch Piece of flannel fabric
- 1 roll of Toilet Paper Mega size is best
- 1 stick
- 1 9 inch piece of Green Ribbon
Want more project ideas? Sign up to get my favorite easy crafts and recipes straight to your inbox!
Instructions
- Lay out your fabric square. Place a roll of TP in the center.
- UNROLL the toilet paper 8-10 times. Then ROLL it back up, twisting and scrunching the toilet paper as you do so. This give you a rounder pumpkin shape.
- Grab one corner of the fabric and tuck it inside the toilet paper roll, using a pencil to push it down.
- Continue with the other three corners, gathering up the fabric as you stuff each corner into the center of the toilet paper roll.
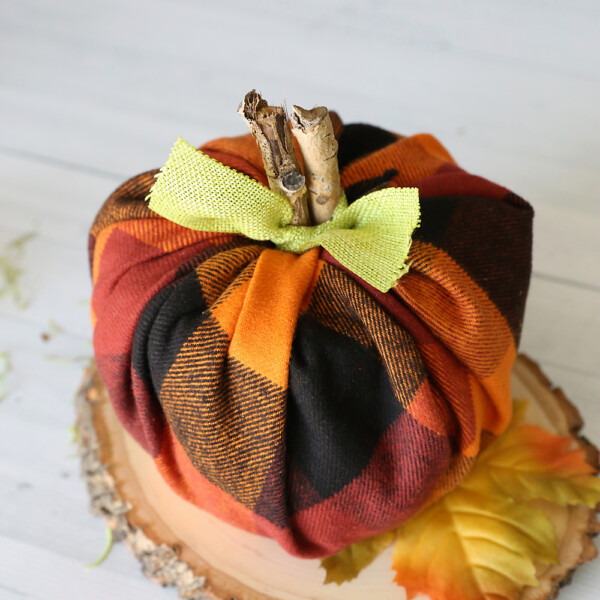
- Tie a ribbon around a twig and stuff it in the center of the pumpkin for a stem.
Did you catch the most important part of the instructions? Make sure to UNROLL the toilet paper about 8 times, then loosely roll it back up, twisting it as you do so, to make your toilet paper roll a little rounder. This makes the finished TP pumpkins much cuter!
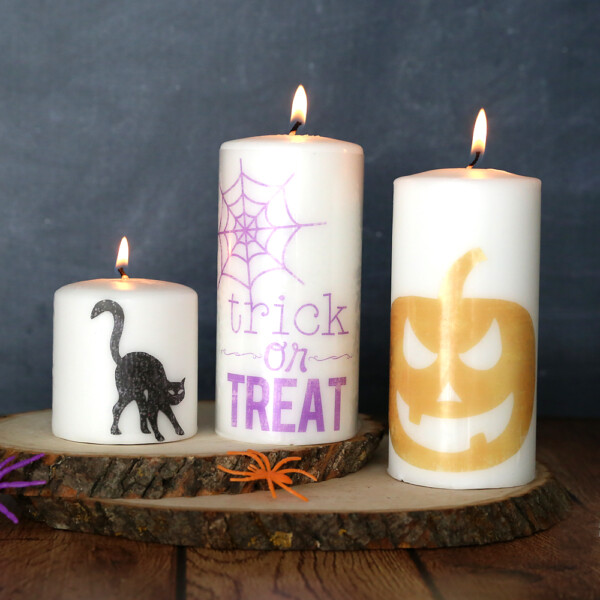
Want more Halloween ideas? Check out some of these posts:
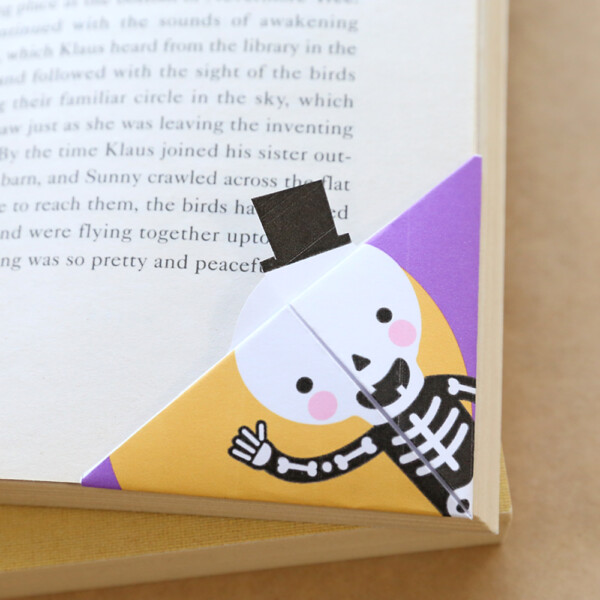
Print + fold Halloween bookmarks
Print + color Halloween masks for kids
20 best Halloween treats for kids
20 scary movies for tweens and teens
Kimberly says
I made these! They are so cute! Thank you for the idea!
Lenora says
I love the pumpkins..I will be making some.
Mary says
this has to be one of the cutest things I’ve seen in a long time! Going to the fabric store tomorrow!
Debbie says
Very cute idea! Think I’ll be making some for Thanksgiving this year…
Kim says
SO SO HAPPY U POSTED THIS ! ❤️THank u bunches , loving these and while I’m not the craftiest Grammie I’m going to pull this off with the kids ??very excited ? neighbor kiddos saw it and want to do it too ! Wonderful good instructions and it keeps them out of trouble double win !!
Rose says
OMG. I did it! I made something. It’s so cute!