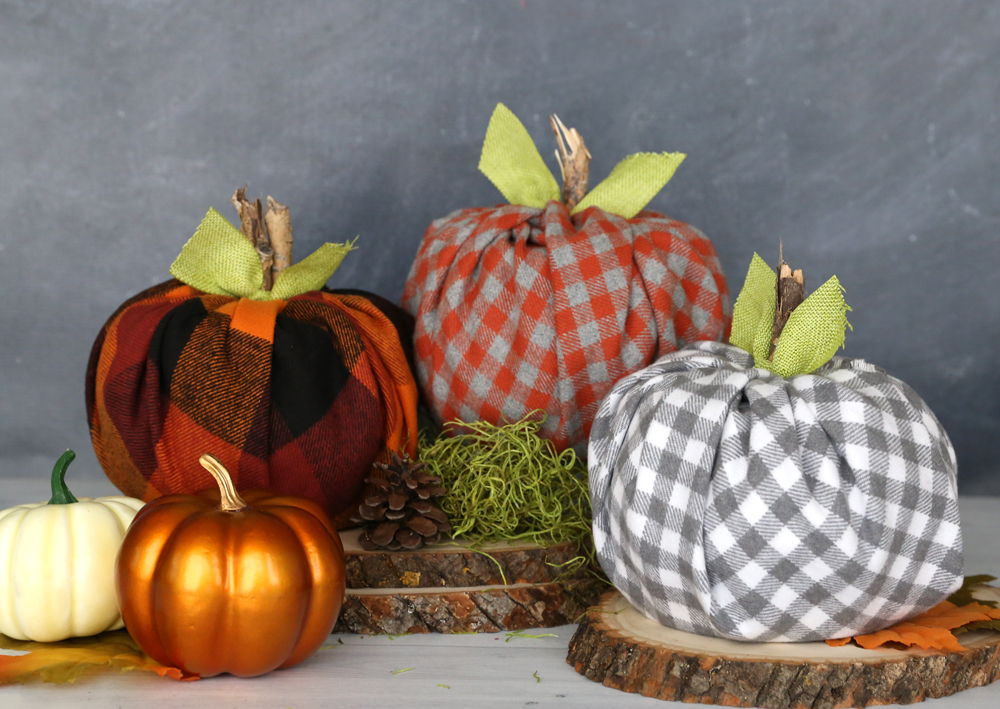
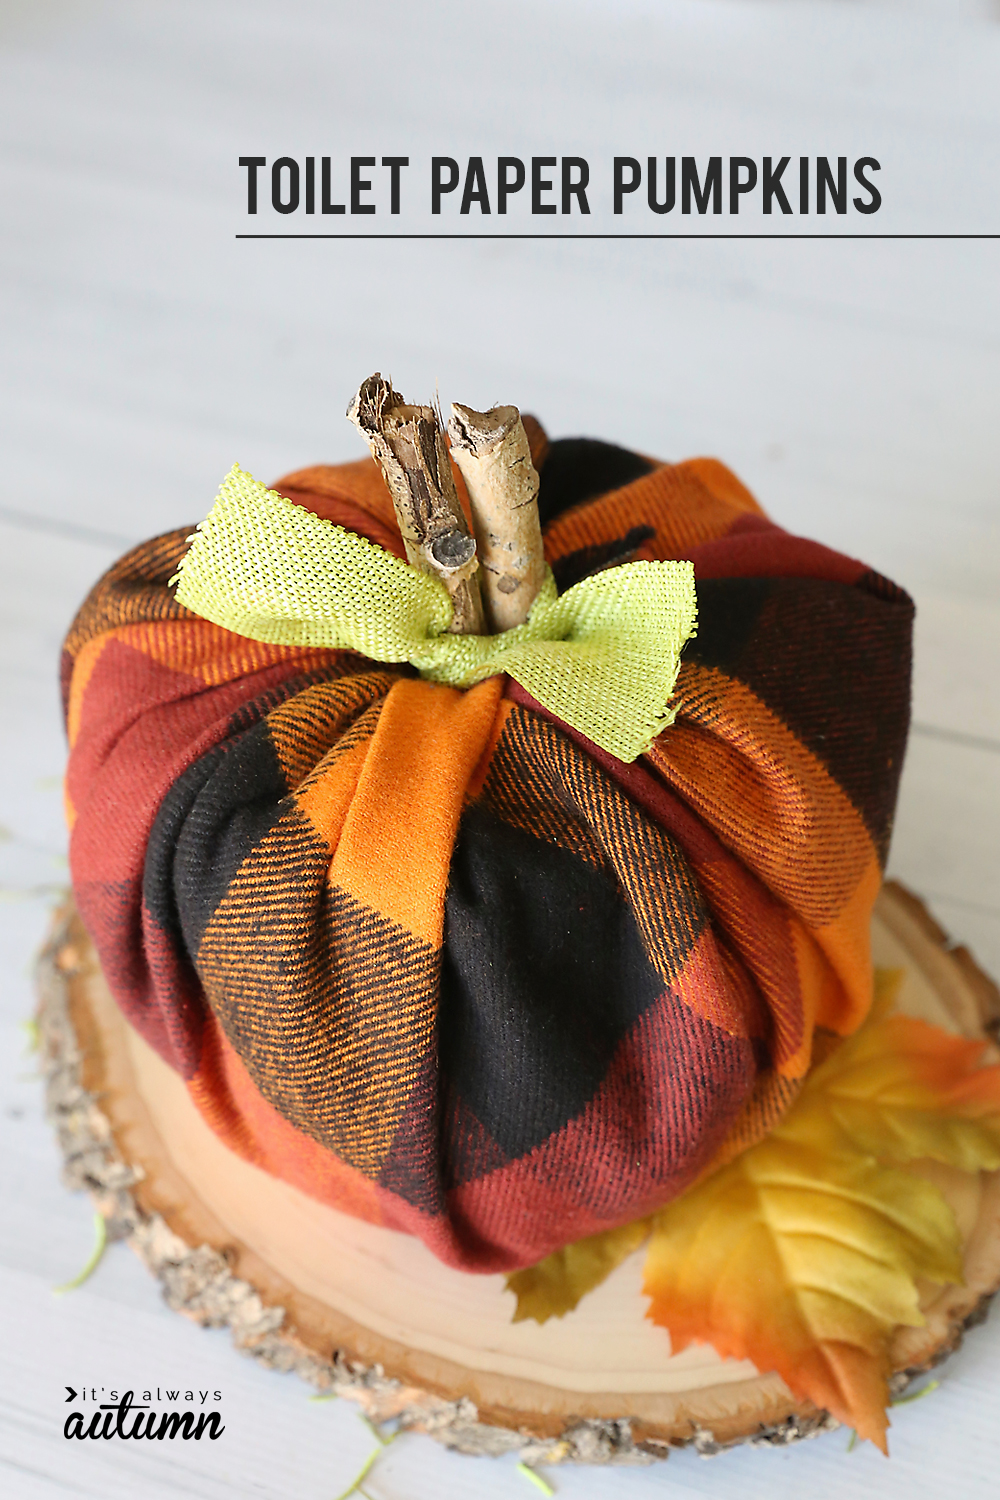
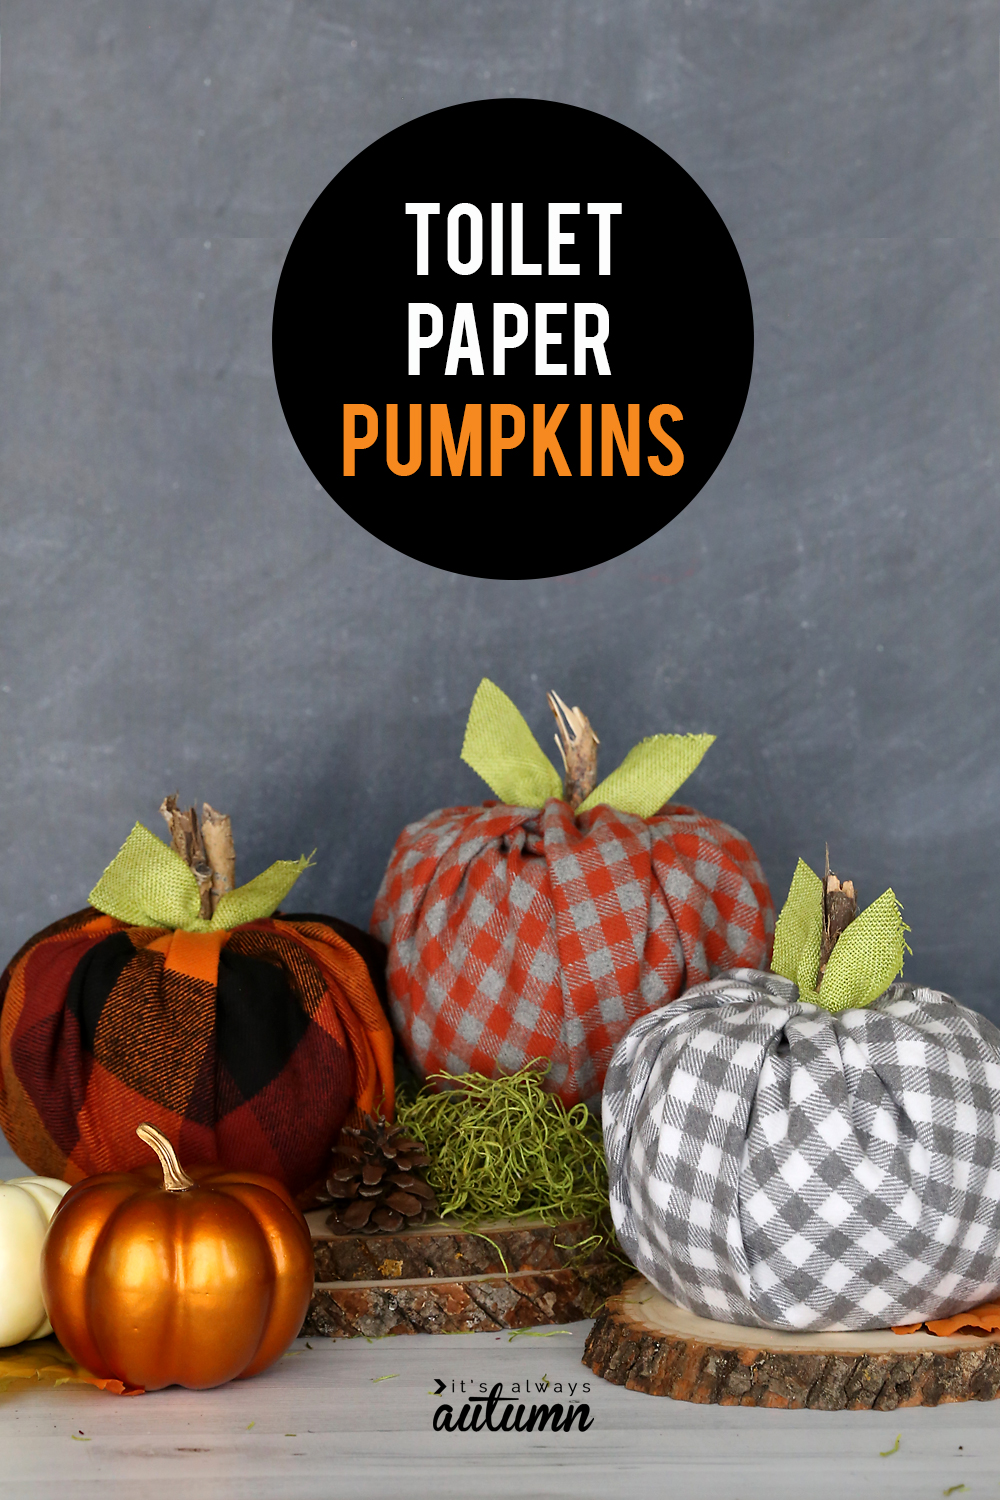
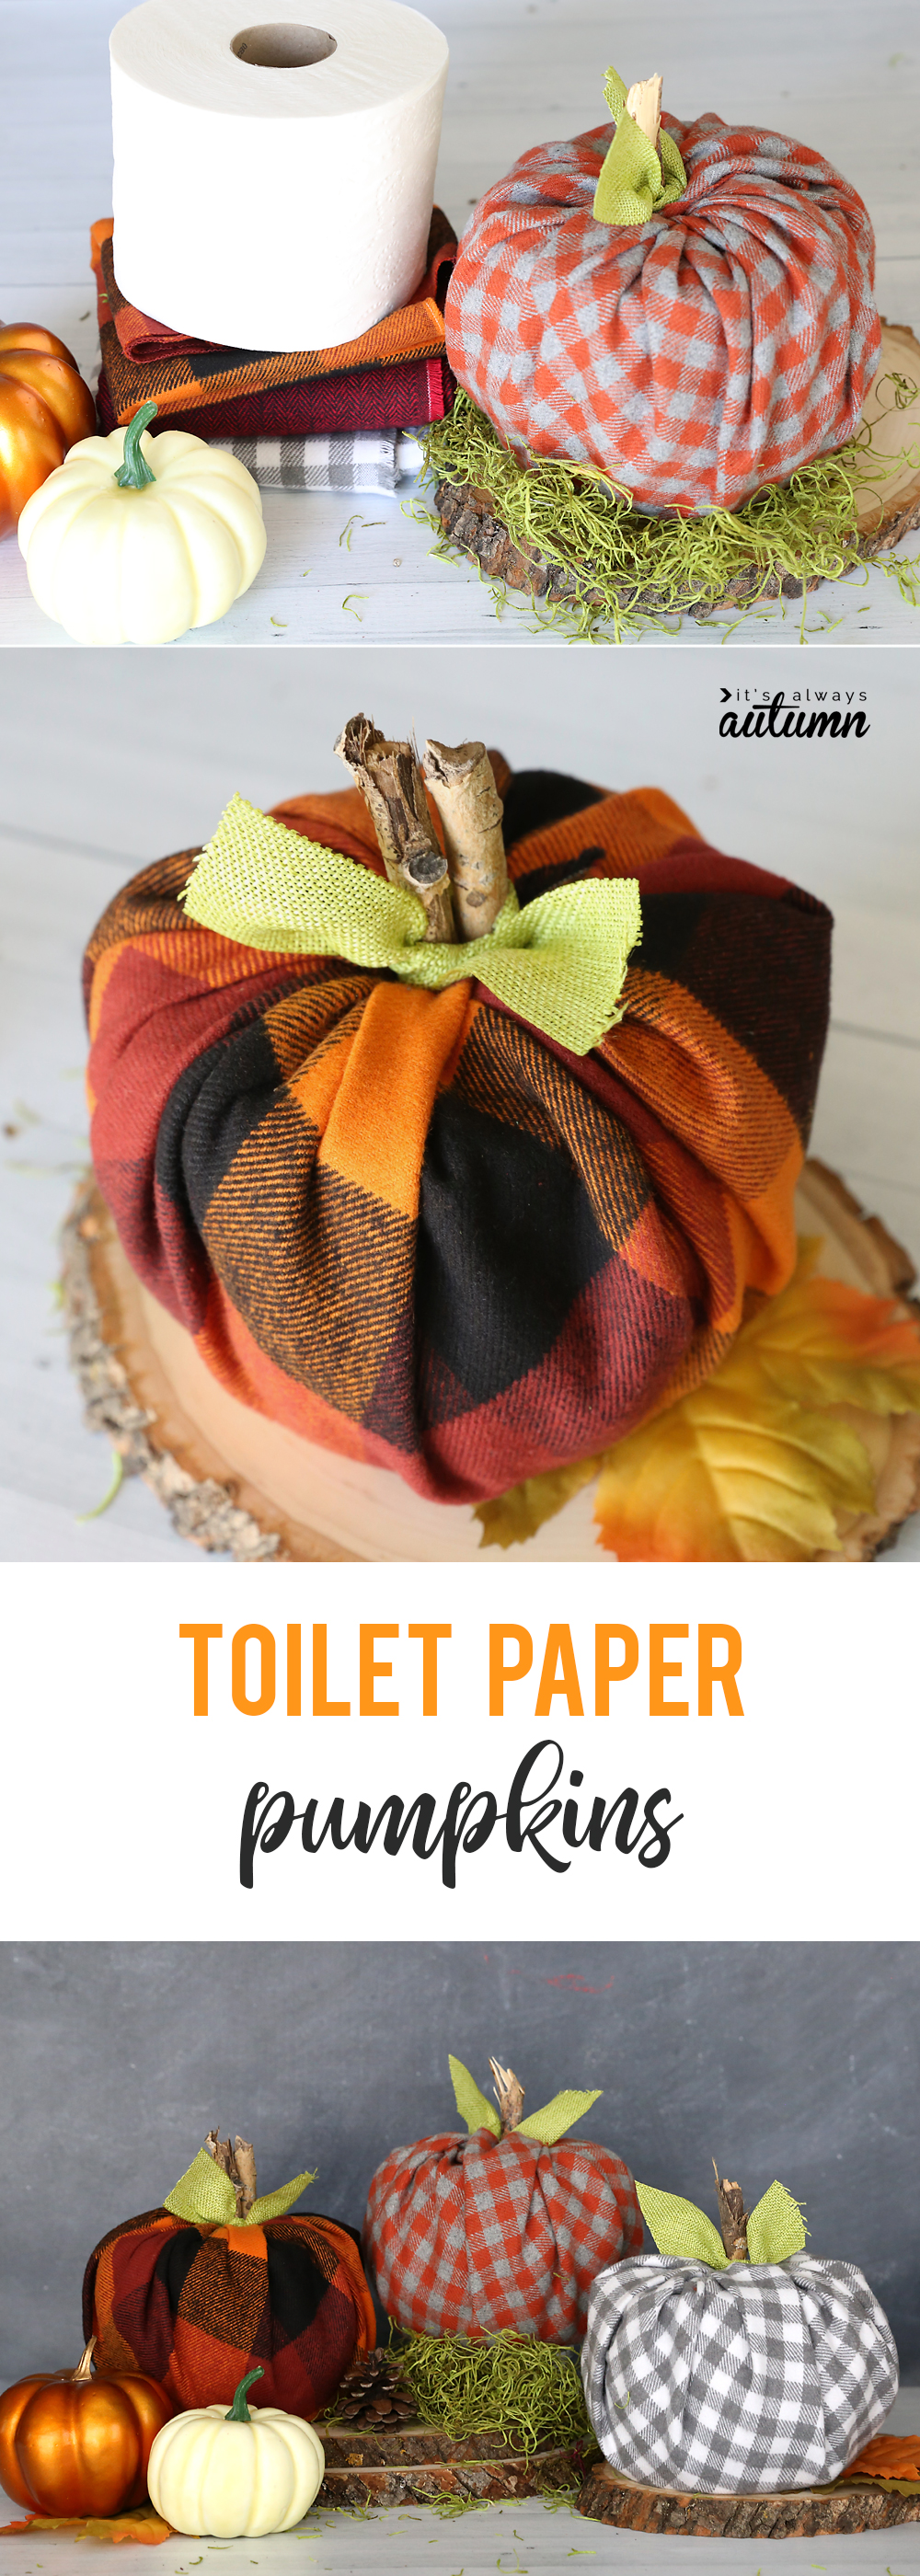
In today’s post: Spruce up your fall decor with these easy DIY plaid flannel toilet paper pumpkins.
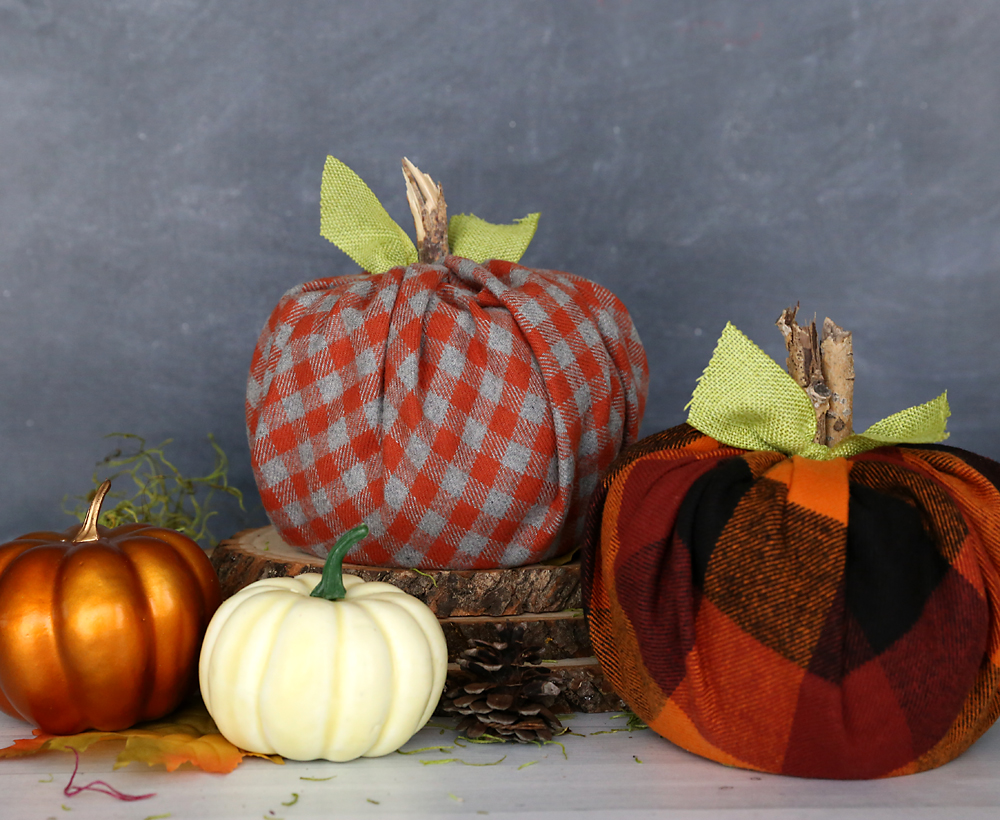
You’ve probably seen toilet paper pumpkins before – this is one of those crafts that’s been around for AGES. I mean, I think people were making these back when I was a kid and that was a LONG time ago. Anyway, I was at the fabric store the other day and saw a collection of gorgeous plaid flannels and decided the good old toilet paper pumpkin could use a little update. A PLAID update.
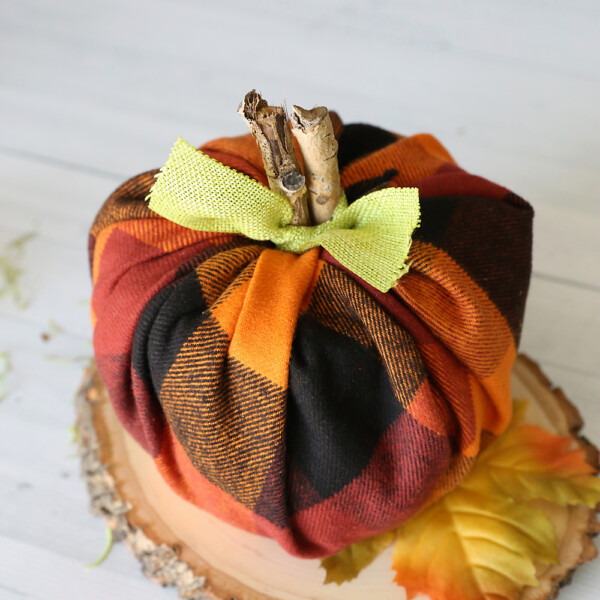
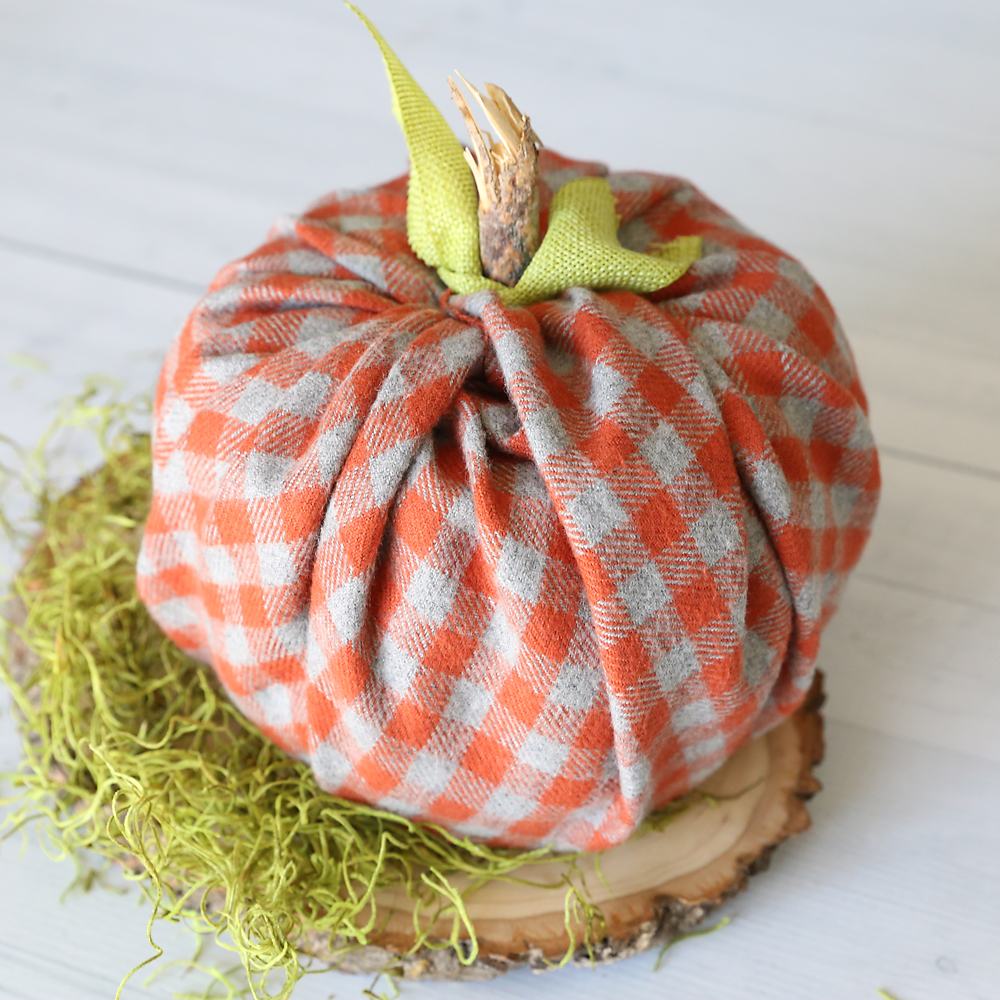
Crafting doesn’t get much easier than this, people. Find yourself some pretty fall colored fabric, wrap up a roll of toilet paper, and stuff a stick in the top for a stem: (pumpkin) mission accomplished.
How to make toilet paper pumpkins
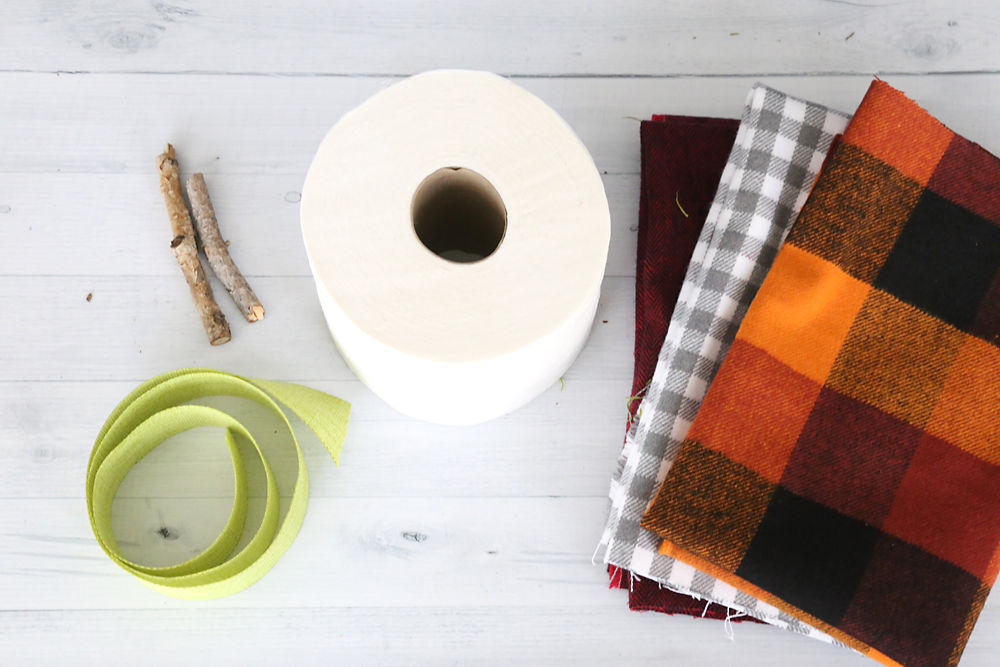
As you’ve probably deduced, this craft hardly requires instructions, but it’s your lucky day–you’re getting them anyway. Start by gathering your supplies:
- Toilet paper rolls: I used “mega” rolls because they are a lot wider than the standard rolls. We want our pumpkins to look round and fat, not tall and square (more on that later)
- Fabric: you’ll need an 18 inch square of fabric for each pumpkin. You can buy a fat quarter, which is 18×22 inches, or purchase half a yard of fabric, which will be enough for two pumpkins. I used plaid flannel because it’s soft and pretty, but you can use pretty much any fabric you’d like.
- Sticks: you’ll want at least one 3-4 inch stick for each pumpkin stem. I just told my kids to find me some sticks last time we were at the park and then I cut them to size. If you don’t want to forage for sticks, feel free to buy cinnamon sticks and use those instead.
- Green ribbon or leaves
- A pencil
Watch this video to see how to make plaid flannel toilet paper pumpkins (written instructions follow):
Toilet Paper Pumpkins
Supplies
- 1 18x18 inch Piece of flannel fabric
- 1 roll of Toilet Paper Mega size is best
- 1 stick
- 1 9 inch piece of Green Ribbon
Want more project ideas? Sign up to get my favorite easy crafts and recipes straight to your inbox!
Instructions
- Lay out your fabric square. Place a roll of TP in the center.
- UNROLL the toilet paper 8-10 times. Then ROLL it back up, twisting and scrunching the toilet paper as you do so. This give you a rounder pumpkin shape.
- Grab one corner of the fabric and tuck it inside the toilet paper roll, using a pencil to push it down.
- Continue with the other three corners, gathering up the fabric as you stuff each corner into the center of the toilet paper roll.
- Tie a ribbon around a twig and stuff it in the center of the pumpkin for a stem.
Did you catch the most important part of the instructions? Make sure to UNROLL the toilet paper about 8 times, then loosely roll it back up, twisting it as you do so, to make your toilet paper roll a little rounder. This makes the finished TP pumpkins much cuter!
Want more Halloween ideas? Check out some of these posts:
Print + fold Halloween bookmarks
Print + color Halloween masks for kids
20 best Halloween treats for kids
20 scary movies for tweens and teens

Melissia says
Thank you for putting an ad on FB, I love the ease of making these pumpkins! I cut multiple pieces of fabric, found artificial straw reeds at Dollar Tree and used them instead of twigs. Mailed fabric, reeds ribbon and instructions to friends and family along with their Halloween cards, an easy DIY gift that was inexpensive to mail. So glad I found your site, your gnomes are also so much easier than using beads and fiberfill socks for the body, cones so much easier and again lighter to ship. Thank you, thank you!
Eileen Templin says
85 yrs., old will be doing this with a Great Grand daughter…..SO SO Cute….Thanks a Million Maybe even the Senior Center…Your Super
Autumn says
I got the wood slices at Jo-Anns.
Nancy Rorye says
Thank you so much for this craft. I had 3 of my grandchildren over today. (2 8 yr olds and 1 3 yr old), I do not have energy as I am going through chemo but this was easy for me to do with them. They loved it. The 3 year old held it upside down and said it was a toasted marshmallow. Then she said it was a popsicle so it stimulated her imagination as well. Thank you again.