In today’s post: Learn how to make stunning paper roses with this free printable paper rose template! Easy step by step instructions for making paper roses, including printable templates in five different colors and a video tutorial.
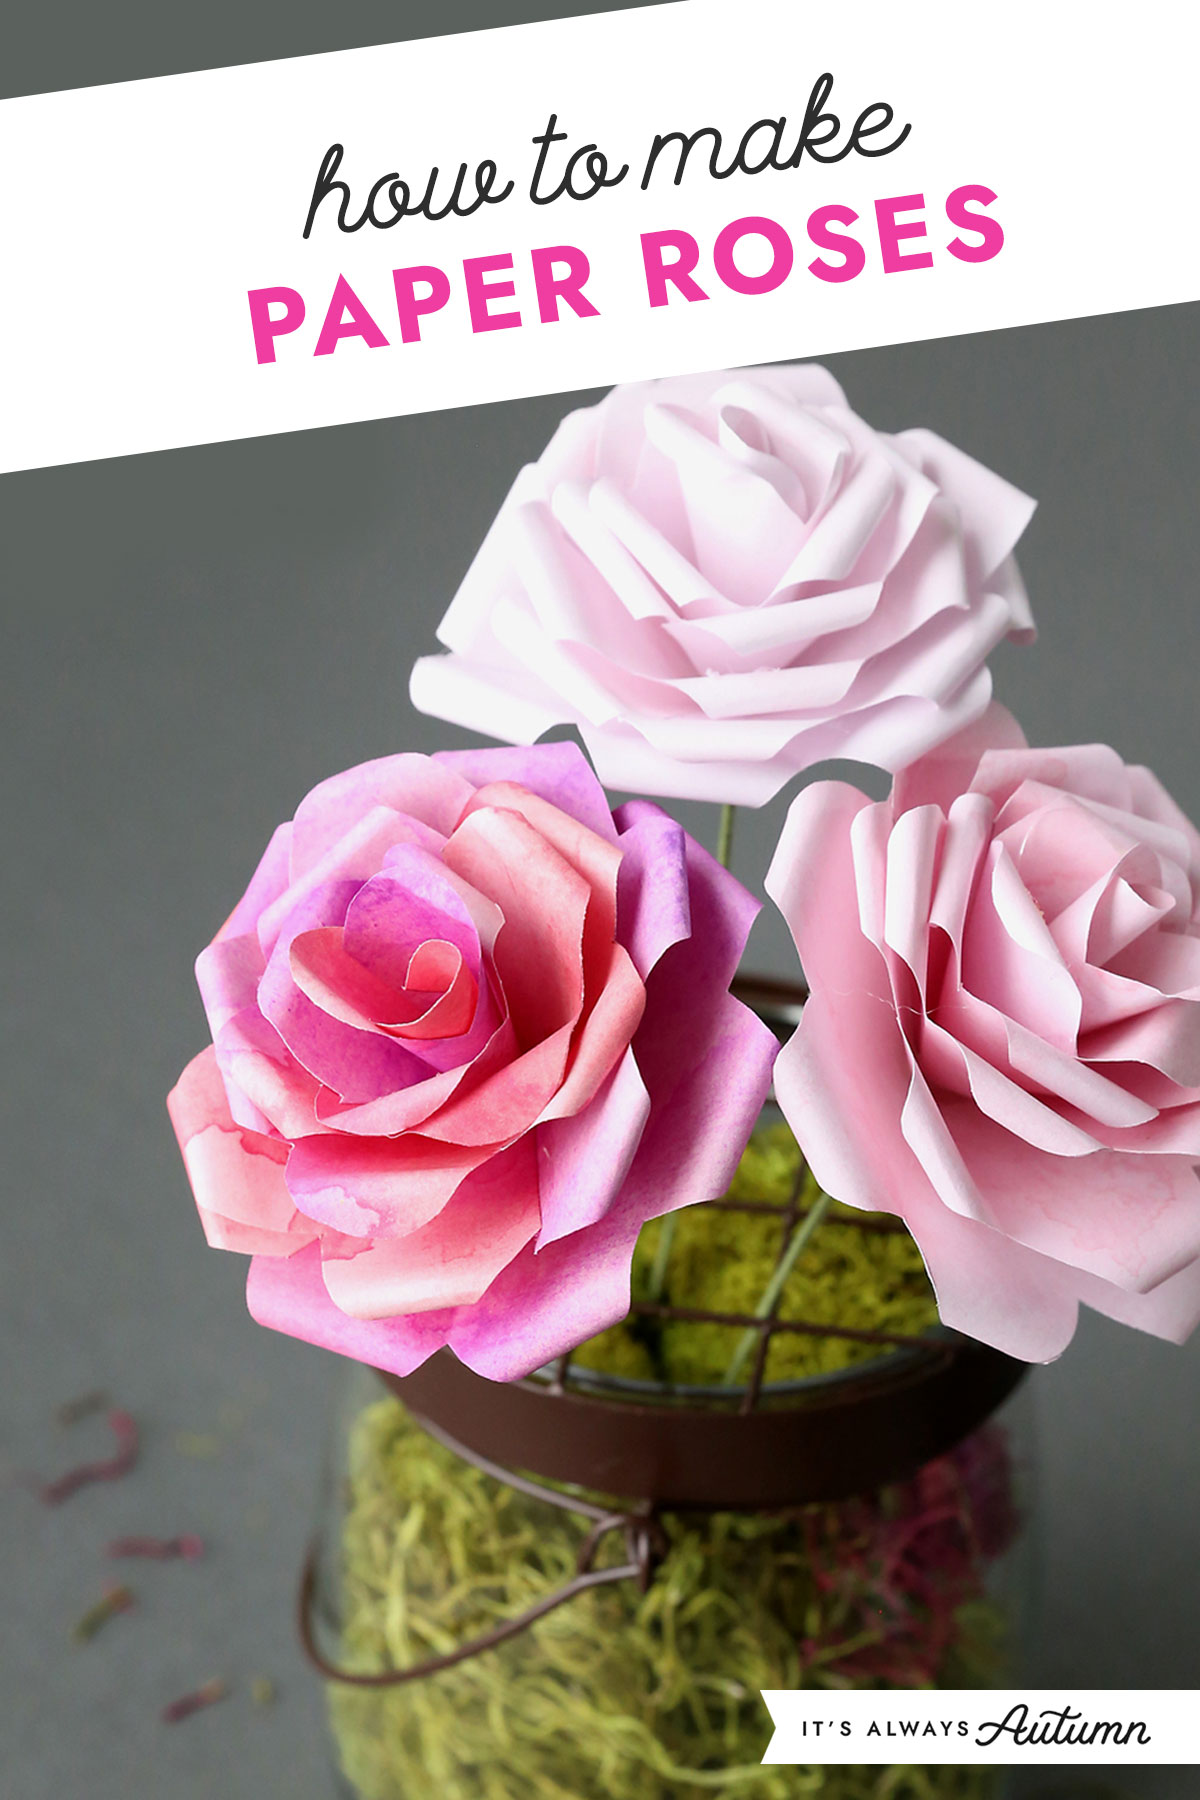
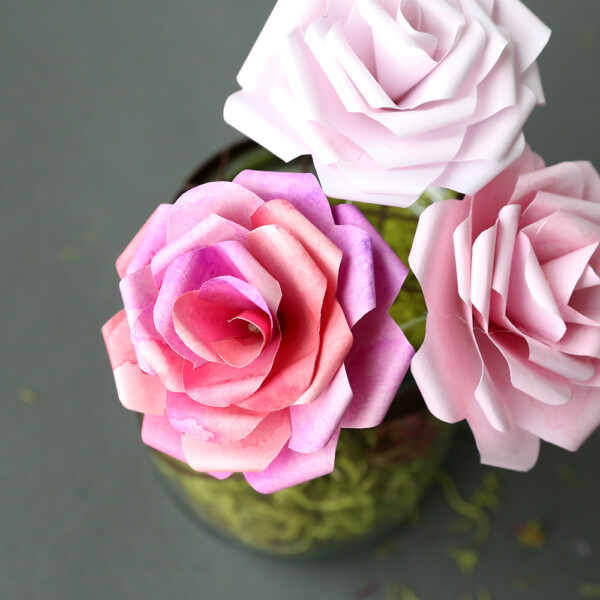
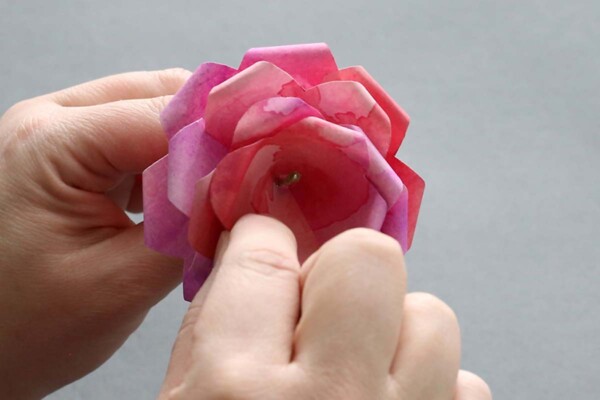
With just a few supplies, you can turn plain paper into beautiful paper roses! Use the flowers to decorate your home, gift them to someone special on Valentine’s Day, or make a bunch to decorate tables at a wedding. These roses look realistic because they use paper that’s been printed on both sides with the same pretty design. And this isn’t special craft paper you’ll need to buy: it’s plain old paper that you can print our designs on using your home printer! Each DIY paper rose takes one sheet of paper and looks like this when complete:
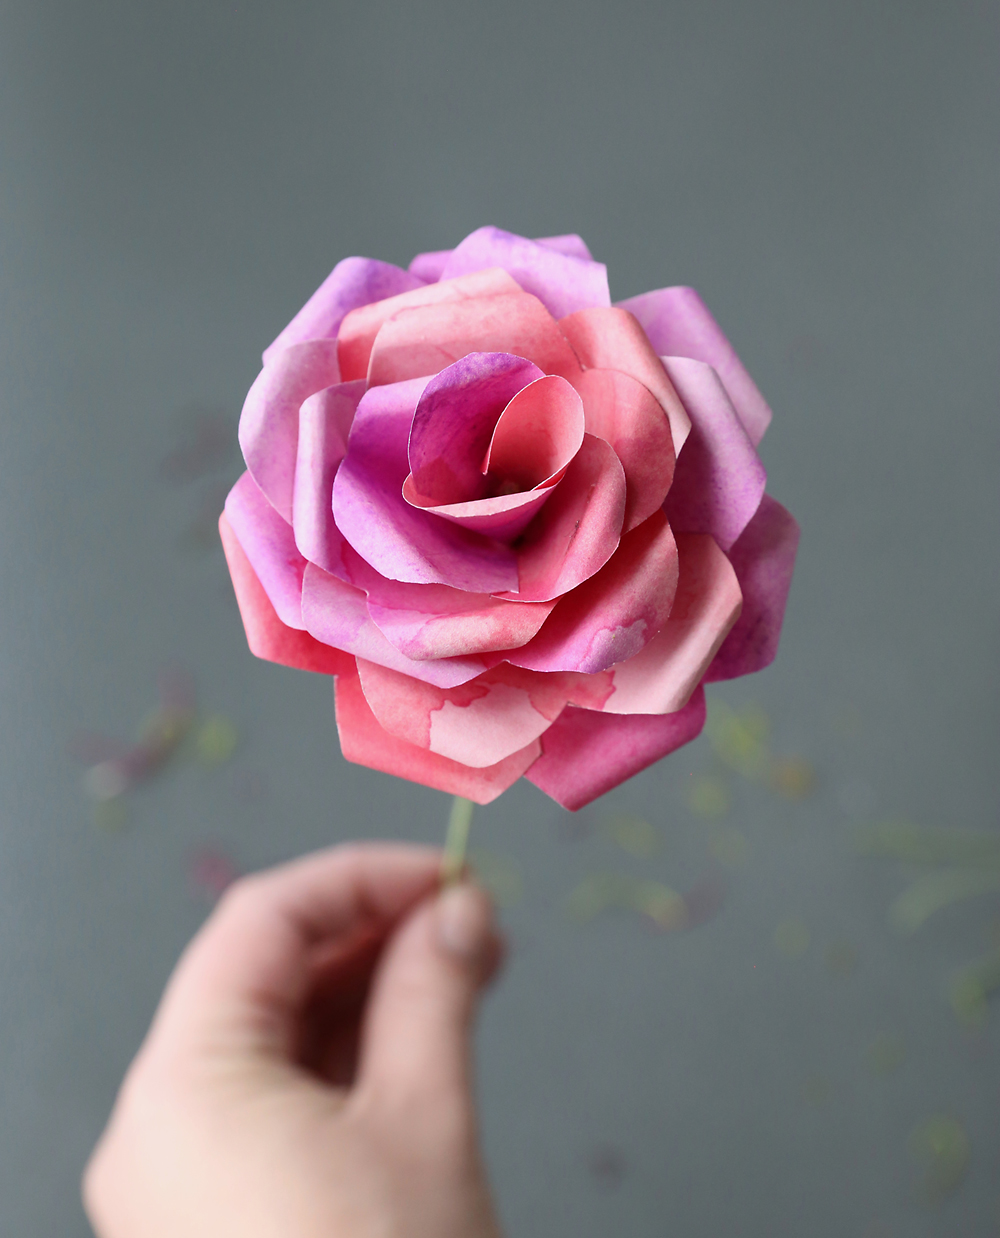
Gorgeous, right? And, happily, it won’t die when I neglect to water it.
Printable paper rose template
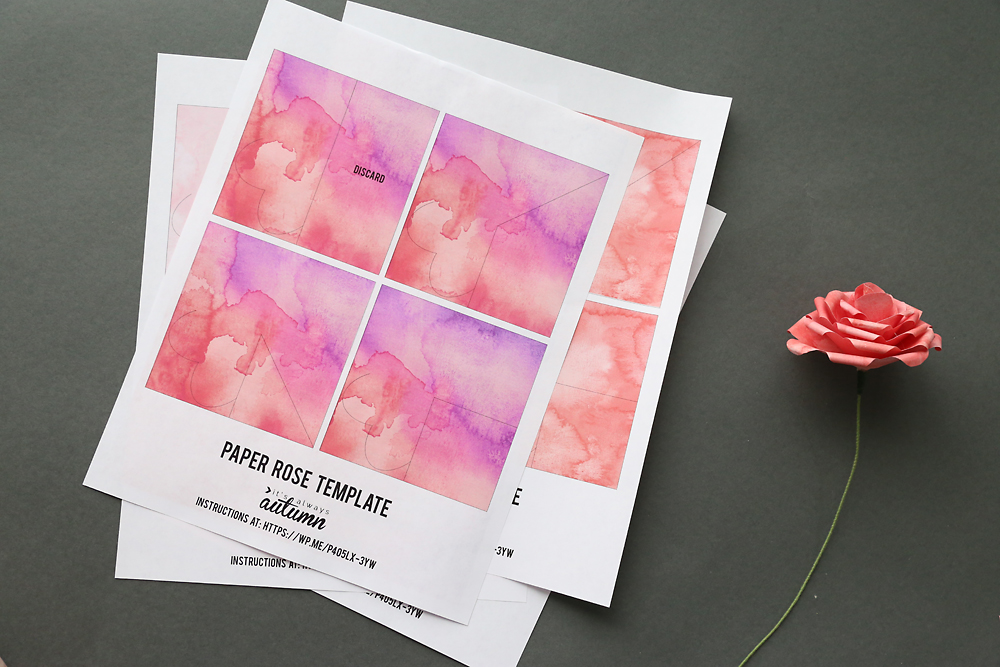
I created a free template in five different colors for you. The one you see below is a purply/red and it’s my favorite. Each template has two pages: one is the front page and one is the back, so be sure to check “double sided” on your settings before printing. (Or just print page 1 and then re-feed the piece of paper before you print page 2 on the back.) The front of the templates has four squares you’ll cut out, and the back is just a full page of the same pretty watercolor design. All the cutting lines are marked, so there’s no need to trace anything!
Supplies
You only need a couple things to make paper roses:
- Printable templates (download in the blue box above)
- Home printer and printer paper
- Scissors
- Hot Glue
- Floral Stems
How to make a paper rose
Watch this video to see how to make a paper rose. Written instructions follow.
Cut out the Petals
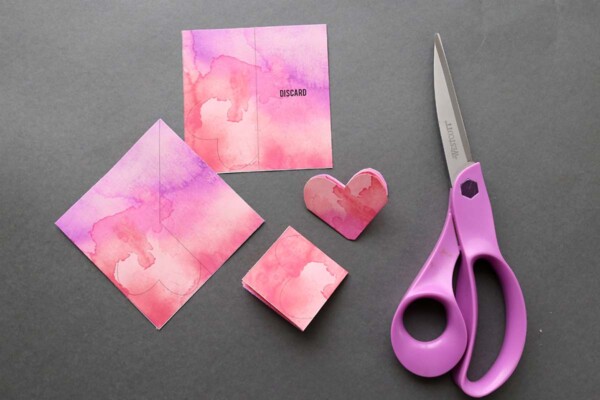
To make a paper rose, begin by printing a template on both sides of a piece of printer paper (not card stock). Cut out each of the four squares on the paper rose template. Fold each square in quarters, making sure to keep the curved lines on top. Cut along the curved lines. Also snip off the corner or point of the heart to make a small hole.
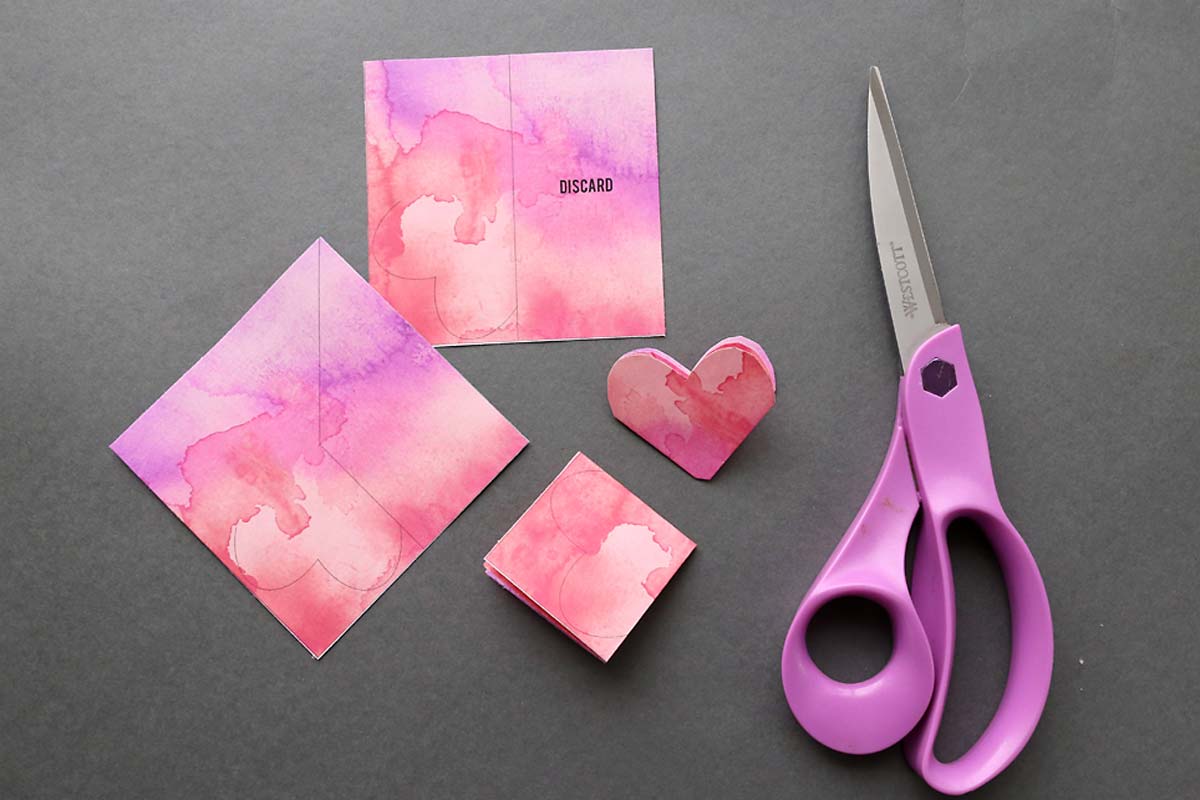
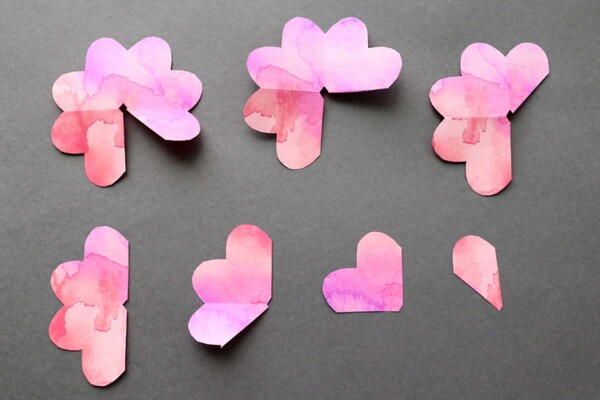
Open up the papers and you’ll have four “petals”. Each petal has lines on it. Cut along the lines.
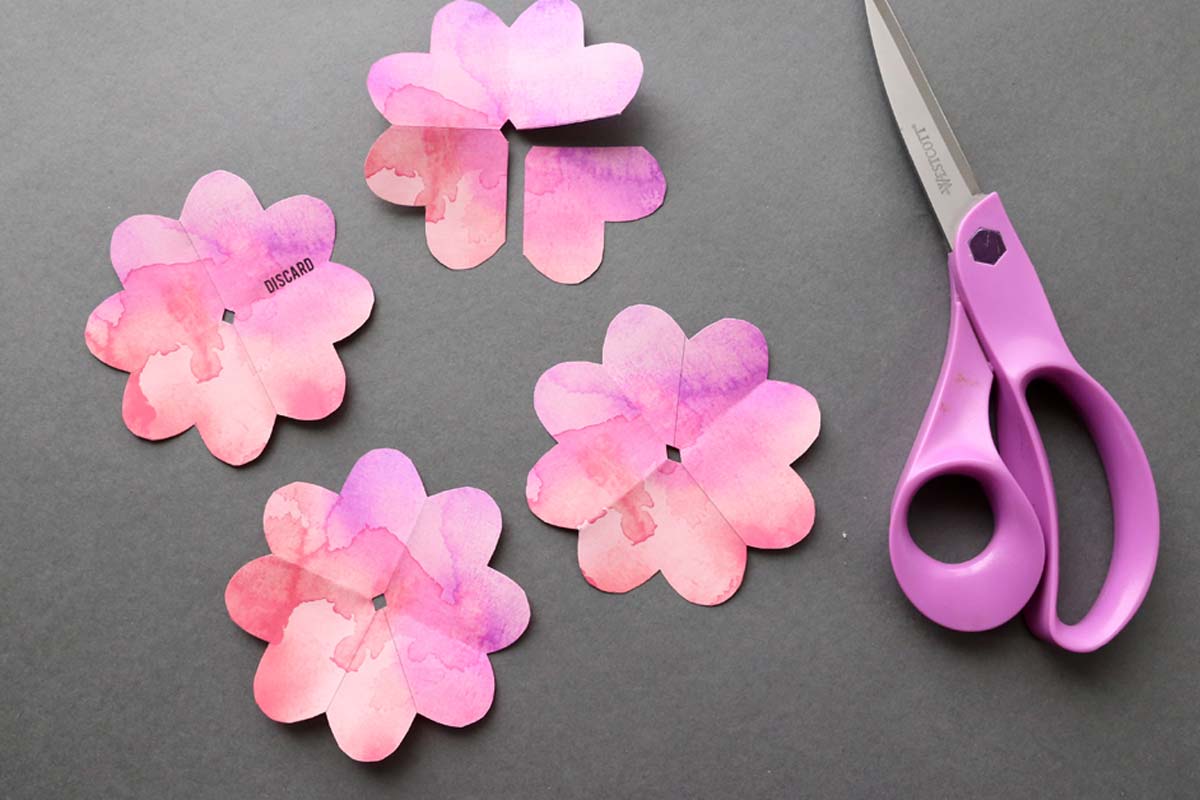
Discard the piece of paper that says “discard”. Now you will have 7 pieces: one with seven petals, one with six, one with five….all the way down to one with one petal.
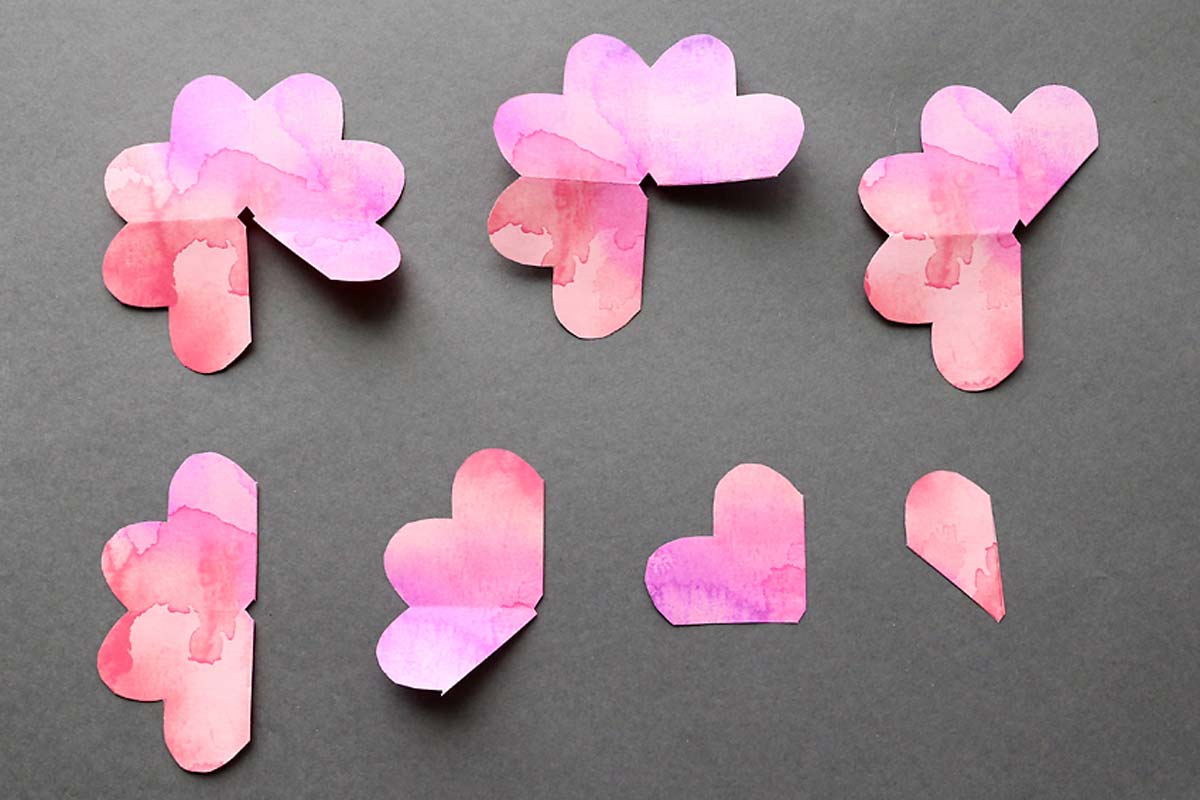
Glue + Curl Petals
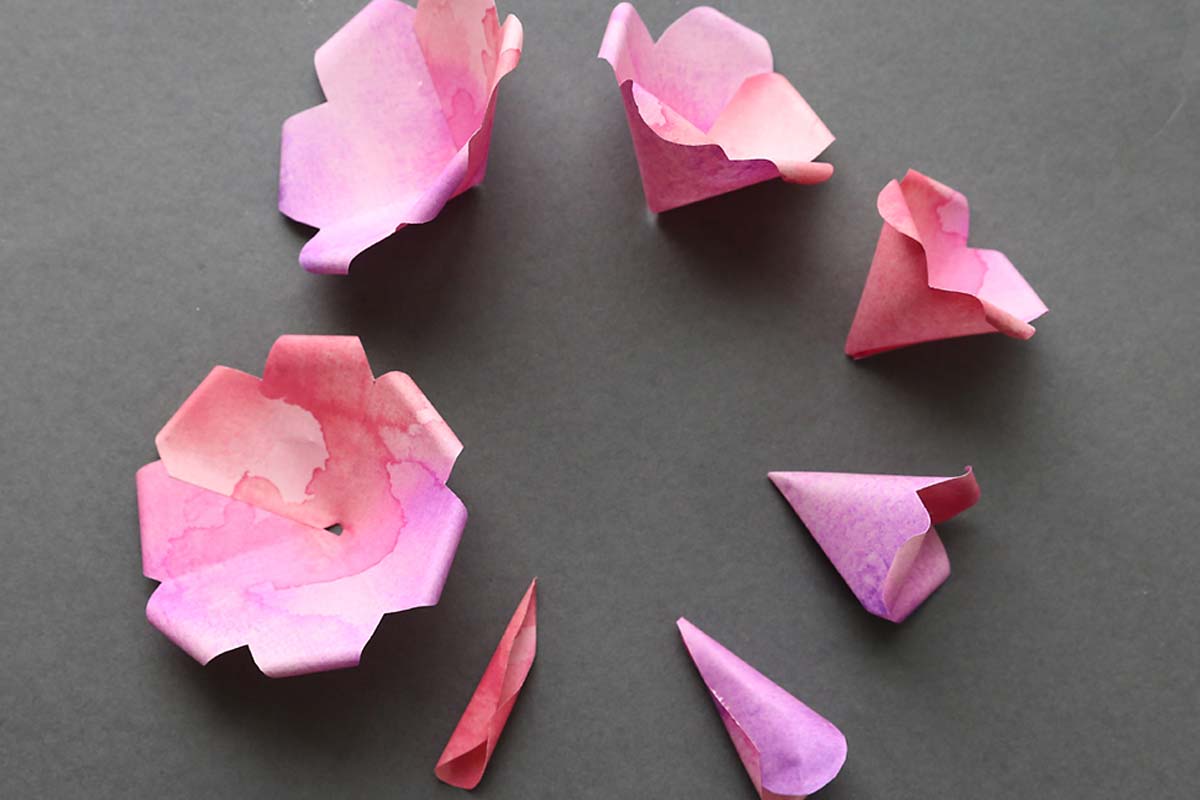
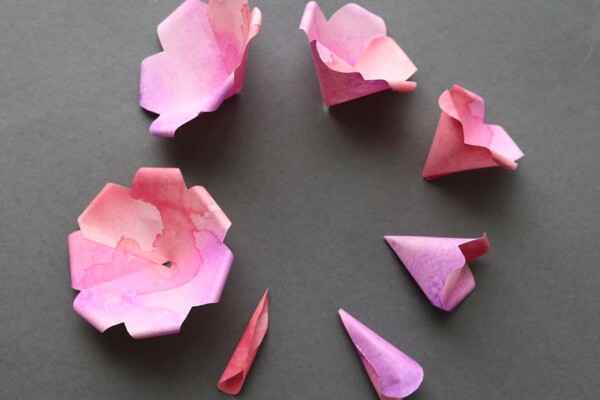
Take the first piece and glue along one of the cut lines. Overlap the other cut line slightly and press together to adhere. This curves the petals to give it more of a flower shape.
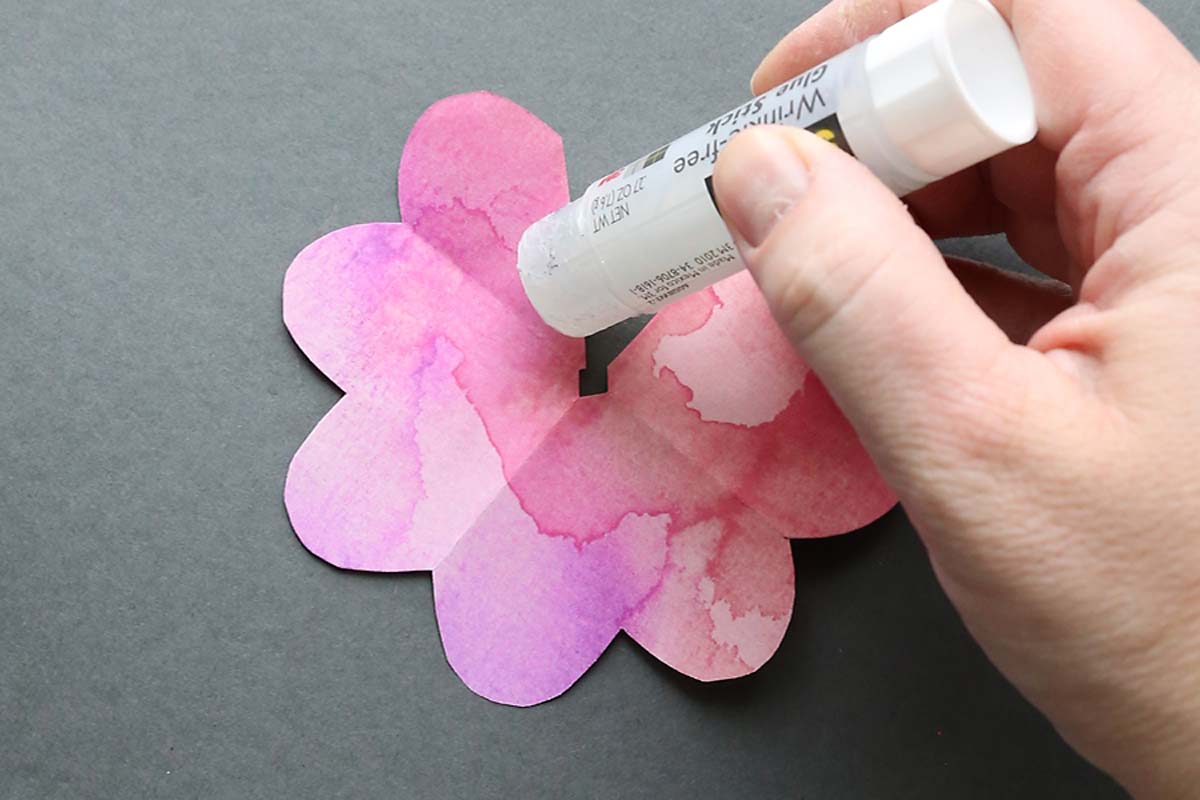
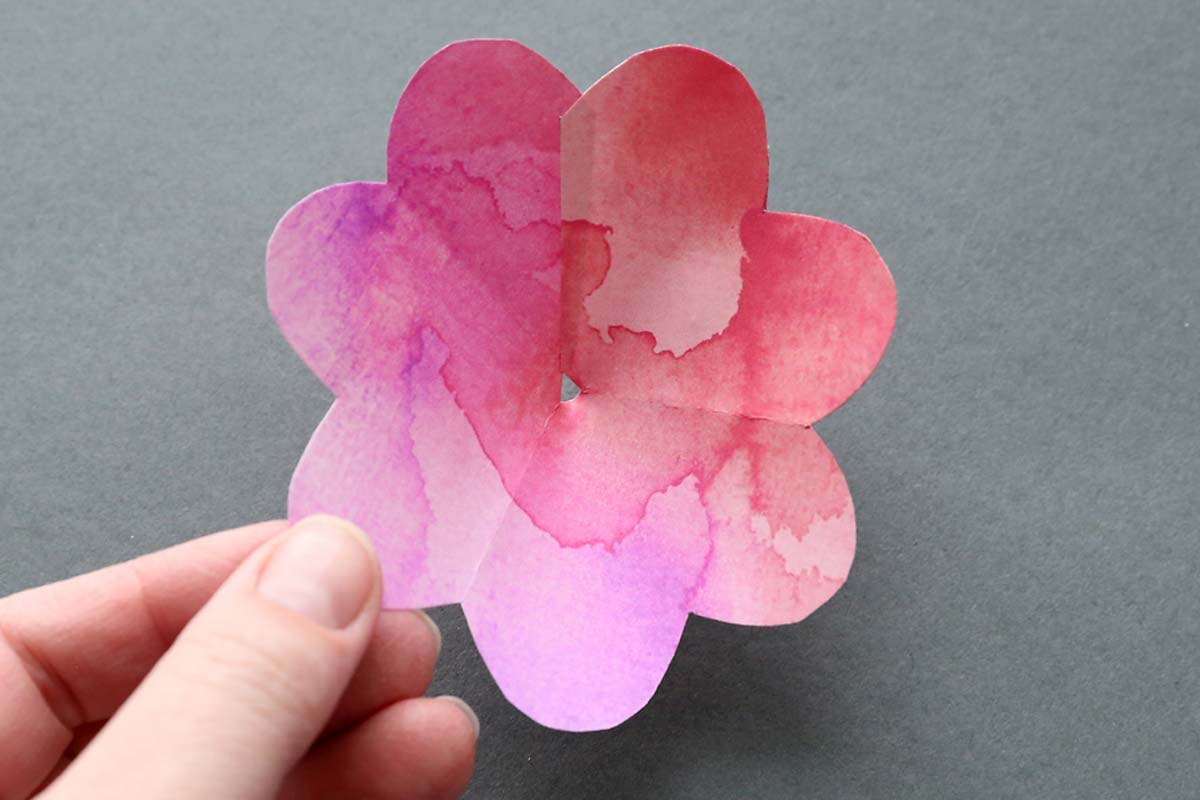
Repeat with all the pieces except for the one-petal piece. For that one, just use a toothpick to help curl it in on itself.
Roll the edge of each petal around a toothpick to curl it outward. You now have 7 sets of petals that you will layer together to make a paper rose.
Assemble the Rose
Place a dot of hot glue about 1 inch from the top of a piece of floral stem wire (or any other wire).
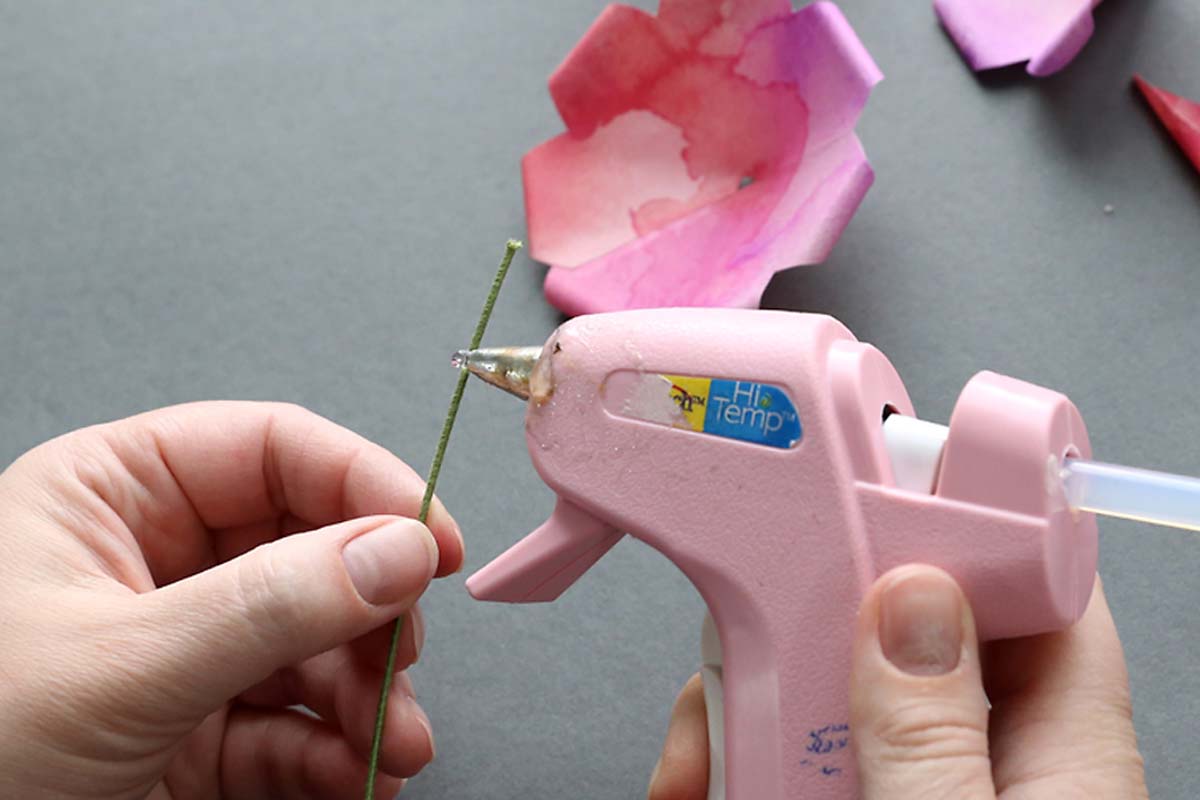
Slide the biggest petal onto the stem and down to the dot of hot glue. Add more hot glue if needed to secure it to the stem.
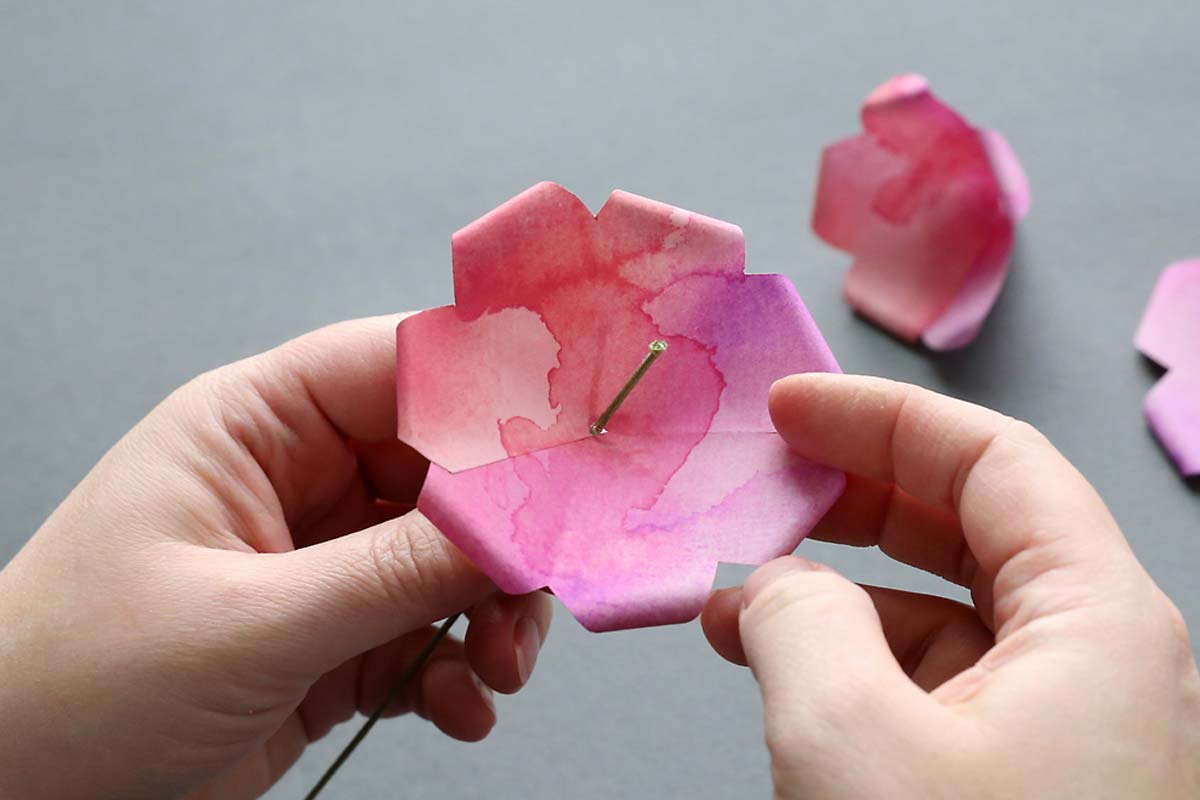
Place another dot of hot glue inside the first petal and slide the next largest petal down on the stem. Add more hot glue and the next petal, and continue until you have added all the petals. As you add petals, position each one so the petals don’t completely line up with the ones below it for a more natural look.
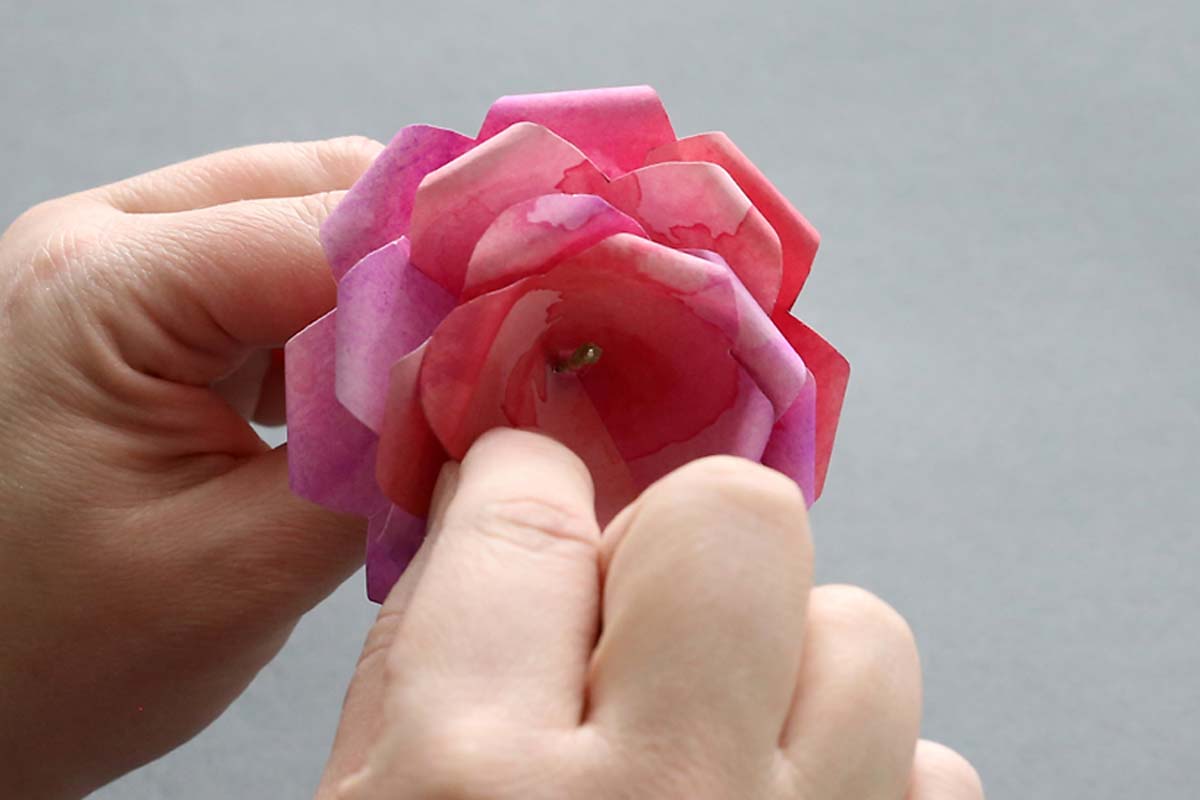
Optional: you could wrap the bottom of the rose with floral tape if desired (I did not do this). You could also cut out small leaves from green color paper and add them if desired.
Paper Roses
Supplies
- 1 sheet Printer Paper
- Floral Stem
- Scissors
- Hot Glue Gun
Want more project ideas? Sign up to get my favorite easy crafts and recipes straight to your inbox!
Instructions
- Print a rose template onto the front and back of a sheet of paper. Cut along the squares on the front. Fold each square into fourths and cut along the heart lines to create a petal shape. Also snip off the corner of the heart to create a very small hole in the center of each square.
- Open the petals up and cut along the lines. You now have seven petals of different sizes.
- Add glue along one straight edge of each petal and overlap it and glue to the other straight edge. Repeat with all the petals (don't worry about glueing the smallest petal, just use a pencil to help roll it over itself). Roll the curved edges of the petals outward.
- Place a dot of hot glue about an inch from the top of a floral stem. Slide the largest petal onto the floral stem down to the glue and add more glue if needed to secure. Add more glue and add the next petal, continuing until all the petals are on the stem. As you add petals, position them so they are NOT exactly lined up with the one below for a more natural look.
I have a vase of these sitting up on a bookshelf and I love the touch of color they bring to the room. A whole bouquet of paper roses would be beautiful!
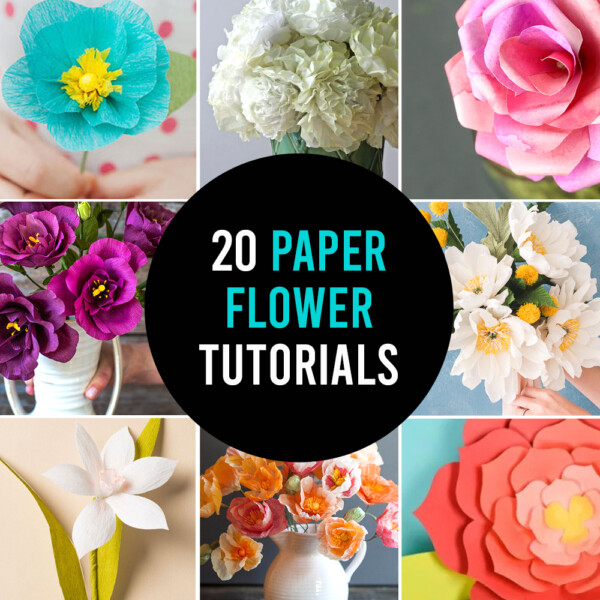
If you’re looking for even more paper flowers, click here: How to make paper flowers {20 gorgeous step by step tutorials}



Kris says
Do you have a template with a plain white background (to be printed on colored paper)? If so, could you please share it? Thanks!
Autumn says
I dont, sorry!
Bill says
Beautiful! Thank you for the lovely color templates and clear instructions. Valentine roses were a big hit!
Vicky says
New to paper crafty stuff and had a lot of fun figuring how to make the rose, it looks awesome even though I had to use double sided tape instead of a glue gun.
MItzi says
These are so beautiful!
Great directions and love that you can print out everything and it all works perfectly.
Thanks