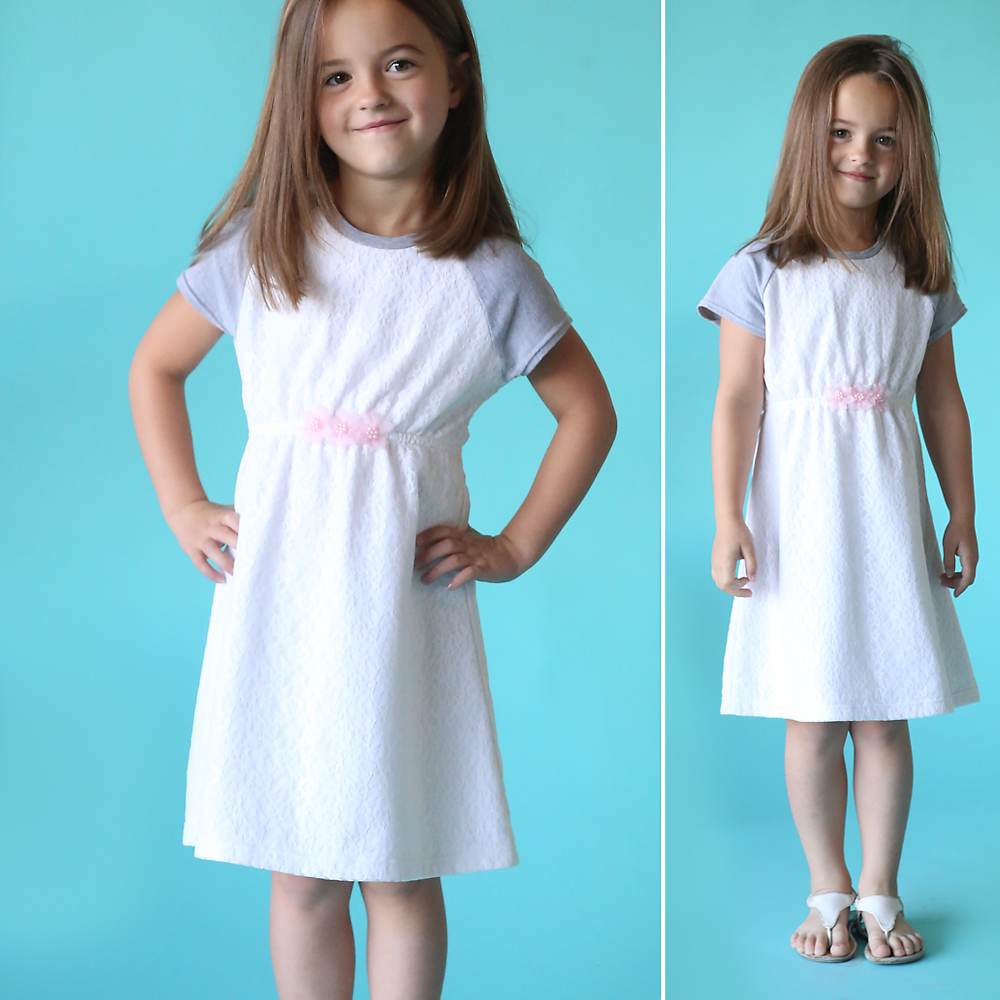
Last year I shared a free pattern (in sizes 4-14) for the easiest little girl’s dress ever, and I called it the Play All Day dress. It was designed specifically for charity sewing, because it’s fast and easy to sew up and doesn’t take much fabric, but it’s also great for making everyday play dresses for little girls. I wanted to show you how to make a few modifications, including giving it colorblocked raglan (baseball) sleeves, in order to get a different look from the same easy pattern.
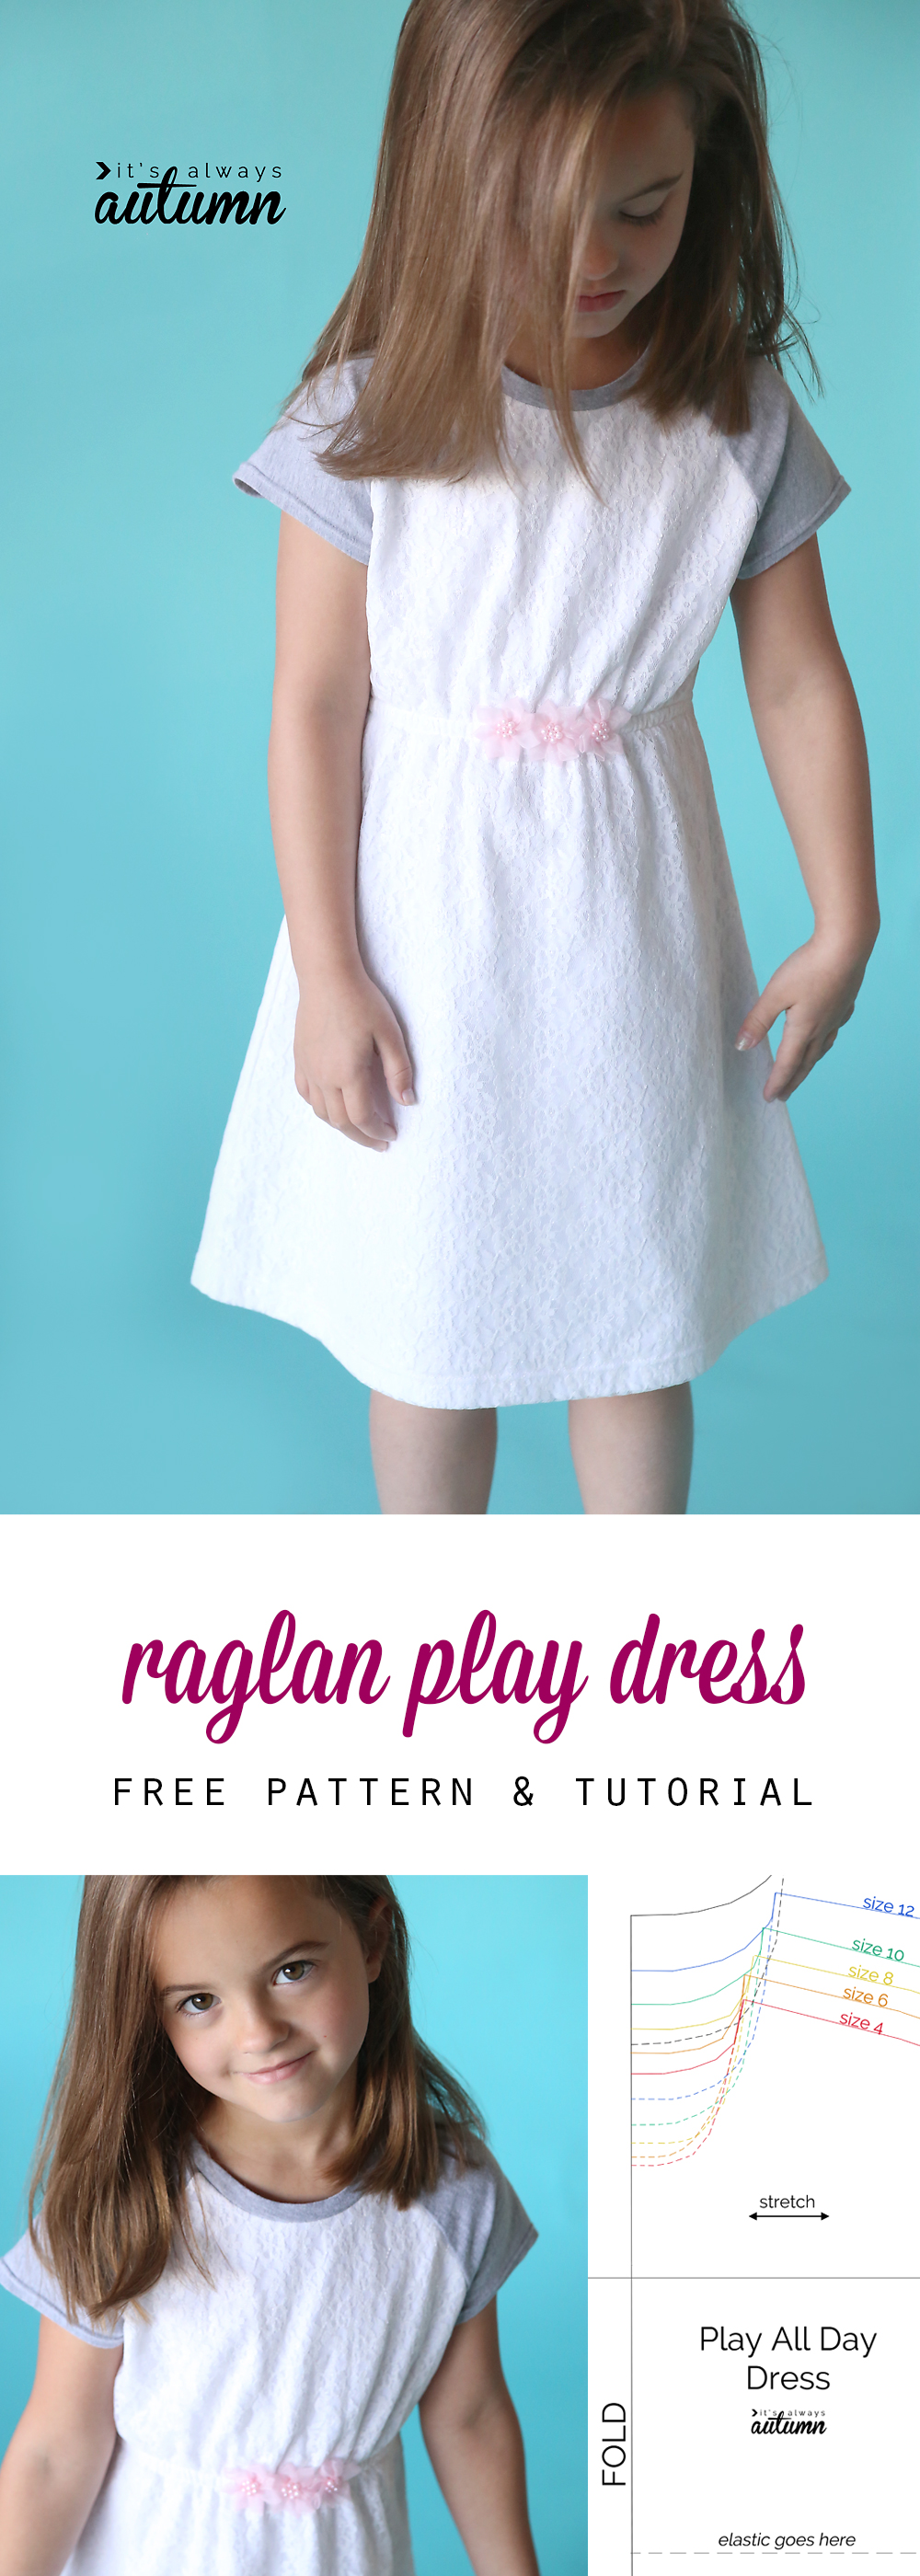
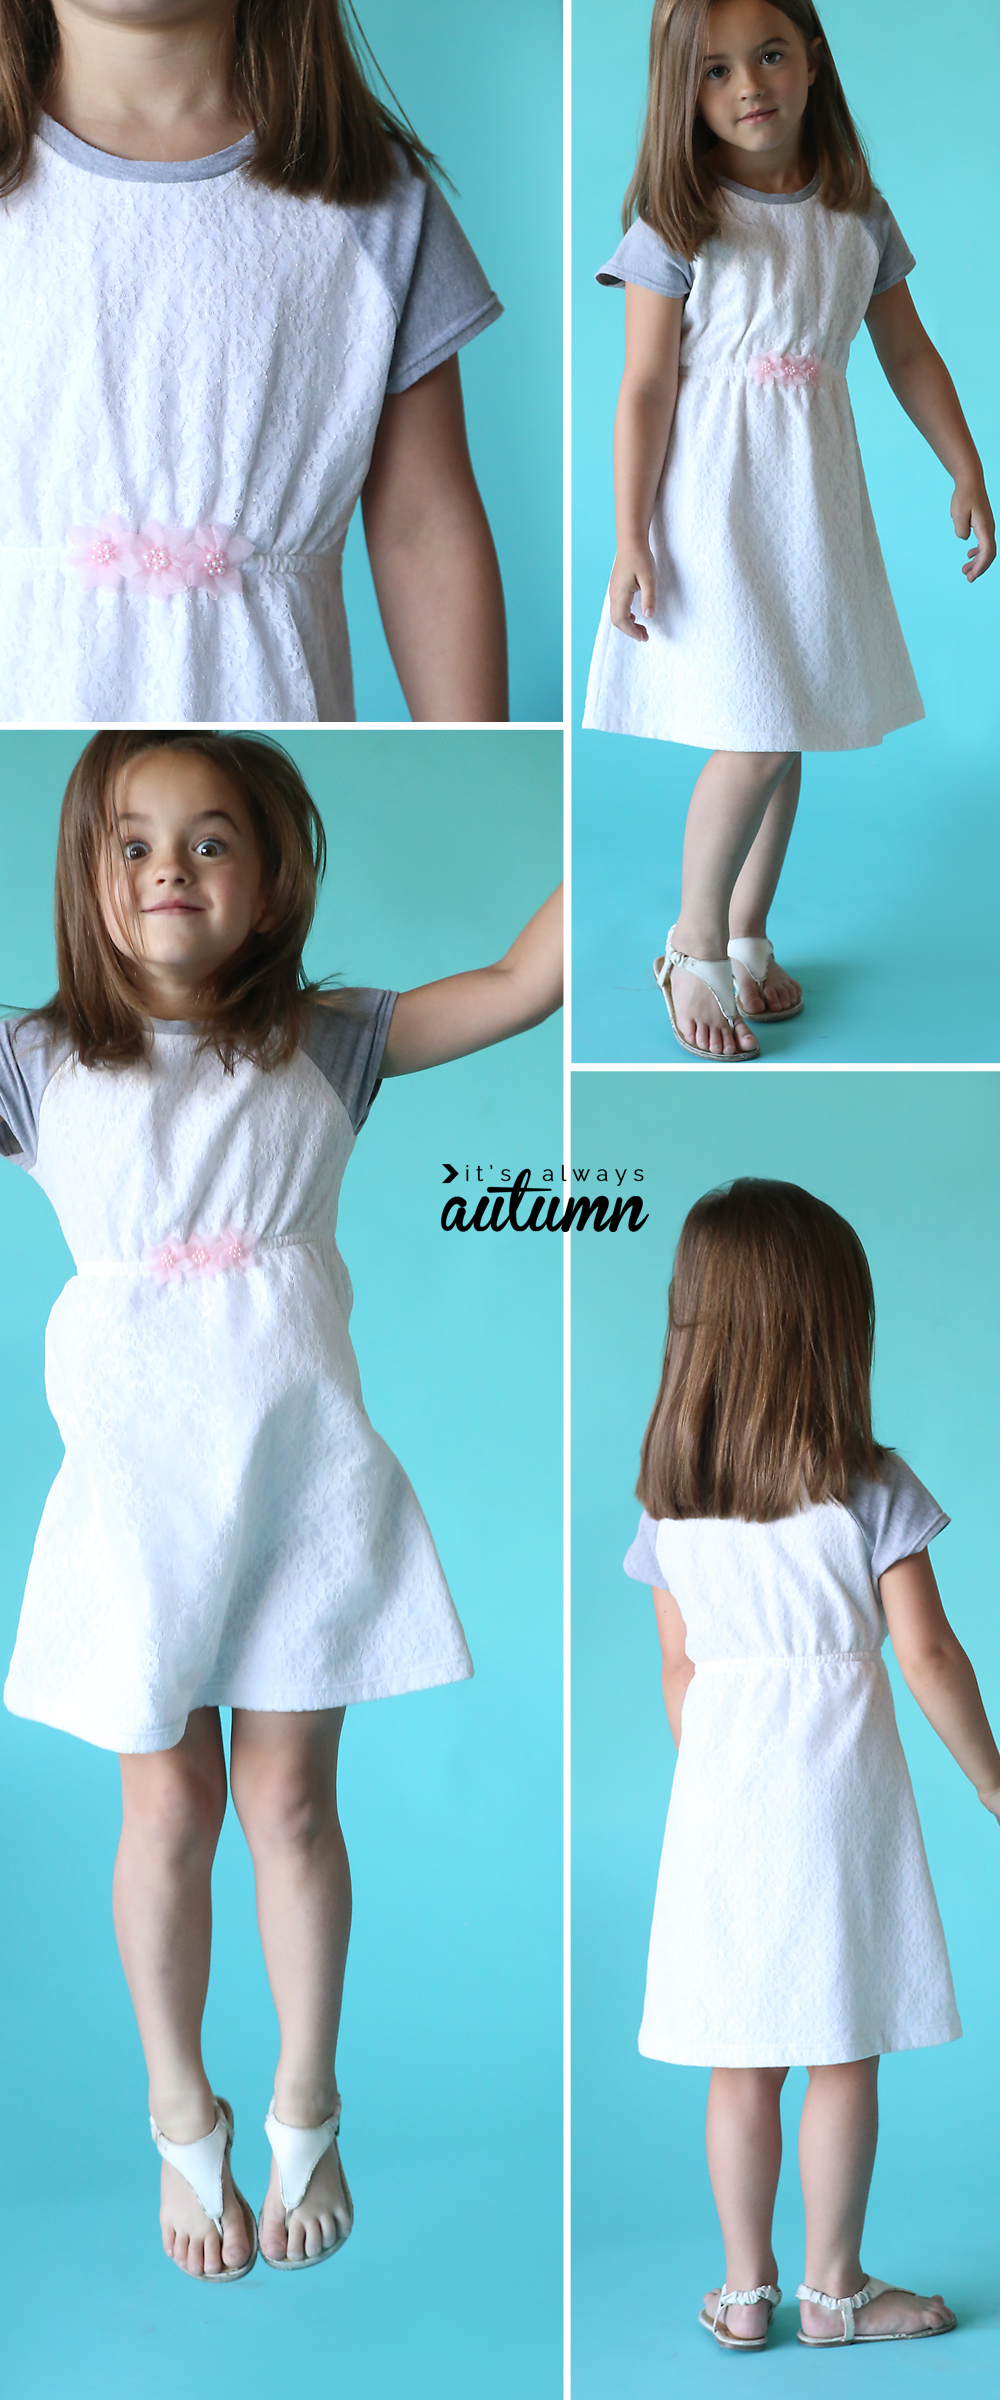
I also used a lace overlay on the body of the dress, which helps it look a little fancier. Still casual enough to play in, but no one’s going to mistake it for pajamas.
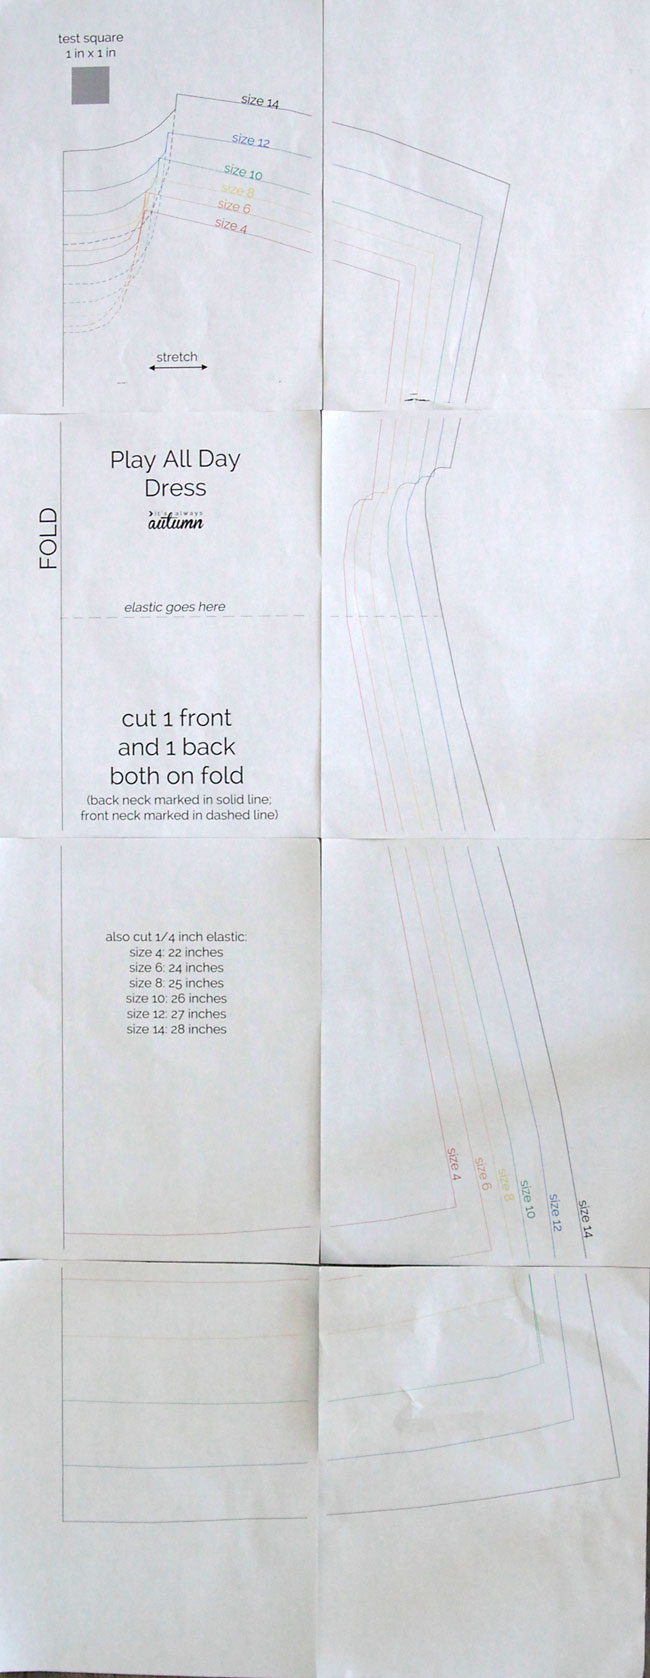
If you’ve never made the Play All Day dress before, you’ll want to visit this post, where you can download the free pattern in size 4-14 and read through the general sewing instructions.
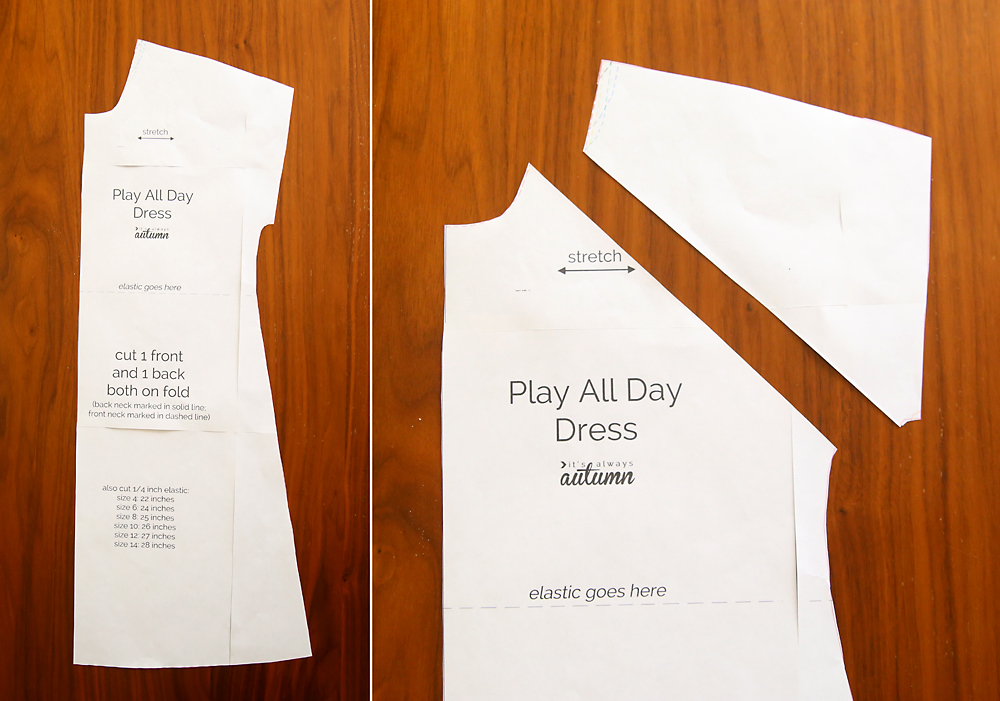
This is what the pattern looks like:
I’d recommend choosing one size smaller than you’d normally make if you’re going to sew up this dress with the raglan sleeve modification. The pattern is meant to be roomy, and I think raglan sleeves look a little better without that extra room. If you do size down, remember to cut the dress at the normal length, however.
Also, this dress is meant to be made with stretchy knit material. Against, since it’s roomy, you could probably get away with using a woven on the body of the dress as long as you use knit for the sleeves. I’ll mention more about this later on.
Start by cutting out the paper pattern in the desired size, then slice it apart diagonally from just below the arm to the middle of the neck, as shown below.
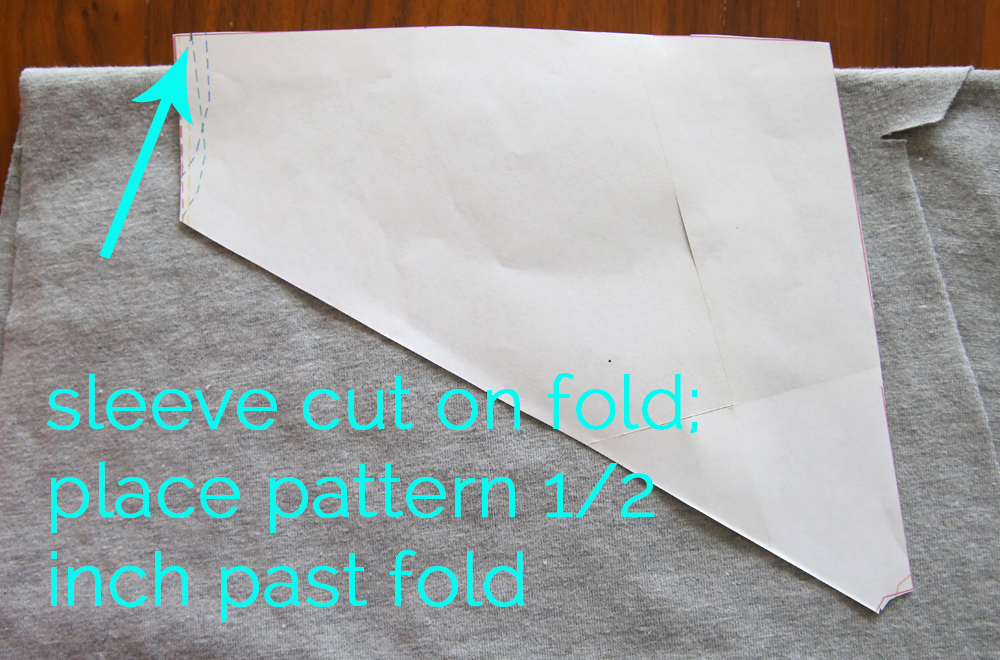
Now you can cut the body portion out of one fabric, and the sleeves out of another fabric. I used a white knit and a lace overlay for the body of the dress, and a grey knit for the sleeves. In the original Play All Day dress, there is a seam across the top of the shoulders/sleeve area. But since we’re cutting the sleeves out separately now, you can eliminate that seam by cutting the sleeve portion on the fold. Scoot the sleeve pattern piece over so it overhangs the folded edge of your material by 1/2 an inch to make up for the seam allowance you’ll no longer need.
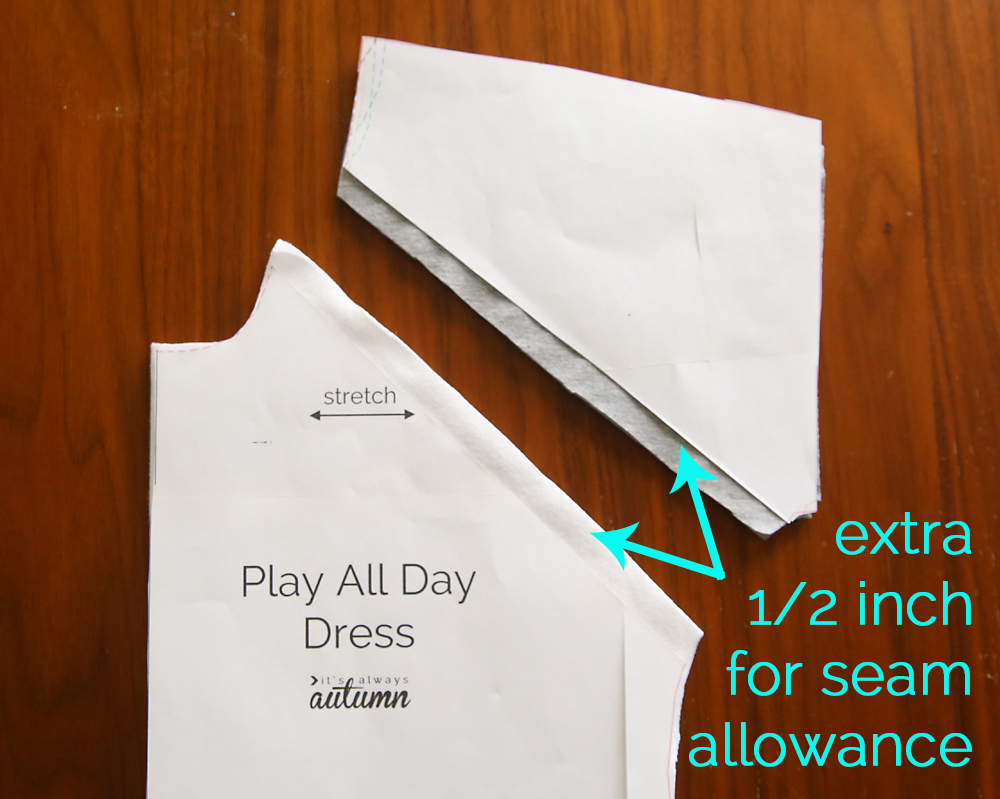
Also, as you cut both the body and sleeve, add seam allowance along the diagonal edge where you split the pattern, as shown below. You should end up with two body pieces and two sleeve pieces.
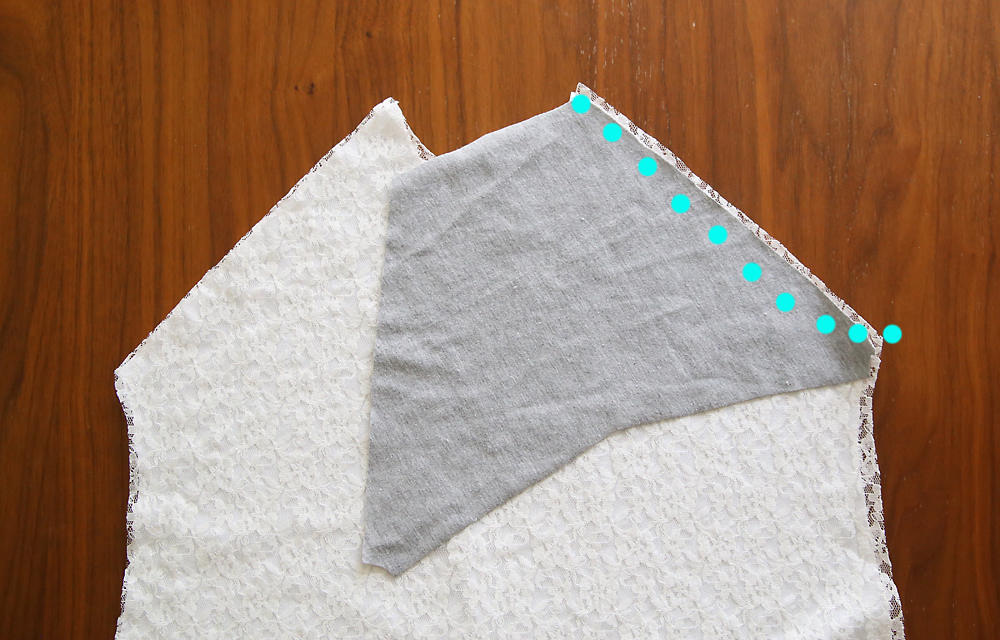
Lay one body piece down with the right side up (I layered the overlay over the white knit and am treating both fabrics as one piece). Lay one sleeve down, matching up the diagonal lines, right sides together. You’re going to sew the sleeve to the body here, but first there’s one more quick alteration: you want to sew in a little curve, as shown below.
I add this curve anytime I make a raglan top, as it helps eliminate excess fabric that can bunch along that seam. Once you’ve sewn one sleeve to the body piece, repeat with the other sleeve.
Then place the other body piece down (right side up) and sew the other diagonal sides of the sleeve to it (right sides together). Press seams. If you need a few more photos to understand this part, check out this tutorial.
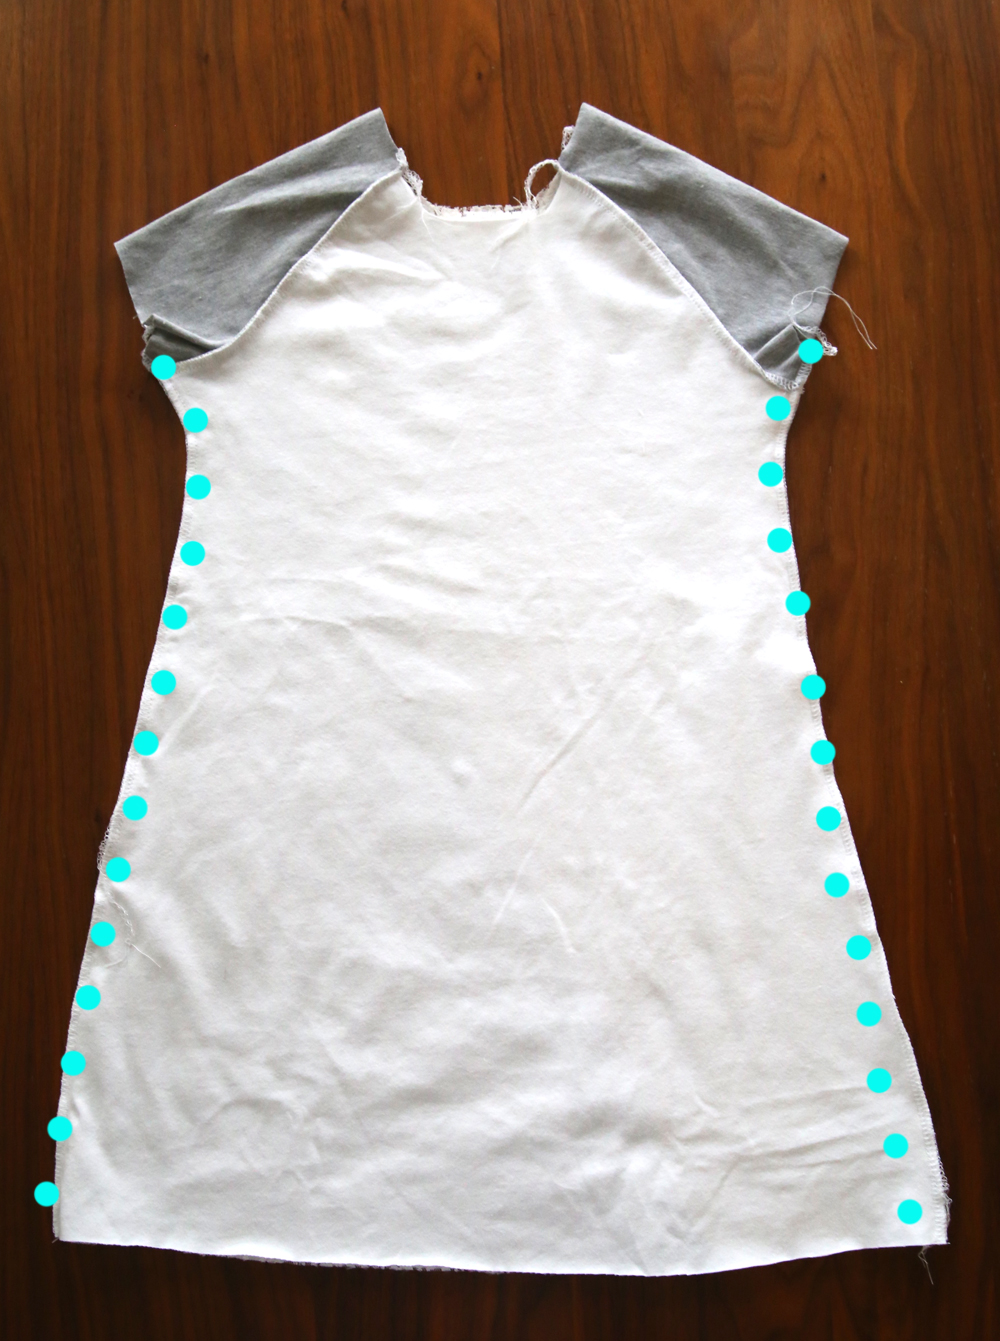
Now you can sew down your side seams.
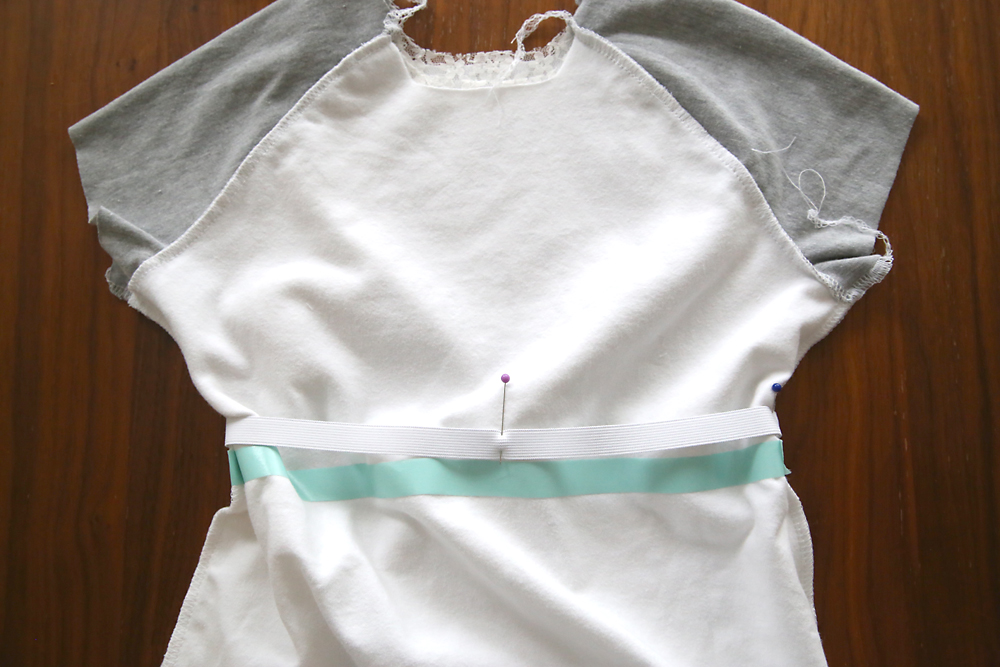
Next it’s time to add the elastic waistband. I like to mark where the elastic should go with masking tape or washi tape on the inside of the dress (the placement of the elastic is marked on the pattern). Then pin the elastic in, which will bunch up the dress.
Then sew the elastic to the dress, stretching the elastic as you do so (you can see more photos of this process in the original Play All Day dress tutorial). In the original Play All Day tutorial I used 1/4 inch elastic and attached it with a zigzag. To make the waistband a little more professional looking here, I used 1/2 inch elastic and attached it with two rows of straight stitching.
At this point, you need to finish off the neckline and hem the sleeves and bottom of the dress. In the original tutorial I just folded the neckline under and stitched it, but for this dress I added a neckbinding that would match the sleeves. (You can see how I add a neckbinding in this t-shirt post).
Now, the lace overlay I used for the body of this dress is not very stretchy, but the sleeves are. I had no trouble getting this dress over my daughter’s head, so I didn’t need to make any adjustment to the neckline. However, if you choose to sew up this dress with a woven (non-stretchy) fabric for the body, you may need to make an adjustment if it won’t fit over your girl’s head. Either cut the neckline a little lower or add a short zipper or button & loop closure in the back.
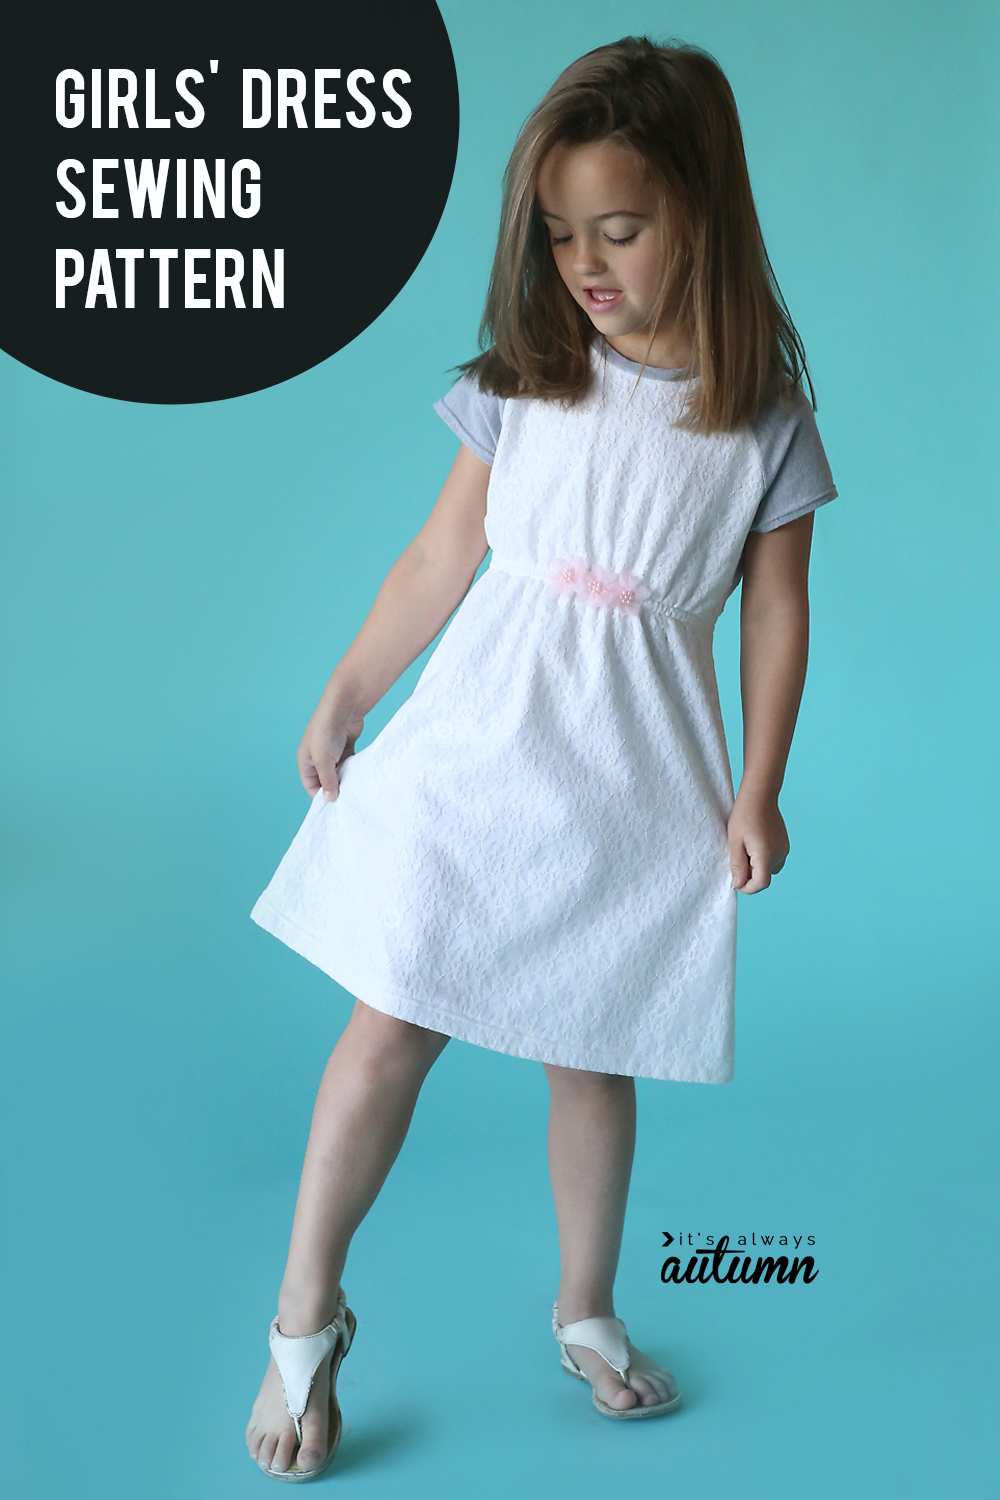
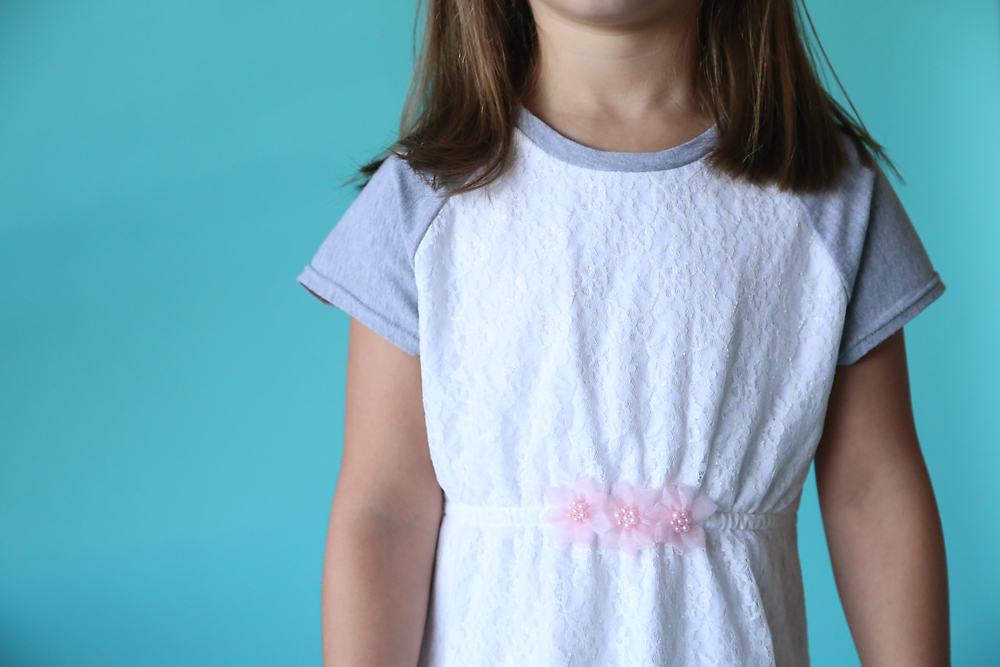
As a finishing touch, I added a few pink flowers along the waistline. Mostly because I wasn’t sure if my daughter would ever wear this dress without a little pink. Happy sewing!


Theresa Steward says
Thank you for this pattern I was looking for a fast and easy way to make dresses to donate thank you so much
Jane says
I have made this dress several times with quilters cotton. I cut the dress larger or I have cut the dress on the bias to allow more give.