
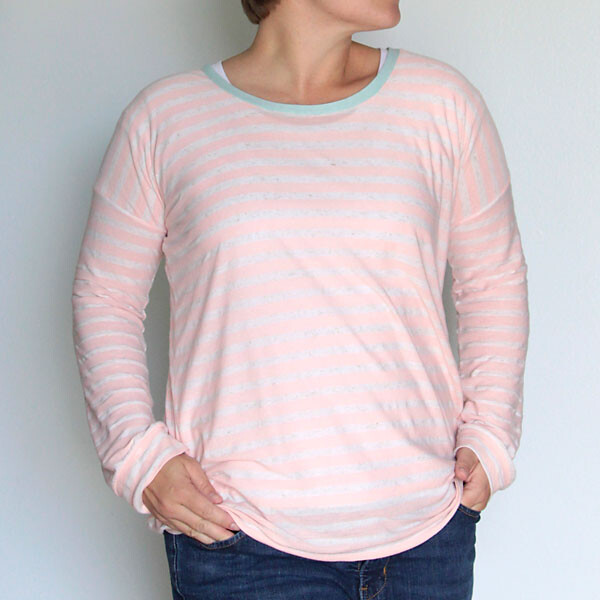
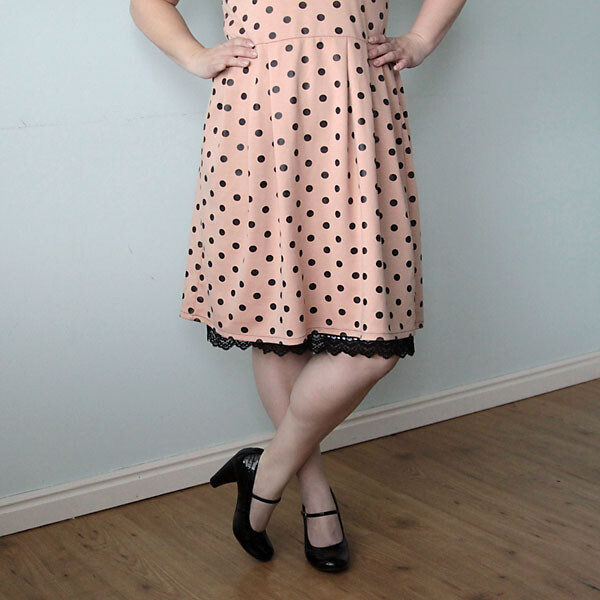
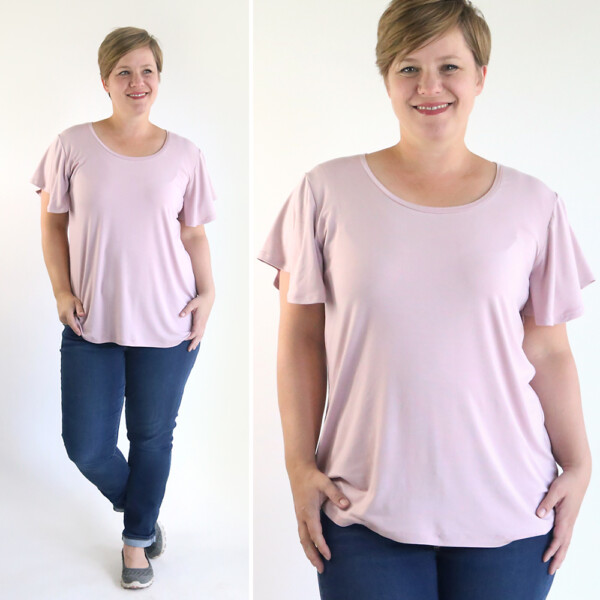
So it’s been nearly two years since I shared the free pattern for the “easy tee,” which was designed to be the simplest way to sew a women’s t-shirt. That first summer, I made 8 variations of the shirt, including one with raglan sleeves, one with a lace front, and one with a contrast yoke. The next summer I added another shirt variation, a dress variation, and a maxi dress variation, and I have a lot more dress variations planned for this summer, and one more shirt variation today.
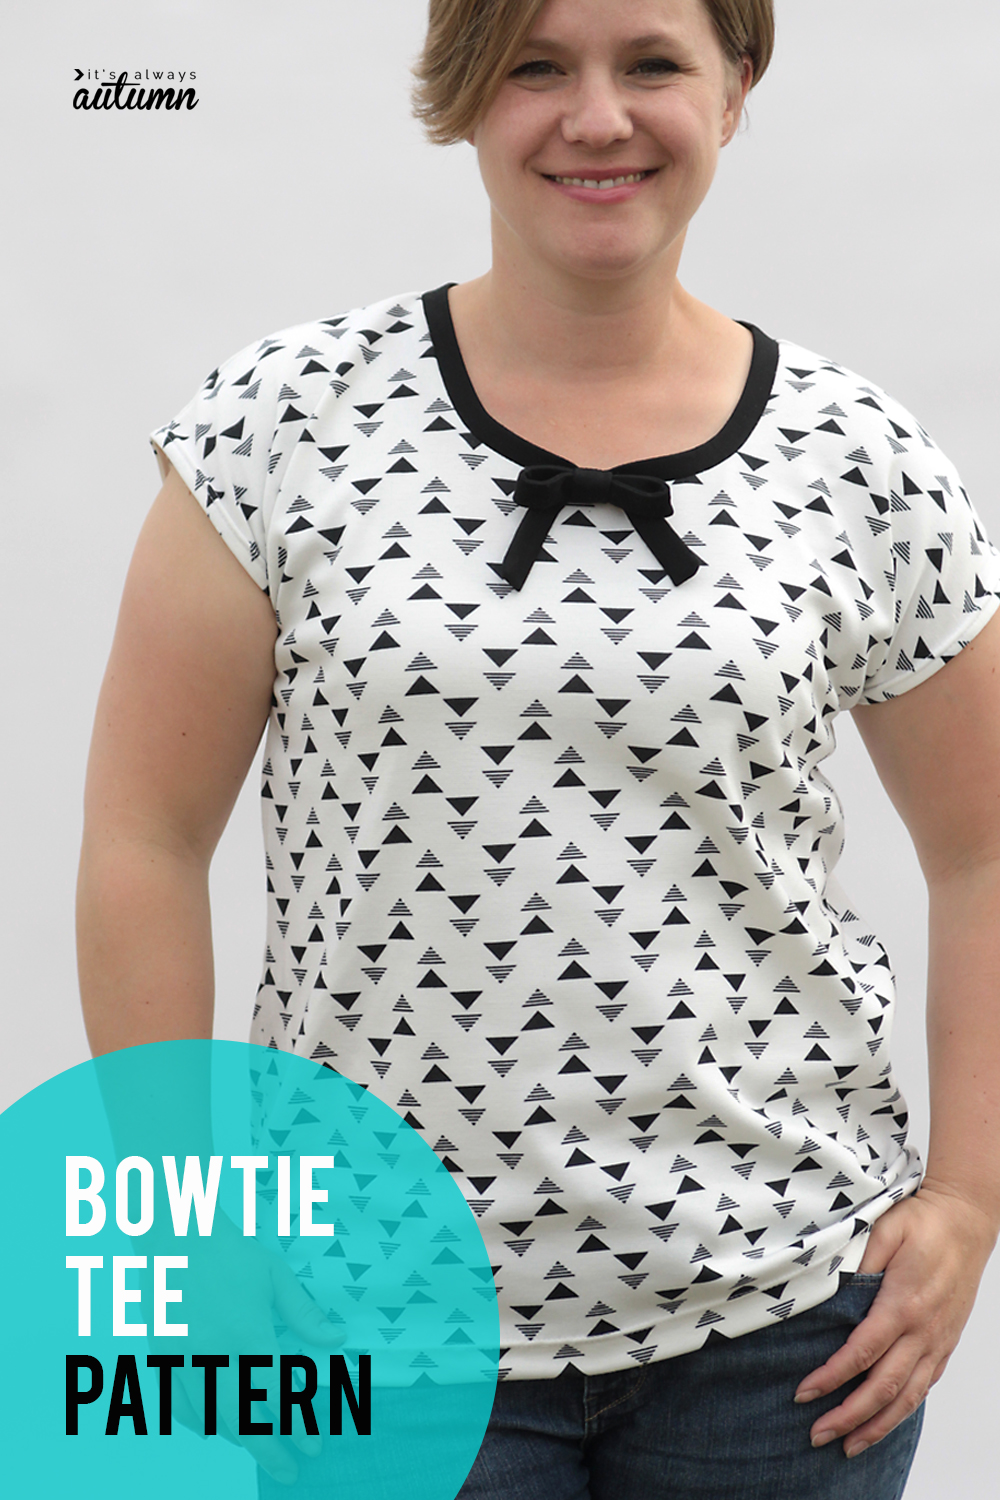
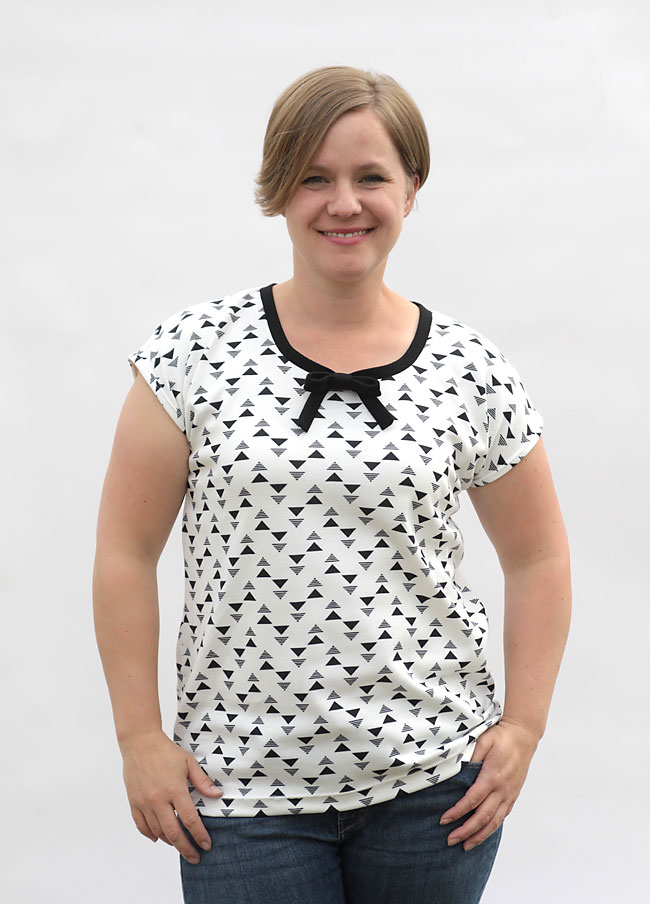
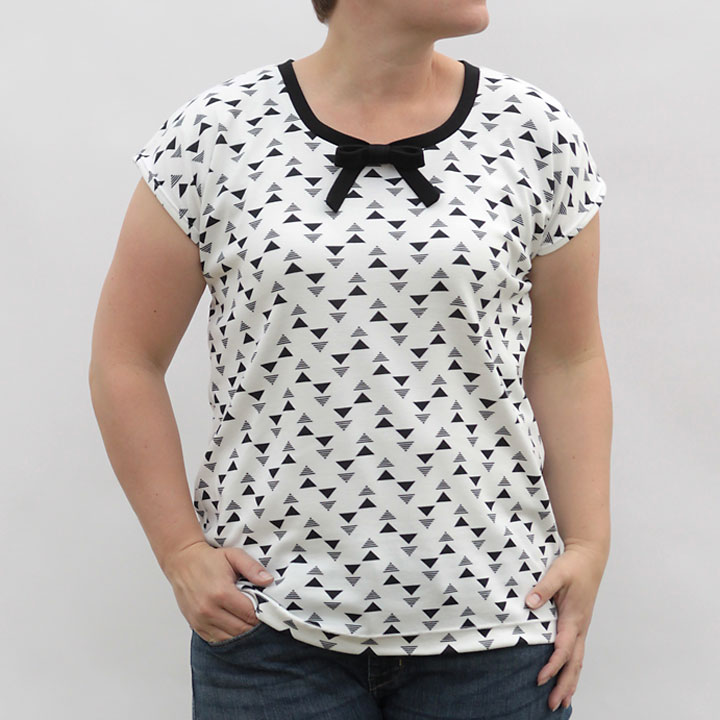
Today’s variation is a super simple bow tie tee. I saw a shirt as I was looking through the J.Crew catalogue and wishing (again) that their clothes weren’t quite so pricey. It was just a basic white tee with a black neck binding and cute black bow in the front. Other than the fact that it looked totally see-through (do we WANT people to see our bras through our white tees?), it was adorable. Comfy and casual like any t-shirt, but the bow gave it a little extra cuteness.
I ordered this pretty triangle ponte knit from Girl Charlee a while ago, and it seemed like a good candidate for a knockoff of the J.Crew version (although I do still want to make one that’s plain white at some point). This ponte is very soft but quite a bit thicker than your standard t-shirt knit, which I like because it does a better job hiding muffin top.
(Are you trying to see my muffin top now? Rest assured, it’s there.) Anyway, you can find the pattern for the easy tee here in this post, along with directions for how to sew up the shirt. NOTE: the pattern is in a women’s size L only. Since it’s offered free, I haven’t graded it to other sizes. However, it’s SO basic that you can easily make your own pattern in another size. Check out this post for instructions on that.)
Follow the instructions in the pattern post for sewing the shirt together at the shoulder and side seams, and then hemming the bottom of the shirt and the sleeves. (Skip the neck binding and peter pan collar.)
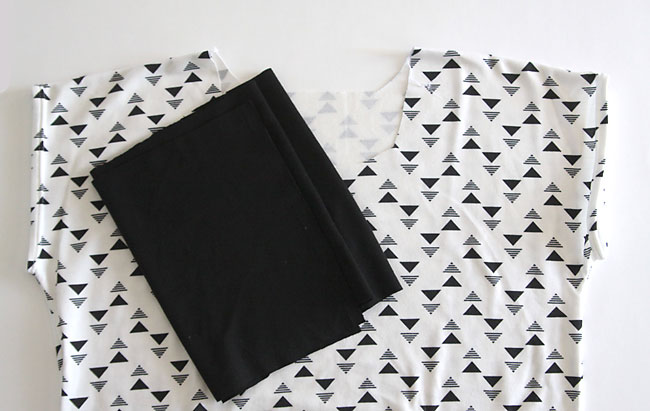
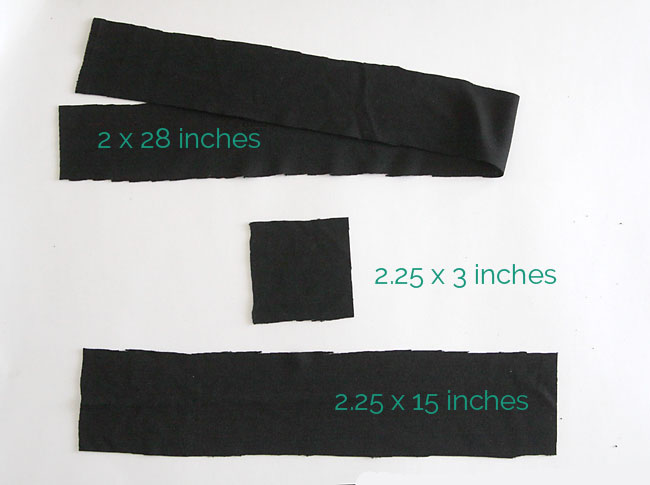
Then, in a contrast knit (I used a plain black ponte), you’ll cut three pieces. One for the neck binding: 2 inches tall by 28 inches long; and two for the bow: one at 2.25 inches tall by 15 inches long and one at 2.25 inches tall and 3 inches long. Stretch must go along the length of these pieces.
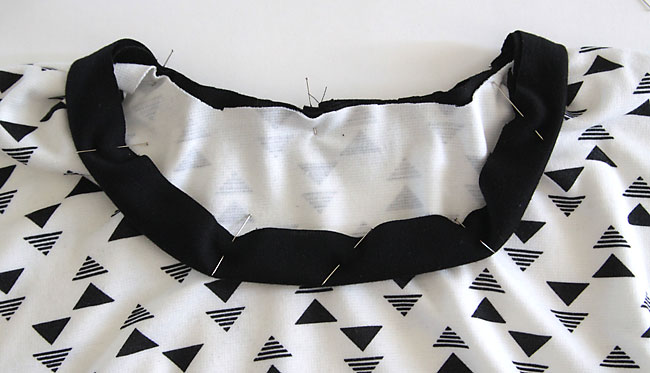
Use the neck binding piece to bind the neckline as directed in the original easy tee tutorial. The final length of that piece is going to depend on how stretchy your material is. If it’s quite stretchy, 22 inches might be plenty. If it doesn’t have much stretch at all, you may need 25-26 inches. It takes some trial and error working with knits to figure this out, so if you’ve never done this before you might end up putting it on, picking it out, and trying again. That’s ok.
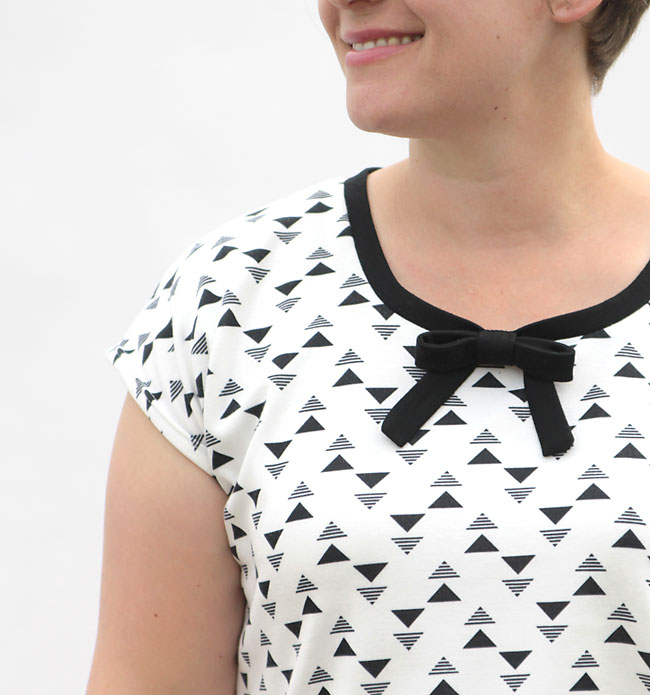
Here’s how it should look once the neck binding is on and pressed flat:
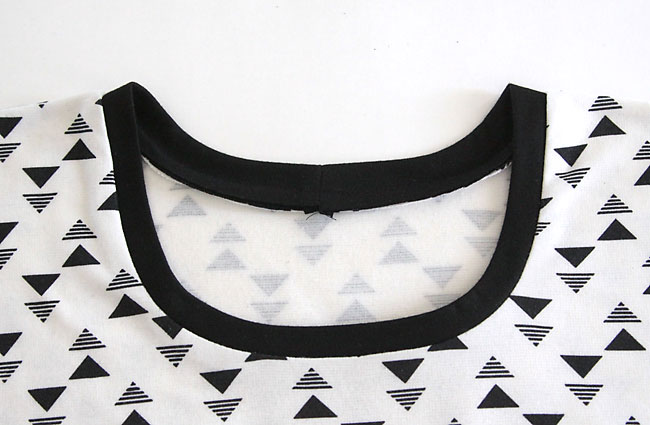
If the neck binding is wobbly or doesn’t lay flat, you probably need to take it off, shorten it, and put it back on.
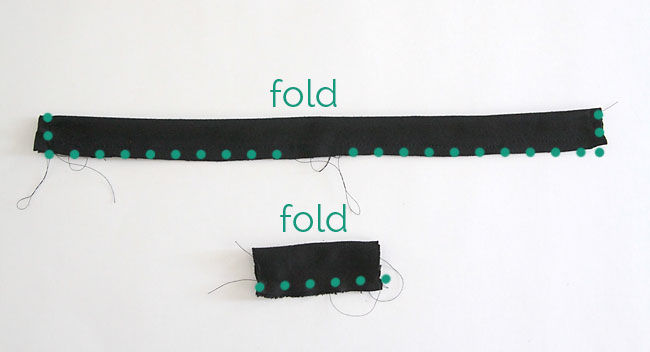
Take the bow pieces and fold them in half lengthwise, right sides together. Sew as shown by the dots below, leaving an opening in the middle of the long piece.
Turn the pieces right side out and press.
Fold the longer piece as shown in the photo below. Wrap the short piece around it to secure. Cut off any excess from the short piece, then hand sew it together on the backside of the bow. Then handsew the bow to the front of the shirt.

If your fabric is pretty sturdy, you can sew the bow direct to the neck binding. If your fabric is fairly lightweight, you’ll want to sew the bow on where the neck binding meets the main shirt fabric (if you sew it JUST to the binding and your fabric is lightweight, the bow may pull the neck binding and make it flop forward).
Easy!
Check out all the other easy tee variations here!
Cassie says
Thank you for all your amazing tutorials!! I am a total beginner when it comes to sewing, especially sewing clothes, but your instructions and patterns are so easy even I can do it! I’ve already made 2 variations of your easy tee, and have fabric for 2 or 3 more – now I want to try this one as well! If you can’t tell, I pretty much want to fill my wardrobe with east tees =). The more tips you can share for making the neckline lay flat the better – I’m getting better, but that’s definitely the trickiest part for me. Thanks again and keep up the great work!
Carla says
I LOVE your tutorials! You are very thorough in your explanations with many great details but not so many that you get confused (if that makes any sense)! I’ve been studying these tee tutorials carefully over the past few days. I haven’t gotten up my courage to actually purchase knit material, cut out the pattern or attempt to sew but I will soon. I have to run over the instructions in my mind step-by-step before getting to that point. Thank you for making clothes for women who have real bodies with muffin tops & baggy arm tops. Keep up the good work.
Liza says
Love it! Thanks for sharing!
Hannah says
Yay! Another sewing post! Your sewing tutorials are my favorite of your posts, and I always look forward to these inspirations. They can’t come often enough. 🙂
Loretta says
You have the best ideas & great instructions! You’re really cool. I’m close to 77 yrs old & wish I had had your spunk at your age. I really enjoy your sewing ideas.