
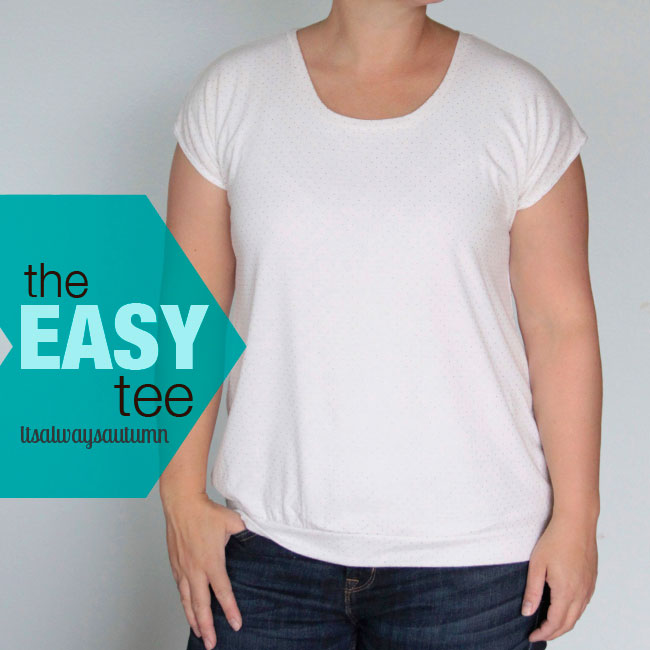
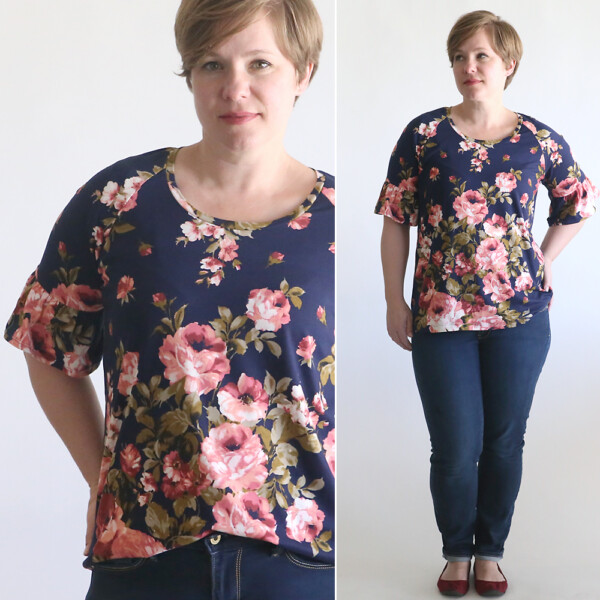
For today’s tee, I took my easy tee pattern and modified it to include raglan (baseball tee style) sleeves. This is a really fun modification for two reasons: 1) adding a raglan sleeve the right way eliminates some of the bunching you see near the underarm in the original easy tee, which is a dolman sleeve shirt, and 2) raglan sleeves open up a lot of options for color and pattern mixing. Today’s post will show you how to create your own raglan sleeve pattern the right way. If you don’t want to make your own pattern and you happen to wear a size L, click through to this post for a free PDF pattern!
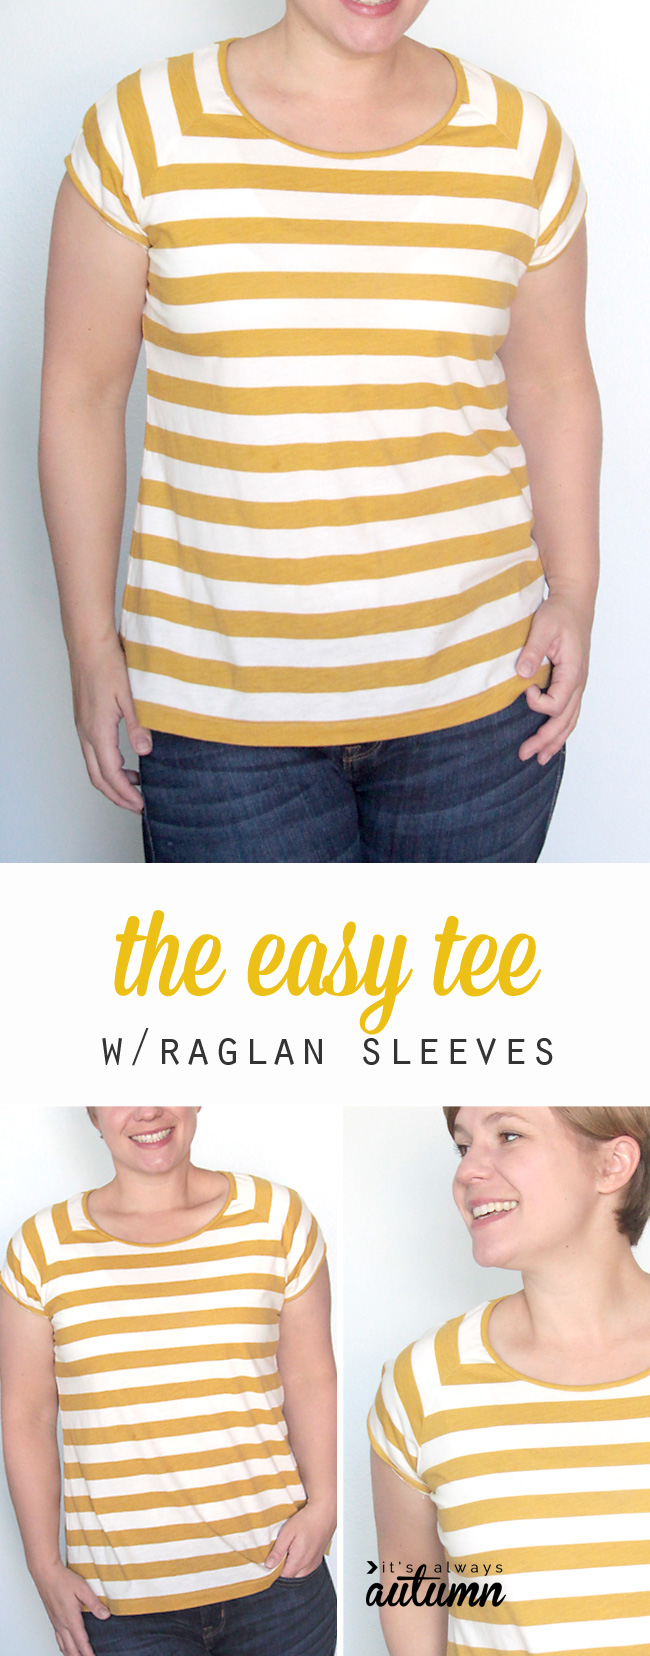
FYI: I used this fabric from Girl Charlee.
I’ve seen tutorials on blogs before that show how to add a raglan sleeve, but they always skip the step that gives a raglan sleeve shirt a better fit than a dolman sleeve top (where the sleeves are just part of the shirt, not their own piece). To do it right, follow these easy steps.
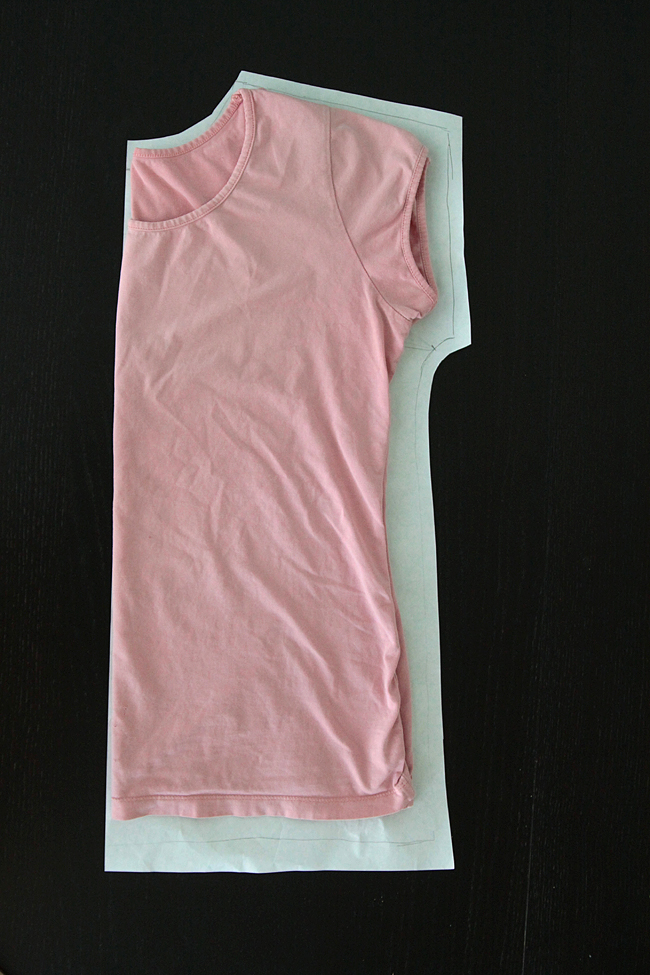
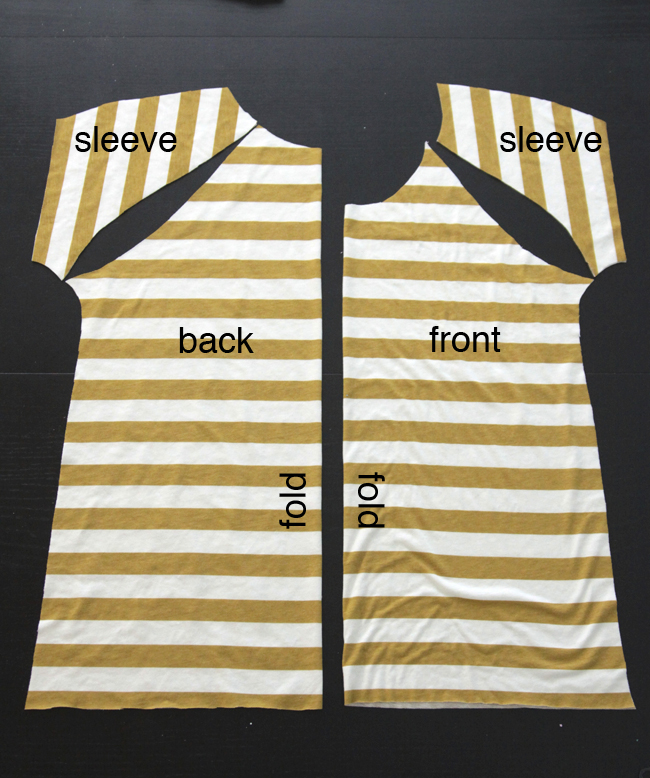
Start with a dolman sleeve top pattern, or make your own by tracing around a fitted cap sleeve tee as shown:
To add raglan sleeves, follow these steps:
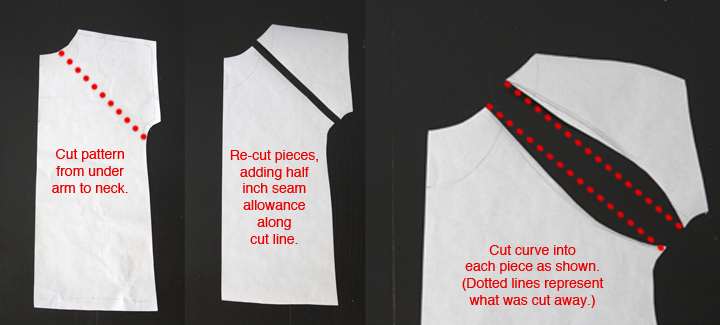
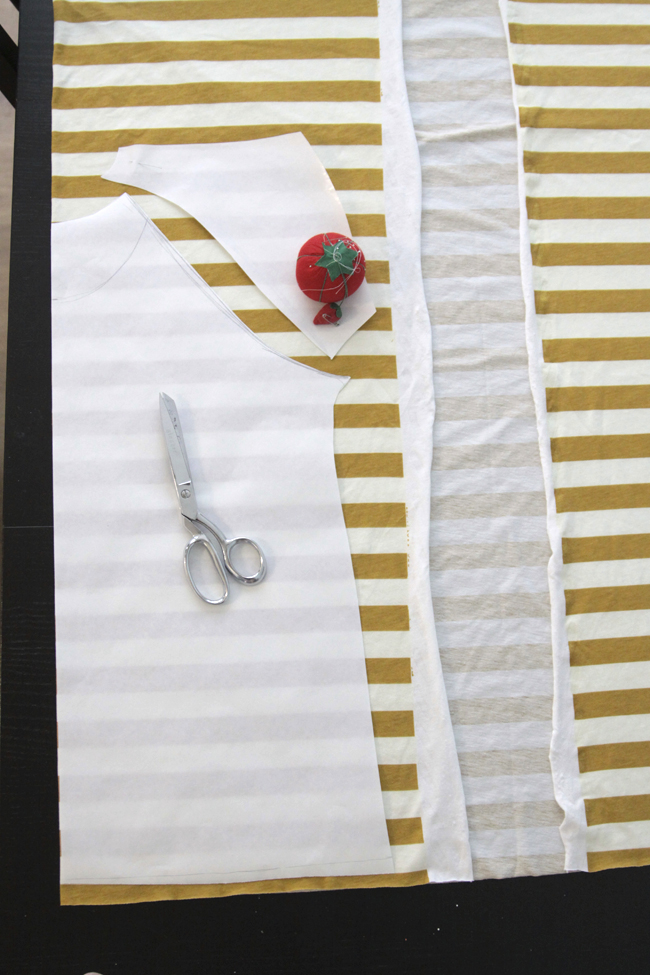
Cutting the curve in your pieces will make the shirt lay flat across your chest/underarm area for a better fit. Cut your bodice pieces on the fold, as seen below. Cut 4 of your sleeve piece, turning it 90 degrees before laying down on your fabric (this makes sure the sleeve will stretch across your arm).
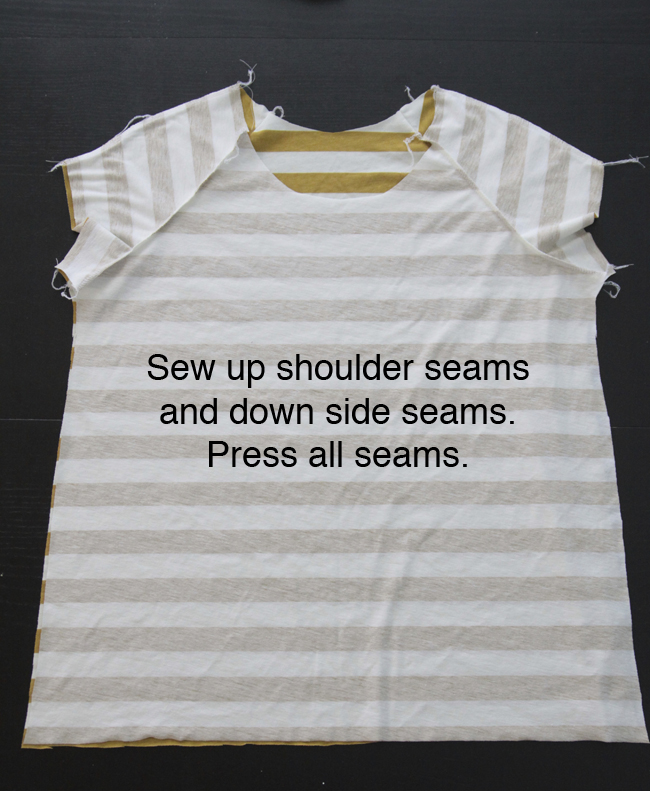
You’ll end up with these pieces:
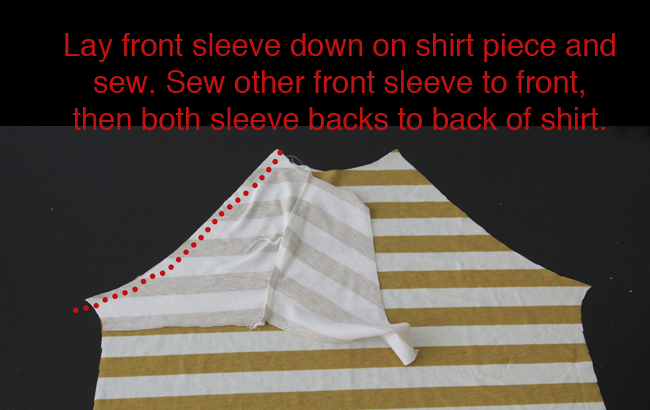
And here’s how you put the shirt together. (In this first photo please pretend two sleeve pieces have not already been sewn together – that was a mistake.)
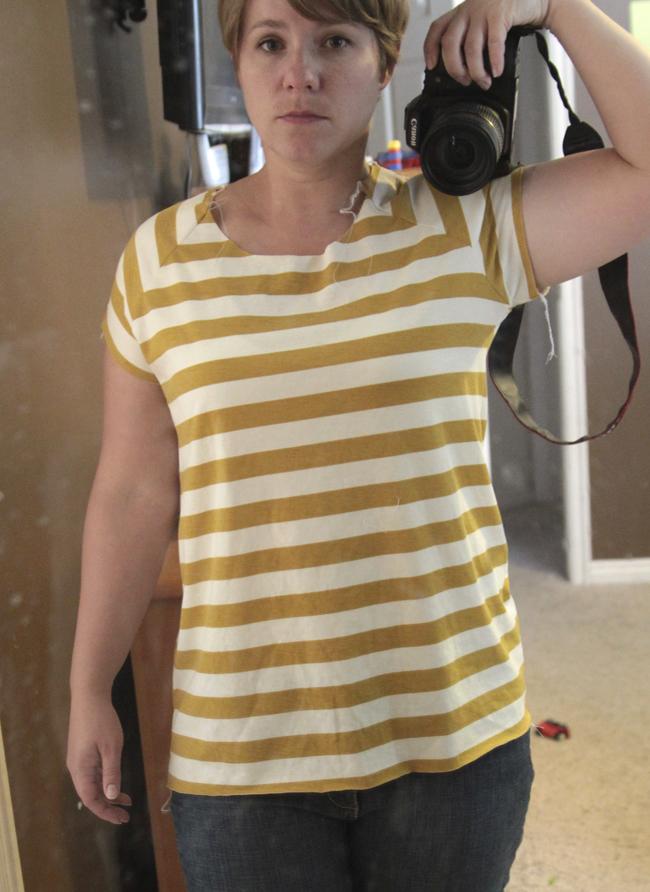
Me and my dirty mirror showing you what your shirt looks like now:
I used strips of knit to bias bind the neckline (like I did in the colorblocked version) and the armholes.
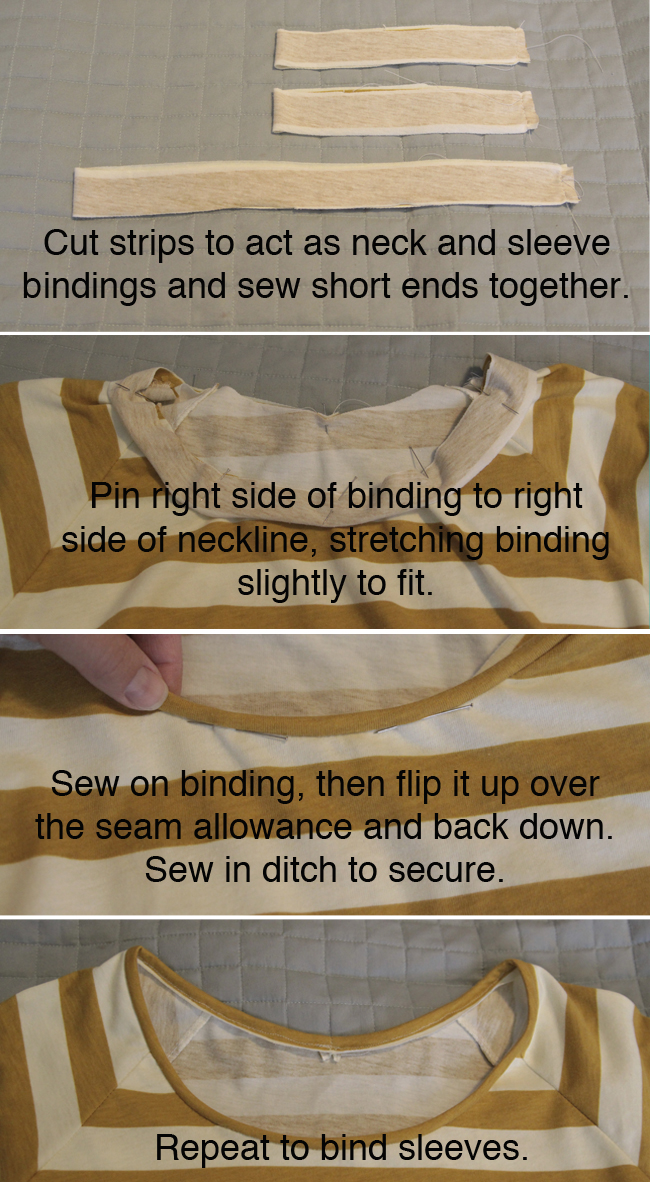
Turn it up and hem (use a double needle like I did on the peter pan version or a single row of zigzag stitching to make sure the hem stretches).
Done!
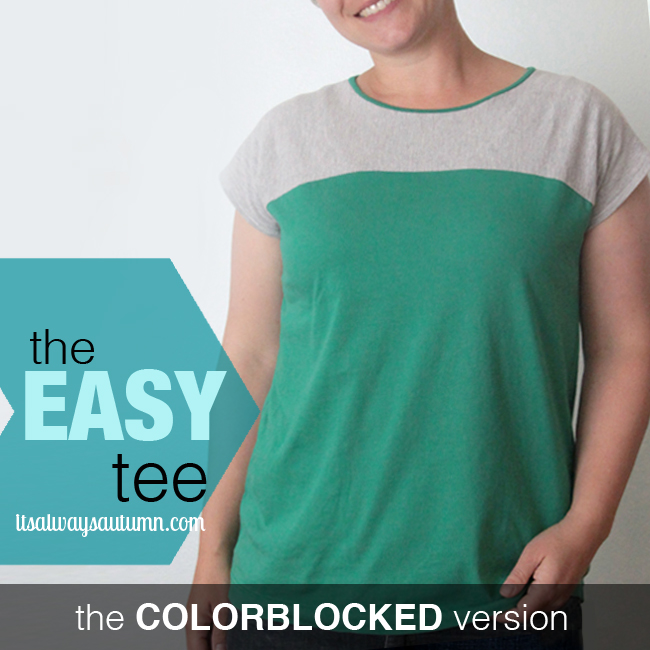
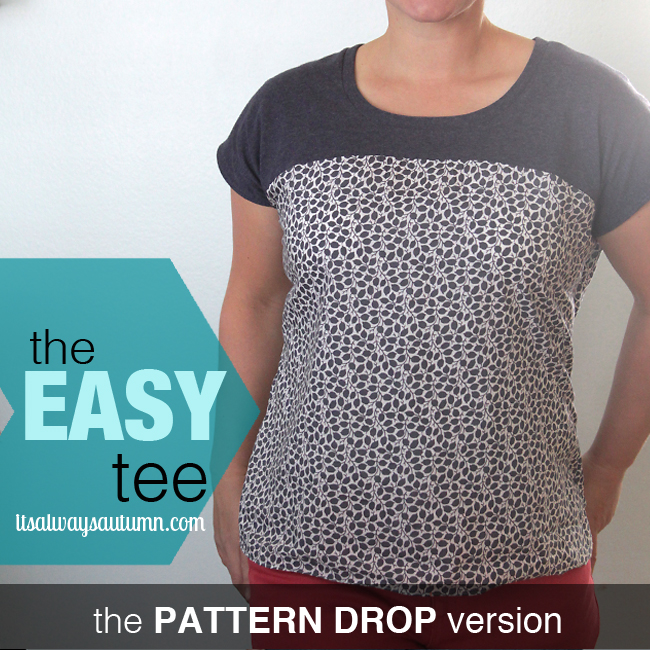
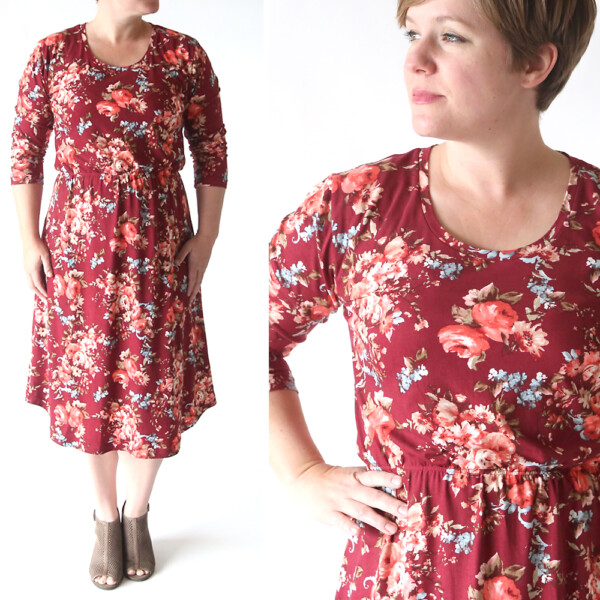
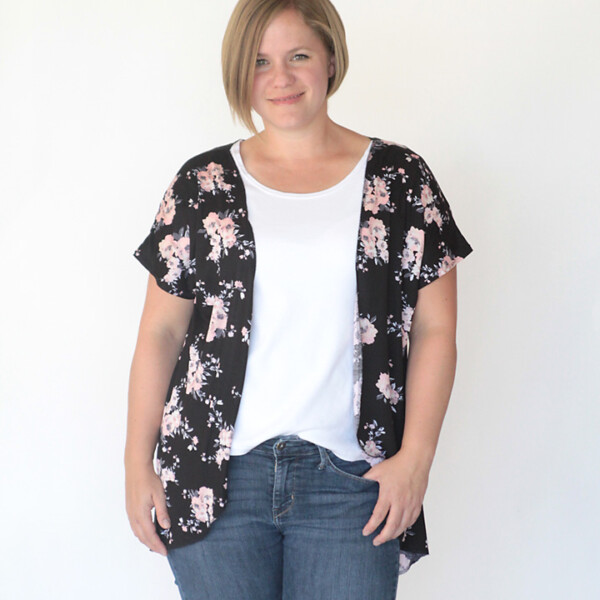
Check out the other easy tee variations (click photo to go to post):

Like this post? Follow It’s Always Autumn for more:


LINKING Tip Junkie | Sugar Bee Crafts | Today’s Creative Blog | Naptime Creations | Lil Luna | SNAP | Someday Crafts | Somewhat Simple | House of Hepworths | The 36th Avenue | Whipperberry | Naptime Crafters | Tatertots and Jello | Little Inspiration | I Heart Naptime


Amy says
I have been looking for a good raglan tee pattern and just stumbled upon yours – love it! And thank you for making a free pattern 🙂
Jen @ de Jong Dream House says
I love your tutorials! I’ve pinned all of your shirt tutorials. I’m a quilter and haven’t been brave enough to make anything to wear, but you’re giving me confidence to try.
Shirley says
Love love love. And you are so cute in the pics!
susana says
Gracias!
Esta es la mejor versión de mangas raglan que he visto .
Yo la cortaba recto .Me faltaba su curva.
Teresa says
I have loved all of these tees, but I think this raglan version is my favorite! And check out your pattern matching!
Susan says
Could you please share how you matched up the stripes so perfectly? Also, do you need to stretch the top of the sleeve in order to fit it into the opening? (Please and thank you. A little new here!)
Gay says
To match stripes exactly:
1. Cut the front of the T-shirt out separately and be sure to lay the underarm seam at the top of the same stripe on both sides. If you have a multiple stripe fabric make sure to line up all the pieces on the same stripe.
2. Lay the underarm points of the sleeve on the same stripe as you did for the front and back. Always cut each sleeve out separately! Never fold striped knits in two and then cut out 2 sleeves at once! Always use one thickness of STRIPED knit fabric when cutting out T-shirts. If you are using a solid knit or small pattern knit you can double it and cut two sleeves at once. I hope this helps!