
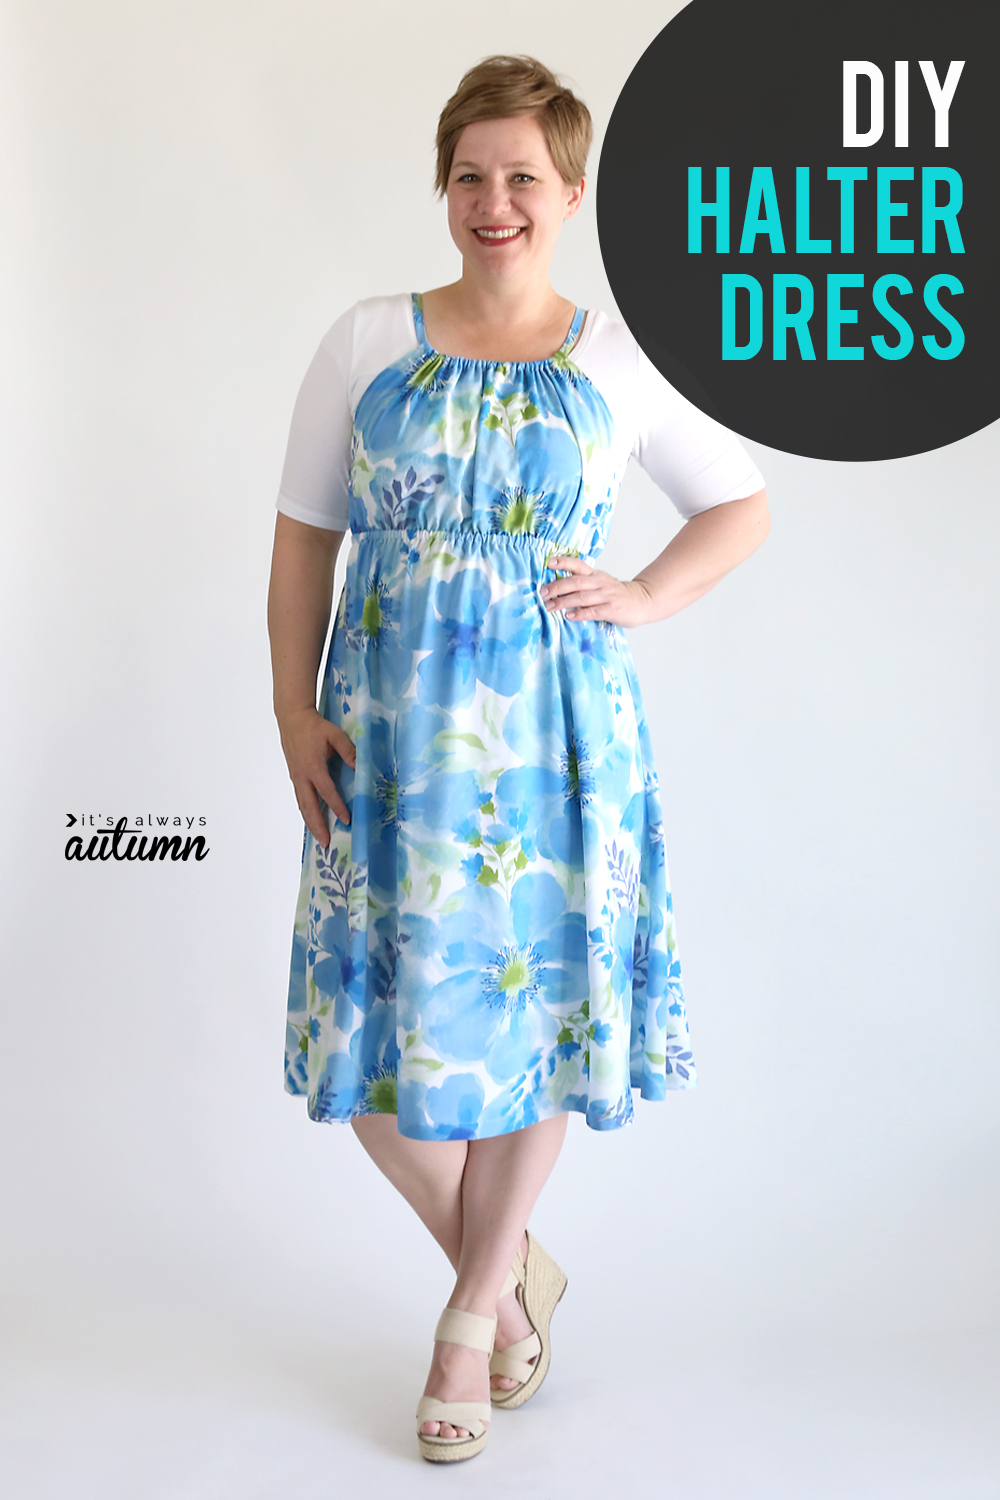
In today’s post: Learn how to hack a raglan t-shirt top and turn it into a cute halter dress with a defined waistline.
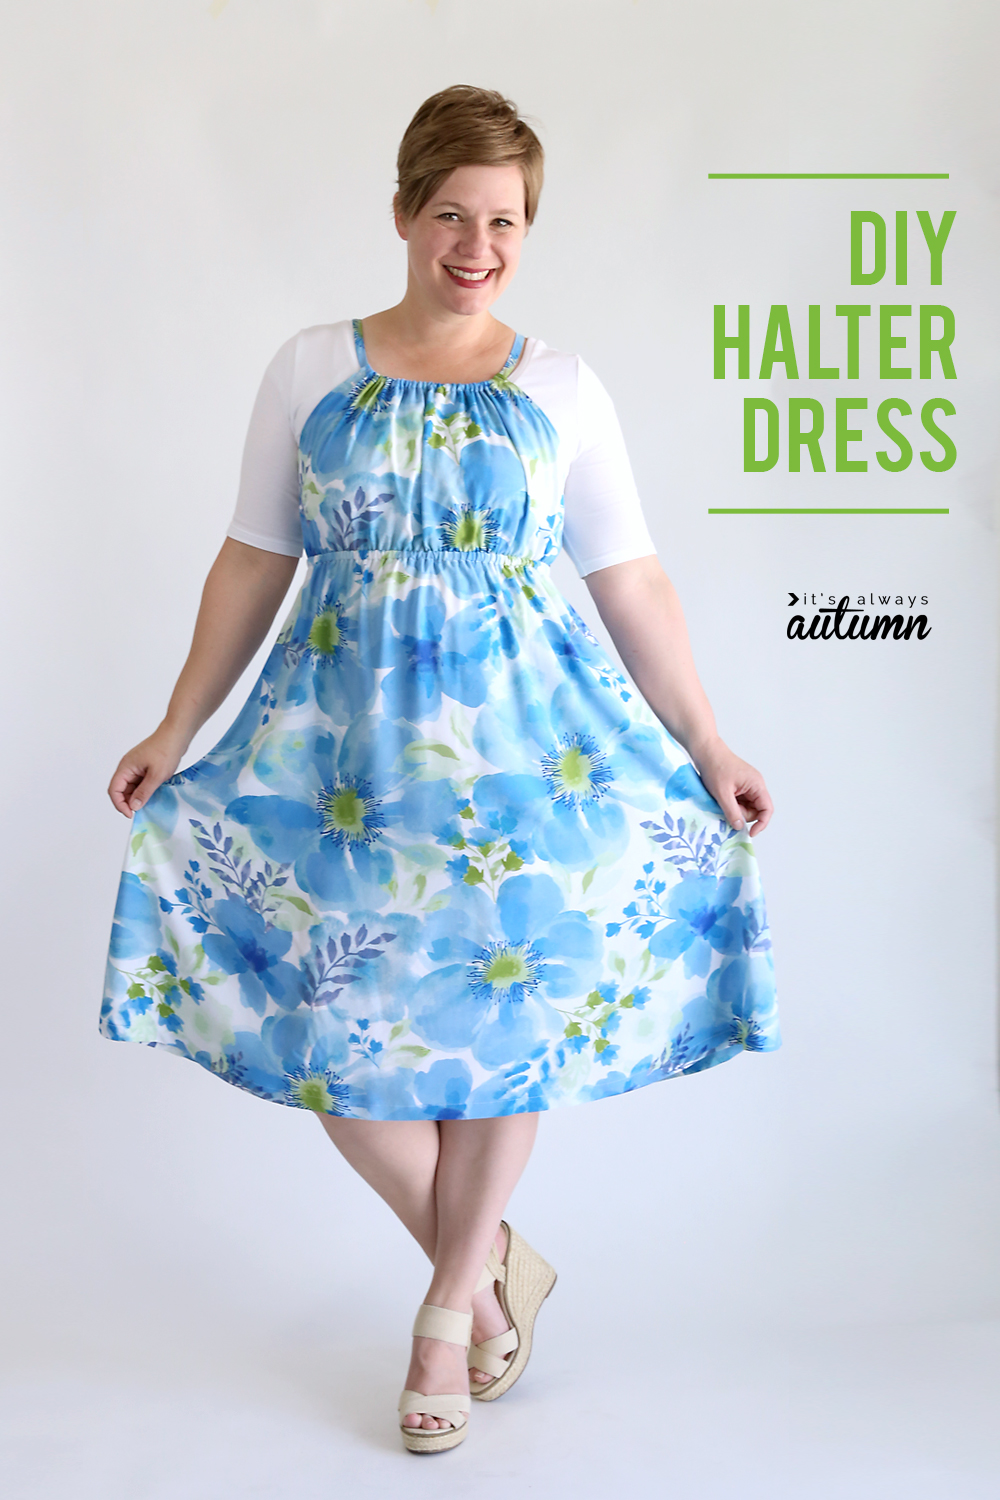
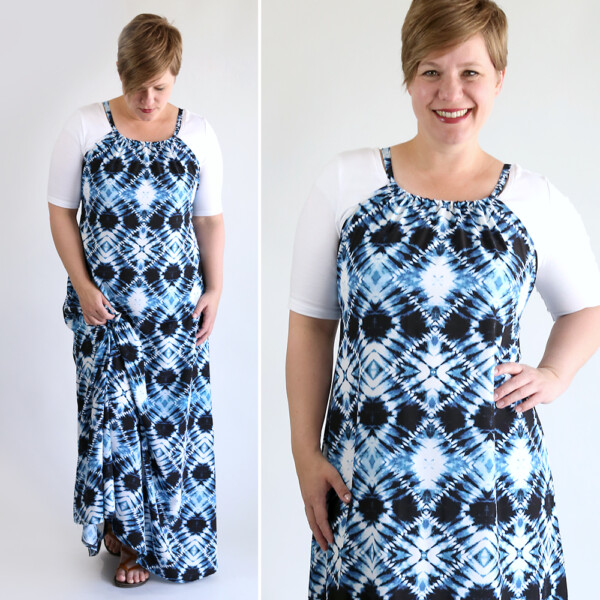
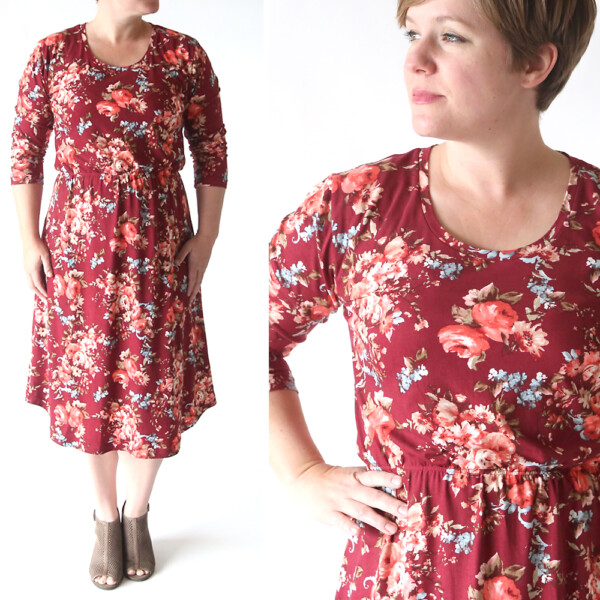
So last week I shared a halter dress tutorial with you guys. It a long, flowy maxi dress with a gathered neckline that I wear layered over a tee. But I also wanted to show you how to make a halter dress with a gathered waistline in case you’d like more definition to the shaping. So here is halter dress #2:
Click through to the first halter dress post to learn how to make this dress. In today’s post I’ll explain how to add the elastic at the waistline.
The first version of this dress was a maxi length, using 2.5 yards of fabric. This one is a midi length, which you can make with 2 yards of fabric. The original halter dress post will give you all the details about what type of fabric to buy and how to cut out the pattern, etc.
For today’s version of the dress, you would follow the instructions in that post until you get to the part where I talk about ways to give the dress more shape.

Instead of running elastic just across the back of the dress, we are going to create a casing all the way around the waistline that you can run elastic through.
The following drawings and instructions will walk you through the process. Please note I made these drawing for a maxi dress I made last year with cap sleeves, which is why the drawings show sleeves.

1 – Sew the dress up the same way you are directed to sew it in the halter maxi dress post. Add the straps through the neckline, but do not hem the dress yet.
2 – Try on the dress and decide where you’d like to elastic waistline to hit (it helps to grab a piece of 1/2 inch elastic and tie it around your waist while wearing the dress – then you can decide if you’d like the waist definition just under the bust like my dress, or closer to your natural waist). Mark where you want the elastic to hit with pins. Take the dress off and cut it straight across 1 inch below your pins.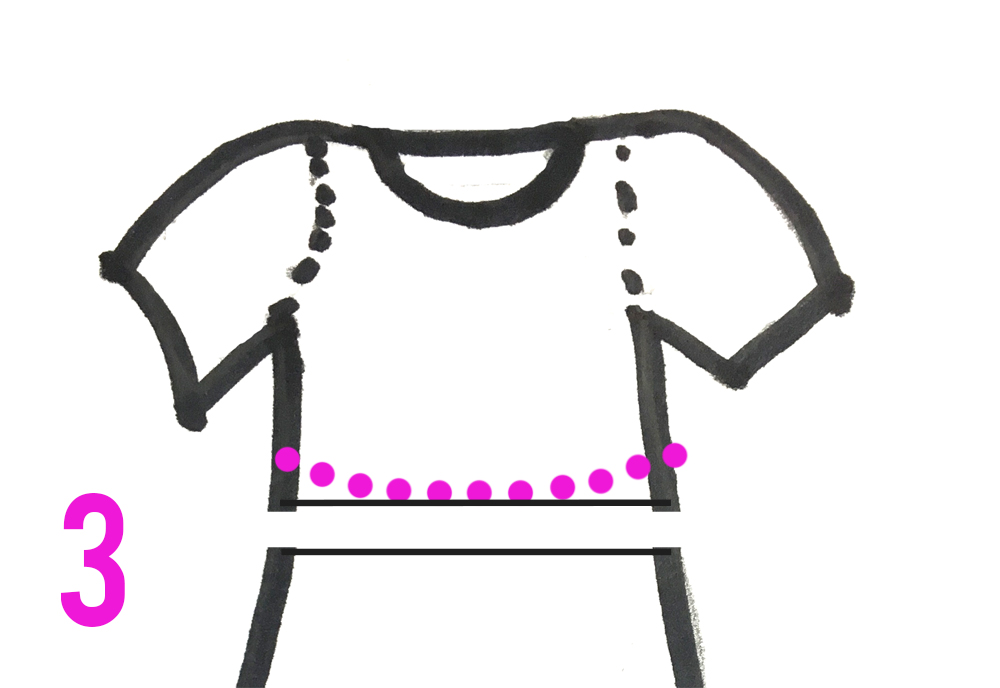
3 – When making elastic waist dresses like this, I don’t like how to fabric blouses out to the sides above the waistline. To make sure the fabric under your arms lays flat and doesn’t blouse out, cut the bottom of the top portion in a slight curve, curving up about an inch at the side seams as seen above.
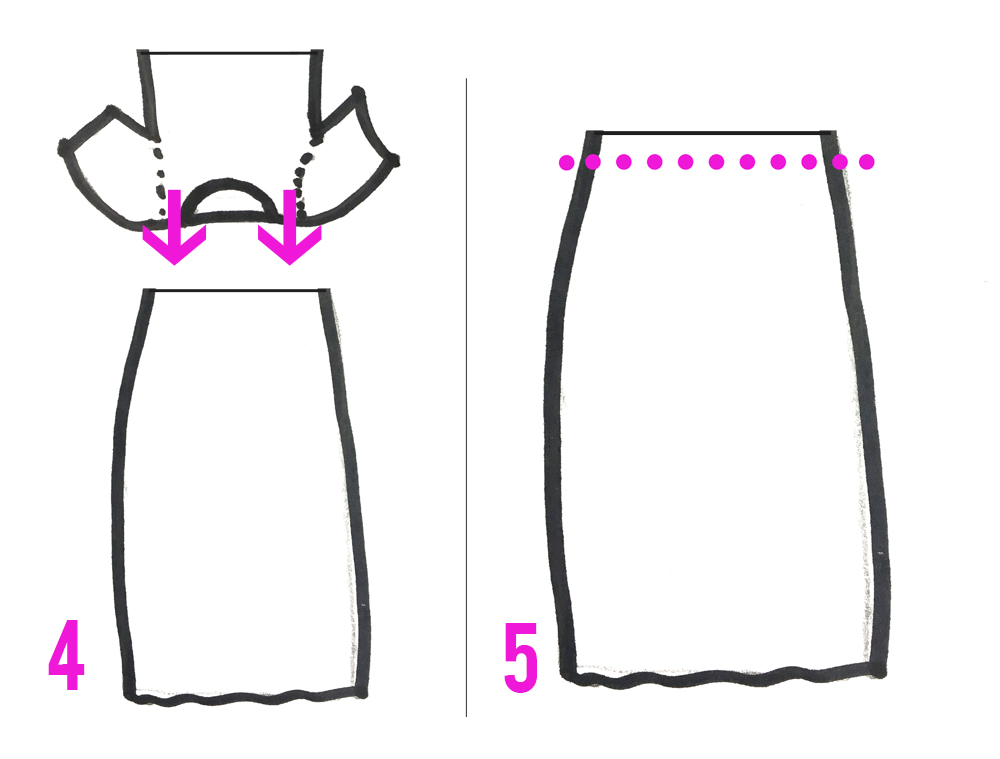
4 – Turn the skirt portion of the dress inside out. Keep the top portion right side out, and slide it inside the skirt, matching up the raw edges and pinning.
5 – Sew the skirt and top together using a 3/4 inch seam allowance. Optional: you may finish the edge of the seam allowance by serging or zigzagging the two pieces together, but don’t cut any of the seam allowance off, as we will use it to make a casing.
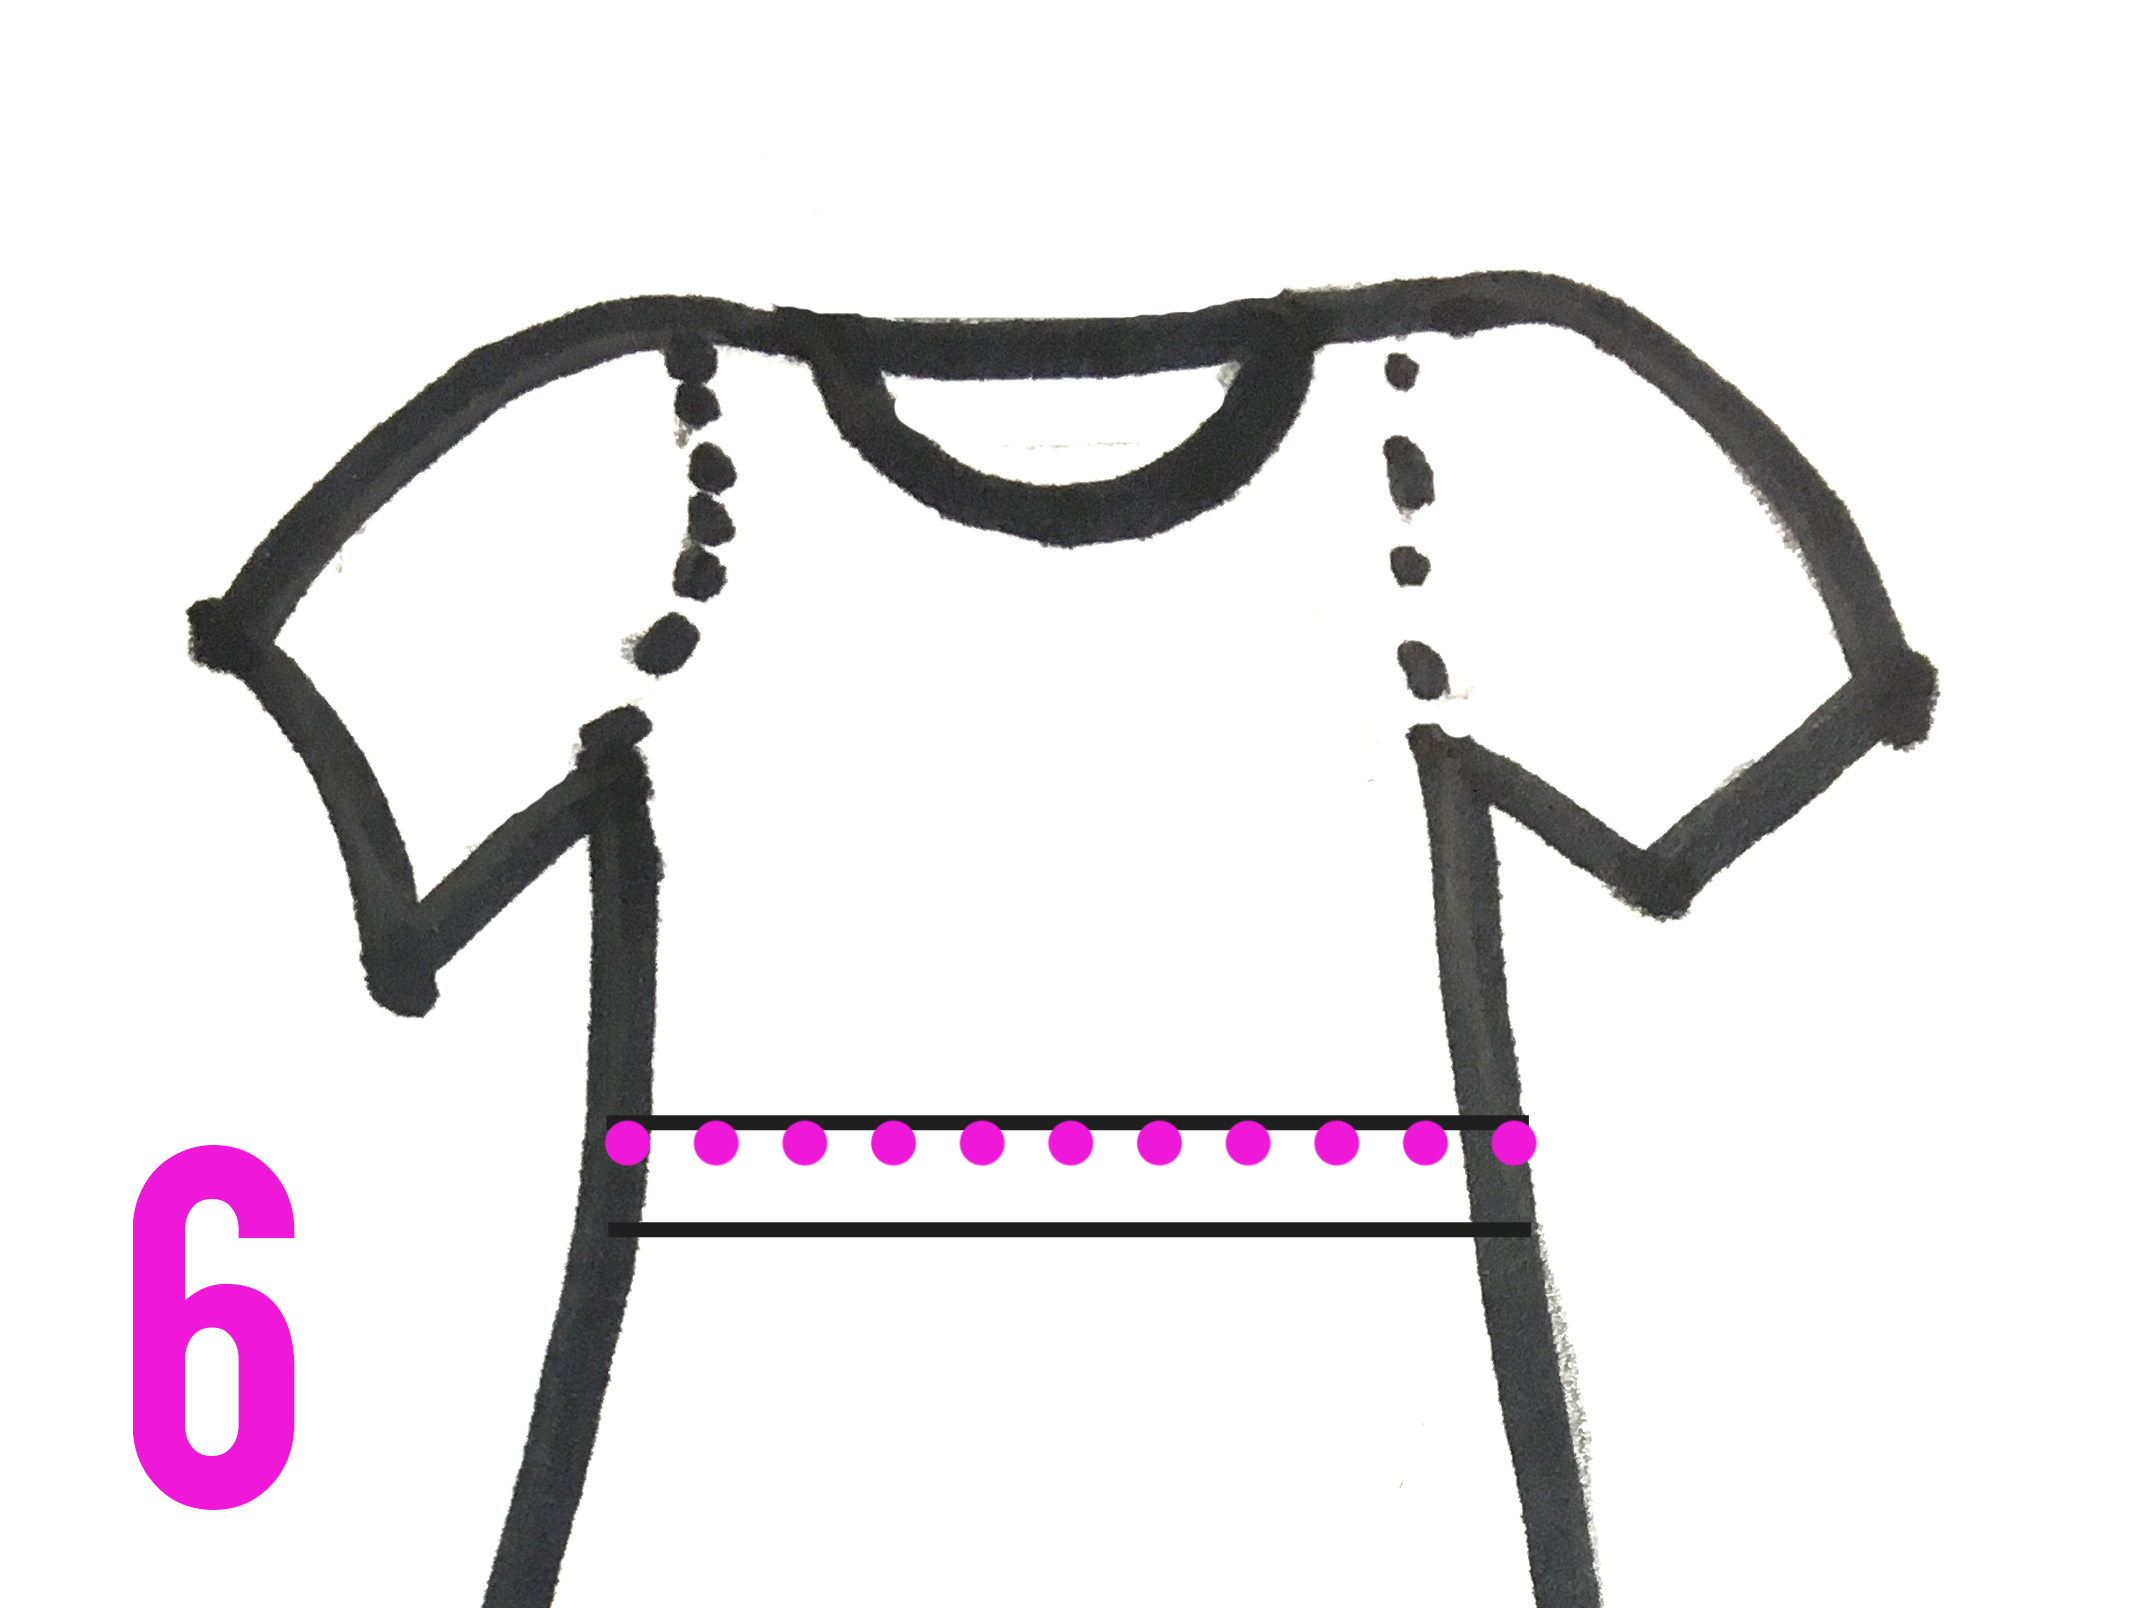
6 – Turn the dress inside out. Press the seam allowance up and pin. Sew the seam allowance to the top, an 1/8 of an inch from the edge of the seam allowance, to create a casing. Leave a 2-inch opening. Thread 1/2 inch elastic through the casing. Try on the dress and pull the elastic as tight as is comfortable, then sew the elastic together and sew the opening closed.
Check out some of my other sewing tutorials:
Striped classic tee midi dress tutorial
Easy t-shirt midi dress tutorial
Easy pleated midi skirt tutorial

Lola says
I love this and the fabrics you find!
Kristie says
Saw a maxi dress that had a very similar top, but they used a tie top. And it had a little v in the font and back. But it had elastic like this version you made. I kept thinking where have I seen this except that I can diy it. You last week! Thanks for sharing!