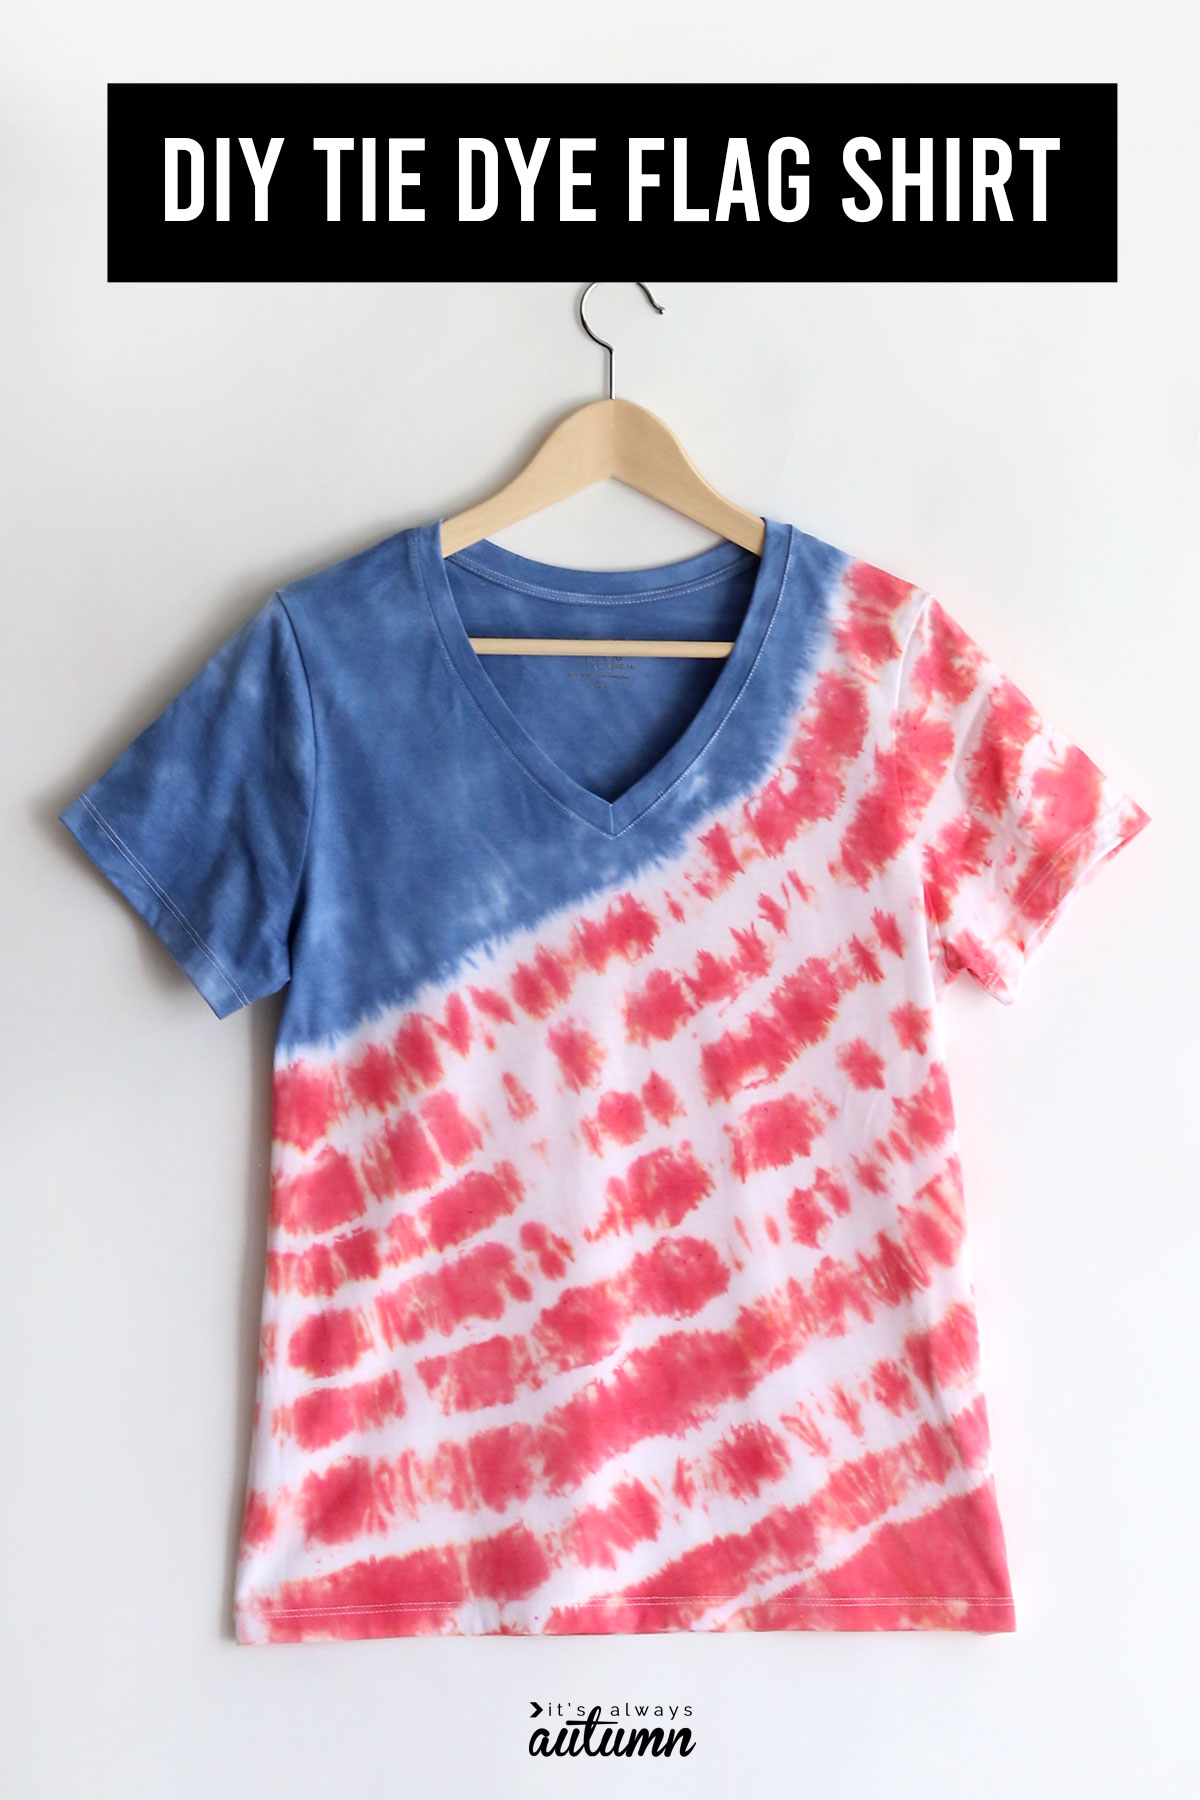
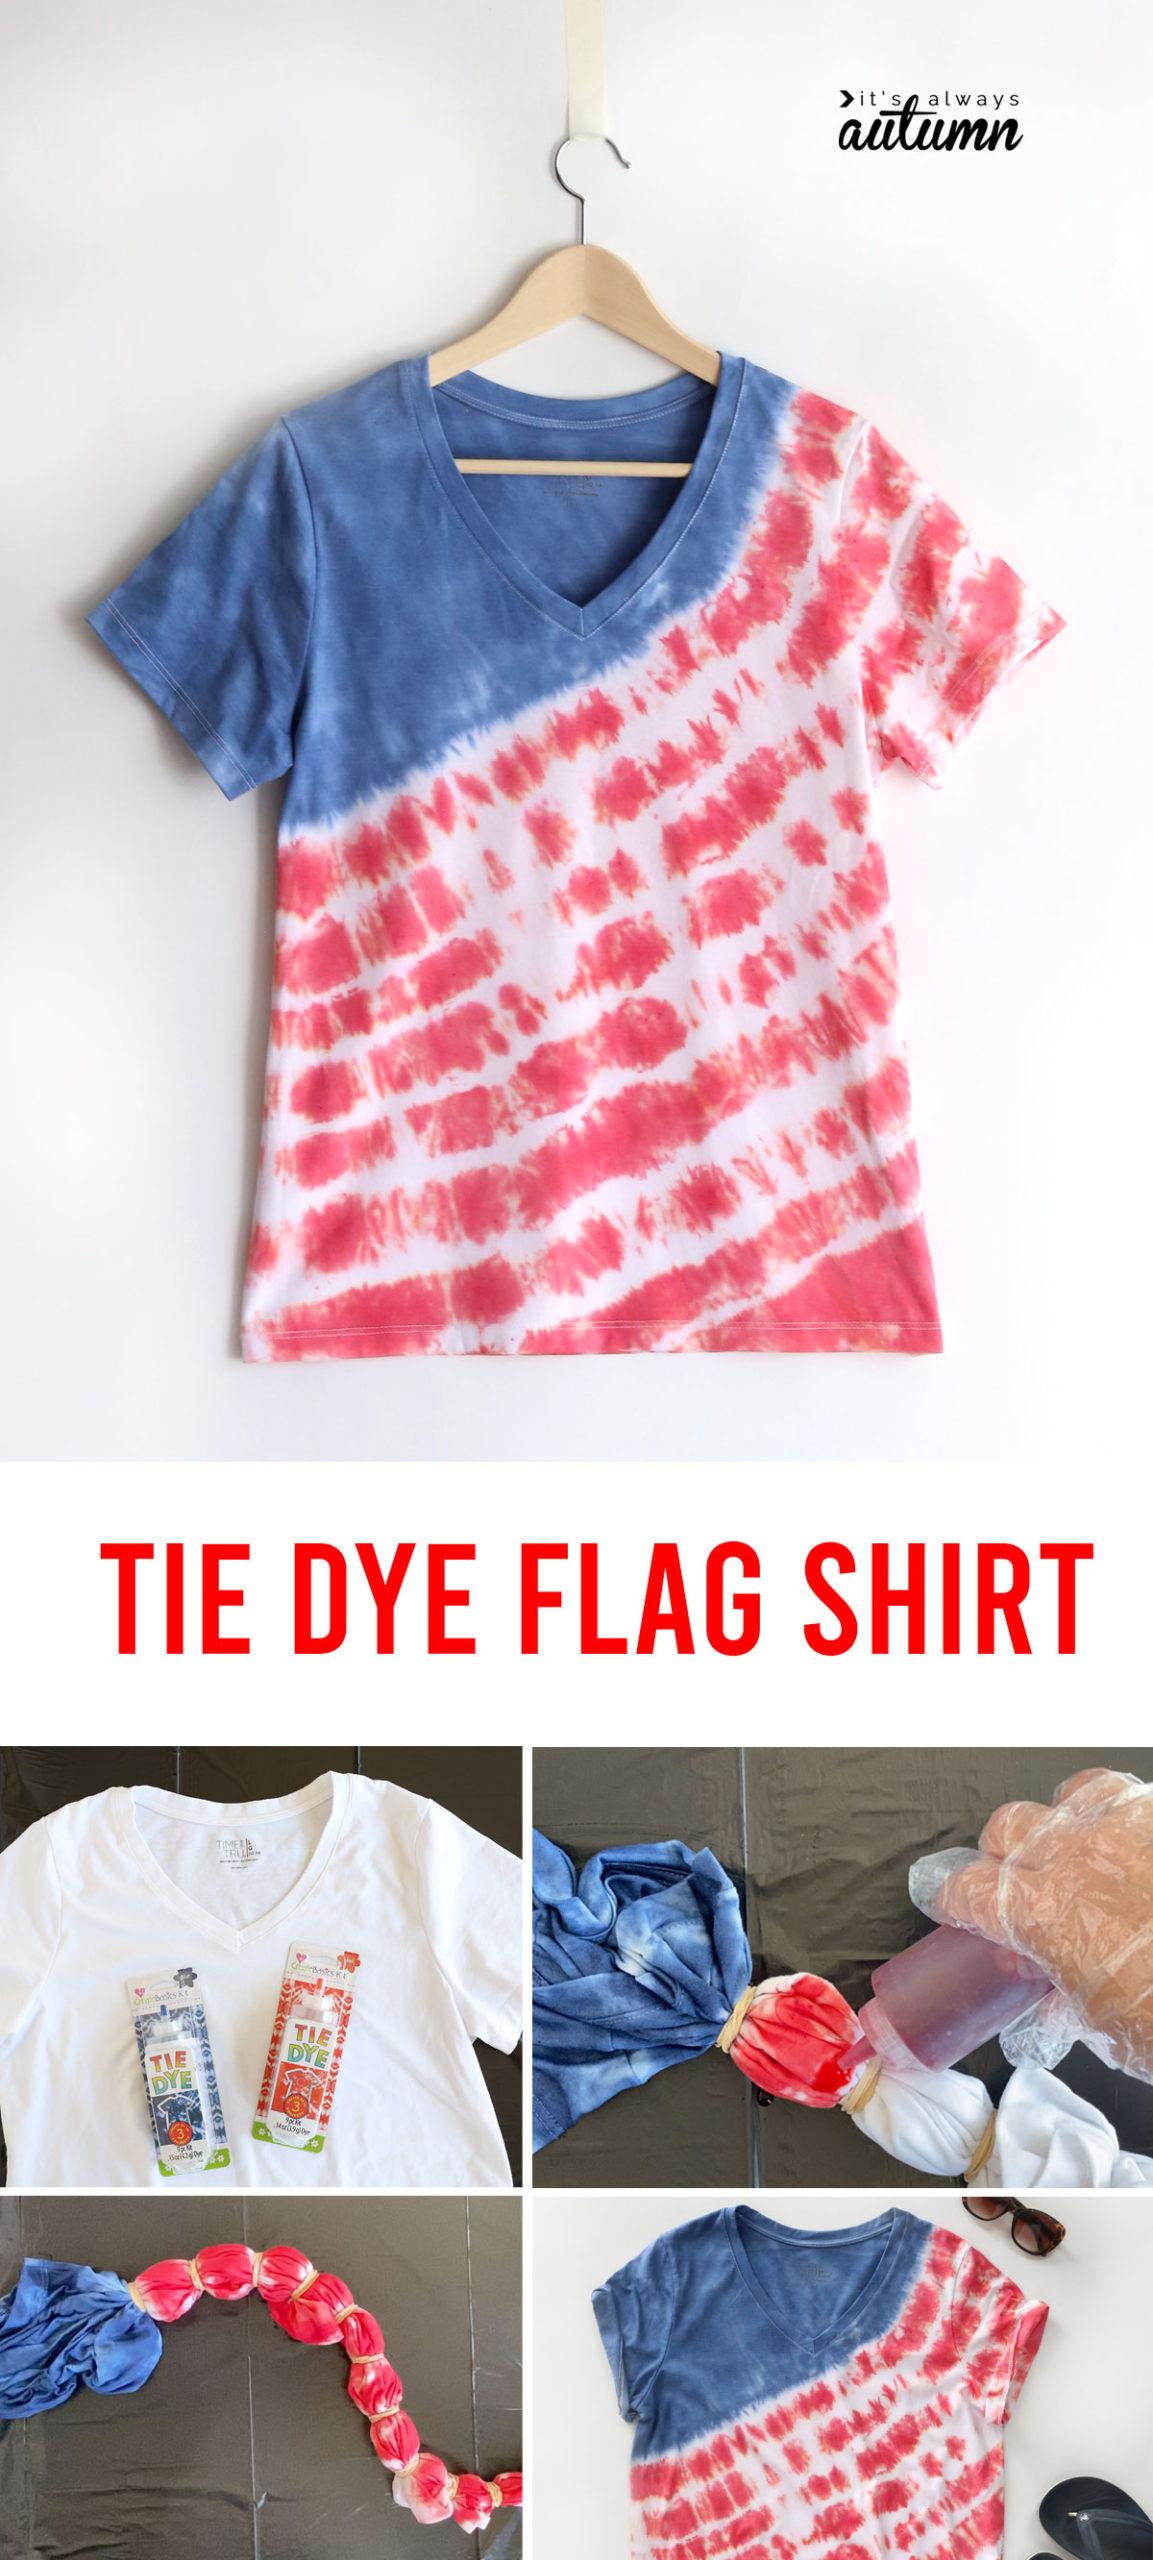
In today’s post: Learn how to make a red, white and blue tie dye shirt to wear on the Fourth of July.
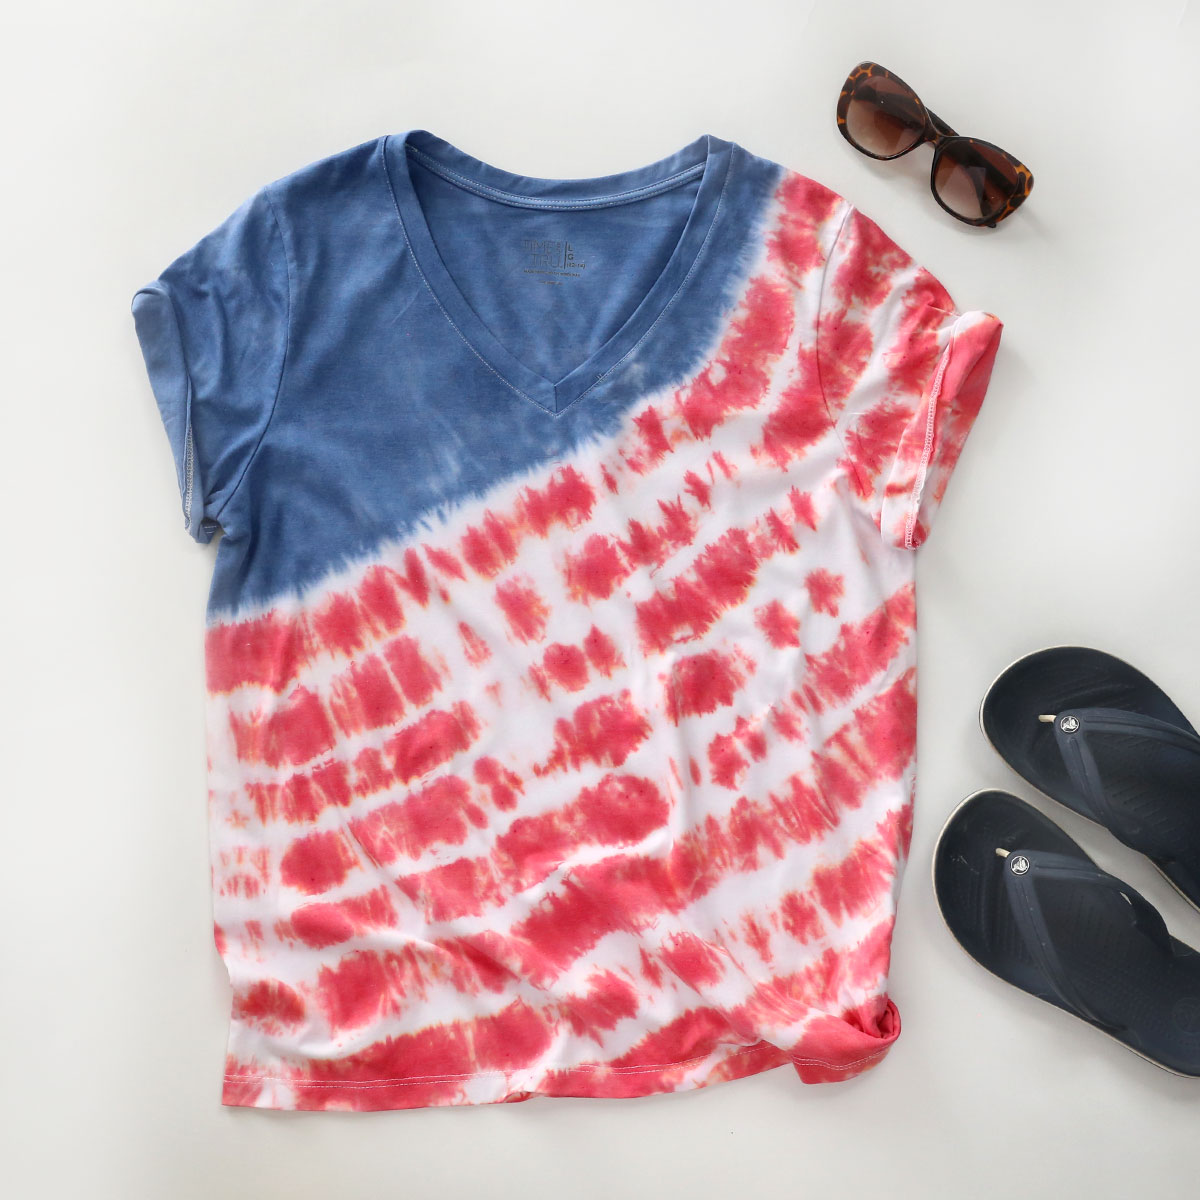
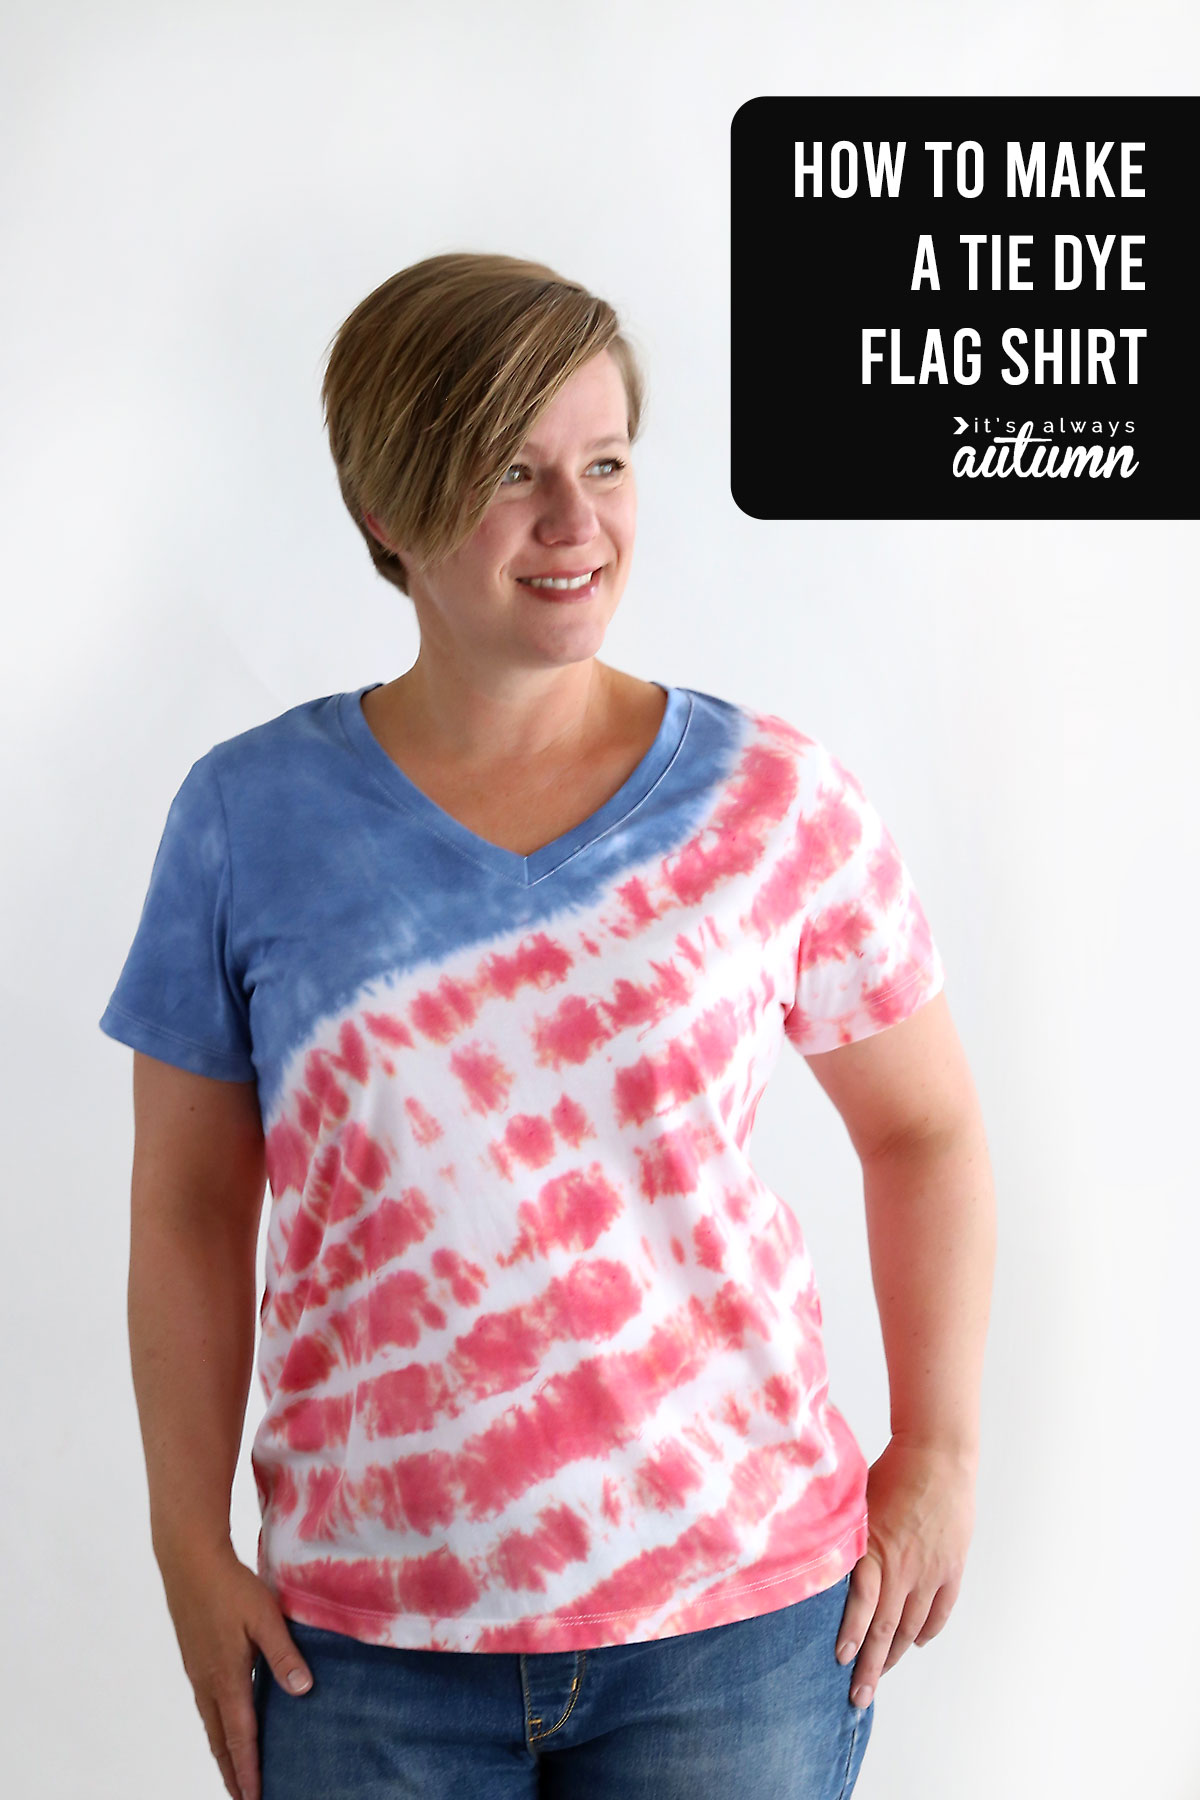
Today I’m going to show you how to make an American flag inspired tie dye shirt for the Fourth of July. I’ll cover everything you need to know about tie dyeing, including supplies, instructions and tips on how to keep this project from turning into a giant mess. I even have a video that shows you exactly how I made my shirt.
How to Make a Red White and Blue Tie Dye Shirt
This is a fun project to do with your kids during the weeks leading up to July Fourth so they’ll have a new shirt to wear on the holiday. Depending on the dye you use, you may even be able to make the shirts in the morning and have them ready to wear for fireworks that night!
Please note that I think this project is better suited to older children – I recommend 8 and up. Very small kids tend to enjoy squirting the dye on the shirt, but get really impatient when they realize they can’t open their shirt up to see how it looks right away. Older kids will also be able to do more of the steps on their own. If you’d like to include younger kids, be sure you have plenty of adult help and supervision.
Also, remember that tie dyeing is a multi-step process. It’s not bad if you are just doing a couple of shirts, but if you end up tie dyeing shirts with a large group it’s going to take someone a long time to rinse and wash all the shirts before they can be worn.
What type of Dye should I use?
The process for making your shirts will vary slightly depending on which dye or tie dye kit you choose to use. Here are some options:
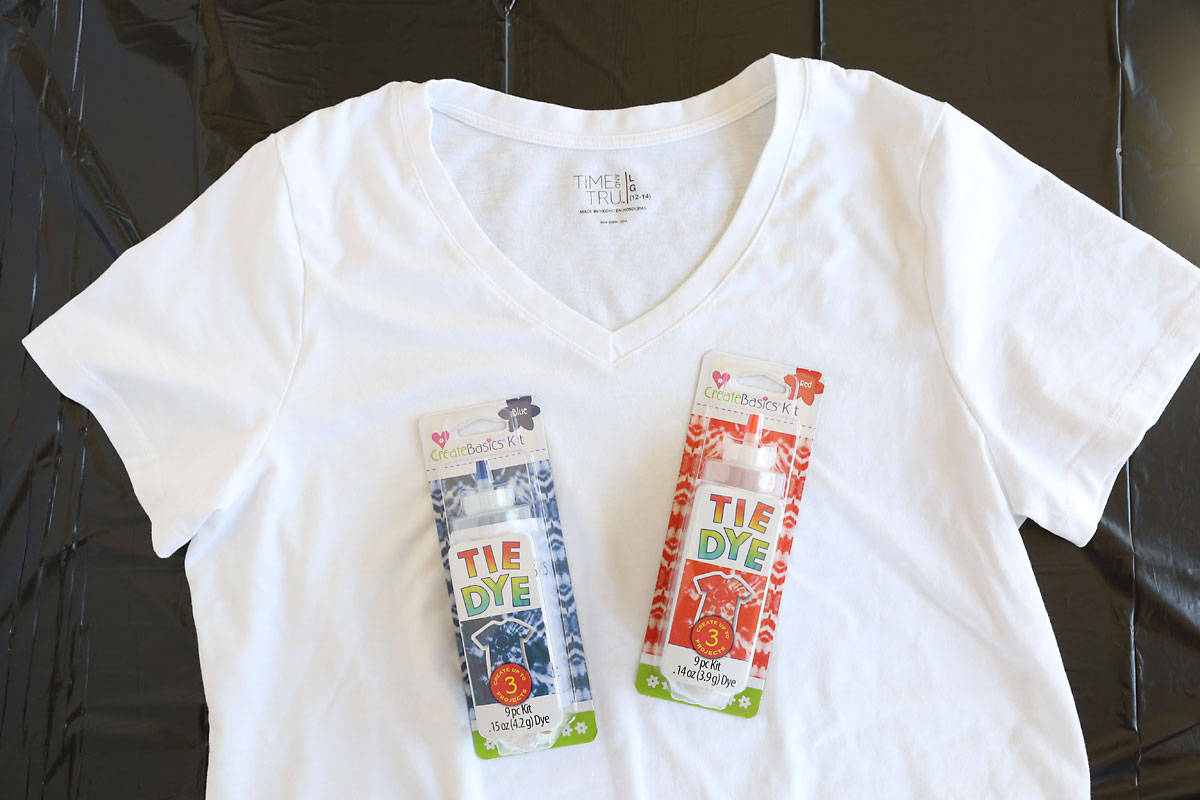
1. Create Basics Tie Dye kit from Walmart. This is the dye that I used. I like these kits because you can buy individual colors, meaning if you want to make a flag shirt you can just buy red and blue and not a whole rainbow of colors you may not use. Additionally, each color comes with a squeeze bottle with powdered dye inside it, a pair of gloves, and 5 rubber bands (you will likely want to get extra rubber bands). These type of tie dye kits are very convenient because all you have to do is add water inside the included squeeze bottle and shake it and your dye is ready to go. I also purchased a package of soda ash, which is sold right next to these tie dye kits from the same manufacturer, which is supposed to help the colors stay more vibrant.
These kits are very convenient and very inexpensive. However, I didn’t feel like the colors stayed as bright as I wished they had and I think the kits over estimate how many shirts you can make with each bottle (if you buy 1 bottle of blue and 1 bottle of red you can probably make 3 flag shirts). Additionally, this brand recommends you let the dyed shirt set for at least 6-8 hours before rinsing and washing, so you probably won’t be able to wear the shirt until the next day. But for the price, I felt like it was a good value and my kids were super happy with their shirts.
2. Tie Dye kits from another brand, such as Tulip. These are similar to the Create Basics tie dye kits where you get a squeeze bottle with powdered dye already in it, but the Tulip brand says you do not need to pretreat your soda ash. I haven’t used this brand so I’m not sure if the colors stay better or not…but it also looks like the Tulip brand is mostly sold out locally and online.
3. Rit Dye. Rit dye is often sold in concentrated bottles, which you can buy in many different colors. In my experience, Rit dye gives you brighter colors, so if that’s important to you Rit may be the way to go. Additionally, Rit dye recommends heat setting the shirts in your microwave in just 2 minutes, meaning your shirt can be done much quicker. However, Rit dye is more expensive if you are only making a couple of shirts because of the bottle size, and if you get Rit dye you will also need to purchase gloves and squeeze bottles separately. If you decide to use Rit dye, follow the instructions on the dye or their website as some things will be a little different than what I describe below.
Red White and Blue Tie Dye Shirt Supplies
To make a flag inspired tie dye shirt, you will need the following:
- White shirt: 100% cotton is preferable because it will take the dye much better. I used a shirt that was 60/40 cotton/poly and I had to leave the dye on for much longer to get the dye to take
- Red and blue dye: as mentioned above I used the Create Basics brand from Walmart because it was cheap!
- Plastic gloves
- Rubber bands: some may be included in your kit but you may want to use more
- Squeeze bottle for each color if not included in your tie dye kit
- Large black plastic bags to protect your work surface
- Paper towels
- Plastic wrap
- Optional: soda ash or other color enhancer made by the same brand as your dye
Get the Shirt Ready to be dyed
Make sure you wash and dry your shirt in advance.
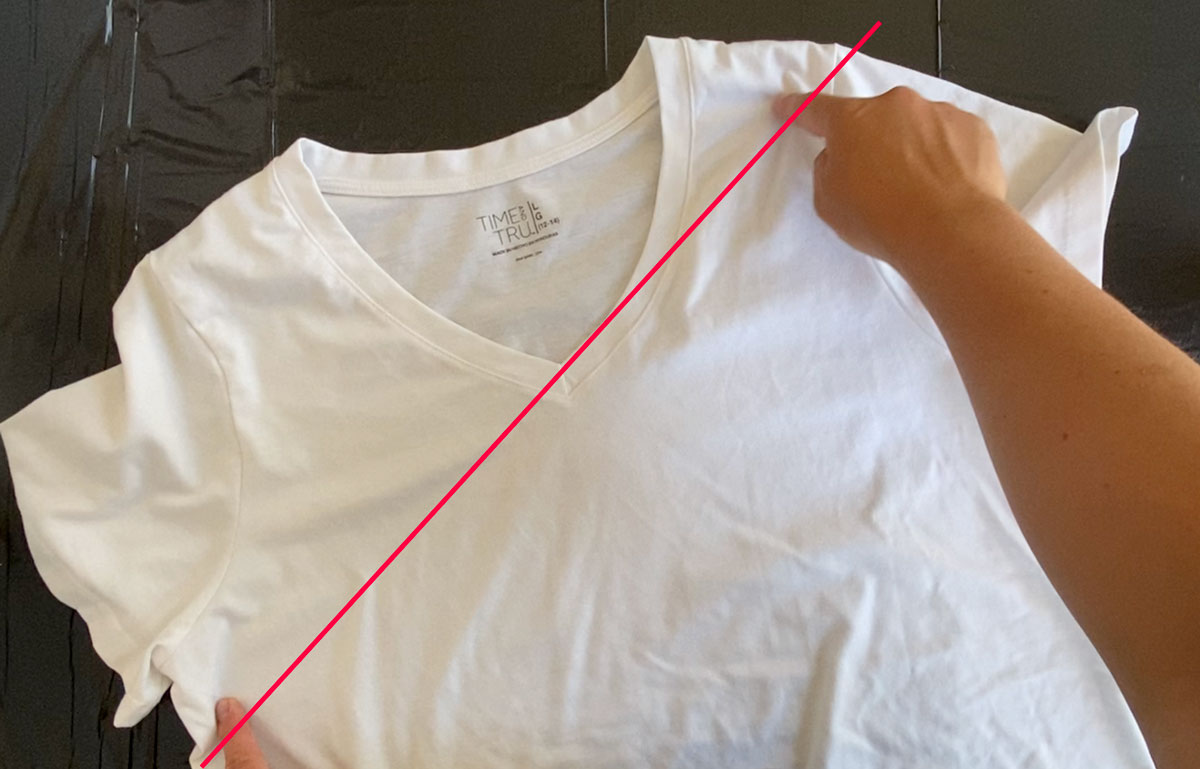
Then you can rubber band the shirt to create a flag inspired design. Lay the shirt on a flat surface and mentally draw a line from under the left arm diagonally up to the right side of the neckline:
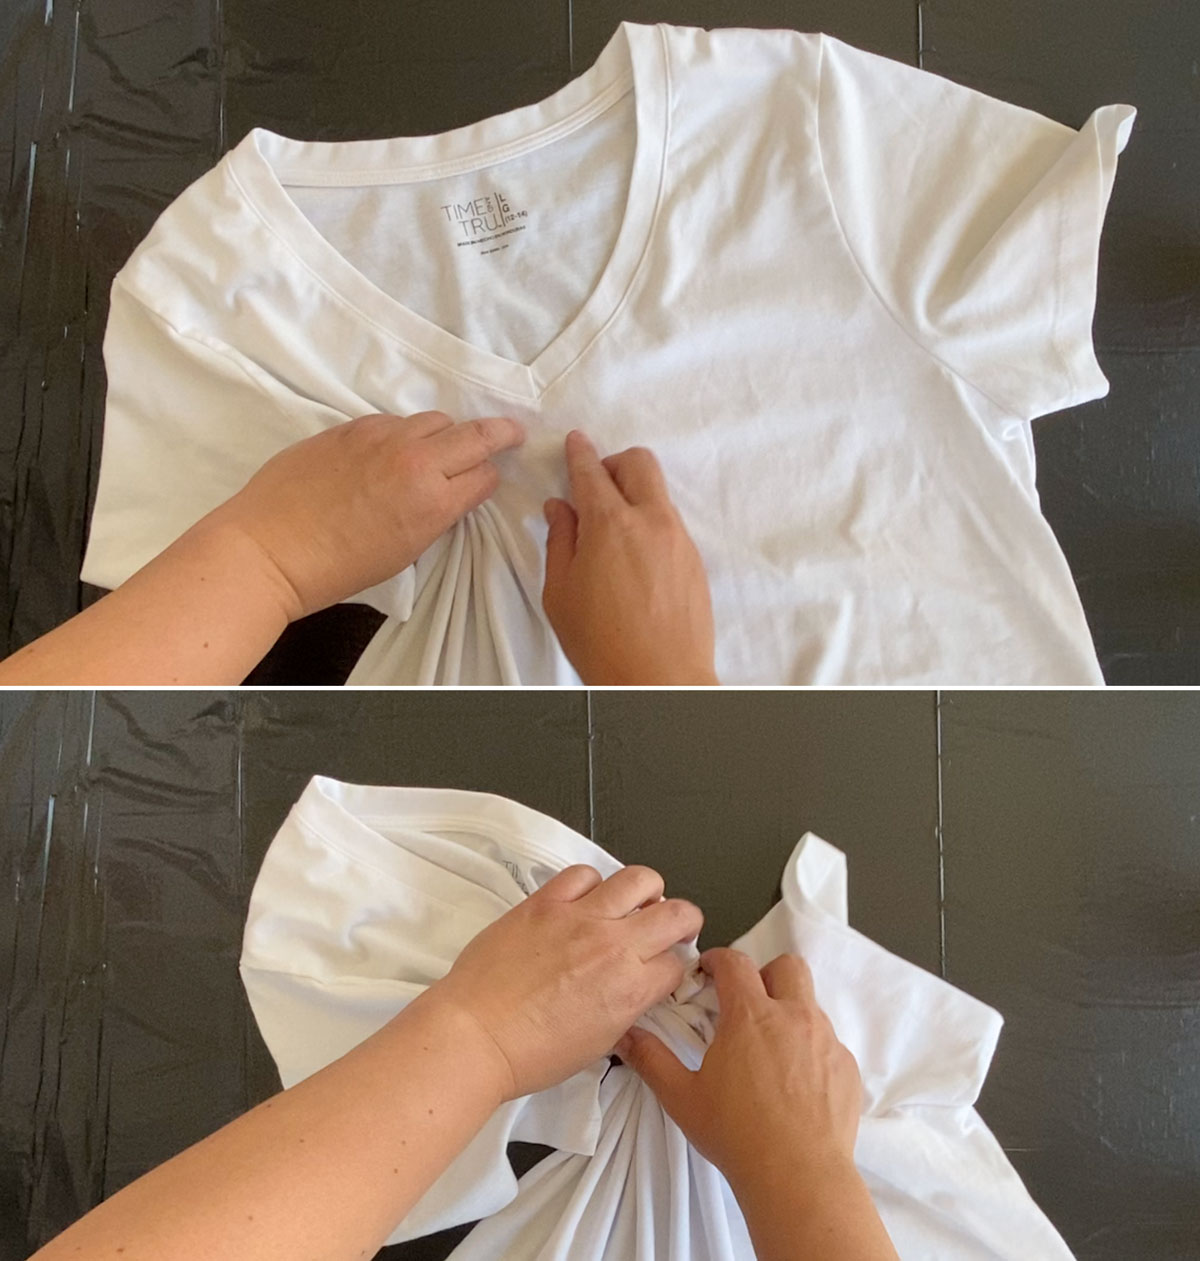
Starting under the left arm, start pinching up the shirt to gather it together along that line (you can see me doing this in the video below). Continue gathering until you get to the right side of the neckline. Tightly wrap a rubber band around the shirt at that point.
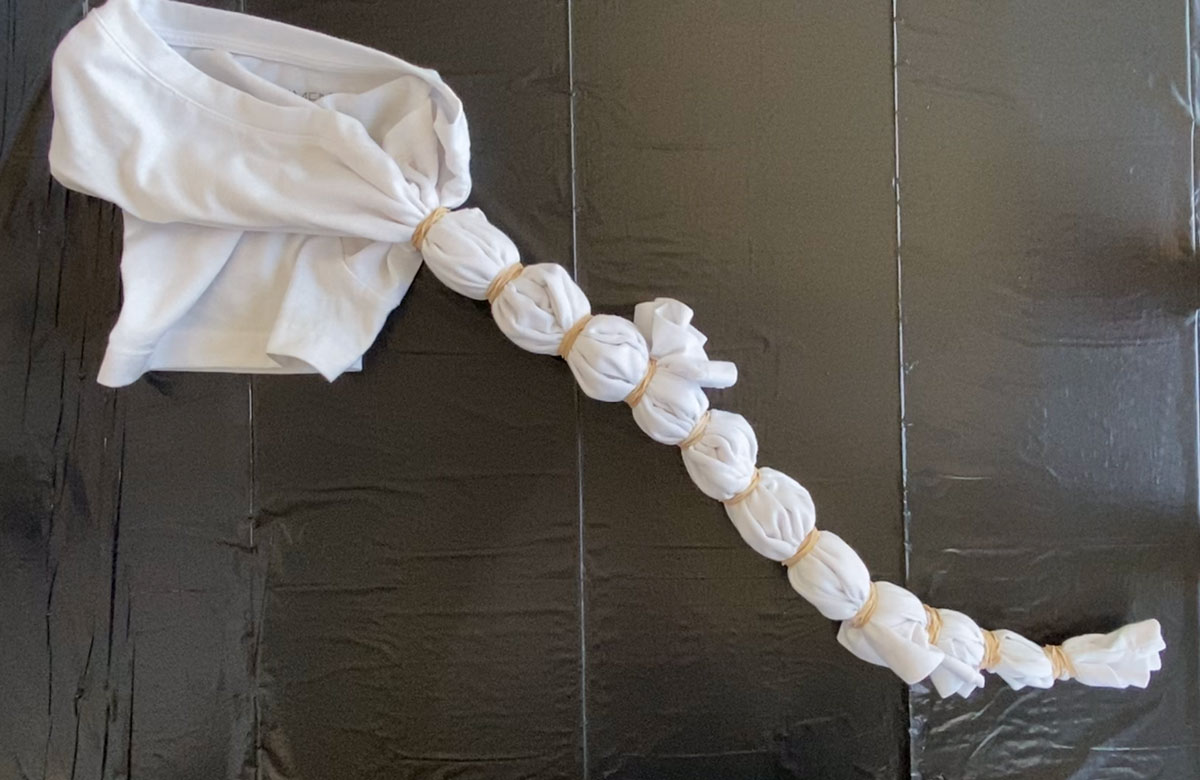
Then, working diagonally down the shirt, place another rubber band every 2 inches or so until you get to the bottom right corner of the shirt.
Finally, go back and double up on the rubber bands if desired. I applied red dye to every small section of the shirt, leaving just the part under the rubber bands to stay white, so I used two rubber bands between each section to ensure some areas stayed white. You may also choose to apply red dye to every other small section to try to get more even looking stripes.
At this point you’ll get the shirt wet. Also, if you are using the Create Basics brand tie dye, you can soak the shirt in a solution of water and soda ash to help keep the colors from fading. Just mix one packet of soda ash into a gallon of water and soak the shirt for 20 minutes, then squeeze the excess water out of the shirt before dyeing.
How to Tie Dye a flag inspired shirt – VIDEO
Watch the video below to see the entire tie-dye process. Please note, if you do not see a video directly below this paragraph that means you have an ad-blocker. Please whitelist this site or visit it using a browser that doesn’t have an ad blocker in order to view the video. I know that no one likes to watch ads, but they allow me to keep create free content for you. Thanks!
How to Apply the Dye
Before you begin the actual dyeing process, be sure to set up your area:
- Cover your work area with a large black plastic bag
- Put on gloves
- Have paper towels handy to wipe up any spills or excess dye
- Mix the dye and put it in squeeze bottles for easy application
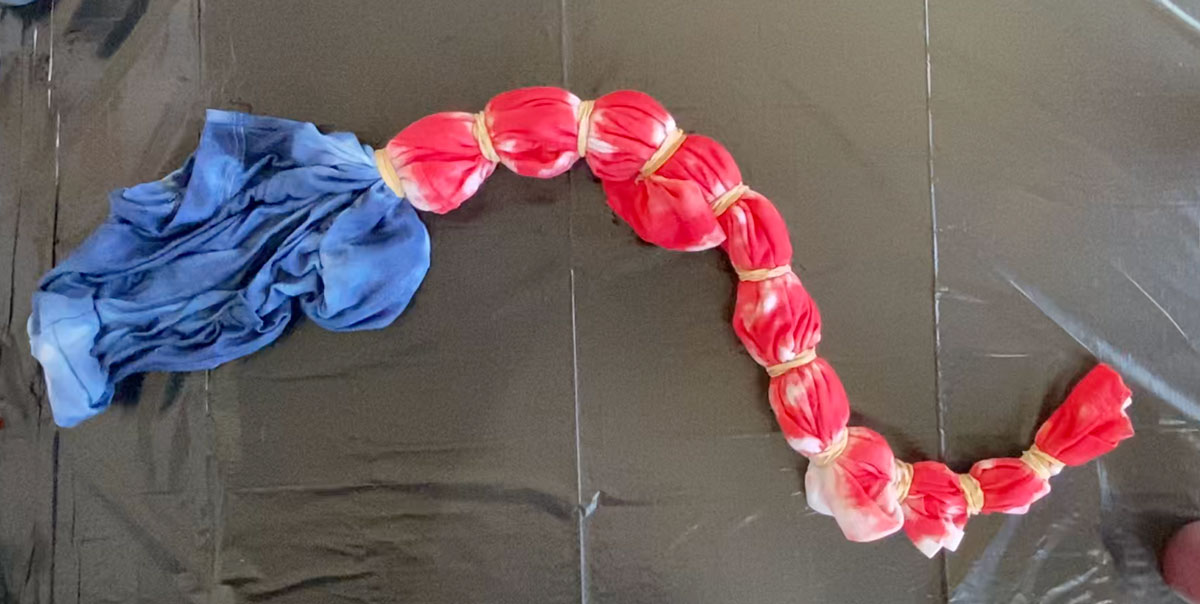
Start by squirting blue dye all over the large section at the top of the shirt. Squeeze slowly so you don’t make a mess and be careful not to get blue dye on the rest of the shirt. As you dye the top section blue, it’s a good idea to keep a paper towel handy and wipe up any excess dye that ends up on your work surface. Also remember that you are going to have blue dye on your gloves, so don’t touch the other part of your shirt! Lift up the section you’re working on and add more blue dye to the back if needed.
Once you are done applying blue dye, use paper towels to get all the blue dye off your gloves.
Next you’ll apply red dye to the smaller sections of your shirt. I applied dye to every section, but you could also apply dye to every other section if your wish. You will need to apply dye to the shirt then roll it over to get dye on the back. As the shirt soaks up the dye you can apply more – remember that you want to use enough dye that it can soak in through all the scrunched up layers of shirt.
Again, wipe up any excess dye that is on your work surface.
How to Set the Dye
Once you are finished dyeing your shirt, let it rest for a couple of minutes. Then place the shirt on a layer of plastic wrap and fold the wrap around the shirt and press to seal. You have a couple options for setting the dye:
1. You can leave the shirt for 6-8 hours (or more).
2. You can microwave the shirt for 2 minutes, which should heat set the dye.
Check the instructions for the dye you have chosen to use, because instructions may vary. Our dye recommended letting it set for 6-8 hours, but we were impatient so we used the microwave instead. On my kids’ 100% cotton shirts that worked fairly well, although letting them sit for a few hours may have worked better. However, my cotton/poly shirt faded a LOT when I tried the microwave method. So I redid my shirt and left it to sit for about 18 hours and it worked much better.
NOTE: The colors on my shirt are still not super bright. That’s probably because it’s not 100% cotton, and may be because I used a cheaper brand of dye. I think it looks fine the way it is, but if you want super bright colors I’d recommend using RIT dye and 100% cotton. Alternately, you could mix the cheaper brand of dye with less water for a stronger concentration.
Rinse Rinse Rinse + Wash
The last step to making a tie dye shirt is to thoroughly rinse and then wash and dry your shirt.
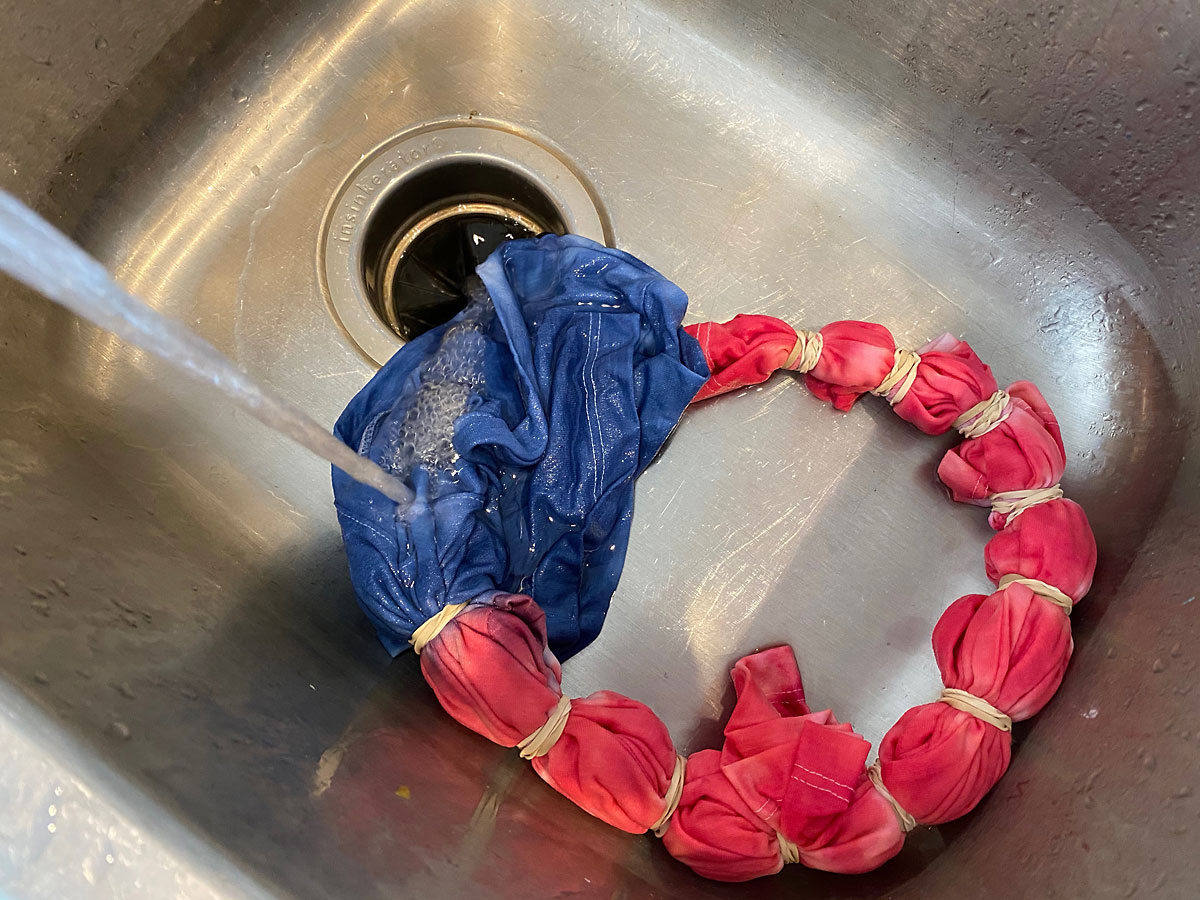
You need to rinse your shirt until you can squeeze it and the water coming out runs clear. That’s going to take a couple of minutes but keep going until the water is completely clear.
Then you can cut out the rubber bands and check out your design – cool!
Finally, you’ll want to wash your shirt on cool with just a little bit of detergent and dry it. Most dye brands recommend washing tie dyed shirts separately the first couple of times to make sure they don’t bleed onto any other clothing.
More Fourth of July ideas

Kristie says
This is so cute! I totally want to do this for and with my kids. Thanks for giving me all the information I need to make this happen!