
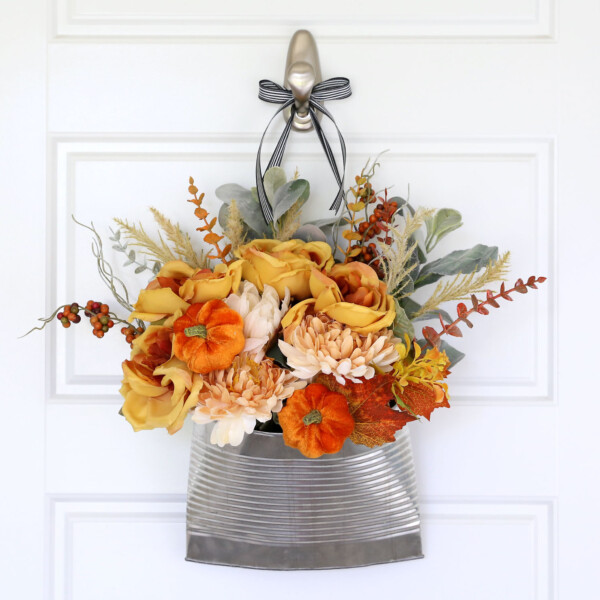
In today’s post: Learn how to make this cute floral door hanger from a large metal can. You can make one in under half an hour from just a few supplies. Change out the florals for every season!

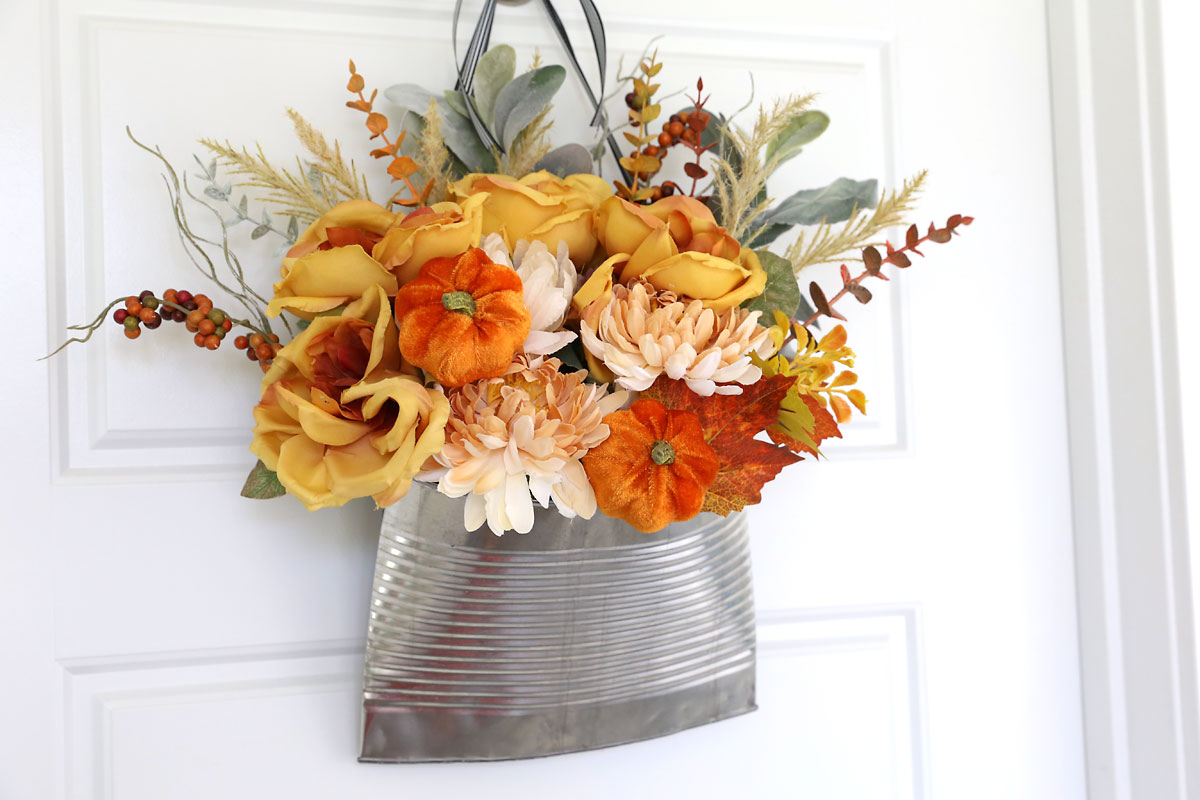
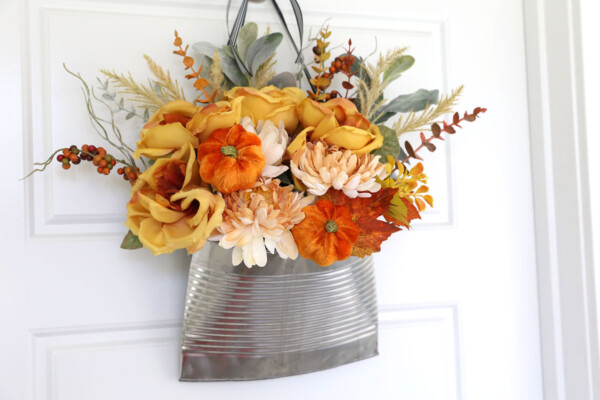
This easy project will look great on your front door! It’s a fun variation on a traditional wreath – instead of wiring flowers to a round form, you make a cute arrangement inside a metal can that’s been smashed into a pocket. It only takes four supplies and a couple of minutes to make, and it’s easy to swap out the florals for any season. Since we are heading into fall, I used pretty fall florals and a couple velvet pumpkins:
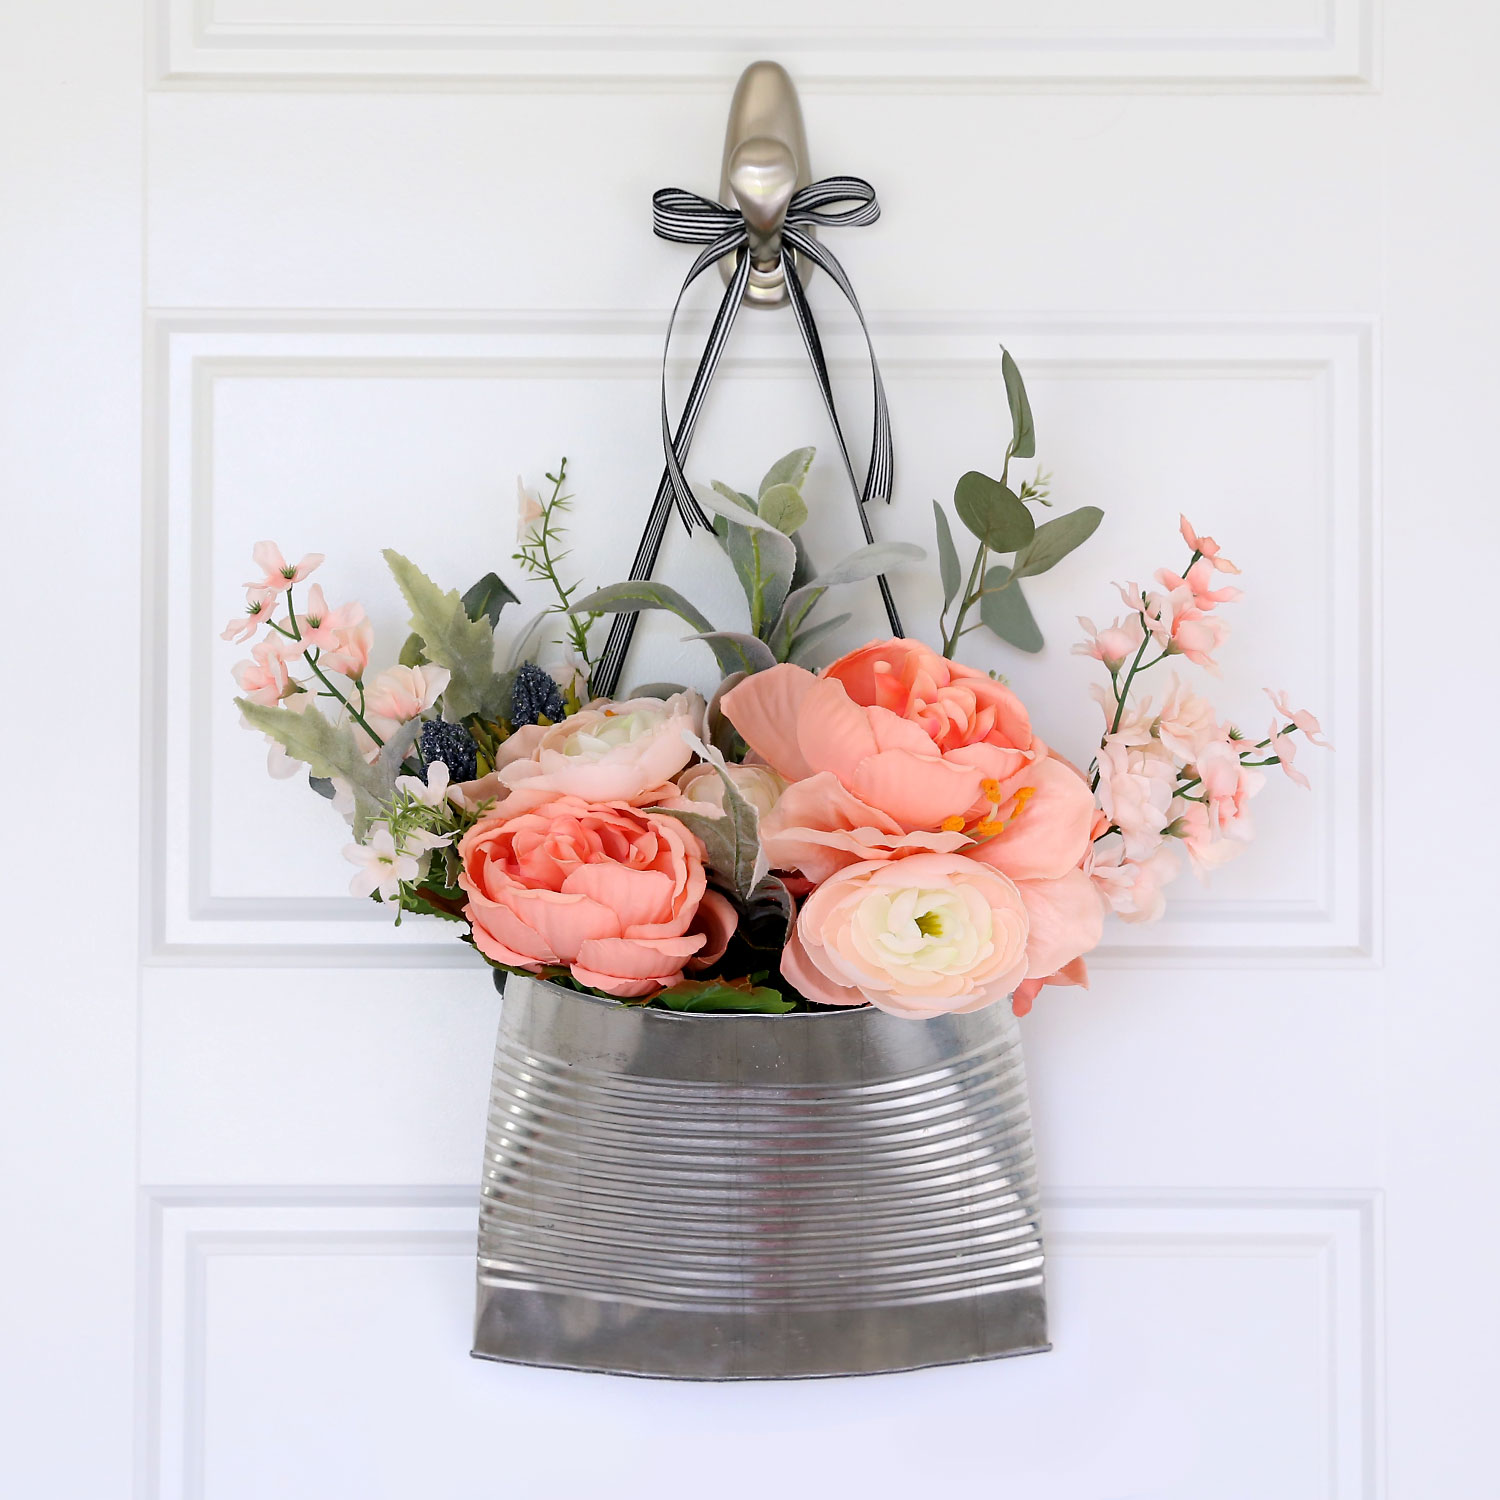
But I also had some pretty pink florals on hand, so I tried them out for a spring look too:
I’m already thinking how cute this could be with pine type greenery and berries for Christmas!
Where to Find Large Cans
The star of this project is a plain old metal food can. You can make a smaller version of this project, often referred to as a wall pocket, with 29 oz cans of fruit, tomatoes, etc. Those cans are easy to find at any grocery store. Once smashed the can will measure about 4.5 inches tall and 6 inches wide.
For a large version like the one I made, you’ll need a #10 can. It will be 6.5 inches tall and about 9.5 inches wide once smashed. You can use a can from your food storage if you have any to rotate out. If you need to buy a new can, look for bulk size items that your family will eat, such as canned peaches, at a large grocery store. I found the 105oz can of peaches I used online at Walmart.
You could also purchase a food storage size can of food that your family will eat, such as this roll mix or this pancake mix. Store the mix in another container and use as needed, then use the can for this project.
Whatever can you decide to use, make sure the bottom of the can looks the same as the top, meaning you’ll be able to remove them both.
Supplies
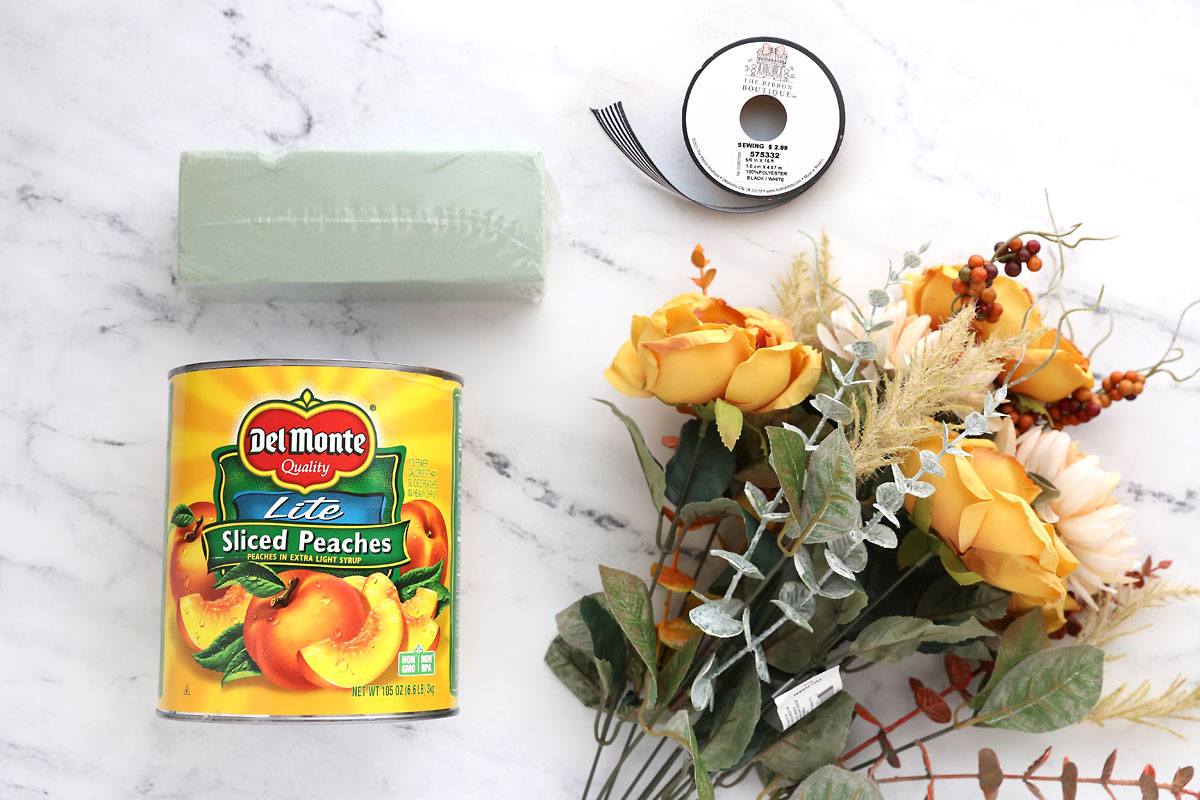
Here’s what you’ll need to make a smashed can door hanger:
- Metal Can: I used a large #10 metal can to make an arrangement large enough to hang on the front door. When choosing a can, make sure the bottom of the can looks the same as the top of the can – if the bottom has rounded edges you won’t be able to remove it.
- Block of floral foam: I used one block from Dollar Tree
- Ribbon: You’ll use about 8 feet of ribbon
- Faux Florals: You can use any florals you like! I found a pretty fall bunch at Jo-Ann’s and added a couple velvet pumpkin picks from Walmart. If your florals come in a bunch, make sure you also have scissors or snips that you can cut them with.
- Safety Can Opener: You’ll be removed the top and bottom of your can and you don’t want any sharp edges, so a safety can opener is recommended
- Goof Off or other goo remover (optional): You’ll use this to remove any glue or printing that remains on your can after you remove the label.
Smashed Can Door Hanger
Supplies
- 1 #10 Metal Can
- Block of Floral Foam
- 8 feet Ribbon
- Faux Florals
Want more project ideas? Sign up to get my favorite easy crafts and recipes straight to your inbox!
Equipment
- Safety Can Opener
- Goof Off or other goo remover optional
Instructions
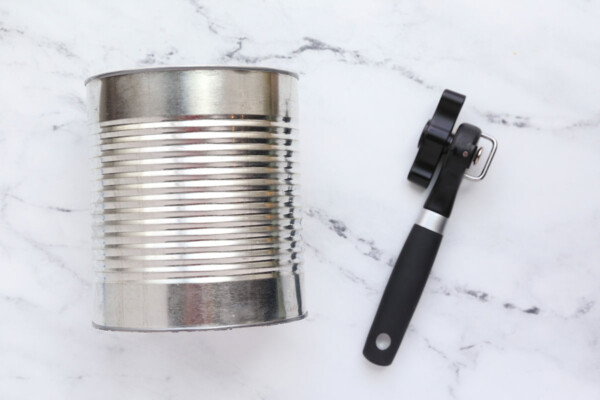
- Use the safety can opener top remove the top of the can and empty it out, saving the food in another container. Wash out the can and remove the bottom as well. Remove the label and use Goof Off to remove any residual glue or printing on the can.

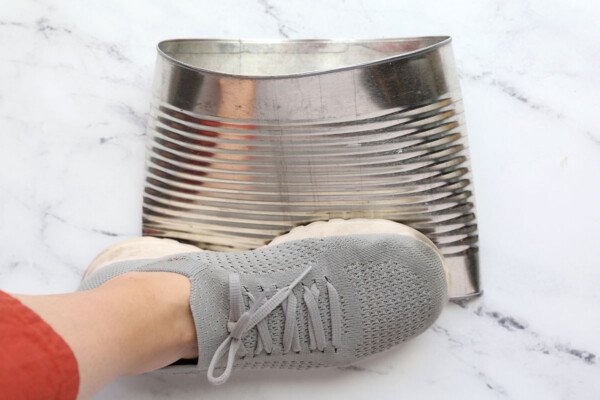
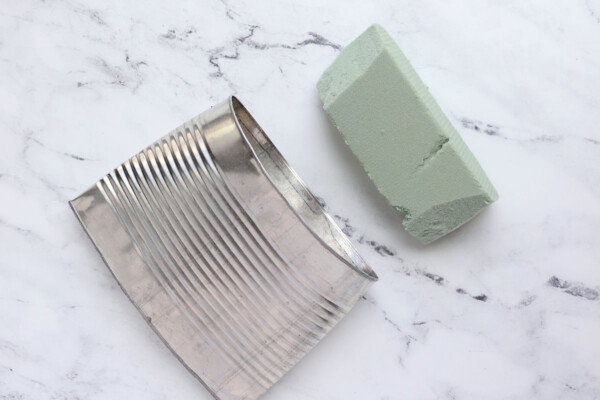
- Place the can down on a surface you aren't worried about scratching. Make sure the seam is down. Step on the bottom edge of the can to smash it closed, creating a pocket.
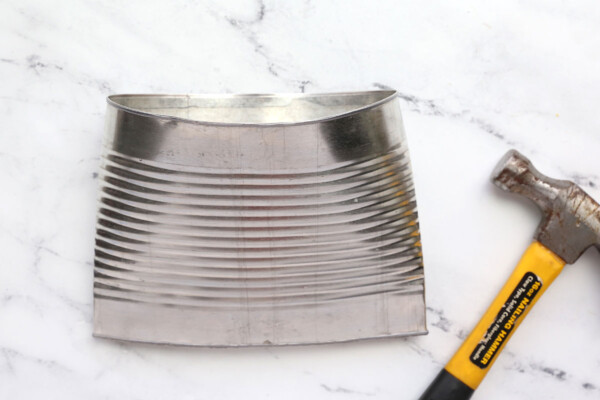
- Turn the can over and use a hammer to smash the bottom edges of the can together. If you are using a large can the bottom edges probably won't close completely. That's just fine.
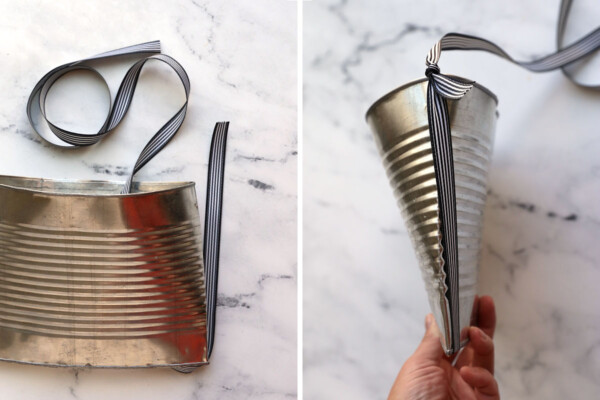
- Cut two lengths of ribbon to 4 feet each. Loop the ends of each ribbon inside the can, on each side. Bring the ribbon back up and tie it to itself as shown in the photo. After you add the florals you can tie the long ends of the ribbons together so you can hang the arrangement.
- Cut the floral block so that it fits inside the smashed can – it's easy to do this with a kitchen knife. Tuck the floral foam inside the can.
- Add florals, securing them into the foam, to create a floral arrangement. Then tie the two ribbons together at the top in a bow so you can hang it on a hook.




Bobbie Dvorak says
So excited to try this! Love the farmouse vibe!
Kelly says
How do you attach the ribbon to the can. Do you put a hole in the can on either side? You skipped that step in your directions.
Autumn says
Hi Kelly. I did not put a hole in either side. I actually tried that first and it’s hard to do. When you crush the can, the bottom edges don’t actually seal together – there is still a small opening. So it’s easy to feed the ribbon down inside the can, then pull it up on the outside and tie it to itself at the top of the can. Repeat on either side. Hope that helps!
Sharon Formando says
I read and re/read your instructions. I believe it would be easier to feed ribbon and tie off before crushing the can’s bottom.
I have no idea how to feed ribbon with bottom of can already crushed?
Thank you!
This is adorable! So tired of “wreaths”!
Autumn says
Hi Sharon! You certain can feed the ribbon prior to crushing if you like. But when you crush the can, the bottom edges don’t seal together – they stay about 1/8 of an inch apart so it’s quite easy to feed the ribbon through. Hope that helps!
Gloria says
I love your project with the can & florals, I don’t understand how to do the ribbon. Thank you ever so much.
Autumn says
Hi Gloria! When you crush the can, the bottom edges don’t actually seal together – there is still a small opening. So it’s easy to feed the ribbon down inside the can, then pull it up on the outside and tie it to itself at the top of the can. Repeat on either side. Hope that helps!
Pauline says
Looks beautiful.
Brilliant idea and so simple!
Thank you!