
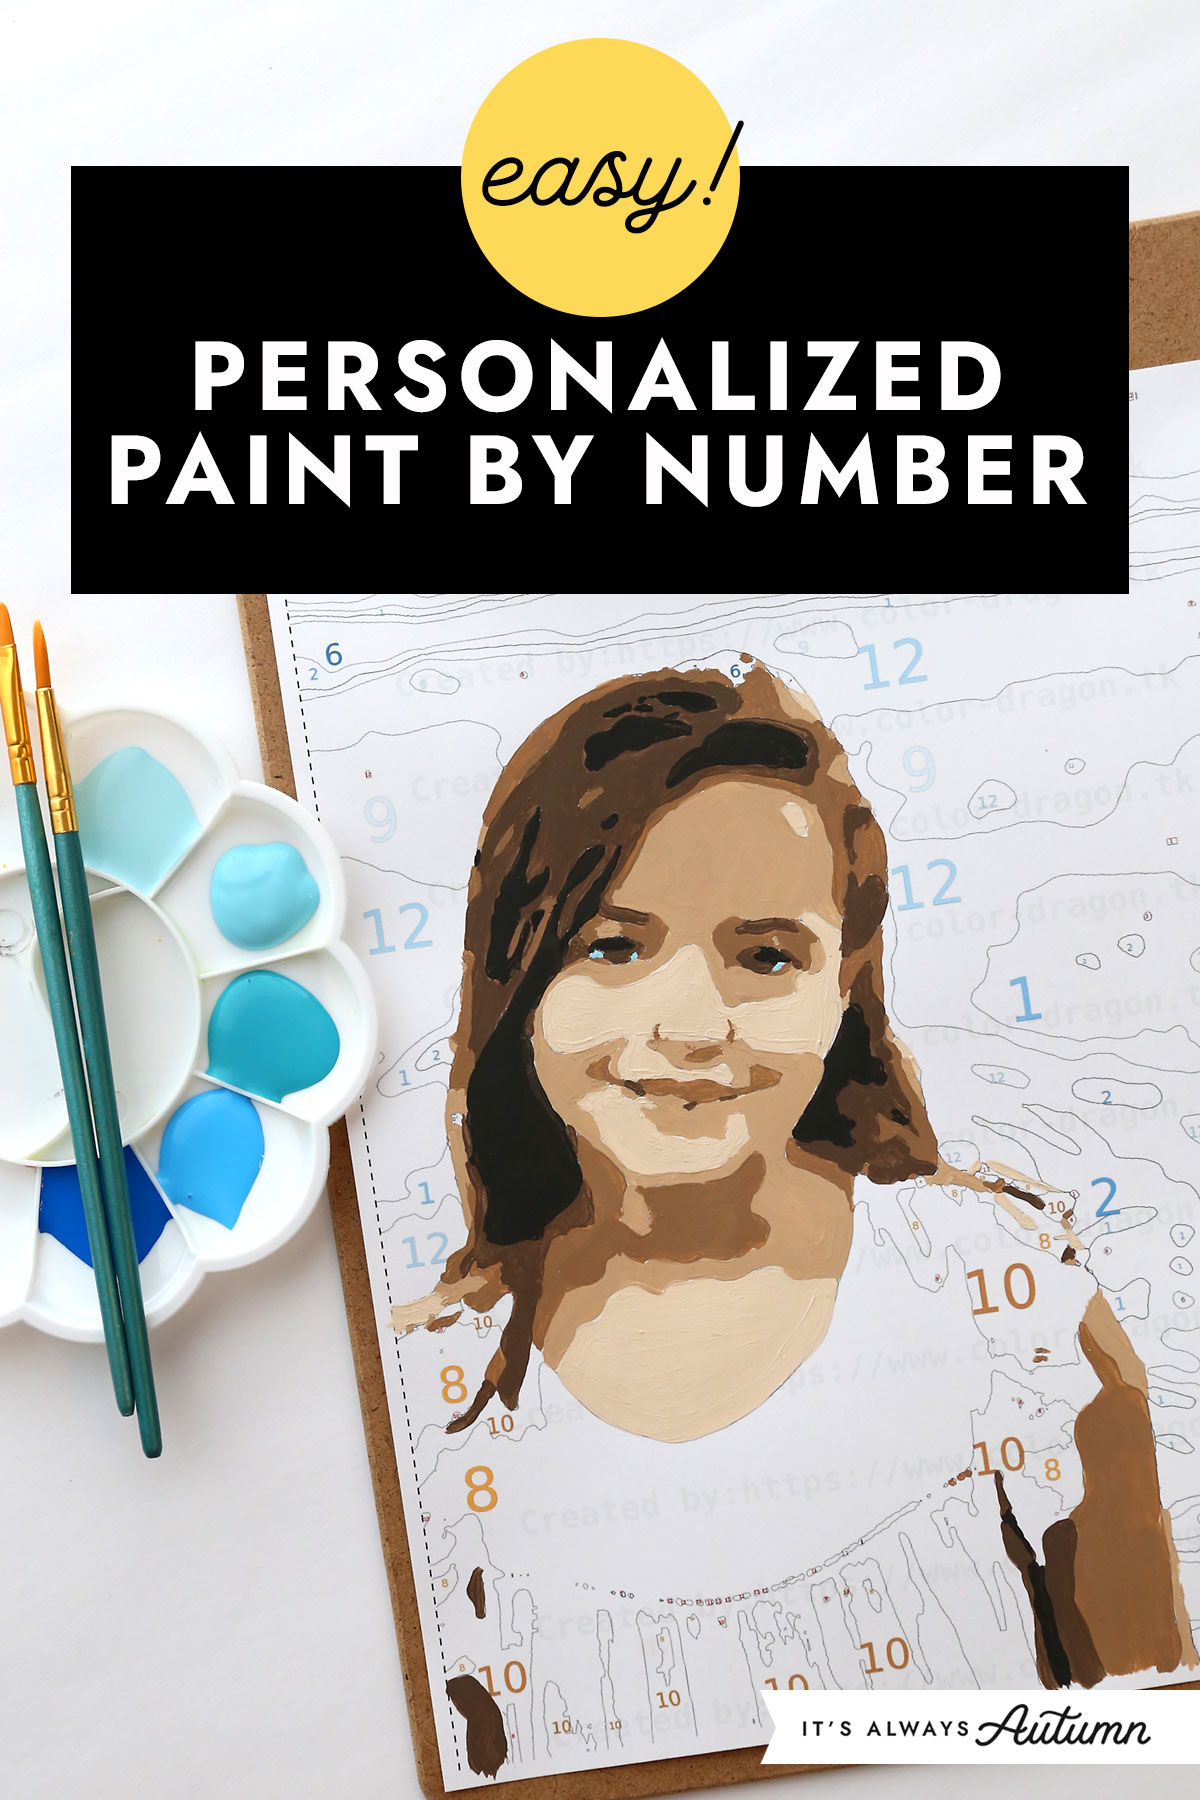
In today’s post: It’s easy to use a free web page to turn a favorite photo into a personalized paint by number. This is a fun, relaxing project to work on and it makes a beautiful gift.
Remember doing paint by numbers as a kid? They’re super fun because you can, without any artistic ability at all, paint a beautiful picture that’s pretty enough to hang up on your wall. You can buy kits that include everything you need to paint beautiful scenes.
But what if you could turn your own photos into paint by numbers? Turns out – you can! Make this relaxing project even more fun by creating your very own personalized paint by number art.
Personalized Paint by Number
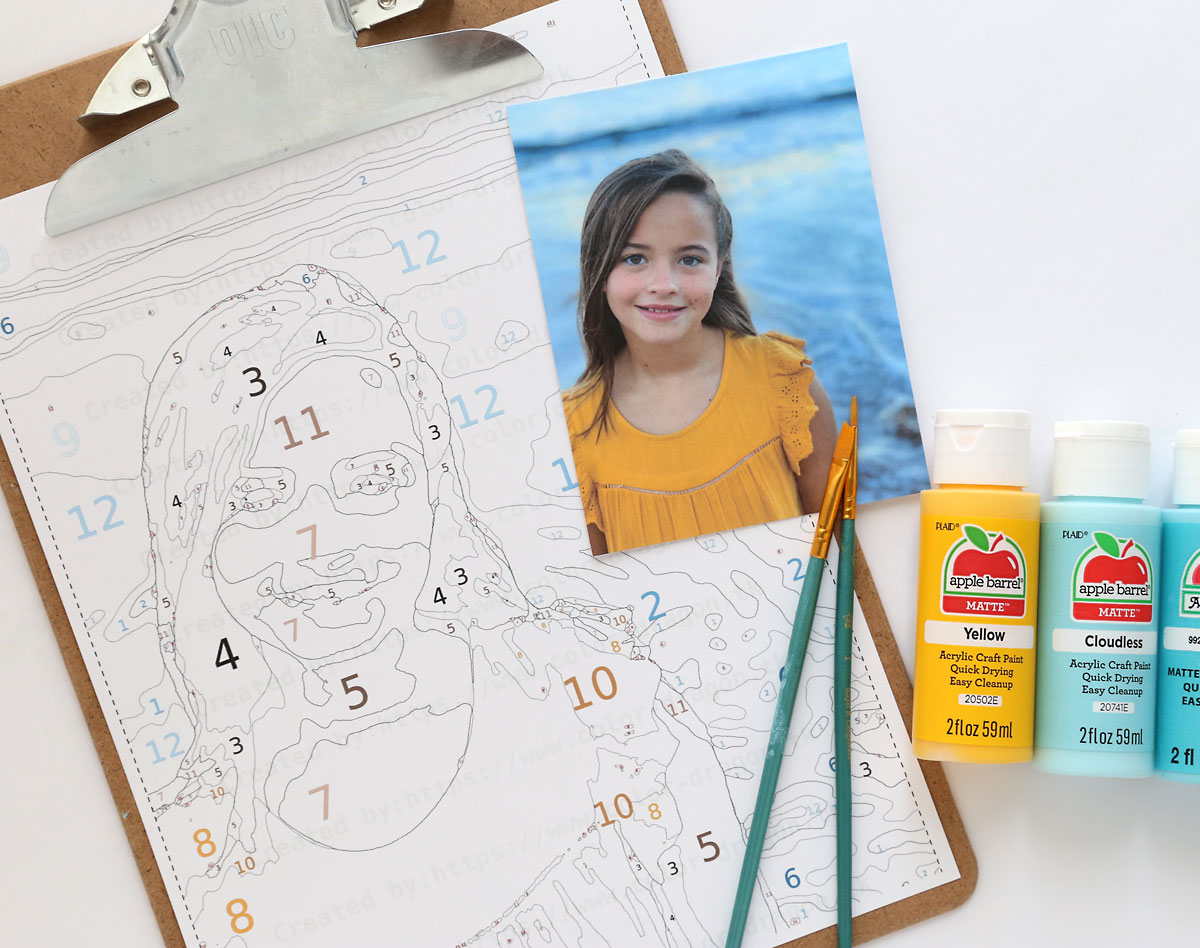
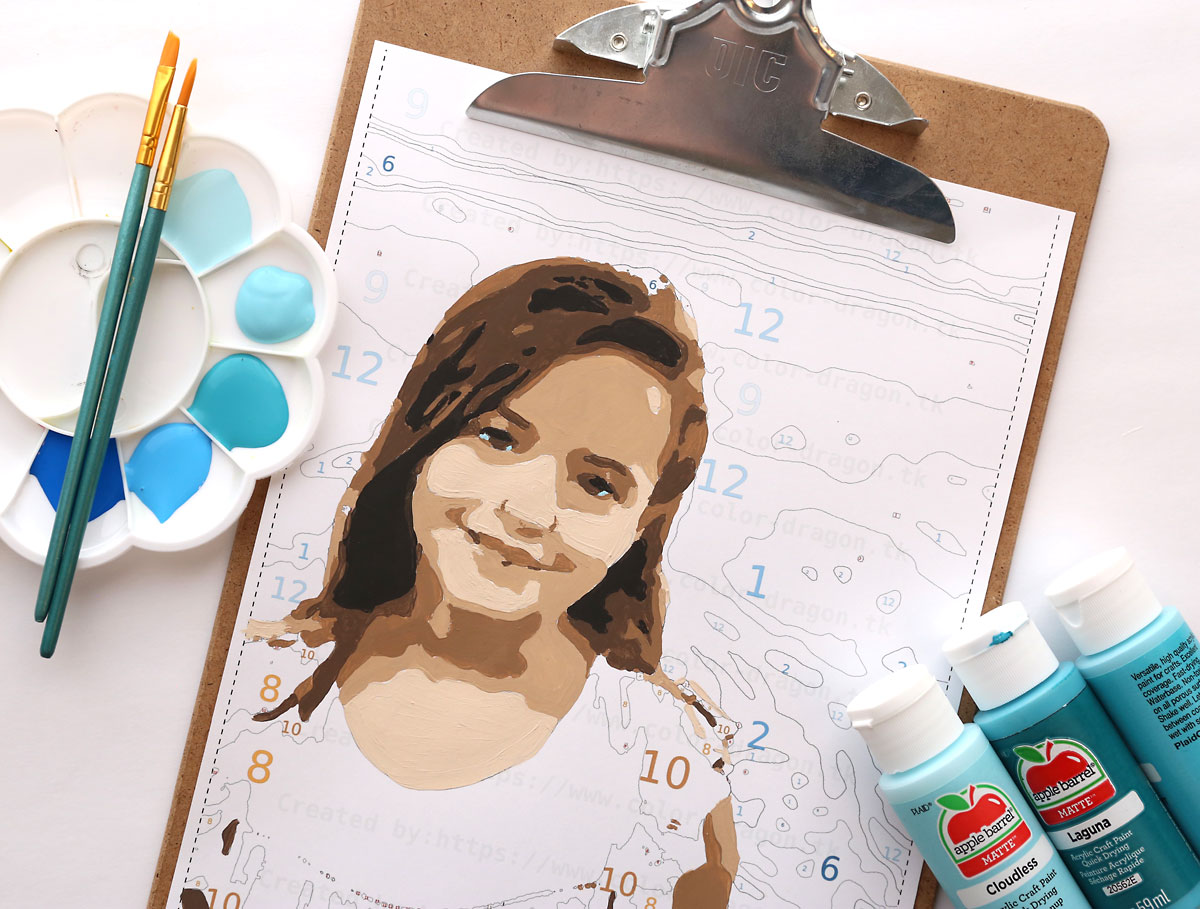
I found a website called Color-Dragon that allows you to upload a photo and then choose how many colors and how much detail you want in the painting. Then the site churns out a page ready for you to paint. (This is not a sponsored post, I just stumbled across this site and thought it was too fun not to share.) Here’s my photo along with the paint by number I created:
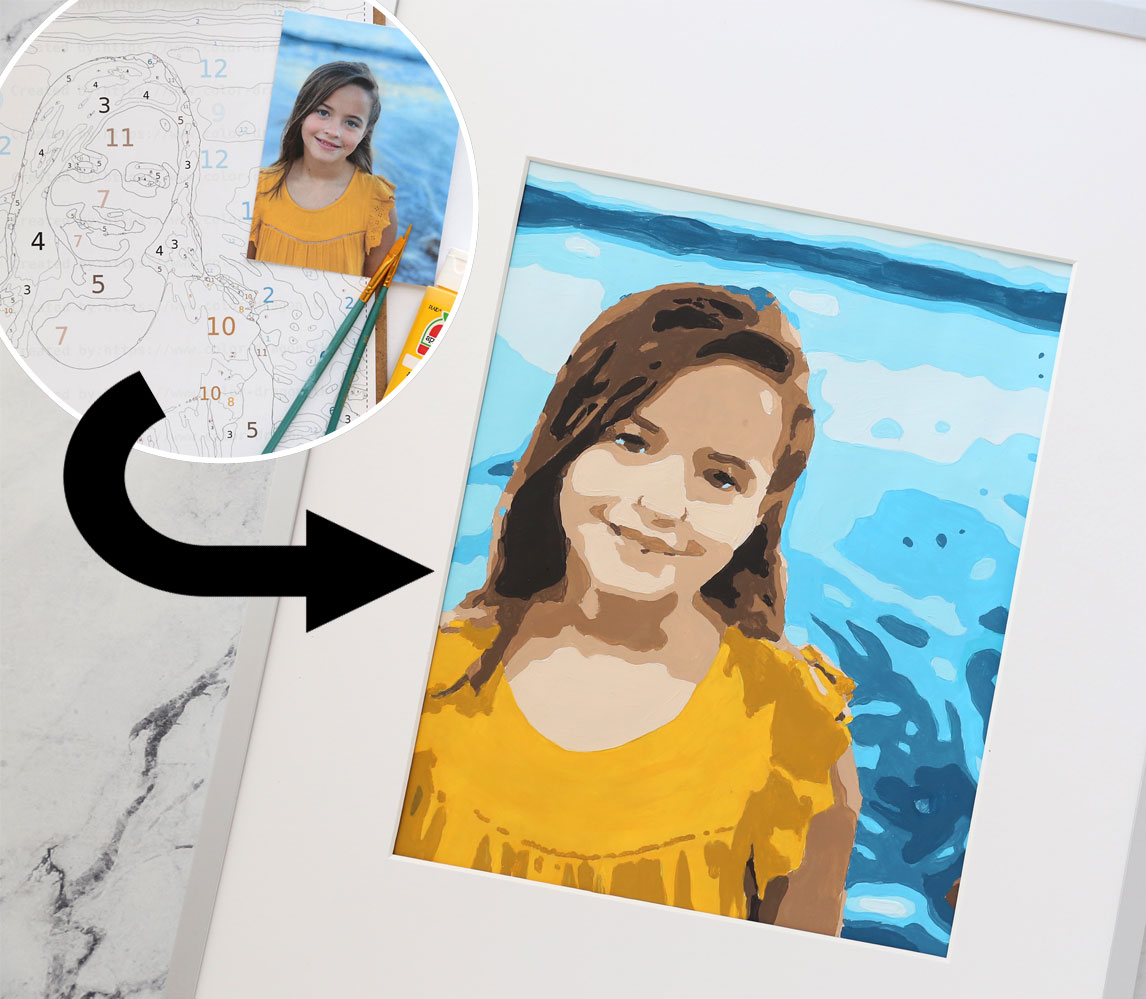
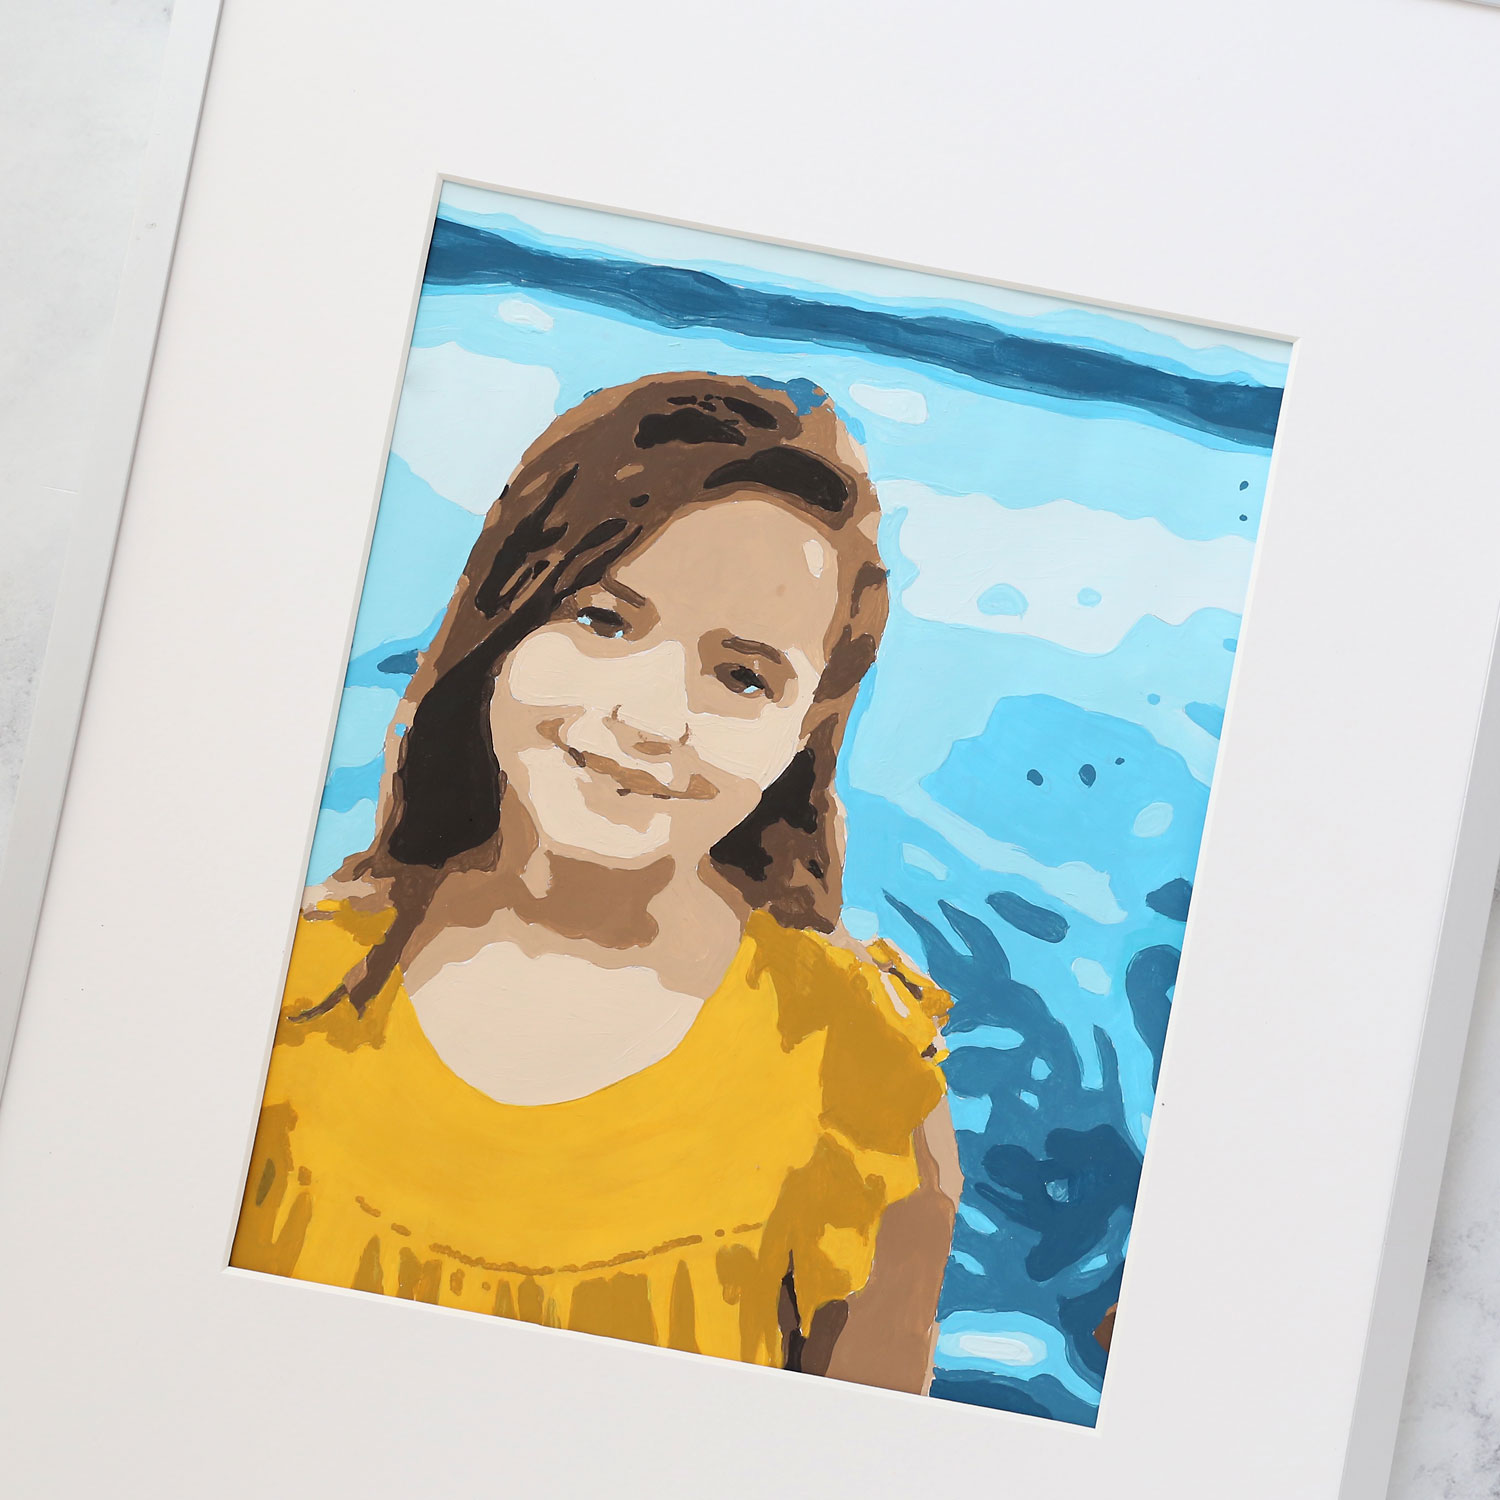
Here’s the before and after of my project:
Supplies
To make a personalized paint by number, this is what you’ll need:
- Digital file of the photo
- Card stock or other thick paper to print the paint by number on. I used card stock and there was just a little bit of buckling from the paint, but it wasn’t bad.
- A couple small paint brushes in different sizes. I used an inexpensive set from Walmart similar to this one.)
- Acrylic paint in the colors required for your paint by number. You can purchase little bottles of craft paint at Walmart for around 50 cents each, so it’s not that expensive to buy paint in each color you need. However, it’s also pretty easy to mix colors, especially if you end up with multiple shades of the same color.
How it Works
First, you’ll visit the Color-Dragon site and upload the picture you’d like to use. Next, you’ll choose how many colors you want in your final image. I didn’t want mine to be too complicated, so I chose 12 colors. The site gets to work generating your image and then shows you a preview so you can decide how much detail you want in the final image. More detail might look better, but it will also make your painting harder to complete, so play around with the slider and choose the simplest version you think you’d be happy with. Once you click “proceed” your image is generated.
What Kind of Photo Works Best?
You may want to upload a couple different photos and see how they translate to paint by numbers before choosing the one you like best. Avoid photos that are very busy and have lots of different colors in them, i.e. clothes with a colorful pattern, because that makes the finished image very complicated. Also pay attention to how any faces in the photo look in the preview. In general, a simpler photo will probably work better, unless you are up for a challenge and happy to work on very intricate details.
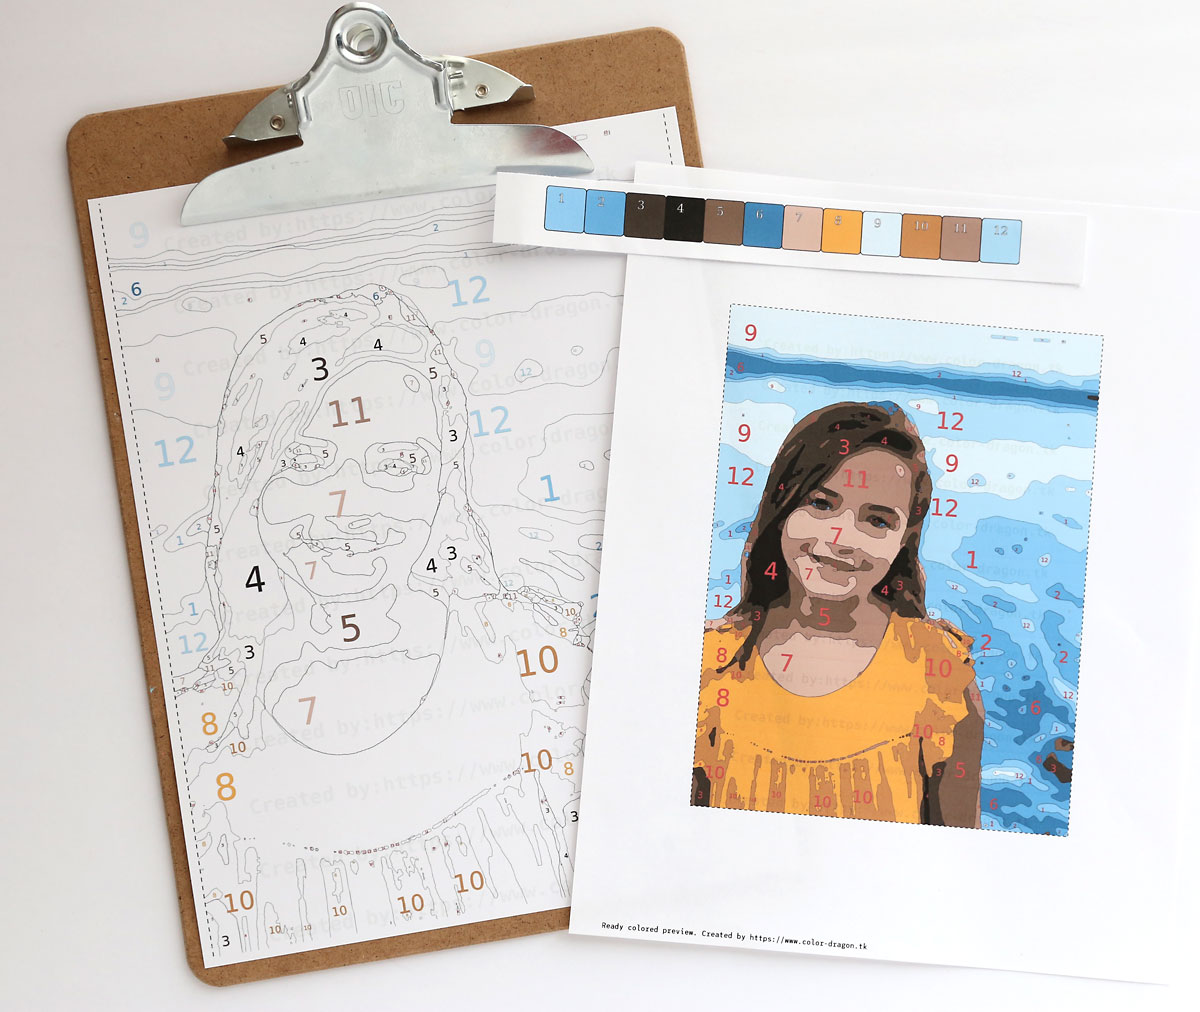
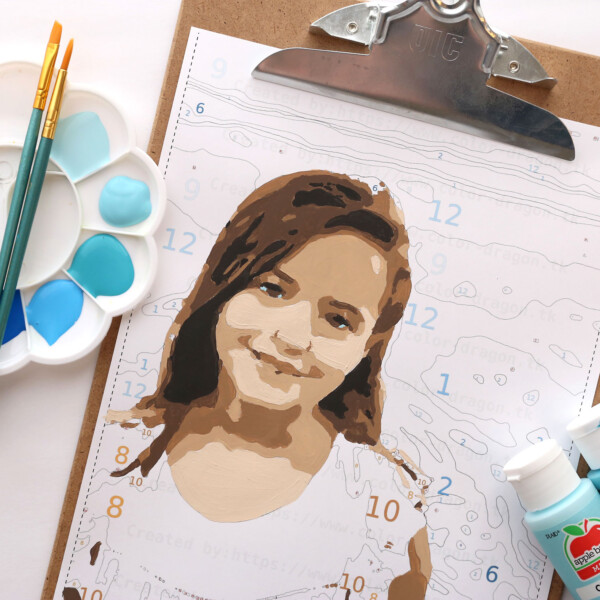
Once you’ve generated the paint by number image, you’ll be able to print it out, along with a colored preview showing what the final image will look like, and a color strip that tells you what color paints you’ll be using. The colored preview, which you can see below, is very helpful as you paint in identifying small areas of certain colors.
There is a paid option that allow you to print the image in larger sizes without watermarks, but I just used the free option. To get an 8×10 size painting, I opened the pdf in Preview (Mac application; use whatever pdf editor you have on Windows) and printed it out at 140%. Alternately you could simply print it from your computer and then take it to a copy shop to have it enlarged to an 8×10, or whatever size you’d like to use.
Tips for Success
Once you have everything printed out, it’s time to start painting! Here are some tips to make sure you love your final project:
- Try to paint all of the same color at once, in one sitting. Look closely over the paint by number image and the preview image to make sure you aren’t missing any small spots of the color you are working on. This is especially important if you have mixed paints to create some of your colors. If you need to stop before you’ve painted ALL of one color, be sure to save some of that color in a container so you won’t have to remix and try to match.
- Acrylic paint dries quickly, so you can finish one color and move immediately on to the next without worries about smearing. Just be careful as you paint not to place your hand down on a section you’ve just barely painted.
- Most areas of my painting needed two coats of acrylic paint for even coverage and to make sure you couldn’t see any numbers or the watermark showing through.
- To minimize buckling, you can tape your paper to a clipboard or other sturdy board while you work on. Leaving it taped to the board until it’s completely dry will help it to dry nice and flat.
- Don’t stress! Early on in the painting things can look wonky and you might be worried you’ve ruined it. But keep going – it will turn out great! The fact that it’s not as realistic as a photo is all part of the charm.
Personalized Paint by Number
Supplies
- Digital Photo
- Card Stock
- Assortment of small Paintbrushes
- Acrylic craft paint in required colors
Want more project ideas? Sign up to get my favorite easy crafts and recipes straight to your inbox!
Instructions
- Begin by uploading a photo to the Color-Dragon site (https://www.color-dragon.tk/en). Follow the instructions to generate a color by number image.
- Print the image on card stock or other thick paper, enlarging if desired.
- Gather paints in the colors shown on the included color strip. You can mix paints with white, black, or other colors to get the different colors needed.
- Working one color at a time, paint within the lines to create the finished image. Refer to the colored preview if you need help determining what color goes in some of the smaller spaces.
- Allow to dry thoroughly, then display.

Jan says
As Freenom went down, the color-dragon domain was now switched from color-dragon.tk to color-dragon.eu.
nana says
Incredible beauty, I want something like this for myself too! 😍