
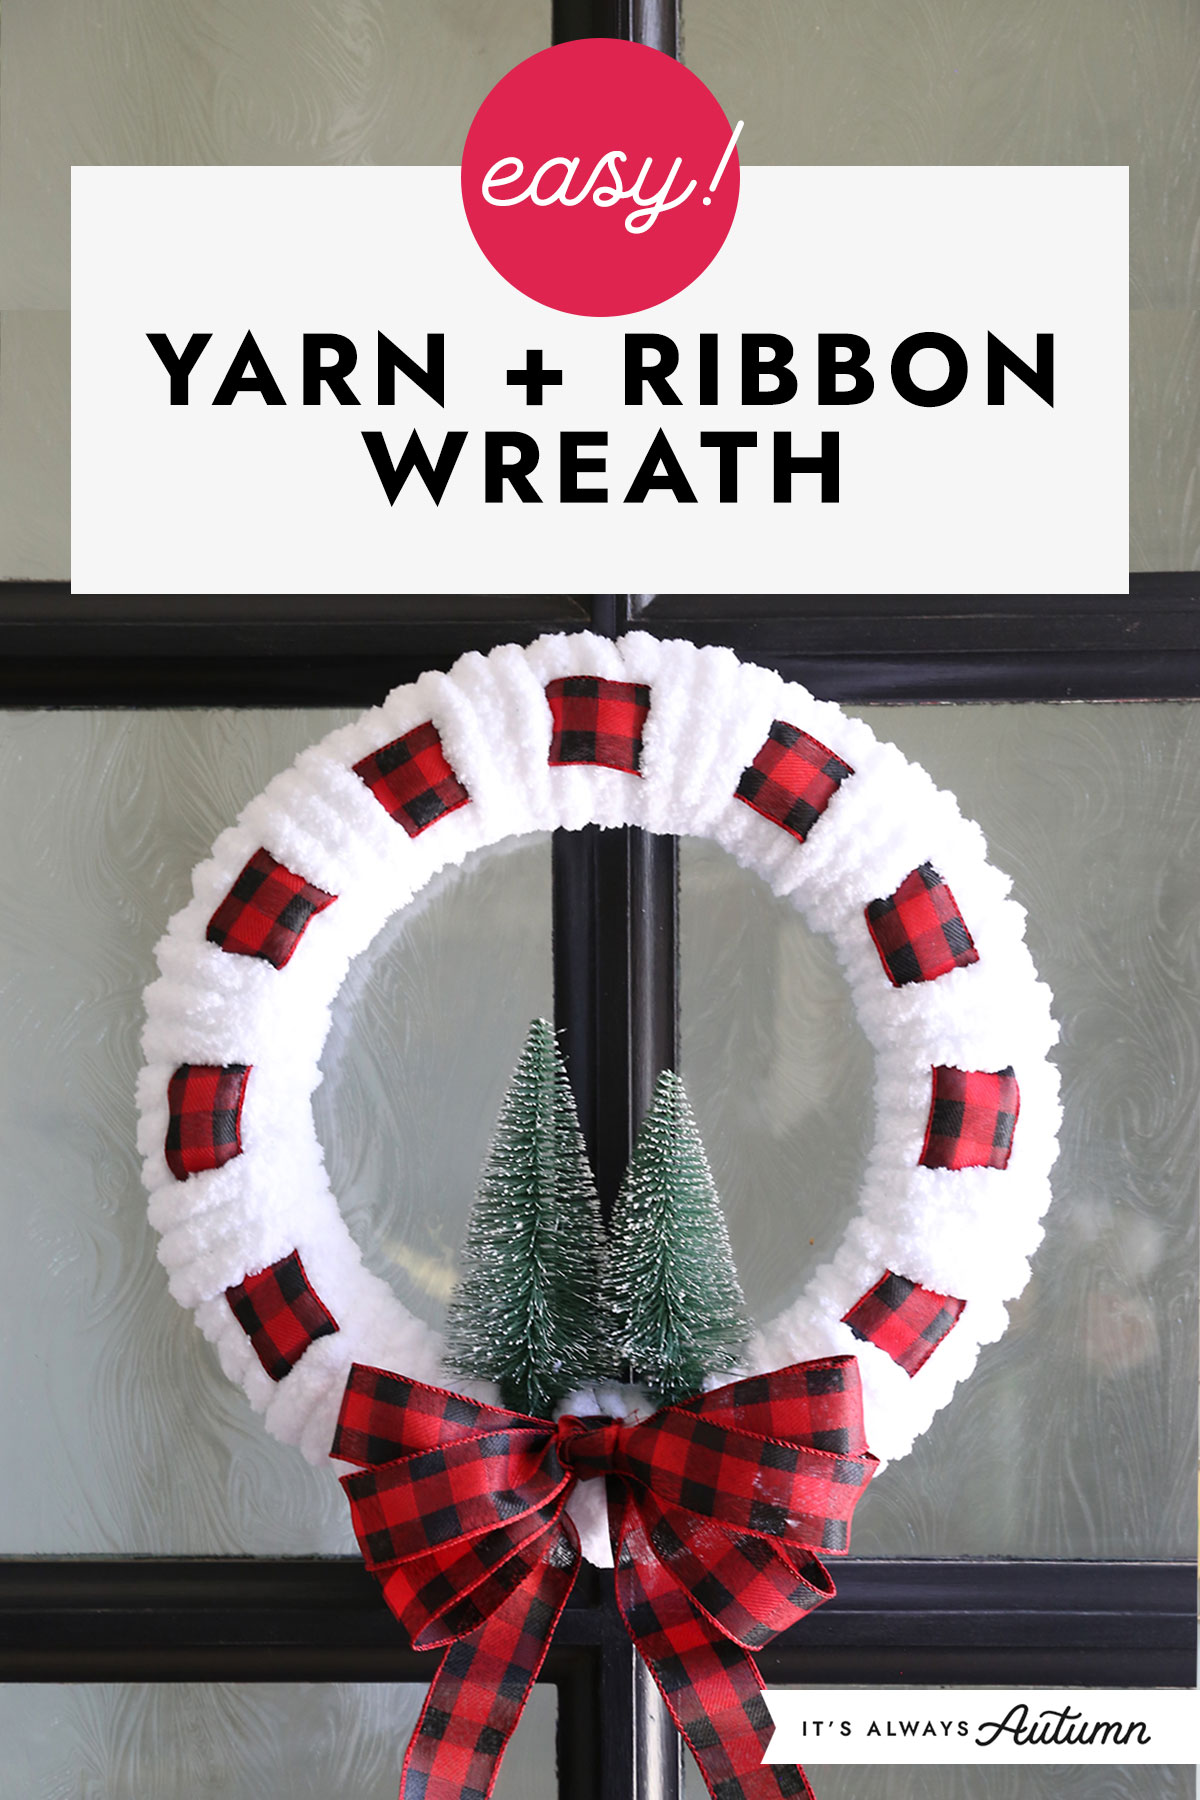
In today’s post: You can make this pretty woven yarn and ribbon wreath in about an hour. Mix and match patterned ribbons and different colors of chunky yarn for any season or holiday.
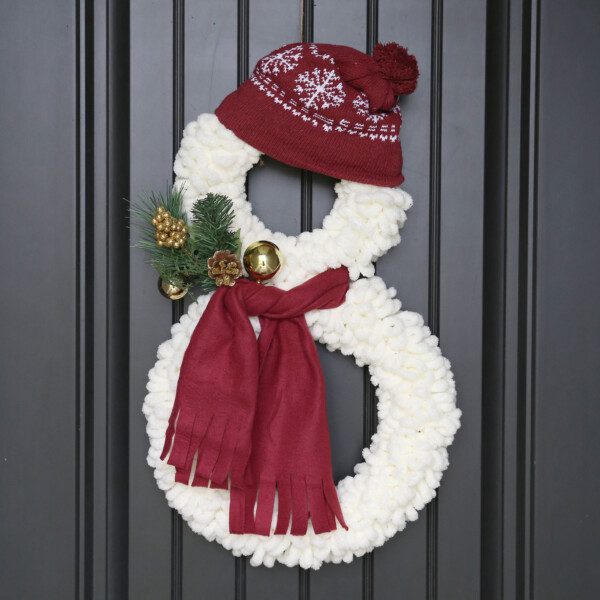
Related: Snowman Wreath, Smashed Can Wreath, Spring Umbrella Wreath
When I first saw a woven ribbon + yarn wreath I knew immediately I wanted to make one. This is a fun, easy project you can work on while watching your favorite Christmas movie.
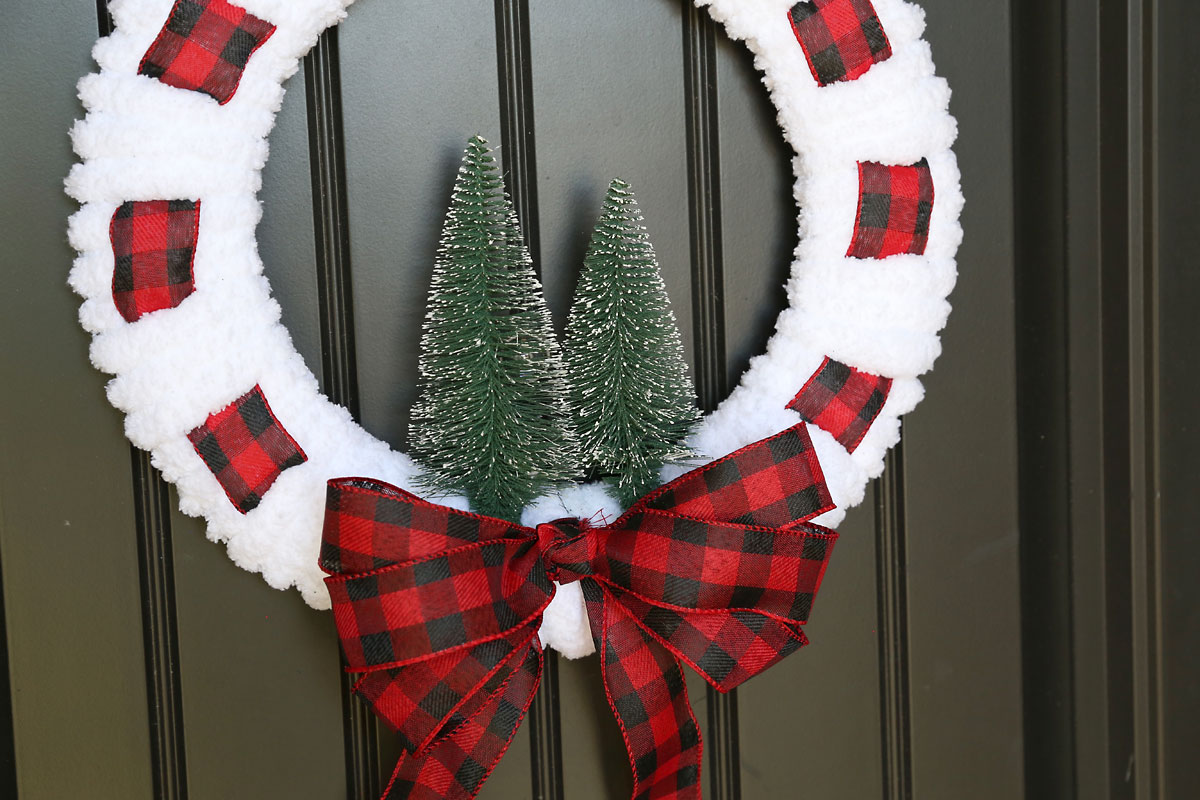
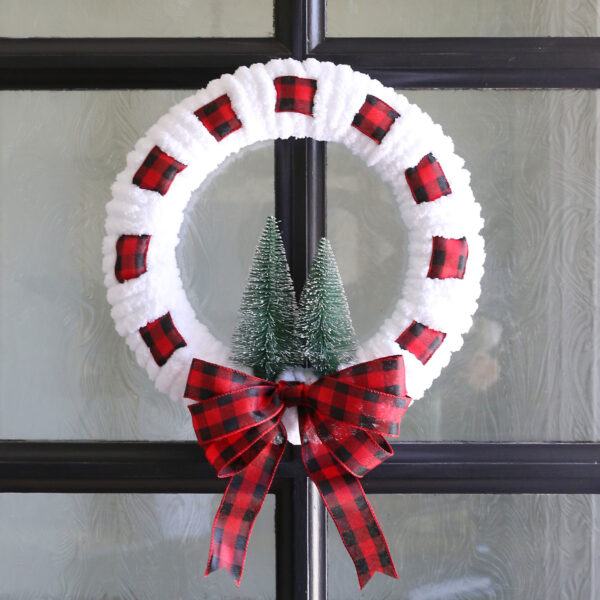
The versions of this wreath that I’ve seen before usually have large bows at the top with tails hanging down into the center of the wreath. You can easily make it that way if you prefer. I decided to place the bow at the bottom of the wreath and add a couple of little Christmas trees in the center. You can dress up your wreath any way you like – it would be super cute with a couple of bells or a little pair of ice skates hanging in the center.
Any Color, Any Season
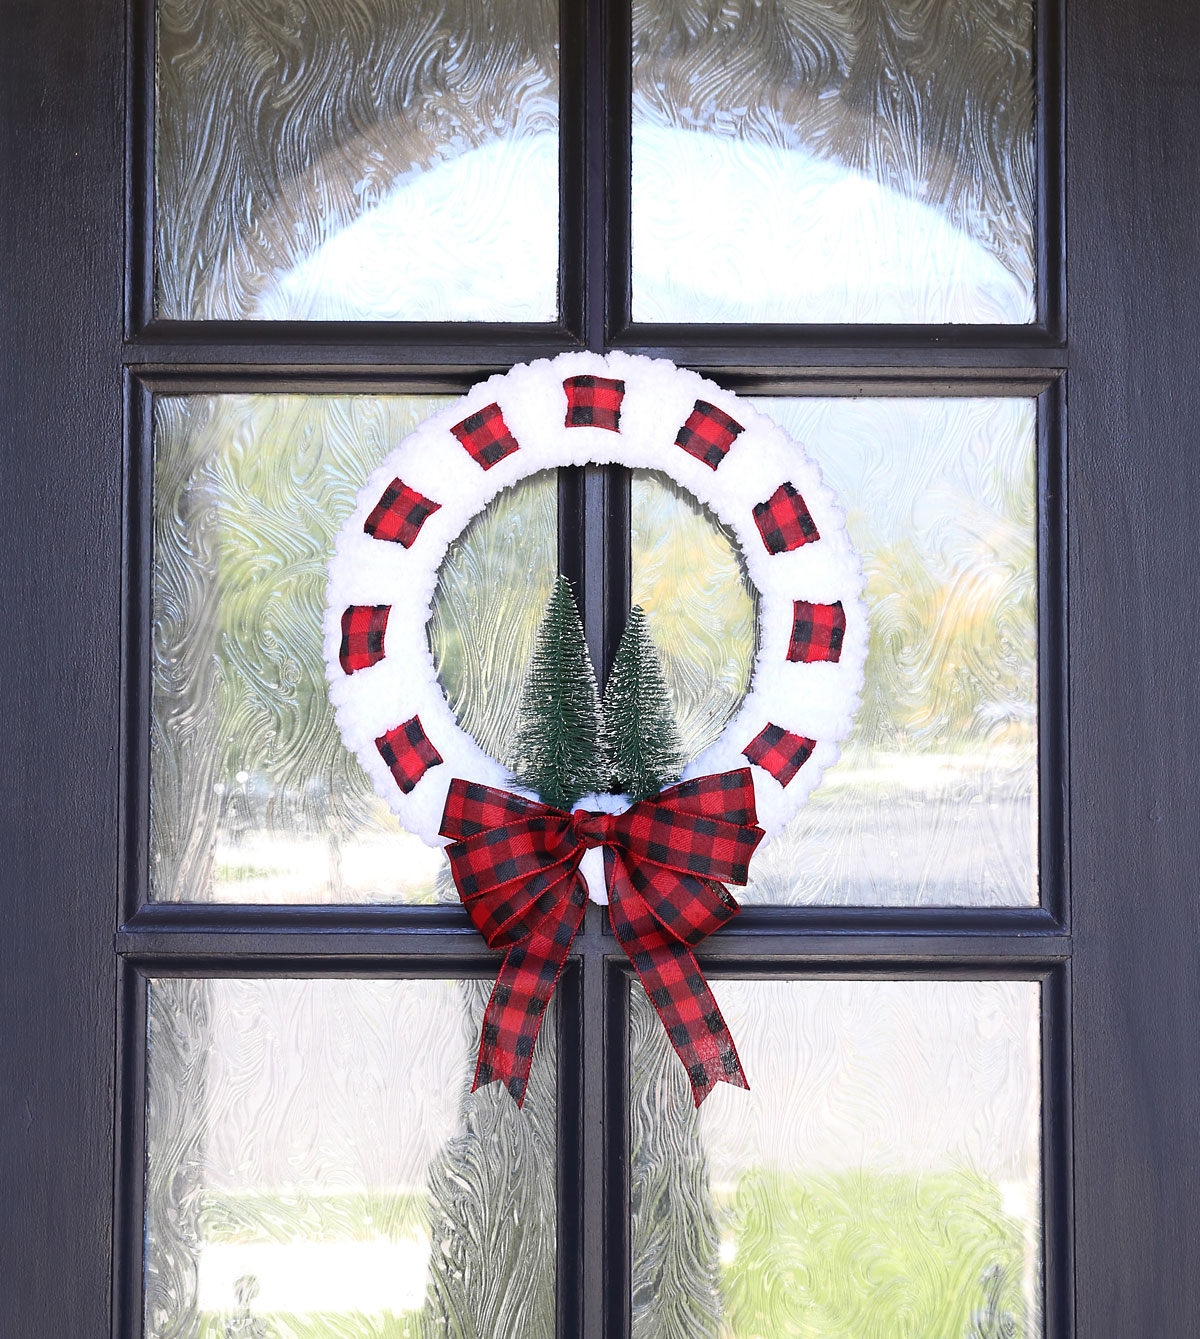
One of the best things about this type of wreath is that you can use different colors of yarn along with any pattern of ribbon to make a wreath for any season or holiday. Because they don’t take long to make, you might want to make a couple different varieties to display at different times of year. It will look great on your front door or hanging over your holiday mantle.
Supplies
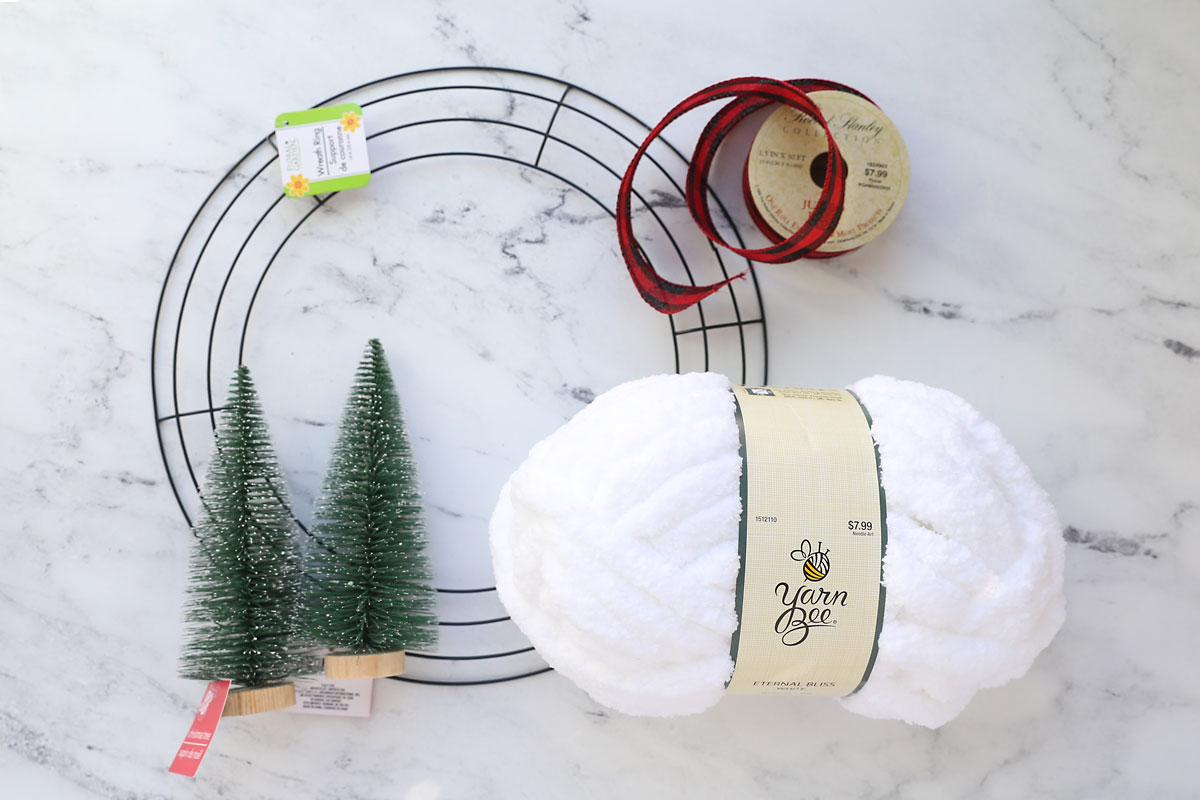
This is what you’ll need to make this yarn and ribbon Christmas wreath:
- A round wire wreath form. I purchased mine at Dollar Tree
- A skein of fat, chunky yarn. I used white Yarn Bee Eternal Bliss yarn from Hobby Lobby. I think I used about half the skein for this wreath.
- Wired ribbon, 1.5 inches thick, approximately 5 yards.
- Any embellishments you’d like to add in the center of your wreath. I used two small bottle brush Christmas trees from Dollar Tree.
How To Make a yarn + Ribbon Wreath
This is a simple Christmas craft that would be fun to work on with friends during a craft night. Here’s how you make a woven yarn and ribbon wreath:
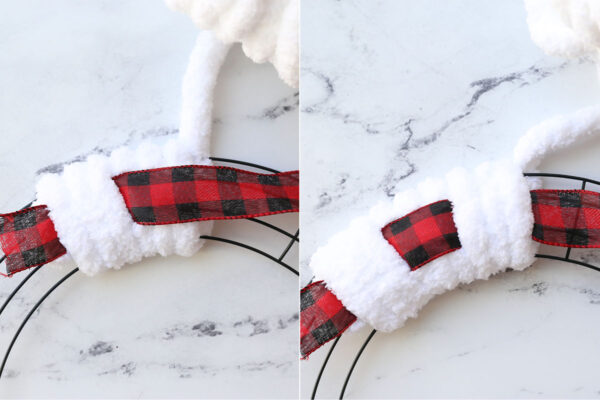
Wrap Yarn over Ribbon
Begin by tying the end of the yarn to one of the wires on the wreath frame, with the knot to the back of the frame. Then lay the ribbon over the wreath form and begin wrapping the yarn around the frame, passing it through the center of the frame to wrap. Wrap the yarn three times over the ribbon.

Wrap Yarn Under Ribbon
Lift the ribbon up and out of the way and wrap the yarn around the frame three more times. Then place the ribbon back down, so it lays over the yarn. Wrap three more times with the ribbon under the yarn.
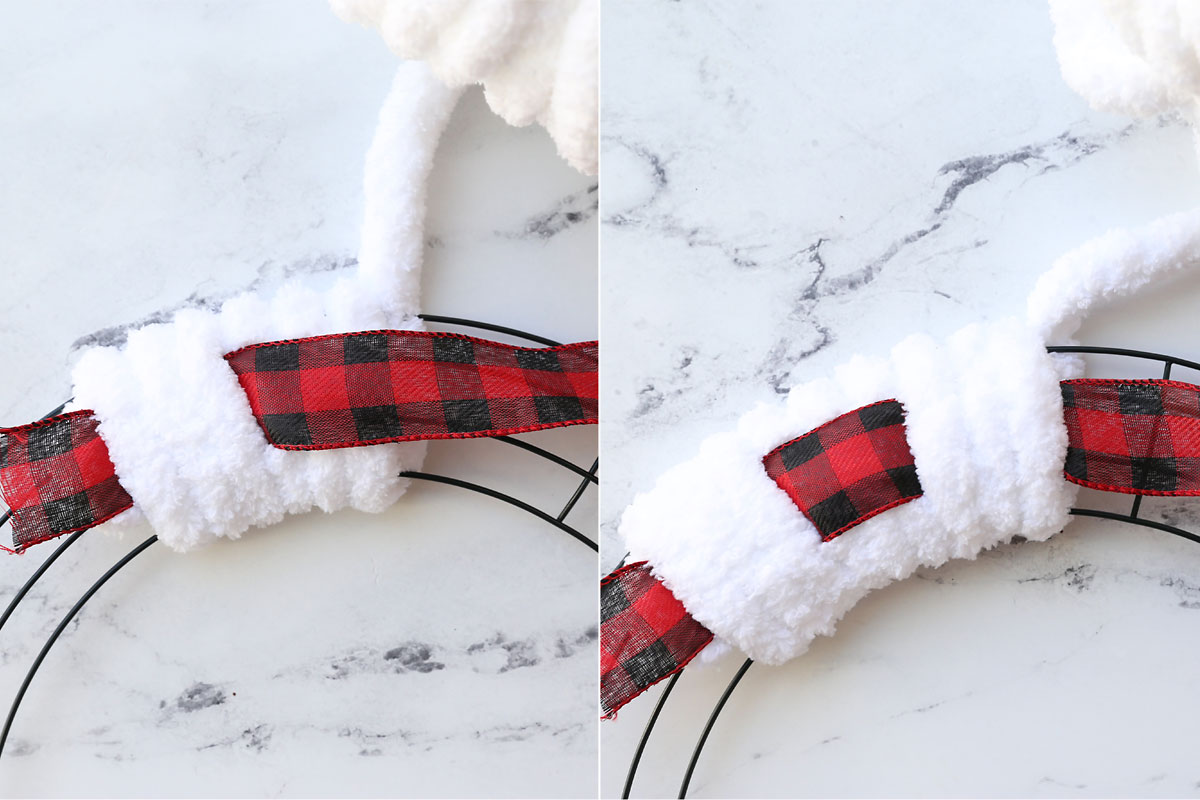
Continue wrapping the yarn around the frame, lifting the ribbon to create three rows of yarn under the ribbon, then placing it back down and continuing to wrap to create three rows of yarn over the ribbon.

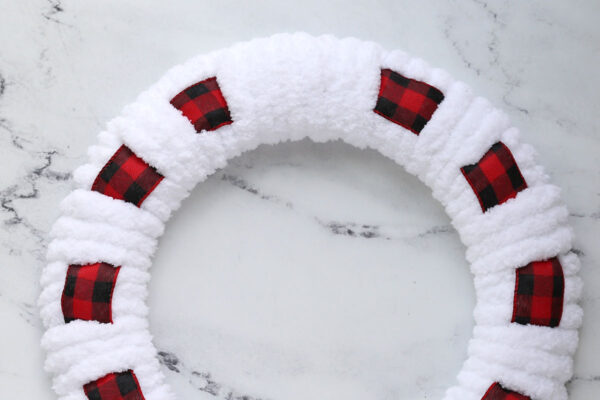
Finish Wrapping the Yarn
When you get back to where you started, trim the ribbon so it overlaps and hot glue it to itself to secure.
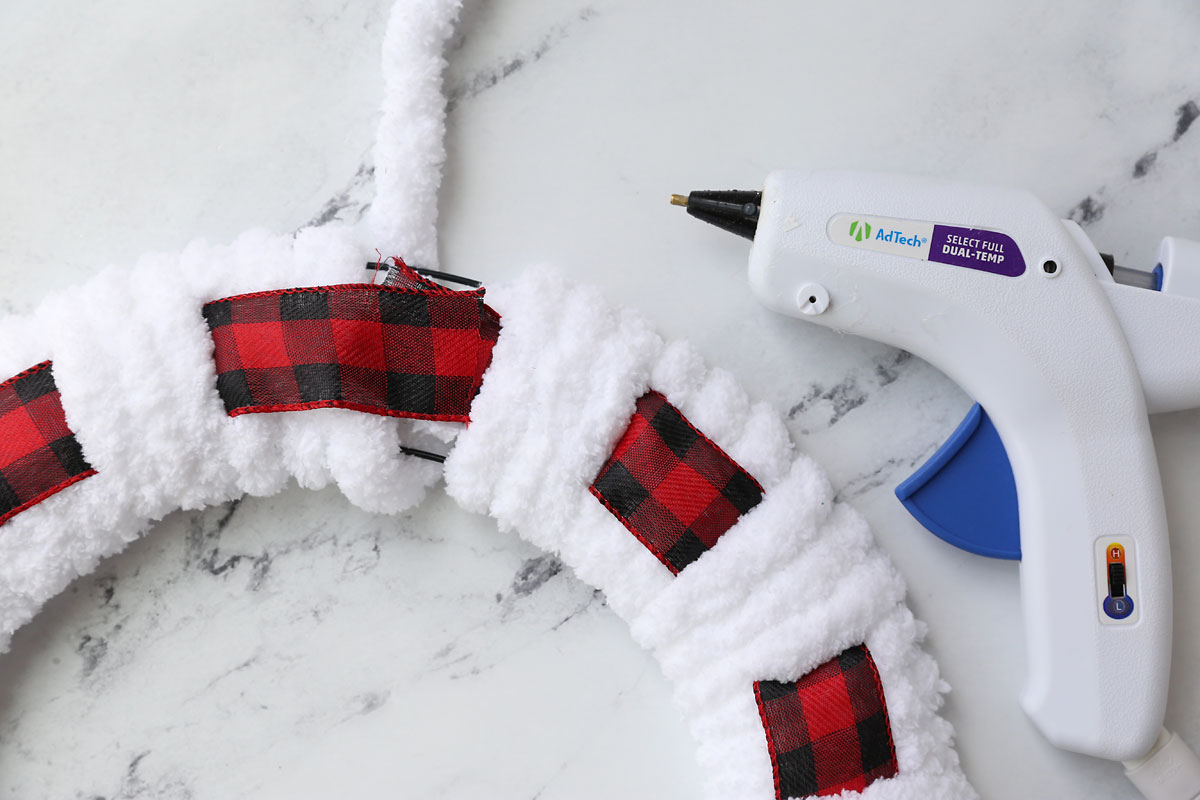
Continue wrapping the yarn around until the wreath frame is completely covered. It doesn’t matter if you have more than 3 rows of yarn in a row, that will get covered by the bow. When the wreath frame is completely covered, trim the yarn and tie it to the frame in the back, then hide the tail inside.

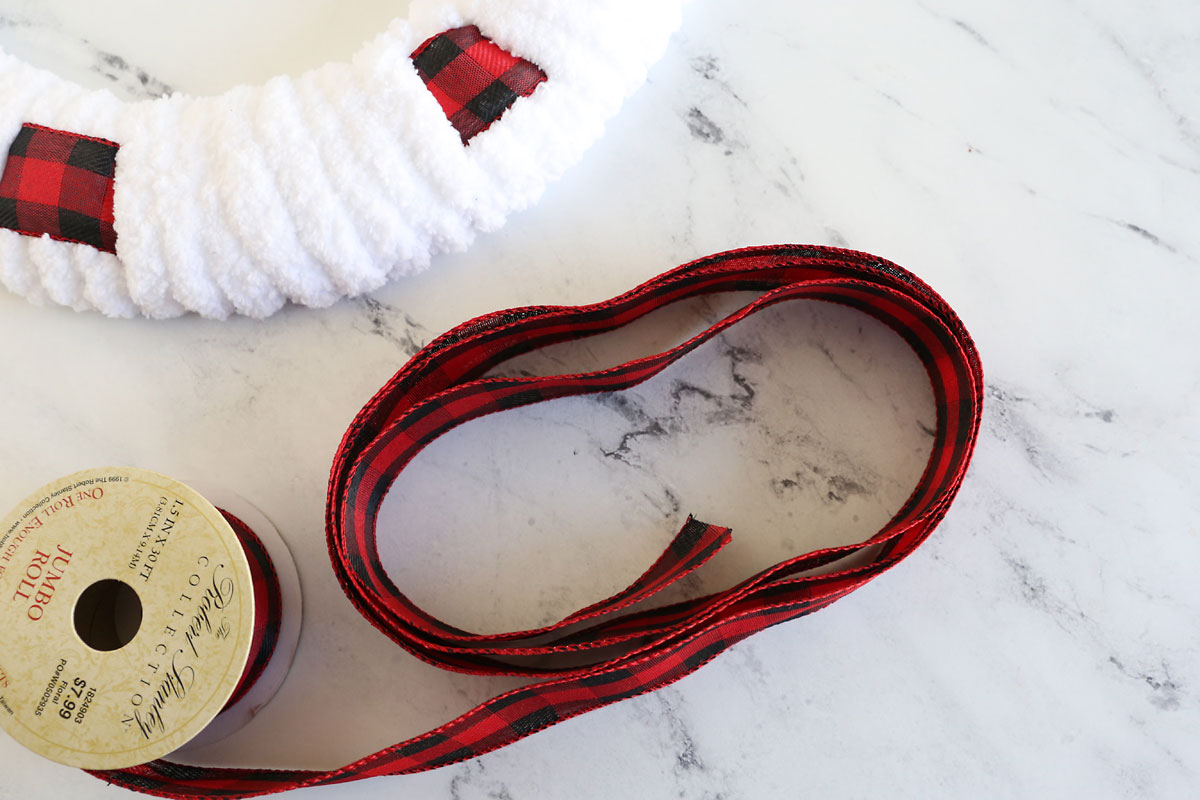
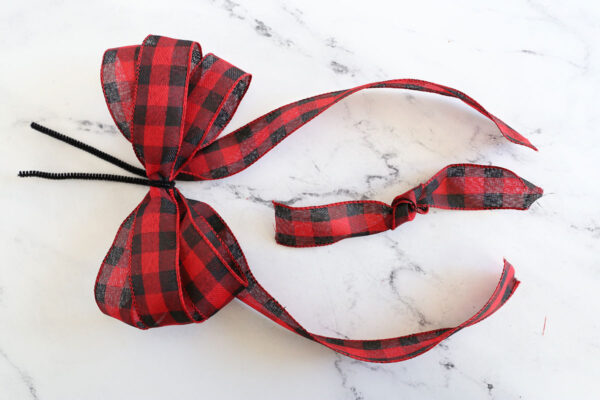
Make a Bow
To make a bow, create a circle of ribbon, then wrap ribbon around the circle two more times so you have three loops.
Pinch the center of the loops together. Create one more large loop down below and bring it back up to where you have pinched. Use a pipe cleaner, floral wire, or zip tie to secure the loops.

Cut the large bottom loop in half to create the tails of your bow. Also cut a short piece of ribbon and tie a knot in the center of it. You can wrap that short piece of ribbon around the center of the bow, covering up the pipe cleaner, and tie or glue it together in the back.

Embellish the Wreath
Once the bow is created, you’ll have three loops to either side of the center. Pull one loop up and one loop down on each side to fluff the bow. Attach it to the wreath using the pipe cleaner (or hot glue or floral wire). Attach any other embellishments you’d like to add. The bottle brush trees I purchased from Dollar Tree were a little too tall, so I pulled them off their bases and trimmed them down before gluing to the wreath.

Woven Yarn and Ribbon Wreath
Supplies
- Round Wire Wreath Frame
- Chunky Yarn
- 1.5 inch wide Wired Ribbon about 5 yards
- Embellishments
- Pipe Cleaner, Floral Wire, or Zip Ties
Want more project ideas? Sign up to get my favorite easy crafts and recipes straight to your inbox!
Instructions
- Tie one end of the yarn to the back of the wire wreath frame. Lay the ribbon over the frame. Begin wrapping yarn around the wreath, wrapping 3 times over the ribbon to create 3 rows of yarn.

- Move the ribbon out of the way and wrap 3 times again. Place the ribbon over those three rows of yarn. Then wrap the yarn over the ribbon three more times. Continue wrapping over and under the ribbon until you get back to the beginning.
- Trim the ribbon and overlap it on itself. Glue to secure. Wrap with yarn to completely cover where the ribbon is overlapped.
- Create a bow from the rest of the ribbon. Secure it in the middle with a pipe cleaner, zip tie, or floral wire.
- Attach the bow to the wreath and add any desired embellishments.


Angel says
How big is the wire wreath part and how much chunky yarn do you need?
Jean says
Can you make this wreath with ribbon that doesn’t have wire?
Autumn says
Yes that would probably work just fine. The bow at the bottom may not be as fluffy though.
Karen Markievich says
Beautiful!!!
Lori says
What size wreath