
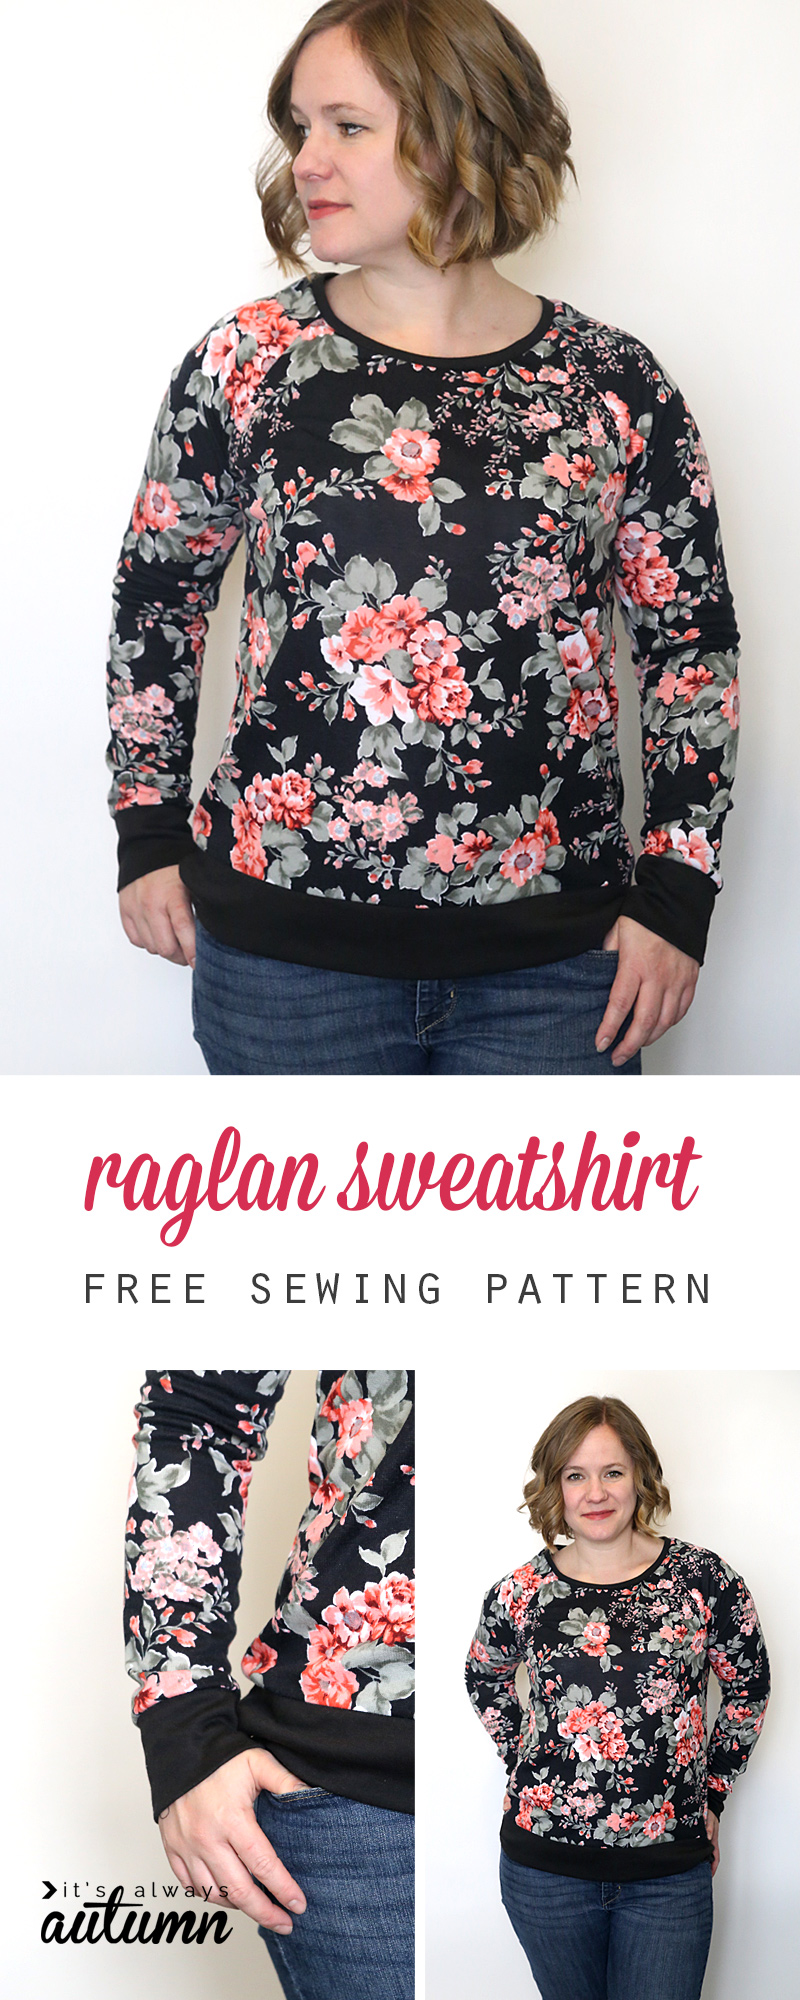
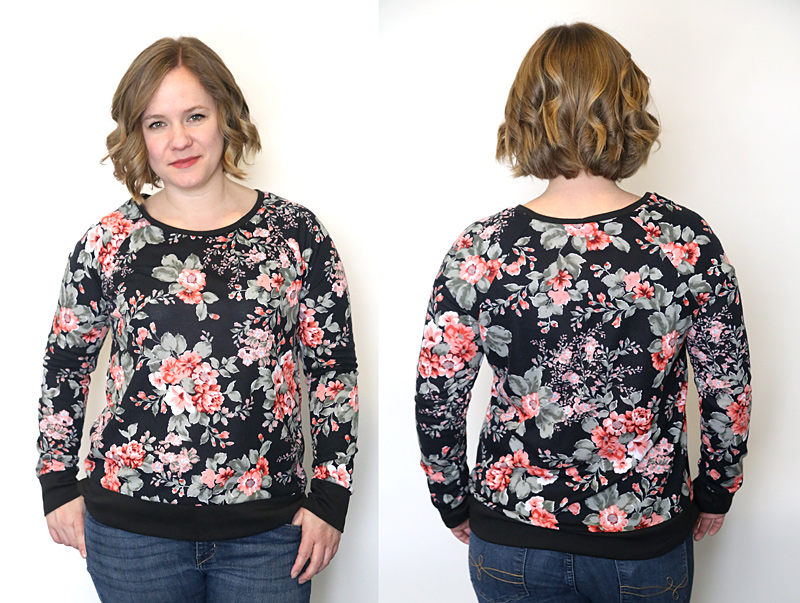
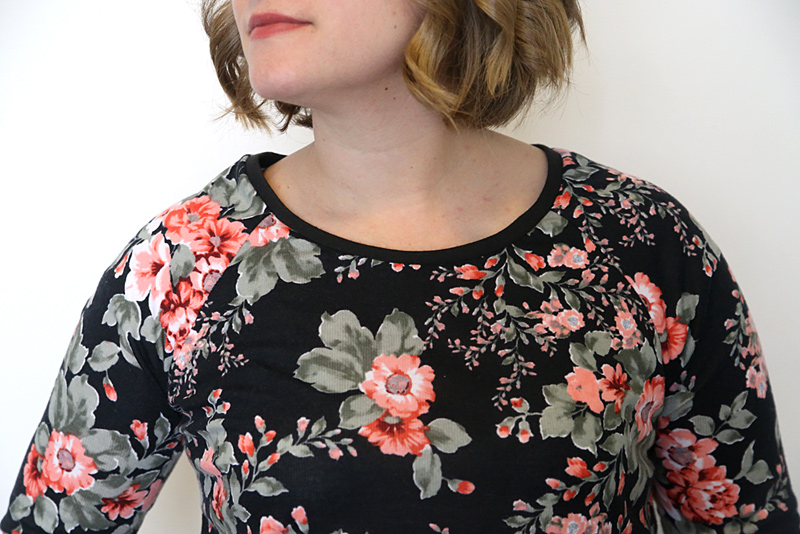
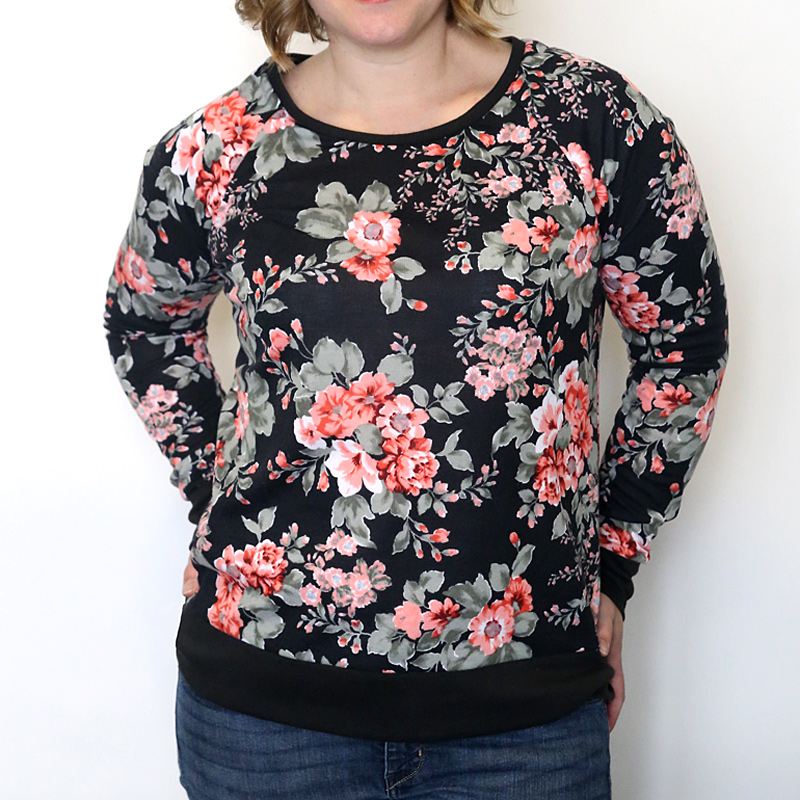
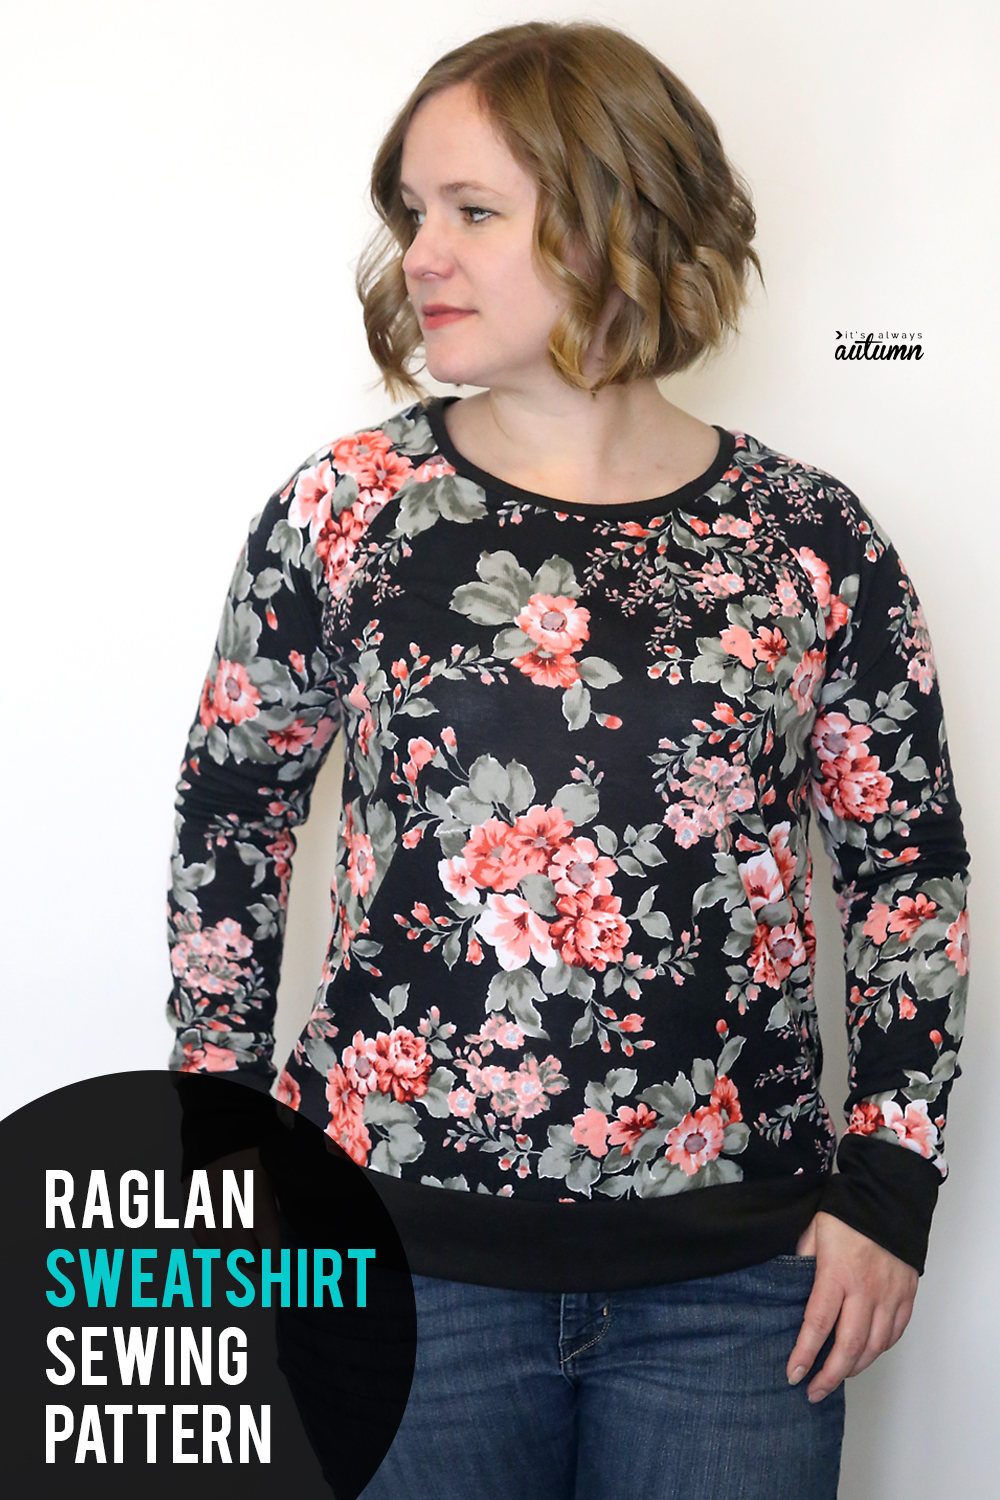
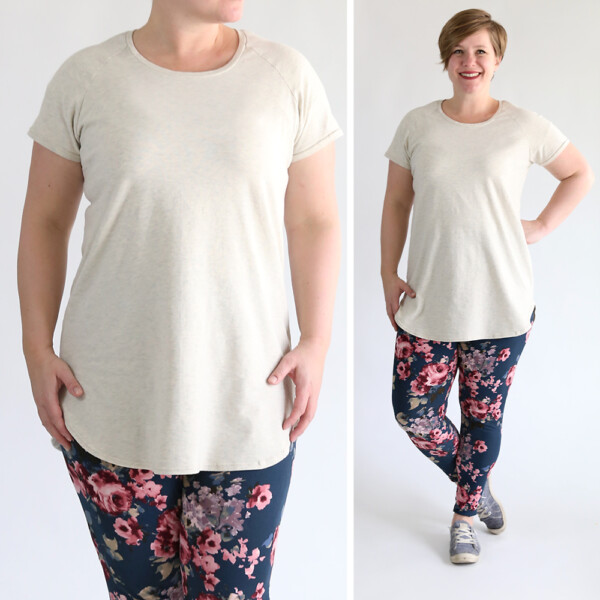
I’m so over winter. Just over it. But unfortunately, it’s nowhere near done yet. Since I have at least another month or two of snow to slog through, I thought I might as well make a new sweatshirt with this cute floral ponte I ordered forever ago from Girl Charlee (looks like it’s no longer in stock). I used my raglan sleeve easy tee pattern with a few simple alterations and had a new sweatshirt put together in just over an hour.
I’m kind of wishing I’d made the sleeves black since the all over floral might be a bit much, but oh well, good enough!
How to make a raglan sleeve sweatshirt:
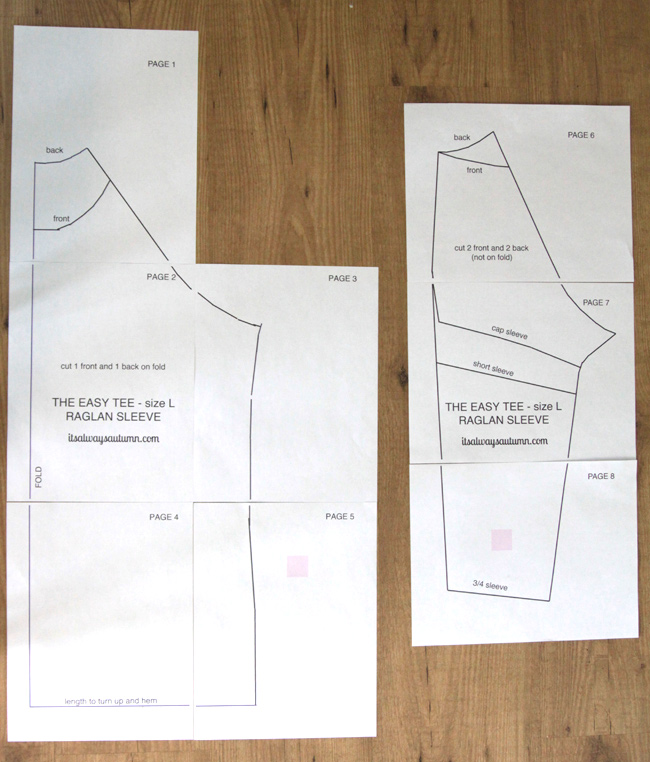
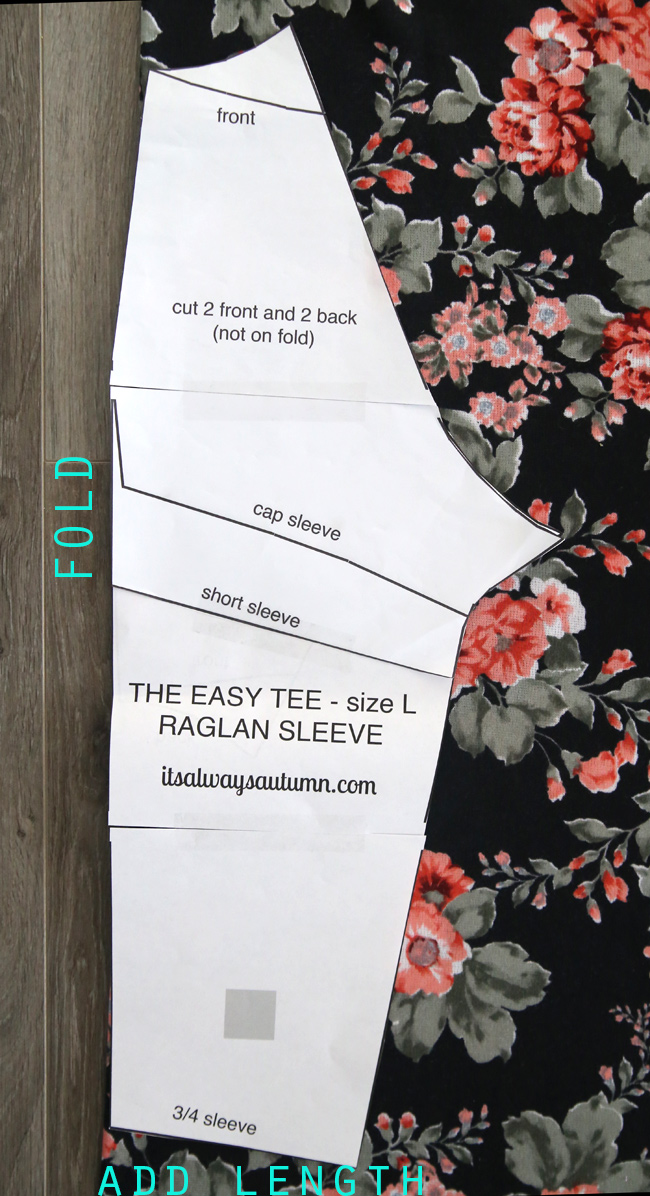
Start by downloading the free raglan sleeve easy tee pattern found here. Be sure to print it out at 100% or full size, and make sure the test square measures exactly 1 inch by 1 inch. Butt the pieces together (don’t overlap), and tape, then cut out the pattern.
If you’ve never made a raglan before, you’ll want to read through this post first for details on how to sew one together (it will also teach you how to draft your own pattern if you don’t wear size L). You’ll need about a yard and a half of 55-60 inch wide knit fabric – go for a heavier weight if you want it to look like a sweatshirt, or a lighter weight for a long sleeve raglan tee.
Cut two shirt pieces, both on the fold, one using the front neckline and one using the back neckline. Since my knit was not super stretchy and I wanted a relaxed fit, I added about an inch to the sides of the shirt at the bottom as I cut it out. I also shortened it slightly because I knew I would add a hem band.
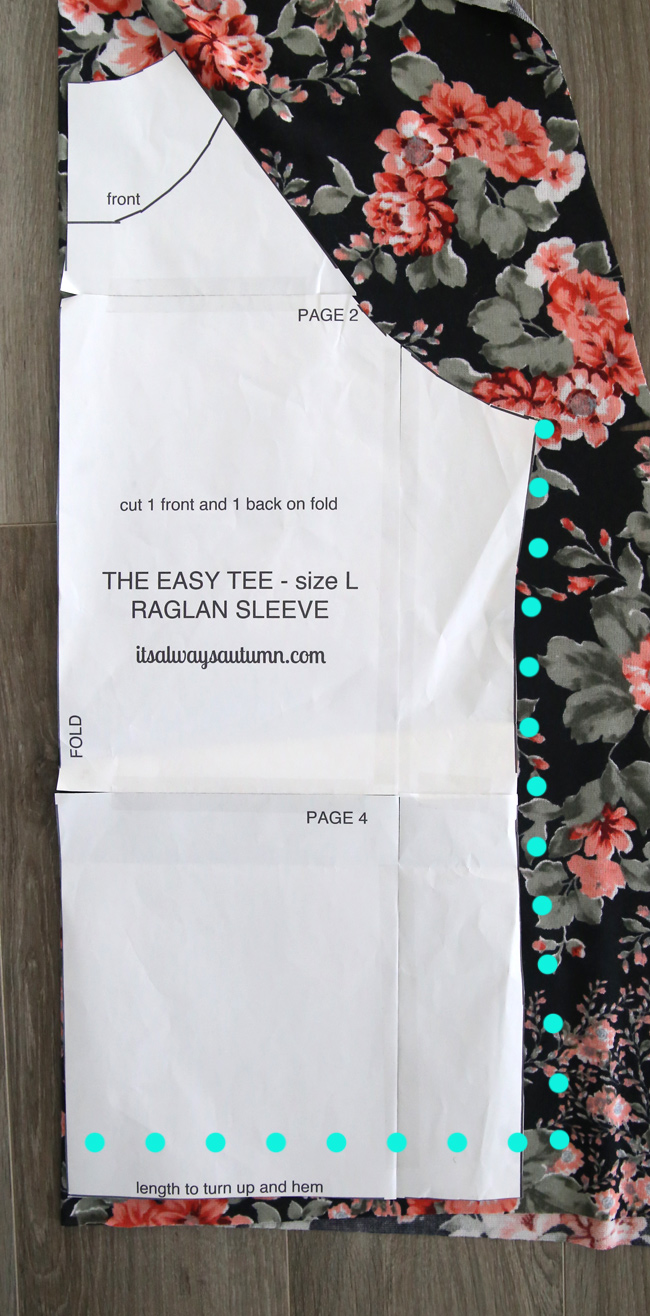
I didn’t want separate front and back sleeve pieces for this sweatshirt, so I just lined the edge of the sleeve piece up on the fold, as you can see below–the edge of the pattern piece isn’t perfectly straight but I just lined it up as well as I could. I added about 5 inches of length to the 3/4 sleeve pattern to make a long sleeve (as well as a sleeve cuff, which I’ll talk about later).
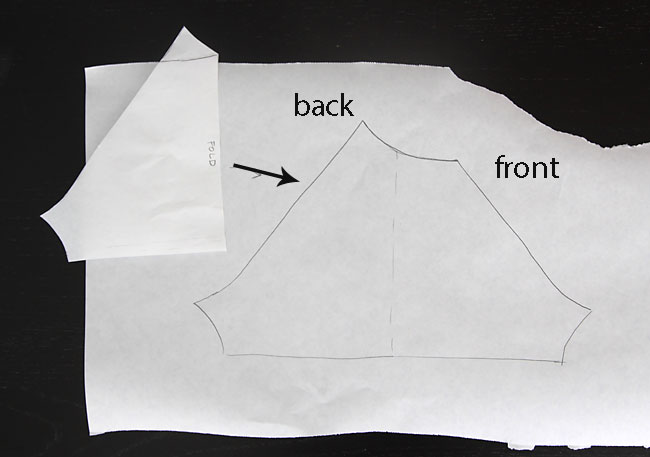
Cut the sleeves on the fold, using the back neckline. Then open each sleeve up and cut the front neckline on one half of each sleeve (make sure they are mirror images!) The image below shows what this ends up looking like.
Then you can sew your sleeve pieces to the main pieces as described in this post. Sew up the arms and down the side seams as well.
At this point you have two choices: you can hem the sleeves and bottom of the shirt, or you can add sleeve cuffs and a hem band. I chose to do the latter to give it a more traditional sweatshirt look. Read this post for instructions on how to add sleeve cuffs and a hem band.
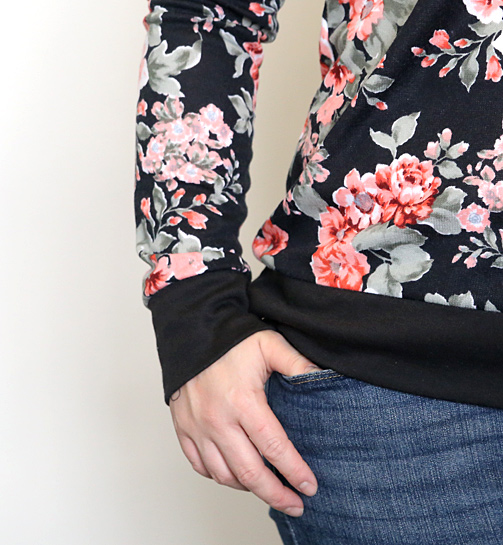
That same post also has info on how to finish the neckline.
Done. New sweatshirt. Time to go shovel some more snow….and wish it was April.
You may also like:


Kim says
I just want to say I LOVE your site! I love that I can just go straight to your tutorials for sewing, no jumping to another site. I love that you don’t have all these pop-up ads that interfere with reading what you have written, like so many other sites. I love that you make all patterns available without having to go and purchase it somewhere. You make it very easy and straightforward. THANK YOU!!
Mrs B says
Thank you for this free pattern. I have just used it to make myself a shirt for Chemo treatments. I added zippers to the front sleeve seams so we can access my chemo-port easily. I plan on making a few more to perk up my wardrobe for weekly treatment days.
Donna Ney says
I love your tee patterns and was able to make it to fit my larger than your body by a just widening it. I was even able to make the easy tee out of woven material, just to see if I could, and it worked great. Next I made a tee out of interlock knit as it was my first time using knit fabric and I love it, but it is a little too heavy for the south of Alabama’s summers. Do you think I could cut one down the middle front and leave off the bottom band to make a cardigan with some sweater knit fabric as it is cold in church, or would it not hang right?
Anne says
Very cute! Pinning this. Btw, I love your hair like that!
April Bartlett says
I think it looks great with the all-over floral, actually! And it’s super flattering and cute on you!