
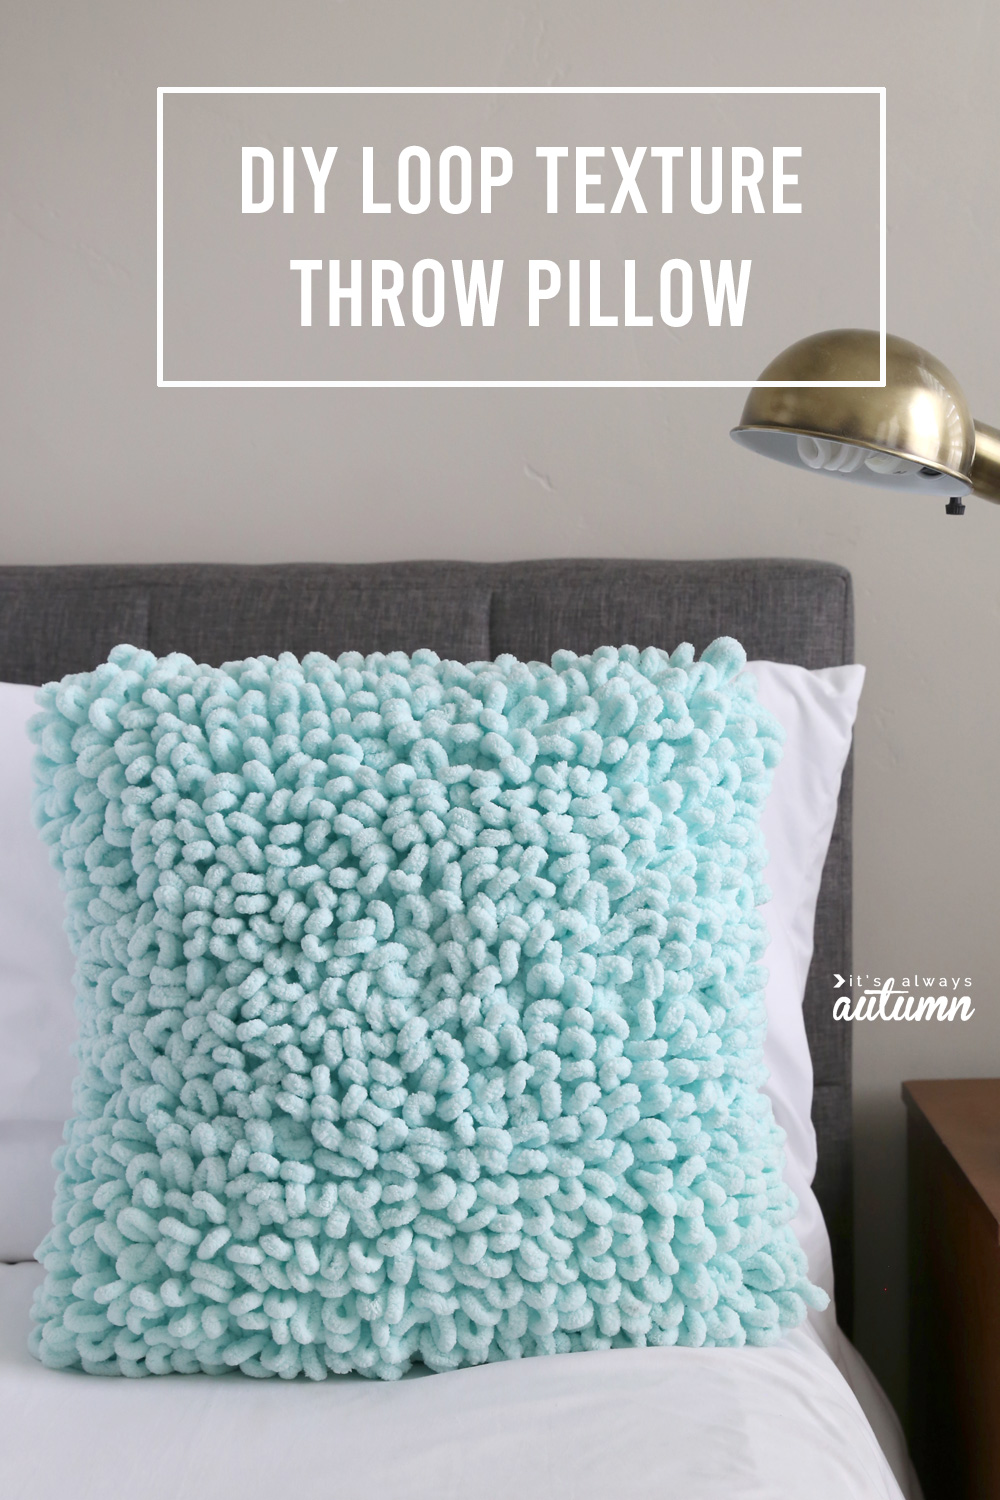
In today’s post: Learn how to use loop yarn to finger knit this cool textured throw pillow.
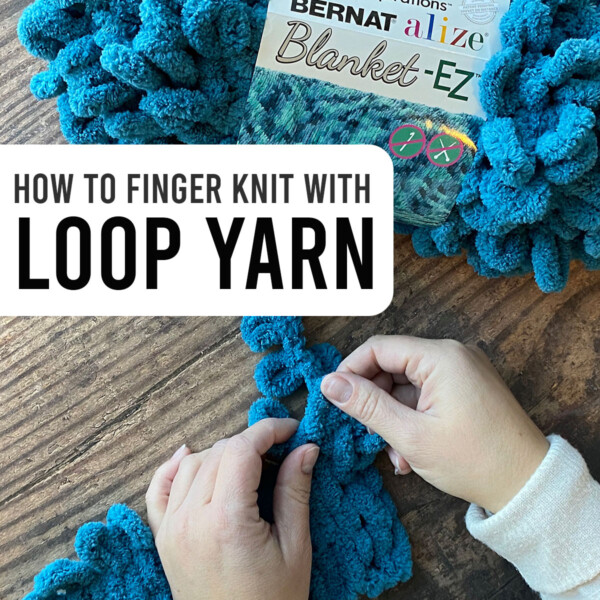
I’ve always wanted to learn how to knit or crochet, but having mild carpal tunnel means I have a really hard time holding knitting needles or crochet hooks for long periods of time. Last fall I discovered loop yarn, which was revolutionary for me. Loop yarn has loops already sewn into it, making it super easy to knit with just your fingers even if you have no idea how to knit.
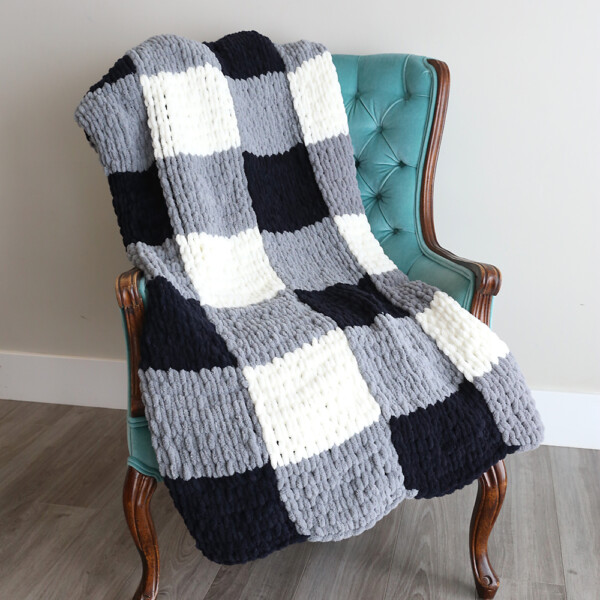
Last fall I made two different blankets: this buffalo check blanket using the basic knit stitch, and this pretty cable knit blanket. I have another blanket planned, but while checking out some free patterns I came across the instructions for this awesome loopy textured throw pillow.
The blanket got tossed aside and I started this throw pillow the next day and finished it in a couple of hours.
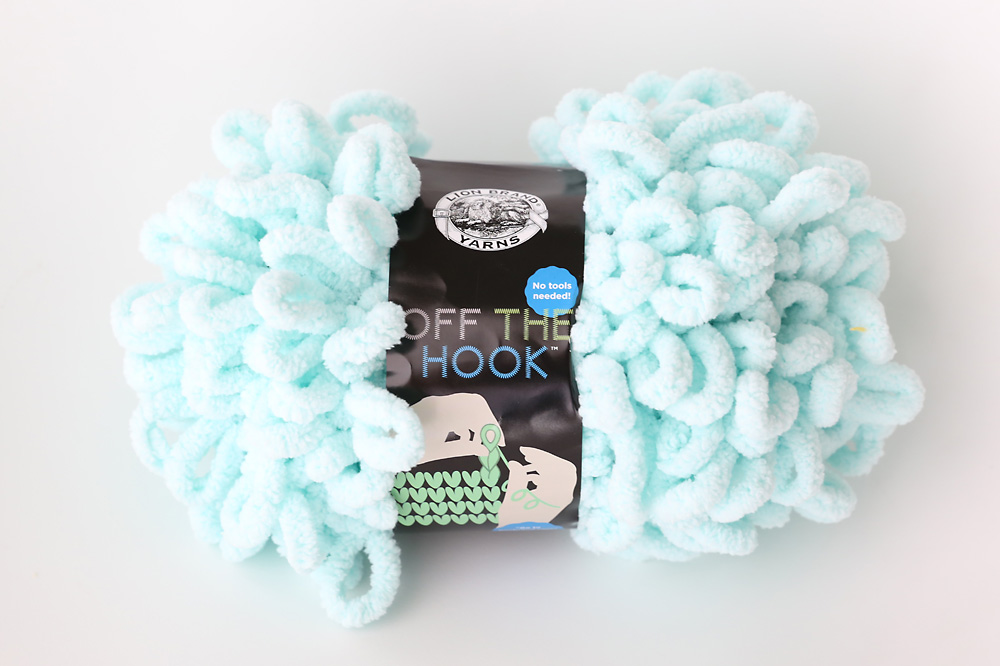
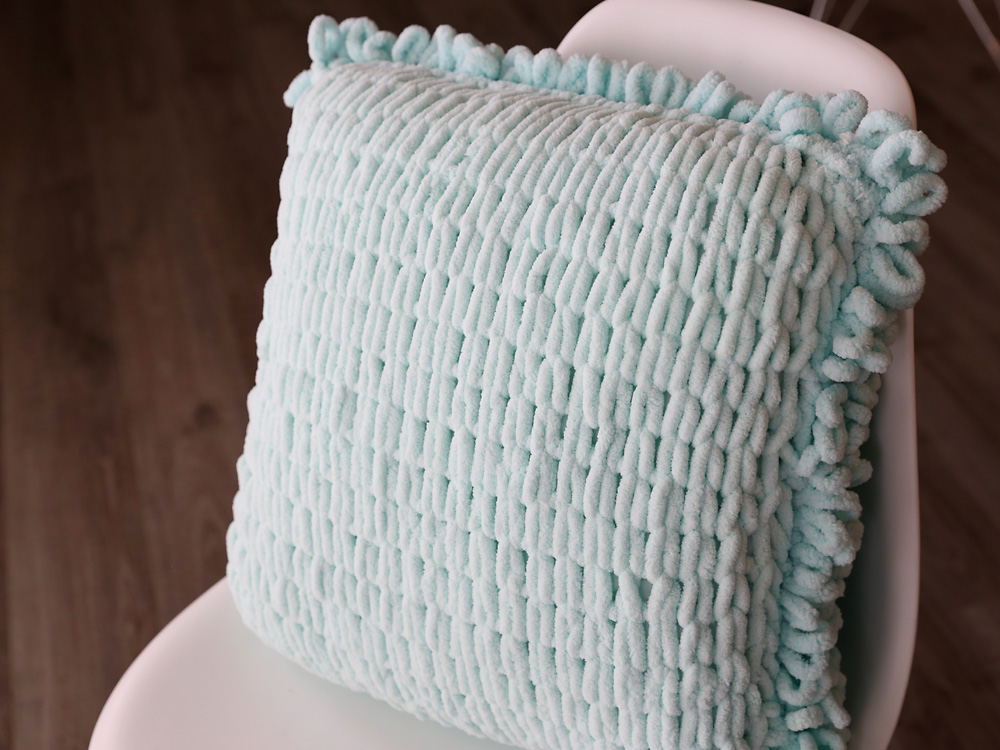
I just about swooned when I saw this color at the craft store. It’s called Seafoam and it might be the prettiest thing I’ve ever seen! This is what it looks like when you purchase it:
How Much Yarn Will I Need?
One difficult thing about loop yarn is that different brands sell different size skeins (or balls) of loop yarn. If you are using Bernat Alize Blanket EZ yarn, you’ll need 3 balls for this pillow. However, the other brands have smaller balls, so you will probably need more of them to complete the project.
Loop Yarn brands
- My favorite loop yarn brand is Bernat Alize Blanket EZ, which you can find on Amazon. This was the yarn I’ve used for both of my blankets, and I’ve really loved it. It’s extremely soft, so much so that my kids fight over the blankets regularly. It comes in a larger size ball and is available in quite a few colors, including some really pretty variegated colors (like the one I used on the cable knit blanket). It has held up well so far and is machine washable. The thing I like best about this brand is the really fantastic website that has tons of free patterns, including the one for today’s pillow.
- For today’s project I used Off the Hook Yarn by Lion brand. I really love it as well! It’s also very soft, but feels slightly sturdier than the Blanket EZ yarn, which I actually like better when you’re using the basic knit stitch. And the colors! They have a really great selection of solids in the most gorgeous shades, as well as some variegated shades. This yarn comes in smaller balls, about half the size of the Blanket EZ, which are also half the price. Again, this one is machine washable and I’d definitely recommend it.
Get the Pattern
The pattern for this loopy textured throw pillow is from the Yarnspirations site found here. It’s written for a 20 inch throw pillow.
Loop Yarn Tips
- To start a loop yarn project, always cut open the last loop on your strand to make a tail. At the end of your project you can tie off and snip the tail, or just weave it in.
- When you get to the end of your ball of yarn and need to start a new one, cut open the last loop to create a tail. Tie the tail of the old yarn to the tail of a new ball of yarn, and just continue looping with the new yarn. At the end of your project you can weave the tails in.
- Stop at the end of each completed row and flatten out your loops, ensuring none of them are twisted. Also check the backside of your project at the end of each row to make sure you haven’t skipped any loops – it’s easy to fix if you only have to pull out part of one row to do so!
- I find it easiest to work with loop yarn if I have a flat surface to work on. If I want to sit on the couch instead of at the table, I just place a picture book or other lightweight flat surface on my lap as I’m working.
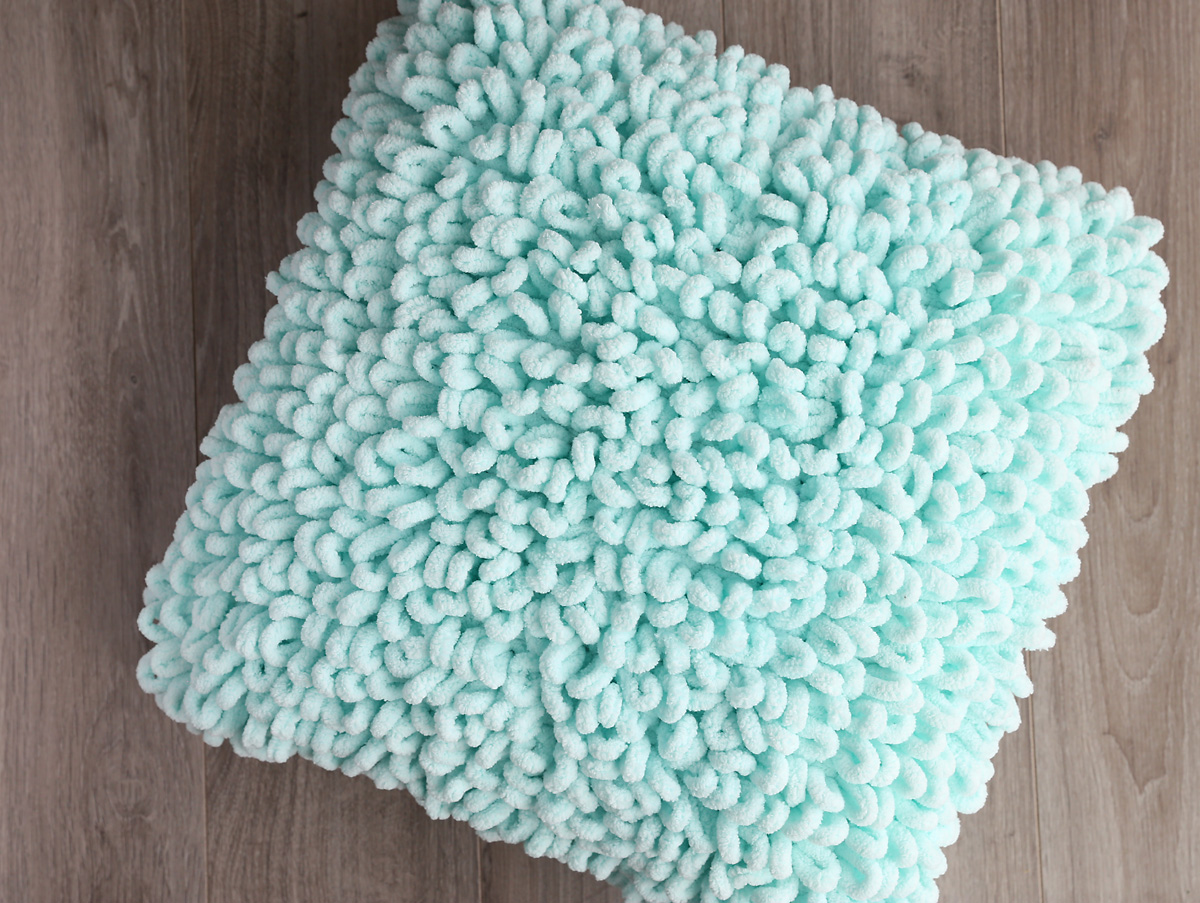
This is what the front of the pillow looks like once completed:
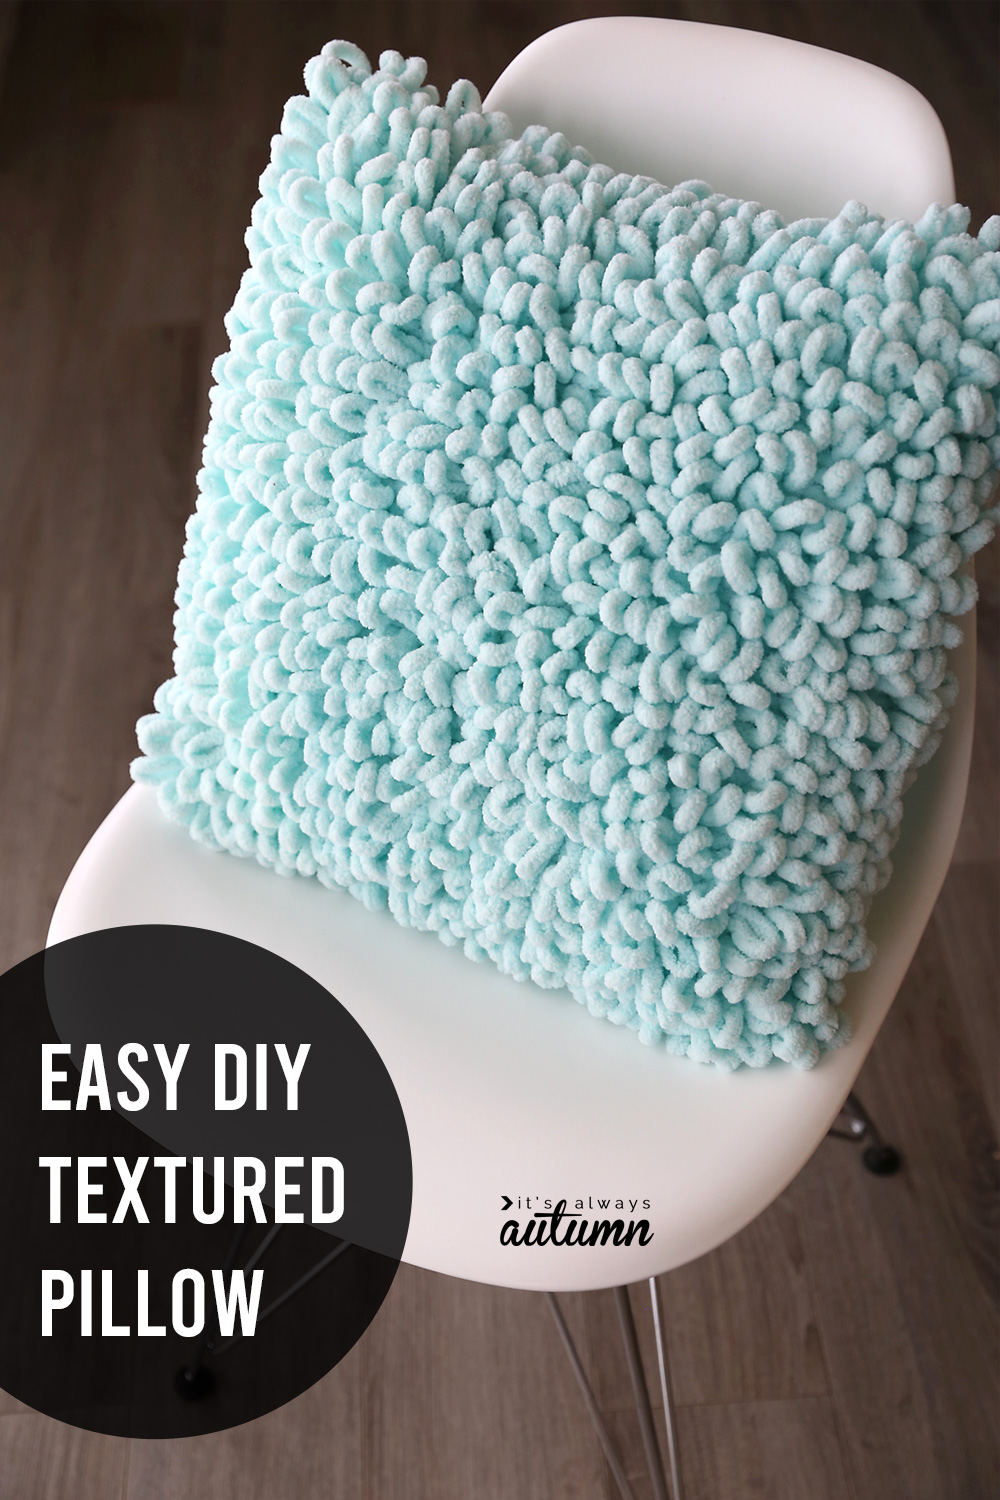
And this is what the back of the pillow looks like:
Let me know if you give loop yarn a try! I’d love to hear what you’ve made or what you think about the different brands of yarn. Thanks for visiting!
Anna says
Great tutorial. Love love this craft. Hope my fellow crafters will enjoy doing it. Is the yarn expensive?
Deb says
Thank you so much for this tutorial! I have been scratching my head for a while trying to figure out the Yarnspirations pattern for this pillow. Great job!
Judith Solorzano says
Hi she mentioned above it took her 4 skeins
TC says
Hi Melanie, I would try 14-16 loops, measuring the total length after the first row.
Wiwid says
Great tutorial. I have the same question as previous viewers. Why use 24 loops for the back and 26 for the front. Also when finishing the back end you said pull 2nd loop through 1st loop but the video shows 1st through 2nd. I’m assuming what you said is the correct move?
Autumn says
You use slightly more loops for the front because putting three rows of loops through each row tightens up the weave slightly. And to finish off: 2nd loop through 1st, then 3rd through 2nd, etc. Thanks!