
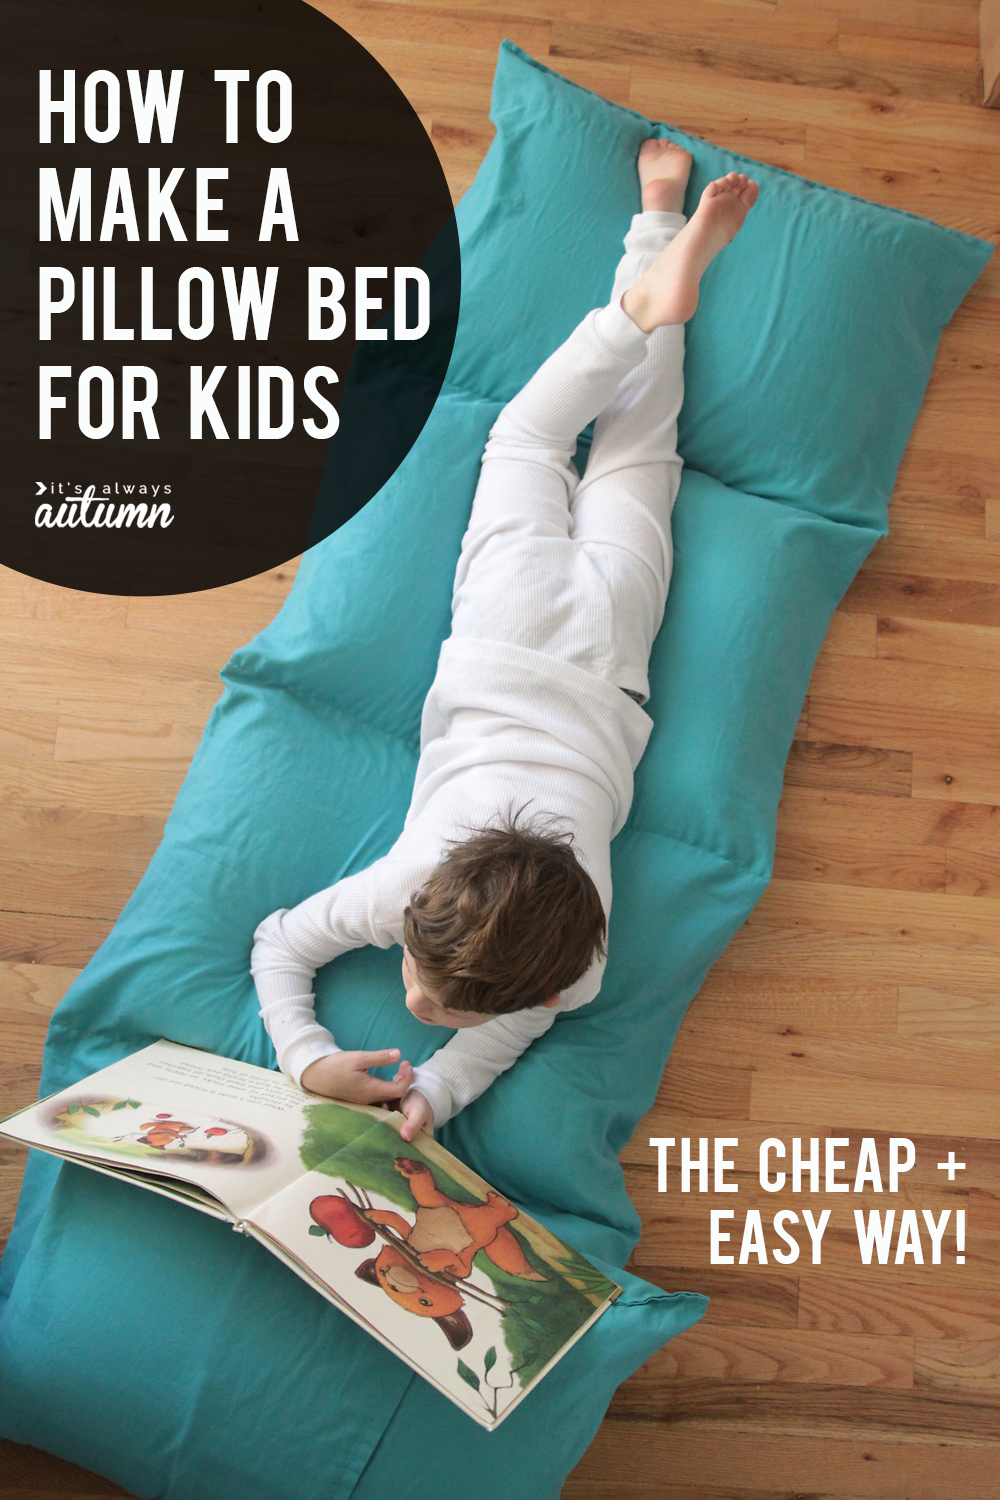
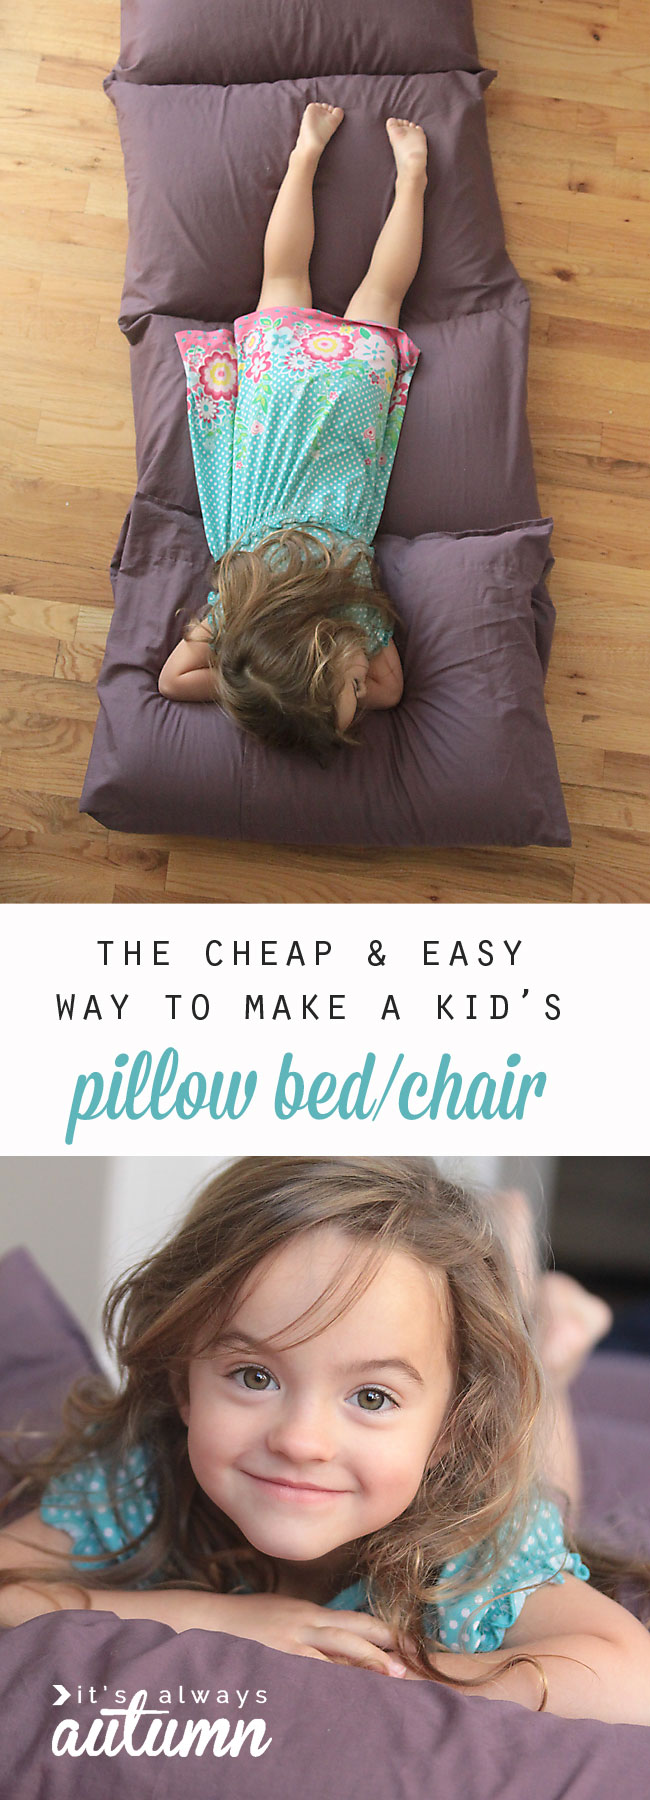
In todays’ post: Learn how to make a portable “pillow bed” for your kids – perfect for spending nights at Grandma’s house or just lounging at home.
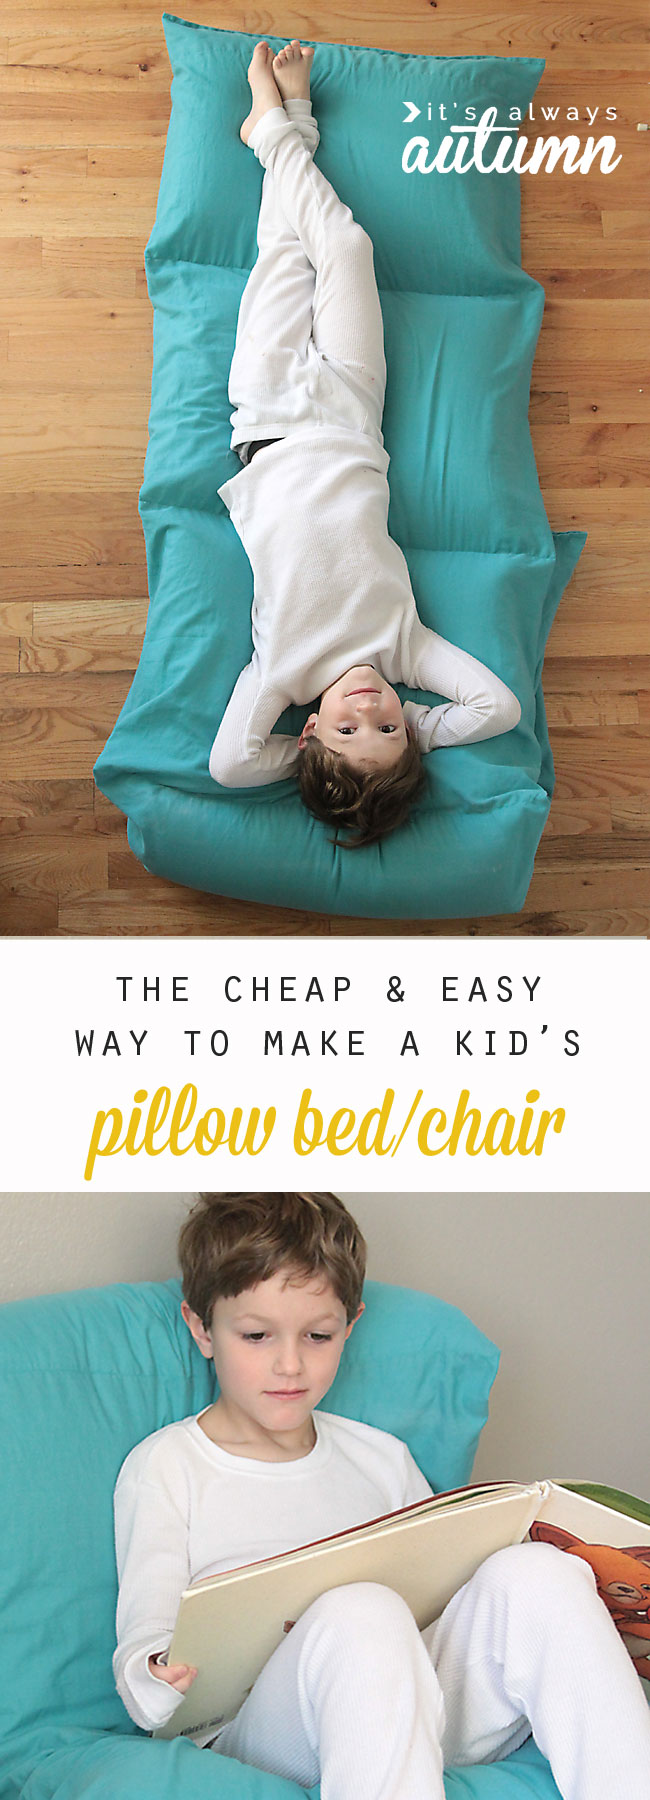
You might be asking yourself: what in the world is a pillow bed, and why would I want one? Well, a pillow bed is a pretty much just what it sounds like: a portable bed made of pillows that are connected in a row. It’s a nice way for kids to have a comfy place to sleep when they are spending the night at someone’s house without worrying about blowing up an air mattress. Pillow beds also work well as loungers for watching TV or reading books.
Best of all: kids love them! A pillow bed is a fantastic homemade gift idea.
You can make a pillow bed by sewing 4 or 5 pillowcases together, and then sewing velcro at the end of each pillowcase to keep the pillow inside. However, to keep this project as cheap and easy as possible, I ditched the pillowcases and velcro and used one flat sheet instead. Fold the sheet and sew a few straight lines and you are done!
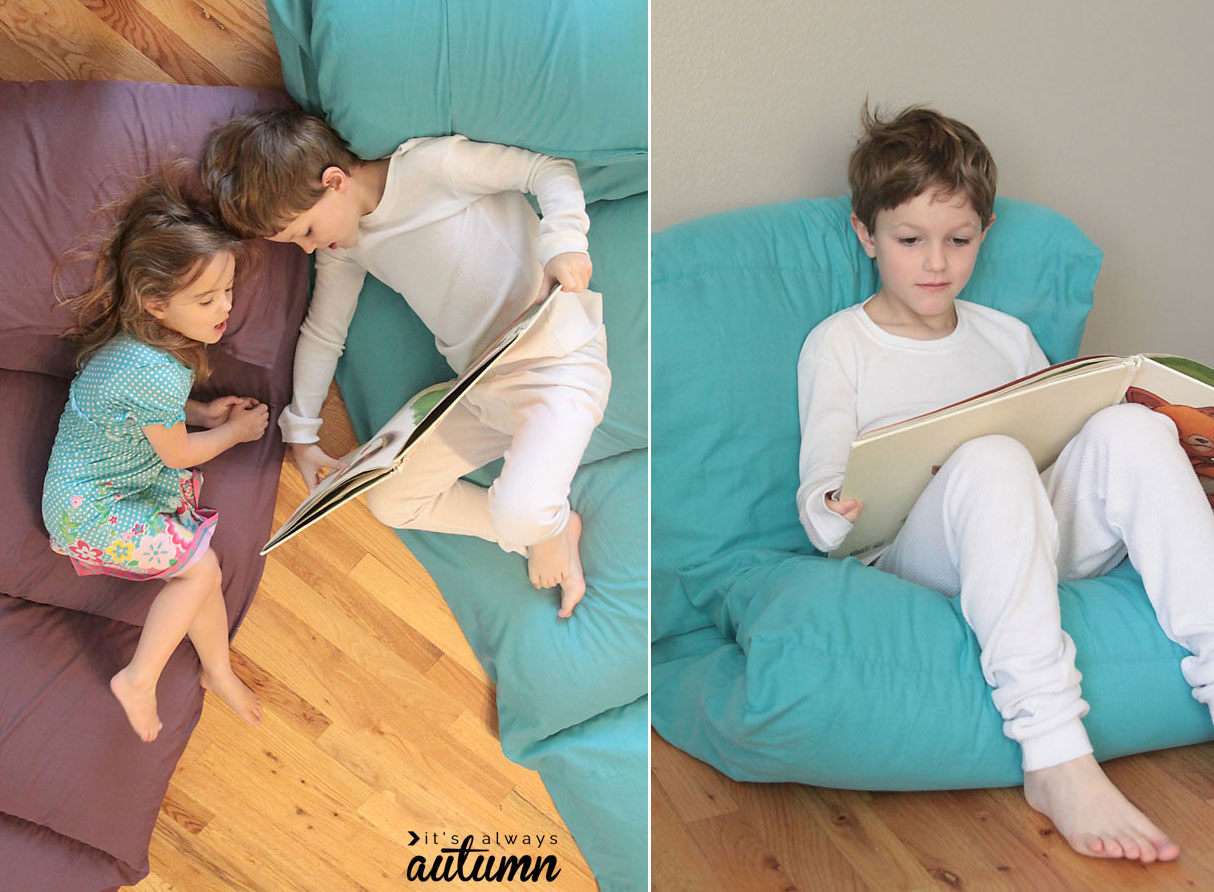
I made a pillow bed for each of my two youngest kids. The main living area of the house we’re renting is all laminate flooring, so these pillow beds make a cozy spot for them to lounge around together.
The secret to a cheap & easy pillow bed is a twin size flat sheet. Walmart sells them in a wide range of colors for $5 or $6 each. They also sell basic pillows for $2.50 each, making a 5 pillow bed under $20. It’s a perfect handmade Christmas gift.
How to make a kids’ pillow bed
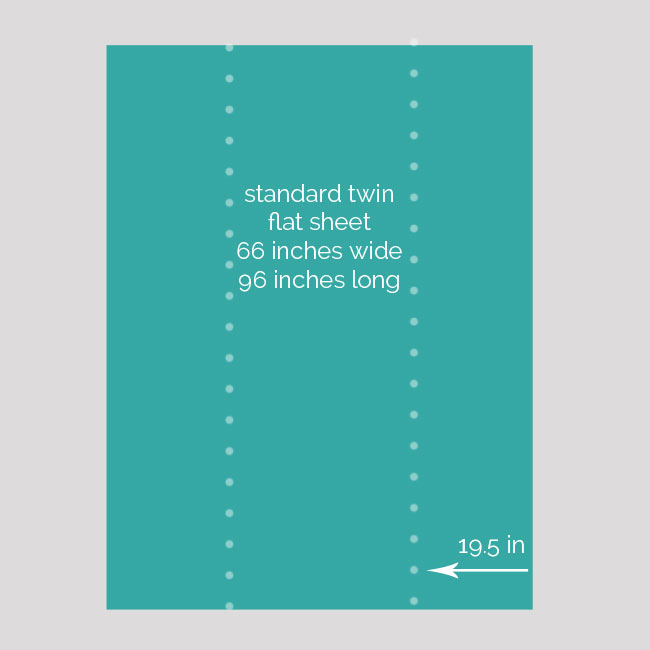
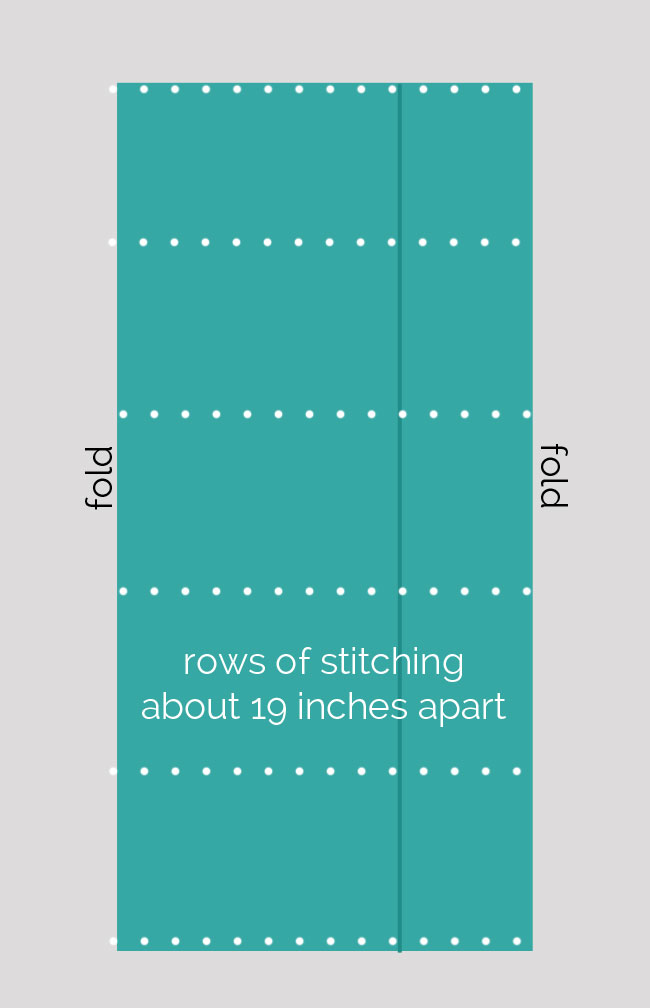
Start by laying out your sheet on a flat surface right side down (a table is easier than the floor). Your sheet should be 66 inches wide by 96 inches long. You’re going to fold in each side along the dotted lines in the diagram below. You want the final width of the pillow bed to be about 27 inches, so if your sheet is exactly 66 inches wide, you’ll fold in 19.5 for each side. (The sheets I bought varied a little in width – so I just adjusted how much I was folding in to get a final width of approximately 27 inches.)
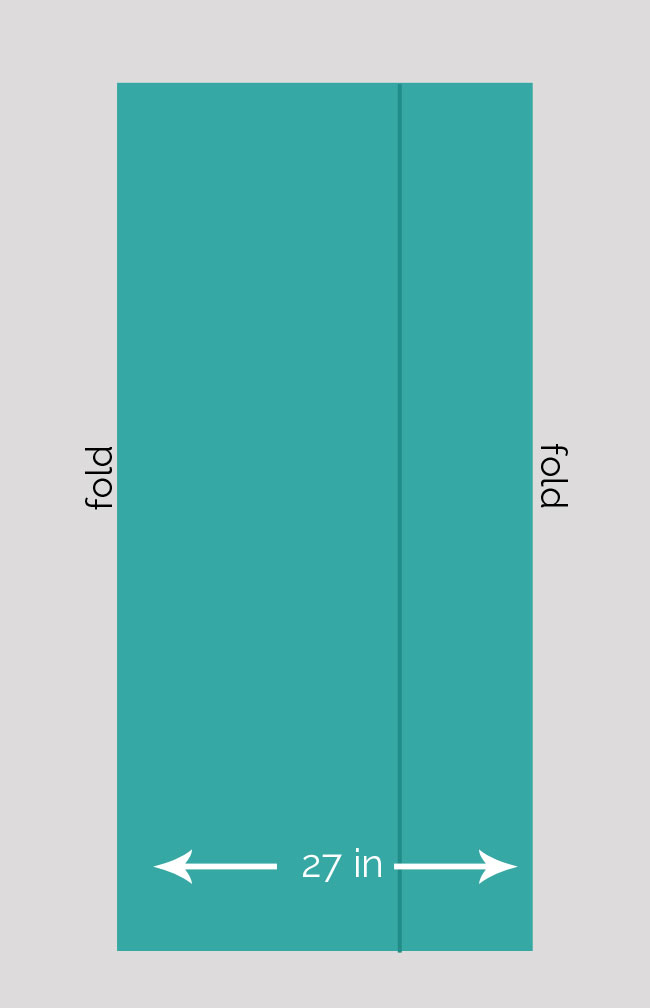
This diagram shows what the sheet will look like once folded. The right side was folded in first, then the left side, which overlaps the right. The overlap means we won’t have to add any velcro to keep the pillows in place.
Pin the sheet together across the top and bottom. Then you’ll want to pin 4 more lines, each approximately 19 inches apart. It would be easiest to mark these lines with tailor’s chalk or something similar. It’s not necessary that they are exact, just try to space them as evenly as you can. Use lots of pins!
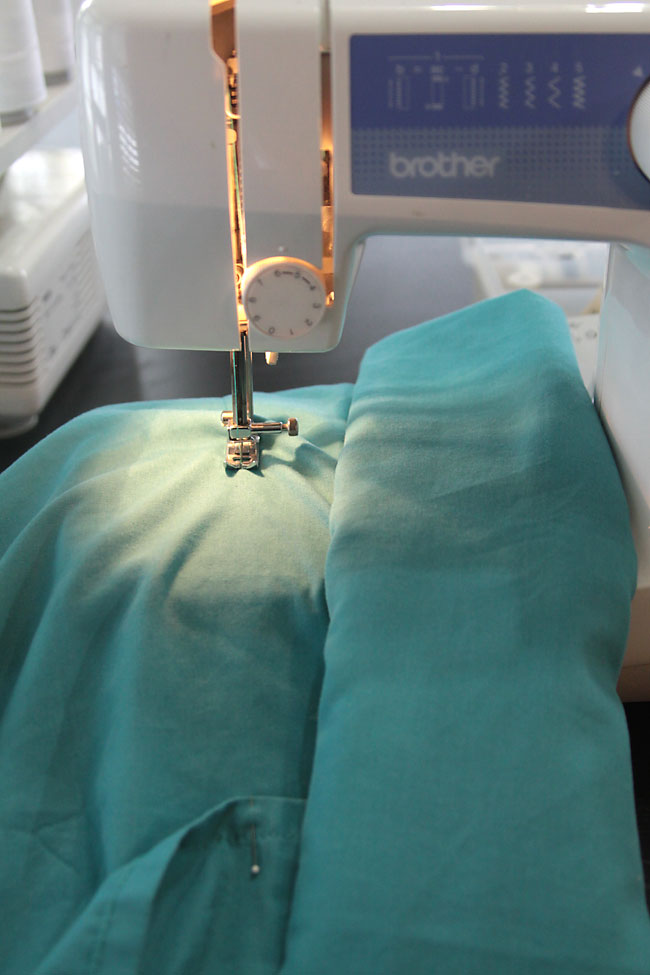
Take the sheet to your sewing machine and sew a line of straight stitching along each row of pins, backstitching and the start and end. I found it was easiest to sew one end first, then roll the sheet from that end up to the next row of pins, then sew that row and roll again. This kept the sheet from getting all bunched up as I sewed:
It only takes 6 seams, and you have a pillow bed cover ready to go! There will be 5 sections that are each much like a pillow sham. Stuff a pillow into each section, and you’re done.
Looking for more easy sewing tutorials? Check out these posts:
How to make a half circle skirt
The Play-All-Day dress (easiest girls’ dress pattern)
The easiest way to make a women’s tee

jackie brady says
Great idea!!I have one suggestion 😉 When I make the 4 I have ordered I will do the first fold with right sides together and sew the ends shut so when you turn it right side out the first seam and last is hidden then I will do the section sewing.TX
Teresa Walker says
Jackie, I love your suggestion to finish the two ends seams first. Thanks!
Meri says
Hi! Thank you for sharing this and all your wonderful ideas! I’m planning on sewing one of these today for a girl that is sleeping on a couch. (Her famly hasn’t been able to get a larger bed yet) I hope you don’t mind that I’ve also shared this with some other groups, including one that helps people in dire need. This could be a real help to the homeless. If the pillows (before being inserted) are in plastic bags, they could be used by children that wet the bed. The covers could be easily laundered. I wish my siblings and I had these when we were little and had to go through a time of sleeping on the floor, because we had no beds. Thank you again!
Resa says
I was so excited to find this!! I have three girls, ages 11, 3 and 3. Money is tight this year so I was looking for easy DIY stuff for Christmas. This more than fits the bill!! I love the idea of no Velcro, and thank you for the awesome idea of using a flat sheet. Seriously, you’re a genius. Total cost for me to make ONE will be $21. I originally planned on having Santa bring these for the younger two girls, but when my oldest helped me pick everything out, she HAD to have one, so I guess I’ll be making three :)Thank you again for the awesome tutorial!
autumn says
You’re welcome!
Carissa says
I was skeptical, but LOVE! First time sewing project, but it wasn’t too hard and while mine is a tiny bit crooked in the seams (remember, first time!), it turned out amazing! I used an old sheet and upgraded the pillows to $5 ones from Walmart so it cost me $20. I need to find a bigger sheet to add one more pillow (6 long) so my husband and I can have one for camping, too!
Luann says
Do most of you use Standard, Queen, or King sized pillows? Pictures in this tutorial – what size pillows are those? Thanks. Cant wait to start for Christmas gifts.
Autumn says
This tutorial uses standard size pillows.
Shirley says
thank you for this post! I finished one for my son last night and after 15 years without sowing it was pretty easy to make! ?