
When we moved into our new house, I decided to spruce up some old furniture with white paint. After a quick perusal of the font of wisdom known as the internet, I decided chalk paint was the way to go. From the posts I read about chalk paint, it seemed an almost magical commodity: no need to sand or prime, great one coat coverage, no visible brush strokes and a beautiful chalky finish. I really wanted to paint my piano (more on that later), but I figured I’d better start with something easy, like a dresser, to practice. So I bought a high quality paint brush, brought home some chalk paint, and got started.
And that’s when I realized that people on the internet lie.
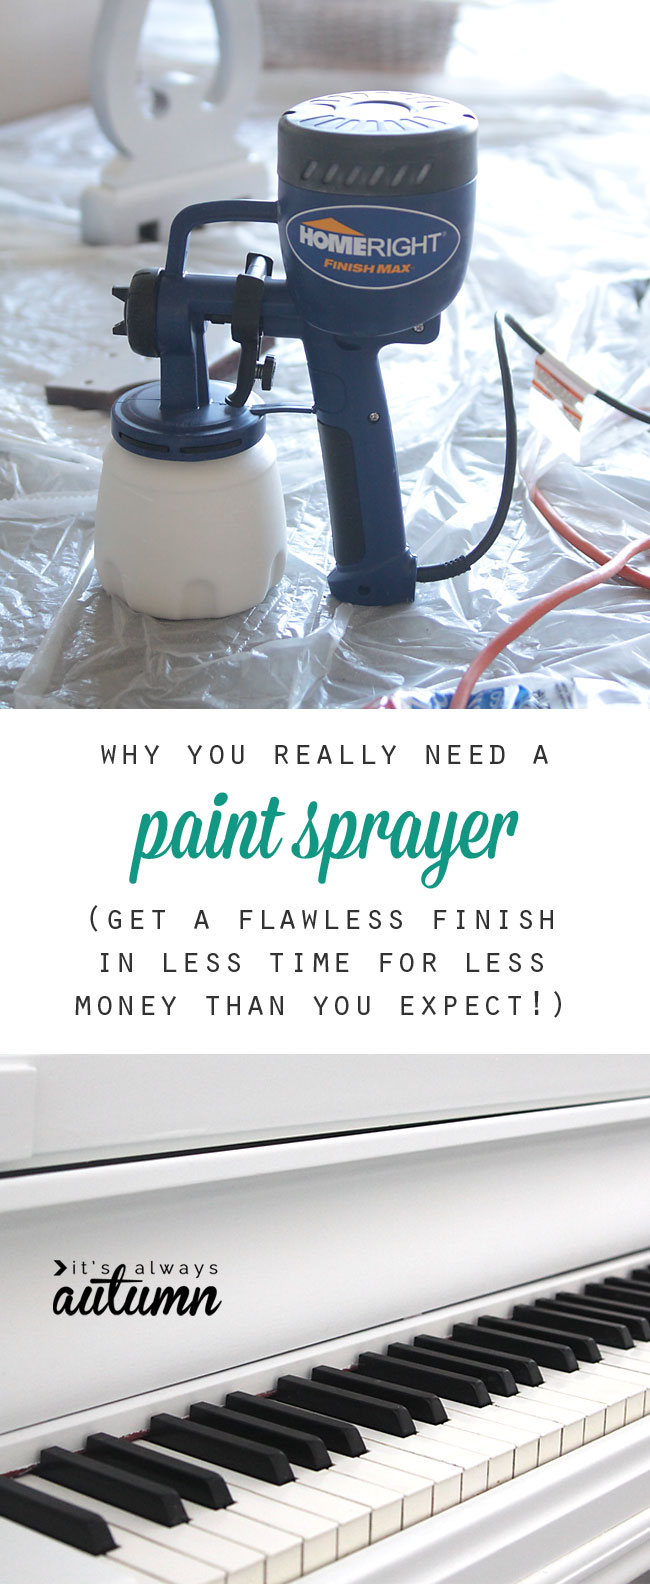
So I know full well that the chalk paint enthusiasts out there aren’t trying to lie to anyone, but I quickly realized that some of the claims made about chalk paint aren’t entirely accurate, at least for a first time user.
- You DO need to prime. No priming is one of the biggest selling points of chalk paint, and it’s true that it does stick onto surfaces without primer. However, if you’re trying to paint a black dresser white, you really do need to prime it unless you’d like to be painting 6-7 coats.
- You WILL see brush strokes. Once I realized my dresser had brush strokes galore, even with sanding in between every single coat, I did a little more digging on the internet and found this was a common complaint. After asking a chalk paint expert, I learned there are special chalk paint brushes and a special hashtag brush pattern you should use to avoid brush strokes, and even then you may need to do some sanding.
- You (probably) DO want to spend money on the better brand of chalk paint. This seems to be an ongoing argument in the chalk paint world: is it worth it to spend $$ on Annie Sloan chalk paint or do the knockoff brands or homemade versions work just as well? I tried 2 different “knockoff” brands and was pretty unhappy with both of them, so perhaps the Annie Sloan version really is better. Or maybe chalk paint just isn’t for me.
Luckily, a friend finally suggested the perfect solution: a paint sprayer. Check out the difference using a sprayer made:
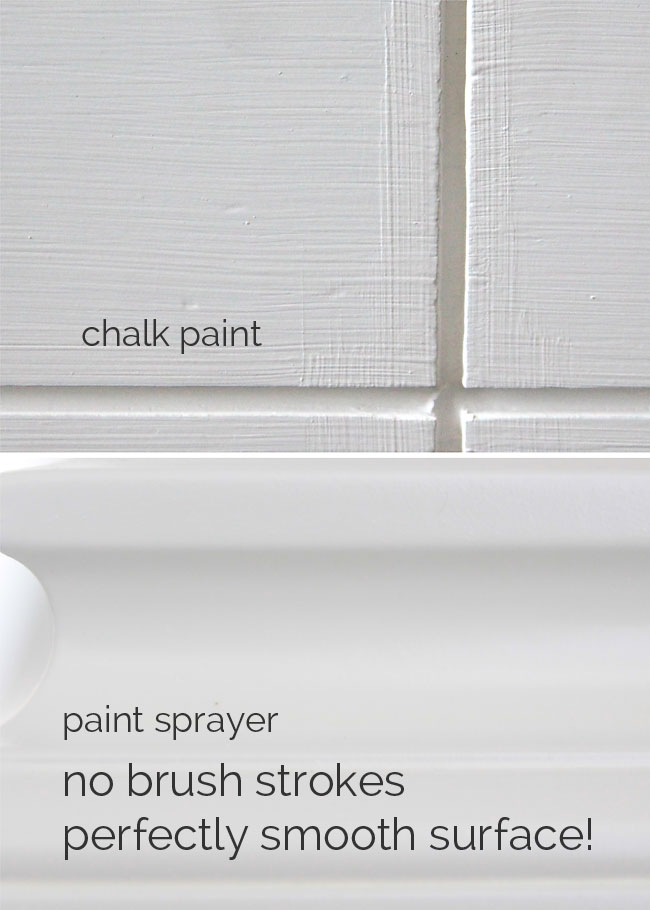
I couldn’t believe how awful my chalk paint looked around detailed areas, and while I’m certainly not a chalk paint pro, it’s not as if I’ve never painted before. But when I switched to using a paint sprayer, the results were flawless, even as a first time user. Here’s a closeup comparison:
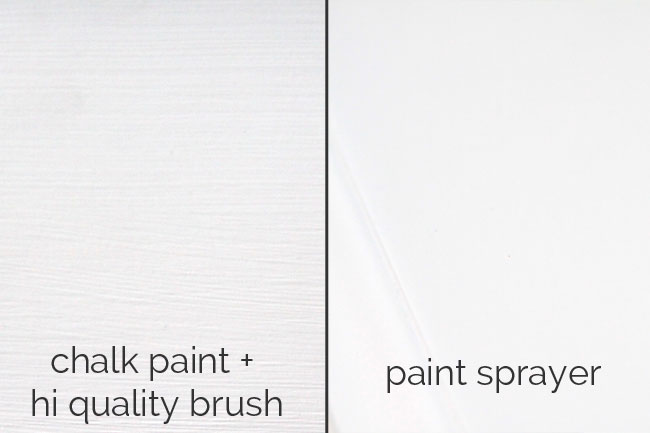
No contest. Why didn’t I just buy a sprayer years ago?
Well, this is why: I thought it would be too expensive, I thought I might need an air compressor to make it work, and I thought it would be so much work to prep an area for spraying that it wouldn’t be worth it.
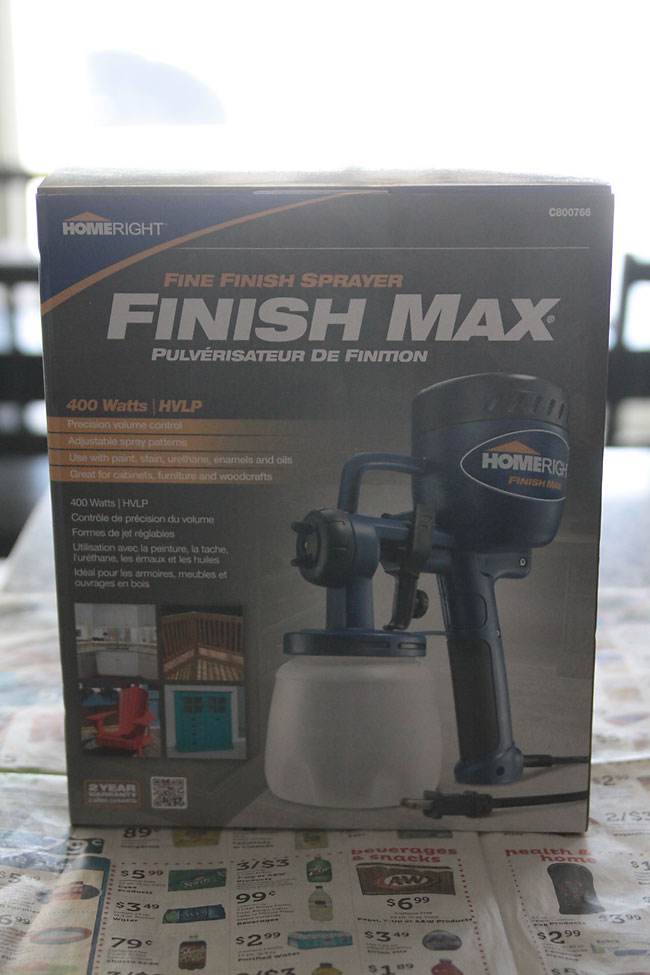
And I was wrong on every count. Here’s the sprayer I purchased:
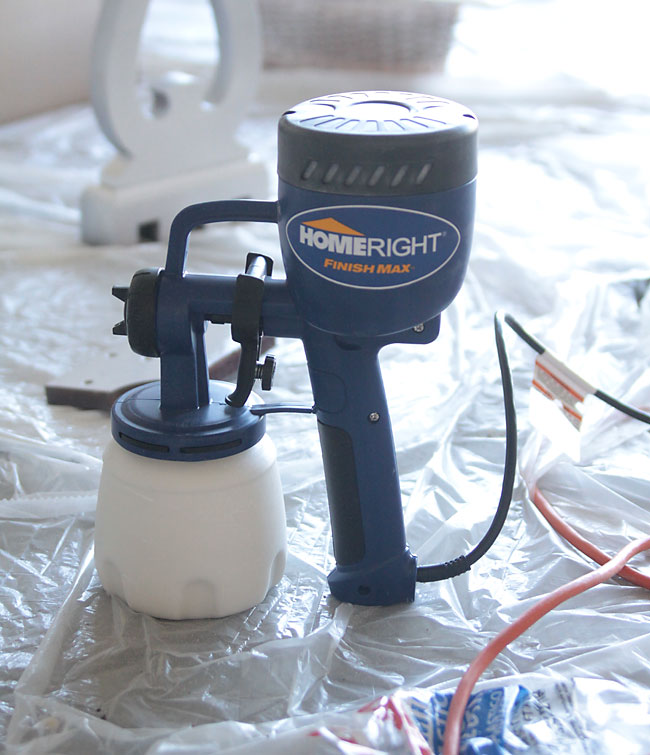
It’s the HomeRight Finish Max Fine Finish Sprayer , and it only costs about $70 on Amazon (affiliate link). It plugs in to an electrical outlet with no air compressor needed. It’s super easy to use and it cuts your painting time down astronomically.
Prep is simple. You will need to thin your paint or primer just a little, using this cup:
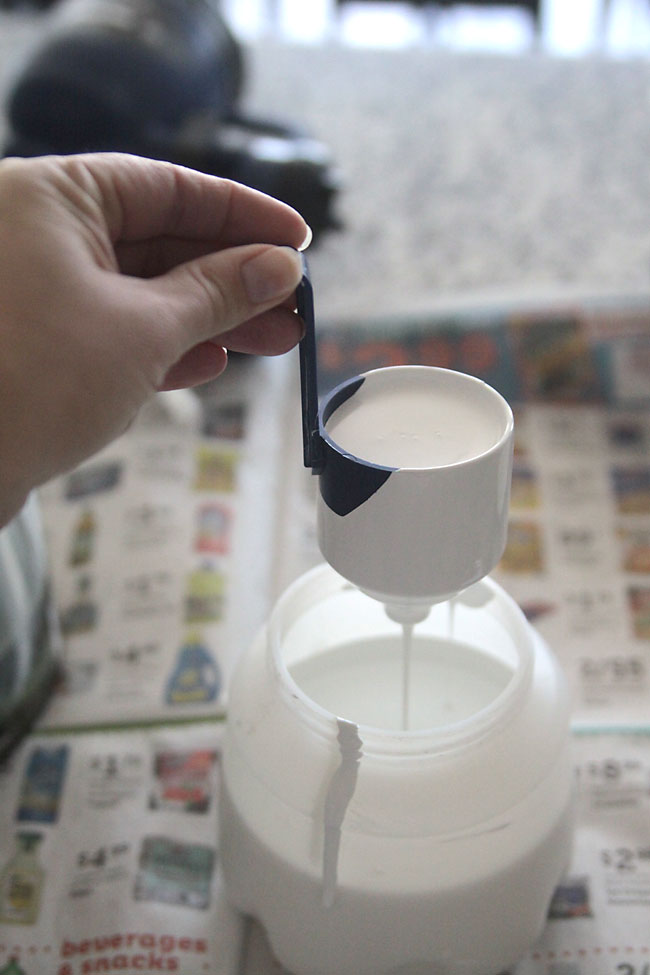
You fill the cup up with paint and then time how long it takes to drain through. If it takes too long, mix in a little water (for water based paints or primers), then test it again. This took me a few minutes to get right the first time, but was very easy after that.
Fill the bottom with paint, screw it on to the sprayer, and you’re ready to start painting. You can adjust the nozzle in front for horizontal or vertical paint strokes. Set it side to side when you want to paint side to side, or up and down to paint up and down.
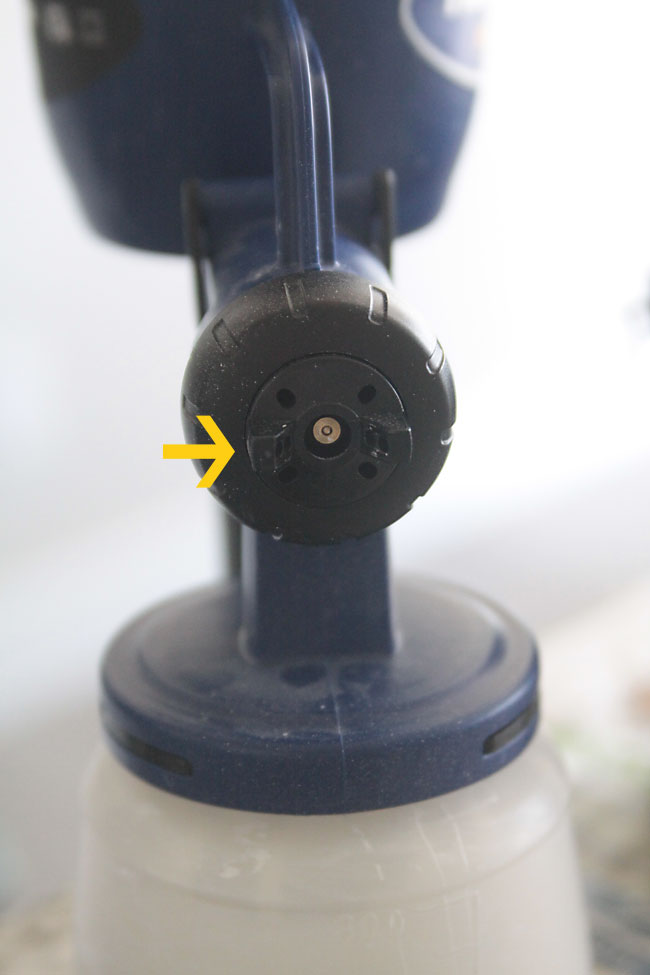
There are a few other tips in the instruction booklet, but it was very easy to use straight out of the box.
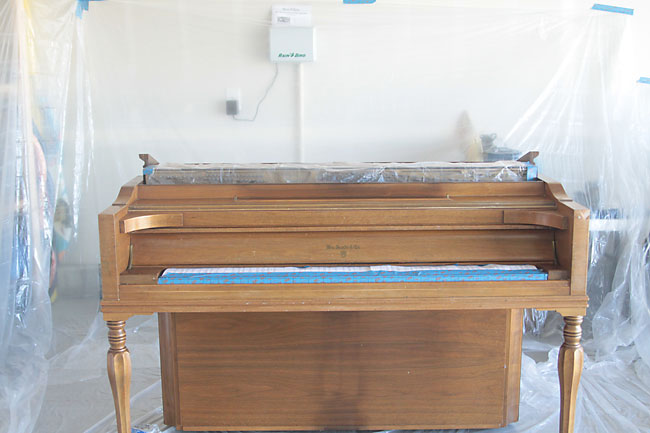
You do need to prep the area you’ll be painting in, taping off anything you don’t want sprayed. I used 4 $1 plastic drop sheets from Walmart to protect an area of my garage so I could spray my piano:
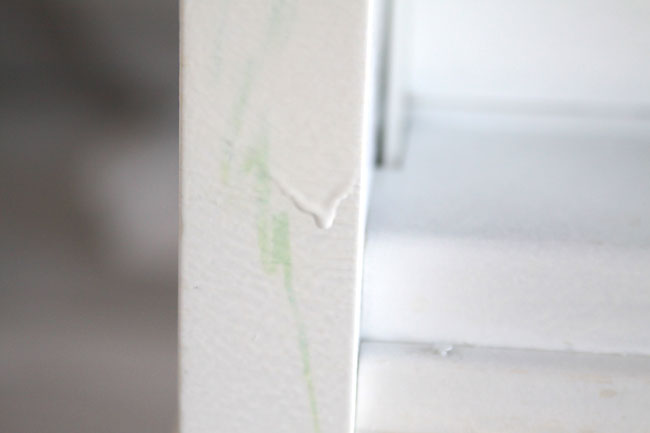
The painting technique is pretty much the same as using a can of spray paint: keep your strokes smooth and keep it moving. If you stop moving while you’re spraying, you’ll end up with too much paint in one area and you’ll get drips. I had a few on my primer coat while I was figuring out how to use the sprayer. I just waited for them to dry and sanded them off before the next coat:
The primer coat (for my entire piano) took about an hour, and then it took me 10 minutes to clean up the sprayer. After that, each paint coat took less than half an hour. The paint goes on so evenly that it dries super fast; by the time I was done with one coat I was able to start another, and the finish is perfectly flawless.
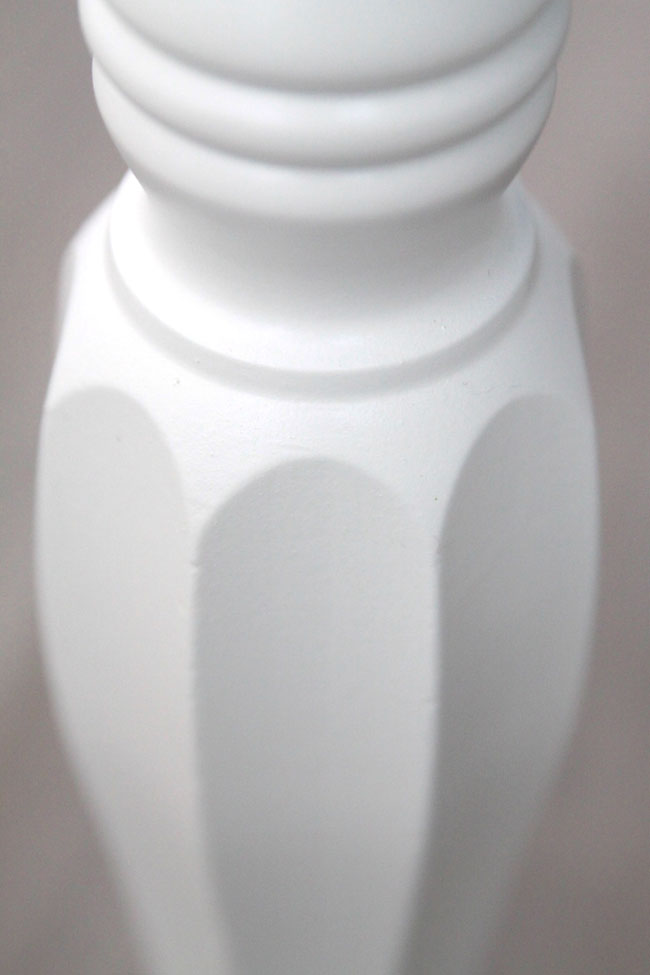
I can’t imagine how long it would have taken me to paint the whole thing by hand. Bottom line: I’m absolutely sold on this paint sprayer. I only wish I’d bought one sooner! And if you really love the look of chalk paint, you can even use that in a sprayer – win win! Check out this post for details.
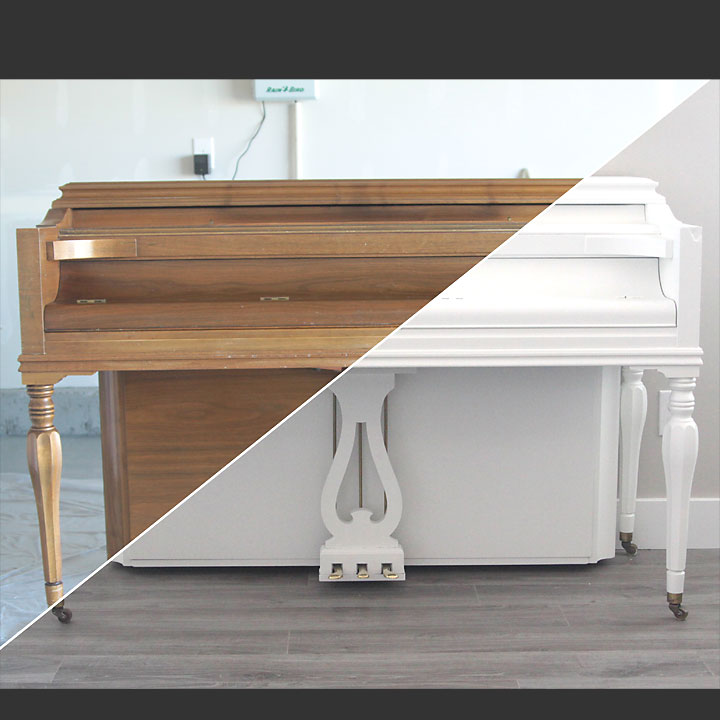
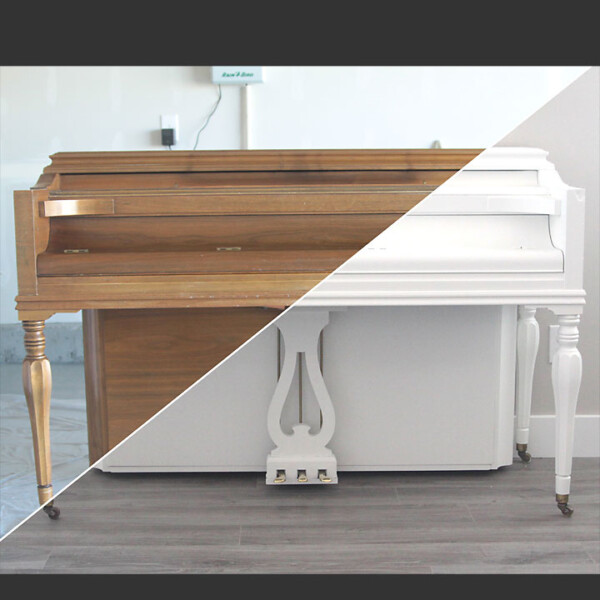
Here’s the before/after of my piano. I’ll share more photos and details of that project next week. Thanks!
BTW – this is not a sponsored post and I have no relationship with HomeRight. I just really like this sprayer 🙂


April B. says
Your piano turned out gorgeous! I’ve always wanted to paint a piano. Alas, my daughter has a keyboard because my hubs says there’s no way he’s moving a piano!!!
I’m actually kind of torn on this one because my house is a blend of coastal and cottage, and for some things I actually prefer the well-loved, caked paint look of the brushstrokes. And they’re helpful for texture if you’re dry brushing over them, too. I’ve used my hubby’s paint sprayer before, and it was ok, and it DID do a lovely finishing job, but I had to go to his shop to use it (which was a huge strike against it because that is his workplace and I can only go after hours) and then it was too pristine for the look I was going for. I did have really good luck when I chalk painted my table top and used a roller, tho. Silky smooth and gorgeous. Until one of my girls tried out my scrapbooking cutter without a mat, and I’m back to square one….
April B. says
Oh, and I have only ever used homemade chalk paint (pretty sure my hubby would have a heart attack if I bought it with the $$$ he spends on paint every month). I’ve been fortunate to have had very good experiences with it so far, but if you want a smooth finish, use foam rollers and brushes and sand between coats. 🙂
Stephanie says
Although I agree that paint sprayers are the bomb, I will say that chalk paint is suppose to be more textured and imperfect for an antiqued look. It’s what we chalk painters are usually going for. But man that piano is beautiful!
Dawn Atsalis says
Thanks for posting the info. I have some dining chairs that I’ve been wanting to try painting with a sprayer and ASCP (going from medium brown wood to white). You mentioned using a primer. What type would you recommend? Thanks!
Claire Bondy says
This really intrigues me… but I do all my painting in my basement. Could I use this sprayer inside if I protected the area around the piece I am painting?
Helen Tocco says
Thank you Thank you for telling it like it is. I’ve done both chalk paint and spray paint. Nothing beats a really smooth finish