
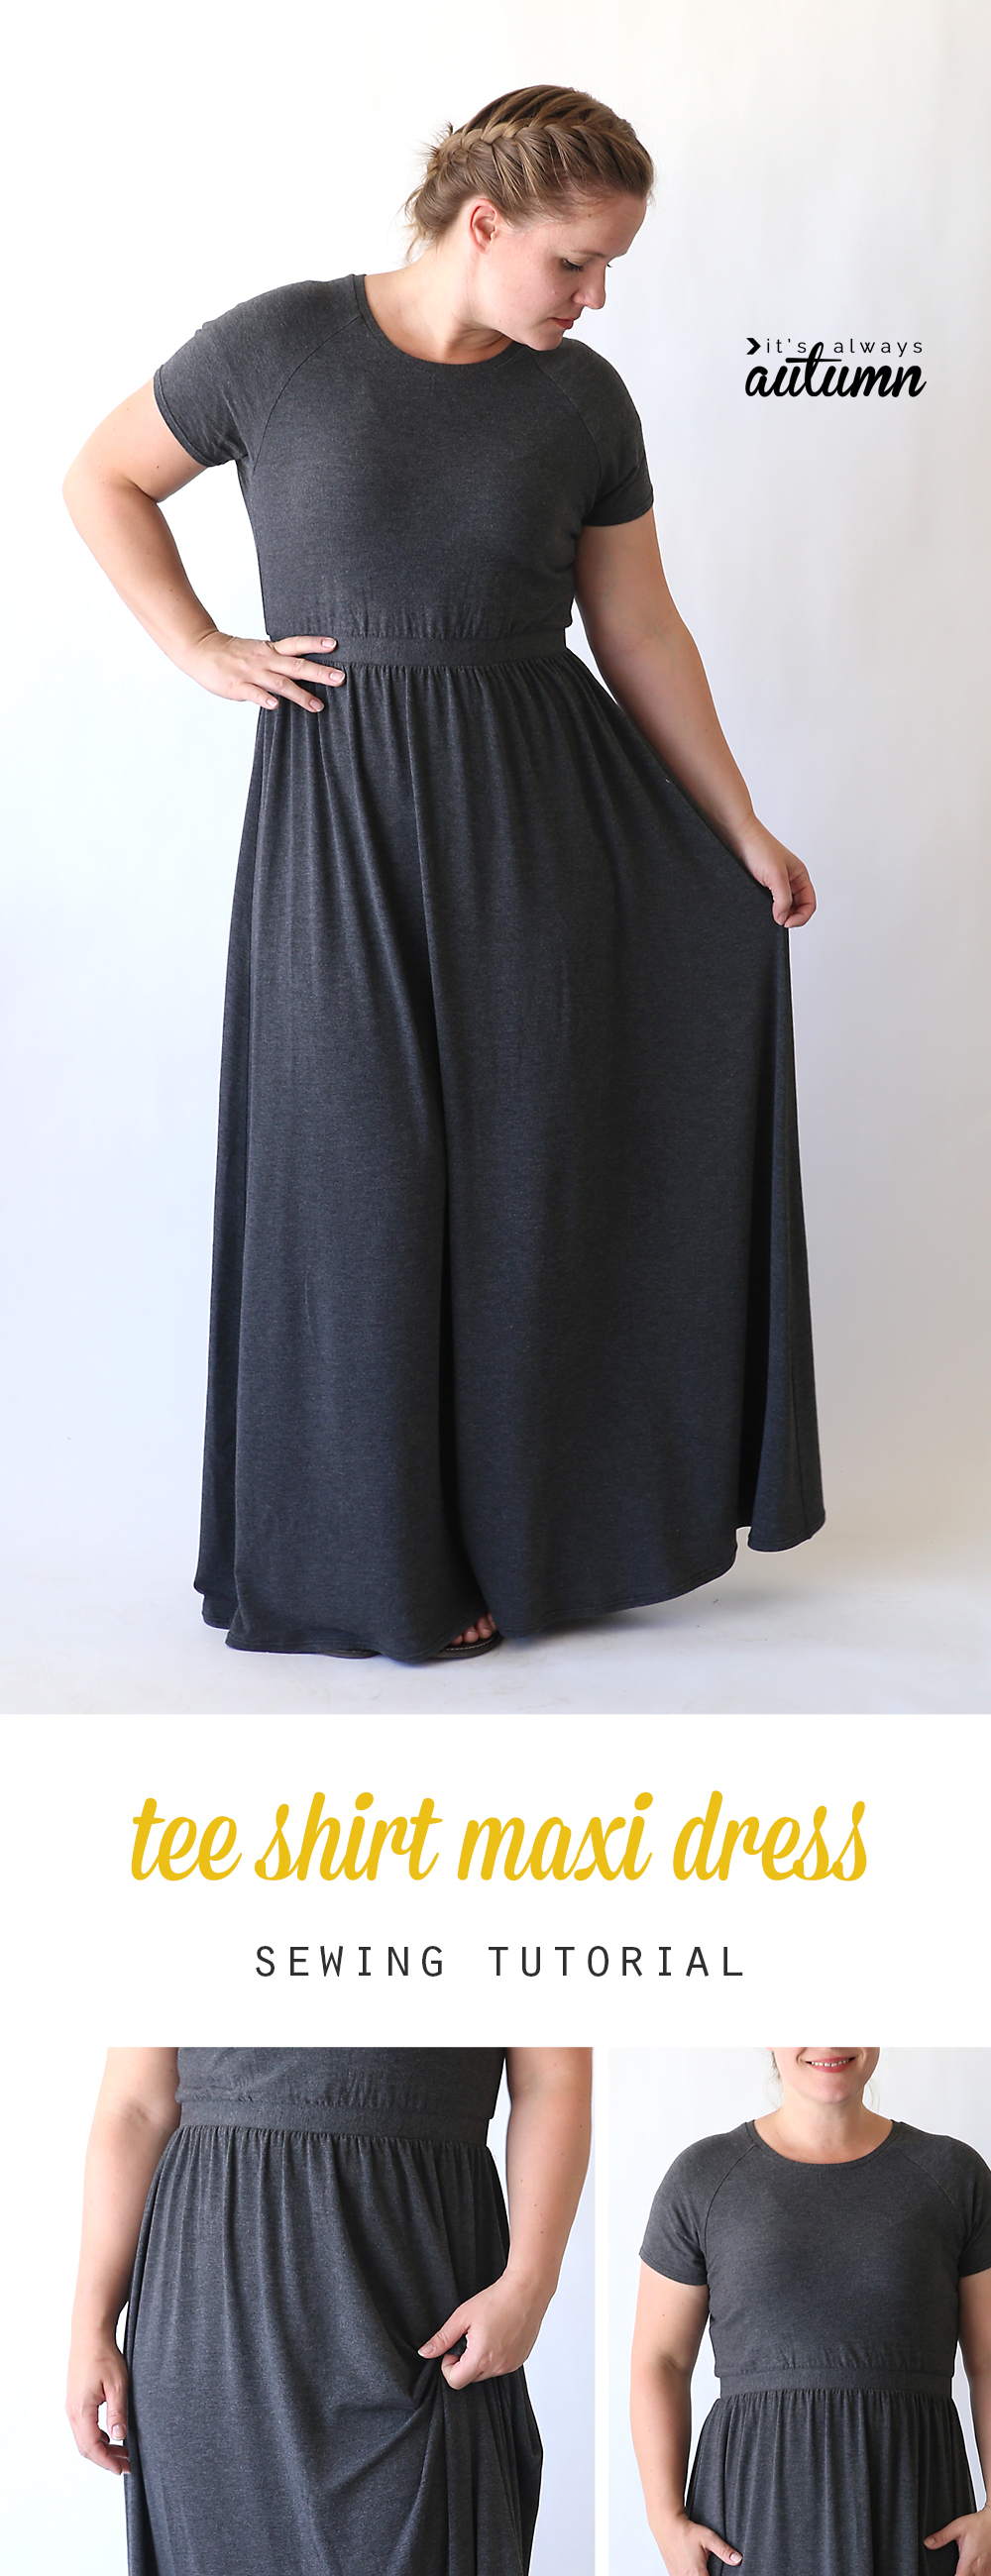
In today’s post: Learn how to turn a t-shirt pattern into a maxi dress with this sewing tutorial.
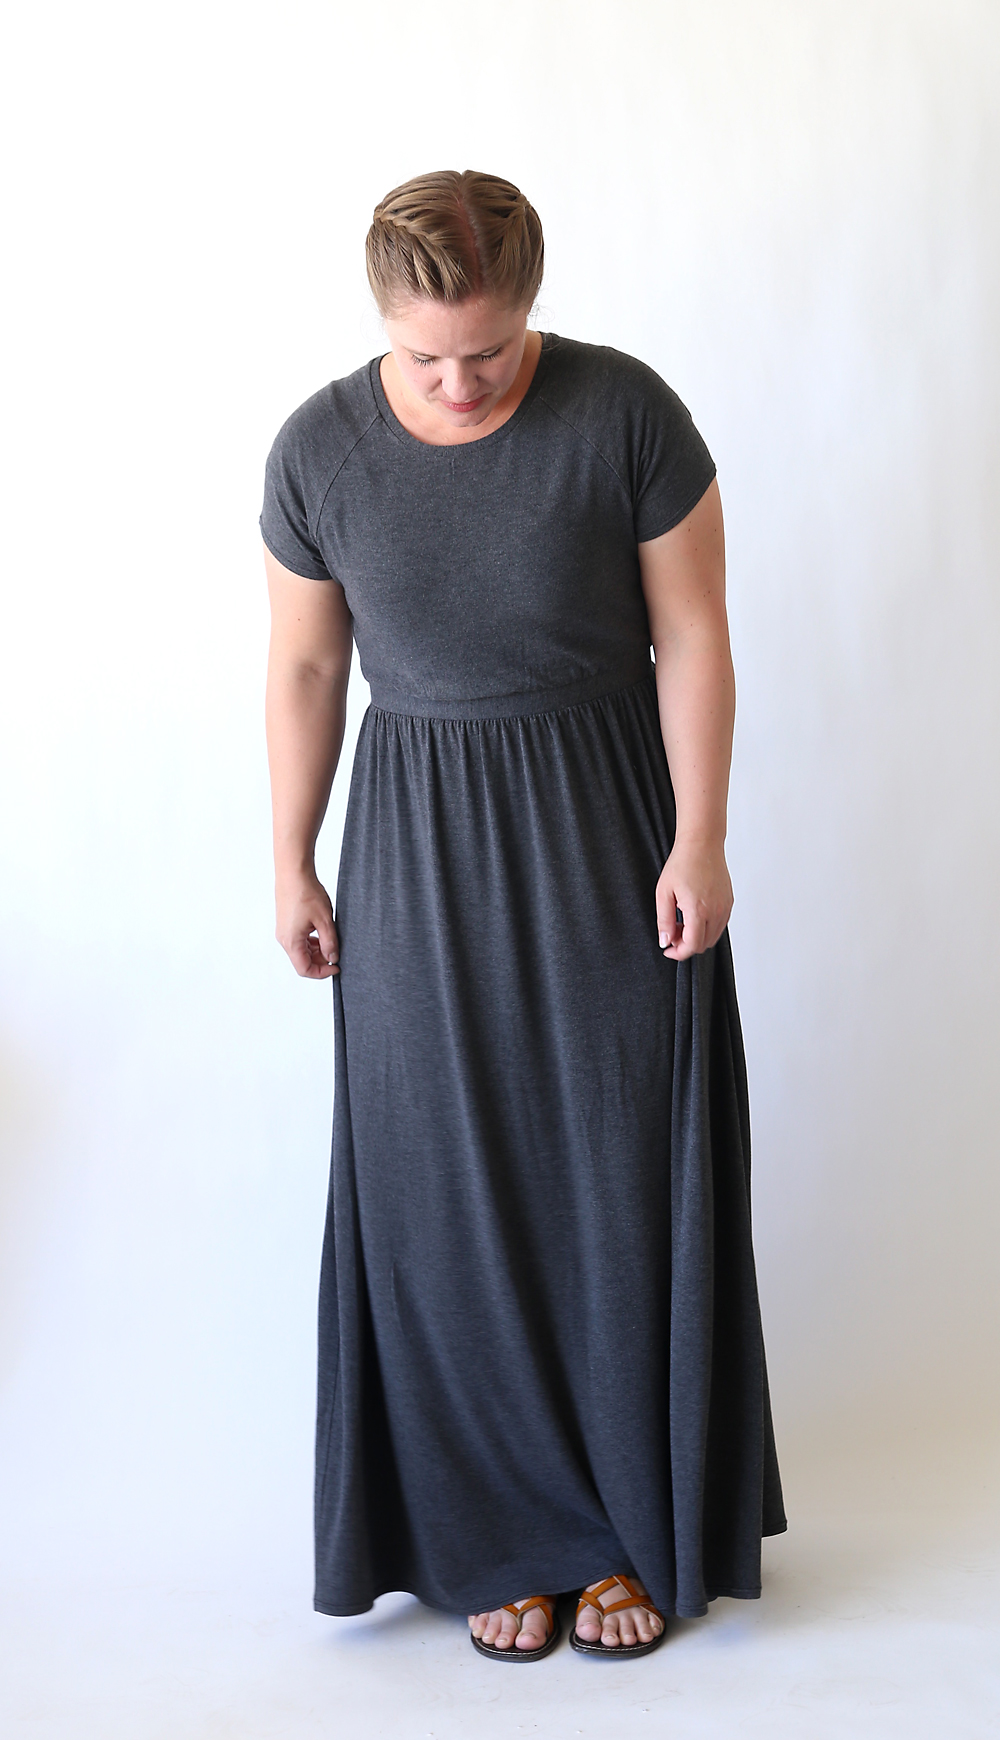
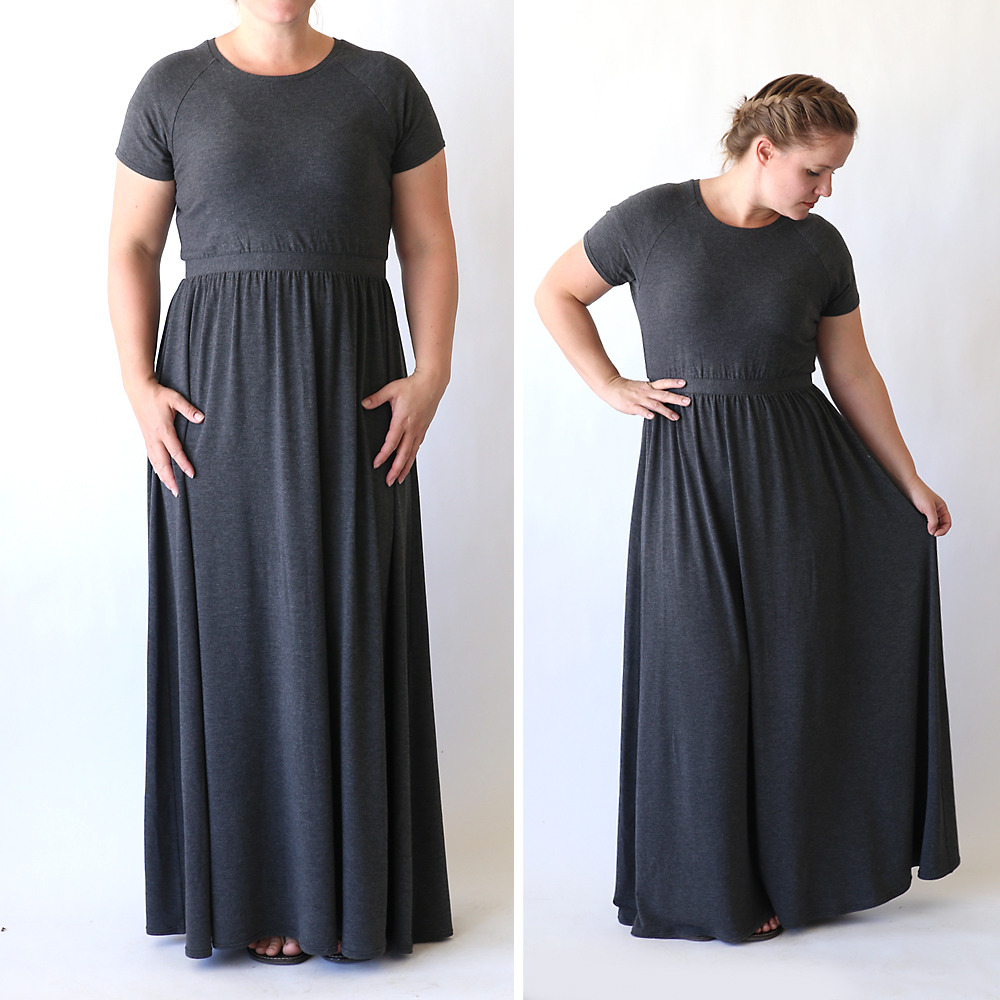
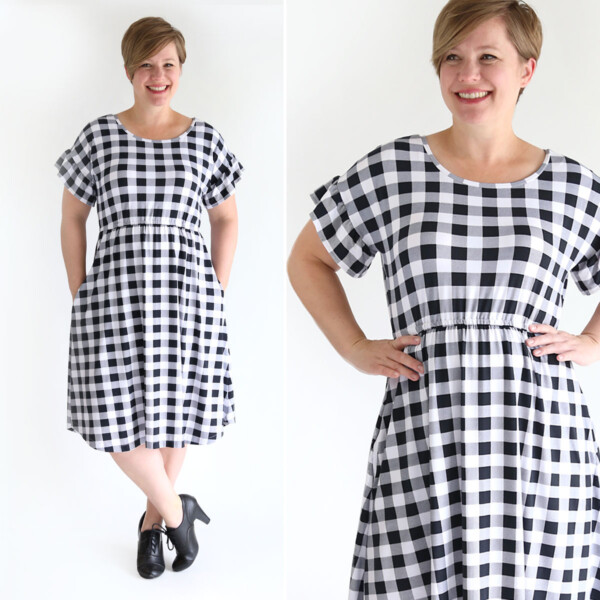
Hey guys! This dress has probably been one of my favorite items of clothing I’ve ever made for myself so I decided to pull it out of the sewing archives and share it again today. I made it three years ago and it still gets regular wear. I LOVE maxi dresses because they’re comfortable and versatile (without being too dressy). But I especially love this maxi dress – turns out that as each year passes my waistline gets a little harder to find ? so the stretchy waistband on this dress is one of those gifts that keeps on giving!
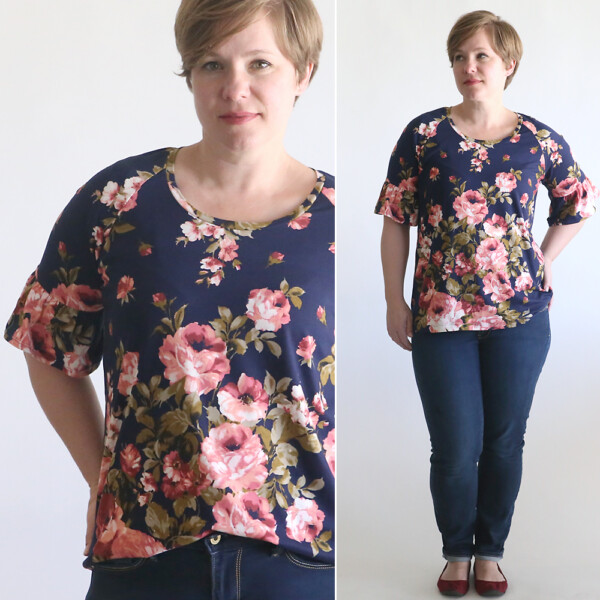
I made this maxi dress using a free t-shirt pattern and adding on a stretchy waistband and a skirt. The free pattern I used is only available in women’s size Large, but you should be able to follow along with any tee pattern than fits you well.
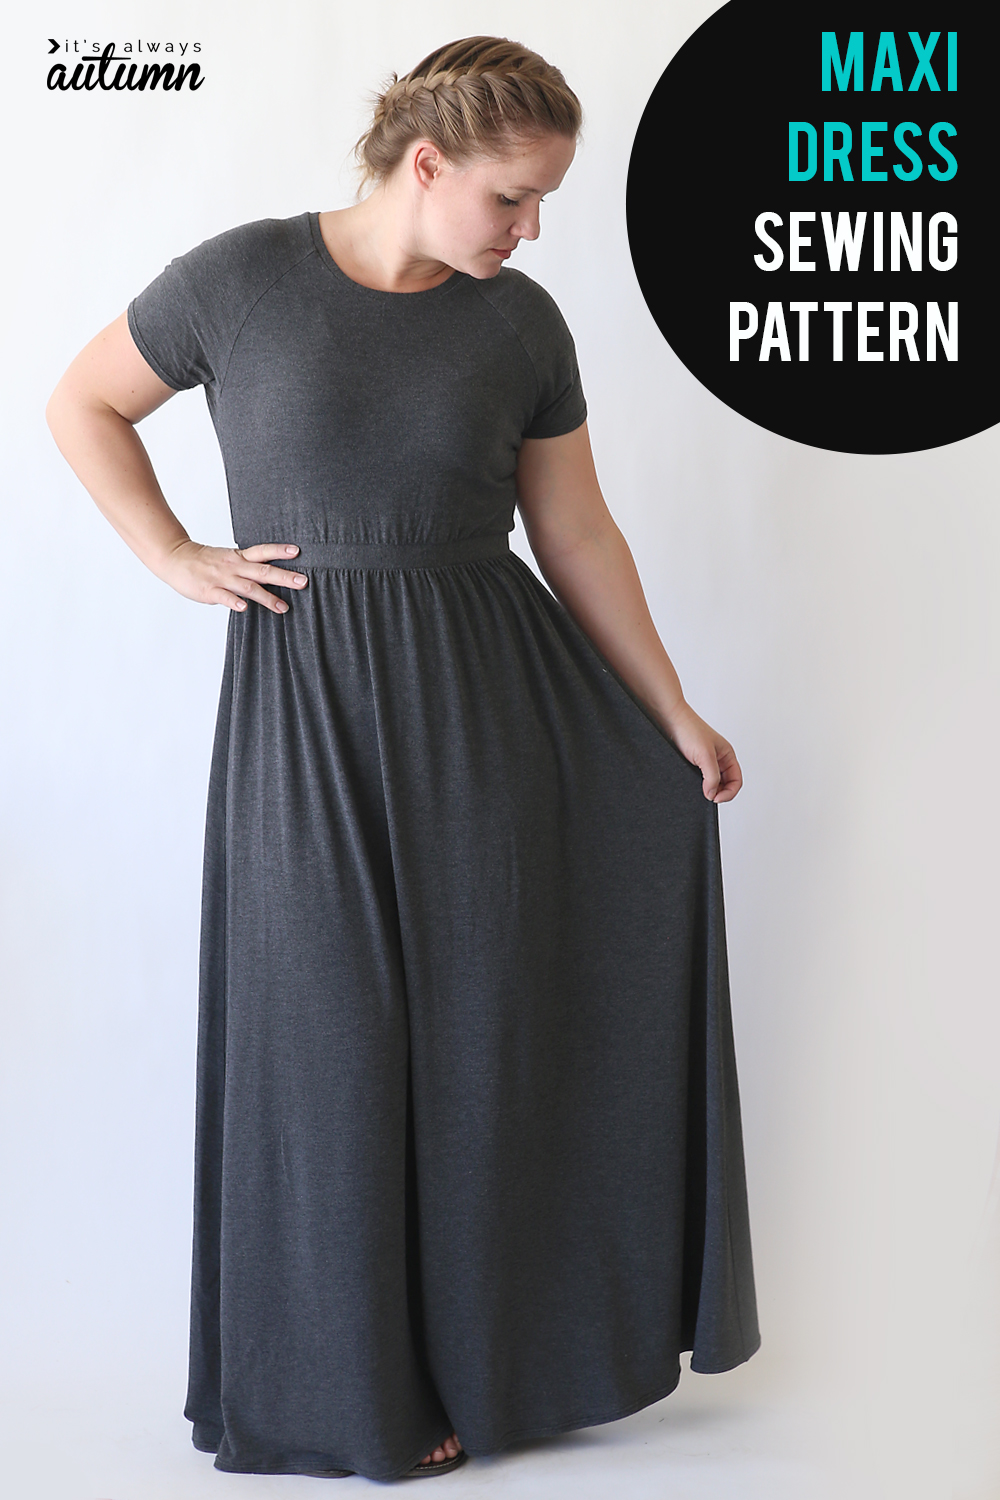
Like all maxi dresses, this one is crazy comfortable. But it also feels a bit dressier than the other maxi dresses I’ve sewn, even though it’s essentially a raglan tee shirt with a skirt attached.
This tutorial requires moderate swing skills and will likely be too involved for an absolute beginner. I mean it’s still a pretty easy sew that basically involves sewing a tee and a skirt and connecting them in the middle, so if you’ve sewn tees and skirts before, don’t be intimidated. But there are a few pieces and dimensions to figure out in the cutting phase, so if you haven’t sewn much before, you might want to start with something simpler, like this easy tee maxi.
For this maxi dress you’ll need about 3.5 yards of knit fabric (I actually managed to squeeze mine out of 3 yards, using just about every bit of fabric, but I’m short). That’s a little more fabric than I usually use on one project, since I’m so cheap, but I really love how it turned out. It’s comfortable enough to wear whenever, but dressy enough to wear out. Worth the fabric investment in my opinion.
I used this charcoal grey cotton lycra jersey from Raspberry Creek Fabric and I love it! It’s super soft, almost silky feeling, but not too slippery when you sew. Really a wonderful knit from a great shop with excellent customer service.
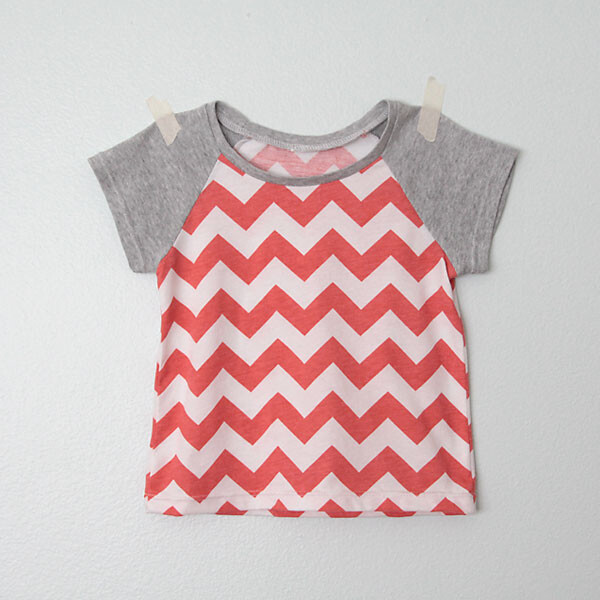
Make sure you wash and dry your fabric before you start cutting anything out. For the bodice of the dress, I used my free raglan tee pattern in size L, which you can download. Or you can learn how to draft your own in a different size here.
Please note that I’ve updated my raglan pattern since I created this tutorial, so the pattern pieces look slightly different than the ones you see below. Print out and tape together the pattern as directed in the raglan tee post. Then figure out where your natural waist would hit on the pattern, and cut it off an inch or two below your natural waist.
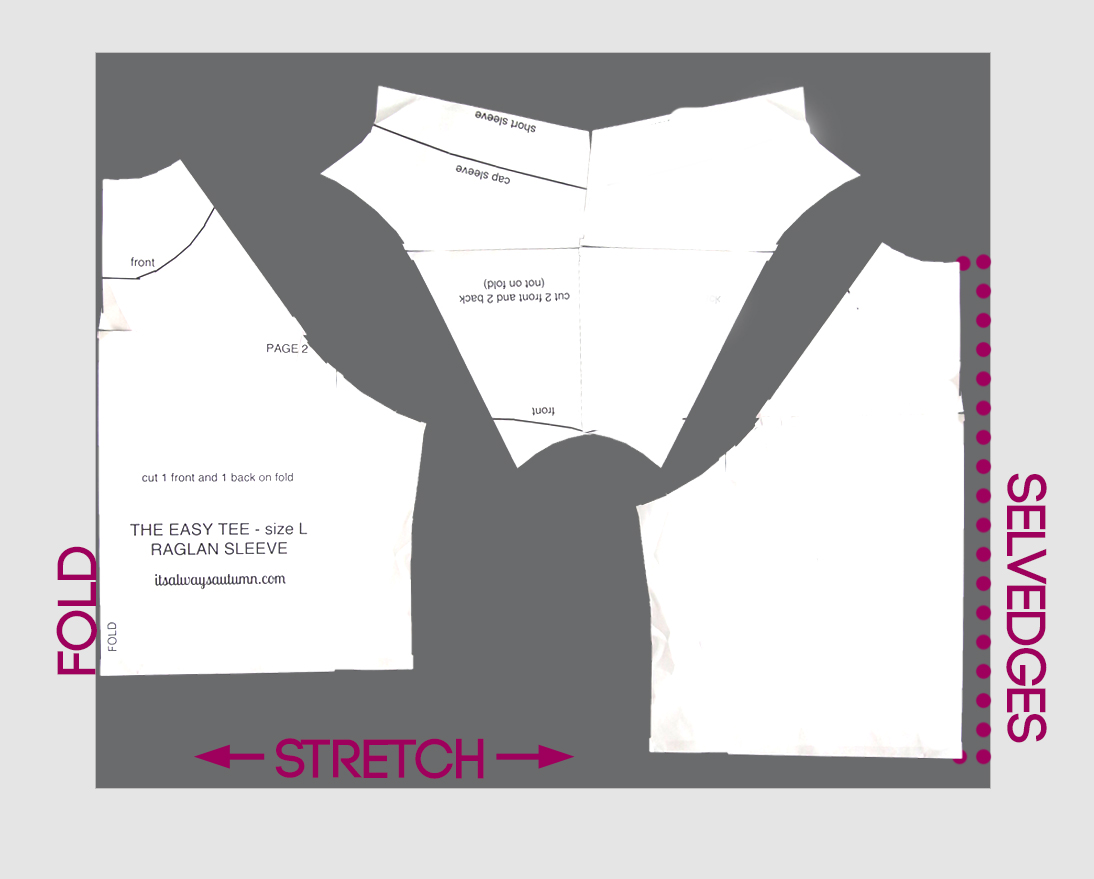
Here’s how to cut out the bodice and sleeves. Fold your material in half with stretch going side to side, matching the selvedge edges. Place the bodice pattern on the fold and cut out (this will be the front). Then flip the bodice pattern over and place it near the selvedges and cut out again, adding 1/2 an inch to the straight edge as shown below. This will be the back. Use the fabric in between the bodice pieces to cut out the sleeves as shown below (basically, you are cutting the sleeves on the fold so you have 2 sleeve pieces instead of 4 half sleeve pieces).
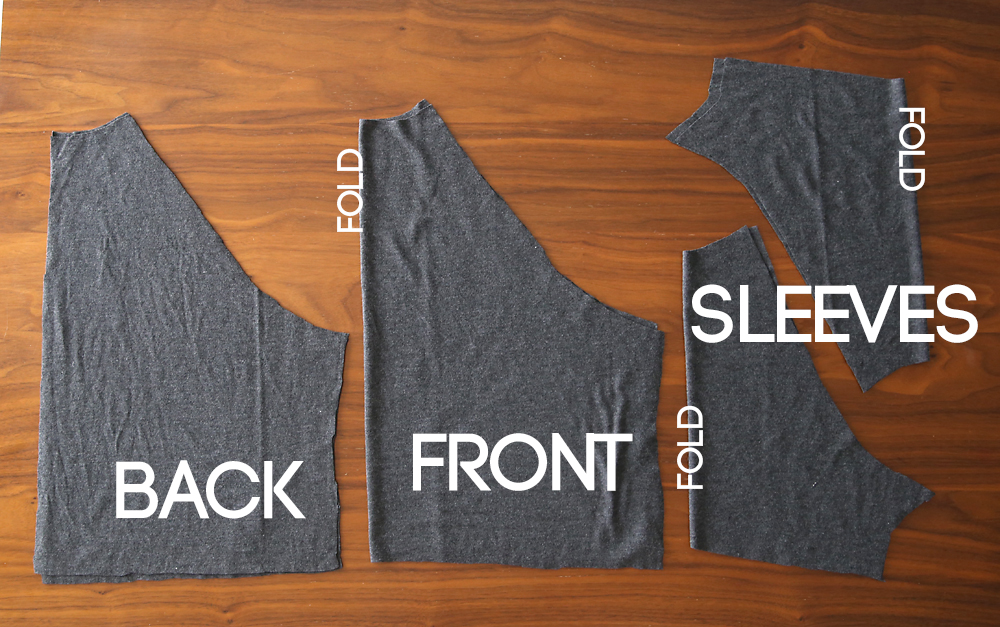
Here’s what all those pieces look like once they are cut out:
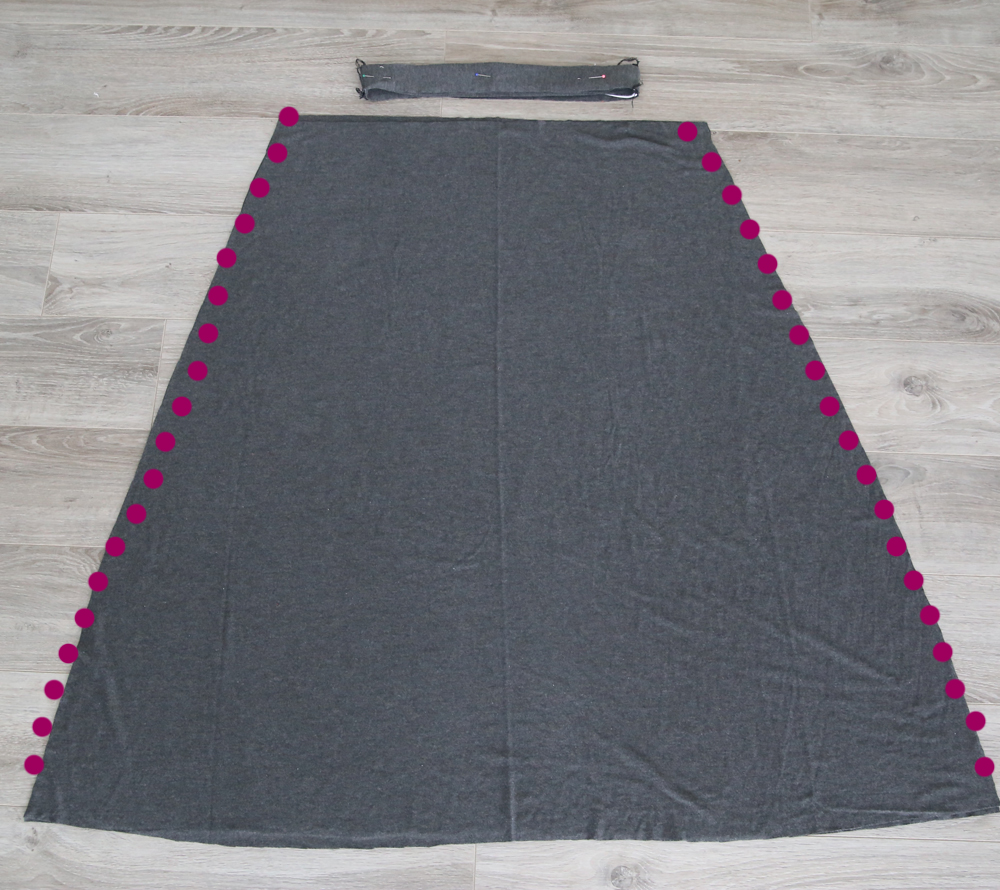
With the remaining fabric, you want to cut skirt pieces, waistband pieces, and neckbinding. What you see below shows one skirt piece, cut on the fold. You need two of them, one for the front and one for the back. My skirt pieces were each about 24 inches wide at the top, angling out to 50 inches wide at the bottom, and approximately 42 inches long. If you have 3.5 yards of fabric instead of just 3, you could make your skirt pieces a bit longer.
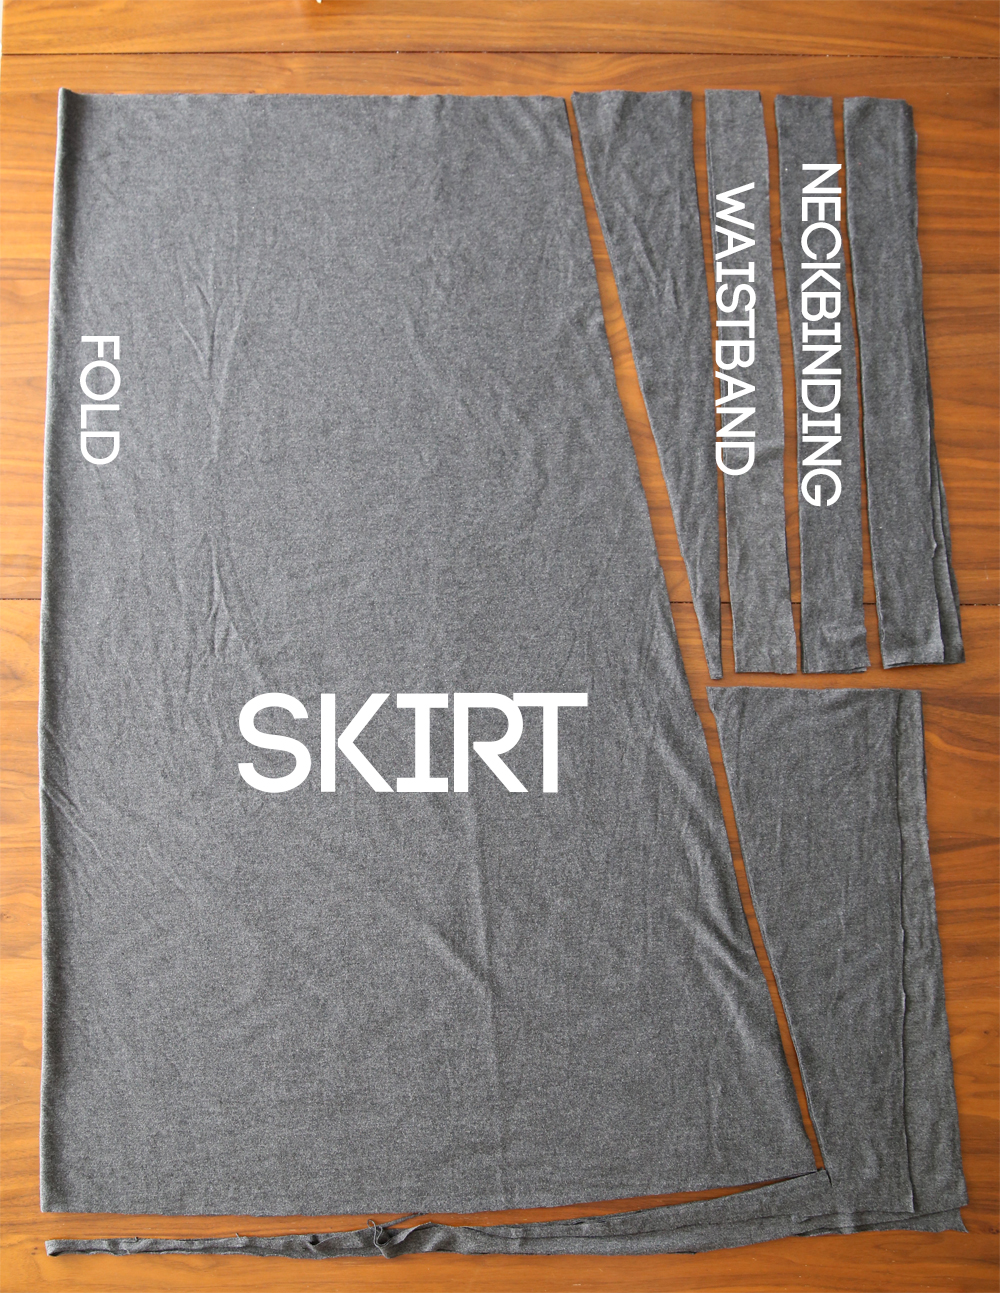
You also need 4 waistband pieces: each should be 1.5 inches high and as wide as the bottom of your bodice pieces. Finally, you need a strip for the neckbinding that’s 1.75 inches high and about 24 inches long. It’s best to cut these pieces out side to side because they need to stretch along the length; however, I didn’t have enough fabric to do that so I cut all of these pieces up and down on my fabric. It works since the fabric I’m using has 4-way stretch. If your knit only stretches side to side, these pieces must be cut out side to side.
Ok, getting all the pieces cut out really is the hardest part. The sewing is easy! Start by placing the back bodice pieces right sides together and sewing down the straight edge, so the back bodice looks just like the front, except with a seam down the middle.
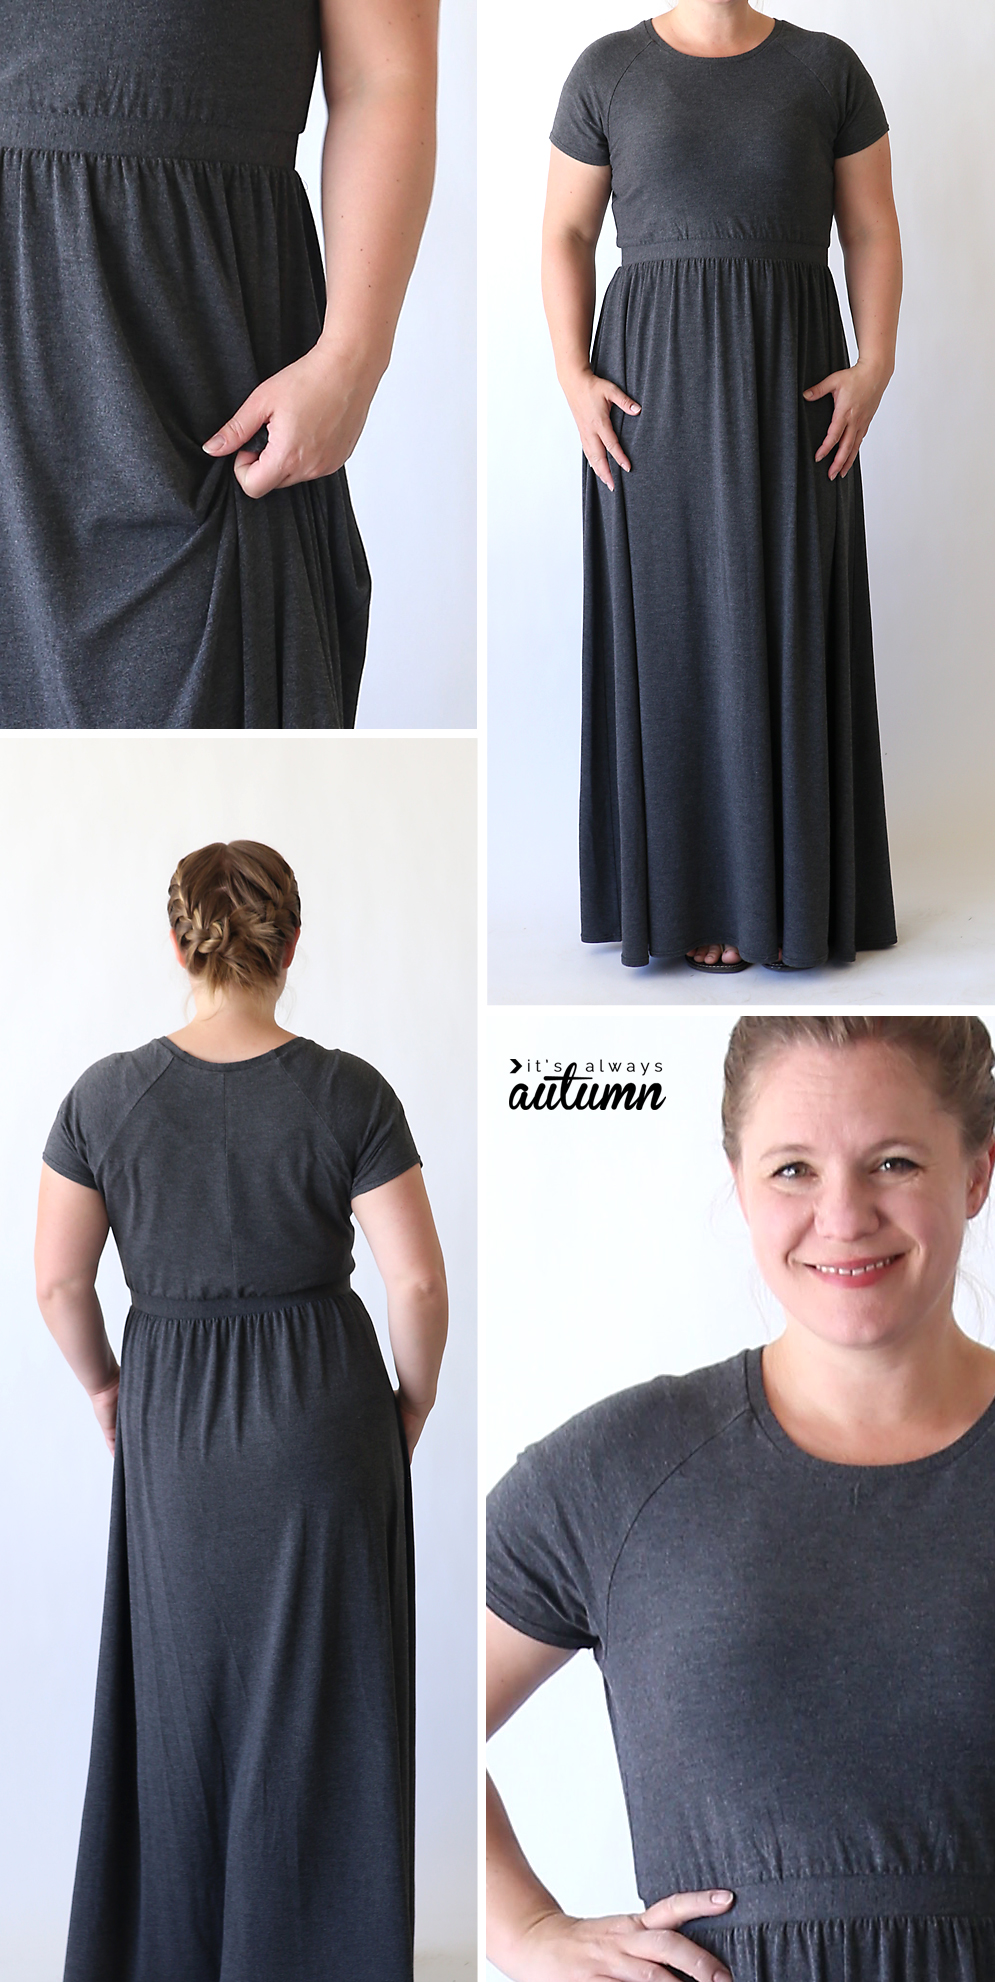
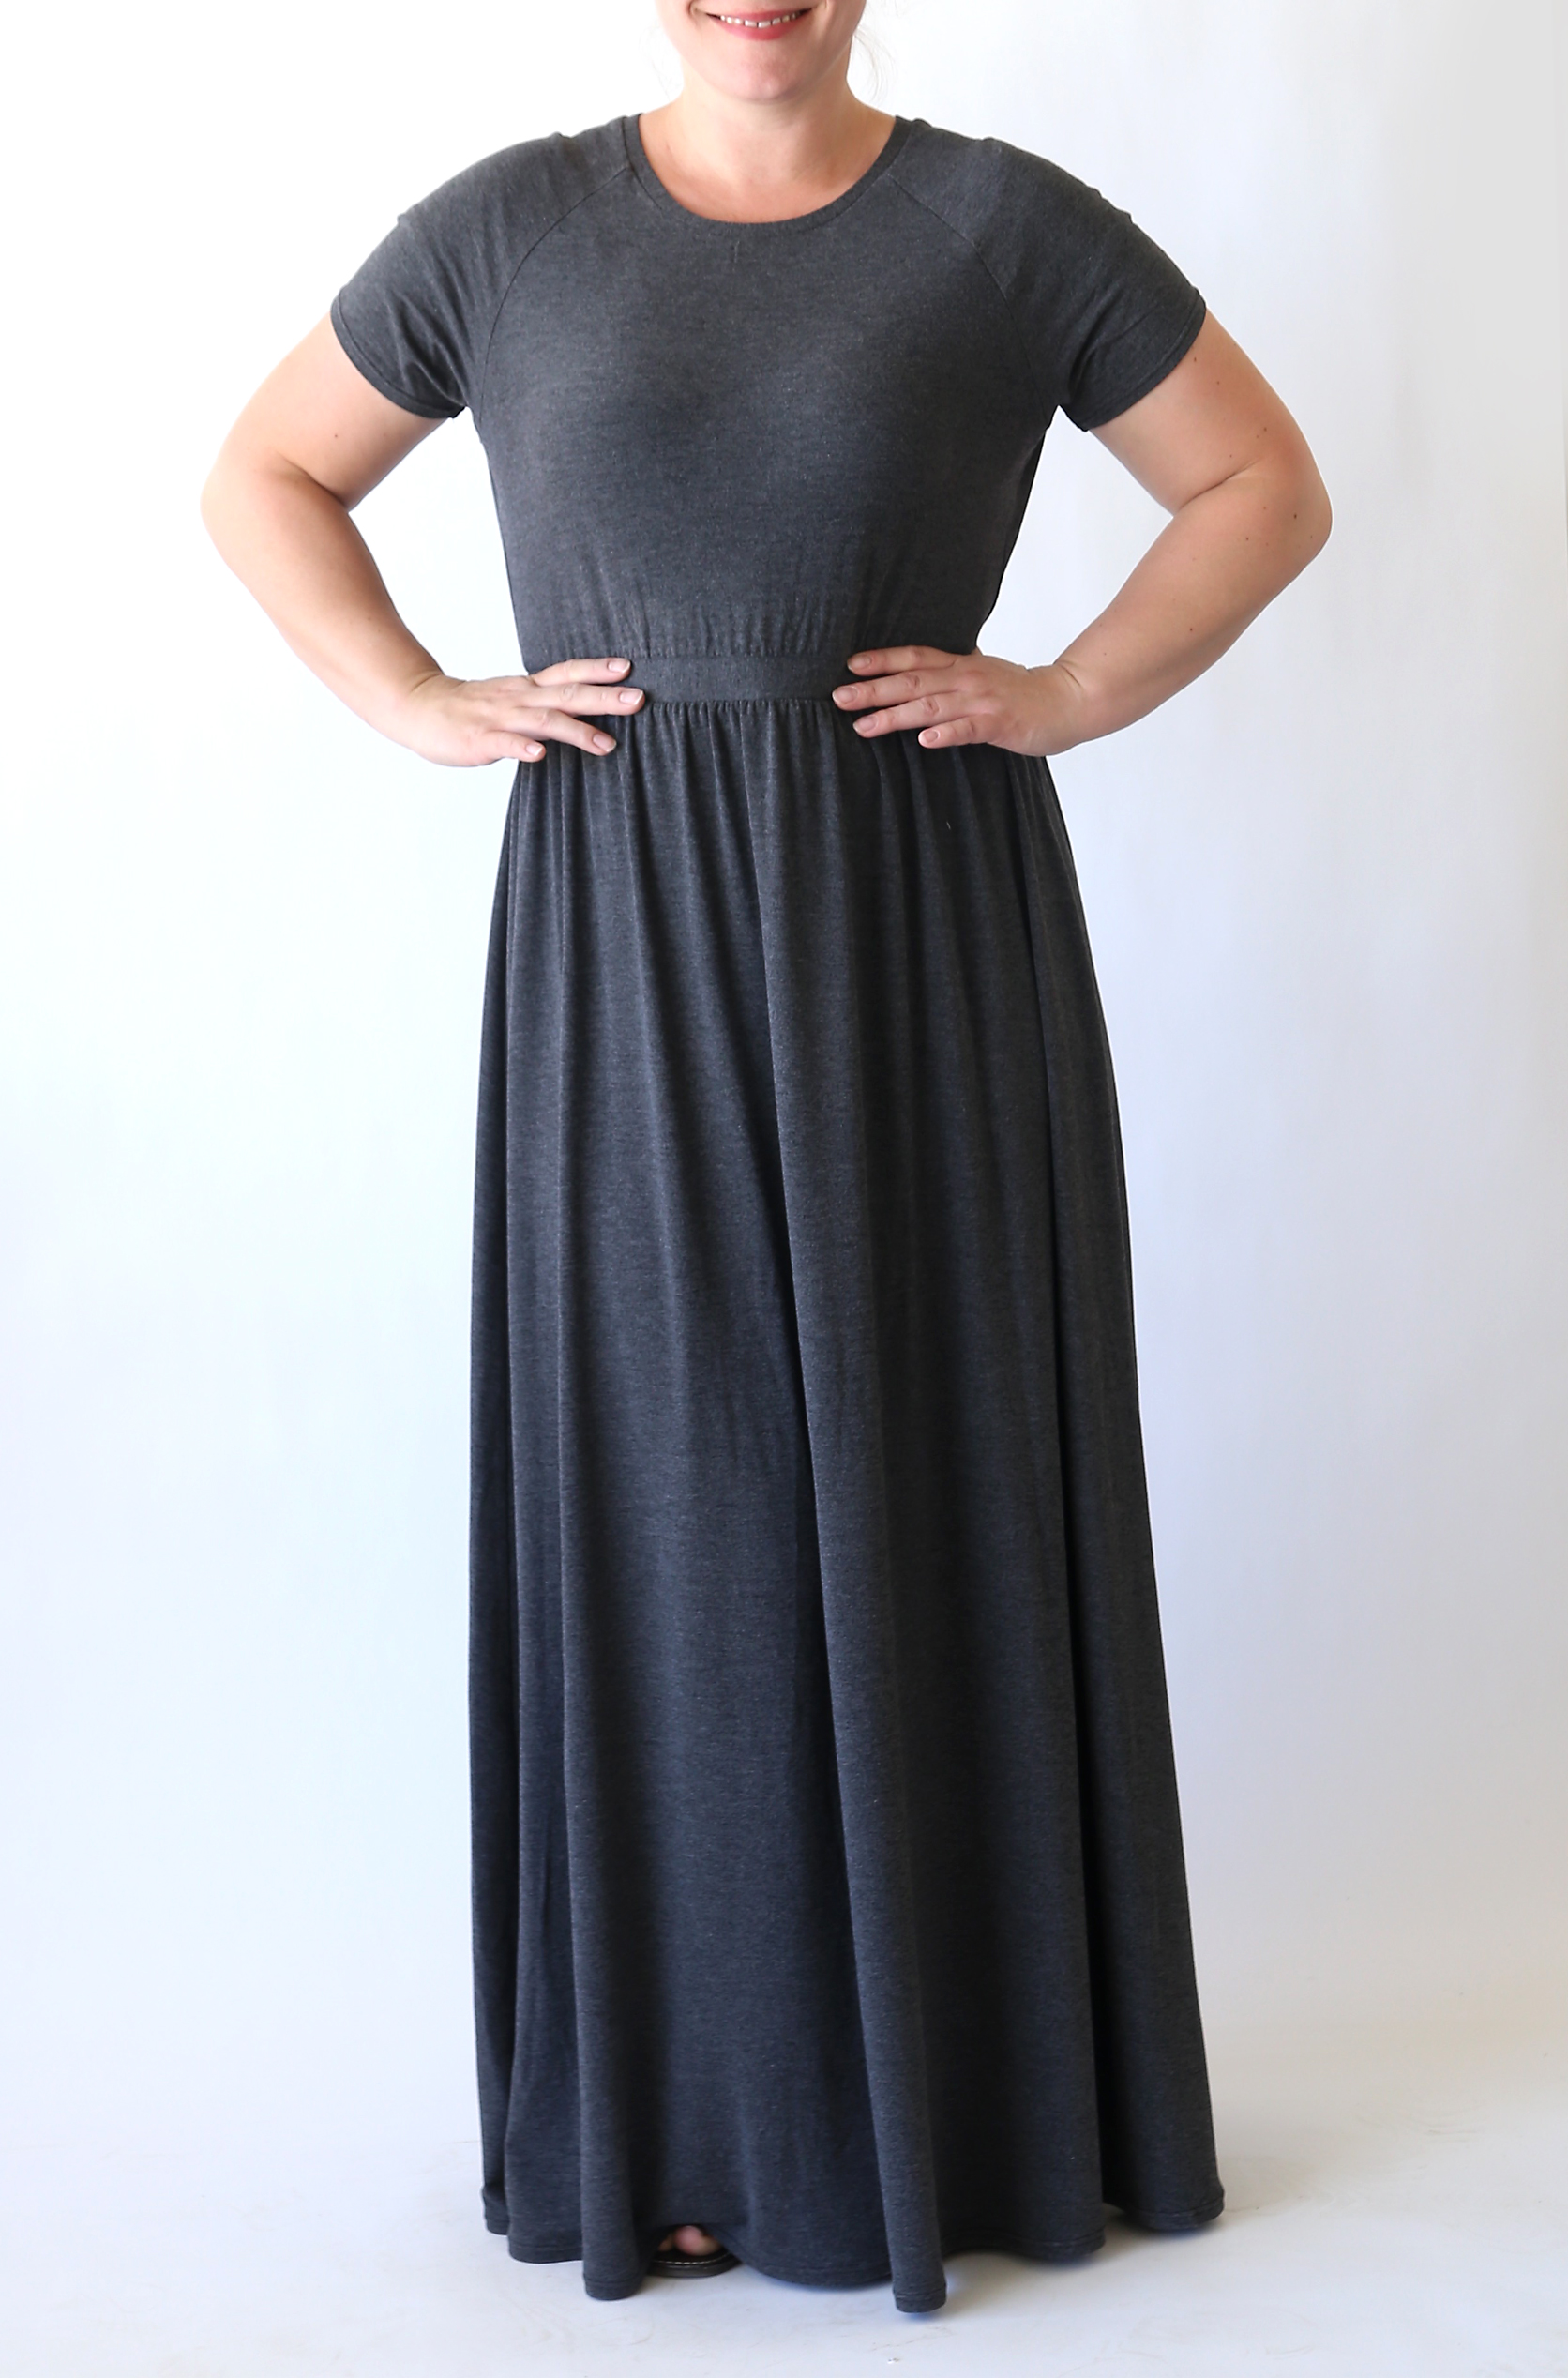
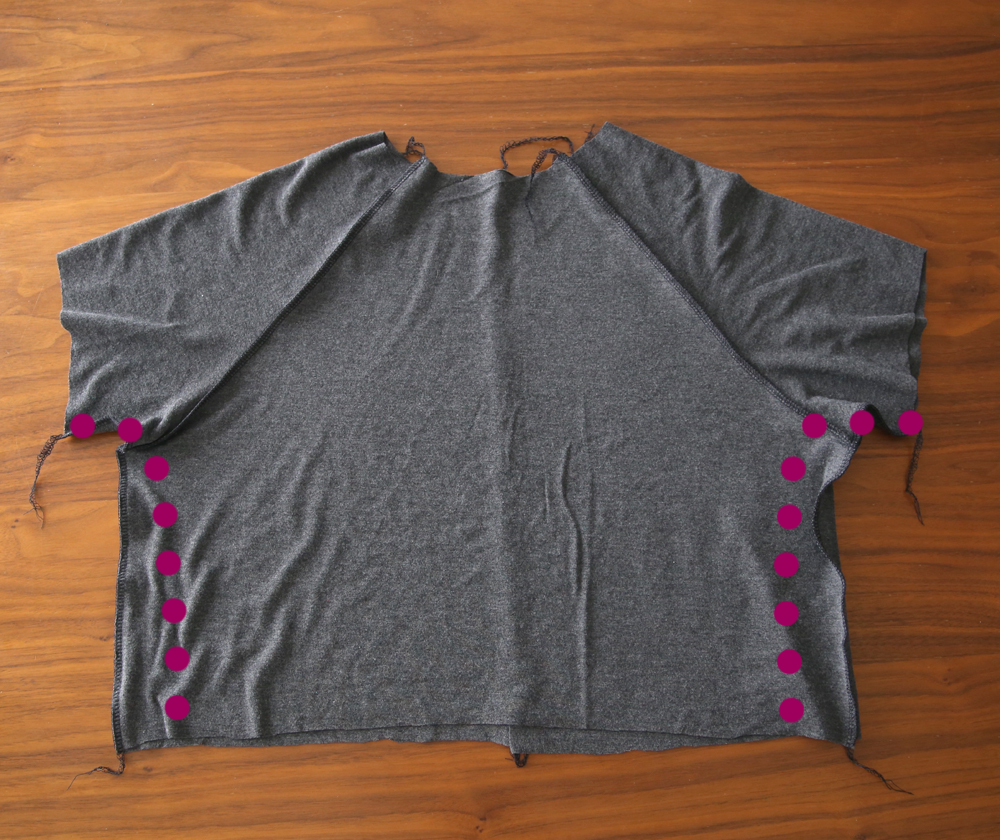
Then you’ll sew up the top just like you would any raglan tee. Check out this post for step by step instructions. Try it on and make sure it fits how you like. I wanted the top of my dress to be fairly fitted, so I took in the side seams a bit, as shown below.
Now you can set the tee portion aside, and grab your waistband pieces. You will also need enough 1.5 inch wide elastic to go around your waist. Sew the ends of the elastic together and try it on. It should be fairly snug around your natural waist so it’s tight enough to hold up the skirt, but not uncomfortable.
You have four waistband pieces. Place two right sides together and sew together the short ends to make a loop the same size as the elastic. Repeat with the other two pieces.
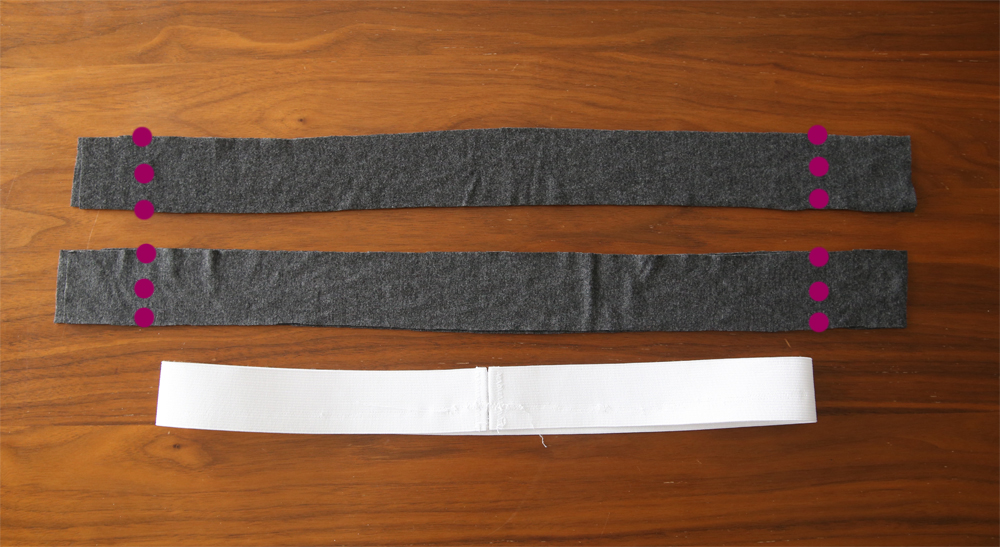
Place one knit waistband loop inside the elastic; place the other one outside the elastic. Pin all three layers together.
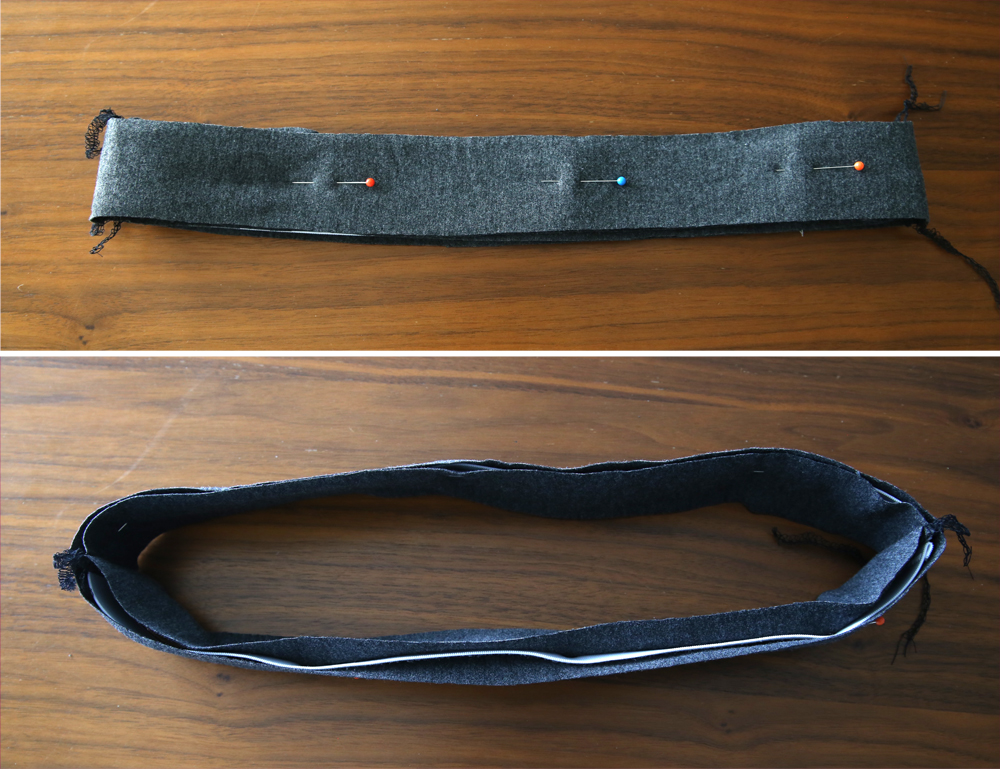
Now grab your skirt pieces. Place the right sides together and sew down the sides.
Use pins to divide the waistband into 8 equal sections. Use pins to divide the top of the skirt into 8 equal sections. Turn the skirt right side out, and place the waistband over the top of the skirt. Match up the pins and pin the waistband to the skirt. Since the top of the skirt is wider than the waistband, it will be all bunched up. As you sew the waistband onto the skirt, stretch it until the skirt piece lies flat. Sew the waistband and skirt together with a stitch that will stretch: I used a serger stitch, but you can also use a zigzag or stretch stitch. Sew close to the edge, using 1/4 inch seam allowance.
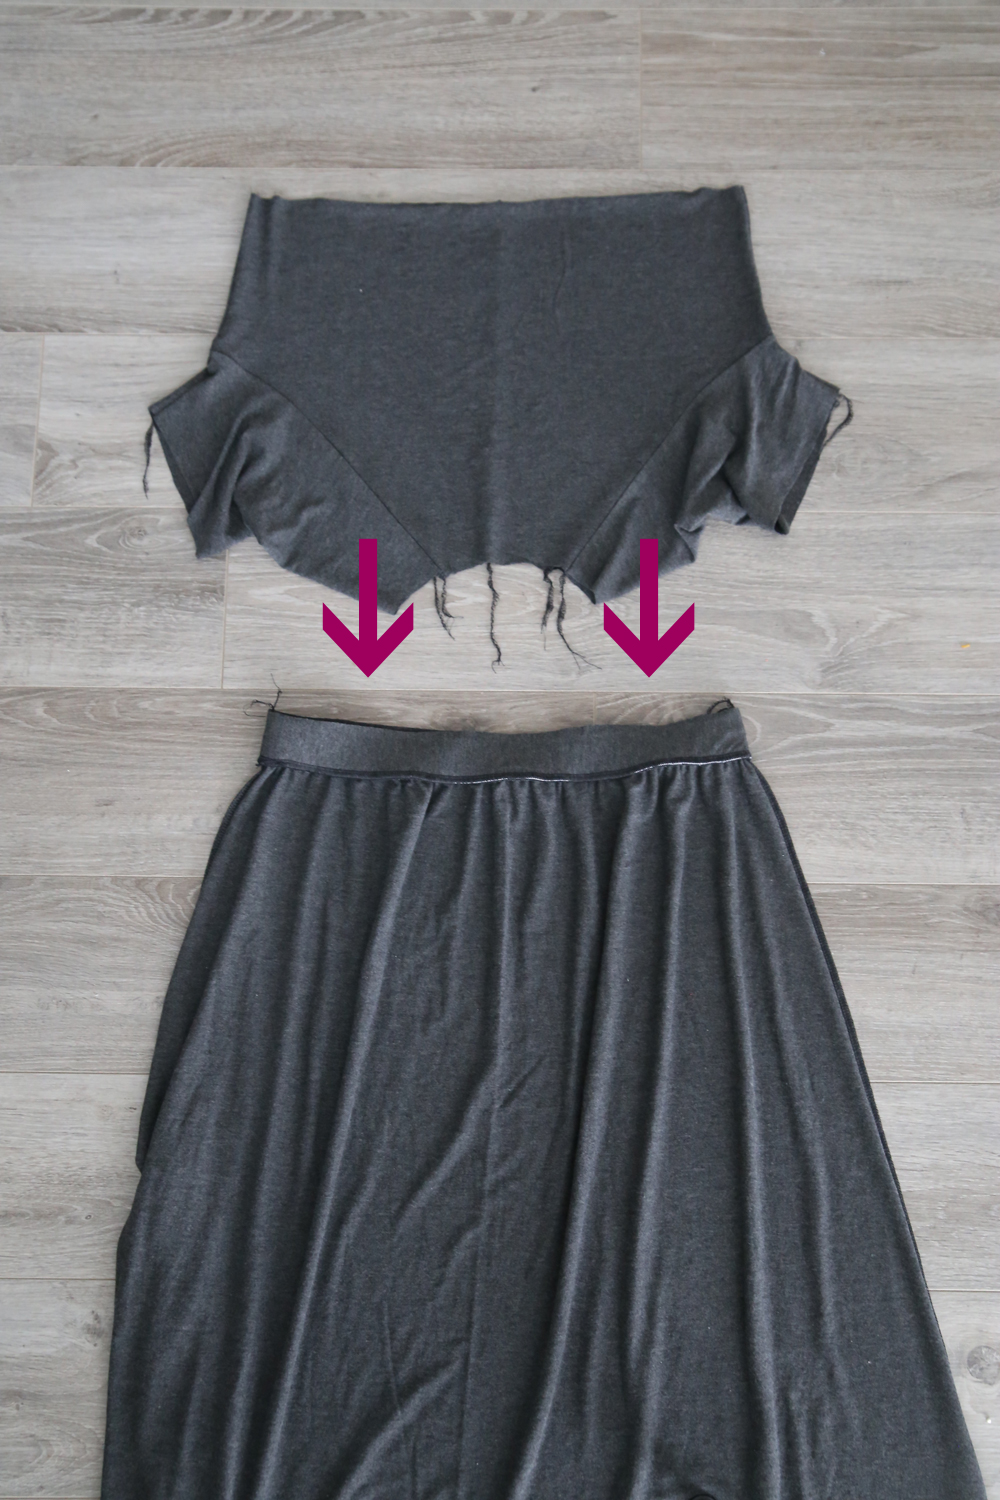
Flip the waistband up, and the skirt will look like the 2nd photo above.
Now it’s time to try on the tee piece and the skirt piece together. Tuck the tee into the skirt and pull the skirt up until it’s at your natural waist (or wherever you feel is most flattering). Mark where it hits on the tee piece with pins.

Trim the tee piece if needed so it is 1/4 inch longer than where you pinned.
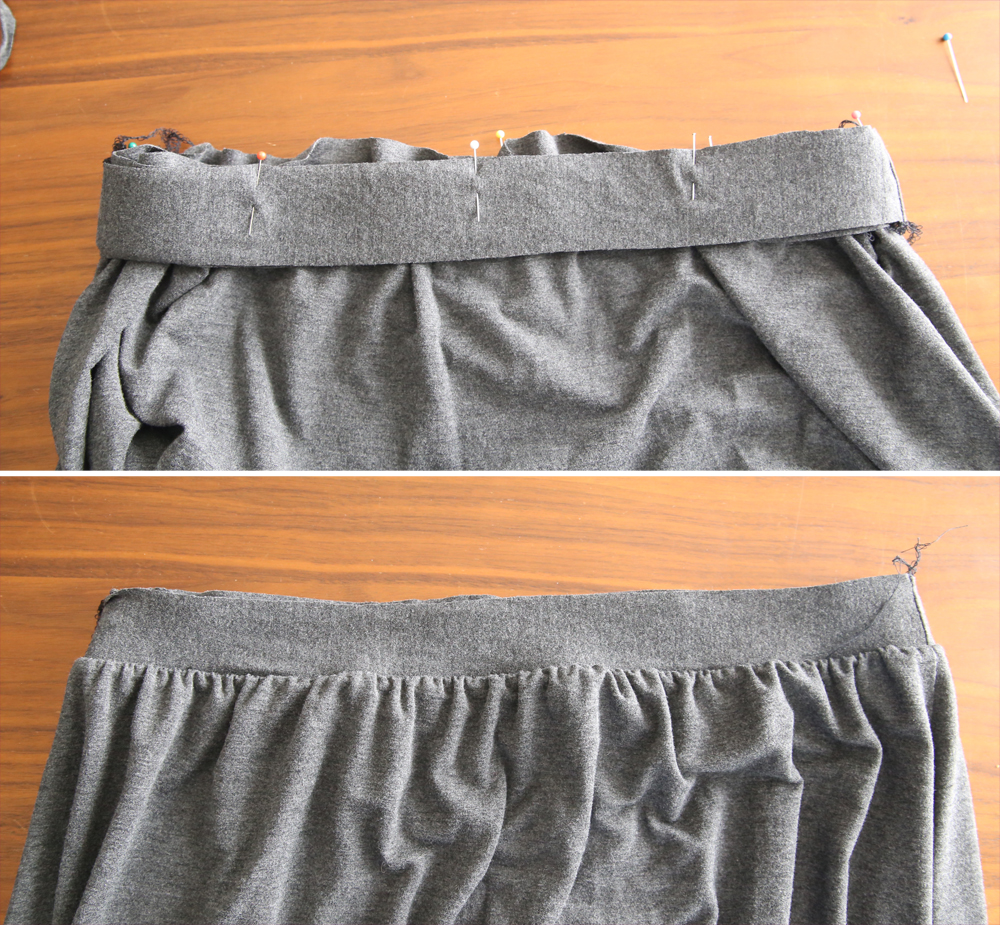
Now you’ll attach the tee to the waistband. Turn the tee right side out and the skirt inside out. Mark each in 8 places, just like you did when attaching the skirt to the waistband. Slide the tee inside the skirt and match up the raw edge with the raw edge of the waistband.
Pin together and sew, pulling the waistband until the tee lies flat under the presser foot. Again use a stitch that will stretch and 1/4 inch seam allowance.
Here’s what the waistband looks like from the inside with both skirt and tee attached:

And from the outside:

Now you can attach the neckbinding as described in this post and hem the sleeves. Before hemming the bottom, it’s a good idea to put the dress on and have someone else measure an inch up from the floor and mark with pins all the way around. Use this as your hemline to ensure the hem looks even when you wear the dress. I always use a double needle to hem knits.
Once the hem is complete, your new maxi dress is done!

Carole says
Very cute!
I do have a ‘little black dress’. That said, it’s been in a storage drawer for quite a few years, and I’m embarrassed to admit, still has the tags on it. There was a time that I had cause for one, so I bought it and didn’t wear it, and then another ’cause’ never came around. I don’t know why I can’t quite get myself to let it go. Hubby’s companies no longer have holiday parties or anything of that nature, and we don’t go out for dinner parties or anything like that. Sigh. lol
Amanda Smith says
Wear it to go shopping /collect the children/ do the laundry/ if it is destined for the recycling at least give a chance to get some love from you….
A
Mimi says
Very nice! It looks great on you. Can’t wait to try it.
Lynsey Jane says
I think this look awesome on you, it’s comfortable and classy, perfect combo!! Great tutorial too, thank you.
Lucy Caitlyn ~ England says
I agree it looks great on you 🙂 I’m wheelchair bound and find maxis can get caught up 🙁 but I like this so much I’m going to go for a “capri trouser” length and make it in a Summery fabric just in case we get a summer 🙂 I’ve got some gorgeous bottle green fabric for winter which I’ll use this pattern for too.
Thanks for your inspiration 🙂
PS Just signed up for Pottery & Stained Glass classes in Autumn going to use one of your t-dresses shortened with pockets as work tunics!
Deborah says
I am in my 60’s,I have made several for my Momma she is 94 she loves the way they flow and so easy for her to put on. You will love them.
Anne says
I think that you could probably try making it like a high low type skirt with the high being in the back, maybe to your mid calf or knees, and the front just hitting at your feet/ankles. It would look odd when you held it up or if someone would to walk around in it, but I think that Would give you the look of a maxi without the extra fabric getting caught up in the chair.
Chelle Chapman says
EEP! Sew cute & cute on you as well!! I like this style on you much better than the other grey one, VERY flattering!! You make it look SEW easy but it may be if you’re using a serger. Thank you for this awesome tute. I am going to try this.