After I made a stuffed animal sleeping bag for my son’s monkey, Jim, I decided he needed some new pajamas, so I drafted a quick pattern and whipped up a pair. They fit all the various Build-a-Bears at our house, and since I made them from scraps, they were a fraction of the cost of pajamas at the Build-a-Bear store.
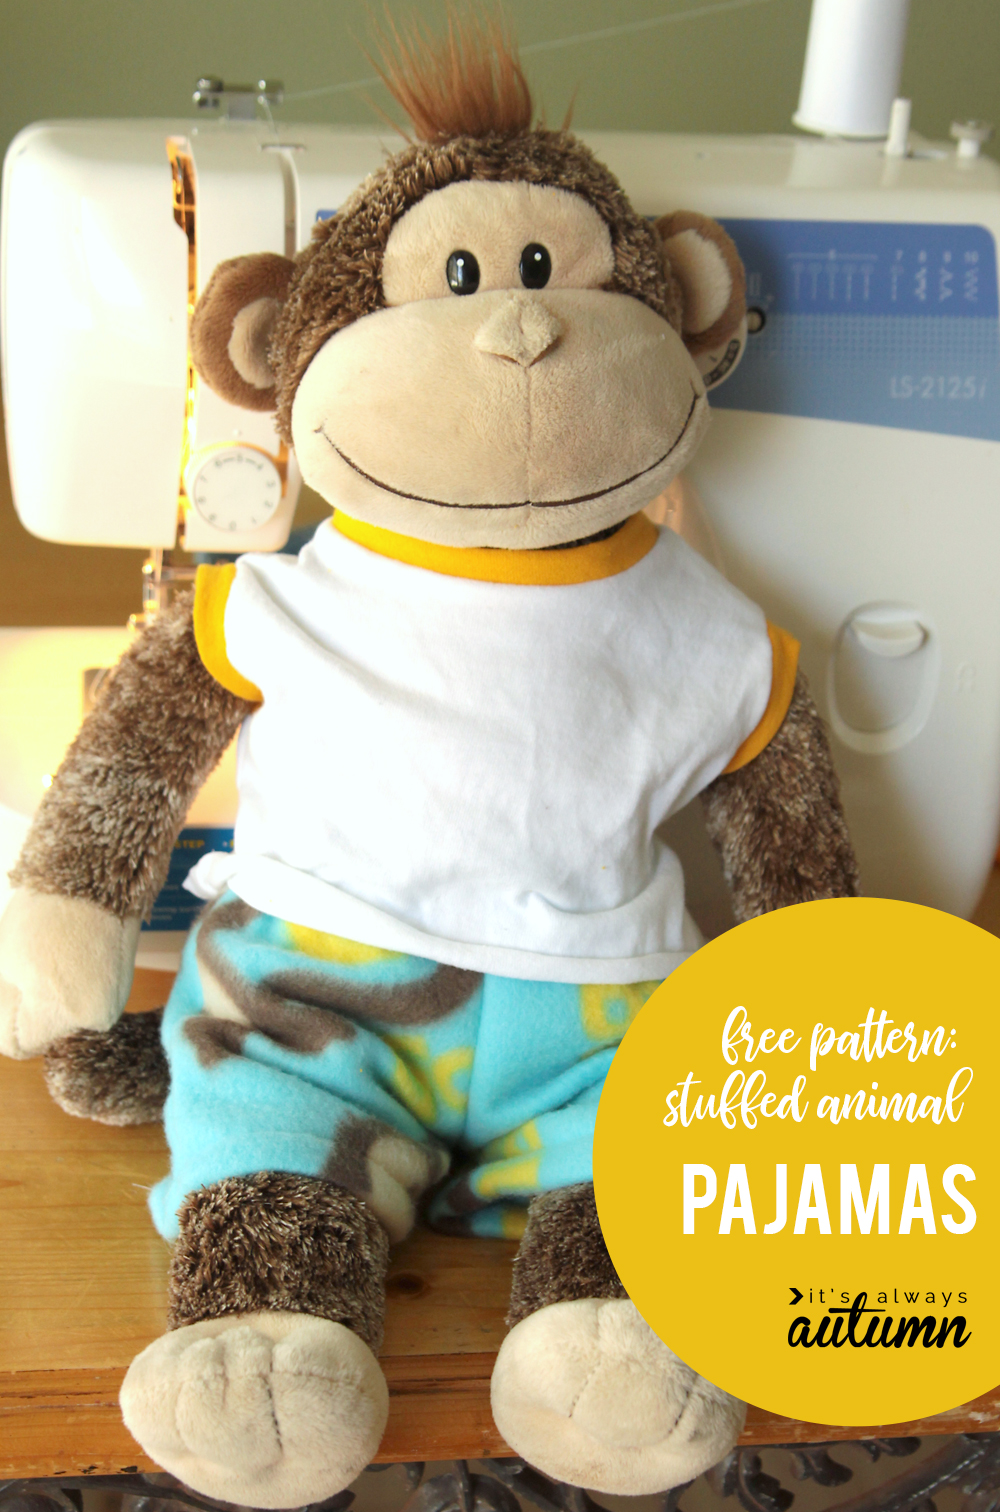
Teddy Bear Pajamas Pattern
Start by clicking here to download the shorts and tank pattern, then print it out. It will look like this:
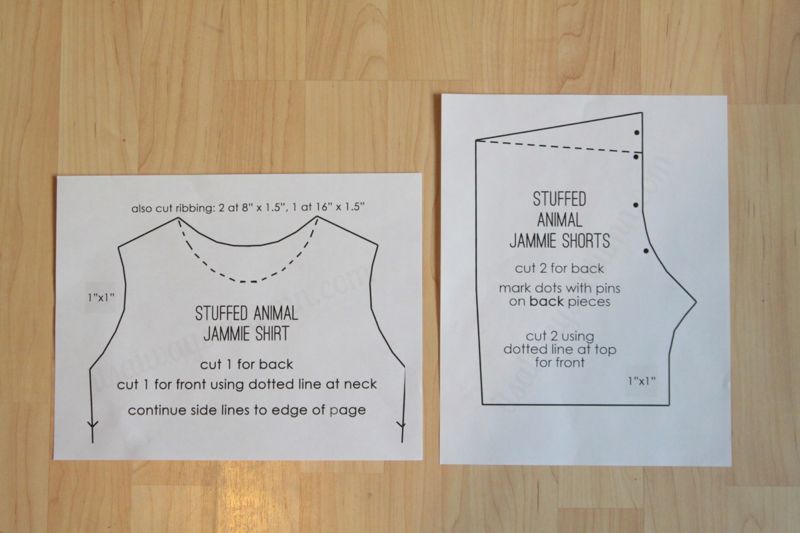
Measure the test squares – they should be exactly 1 inch x 1 inch. Also, notice that the shirt pattern tells you to continue side lines to the edge of the page.
A quarter of a yard of fabric is plenty for the shorts. (If you want to make a sleeping bag and matching shorts, buy 2/3 of a yard. Cut a 15 inch wide piece the length of the fabric for the sleeping as described in that tutorial, then use the 9 inches of width left to cut out shorts pieces.) I used scraps of knit in two different colors for the shirt – you’ll need about 10×16 inches for both of the main shirt pieces, and 16×3 inches for the ribbing.
How to make teddy bear pajamas
Let’s start with the shorts. You’ll need to cut two front pieces and two back pieces (from the same pattern piece, just be sure to cut the front along the dotted lines at the top). Mark the dots from the pattern on the back pieces only (I just use pins for this). Lay each back piece down on a flat surface right sides up, then lay one front piece on top of each back piece, right sides down. Sew along the inseam (shortest edge):
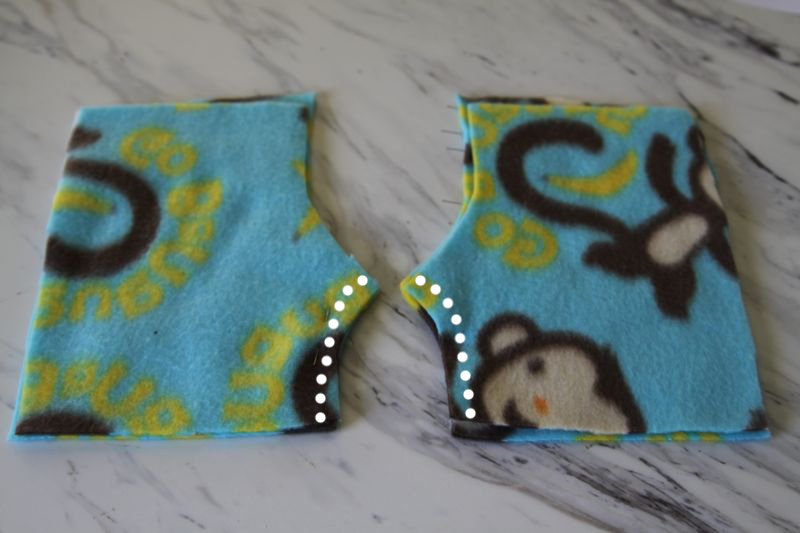
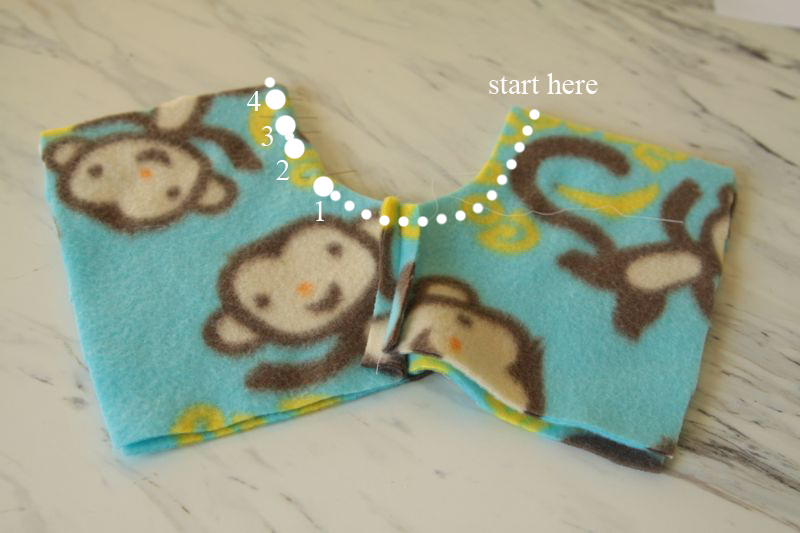
Then open up your pieces and place them right sides together as shown below (the pins on the back pieces should meet up at this point). Starting on the side of the curve that isn’t marked with pins, sew along the curve, stopping at dot 1 and backstitching. Then sew from dot 2 to dot 3, backstitching at the beginning and end. Finally, sew from dot 4 to the edge of the fabric, again backstitching to reinforce the seam. Now you have sewn the curve, but left two openings. One opening is for the stuffed animal’s tail, and the other is for threading elastic.
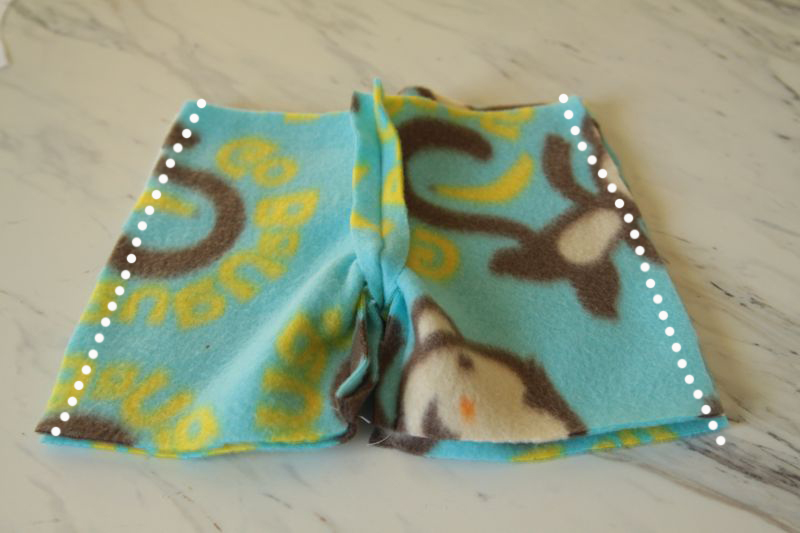
Open up the shorts and flip them so the front pieces are lined up on top of the back pieces, right sides together, and sew down the side seams, as shown here:
Now you can turn the shorts right side out and hem them by turning them up half an inch and sewing. If you’re using fabric that frays, you would want to finish the raw edges first, but fleece doesn’t fray, so a quick turn-up and sew works great.
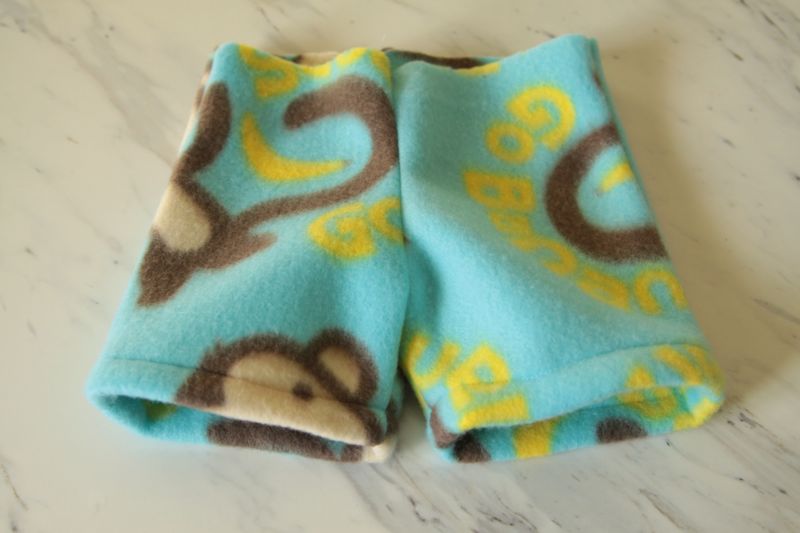
Now you just need to turn down the top edge about an inch and sew all the way around, creating a casing you can slide elastic through. At the center back seam, the raw edge should meet the top of the the tail opening when you’ve turned it down. Measure your animal’s waist and then cut a piece of elastic about an inch shorter:
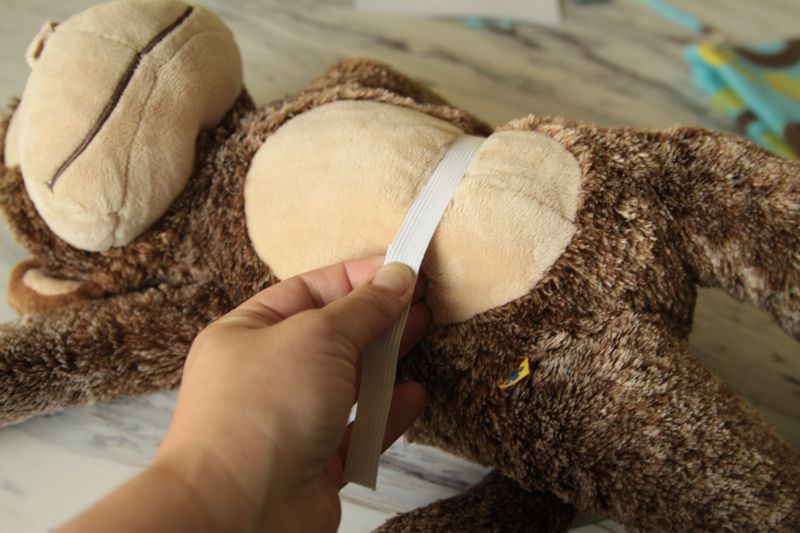
Then thread the elastic through the opening in the center back seam:
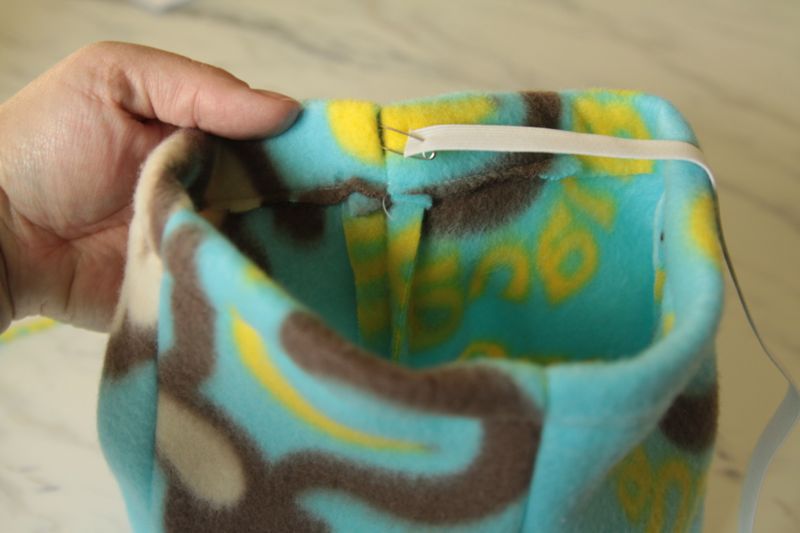
(Now, you certainly could have done this the more traditional way, which is not to leave a second opening in the back seam, but rather to leave an opening when you’re sewing around the waist after you’ve turned it down. However, that way requires you to go back and close up the opening after you’ve threaded the elastic. The way I’ve used saves a step, and is how my mom taught me to make elastic waist stretch pants when I was a kid. Hi Mom!)
Once your elastic is all the way through the casing, sew it together and clip any excess. The jammie shorts are now ready for your animal:
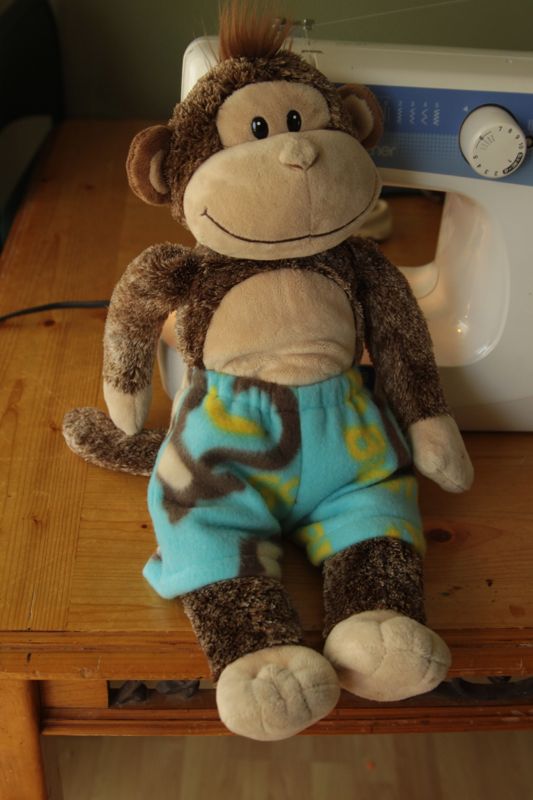
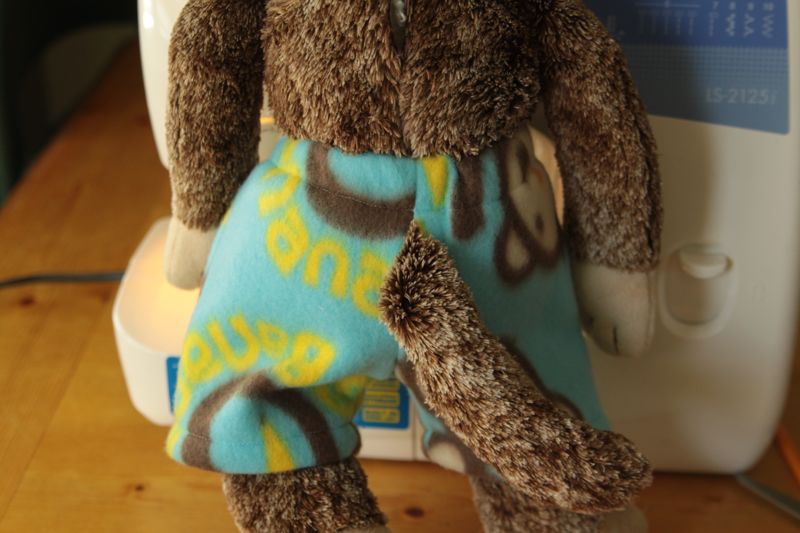
Complete with tail opening (which really must make these so comfortable, right?):
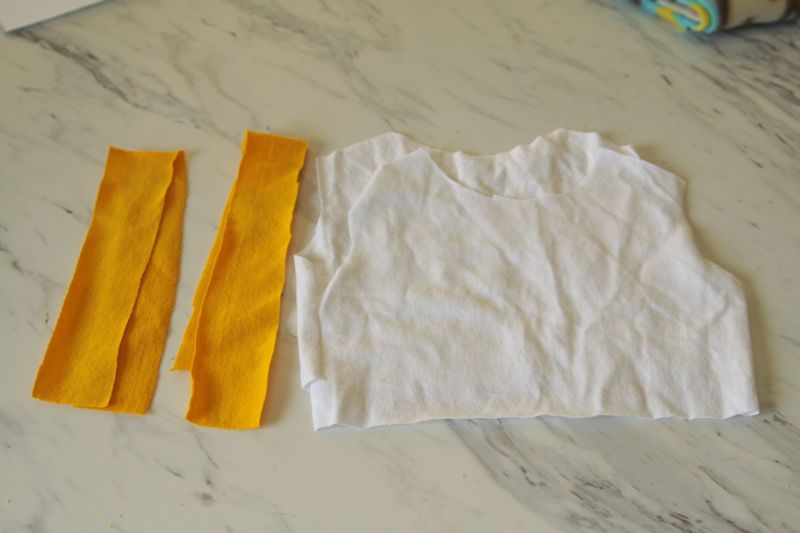
On to the shirt. Cut one front piece and one back piece from the same pattern piece, making sure to cut the neck lower on the front piece along the dotted lines on the pattern. Also cut 2 pieces of stretchy knit at 8 inches long by 1.5 inches wide and one piece of stretchy knit at 16 inches long and 1.5 inches wide. Make sure the stretch runs the length of these strips. We’ll use these strips as ribbing to finish the arm holes and neckline. (For a little more detailed description of adding ribbing, check out this post.)
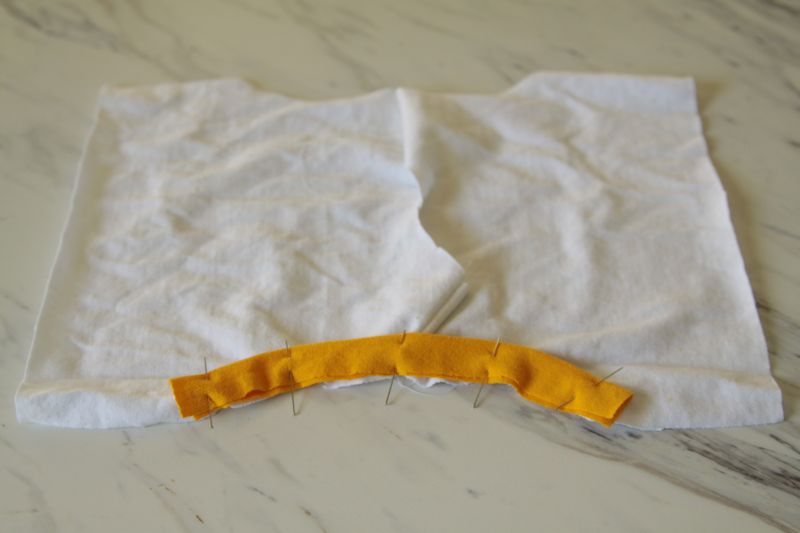
Sew the front to the back at the shoulder seams, right sides together. Open up the shirt and place it down on a flat surface, right side up. Fold one of the shorter strips in half lengthwise and find the middle of it. Pin the middle of the strip to the shirt at a shoulder seam, all raw edges meeting. Then, gently stretching the strip to fit, pin the strip to the armhole, as shown:
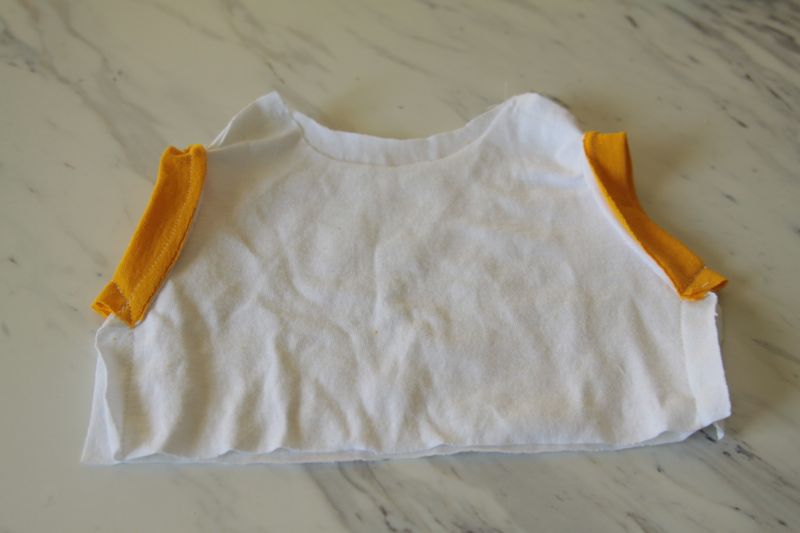
Sew with a fairly narrow seam allowance and repeat on the other side. Then line up the side seams, right sides together, and sew down them as shown here:
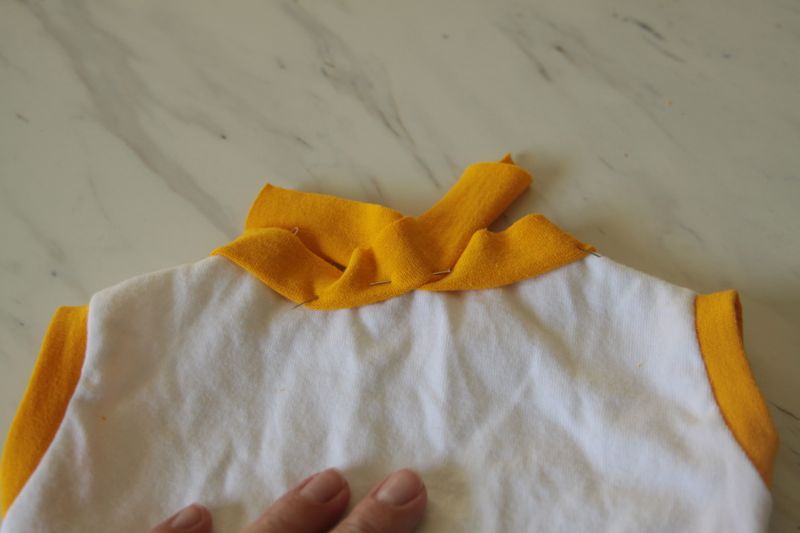
Now, take your long ribbing strip and fold it in half lengthwise. Pin the middle of this strip to the center front of the neckline. Continue to pin the strip to the neckline, stretching it gently as you go around. When you get to the back, overlap and curve the ribbing up and off the neckline, like this:
Sew all the way around to attach the ribbing to the neckline. Now, stuffed animals’ heads are big, which means you want this seam to be able to stretch. Either use a narrow zig zag, or give the fabric a pretty good stretch as you sew a straight seam all the way around. I stretched the fabric as I sewed and it worked great. (A serged seam would probably also give you enough stretch – just be very careful anytime you serge!)
Once the ribbing is attached, turn the seam allowance down. Sew a quick line across the back to secure the ribbing down, then trim rest of the seam allowance close to the seam (do the same on the arms).
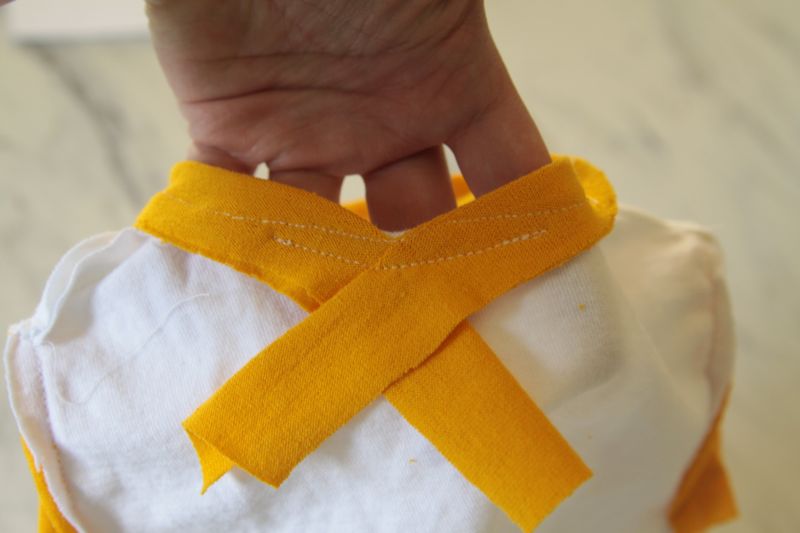
Depending on the fabric you used, you may want to hem the bottom of the shirt. I used t-shirt knit, which rolls at the edges and doesn’t fray, so I left the bottom raw (Jim doesn’t seem to mind).
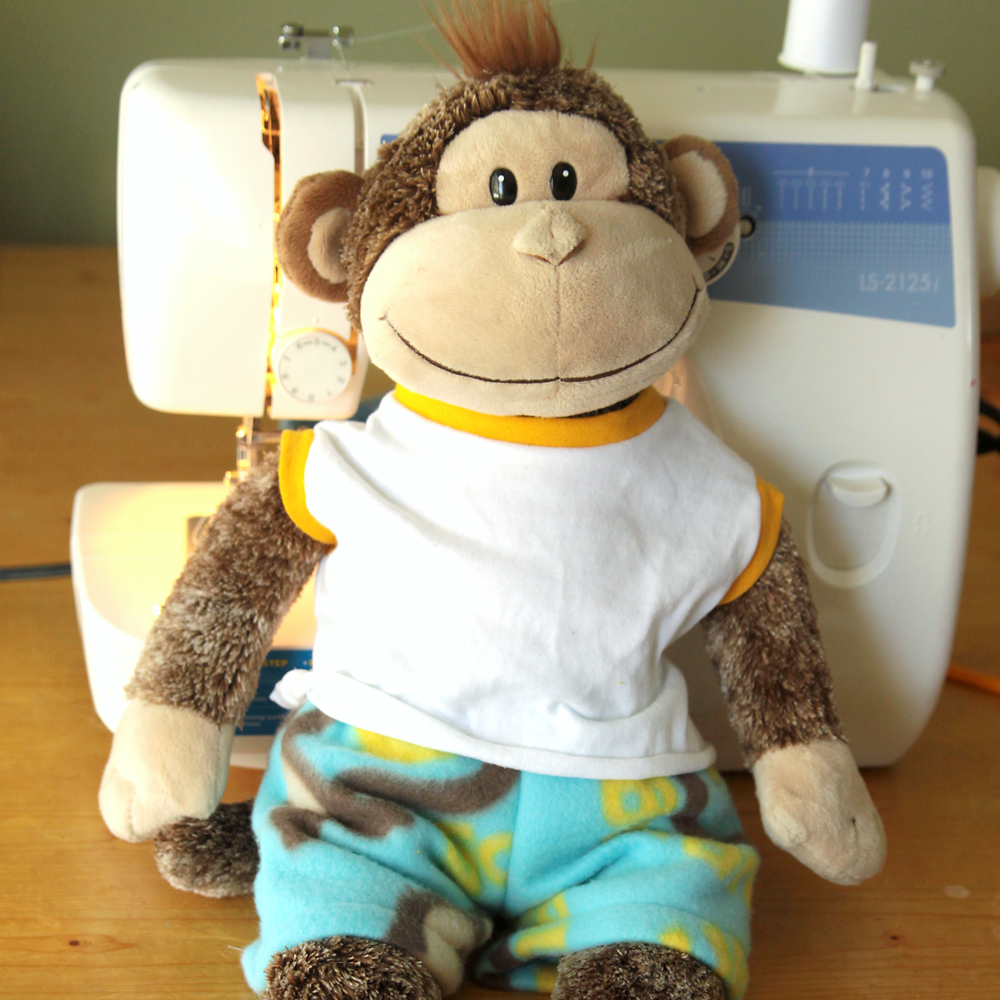
And there you have it! New stuffed animal pajamas to match a stuffed animal sleeping bag. It’ll make your little one’s day. I promise 🙂

Rachel says
Thank you so much for this fantastic little pattern. I used the top and extended the length a bit to make a fleece nightgown…just added a little ruffle on the bottom and BAM, so adorable! In fact that’s just what my daughter said when I gave it to her “Oh, Mommy…she looks so adorable!”
Tori Stark says
As a college student, I still love my Build-A-Bear tiger and I am not willing to pay the amount that clothes cost. when I researched the cost of making them, I was interested since my Tigeress needs some clothes, and that includes PJs. When I saw this, I immediately started my ideas. I loved it. And a tip if you want winter jammies, make the pants longer. Thank you SOOO much for helping me out.
Kari W says
Thank you for this pattern! I have a nephew that just finished his cancer treatments, and he loves Curious George. His birthday is coming up, and I’m making CG pajamas for him, since you can’t find any in stores. I had leftover fabric, and wanted to make a pair for his “Georgie” doll that he sleeps with every night. I printed out the pattern at 75%, and it worked perfectly. I’m so excited to give him his present. Thank you!
Bonnie says
My son used the last of his Christmas money for a build a bear but was sad that he didn’t have clothes like big brother. Then my friend gifted me a sewing machine. I’m so glad I found your pattern and appreciate that you have generously shared it without charge. Needless to say, CocoPuff now has a sweatshirt (top made from polar fleece) and pants (up-cycled from Dad’s old t-shirt using the hem as the hem of the pants). Big brother’s bear also has new pants since it’s too cold for his shorts {insert eyeroll} made from a nearly-new/didn’t want pair of plaid boxer shorts legs (again using the leg hem for the hem of the pants). Worked perfectly!! Thank you so much!!
Caroline says
So cute! Thanks so much for the free pattern…I’m sewing my daughter’s build-a-bear bunny a whole new wardrobe for Christmas and I’ve so far made these jammies, the robe that you posted and I’ve started on the top and bloomers. She’s going to be one well dressed bunny!